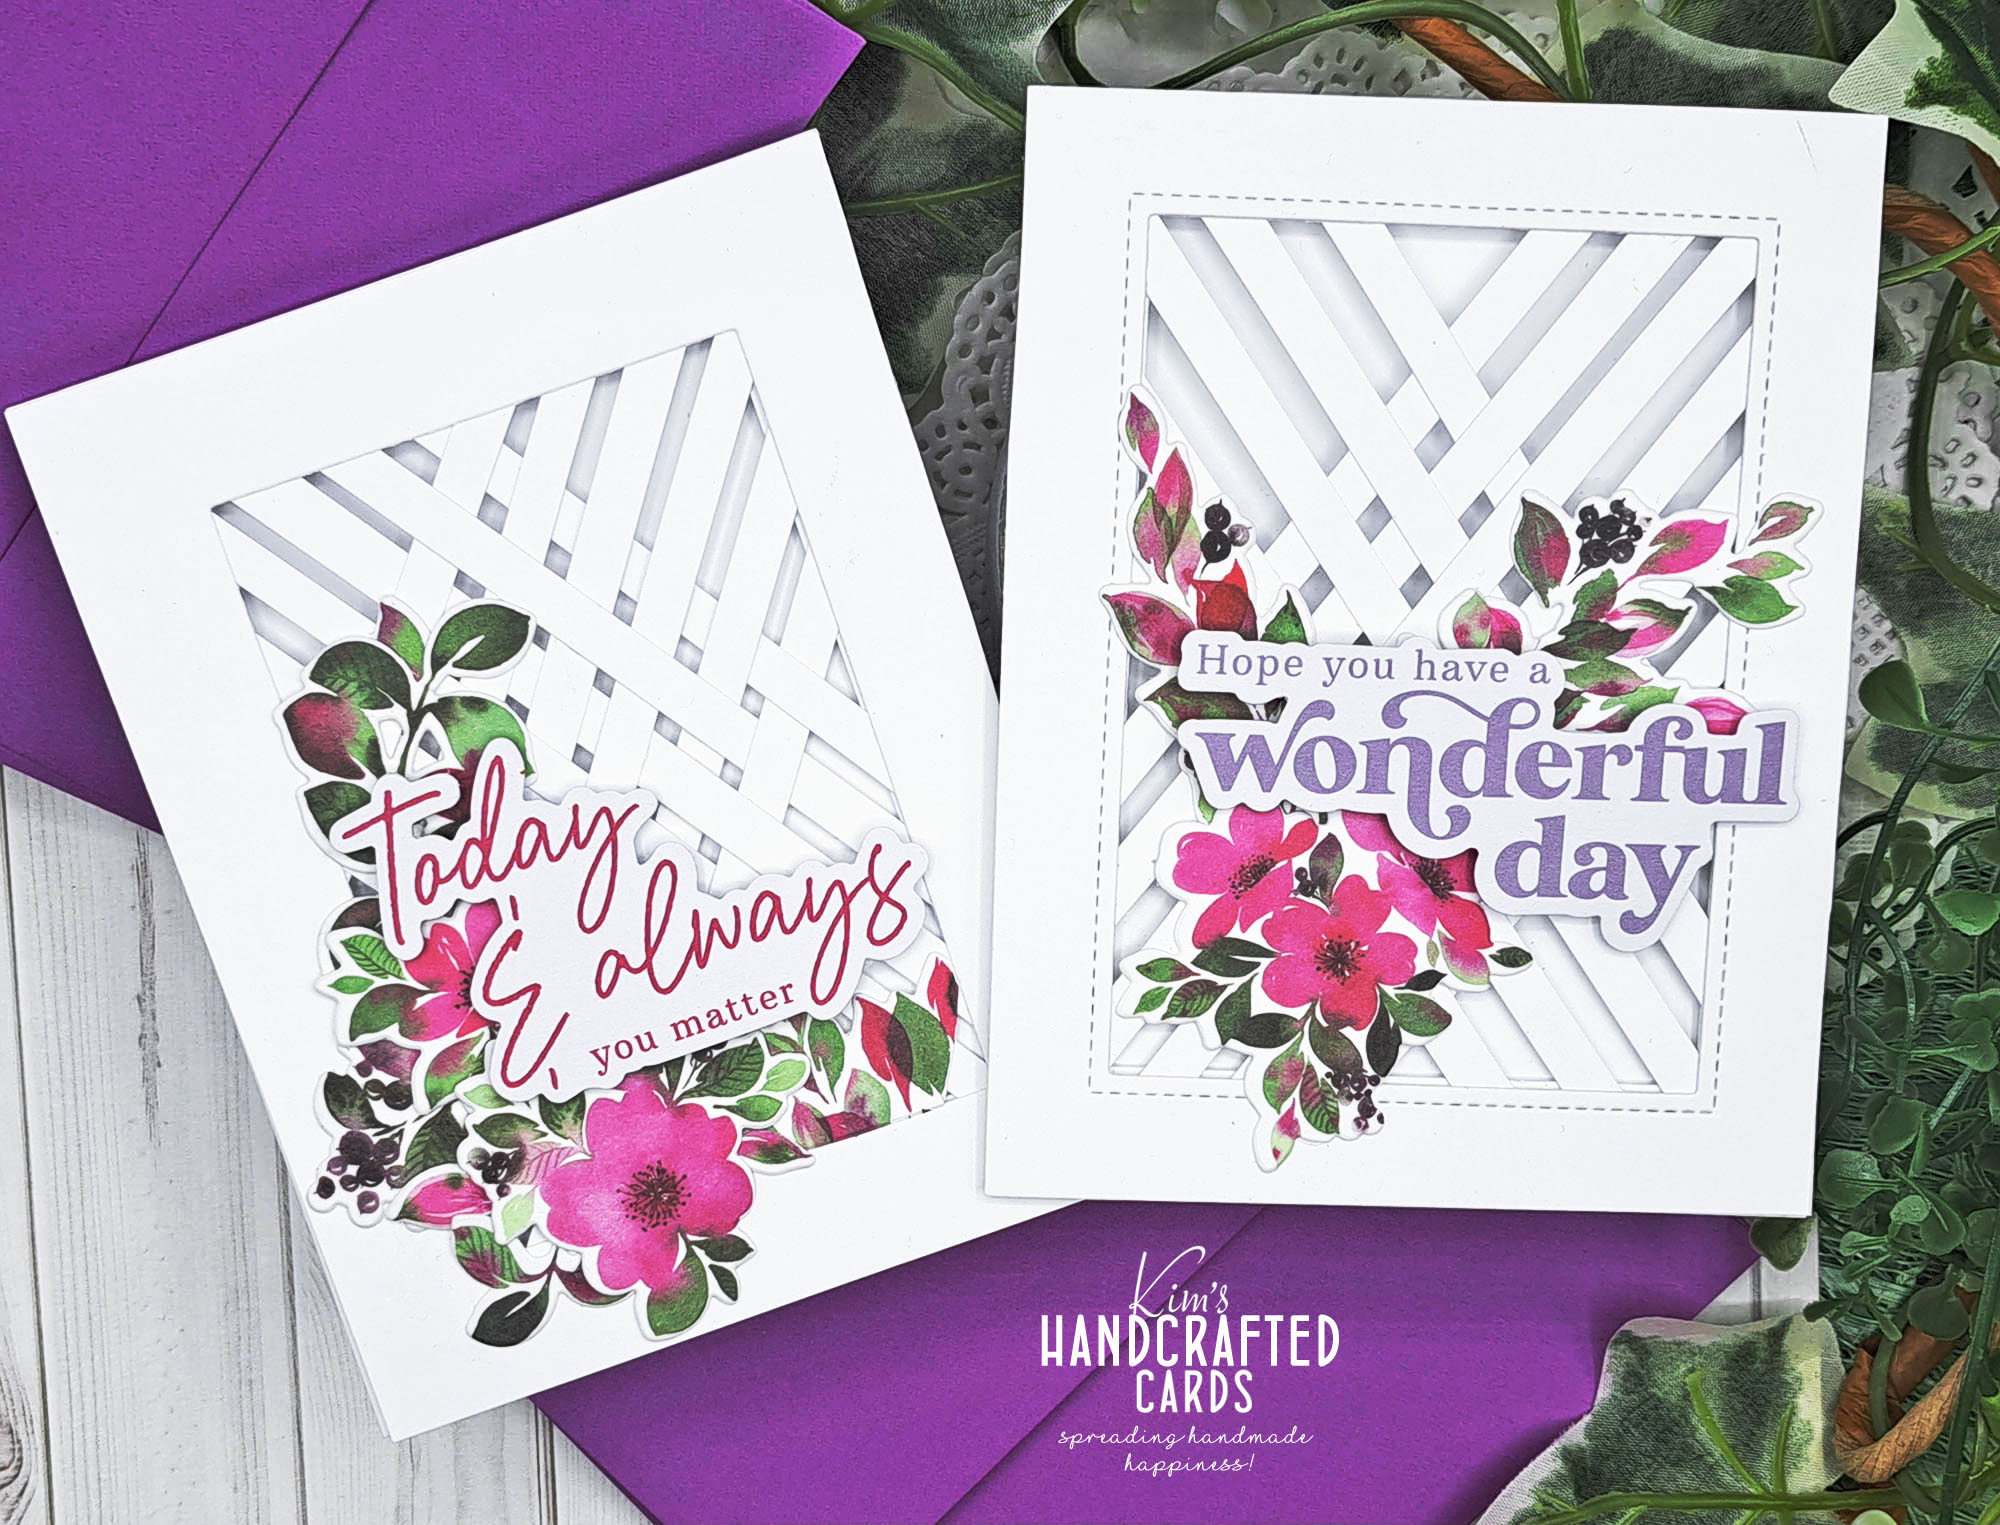
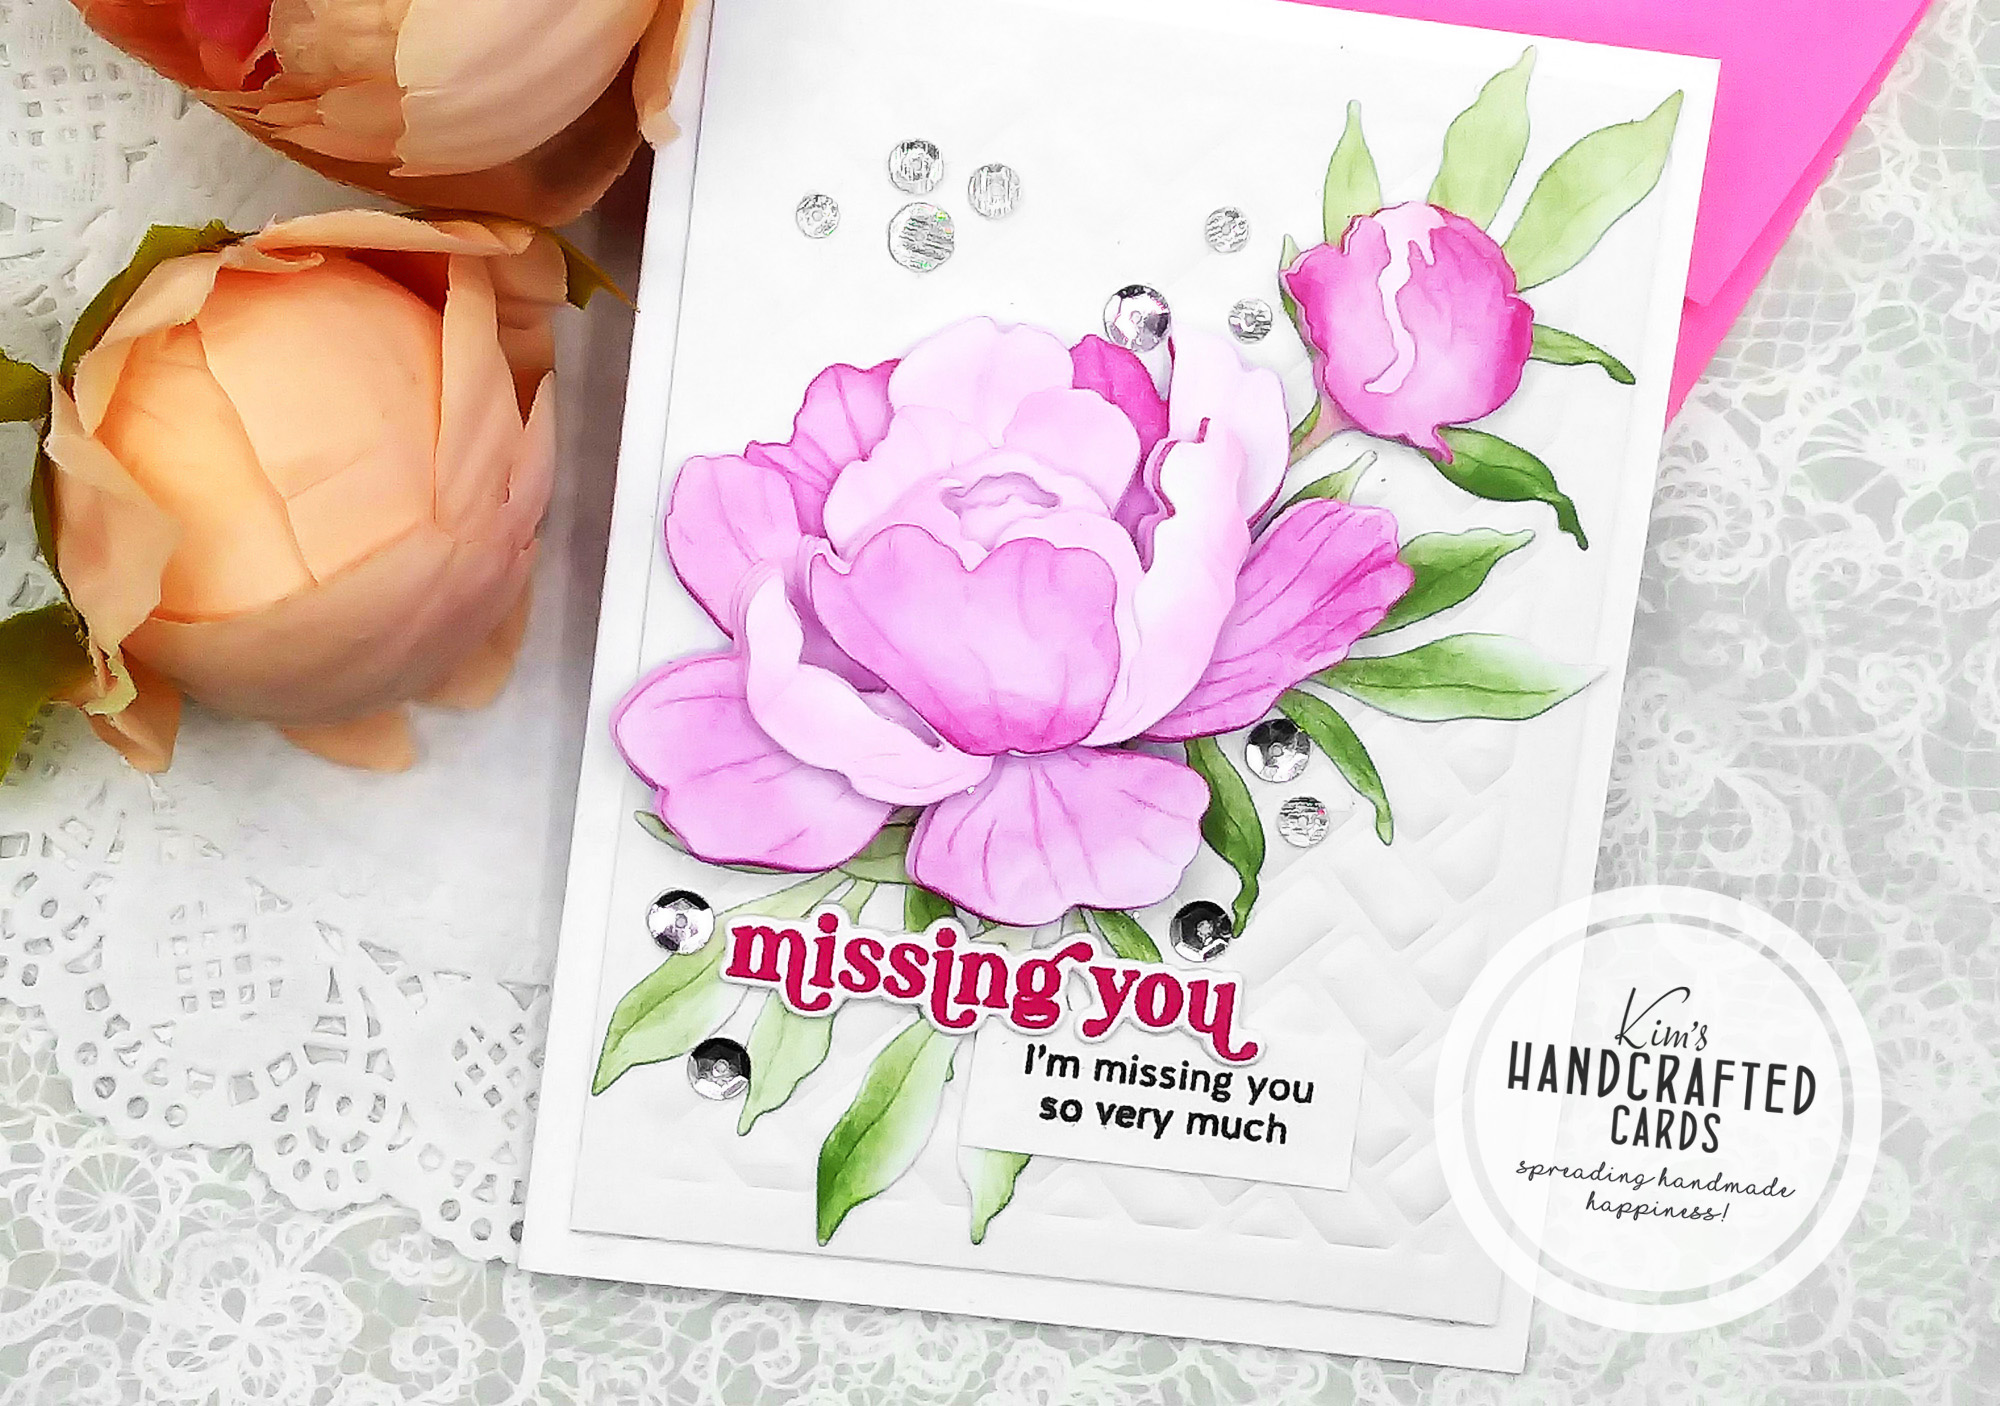
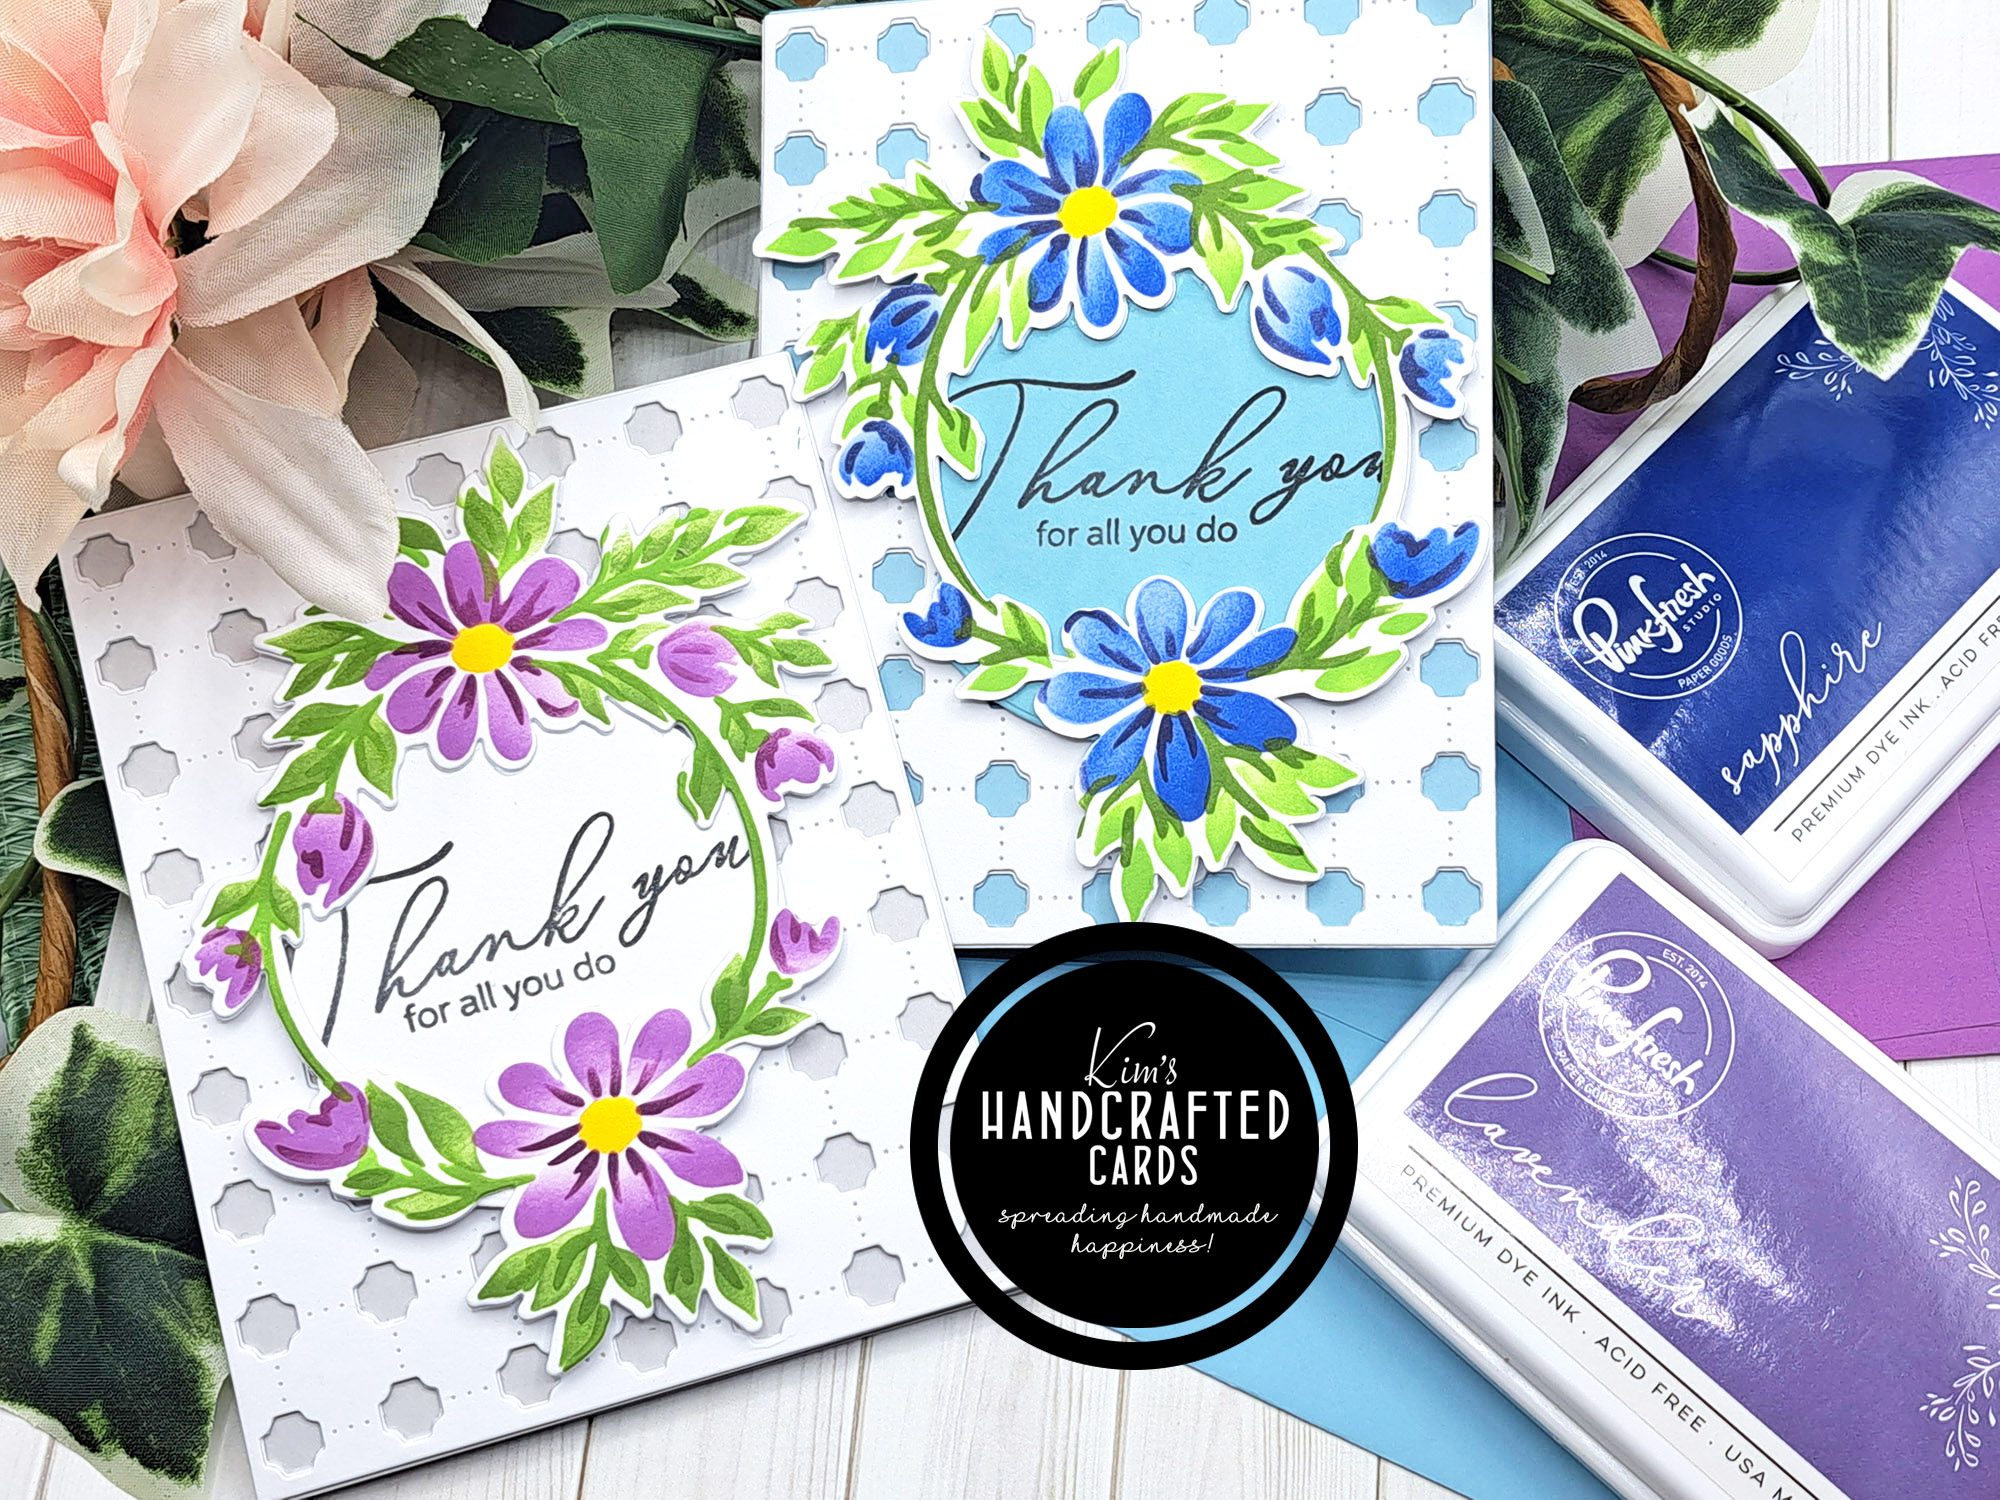
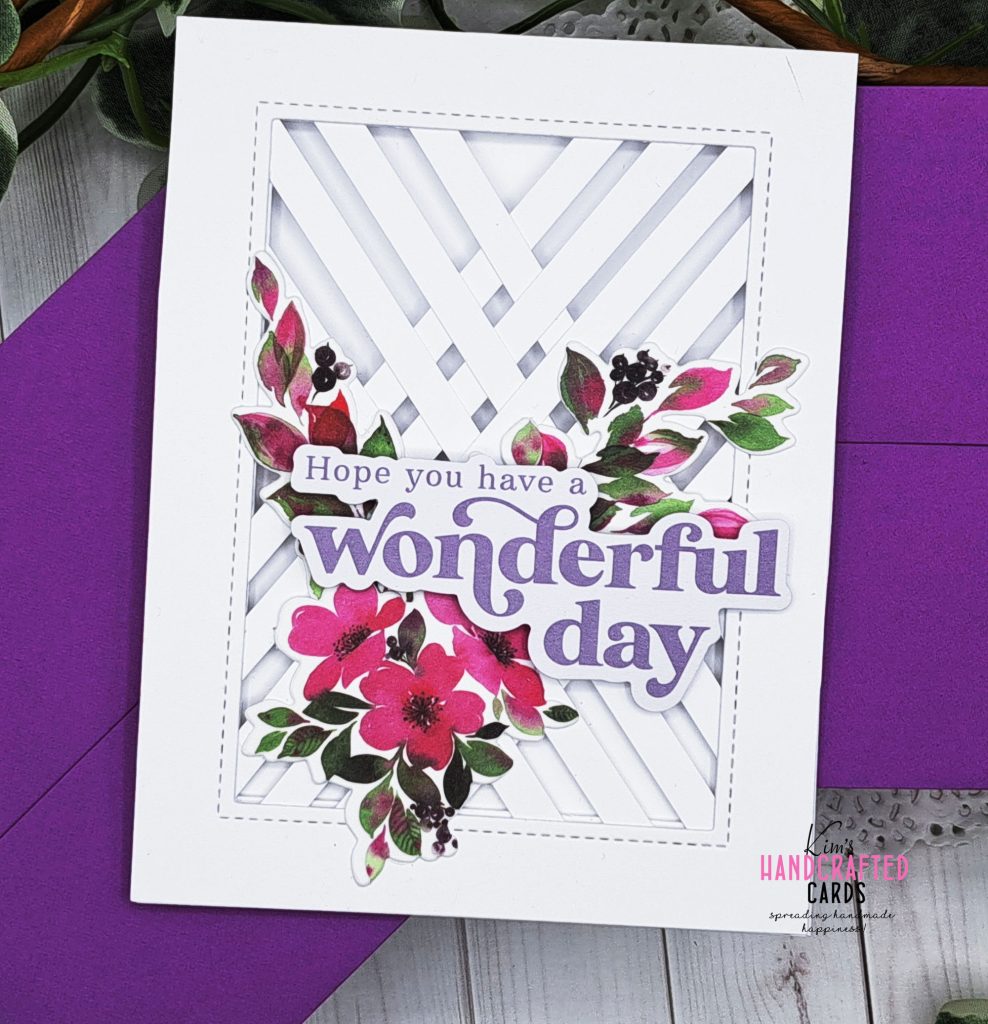
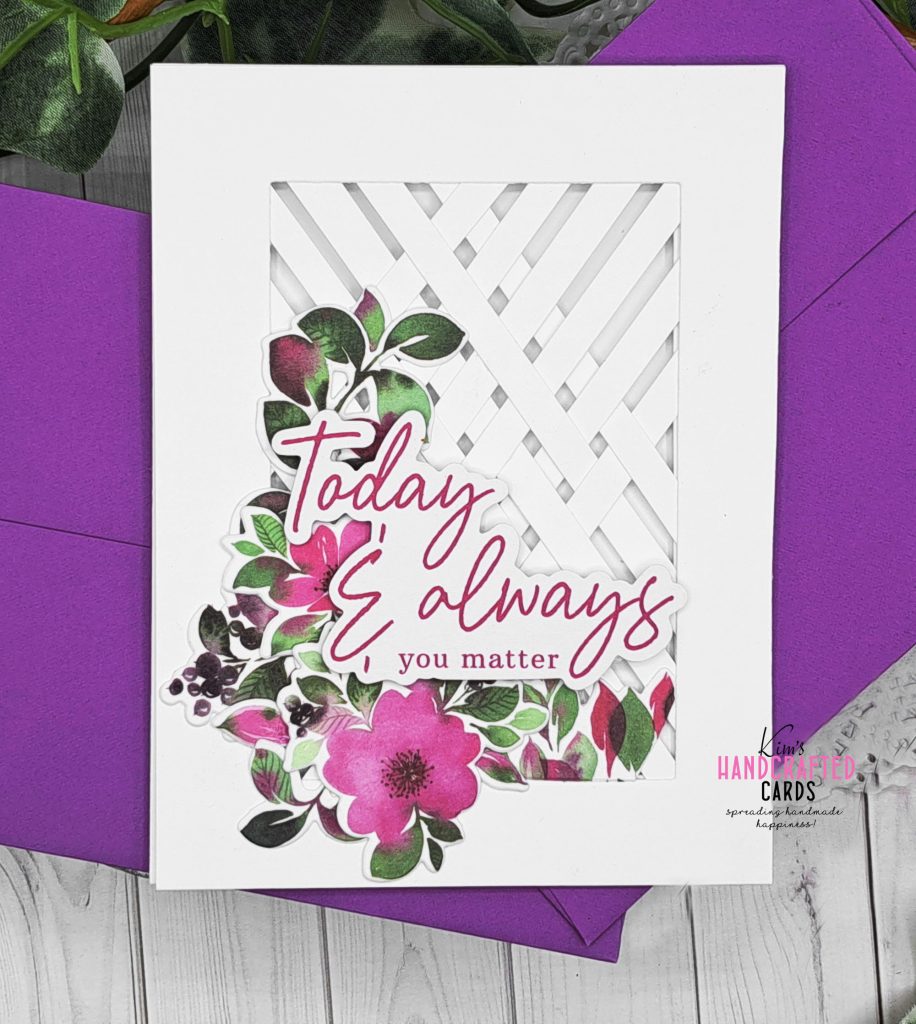
I am so excited about today’s cards and I had a load of fun making them! I wasn’t even looking to make any cards but when I watched Gina K. Design’s last “Stamp & Chat” LIVE YT video, I was done in! She made this gorgeous “Open Lattice Card”. And she didn’t weave the strips of cardstock, she taught a very simple method and the result was just amazing!
Where the Inspo Came From
If you’ve never made a card design like this, please, please watch her video. The link is here. I followed her technique religiously to make these two cards. The only difference in mine is how I made my floral clusters.
After I made my lattice card panels, I followed Gina’s instructions for making my card bases. I had to adjust my flap to be a tad wider because my panels were wider due to the rectangle die I used to make my opening. Links to the products used are at the bottom of this post. Other than that, everything else is just how she taught it.
For my florals, I reached for Pinkfresh Studio’s Washi Tape “In the Meadow” and I die cut them out, created my clusters gluing the different pieces together until I was satisfied. I LOVE this washi tape/die bundle and I have used in several times!
Check out my posts here, here and here to see how I’ve used this washi tape in previous cards even shaped cards!
Putting it all Together
I used Press ‘n Seal to keep the clusters together until I was ready to apply to the lattice. Now, to apply the florals, I was careful where I put my glue because I did not want it spreading where the back of the lattice would show glue spots, remember it’s an open lattice pattern that shows through when you lift the panel.
After adhering my florals, I placed my sentiments on top with foam squares. The sentiments are the “Rainbow Sentiments” ready made pack also from Pinkfresh Studio. My cards were done and they turned out beautiful! This is a card design I see myself making a lot!
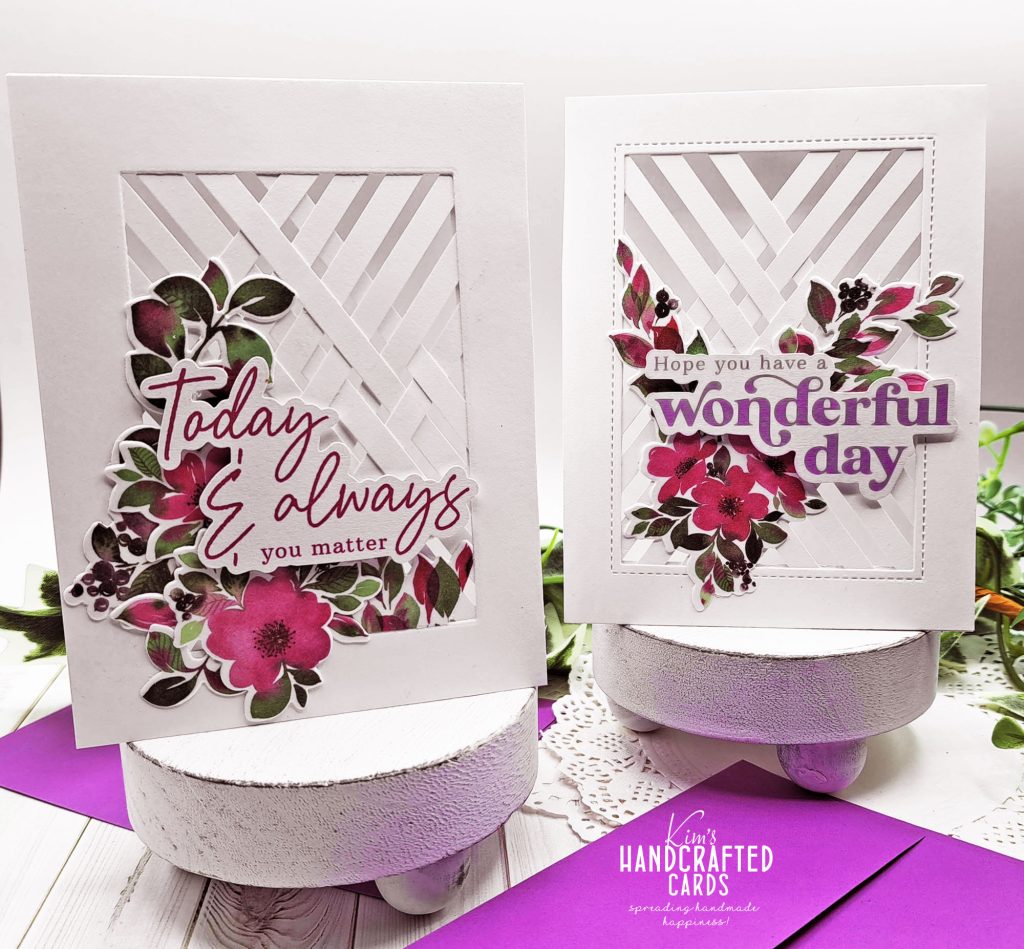
It’s easier than weaving each strip in and out. I have weaved pillows before using knitting looms and loved it, click here and scroll to the bottom of that page for pics! I’ve always loved the look of a woven pattern, so cool to get to do it on paper, YAY!

Some of the links to the products I used are affiliate links which means that when you shop with them, I’ll receive a small commission at no extra cost to you. Your support helps me run my small crafty business. Thank you so much!
- Pinkfresh Studio Ephemera Rainbow Sentiments pack
- Pinkfresh Studio “In the Meadow” Washi Tape/Stencil/Stamp/Die
- Accents 100 lb. White Cardstock
- Bearly Art Liquid Glue
- Glassboard Craft Mat → Use my Code → KIMCARDS20 at checkout
- Spellbinders Platinum 6 Die Cutting/Embossing Machine here or here
- Spellbinders Universal Plate System – here, here or here
- Craft Reverse Tweezers by EK Tools (great for picking up die cut pieces)
- Paper Trimmer: Tim Holtz here (Ranger), here (Scrapbook.com) or here (AZ)
- Glad Press ‘N Seal (3-pack)
- White double-sided foam squares
- Mini White Wood Risers (2-pack) – AZ

