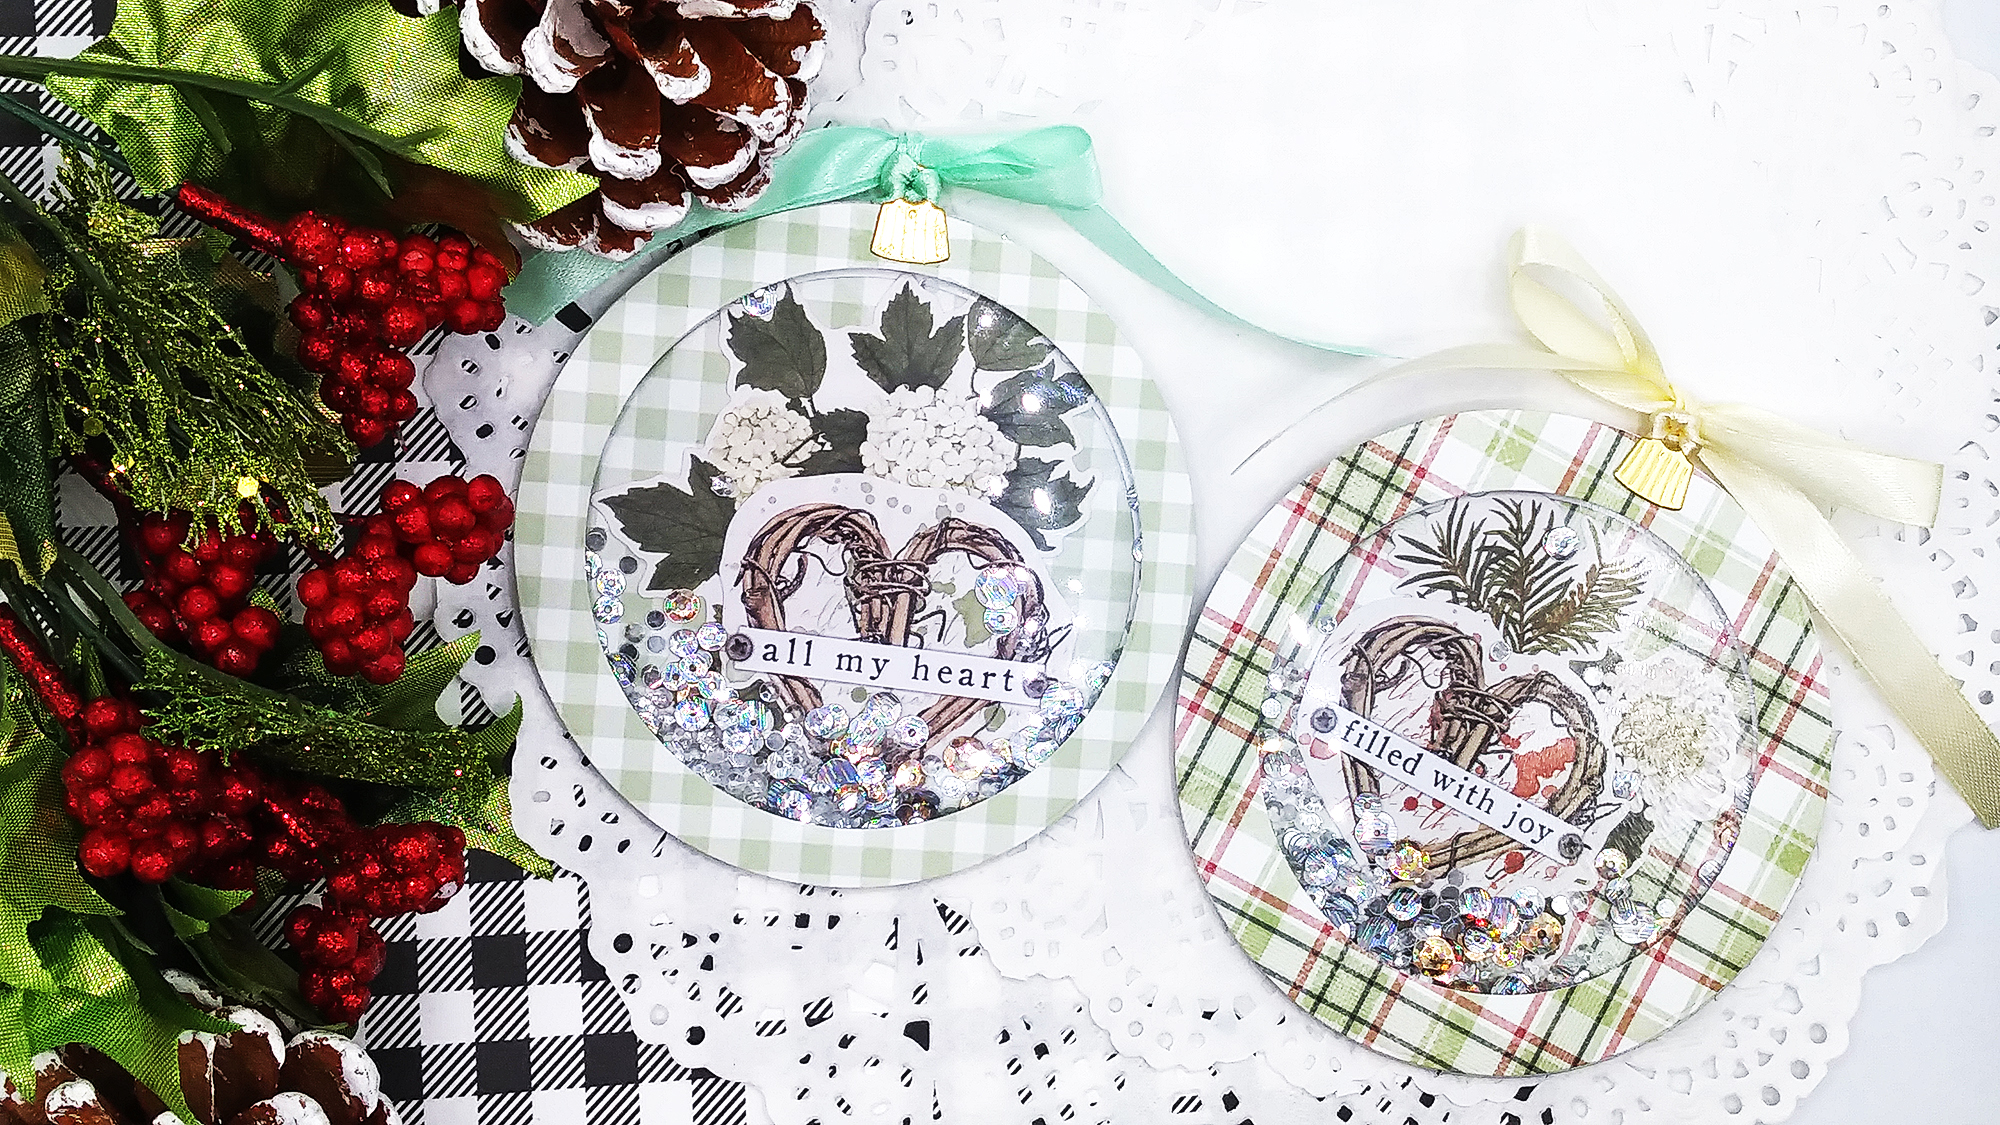
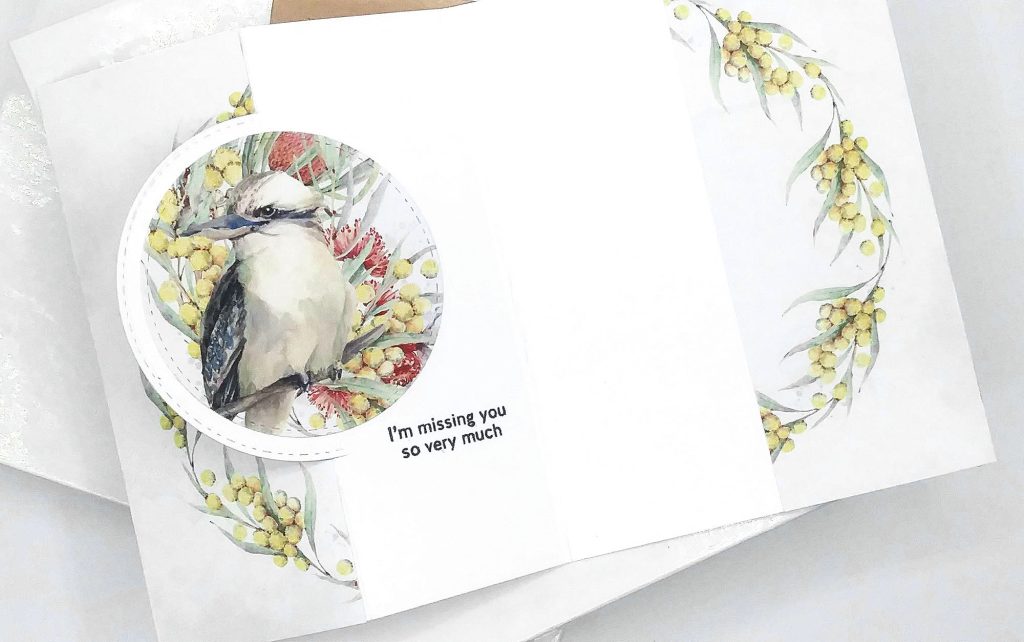
Interactive cardmaking intimidates me much of the time except for shakers, however I really wanted to stretch myself and try a different type of IC so after watching Jennifer McGuire‘s video, I tried it and found it wasn’t hard at all!
Original posting: September 21, 2021; watch the video below this post for how I designed the inside of the card and how it opens!
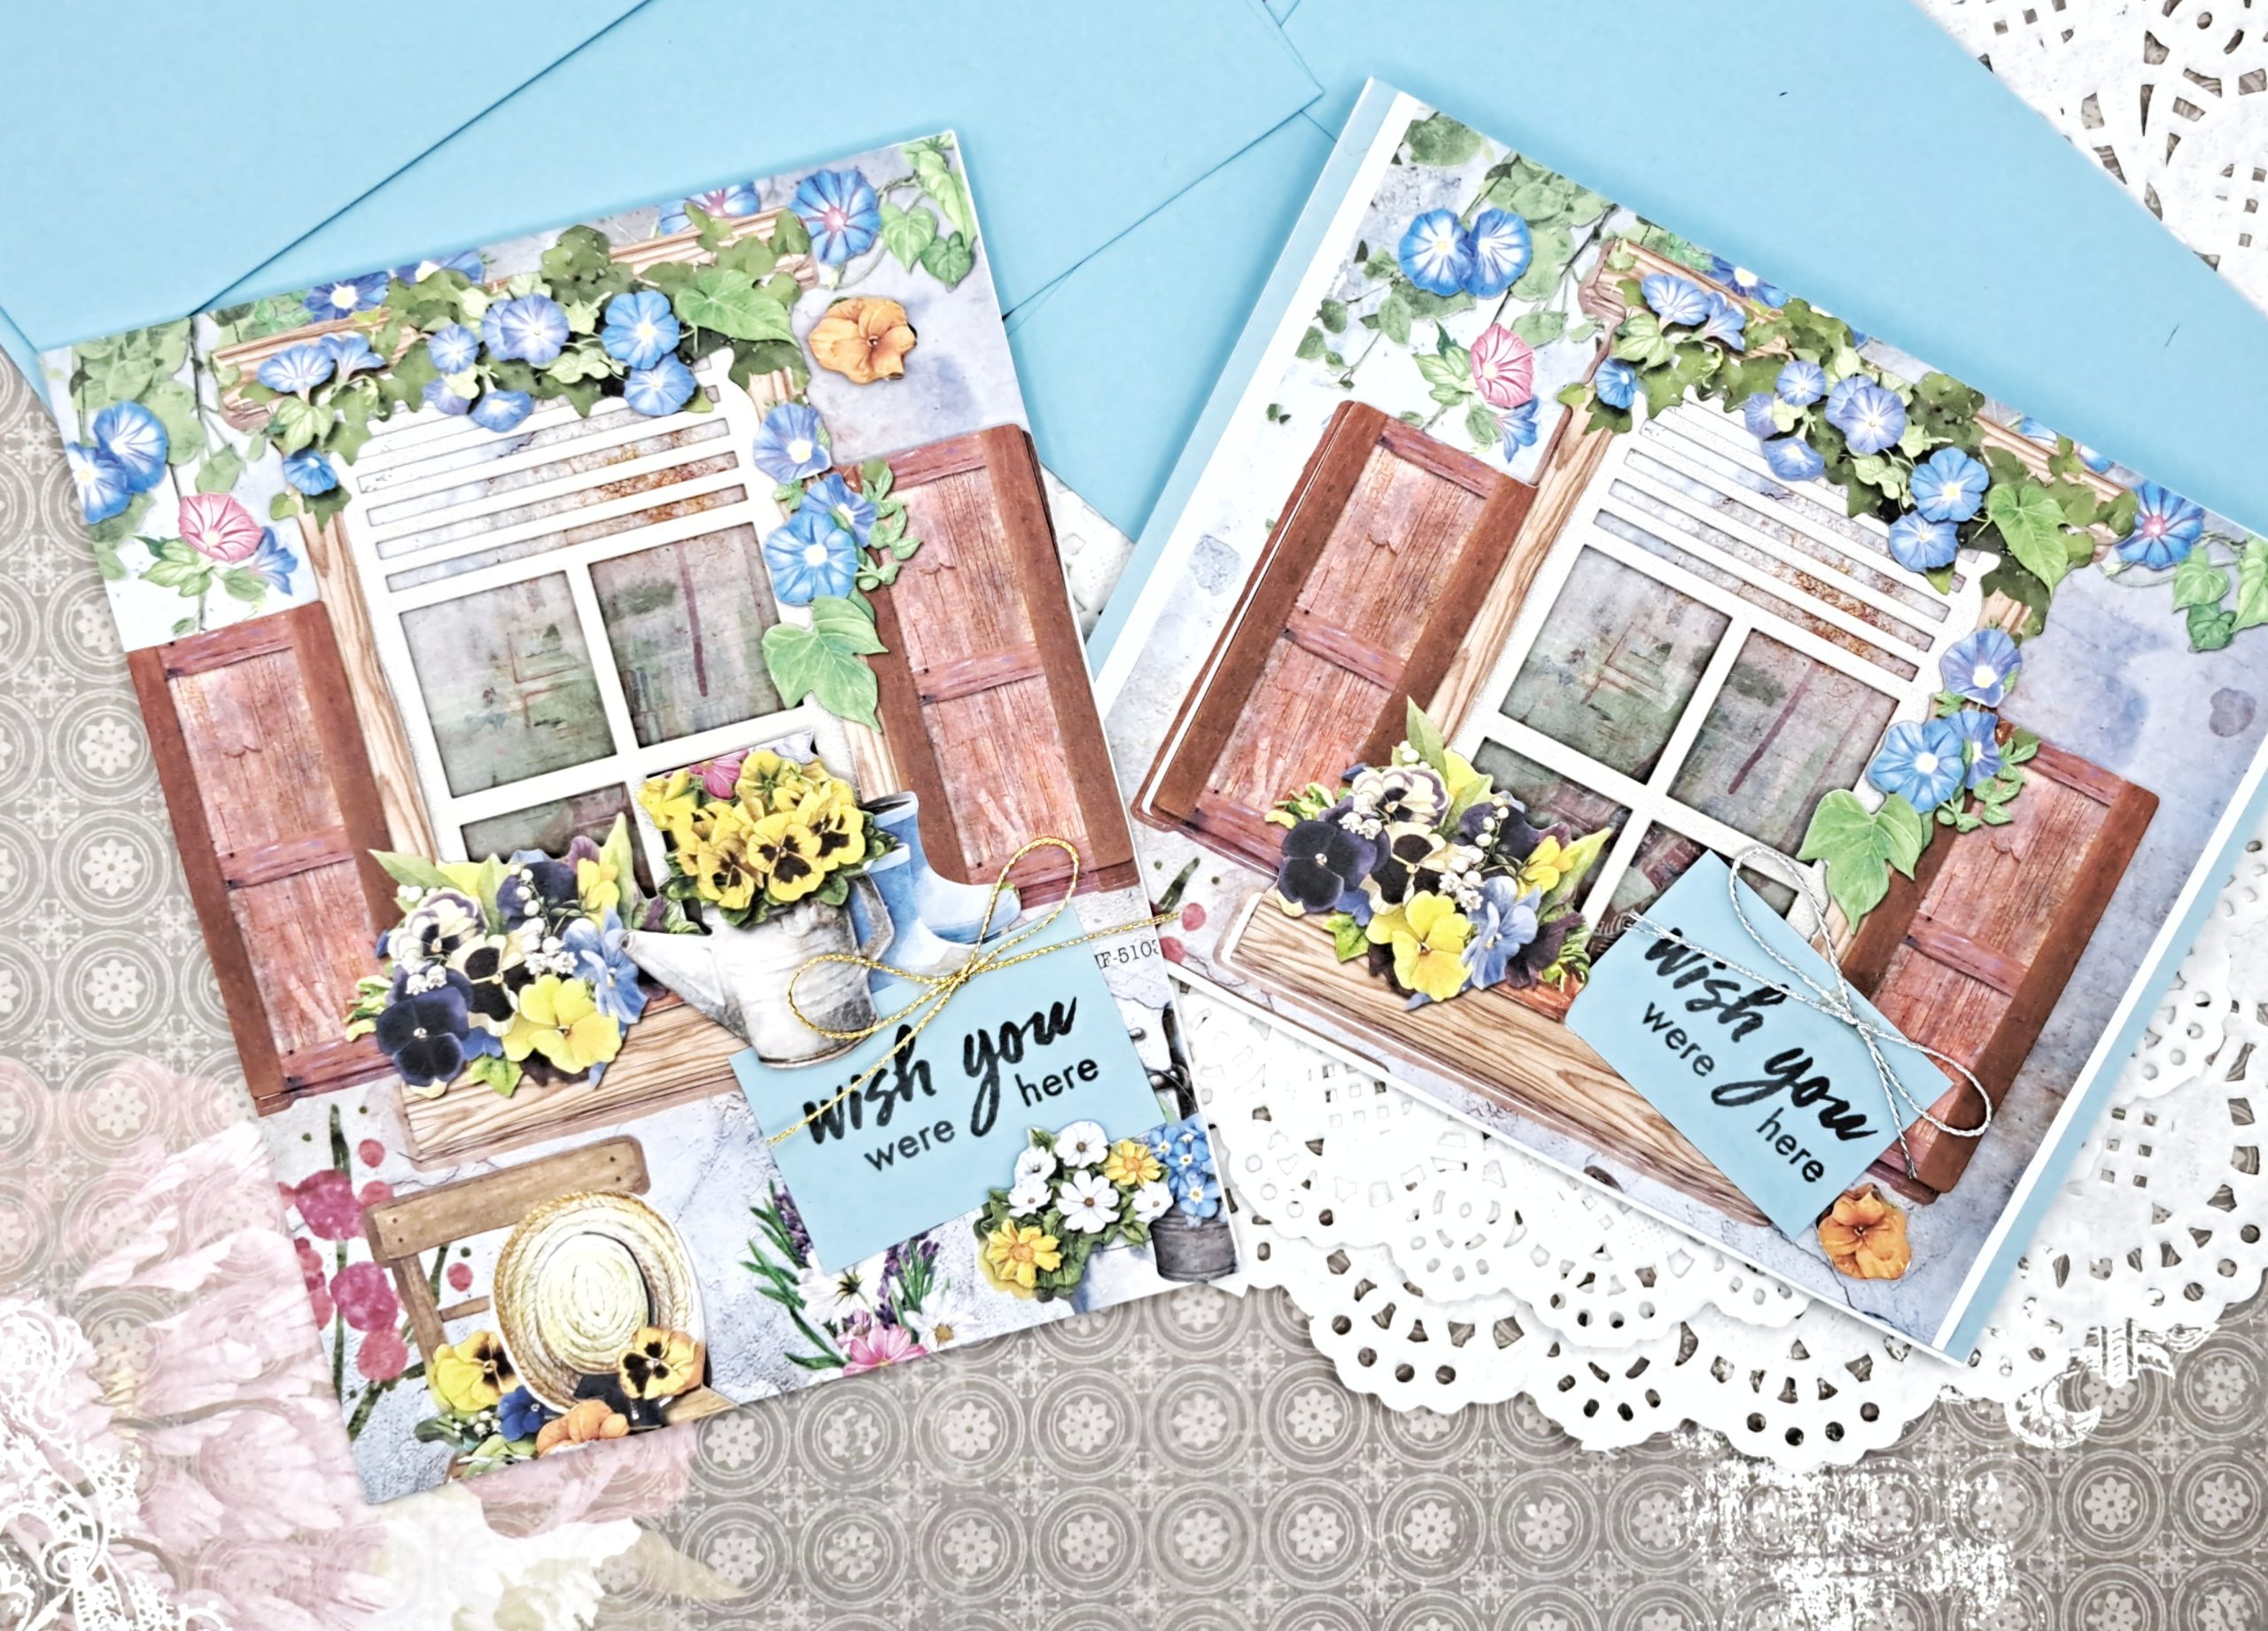
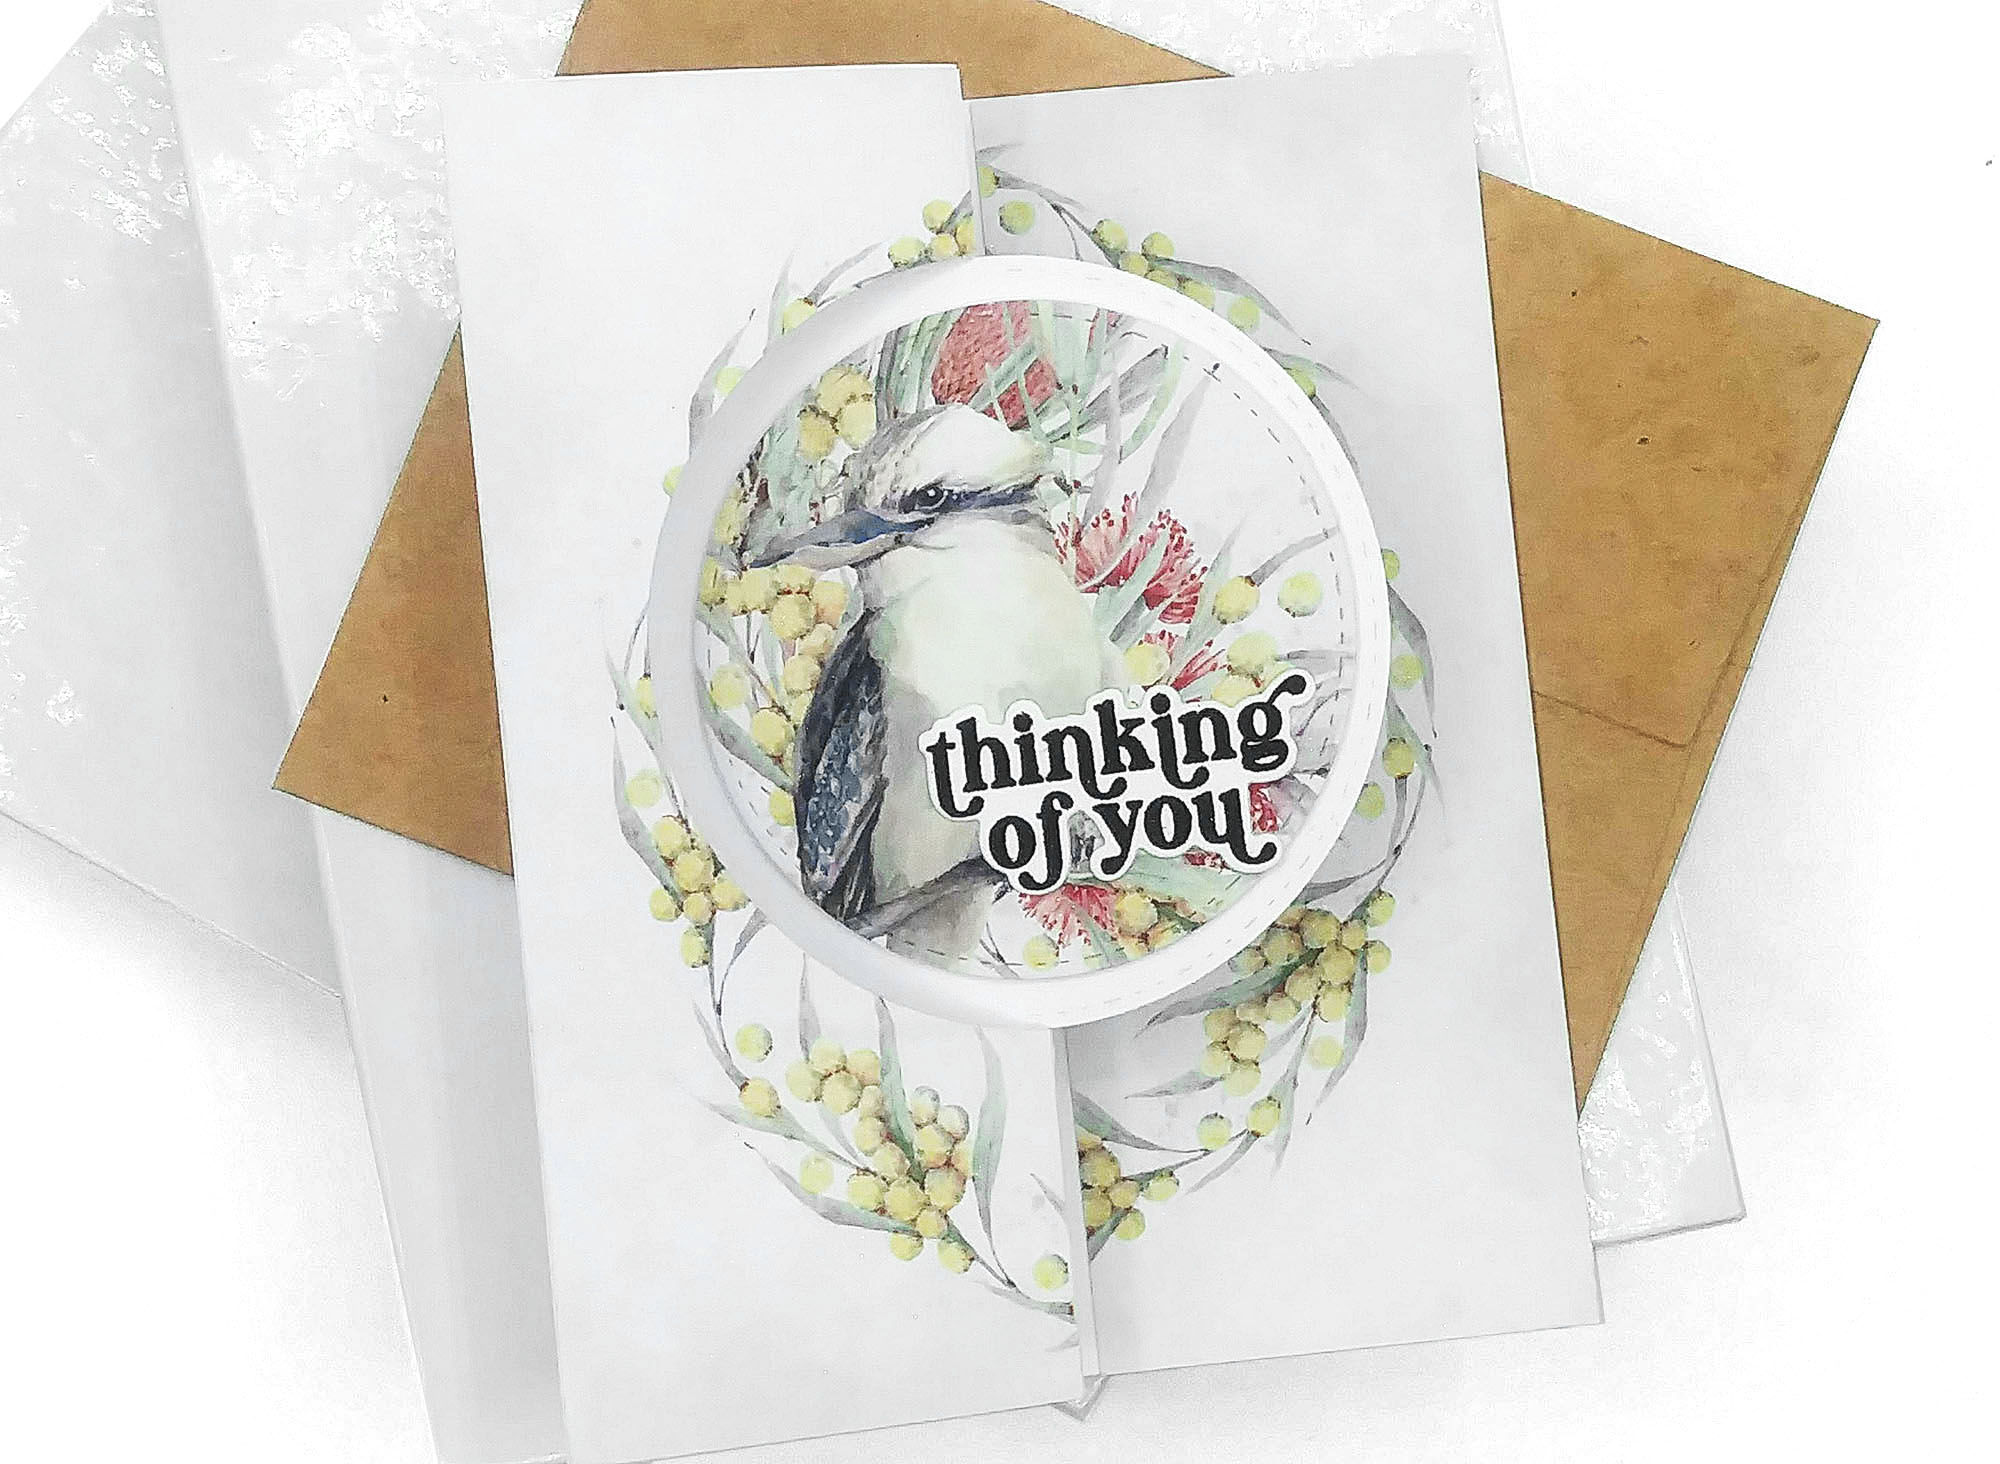
Also, sprayed some Shimmer Spray for shine and glitter! The pattern paper was from Paper Rose, one of my favorite companies for pretty papers.

Some of the links to the products I used are affiliate links which means that when you shop with them, I’ll receive a small commission at no extra cost to you. Your support helps me run my small crafty business. Thank you so much!
- Paper Rose Studio “Forever” pattern paper – SSS ~ Scrapbook.com
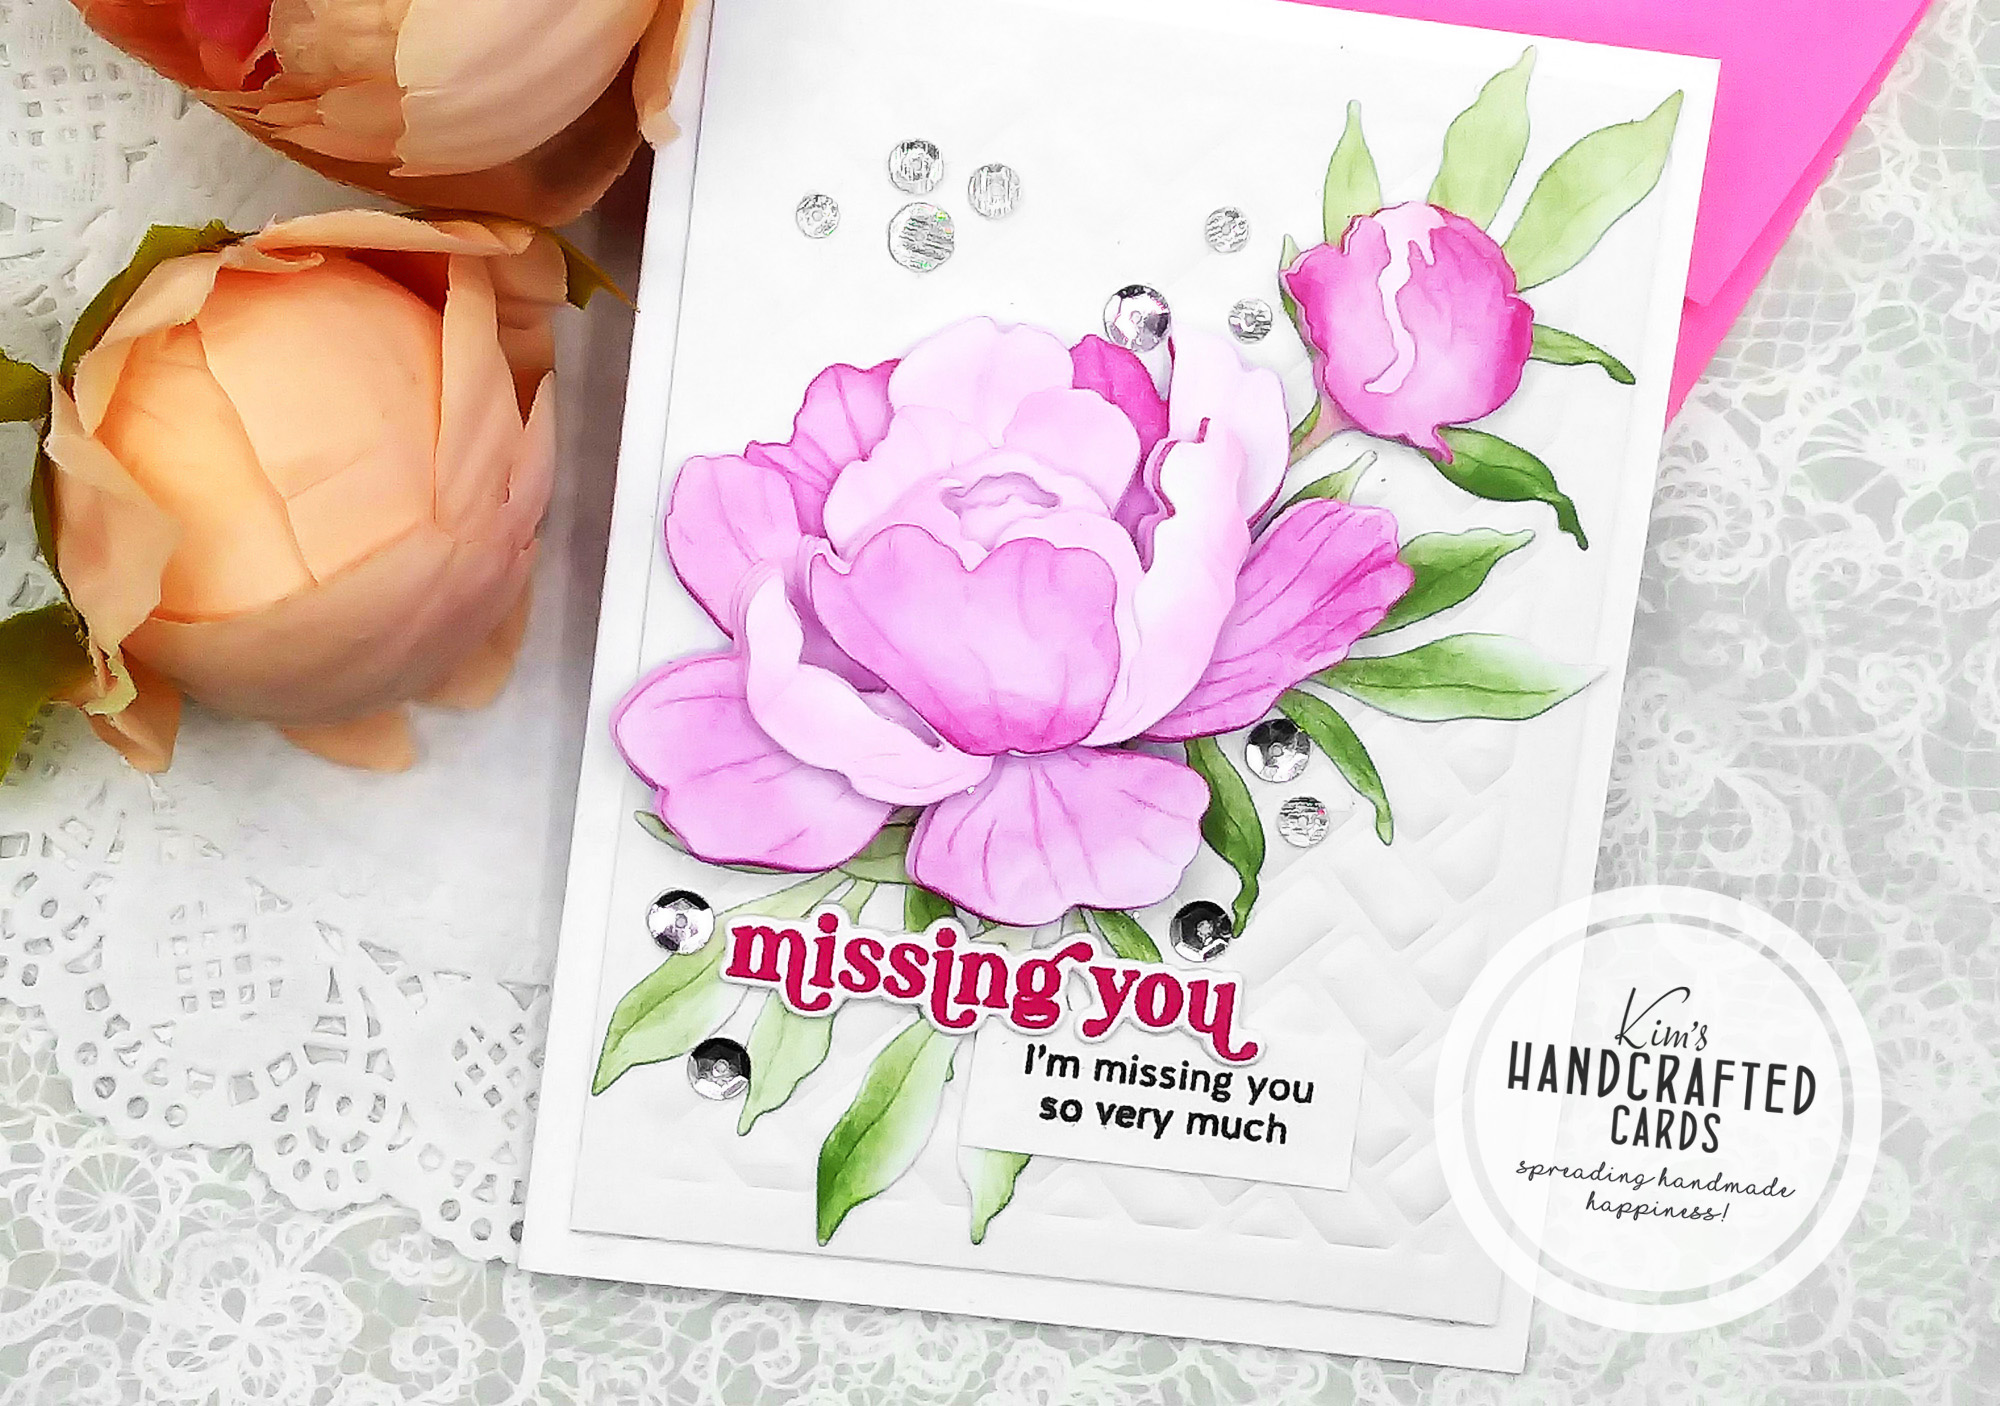
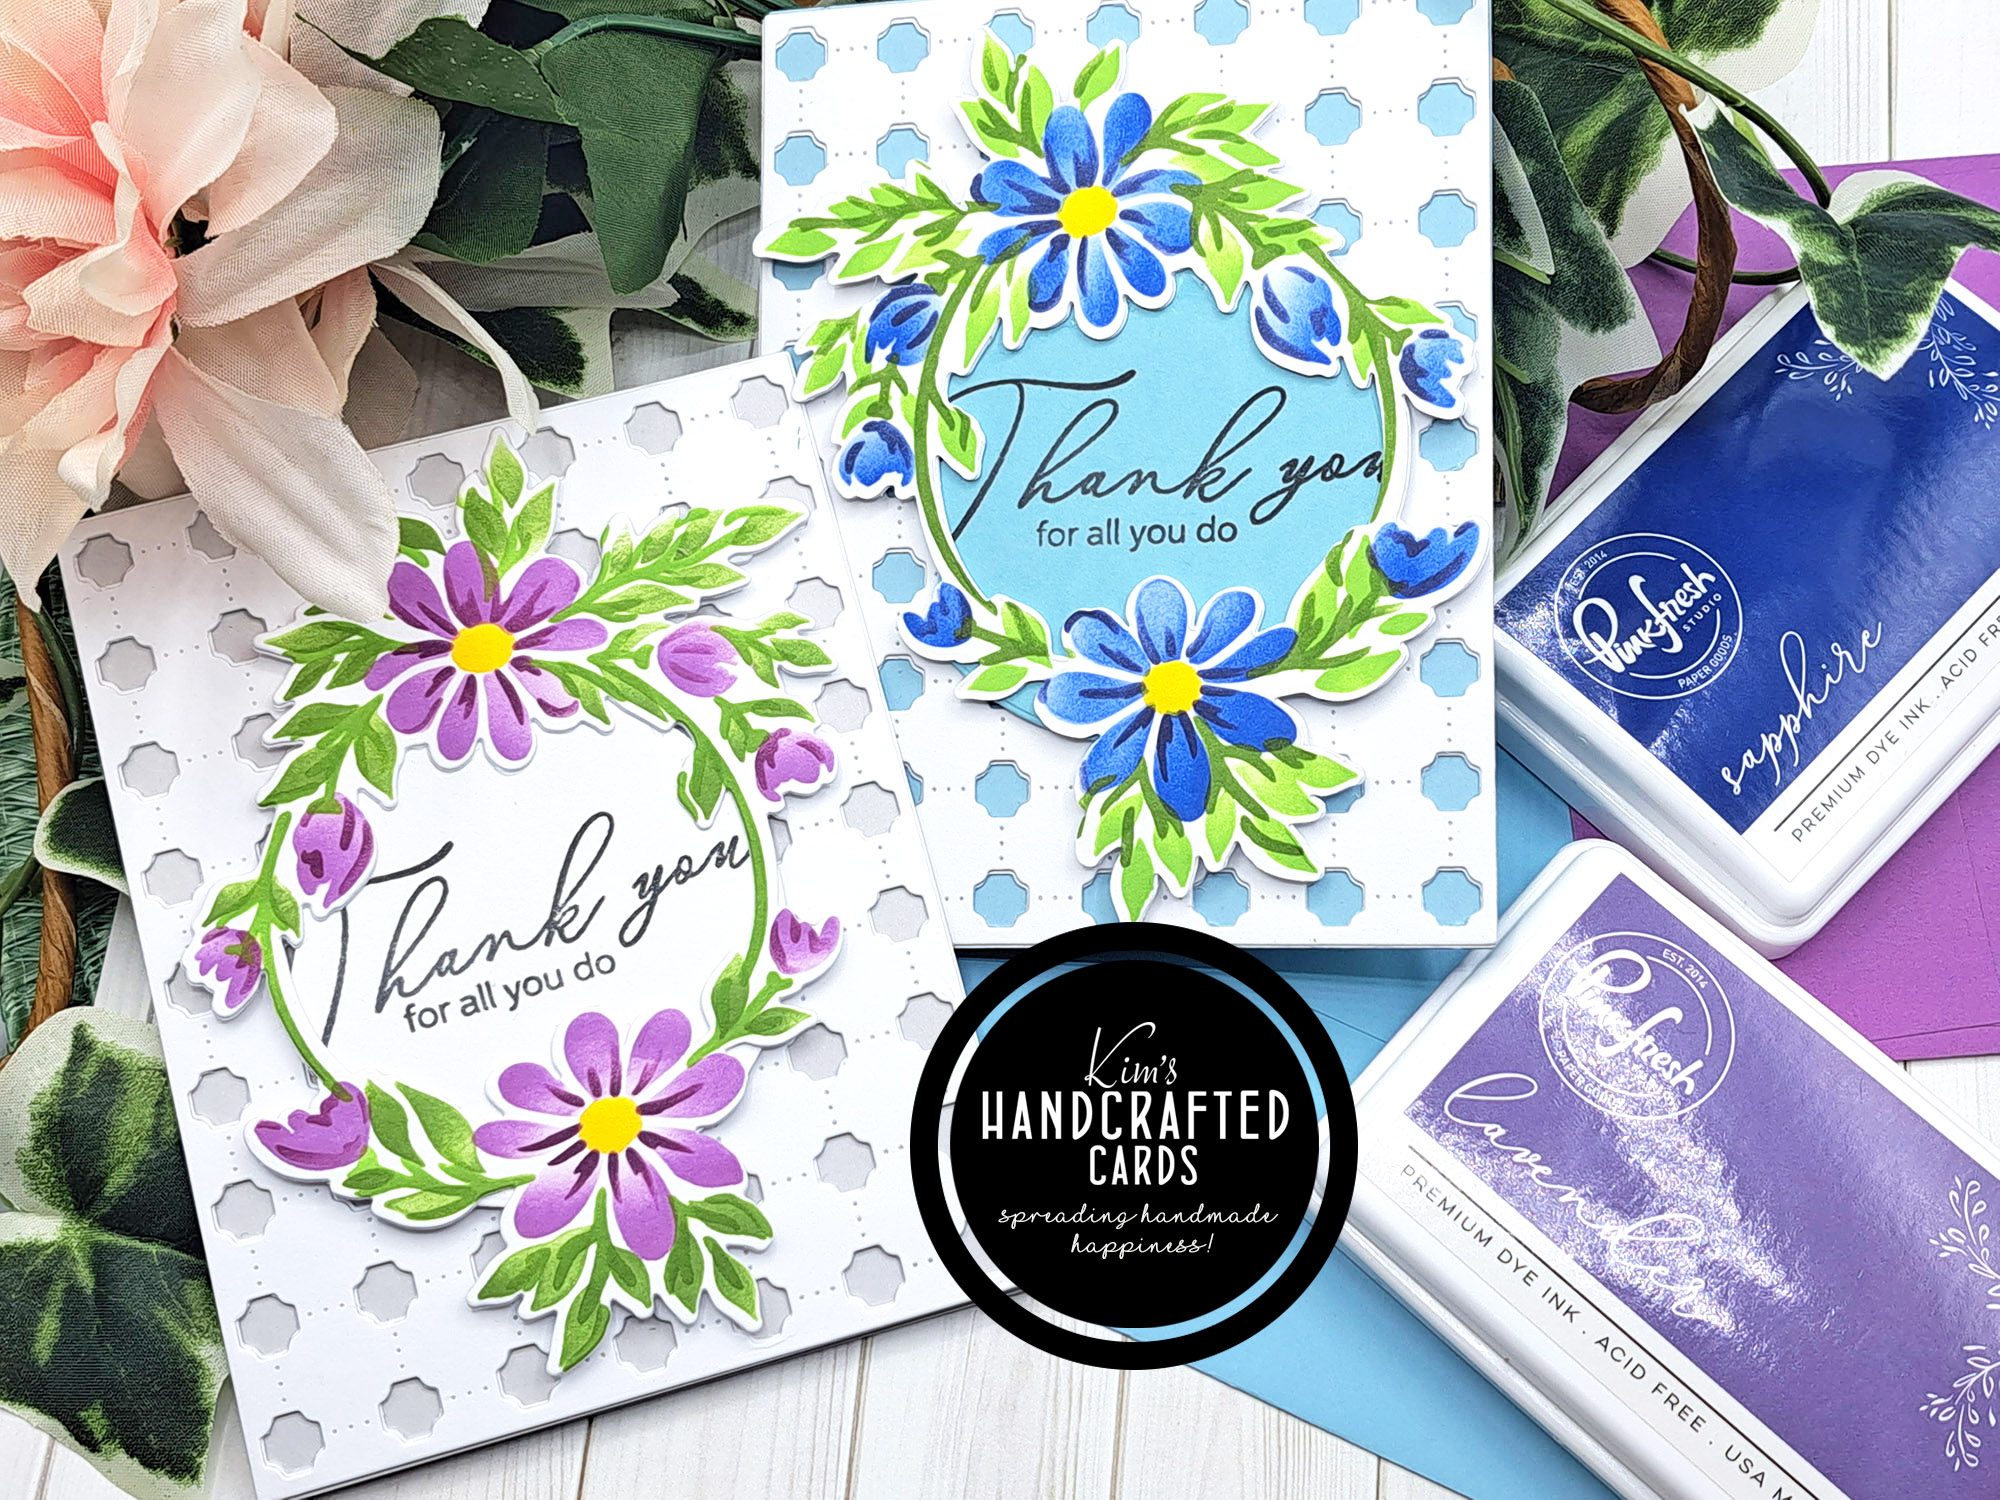
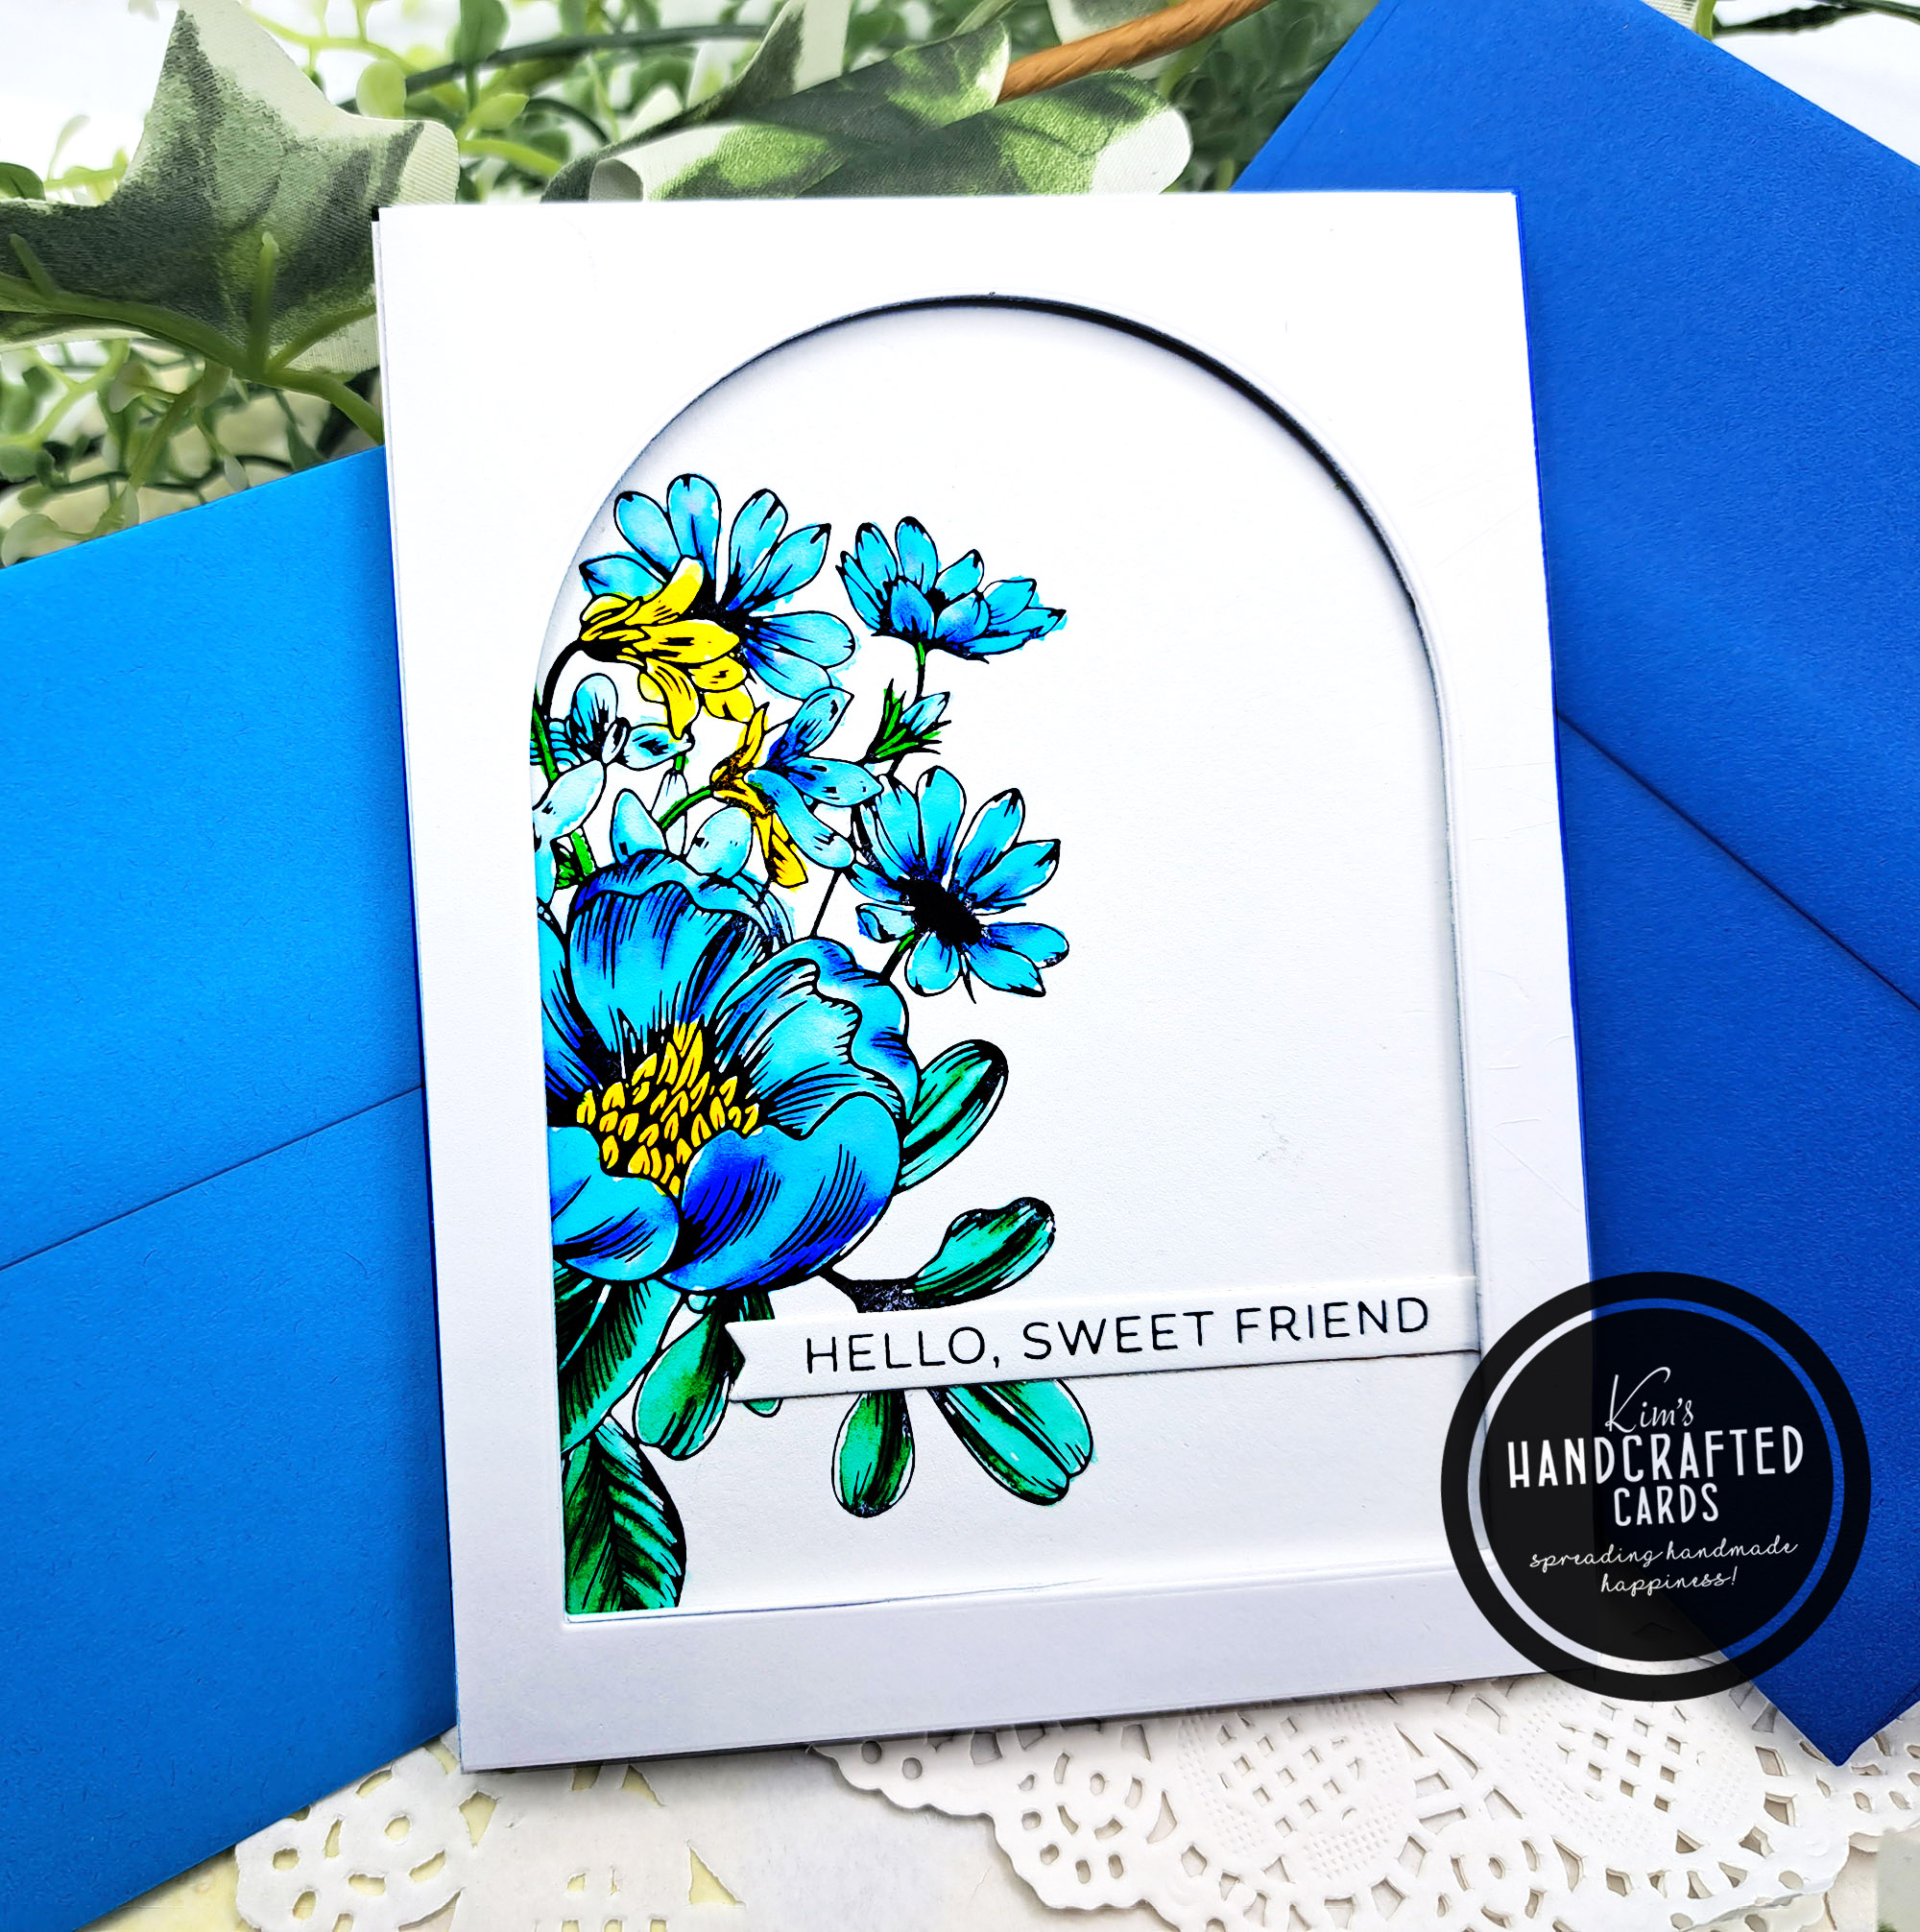
- Sentiments from the Simon Says Stamp Hibiscus Bloom Stamp set
- Waffleflower Crafts “Additional Circles” Nested Dies
- Spellbinders Platinum 6 Die Cutting/Embossing Machine here or here
- Spellbinders Universal Plate System – here, here or here
- Stamp Positioner: Misti here, here, here or here
- Accents 100 lb. White Cardstock
- Hero Arts White Iridescent Shimmer Spray
- Simon Says Stamp “Intense Black” ink pad
- Paper Trimmer: Tim Holtz here (Ranger), here (Scrapbook.com) or here (AZ)
- Bearly Art Glue
- Glassboard Craft Mat → Use my Code → KIMCARDS20 at checkout