Boy oh boy, that Jennifer McGuire! LOL!! She continues to inspire me with her awesome techniques! This time, I got inspiration from her “See-Through” cards. I still have the Dress my Craft “Magnolia” pattern papers that I want to use up. And, this method of the see-through is perfect for that.
Check out my others posts using that pretty “Magnolia” pattern paper pack here. I even made gift boxes with this paper!
I chose to use word dies for my see-through. Be sure to check out Jennifer’s video to see this in action here. I followed her instructions and it was easy!
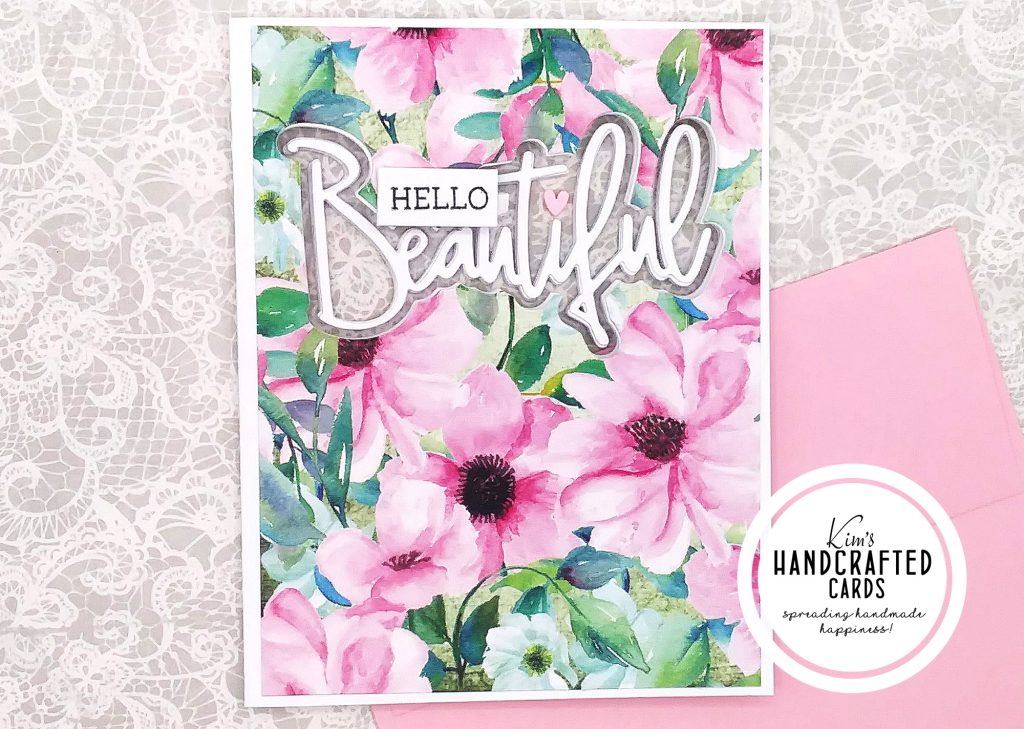
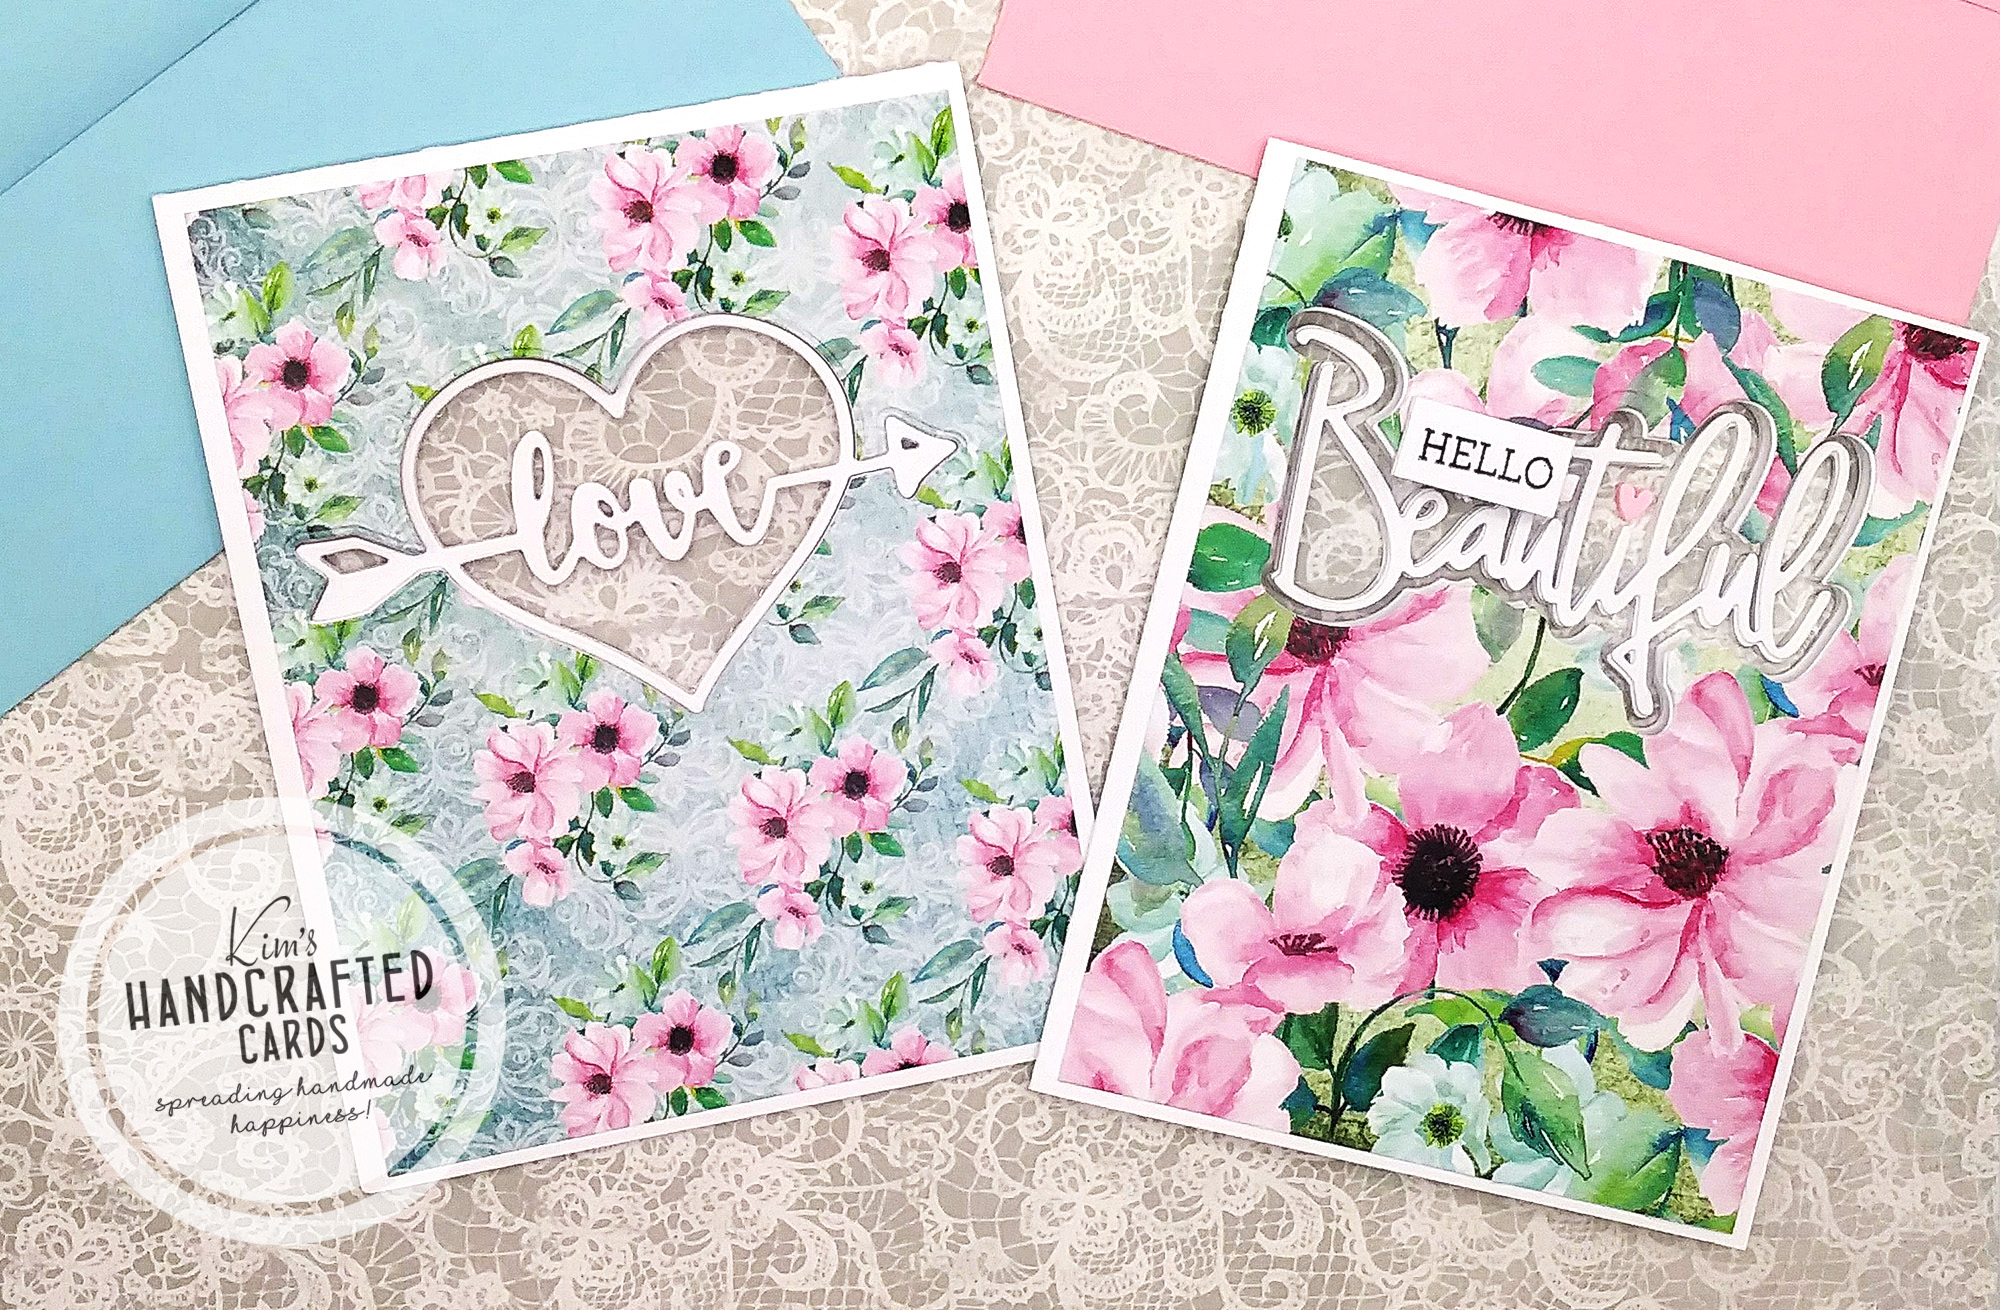
I trimmed my pattern paper to 4″ x 5-1/4″ adhered it to my card base and then did my die cutting with the “Beautiful” word die by Pinkfresh Studio. Again, follow Jennifer’s video for die cutting all the way through the cardstock papers.
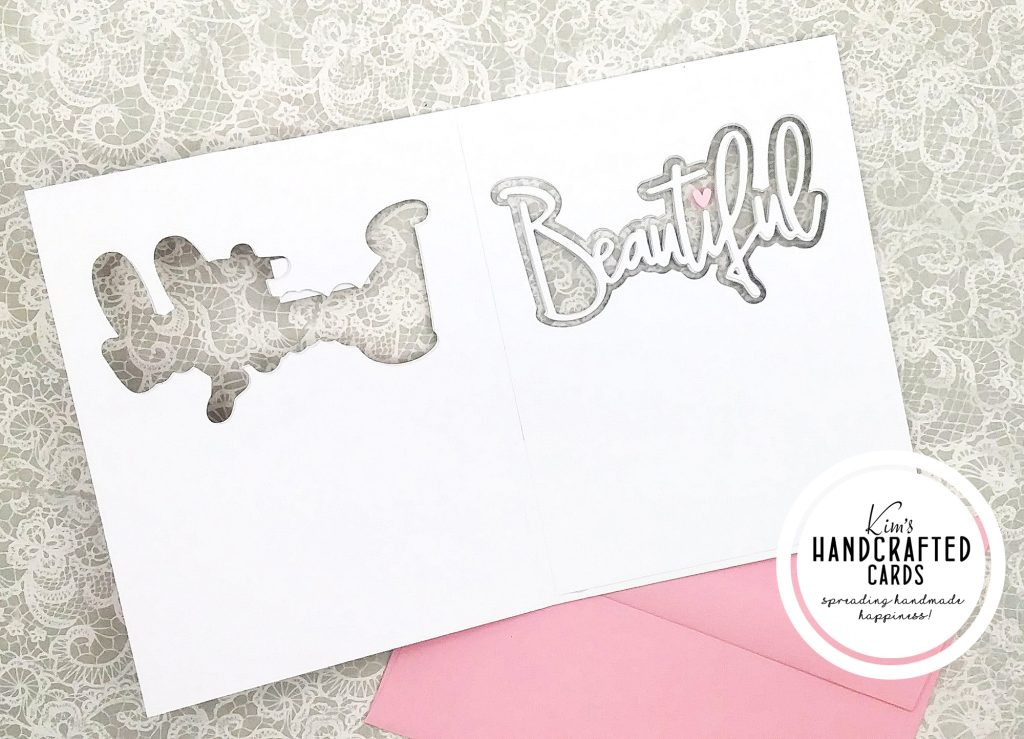
Once that was done, I trimmed and die cut an inside panel which hides the acetate. I love the effect! I decided to add a pink heart from my stash on the i in “Beautiful” rather than the dot. It just adds a little more interest to the card. I stamped and trimmed the “Hello” from the Honey Bee Stamps “Autumn” stamp set.
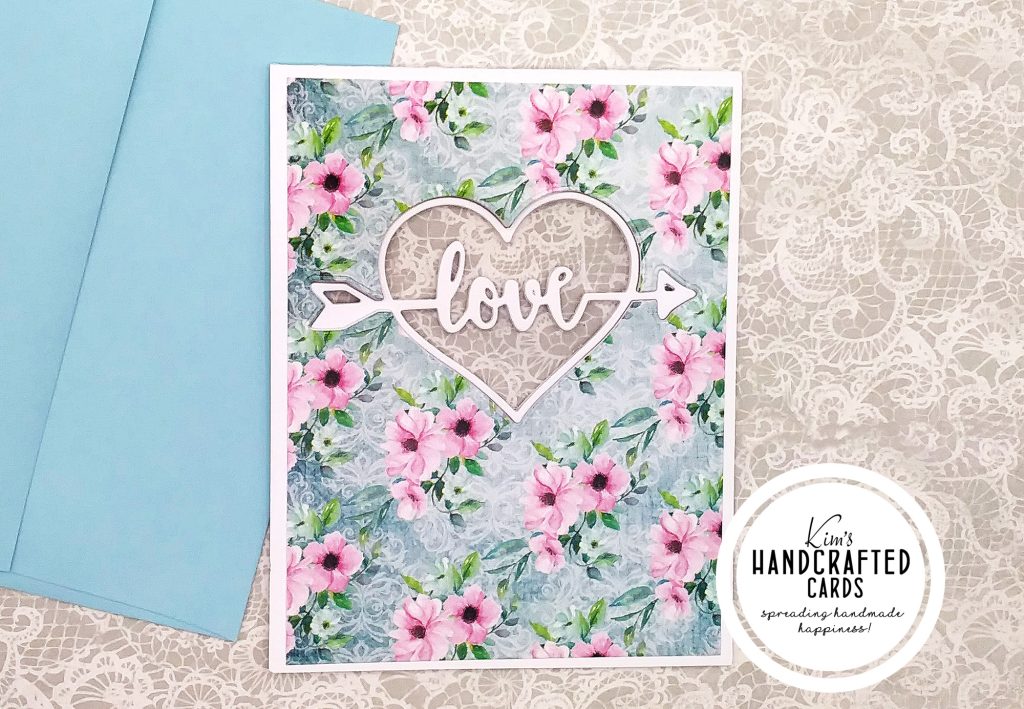
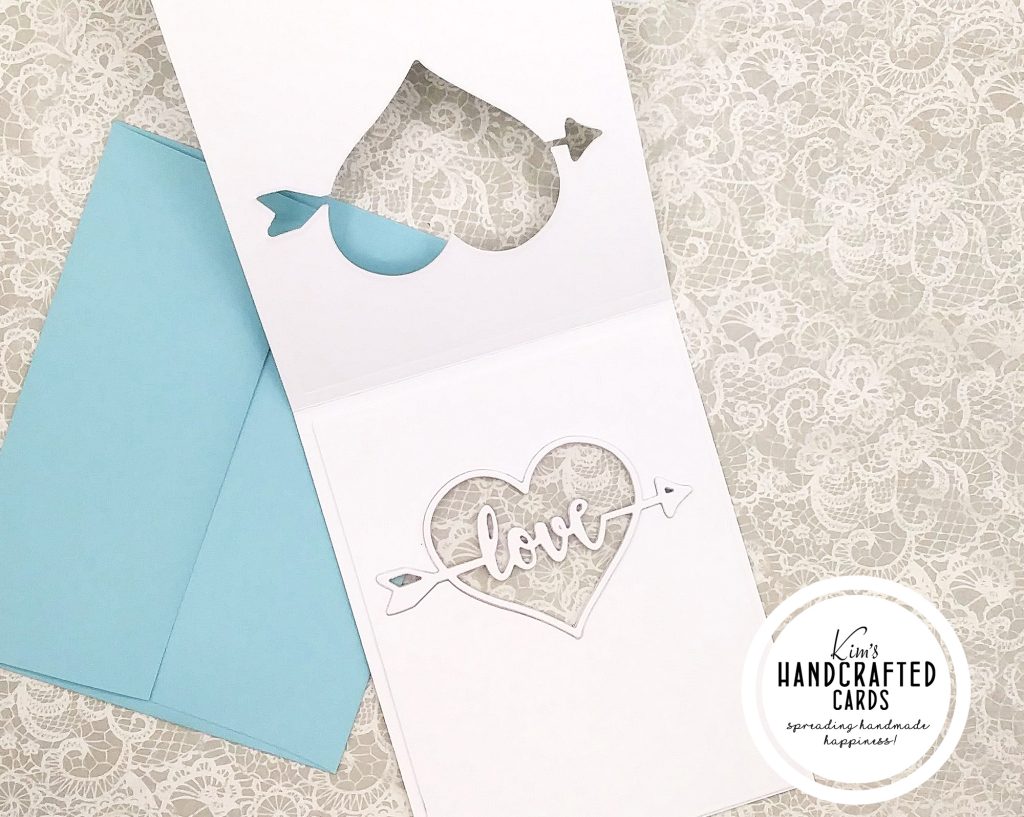
For my second card, I chose my Love Arrow from Dress My Craft “Be my Valentine” die set (love this die) for my see-through! What I like most is that you put the actual die on the inside of the card and there’s still room for a personal message.
I made a side and top-fold for my 2 cards and love how they look when the cards are opened. It’s a fun and unexpected surprise for a card!
I think this technique is great for using up pattern papers, but it’s great no matter how you design your backgrounds. I hope you give it a try!


