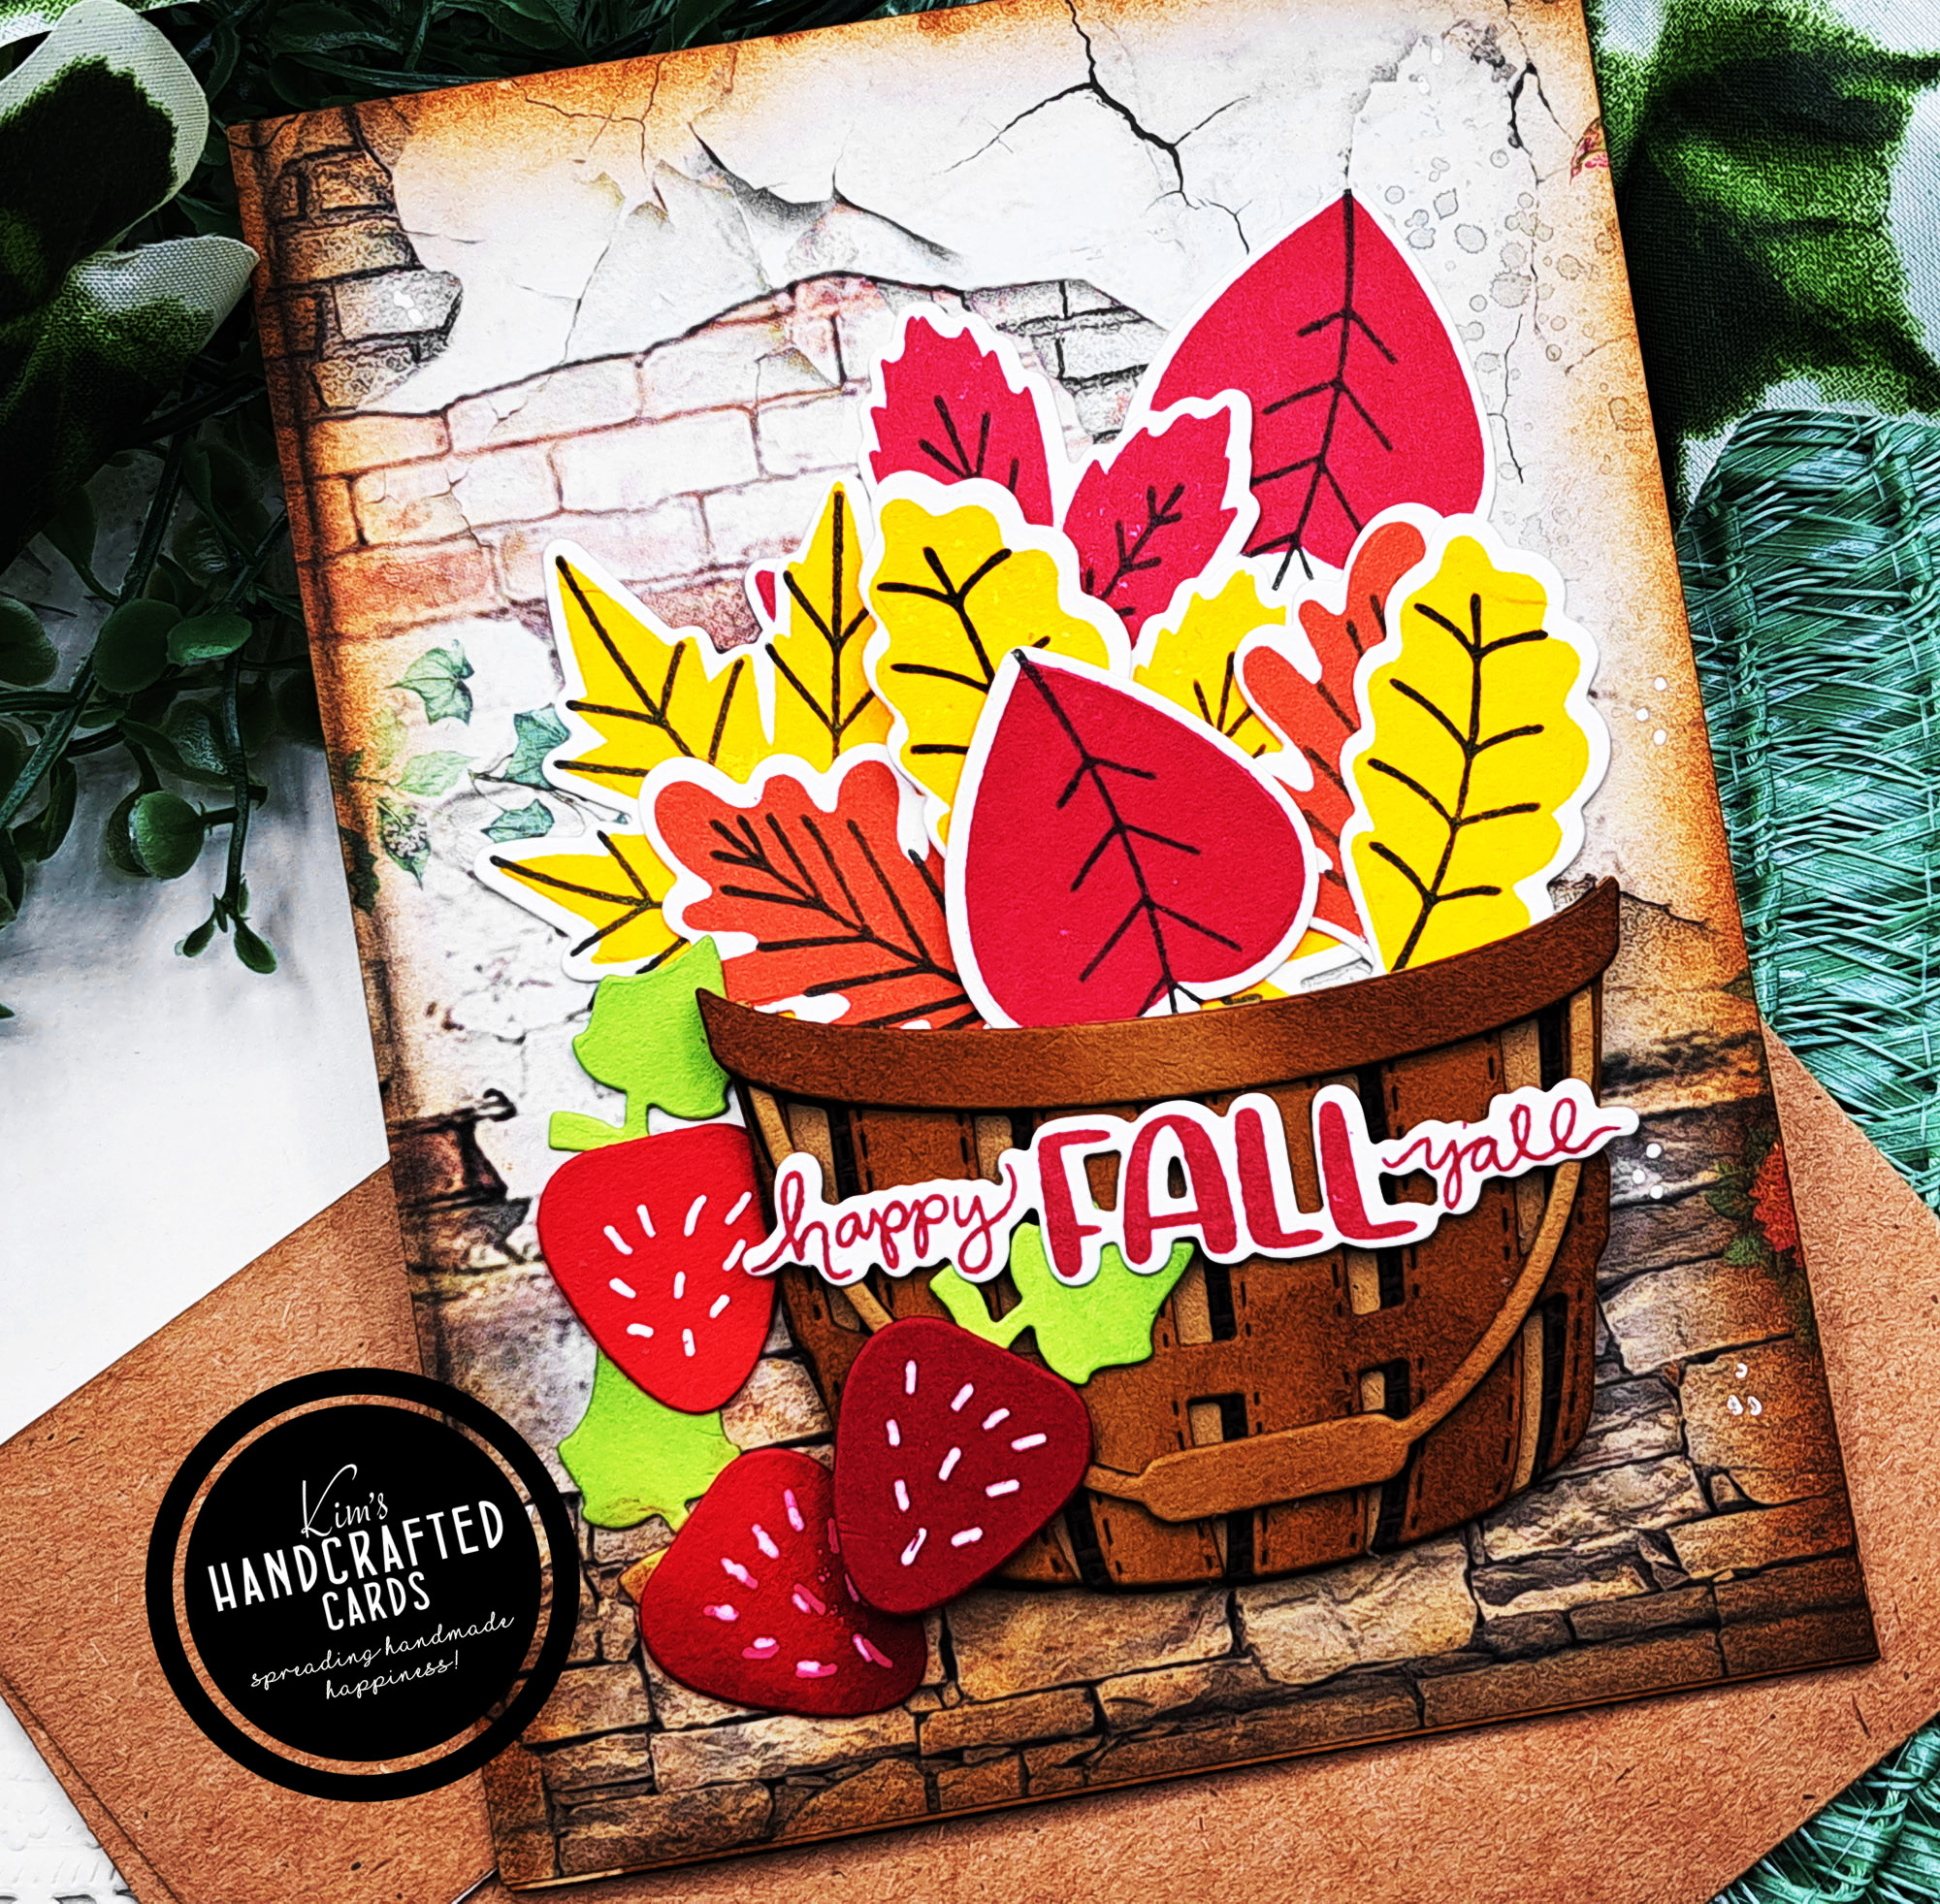
I’m trying out something different with my blog, I’m going back to older cards that I really liked making and talking about the process a little more. Plus, I will add links to the products used that I didn’t include before.
This post was originally published November 2021 here. I was delving into the world of slimline cards.
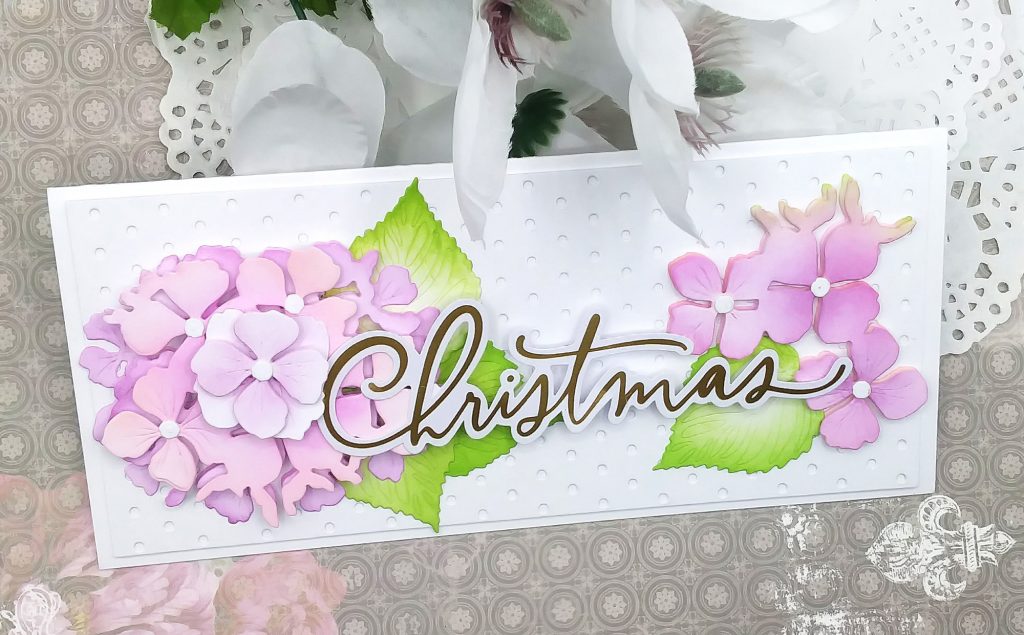
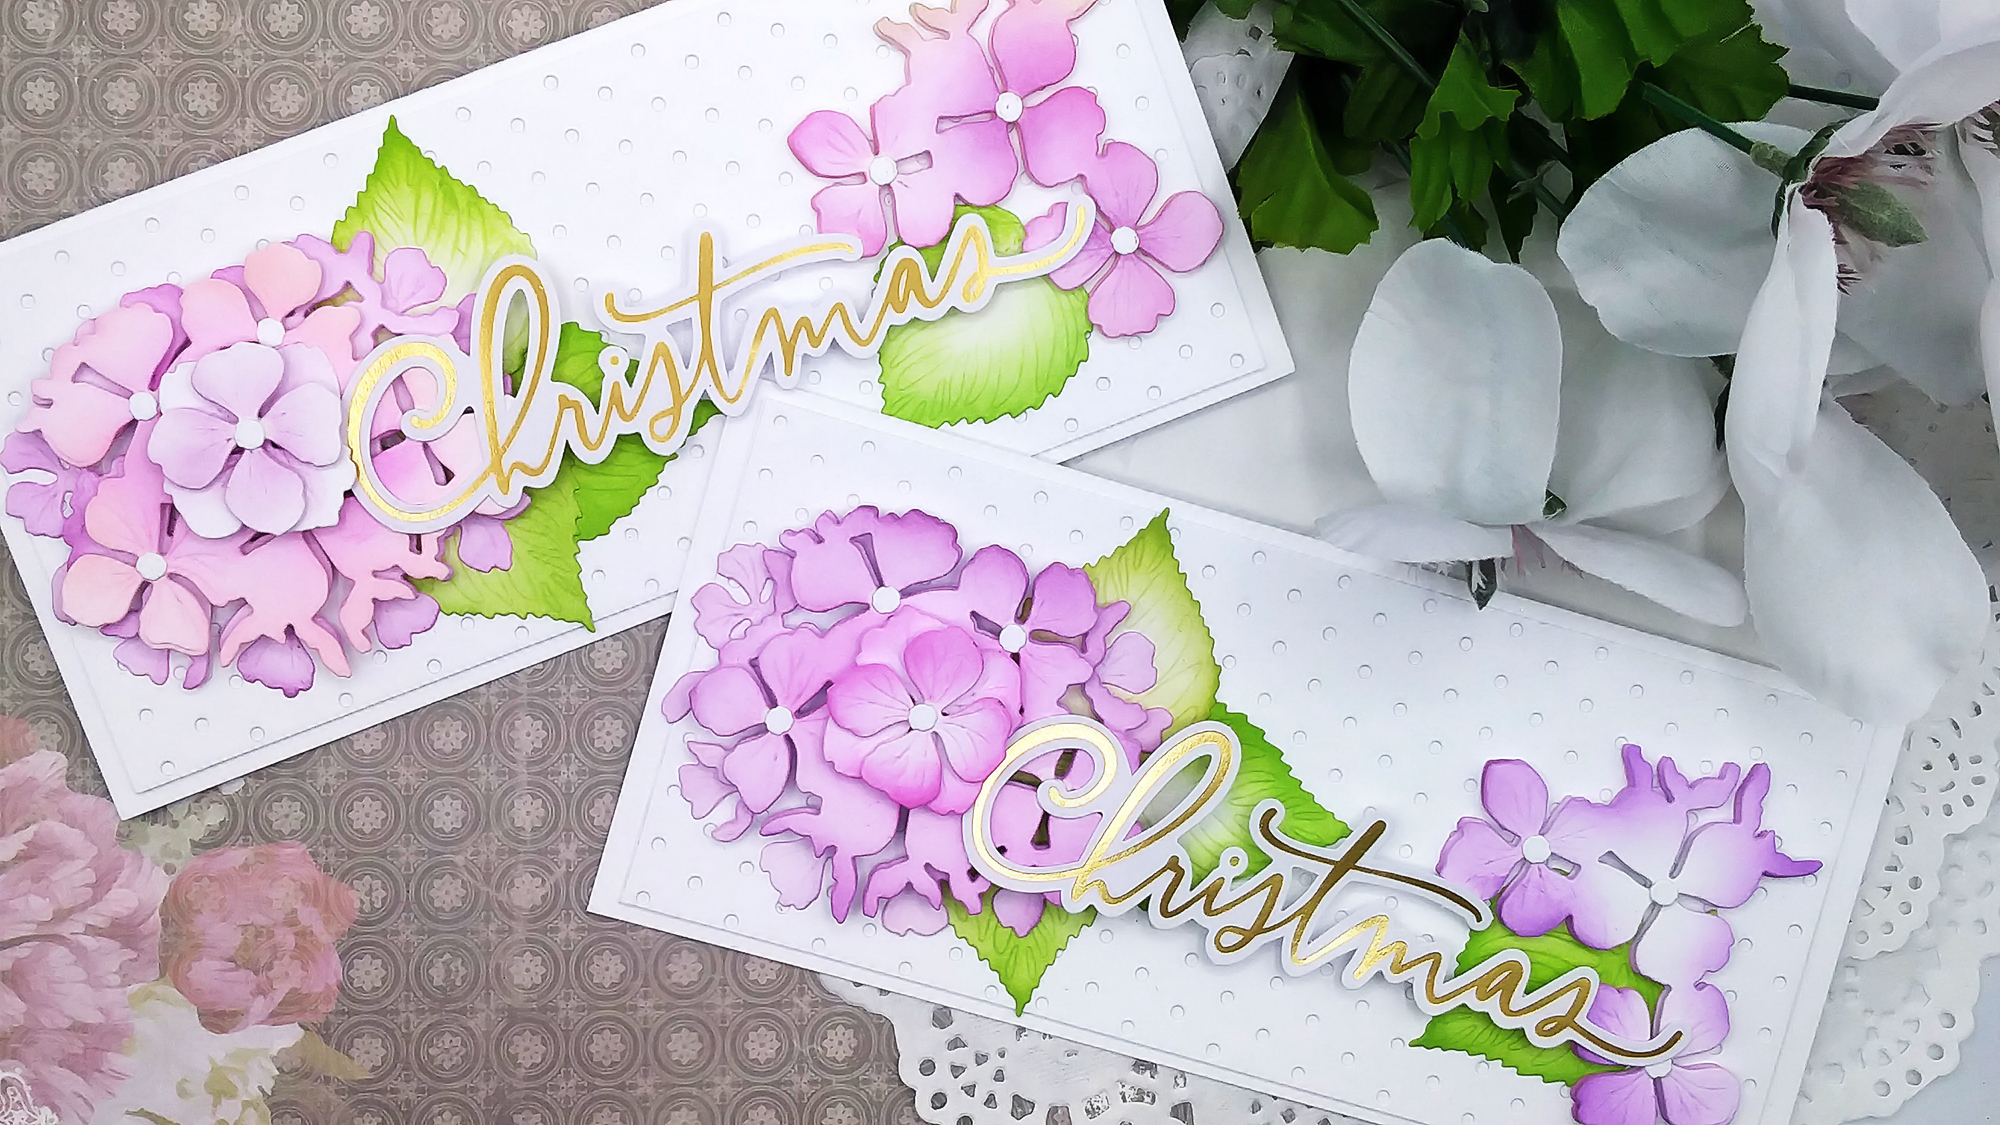
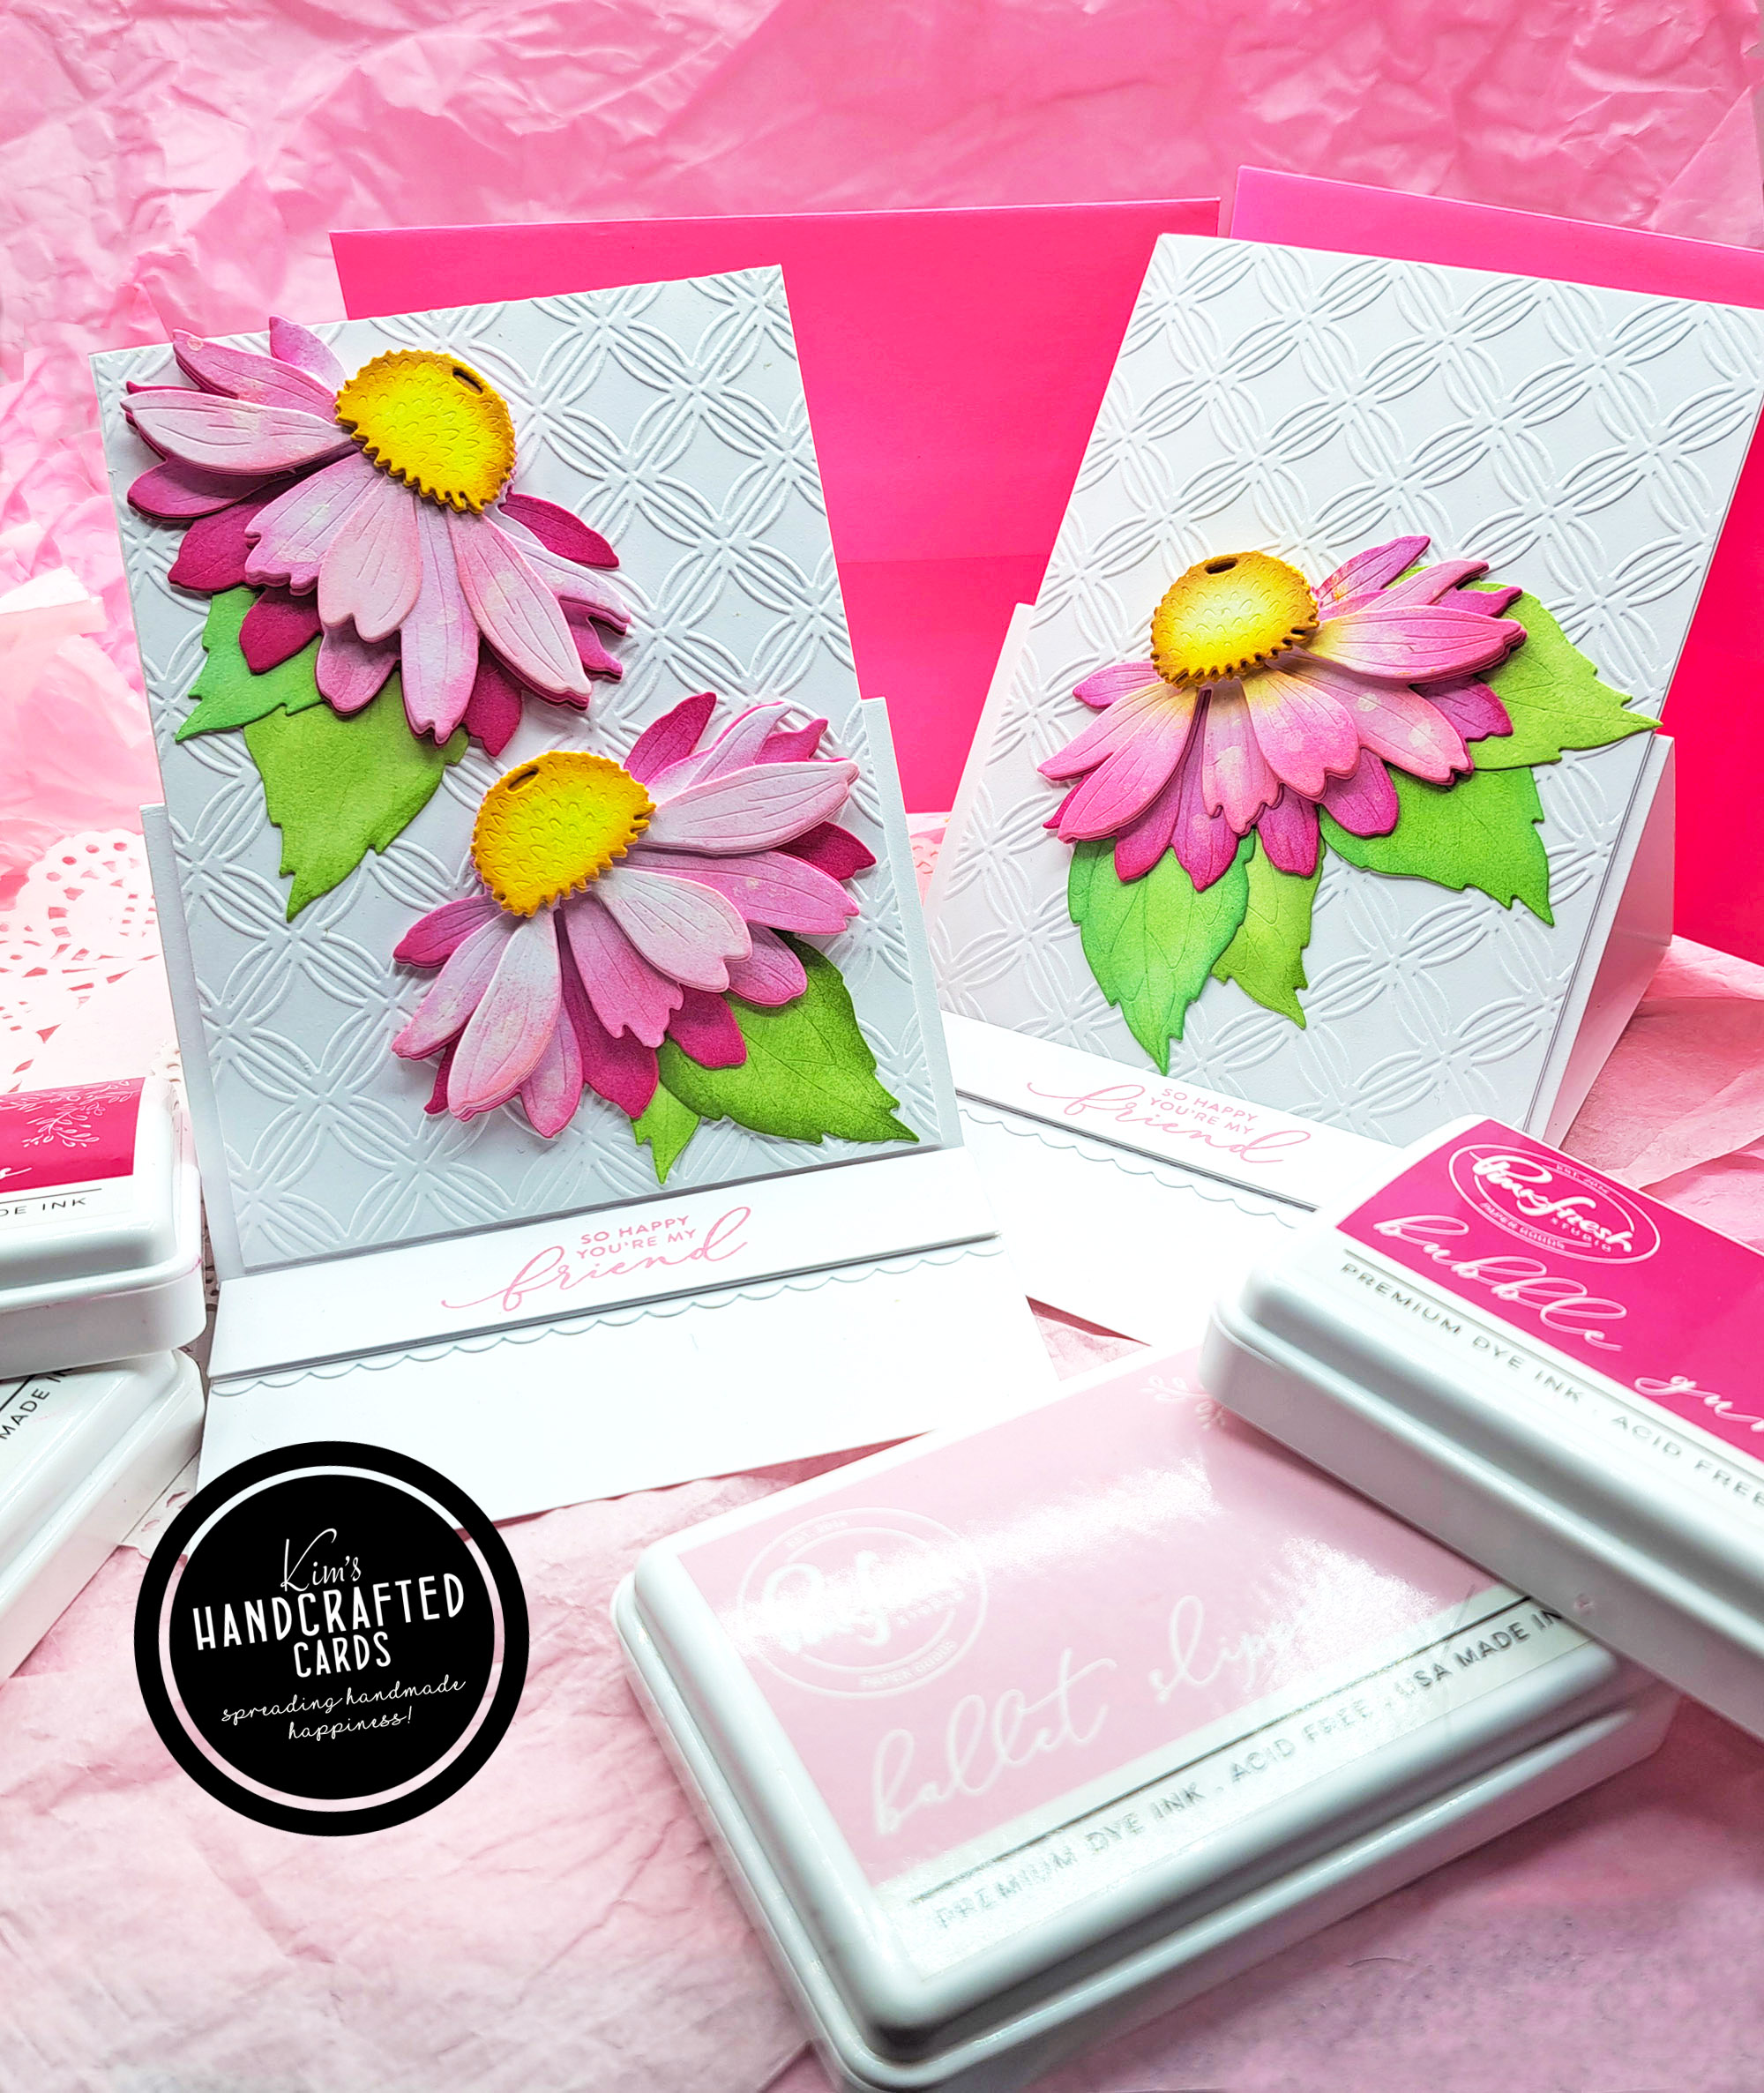
After doing all my ink blending, I used foam tape to stack the layers and it doesn’t make it too bulky but still it gives the card dimension. I added more flowers to the right side of the card. And those leaves!! Oh man, love how large they are!
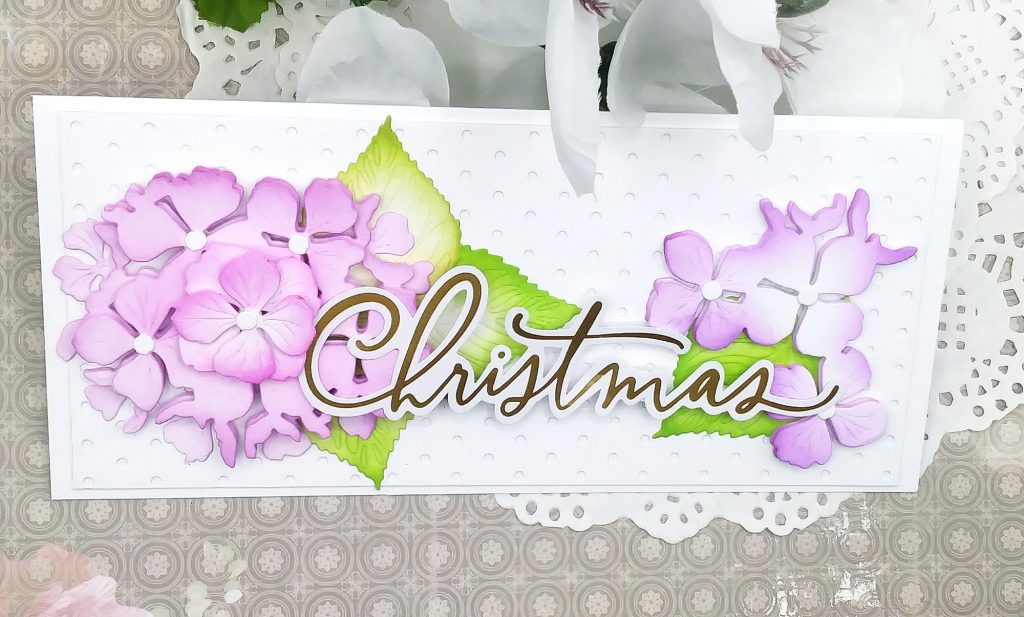
The only piece that I didn’t ink blend were the centers, I just glued them to the center of all the flowers and I really think the contrast makes them stand out.
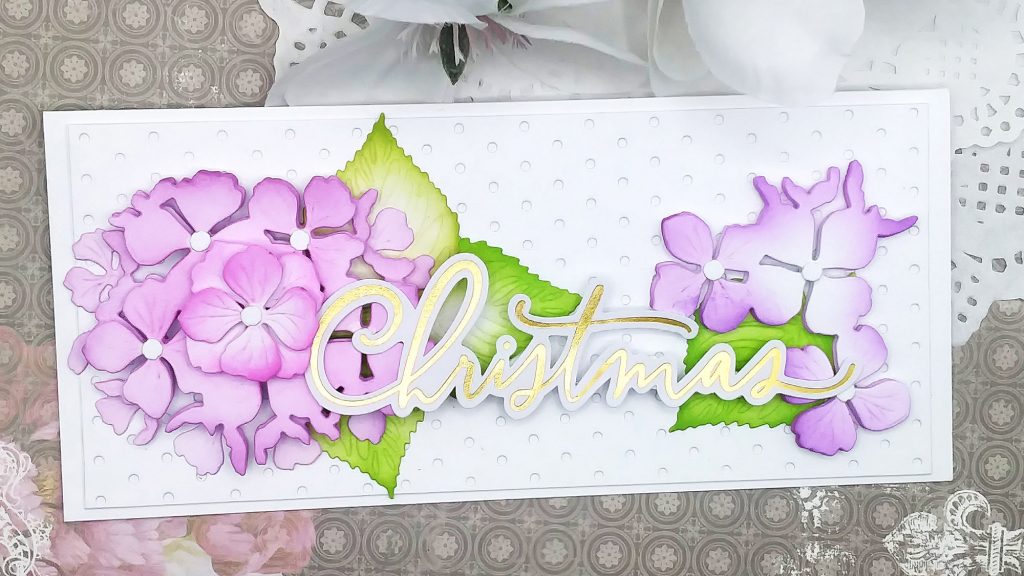
The last thing to do was add my sentiment. However, this was tricky as there was more dimension on the left side of the card than on the right.
What I did was, I doubled up my foam tape for the center and right side of the sentiment and only applied it behind some of the letters. On the left side of the card, I just added some liquid glue to the back of the “C” in Christmas and the tail of the “T” and I held it down for a few seconds and that worked perfectly!
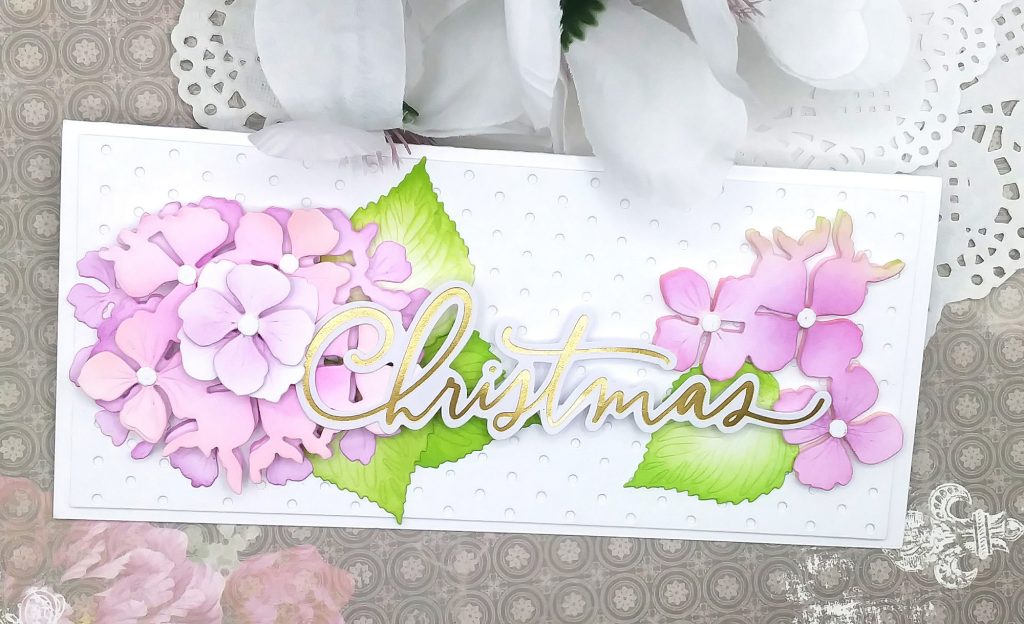
I tilted the card under the light to show that gold glitter shine when I shot the photos, isn’t is just beautiful?!
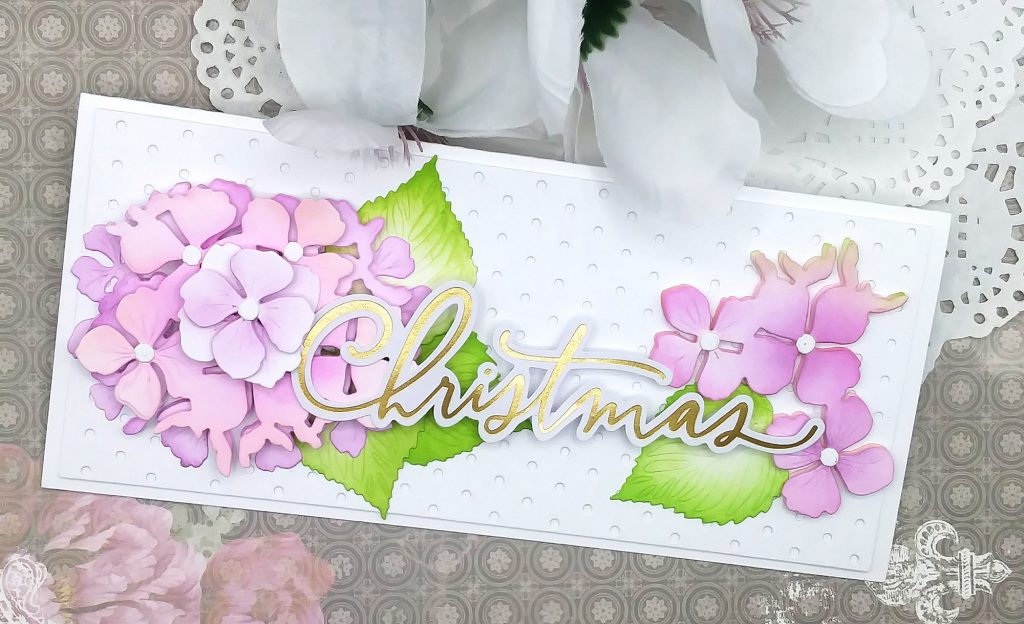
I don’t make a lot of slimline cards, I do enjoy the extra space to create with!

Some of the links to the products I used are affiliate links which means that when you shop with them, I’ll receive a small commission at no extra cost to you. Your support helps me run my small crafty business. Thank you so much!
- Honey Bee Stamps Hydrangeas Die Set
- Studio Katia Mini Polka Dot Cover Die (A2 Size); Slimline Die Set here
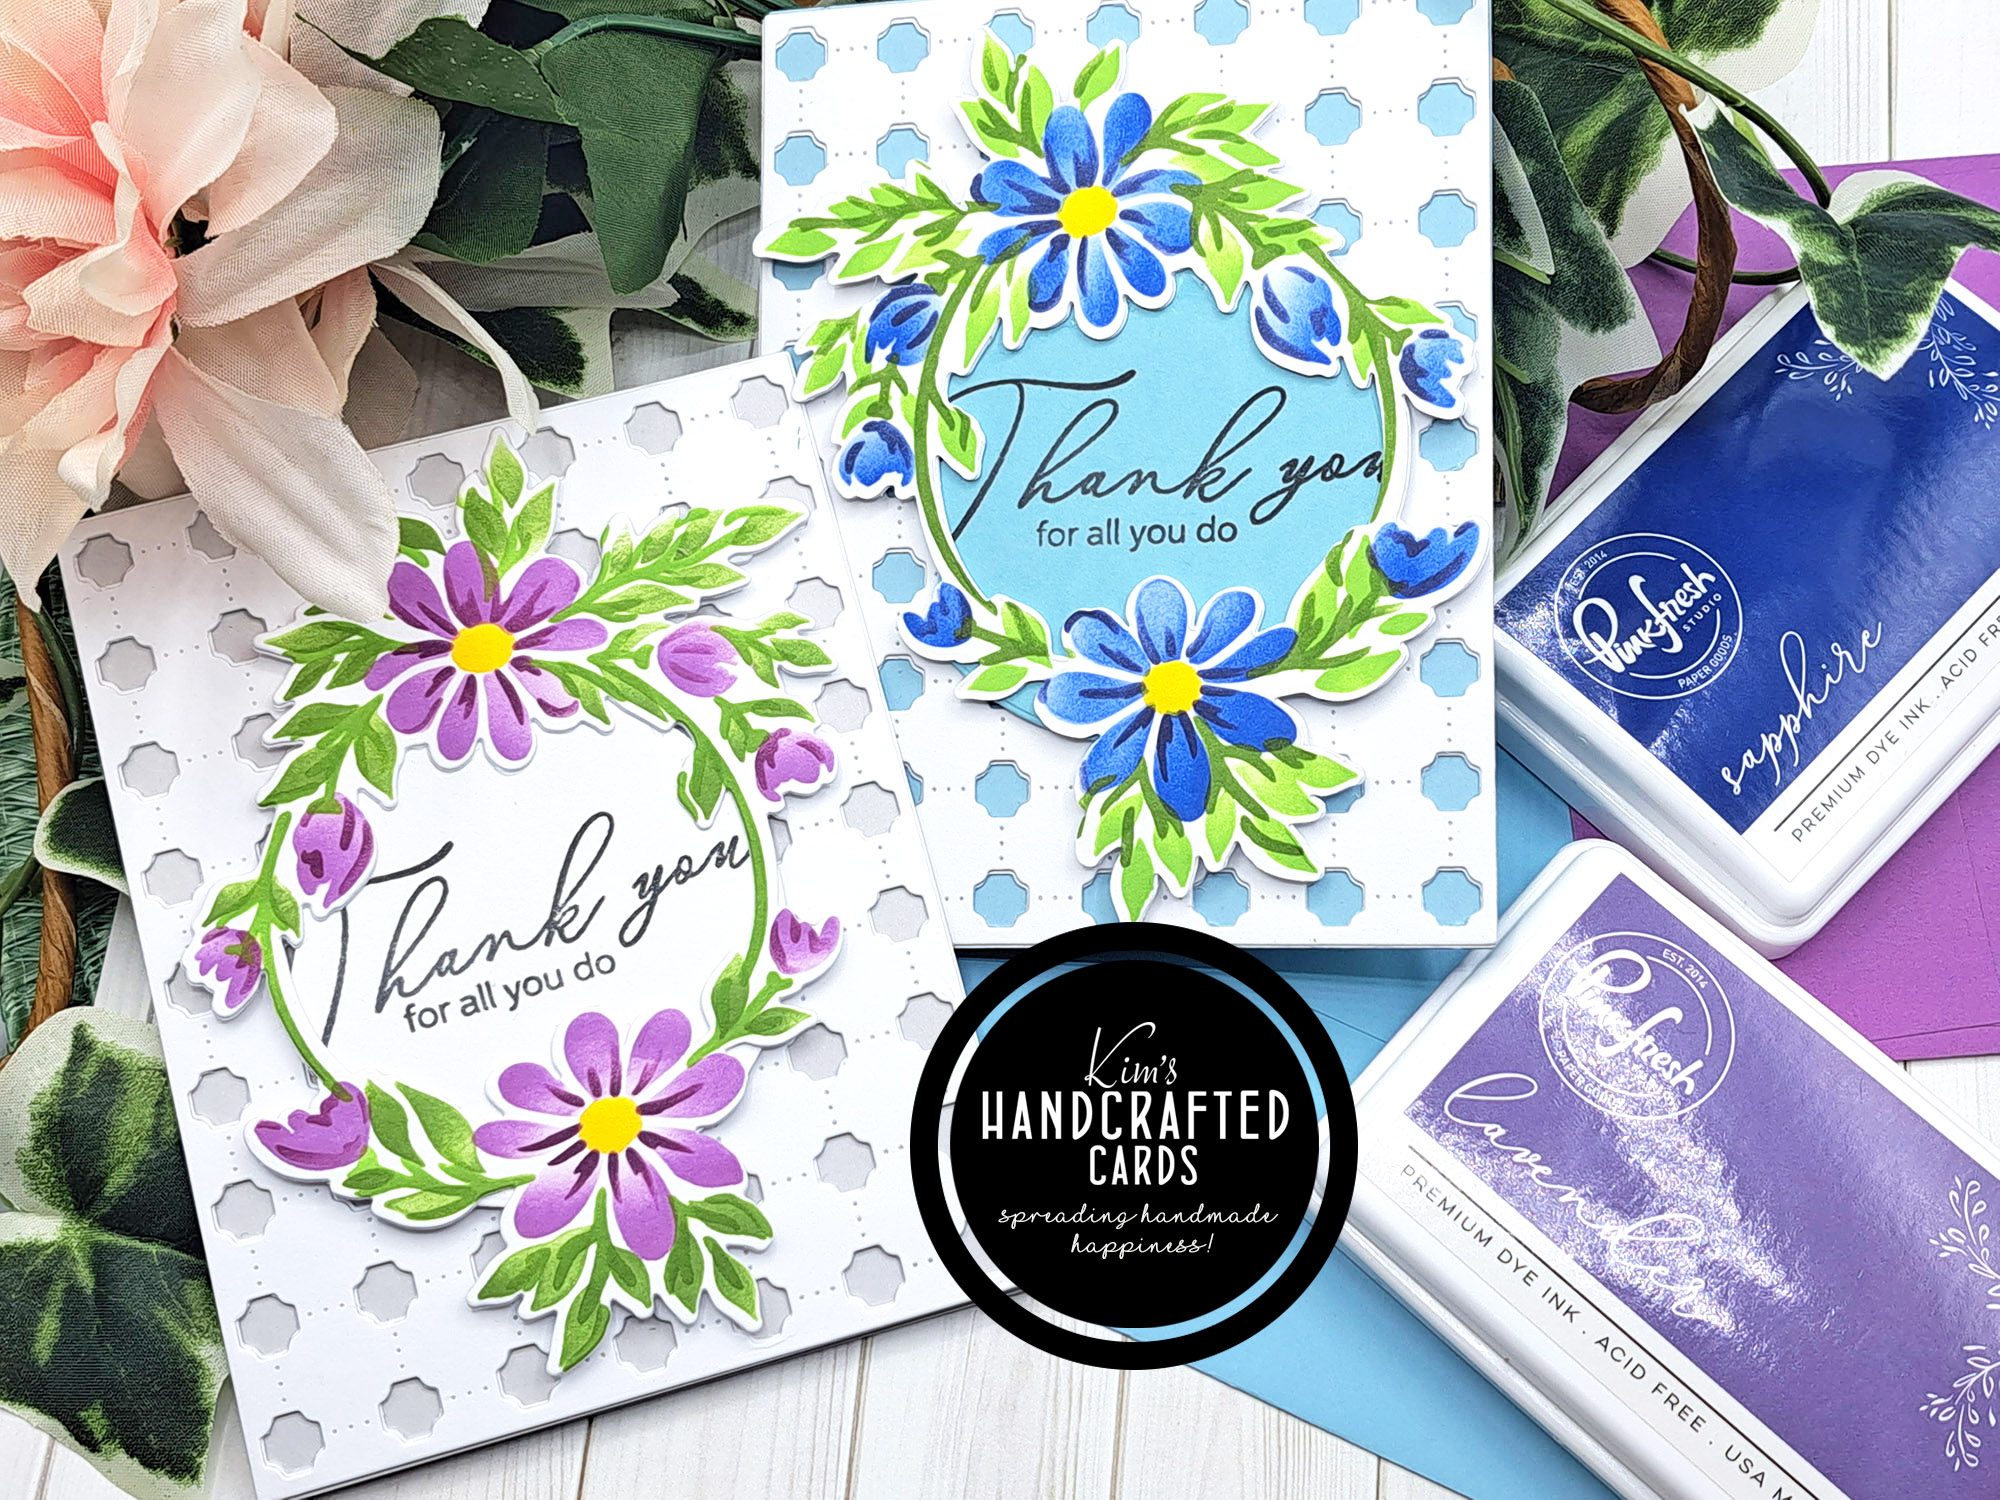
- Pinkfresh Studio Inks or get the bundle here
- Accents 100 lb. White Cardstock
- White double-sided foam squares
- Bearly Art Glue
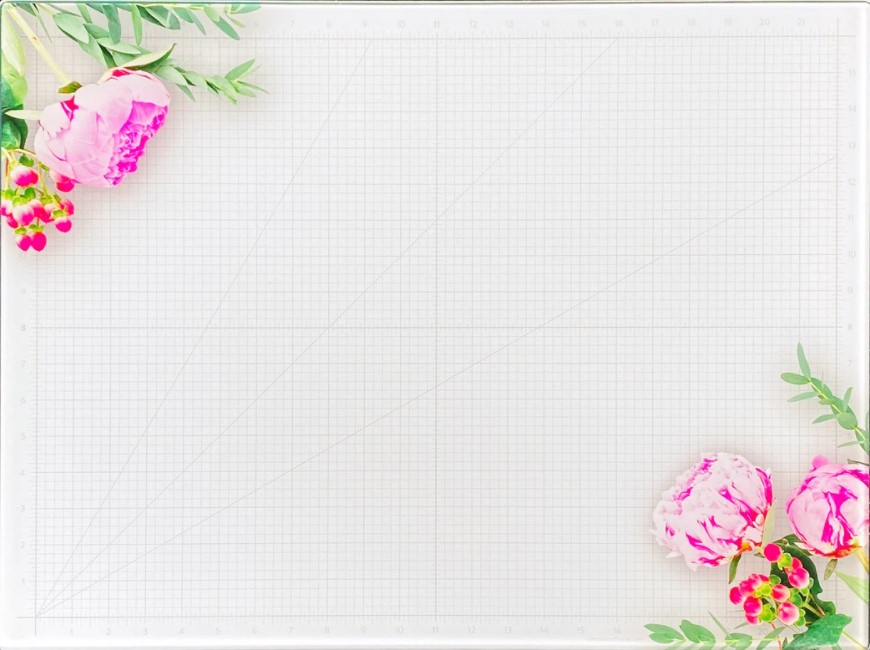
- Glassboard Craft Mat → Use my Code → KIMCARDS20 at checkout
- Craft Reverse Tweezers by EK Tools (great for picking up die cut pieces)

