I really like slimline cards, there’s a lot of more room to design and it’s a great break from making A2 cards all the time. That said, I’ve only made about 2 slimline cards in the 3 years I’ve been a cardmaker, why??! Well (1) I’m just so used to A2 cards that I have a hard time breaking the momentum; and (2) I don’t have a lot of slimline products to fill the space.
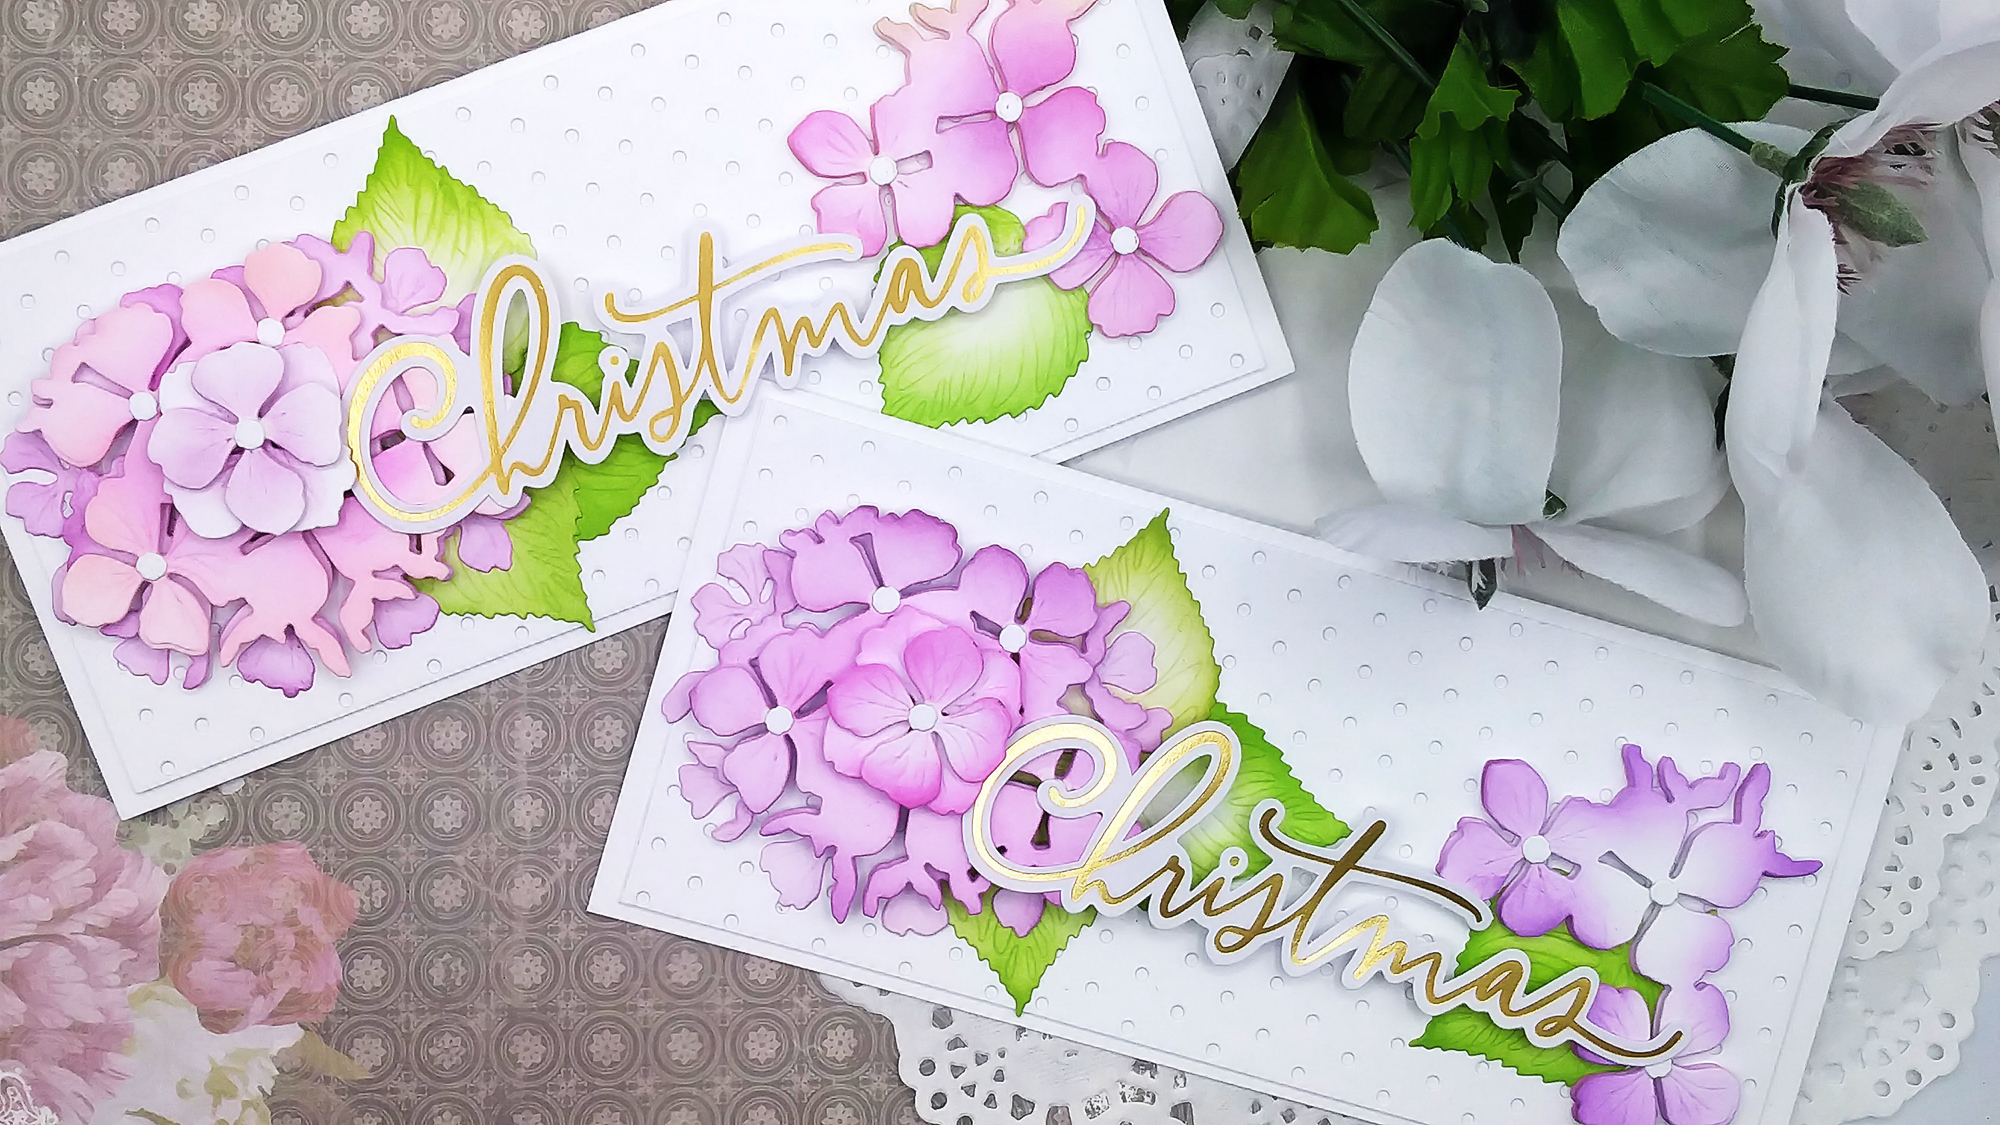
But, but… I was shopping my stash and I came across this “Christmas” gold foil pre-cut sentiment that was made for a slimline card and I had 2 of them. I can’t remember what kit this came from but anyway, I knew I had to use it.
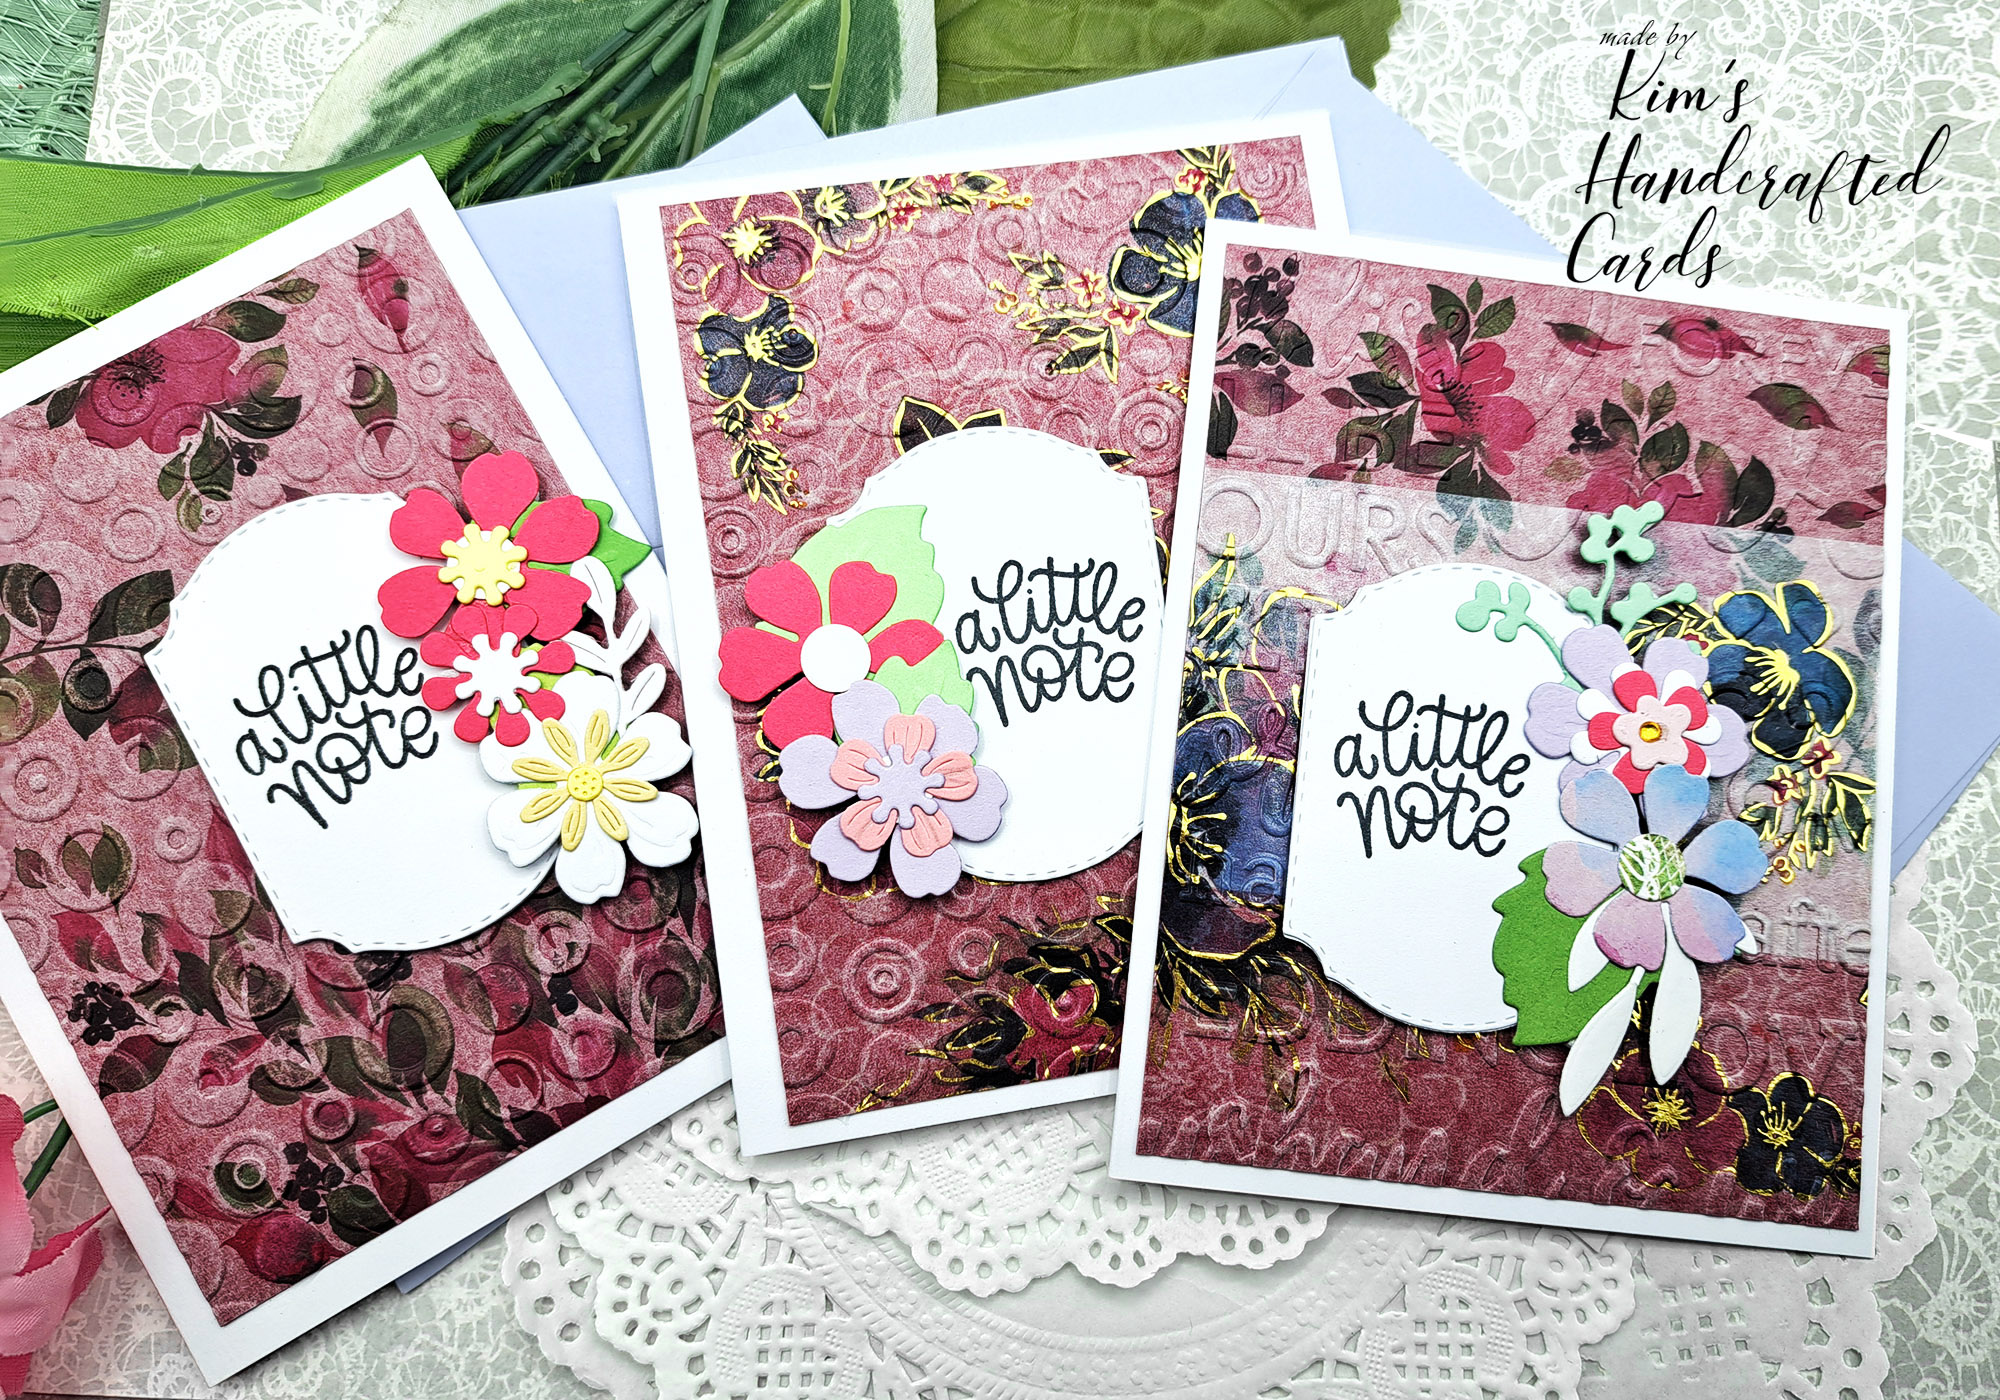
Well, I have my sentiment but how do I decorate the rest of the card front? Again, looking through my stash, I decided to use Studio Katia’s “mini polka dots” cover die for the background over white cardstock. The die puts these cute lil dots all over the paper and makes the perfect backdrop!
NOTE: The mini polka dots die I have is sized for A2 cards so to make it work for slimline cards, I die cut it on 2 cardstock sheets. Then, I glued them over my card panel lining up the dots and trimming off the excess. My size for this layer was just slightly over 8-1/2 in width.
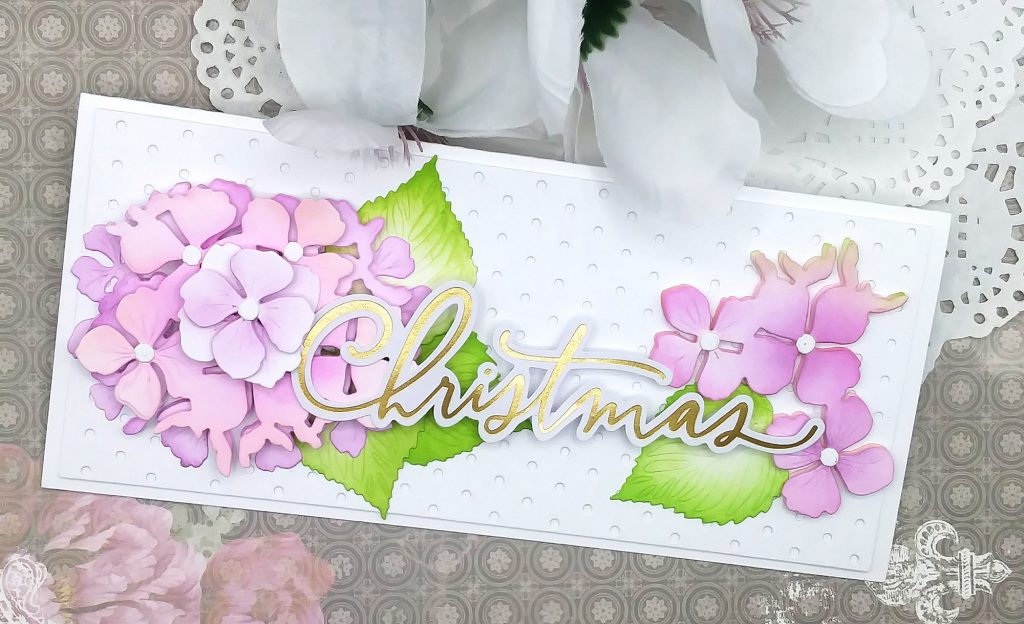
My card base size is 8-3/4″ x 4″ and fits perfectly in a business size envelope. I laid my hydrangeas to hide the seam going down where I glued the 2 mini dot pieces together.
UPDATE: there is a slimline cover die now! Link to purchase at the end of this post!
For the flowers, I purchased Honey Bee Stamps “Hydrangeas” Layered die set. I blame this buy on Laura Bassen LOL! When I saw her using it on YT, I put it on my wish list. Well, I purchased it, it arrived yesterday and immediately I played!
I used every single die in the set! It was so much fun, I die cut the pieces on white cardstock and used my Pinkfresh Studio inks to ink blend all the layers. I went with my go-to colors for flowers: “Ballet Slipper (lightest), Bubble Gum (light), Candy Violet (dark) and Lavender (darkest). For the leaves, I used Grassy Knoll (dark) and Key Lime (darkest).
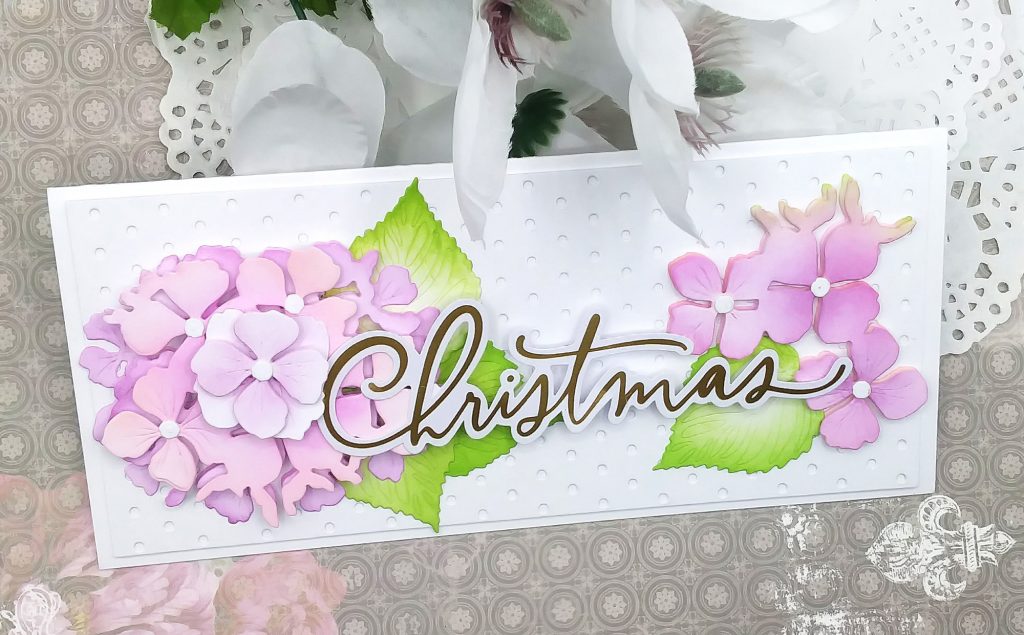
After doing all my ink blending, I used foam tape to stack the layers and it doesn’t make it too bulky but still it gives the card dimension. I added more flowers to the right side of the card. And those leaves!! Oh man, love how large they are!
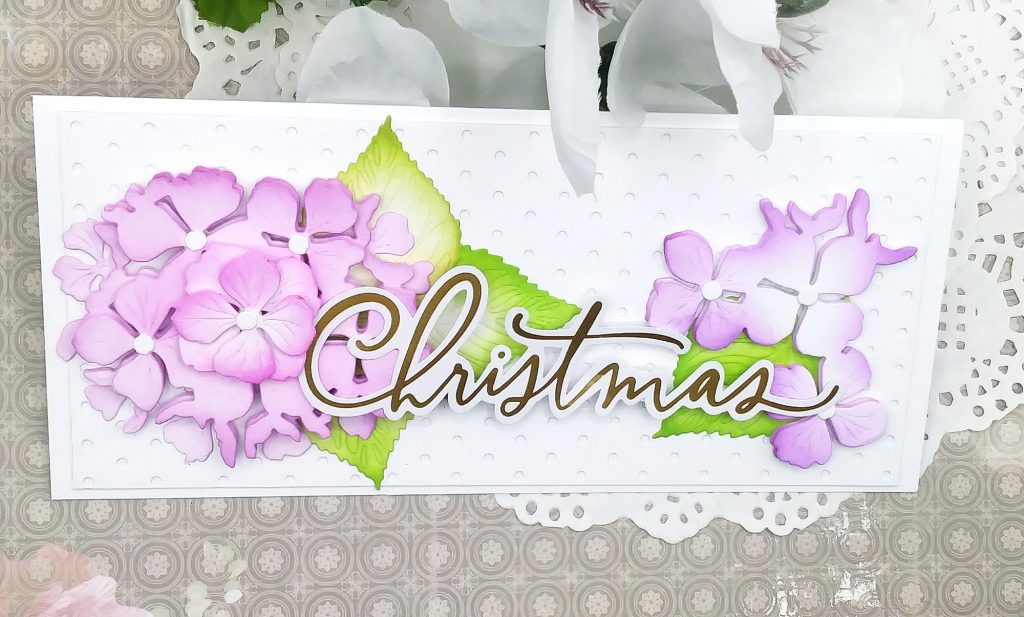
The only piece that I didn’t ink blend were the centers, I just glued them to the center of all the flowers and I really think the contrast makes them stand out.
The last thing to do was add my sentiment. However, this was tricky as there was more dimension on the left side of the card than on the right.
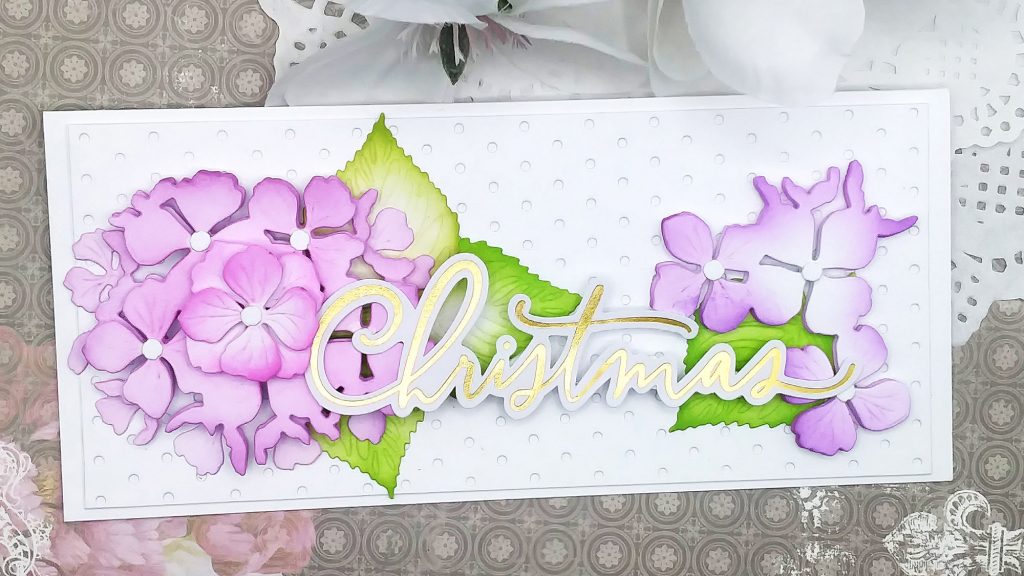
What I did was, I doubled up my foam tape for the center and right side of the sentiment and only applied it behind some of the letters. On the left side of the card, I just added some liquid glue to the back of the “C” in Christmas and the tail of the “T” and I held it down for a few seconds and that worked perfectly!
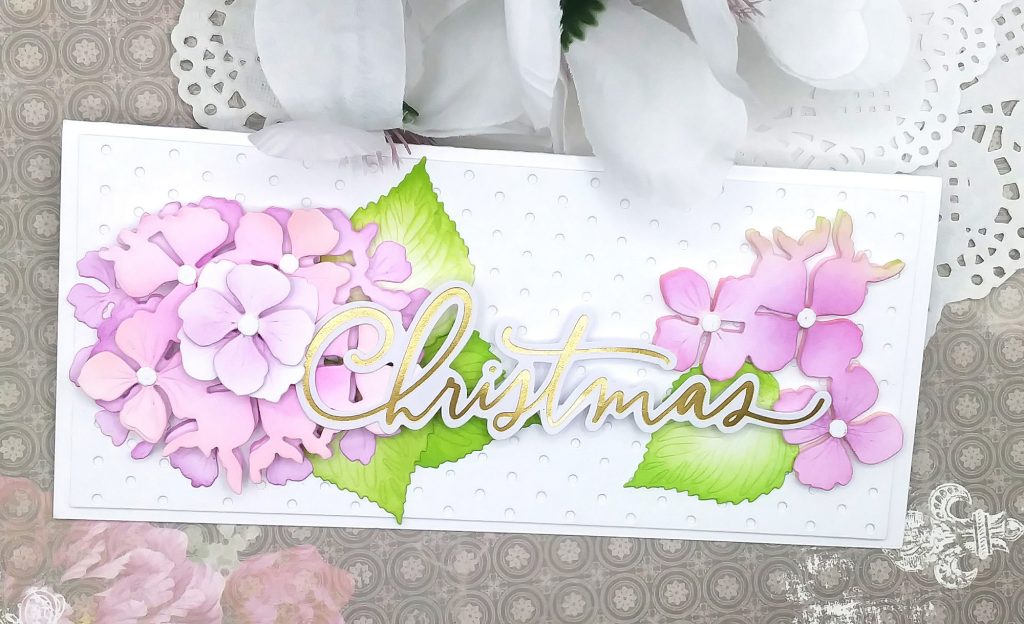
I tilted the card under the light to show that gold glitter shine when I shot the photos, isn’t is just beautiful?!
After I was done, I actually stared at both cards for a long time not believing that I made them! I don’t consider myself an expert cardmaker and in fact I often feel I come up short. But, you know when you surprise yourself, you just have to smile and feel proud of your work!
Plus, I realized that I don’t have to have a ton of slimline products to make these sized cards. That doesn’t mean I won’t shop for them though! LOL! I do want to make more 🙂

- Honey Bee Stamps Hydrangeas Die Set
- Studio Katia Mini Polka Dot Cover Die (A2 Size); Slimline Die Set here
- Pinkfresh Studio Inks or get the bundle here