Hi my crafty friends! It’s been awhile since my last post and for a good reason, if you follow me on social, you’ll know hubby and I just purchased our 1st forever home back in February. We’ve been here 2 months now and are really enjoying going from renting apartments to homeownership.
It’s a big learning curve for us and when we moved in, we didn’t have a stick of furniture, all we had was our business stuff like desks, printers, computers and such and of course our bed. But, happy to say we’ve been furnishing all our rooms and we’re about 90% done. Right now, we’re working on designing the front porch and that may take a couple of months to complete but it’s so fun shopping, thrifting and making plans! If you’d like to read about our house journey, click here!
Anyway, let me get into today’s post!
My craft space is all set up and I started feeling better enough to craft. Now, these cards were made several weeks ago but I wasn’t up to all that goes into sharing so forgive me for just getting around to posting them. I created 2 cards and the 3 bonus cards using 1 stamp/coordinating die set that I bought off AZ awhile ago. Since Spring is near, I thought of tulips. This stamp/die set has 2 large tulips, 1 small tulip and some leaves, I concentrated on the 2 large tulips. I have used this before in this post and this one too where I colored them with Zig clean color markers. It is so pretty!
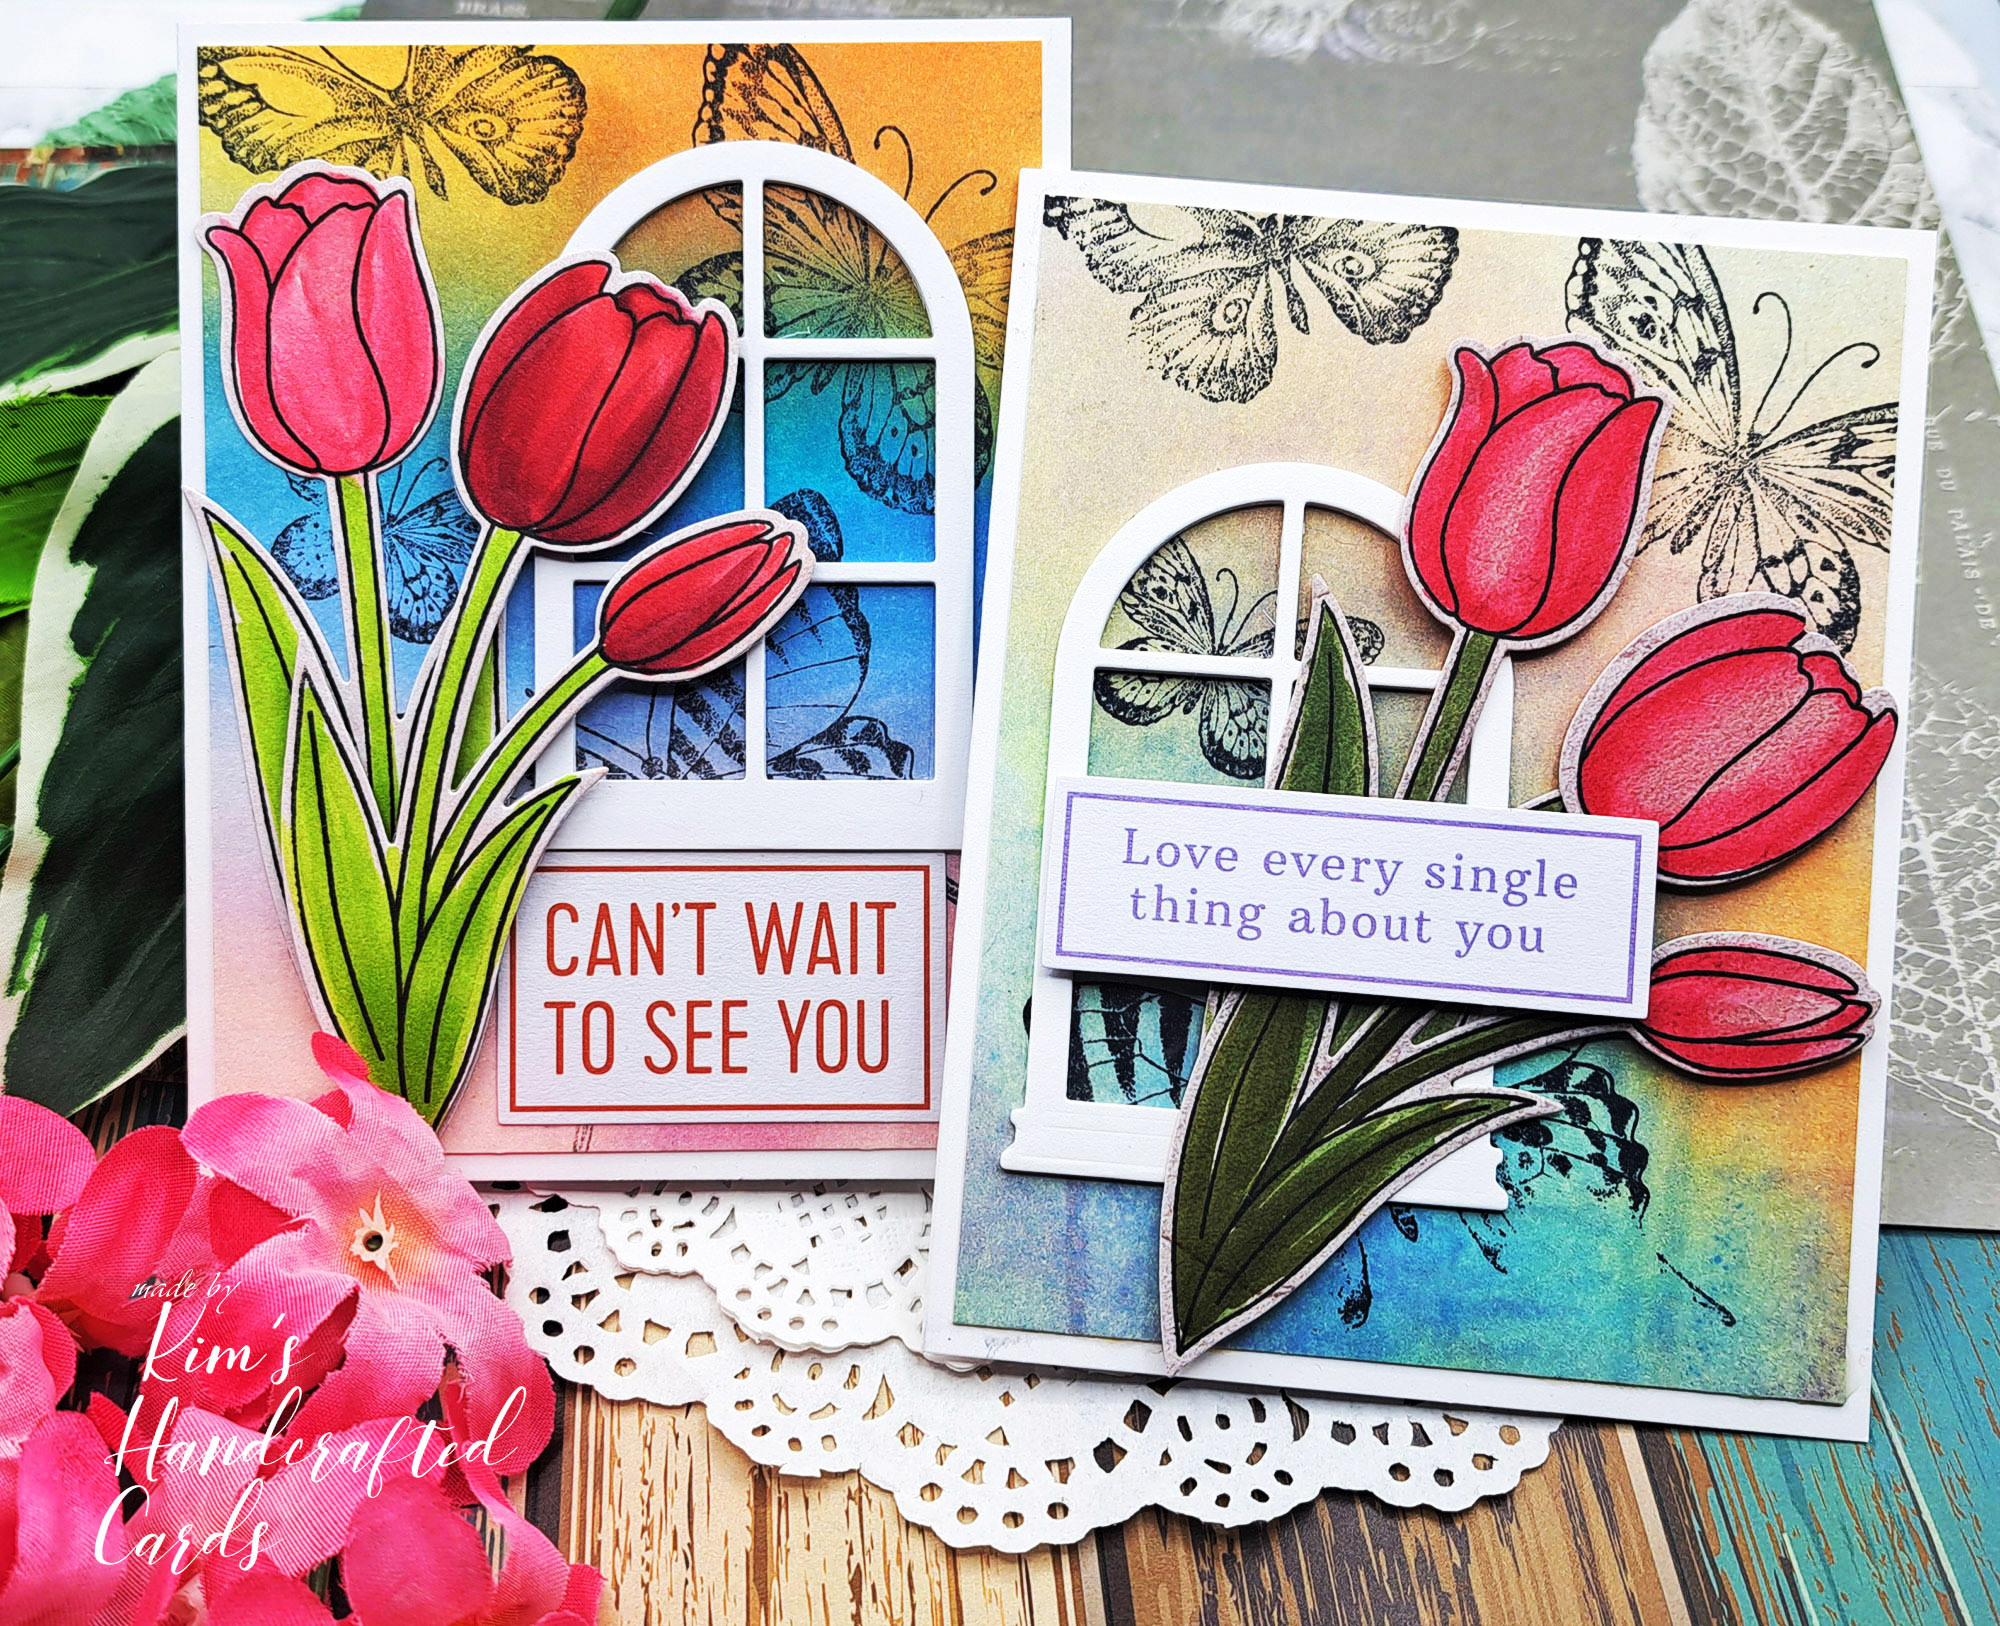
I stamped them onto pattern paper by Paper Rose Studio with Memento Tuxedo black ink and copic colored them. This is my first time copic coloring on pattern paper and I cannot take credit for this idea. I saw this technique on Nichol Sphor’s YT channel and I wanted to try it. The copic colors I used are below:
- Red florals – (darkest to lightest): R39, R37 & R35
- Pink florals – (darkest to lightest): RV14, RV13 & RV11
- Leaves, a combo of YG03 and G99 & G94
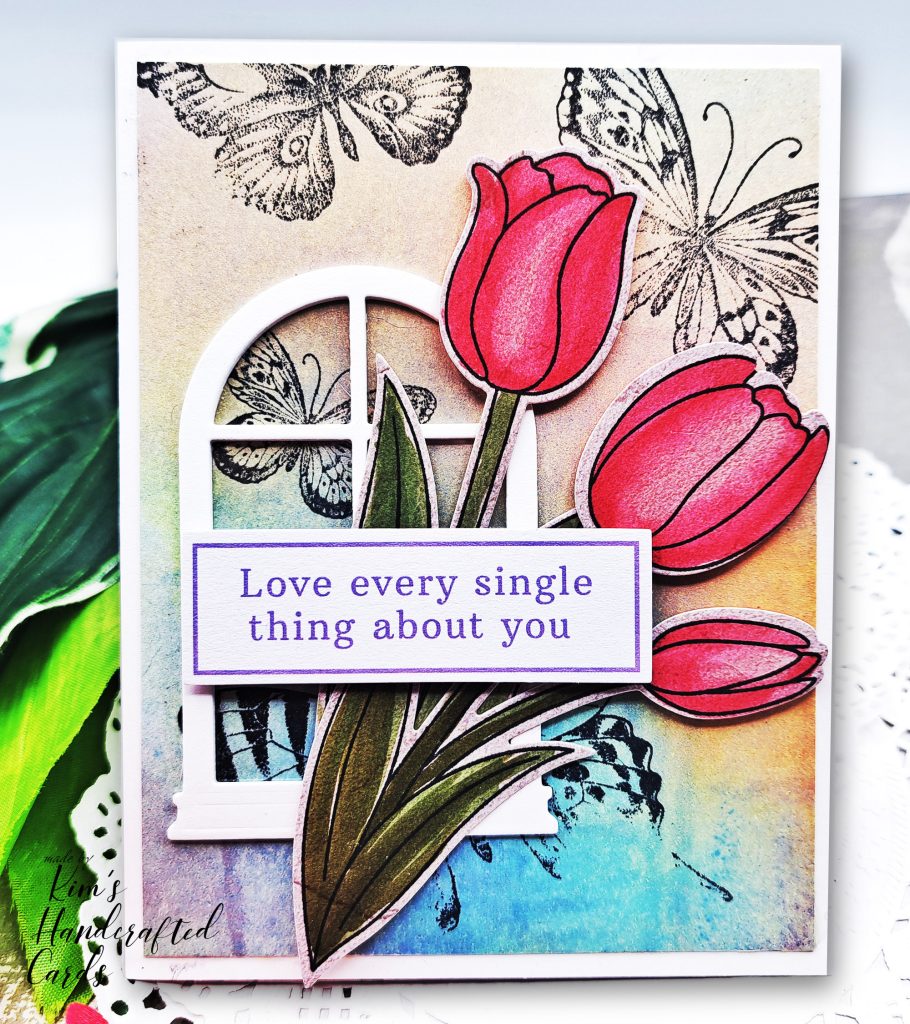
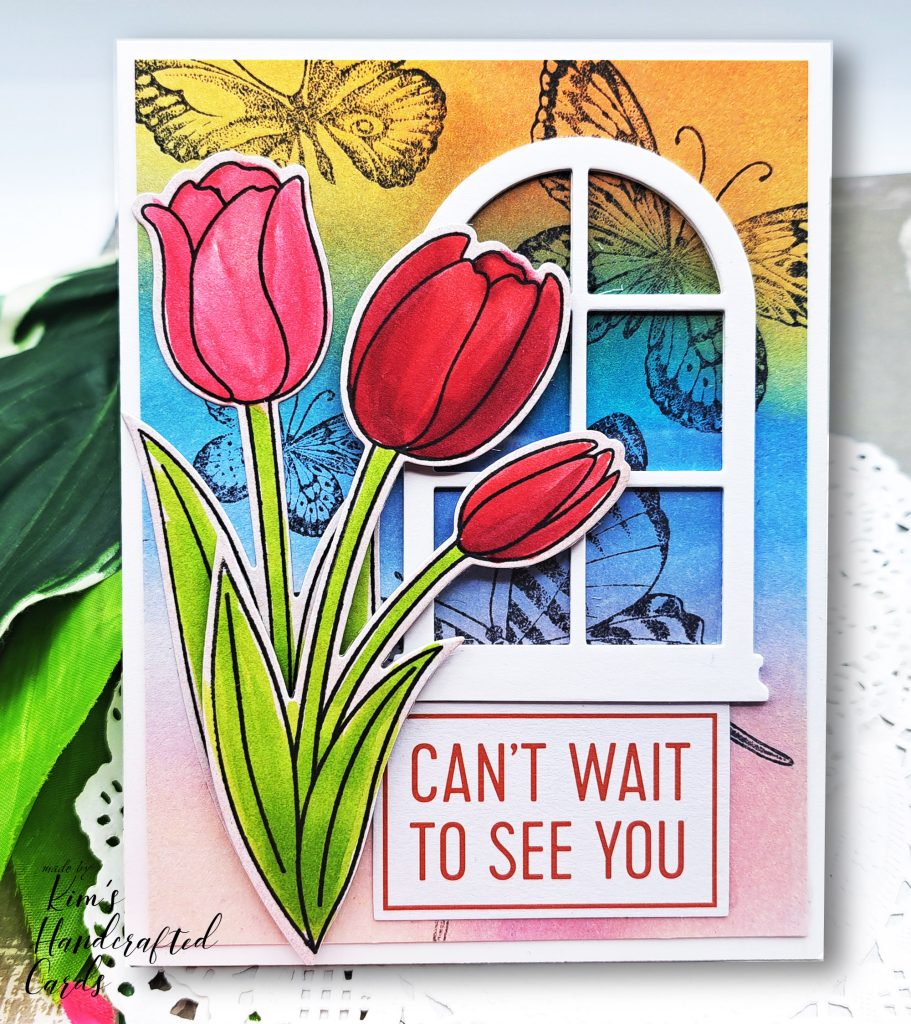
After the coloring, I die cut them out and put aside to work on the background. I recently purchased this arch window die set so I die cut it several times on white cardstock and on 1 sheet of acetate. I glued the acetate to the back of the arch for a window scene. Meanwhile on my card panels, I broke out my gel press and some Distress inks.
The Distress inks I used were:
- Distress Oxides: Salty Ocean, Kitsch Flamingo, Spiced Marmalade & Mustard Seed
I stamped butterflies from Simon and adhered the panels onto cardbases (check out this post for some really cool cards I made with this butterflies set!) I placed my archway windows on top and off center for added interest. For my flowers, I added some double-sided foam squares on some of the petals and leaves for added dimension and the sentiments are pre-made from Pinkfresh Studio that I added on top.
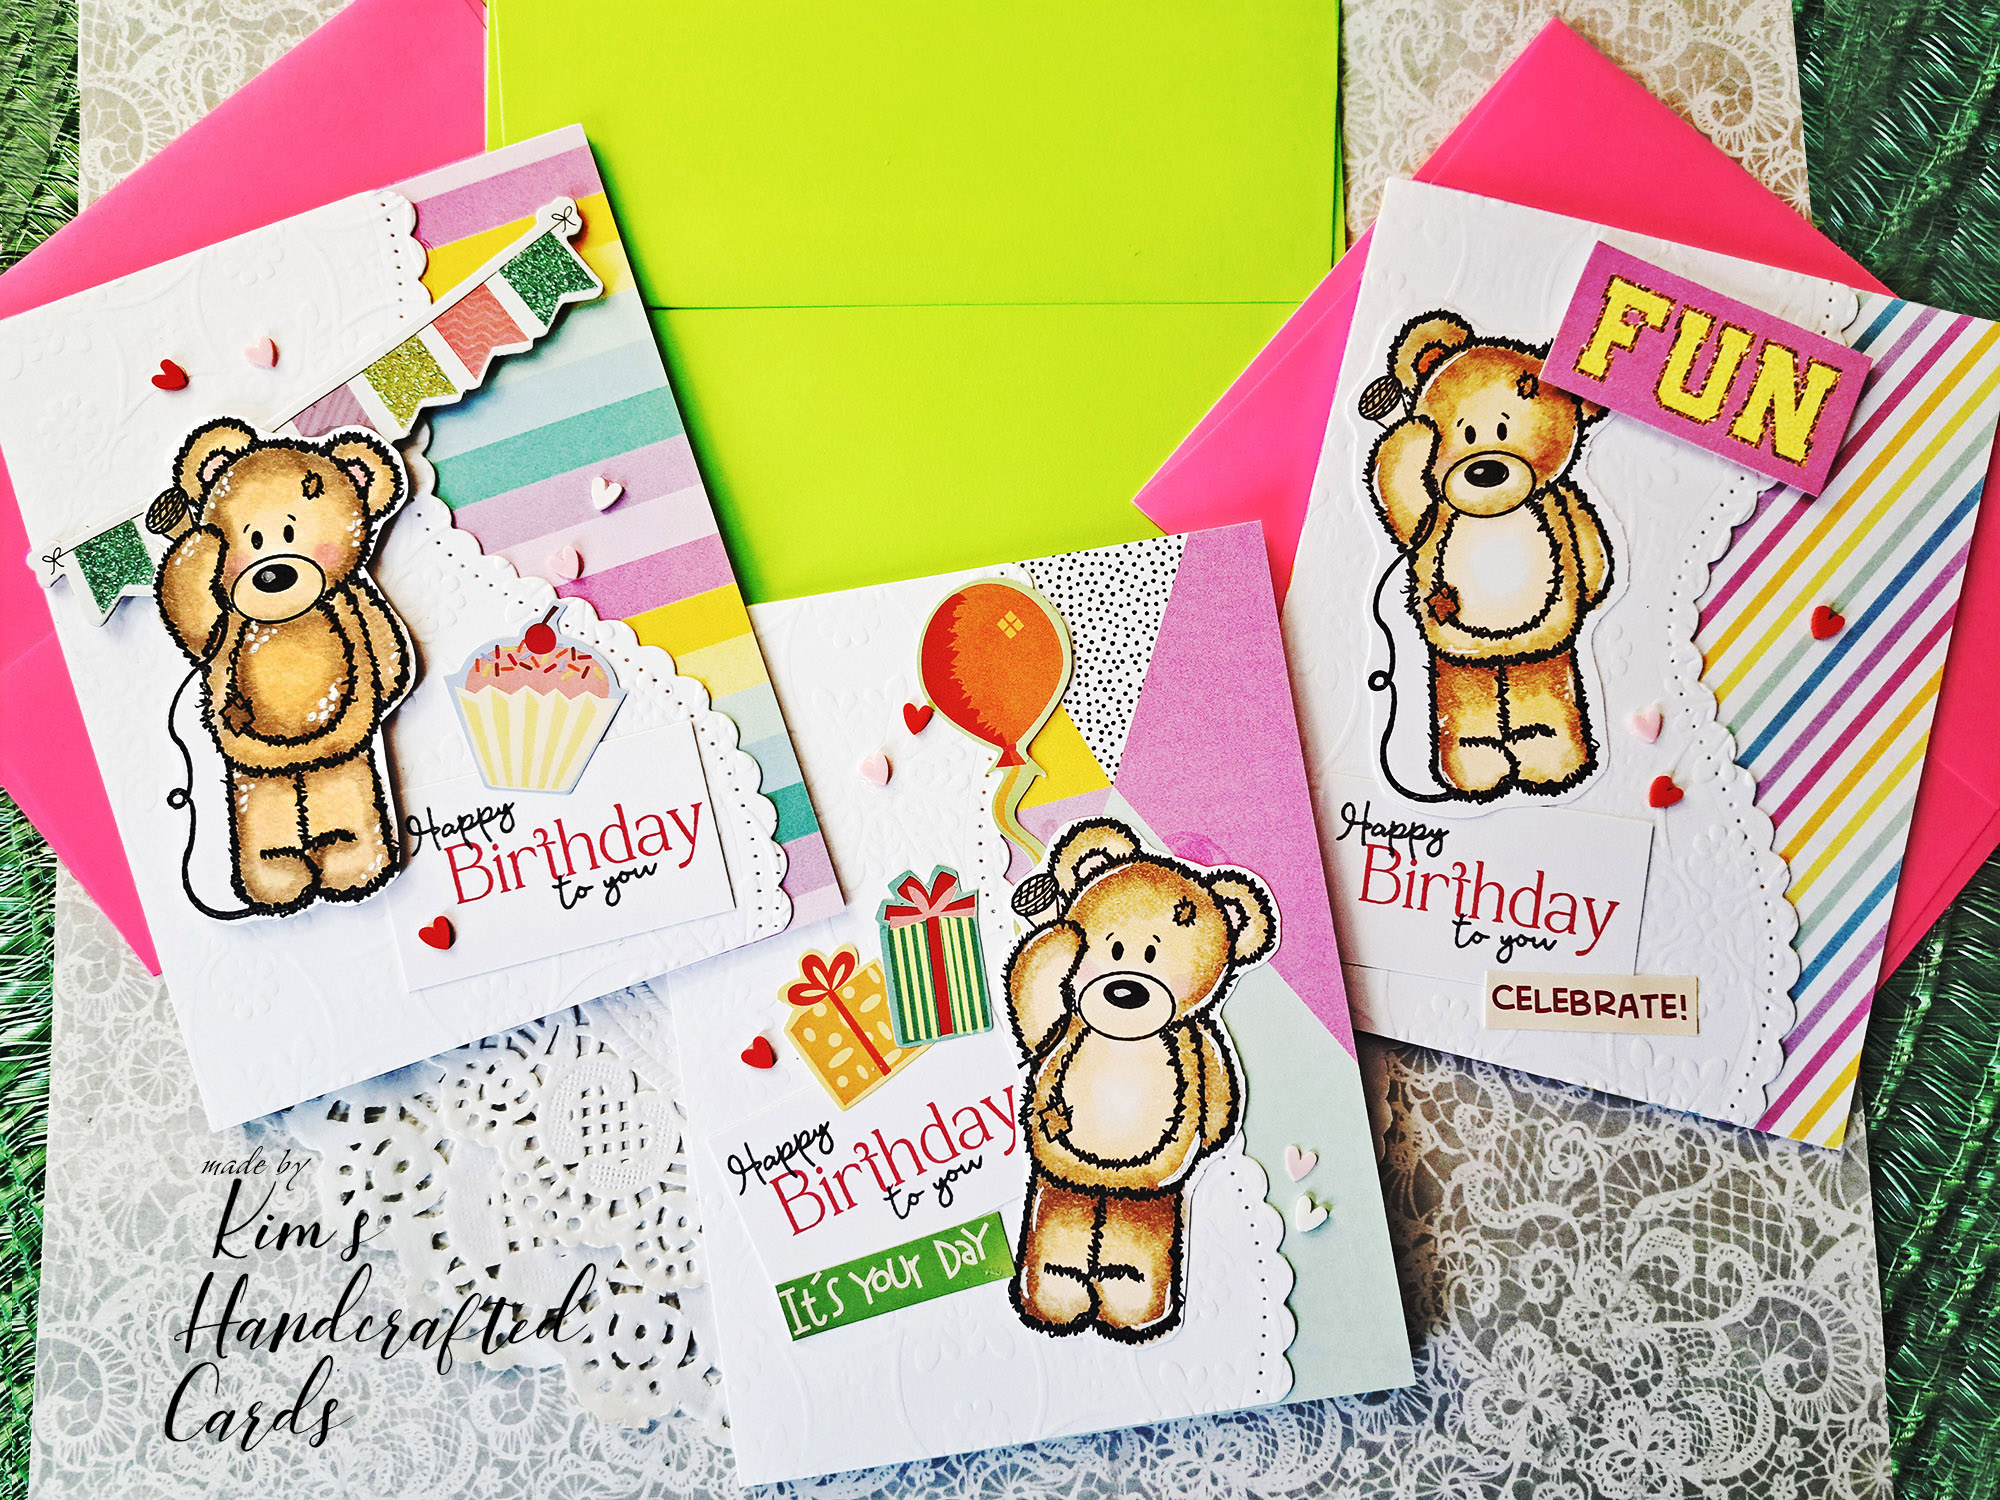
3 Bonus Cards
I love that tulip set so much that I colored and die cut a bunch for making these 3 bonus cards!
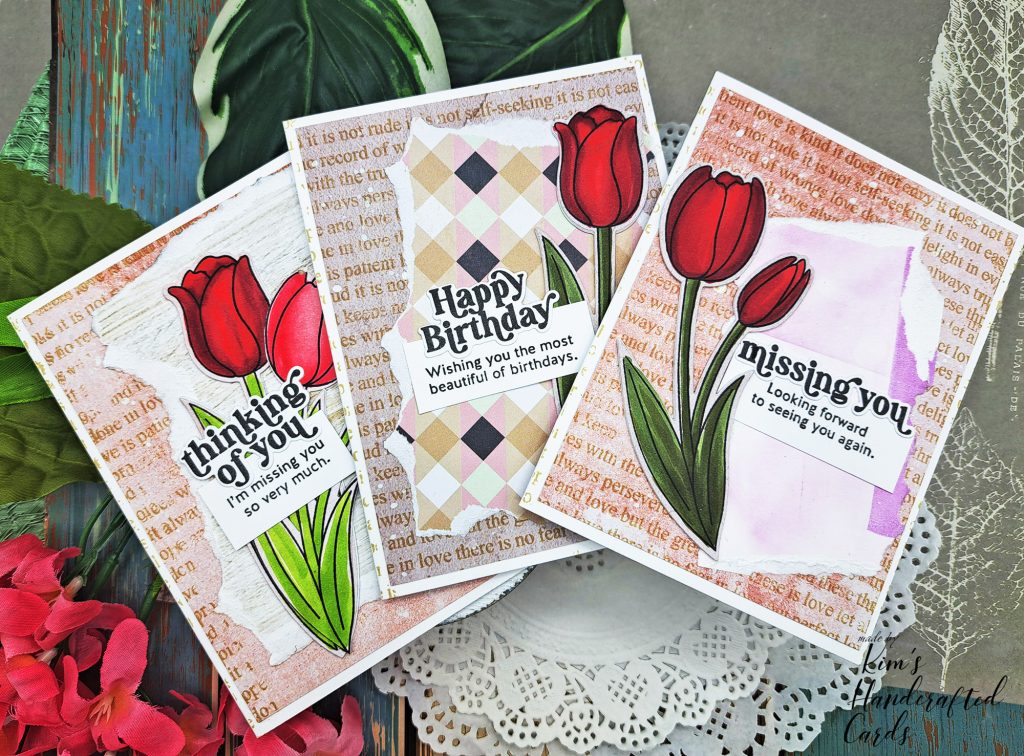
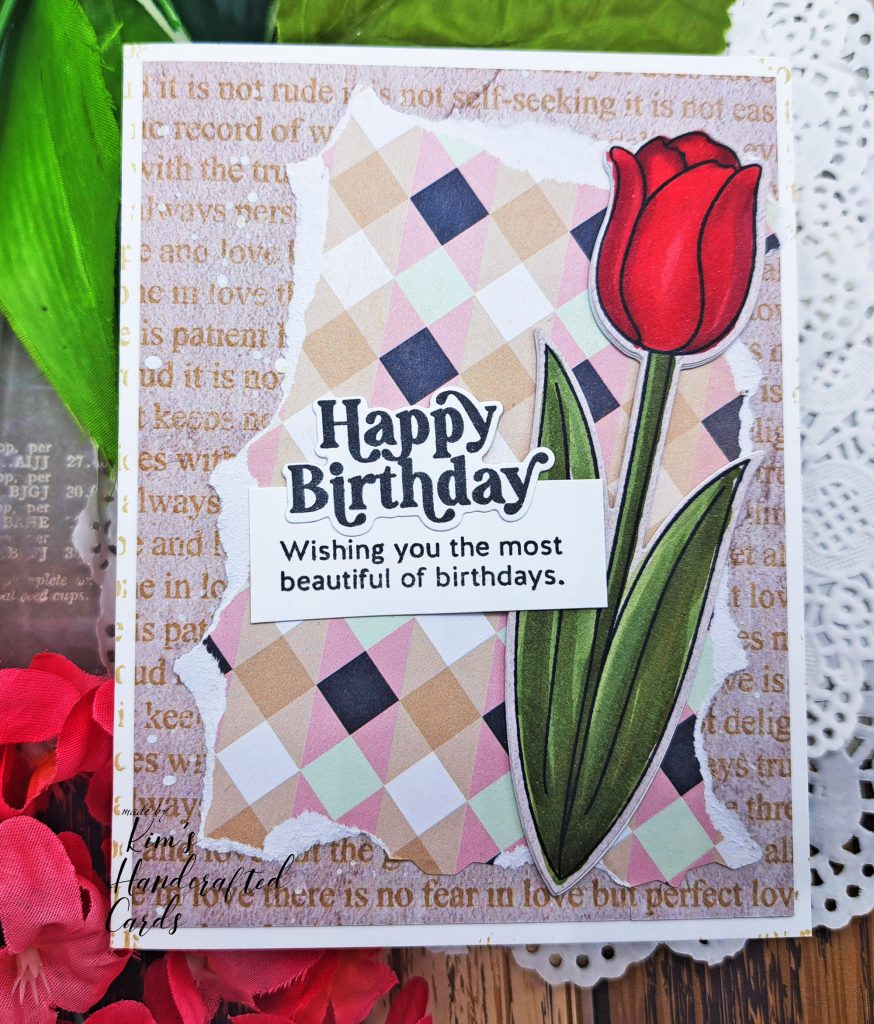
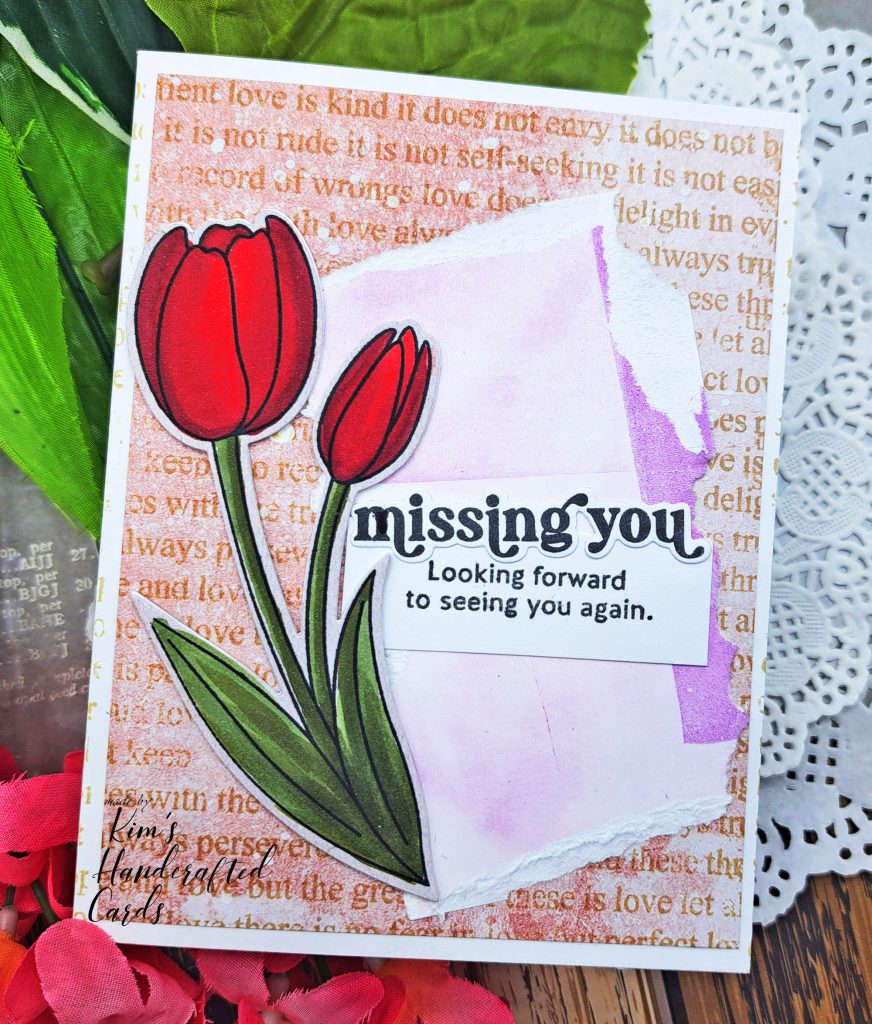
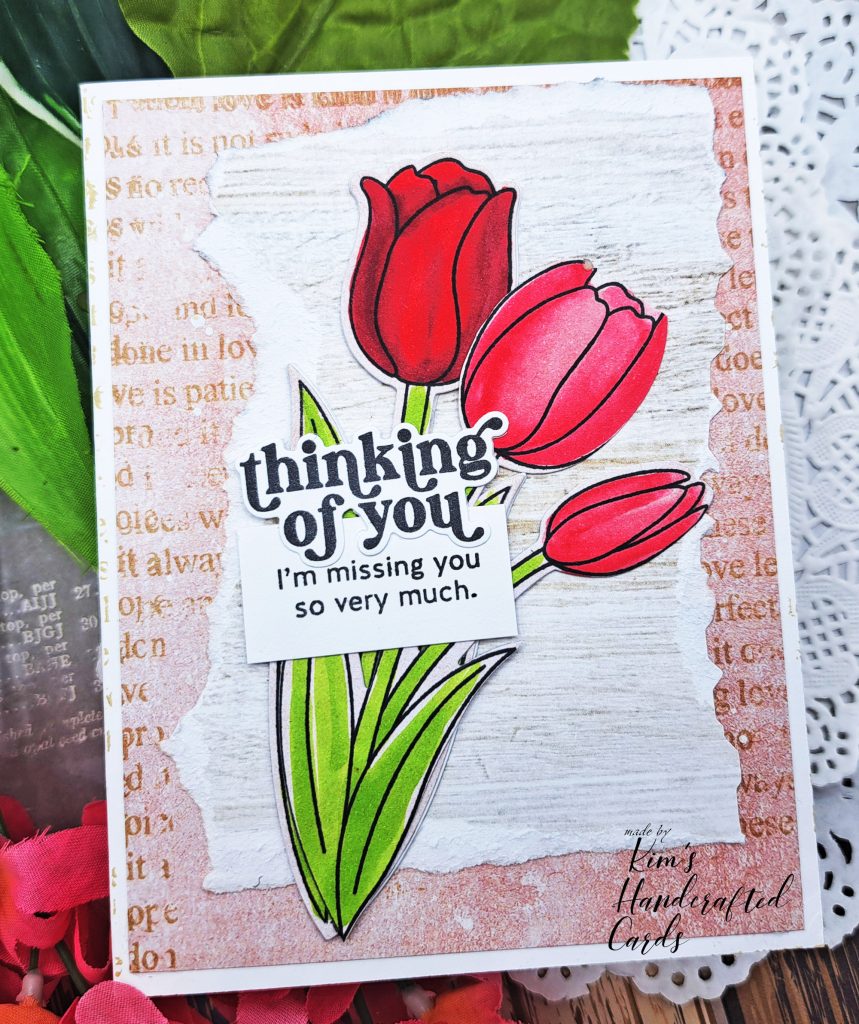
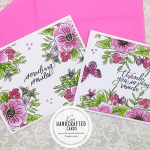
For these 3 cards, I wanted to do something really creative so I used a background text stamp set by Simon Says Stamp called “Love Is” and again over the Paper Rose Studio “Back Then” pattern paper pack and splattered some white acrylic paint over it and let it dry.
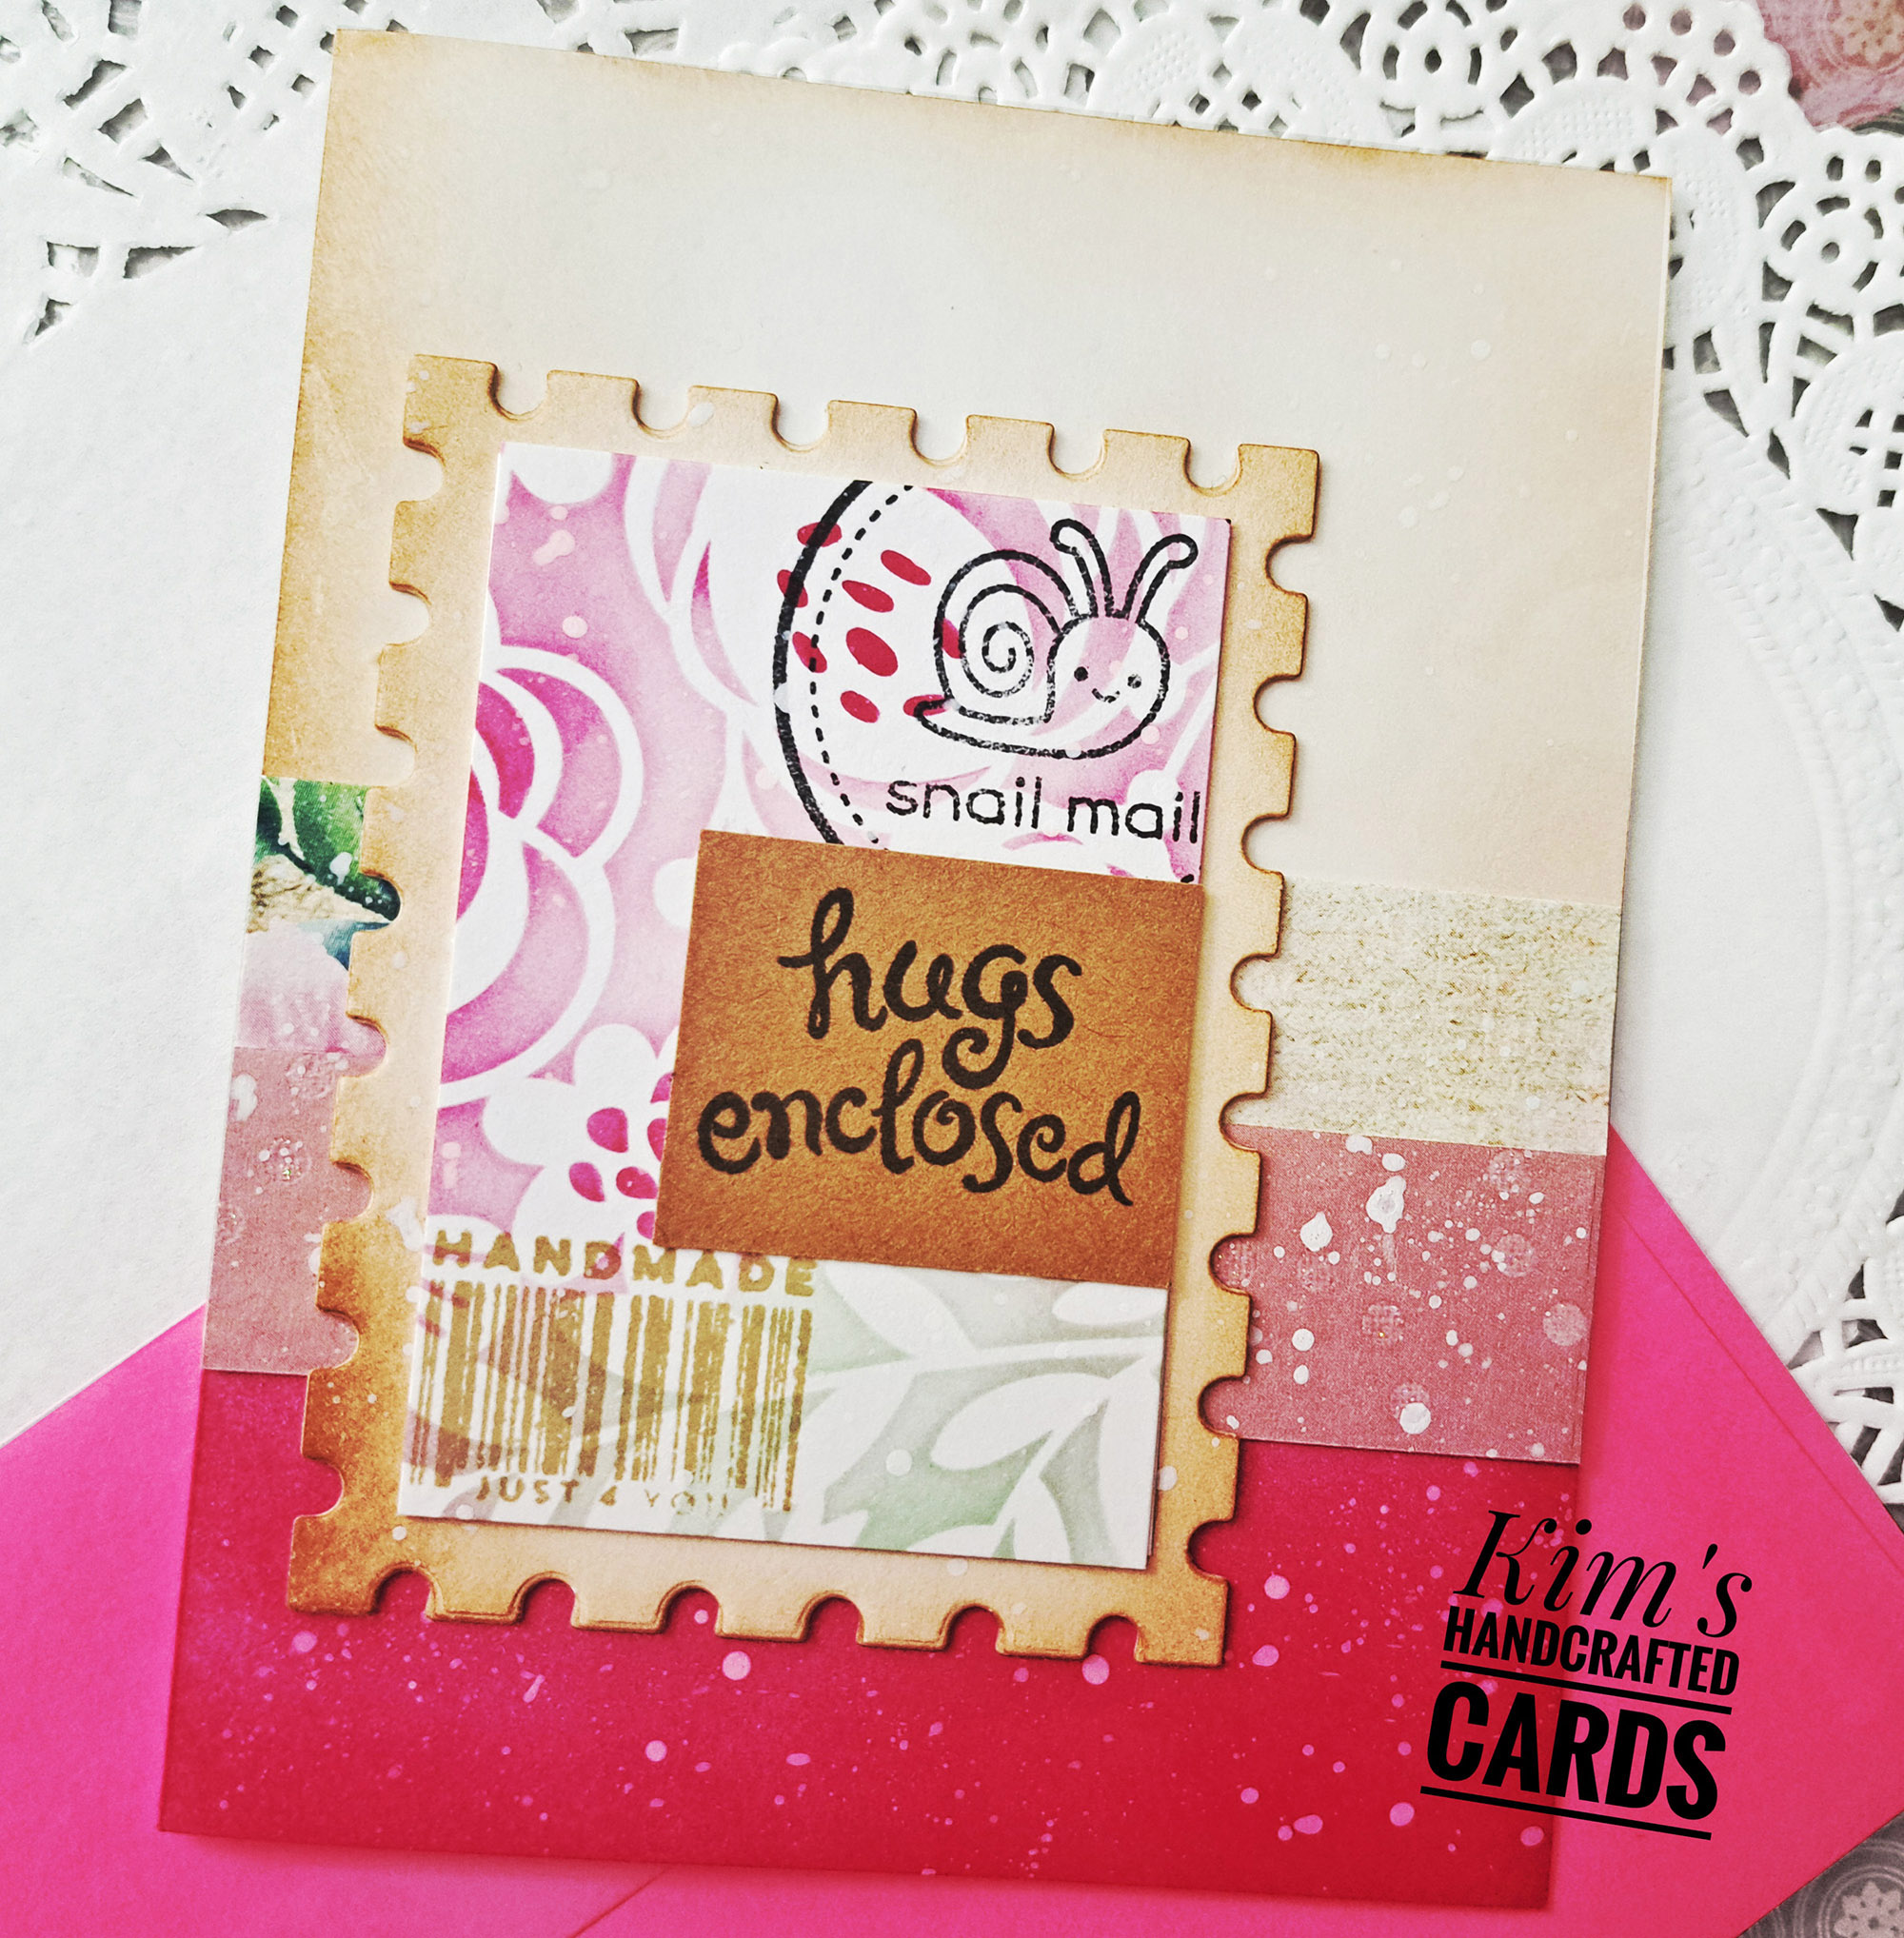
Next, I took more pattern paper and a gel press background and tore the papers all around the edges and glued them to my panels. Then I added my florals.
For my sentiments; I used Simon’s “Hibiscus” stamp/die set and stamped it with Simon’s Intense blank ink. The larger sentimes have coordinating dies so I die cut them and stamped the secondary sentiments, trimmed them and placed over the cards.
I had a lot of fun with these cards and it was good to craft again! Thanks for Reading!
Some of the links to the products I used are affiliate links which means that when you shop with them, I’ll receive a small commission at no extra cost to you. Your support helps me run my small crafty business. Thank you so much!

- OOTSR Tulips Stamps and Die Set (currently unavailable at the time of this posting, I’m so sorry)
- Window Arch Die Set – AZ
- Simon Says Stamp “Hibiscus” Stamp set
- Simon Says Stamp “Love Is” Cling Stamp
- Simon Says Stamp beautiful butterflies
- Paper Rose “Back Then” 12 x 12 Paper Pack
- Pinkfresh Studio Ephemera Rainbow Sentiments pack
- Copic Sketch Markers here, here or here
- Copic #0 Colorless Blender here or here
- Memento “Tuxedo Black” Ink
- Gel Press 8 x 10 size, 5 x 7 size here
- Brayers
- Distress Oxide Inks (Collections and Bundles available too)
- Acetate Sheets
- Accents 100 lb. White Cardstock
- Bearly Art Glue
- Stamp Positioner: Misti here, here, here or here
- Paper Trimmer: Tim Holtz here (Ranger), here (Scrapbook.com) or here (AZ)
- Teflon bone folder (I bought mine on AZ in 2018, no longer available), but here’s a similar one from Honey Bee Stamps here
- Scor-Buddy Scoreboard
- Glassboard Craft Mat → Use my Code → KIMCARDS20 at checkout
- Crafter’s Edge Crossover II Fabric/paper Die Cutting Machine
- Rich Art Acryology White Acrylic Paint (comes in a set of 12 on AZ) – or try Crafter’s Square white acrylic paint here
- Ngwall Flat Paintbrush (set of 12)
- Scrapbook.com Acrylic Stamping blocks
- Craft Reverse Tweezers by EK Tools (great for picking up die cut pieces)
- White double-sided foam squares