I’ve been wanting to make 3D flowers for cards for so long and I’m slowly building my collection! The latest addition was my purchase for Simon Says Stamp’s Magnolia die set and the 3D embossing folder. After watching Caly Person’s YT tutorial for Simon here and how she made her card, I was in love!! Immediately, I placed my order!
For my card, I decided to use Pinkfresh Studio inks in the colors “Candy Violet” for the petals and “Key Lime” for the center with my blending brushes. I have their full ink pads and I love them because each color comes in 4 shades from lightest to darkest.
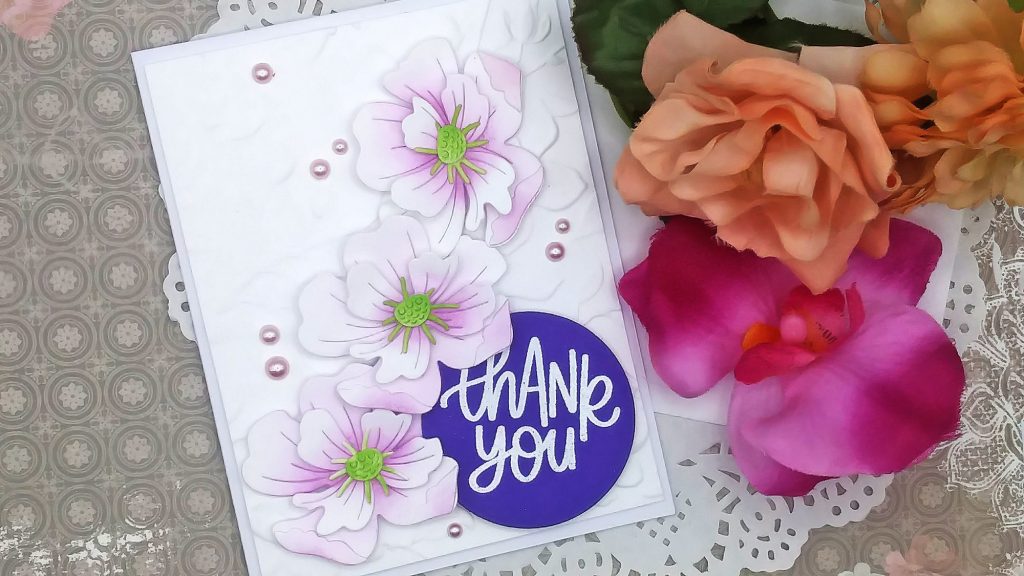
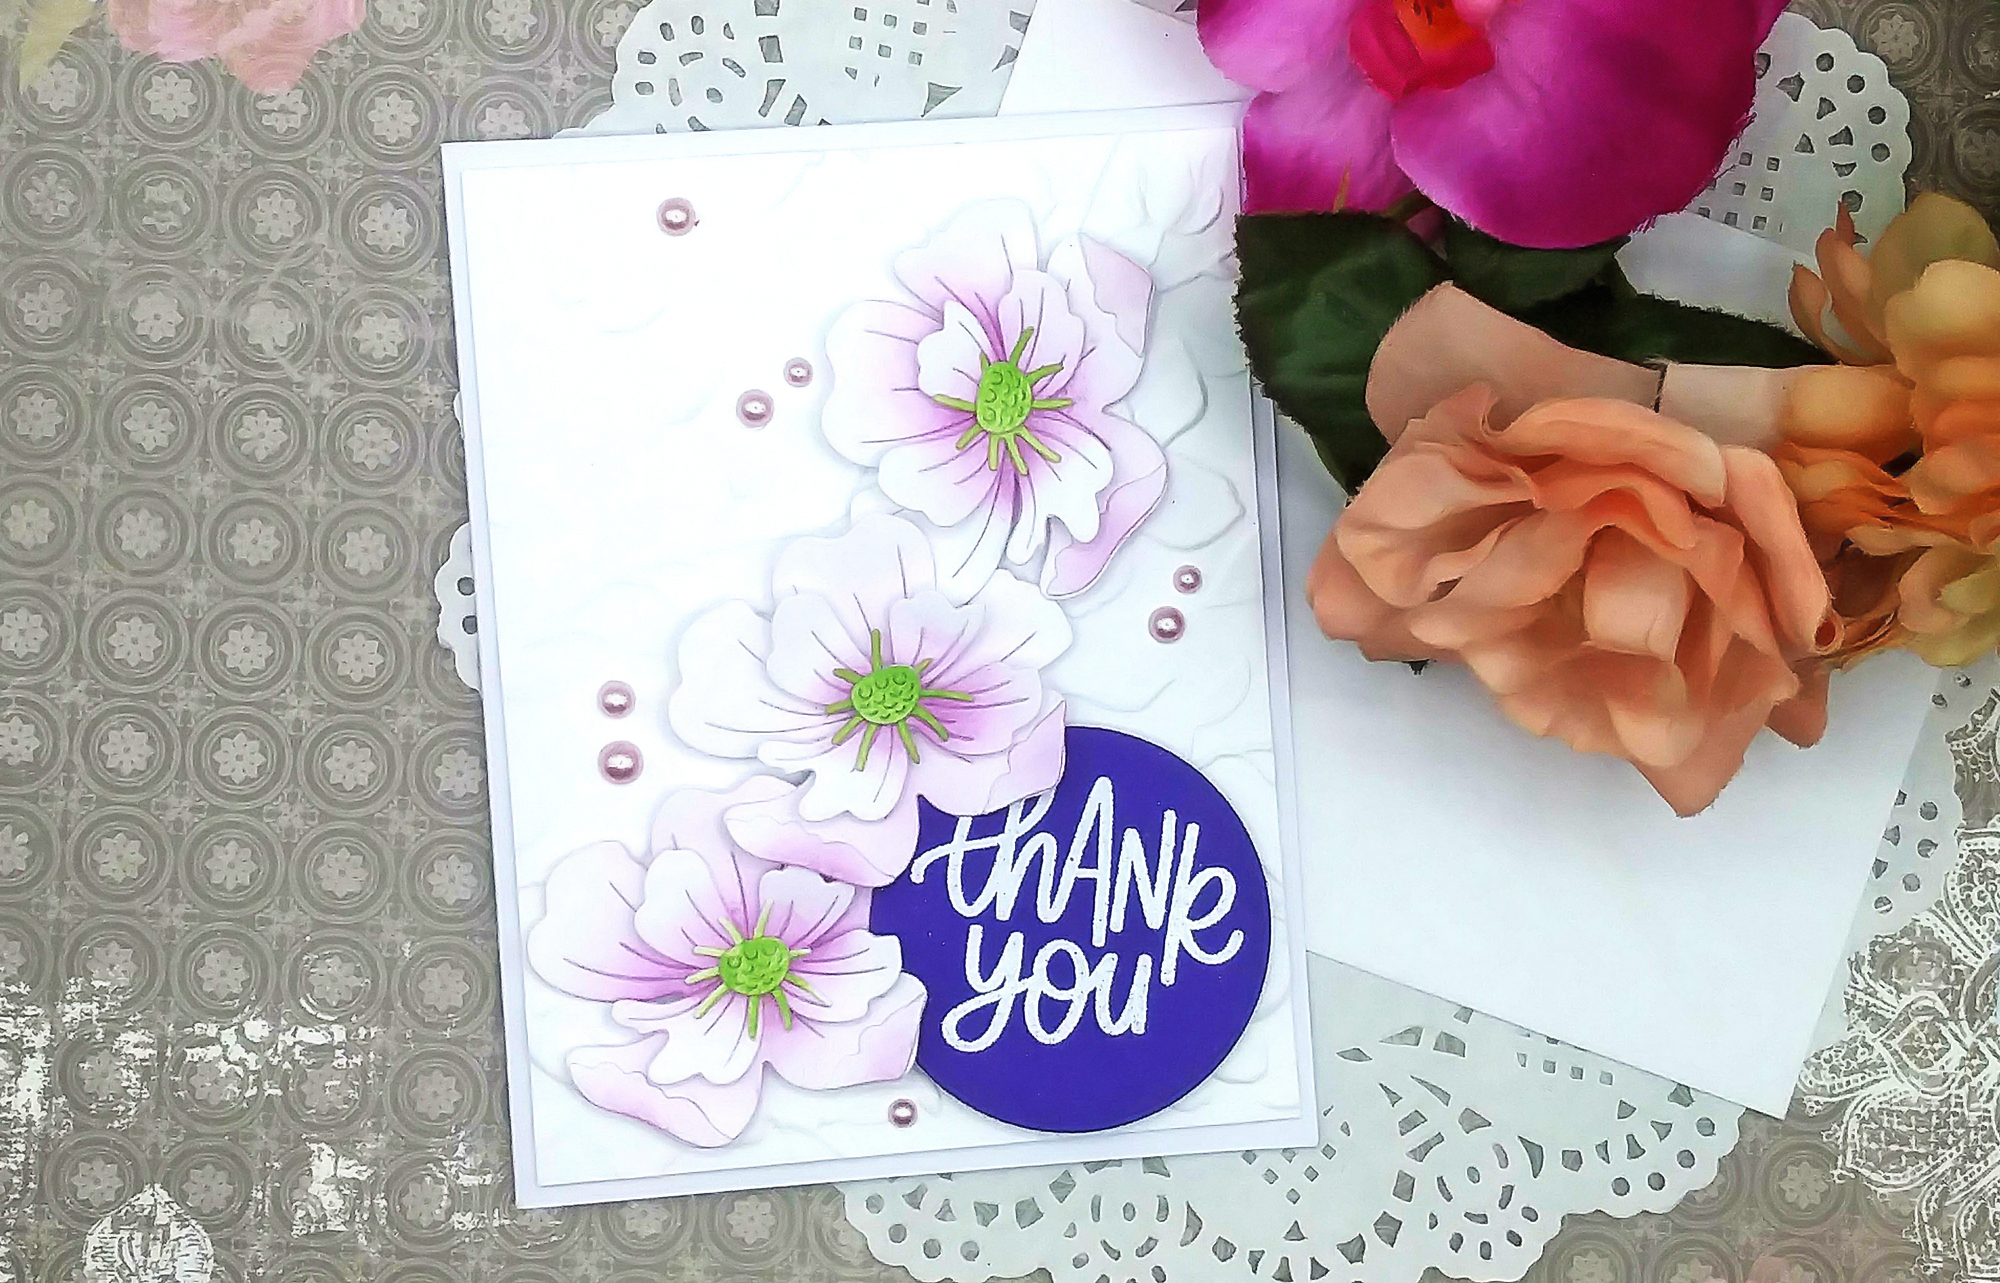
I die cut all the flower clusters in white cardstock and ink blended from the centers of my flowers like how Caly did in her video leaving some of white showing. I layered all the pieces to make 3 flowers.
Meanwhile, I made my card panel with the magnolia 3D embossing folder. It has so much detail to it. Unlike Caly, I decided not to color it and leave it simple and clean. Plus, I really like the elegance of the flowers propped up over the white detail from the embossing folder.
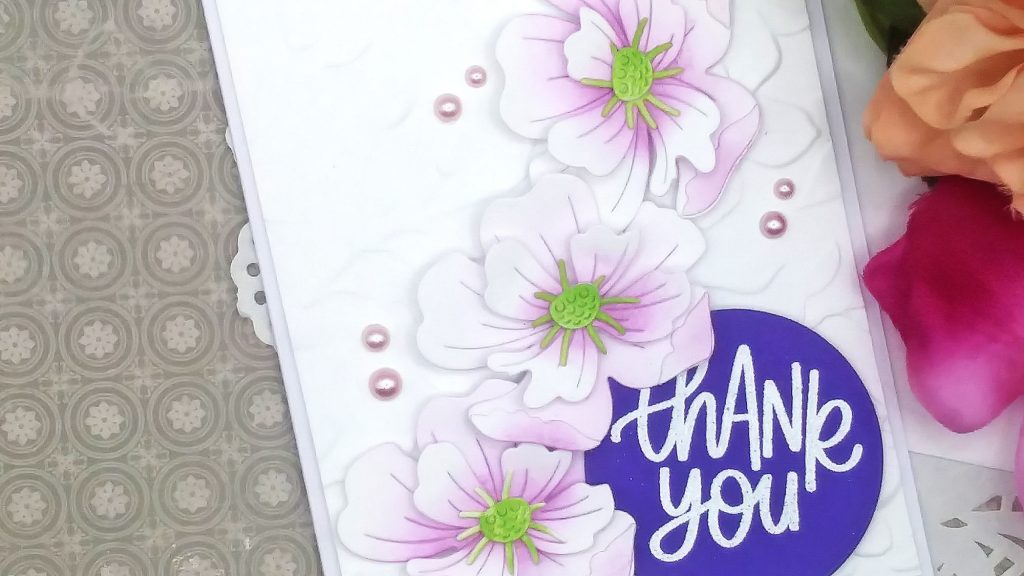
I had in my stash the Thank you sentiment from Simon’s Garden Greetings stamp set that I white heat embossed over a purple circle die cut. I keep all my sentiments in a separate bag in my drawer and this one was perfect for my card, I just nestled it under the petals.
Lastly, I topped the card with some pink pearls from my stash and this card was done! I really love how it turned out!

- Simon Says Stamp Magnolia Blossom Die
- Simon Says Stamp 3D Magnolia Branches Embossing Folder
- Pinkfresh Studio Inks
- Simon Says Stamp Garden Greetings Stamp Set