Hey friends! I had so much fun coloring my Tulip dies with Zig Clean Color Markers and Copic Markers! It’s a fun way for me to practice + it’s just inky goodness!
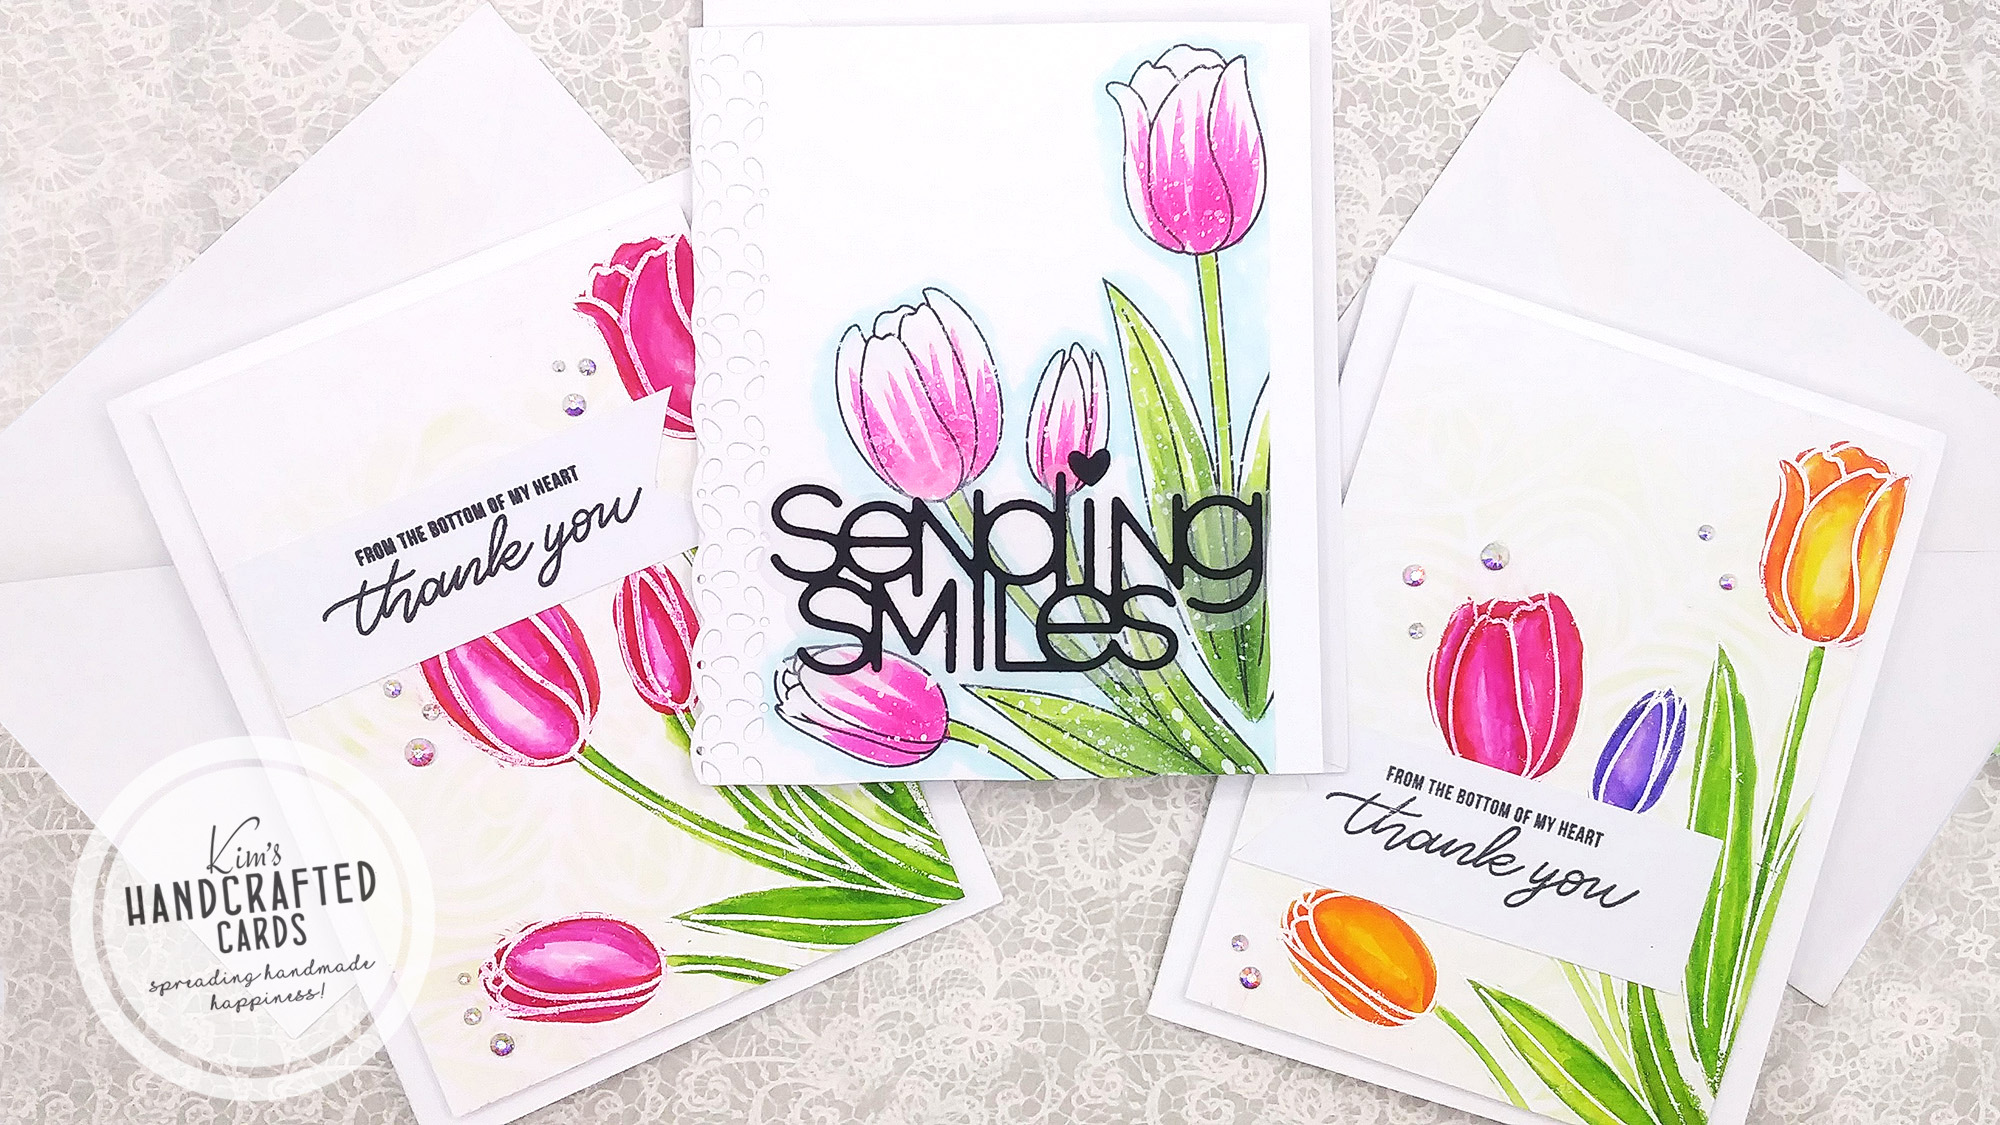
I’ve used this Tulips Die set before on this card and I simply love it! So, I brought it out again for these 3 cards I’m sharing today.
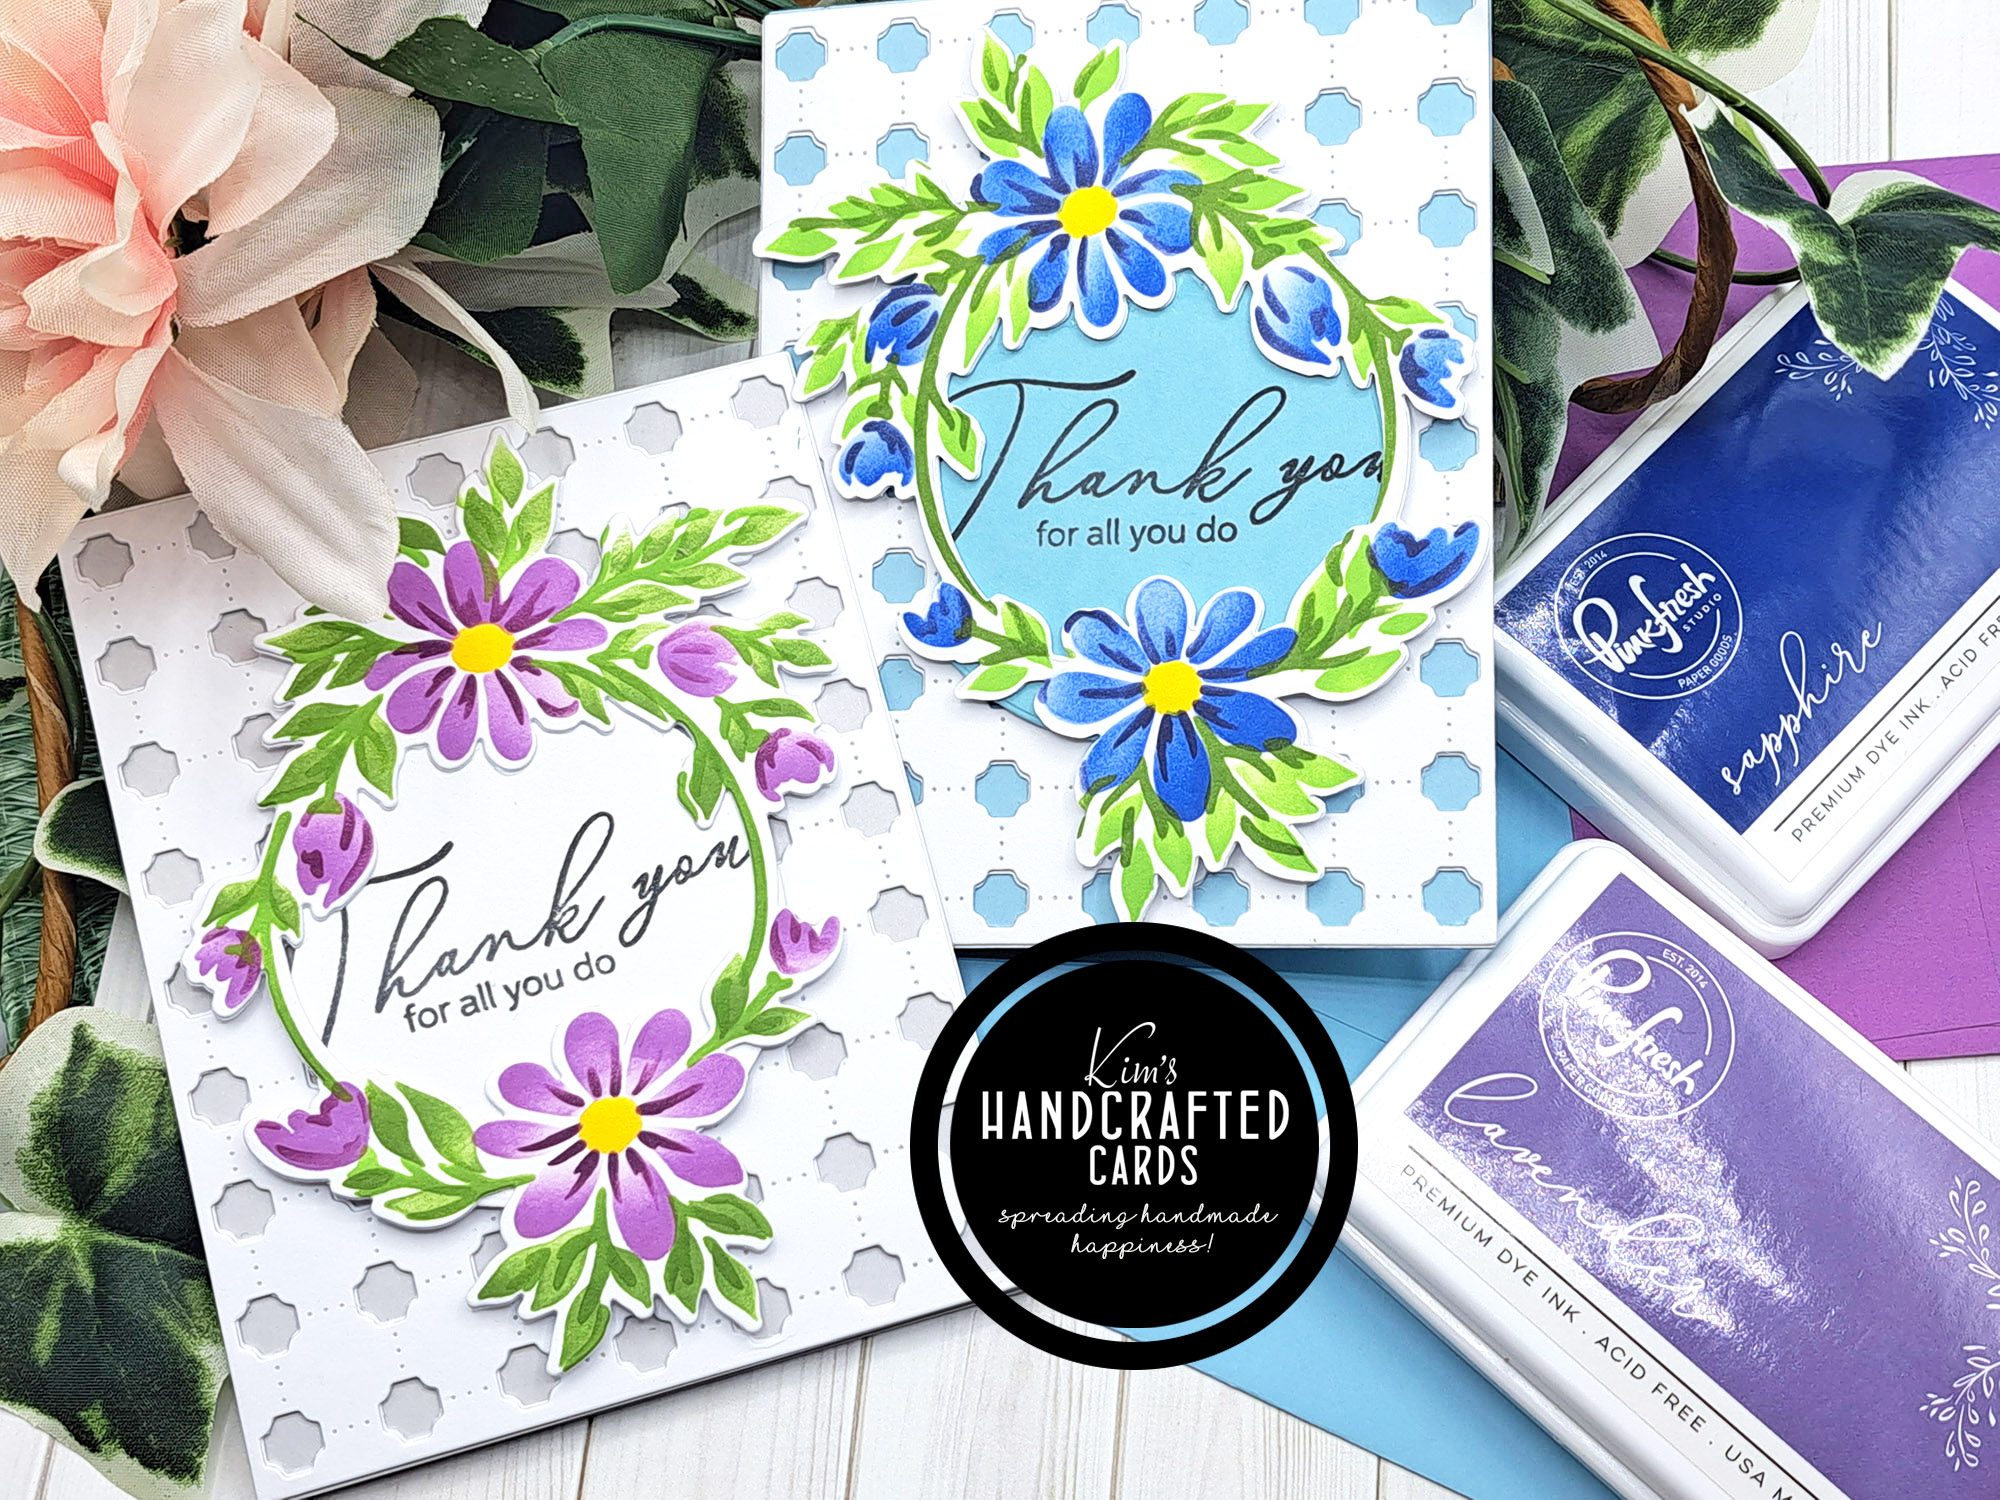
First thing I did was used a stencil for my background on Bristol Smooth Paper. It’s from Hero Arts, called “Glorious Petal“. I used Simon Says Stamp’s Pawsitively Saturated Ink “Celery”. I chose this light ink color so that my tulips wouldn’t compete with the background. I knew I’d be water coloring with the Zigs so I opted for Bristol Smooth to get good results.
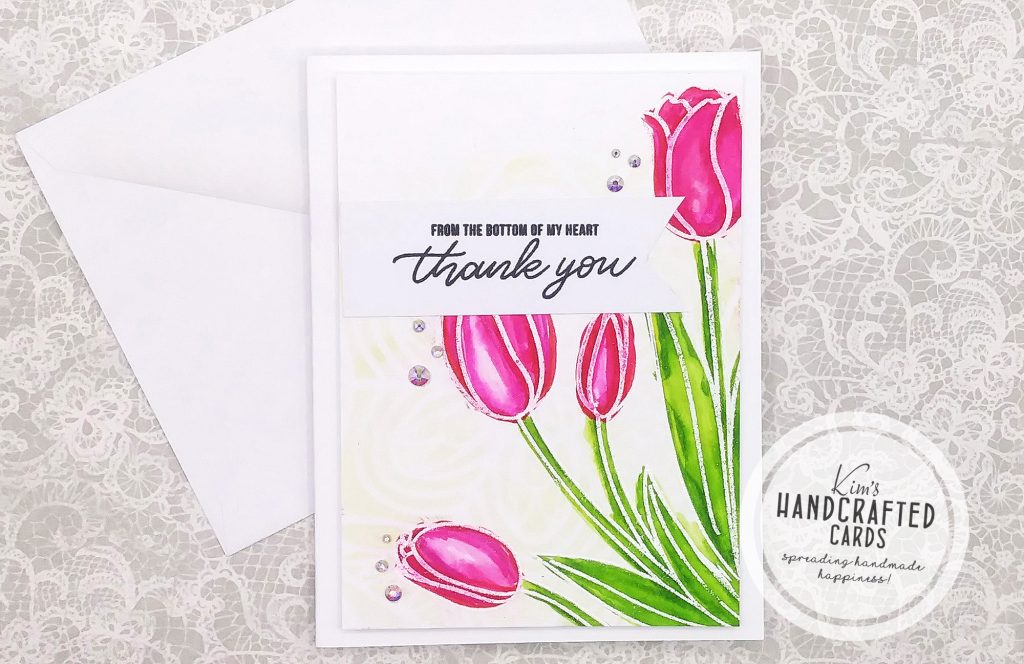
Next for my first 2 cards, I used my anti-static powder tool over my paper and stamped the tulips with Versamark ink. Then, I white embossed them with Gina K. Design’s Fine White embossing powder. I colored the tulips with the Zig markers.
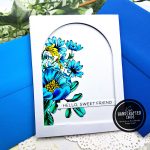
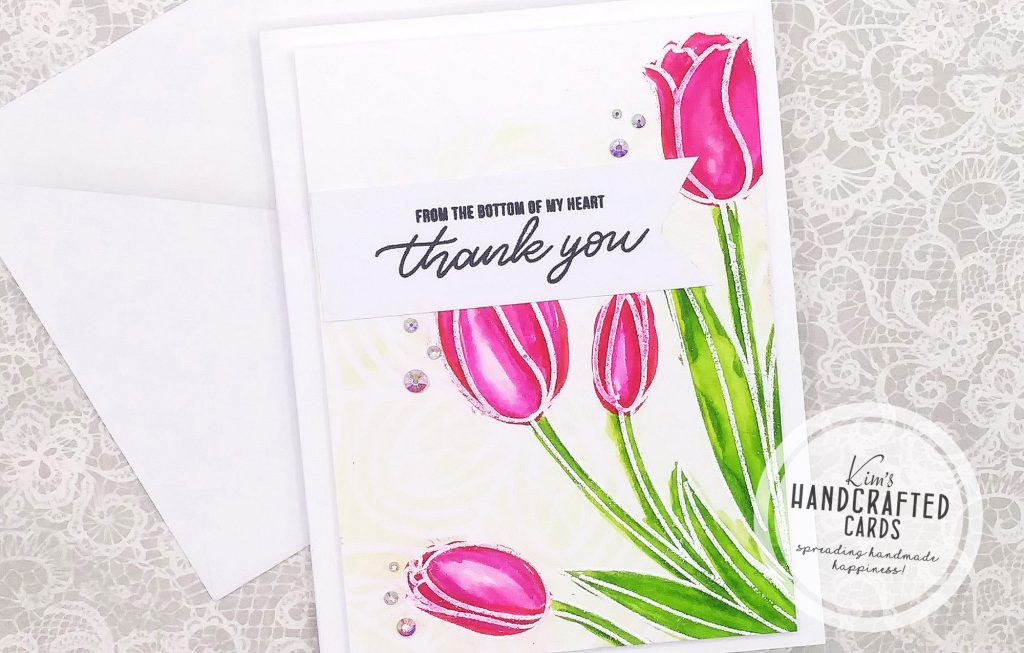
The 1st card above, I colored the petals with “Pink” (lightest color) and “Carmine Red” (darkest color). First, I put down the pink color, then the carmine red and with my waterbrush pen, I blended them with just a little water. For the leaves, I used “Pale Green” and “Light Green” following the same method as with the petals.
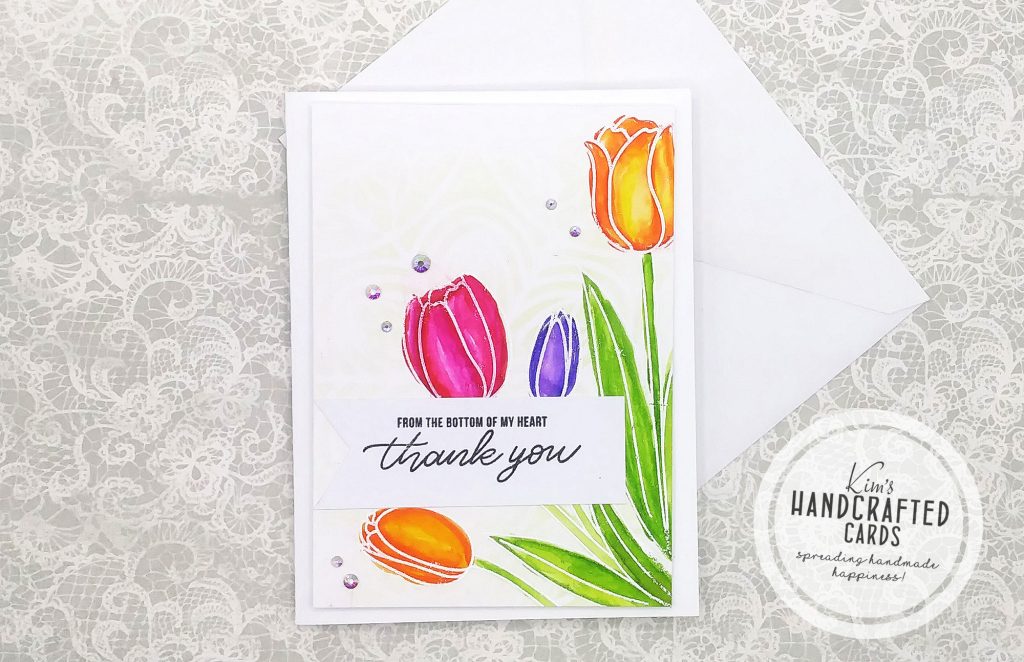
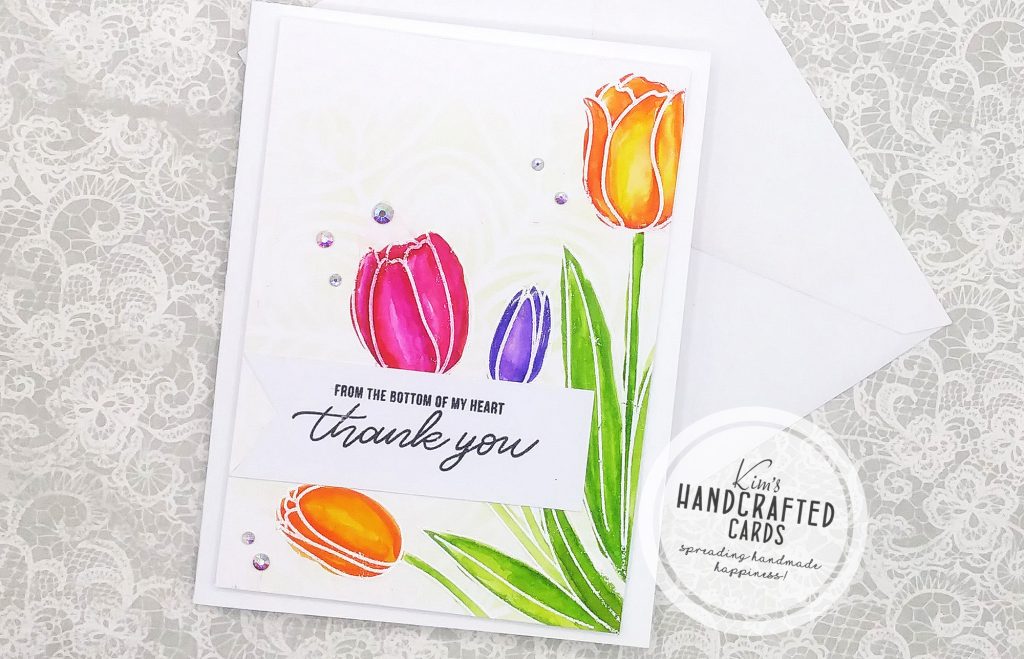
For this card design, I decided to make my tulips have different colors so the Orange petal was colored with “Orange” and “Bright Yellow” and the purple petal with “Deep Violet” and “Light Violet“.
After doing all my water coloring, I let my tulips panels dry. I trimmed them down and added my sentiments from Simon Says Stamp’s “Hello Darling” stamp set (no longer available). I used my fussy cut scissors to make it have a banner edge and topped with Spellbinders “Color Essentials” gems.
Products Used:
- OOTSR Tulips Stamps and Die Set
- Misti Stamp Positioner here, here, here or here
- Hero Arts “Glorious Petal” Stencil
- Simon Says Stamp “Pawsitively Saturated Inks” Trio 2
- EK Tools Anti-static Powder Tool
- Gina K. Designs Fine White Embossing Powder
- VersaMark embossing ink
- Wagner Heat Gun
- Zig Clean Color Markers (60-set)
- Bristol Smooth Paper
- Spellbinders “Color Essentials” gems
Colored Tulips with Copic Markers
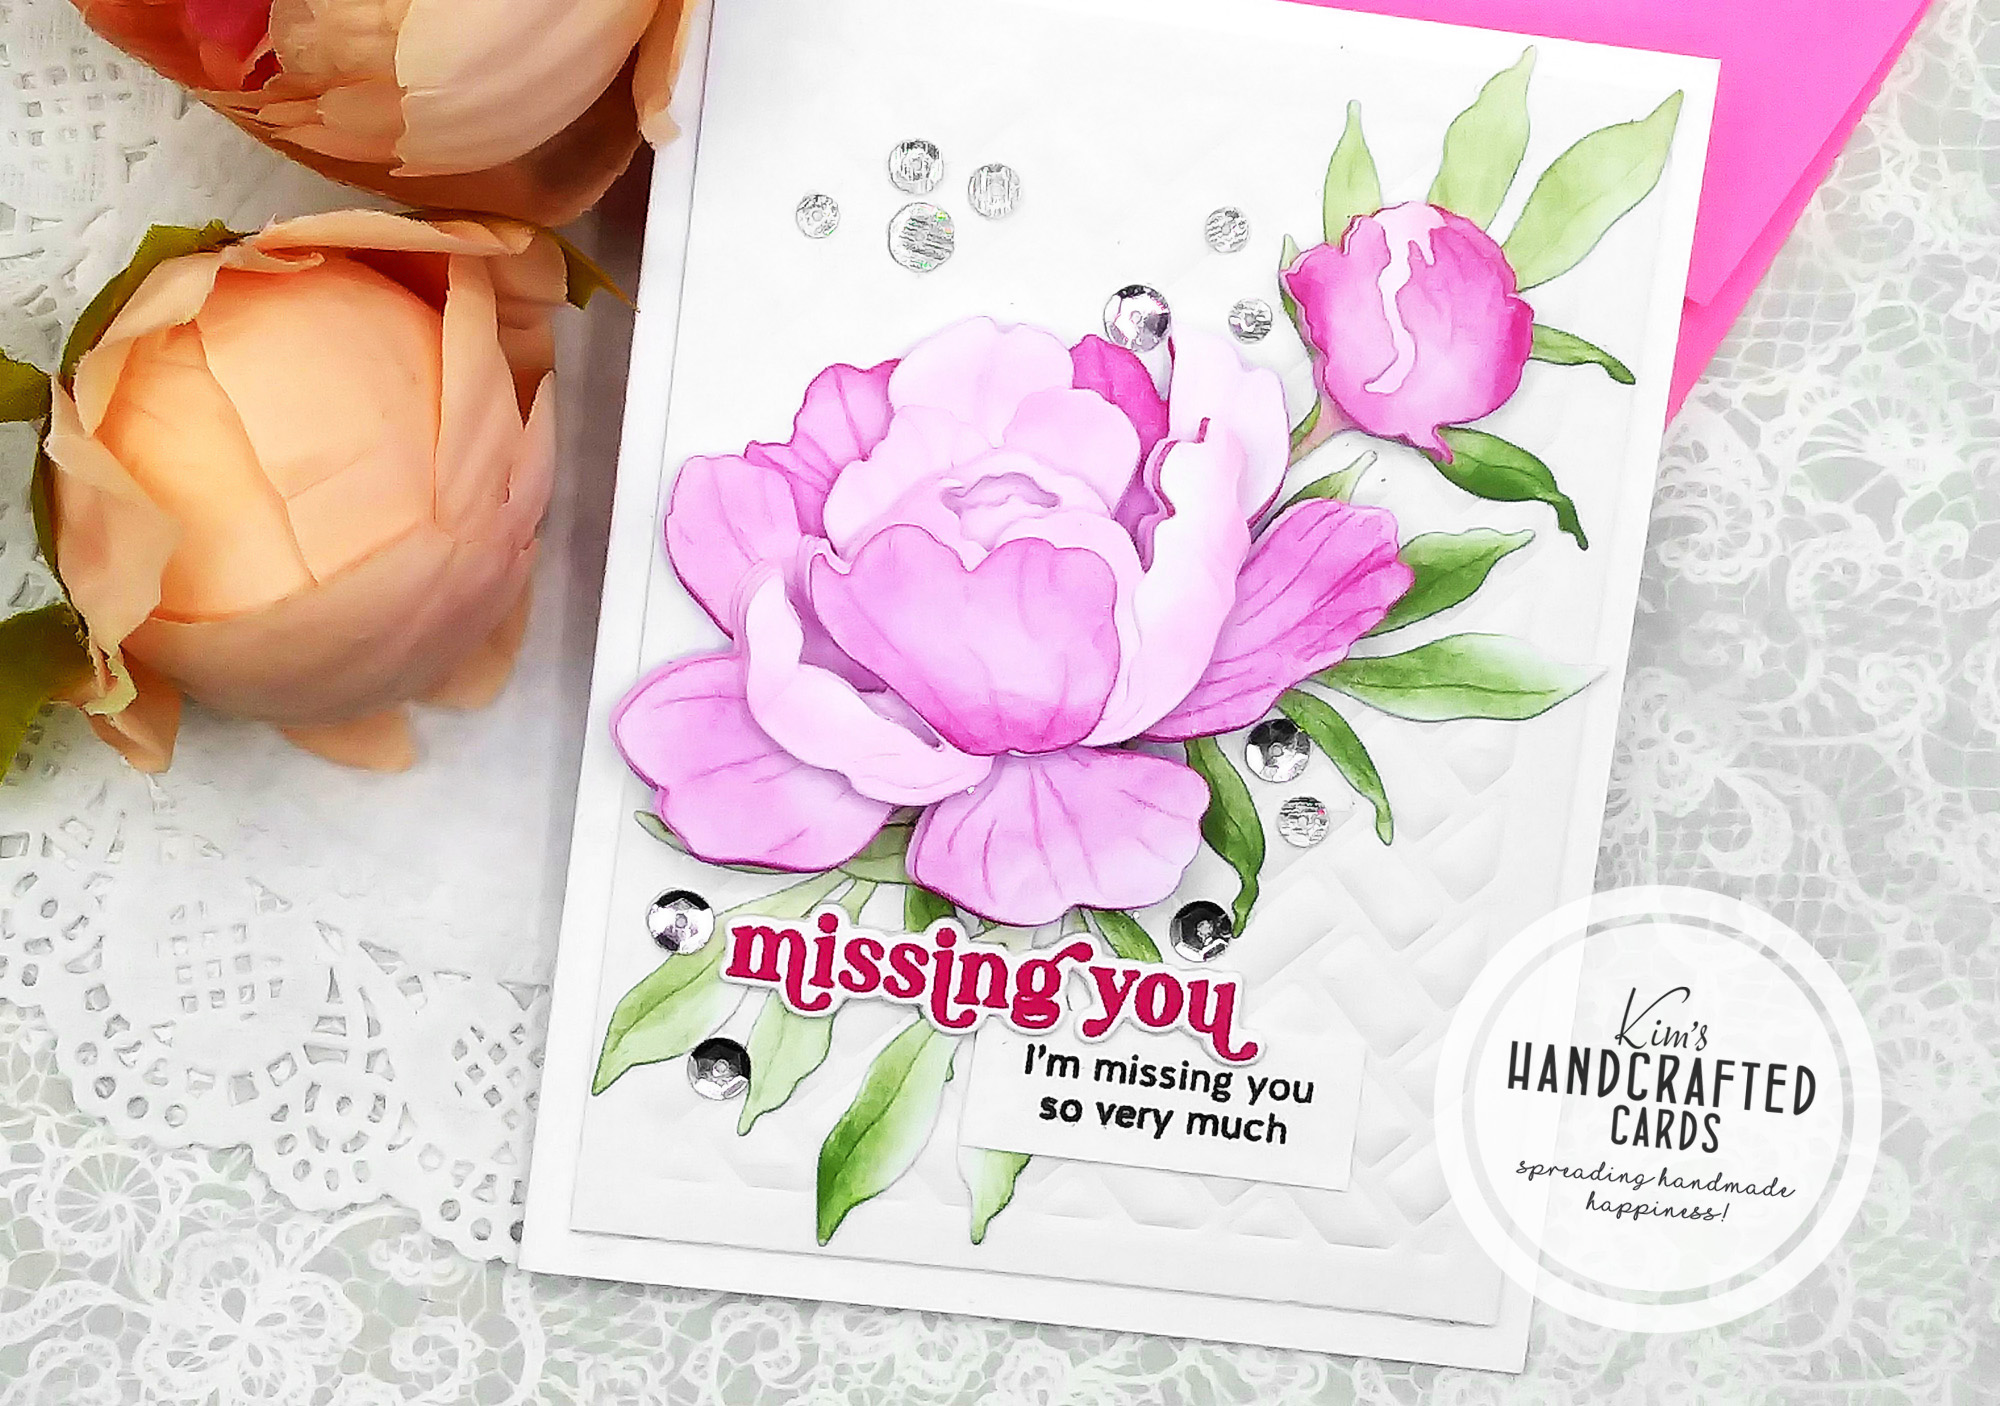
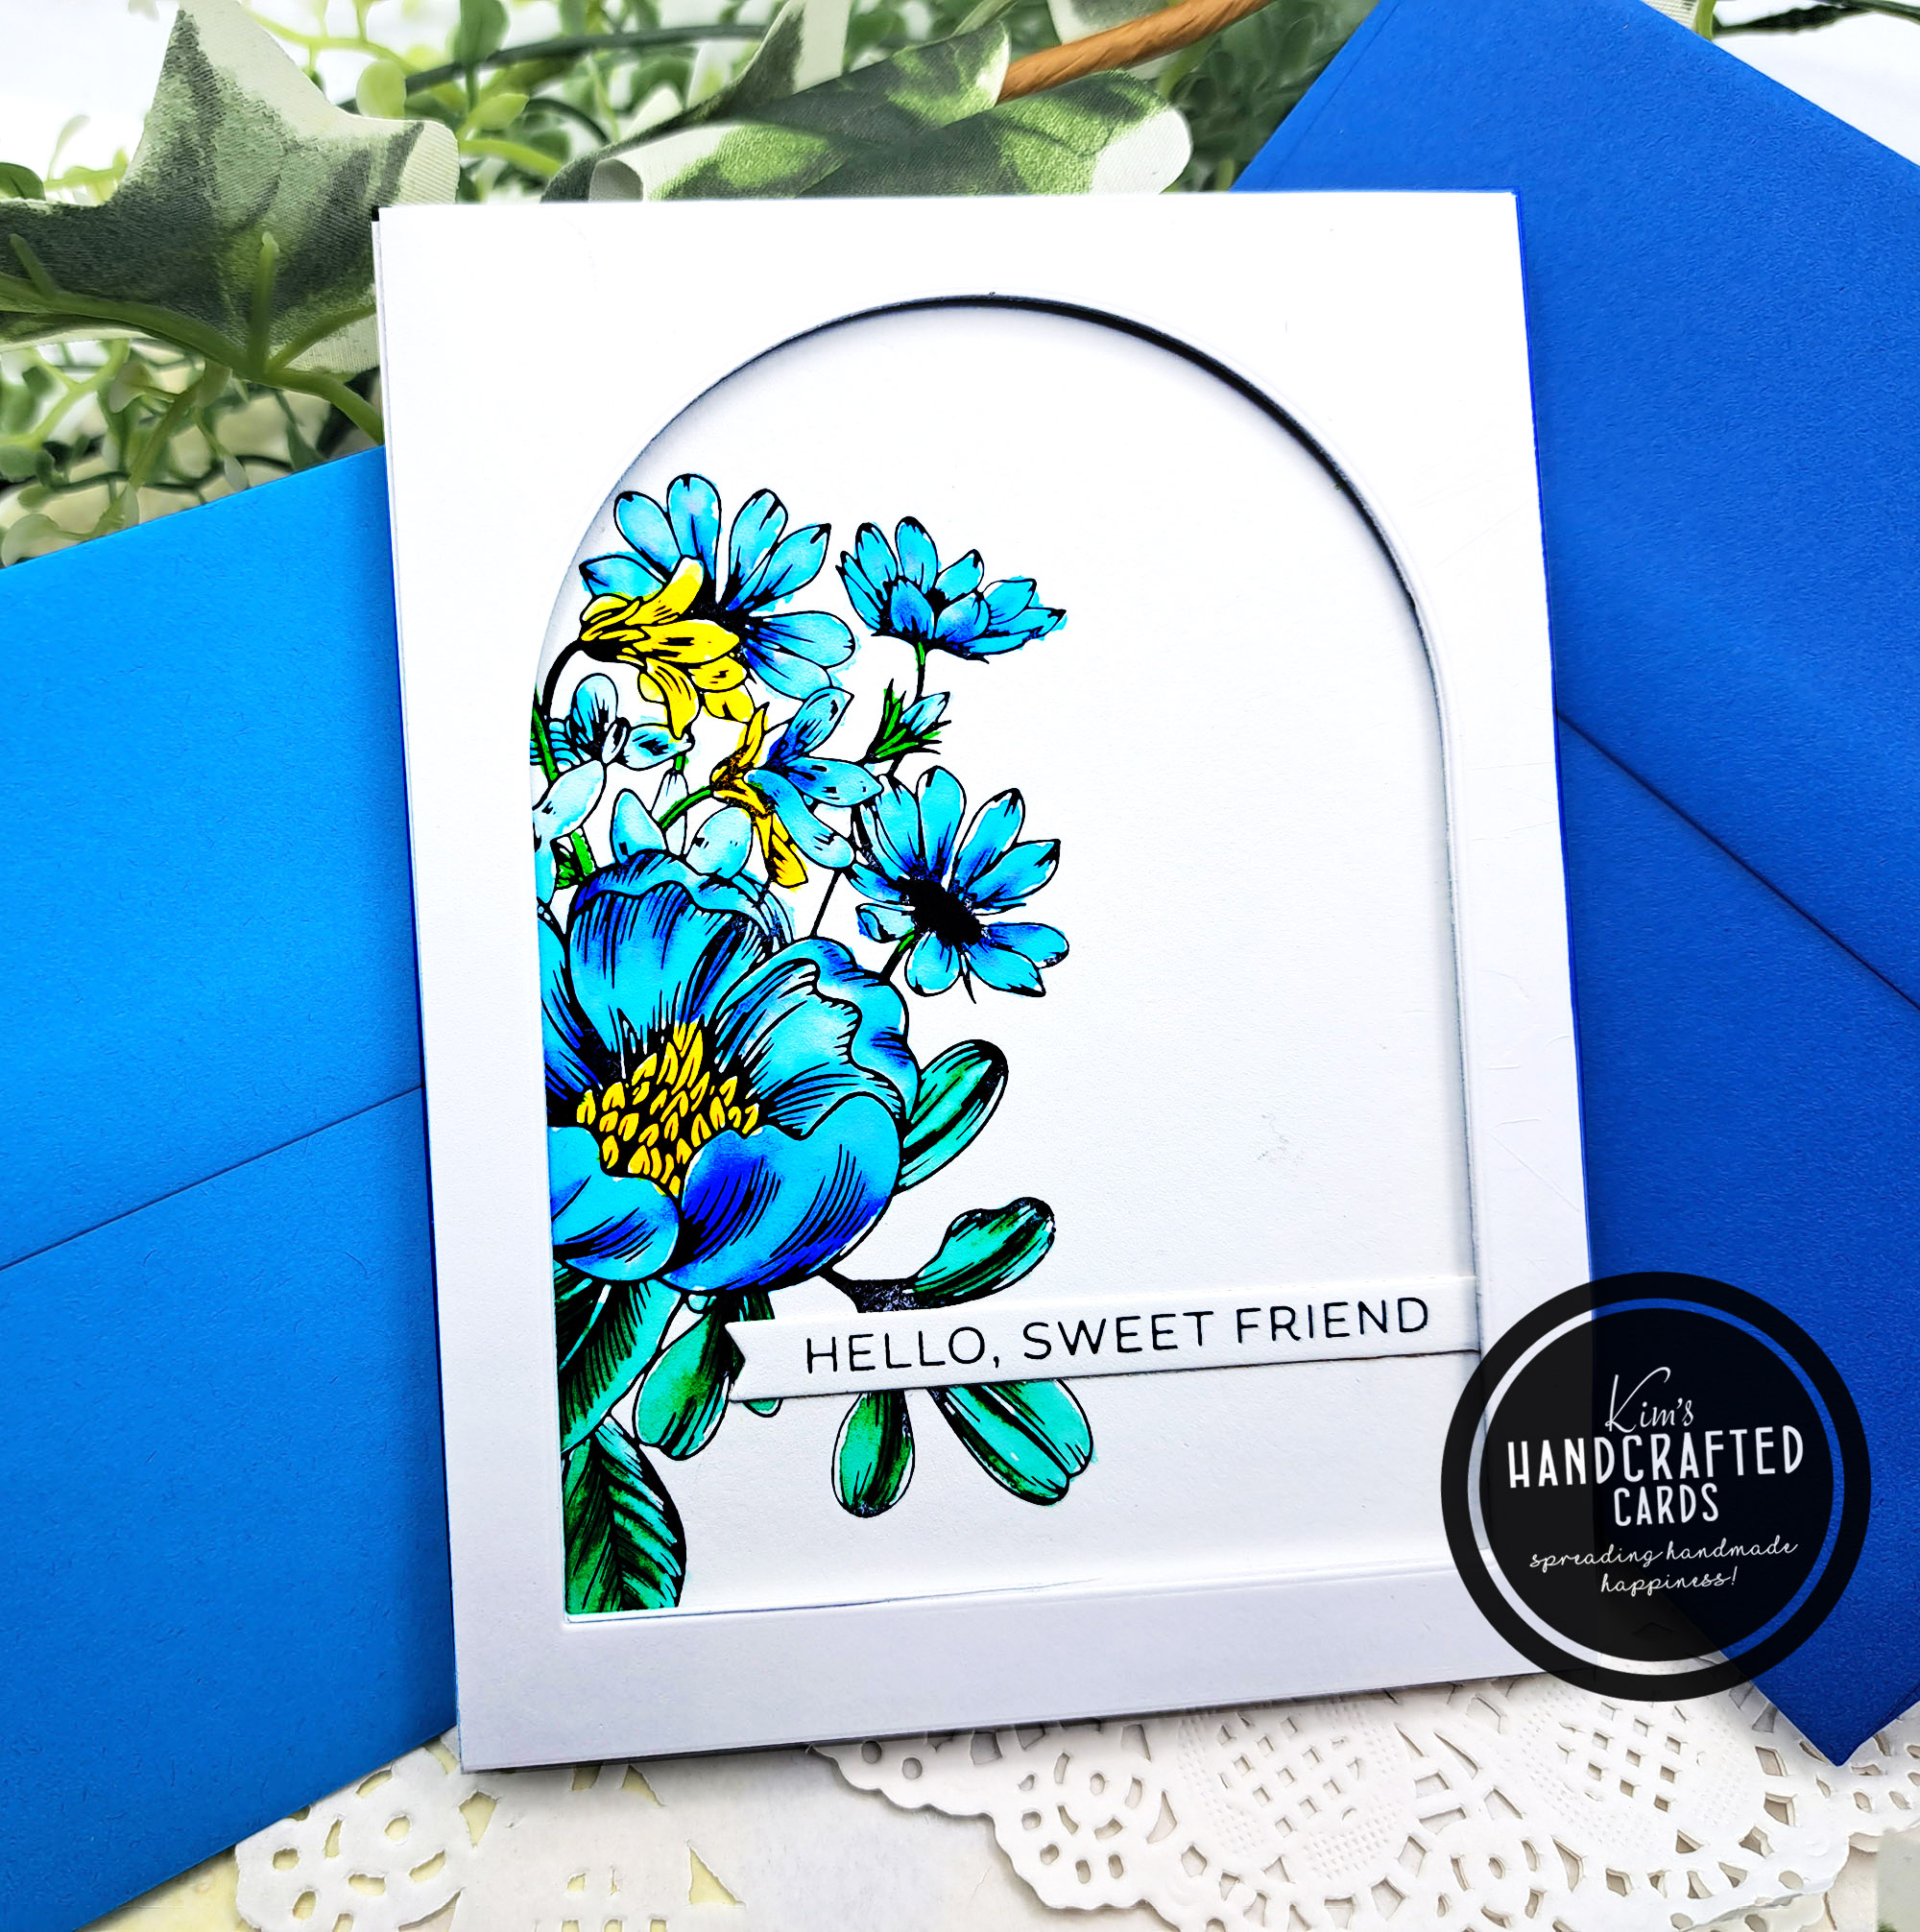
For my 3rd card, I did some quick and simple Copic coloring using the “flicking” technique using RV06 as my darkest shade and RV10 as my lightest so that the ends of the petals wouldn’t be white but have some depth and texture. I then used YG67 as my darkest shade YG03 as the lightest for the leaves.
BTW, I used regular white cardstock to make this card.
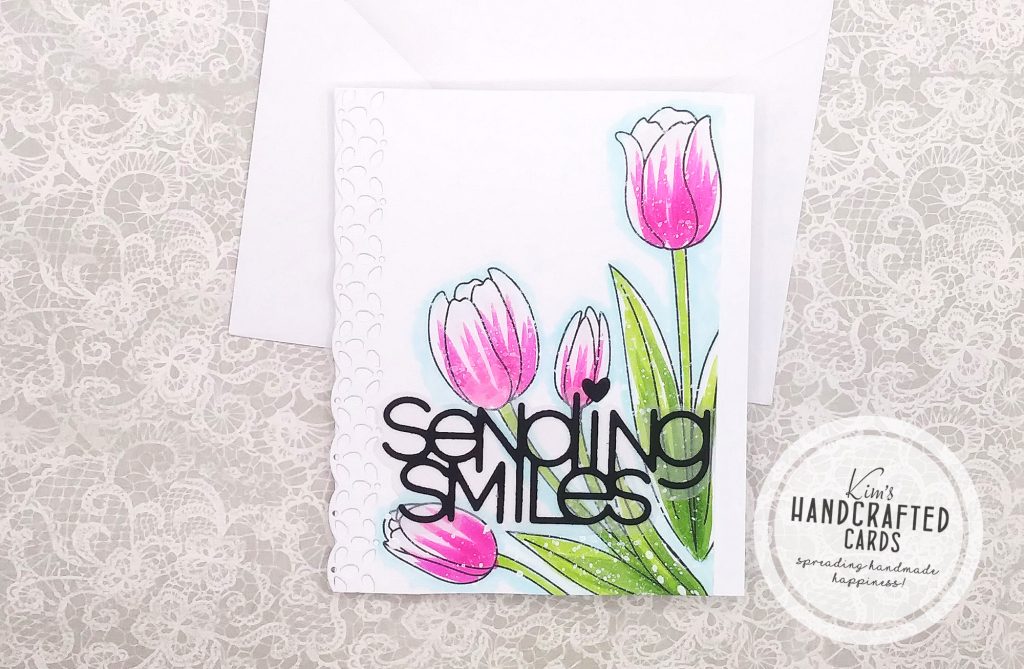
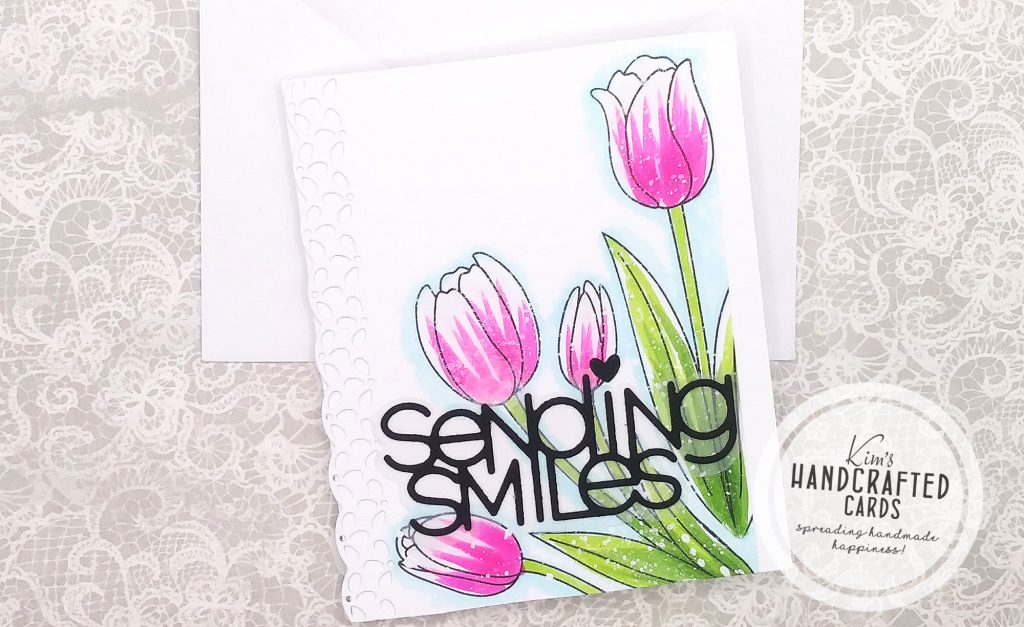
You’ll noticed I added a blue shadow effect around my tulips and I colored that with B000. I think it gives the card some pizzazz! I wanted to spritz some white paint droplets but I decided to go with acrylic paint so I used Dina Wakely “Media Gloss Spray”.
After the card panel dried, I added the “Sending Smiles” die from Simon Says Stamp on their black cardstock with the shadow on Lawn Fawn’s Pearlescent Vellum.
Even after putting my card together, I still felt like it needed something else so I die cut one side of the panel to give it a lacy edge using Pinkfresh Studio’s “Lacey Edgers” die set. Then, I adhered it to my card base and all done!
Products Used
- OOTSR Tulips Stamps and Die Set
- Copic Sketch Markers here, here or here
- Copic #0 Colorless Blender here or here
- Memento “Tuxedo Black” Ink
- Accents 100 lb. White Cardstock
- Pinkfresh Studio “Lacey Edgers” die set
- Simon Says Stamp “Sending Smiles” Die Word & Shadow
- Ngwall Round Paintbrushes (set of 12)
- Dina Wakely White “Media Gloss Spray”
- Bearly Art Liquid Glue
- Lawn Fawn Pearlescent Vellum
- Simon Says Stamp Black Cardstock