Hey Crafties! Today, I want to share a couple of cards with a new, fun twist that I had never tried before. I shared these on my social channels but hadn’t on the blog and to be truthful, I was so weary last week that I didn’t feel like writing the post! Maybe you can relate! Anyway, I’m here today and ready to share 🙂
This card base design came directly from Jennifer McGuire, if you’re in the handmade cardmaking industry, you’ve heard of her and probably have been influenced by her designs. I think she’s incredible and so glad that I found her on YT when I was just getting started making cards.
Her daughter, Lila, named this card design “Bowl-Fold” cards because of the unique way they open. It is a fun and easy technique and if I can do it, you can too! I won’t go into the steps to make them because Jennifer’s video here outlines it step by step and I followed these religiously to make my 2 cards. I’ll tell you about the decorations on the front and inside the cards.
I embedded Jennifer’s video below to make it quick and easy to watch if you want to give this technique a try. If for some reason the video doesn’t play, click here to watch on YT.
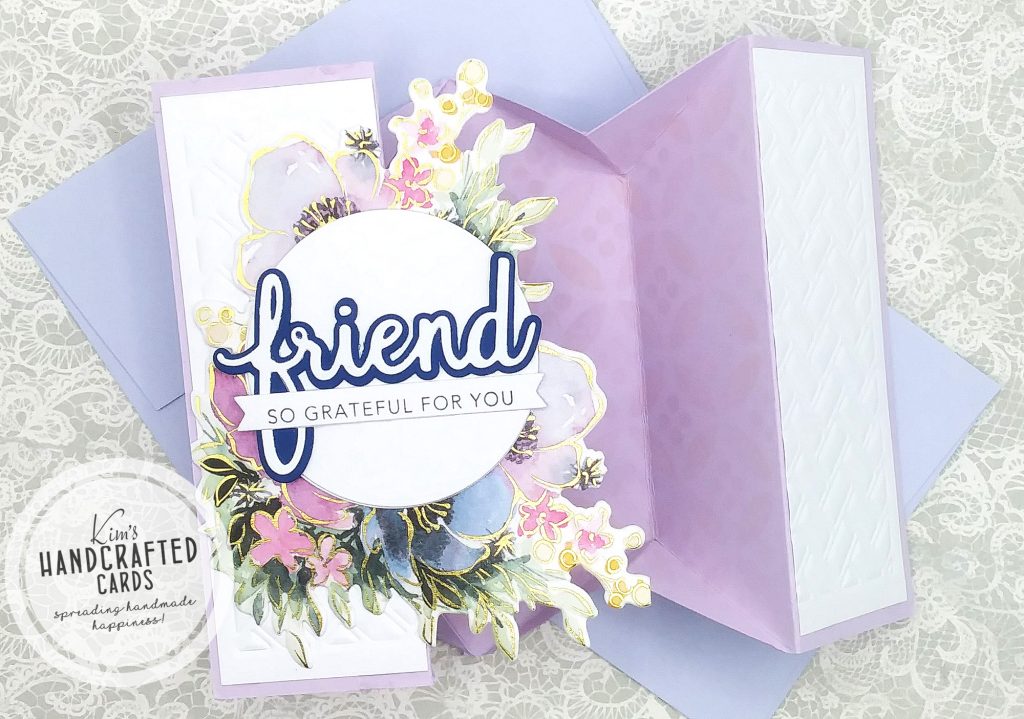
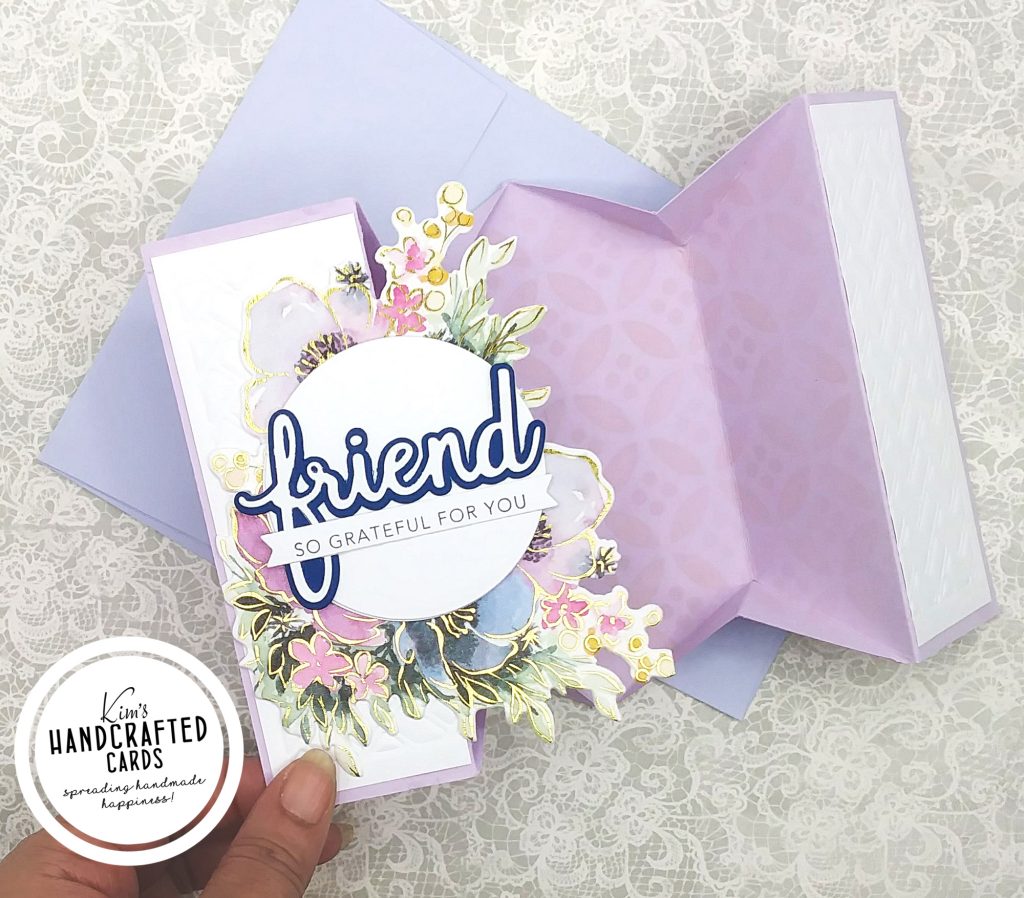
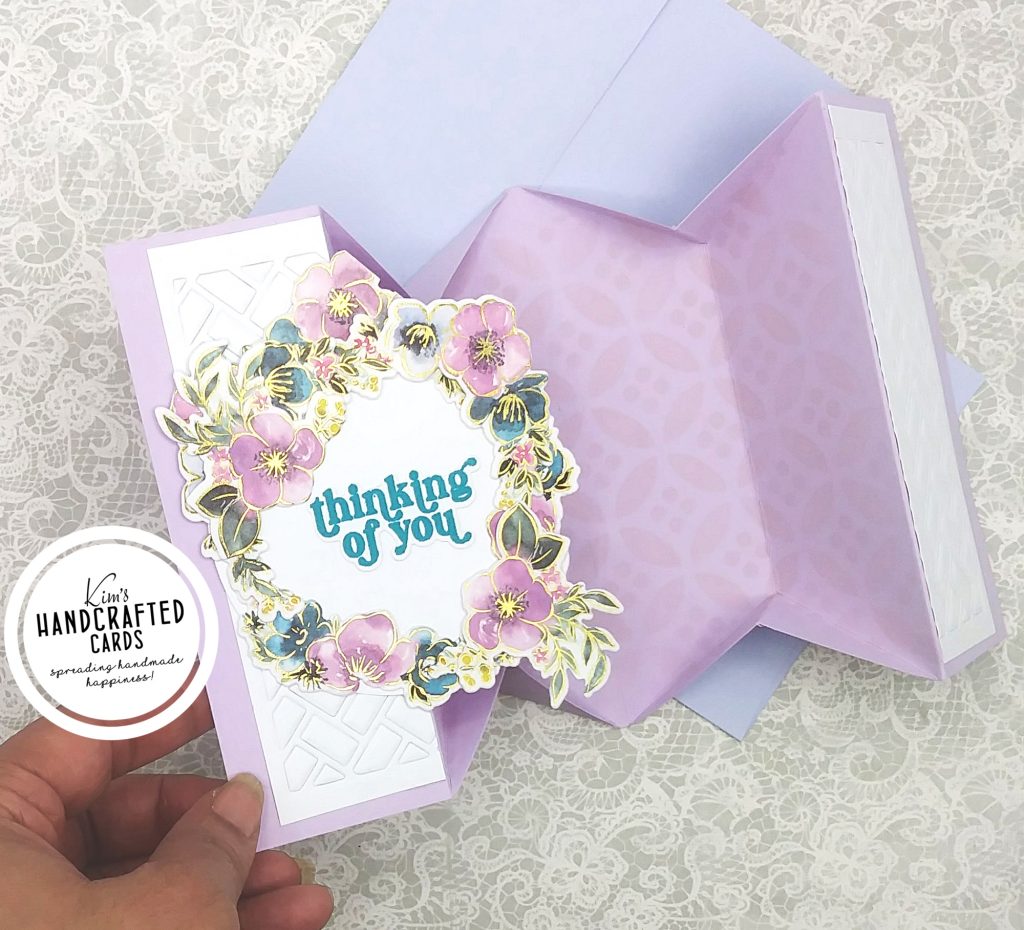
After I made my 2 card bases, I decided to decorate the inside for a tone on tone look. For this, I colored 1 stencil from Vicki Boutin’s “Sweet Rush” stencil set with Pinkfresh Studio’s “Ballet Slipper” ink. My card bases are the lilac from Cardstock Warehouse’s “Pretty in Pastels” pack. I’ve used this pack on a bunch of cards and love it!
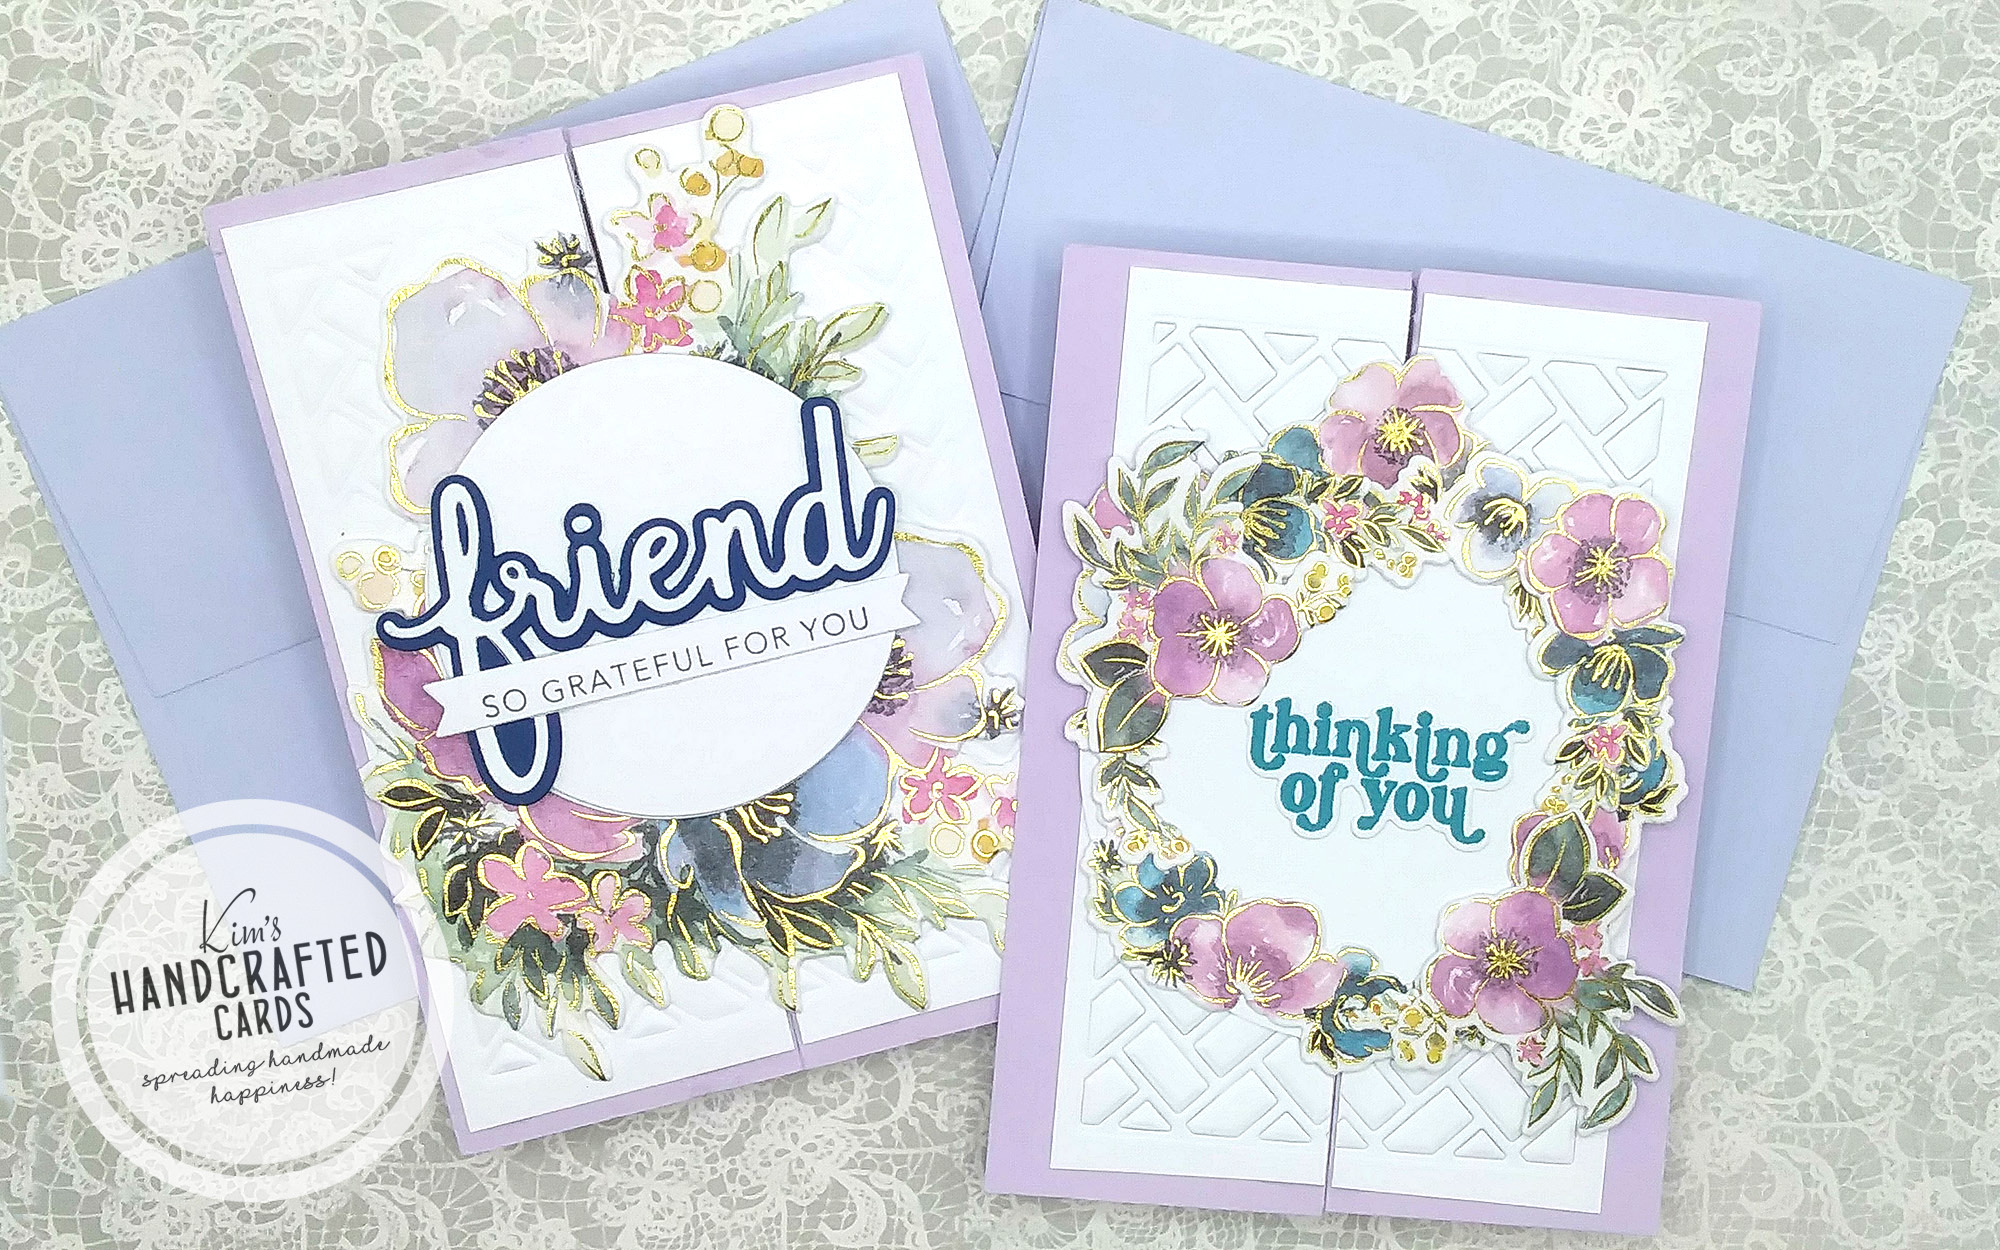
On the front of the cards, I had a couple of sheets left over with the dry embossed design with the “Herringbone Frame” die from Sunny Studio Stamps. I trimmed them down to go over both panels and glued them down. Also, check out these cards using this die to dry emboss!
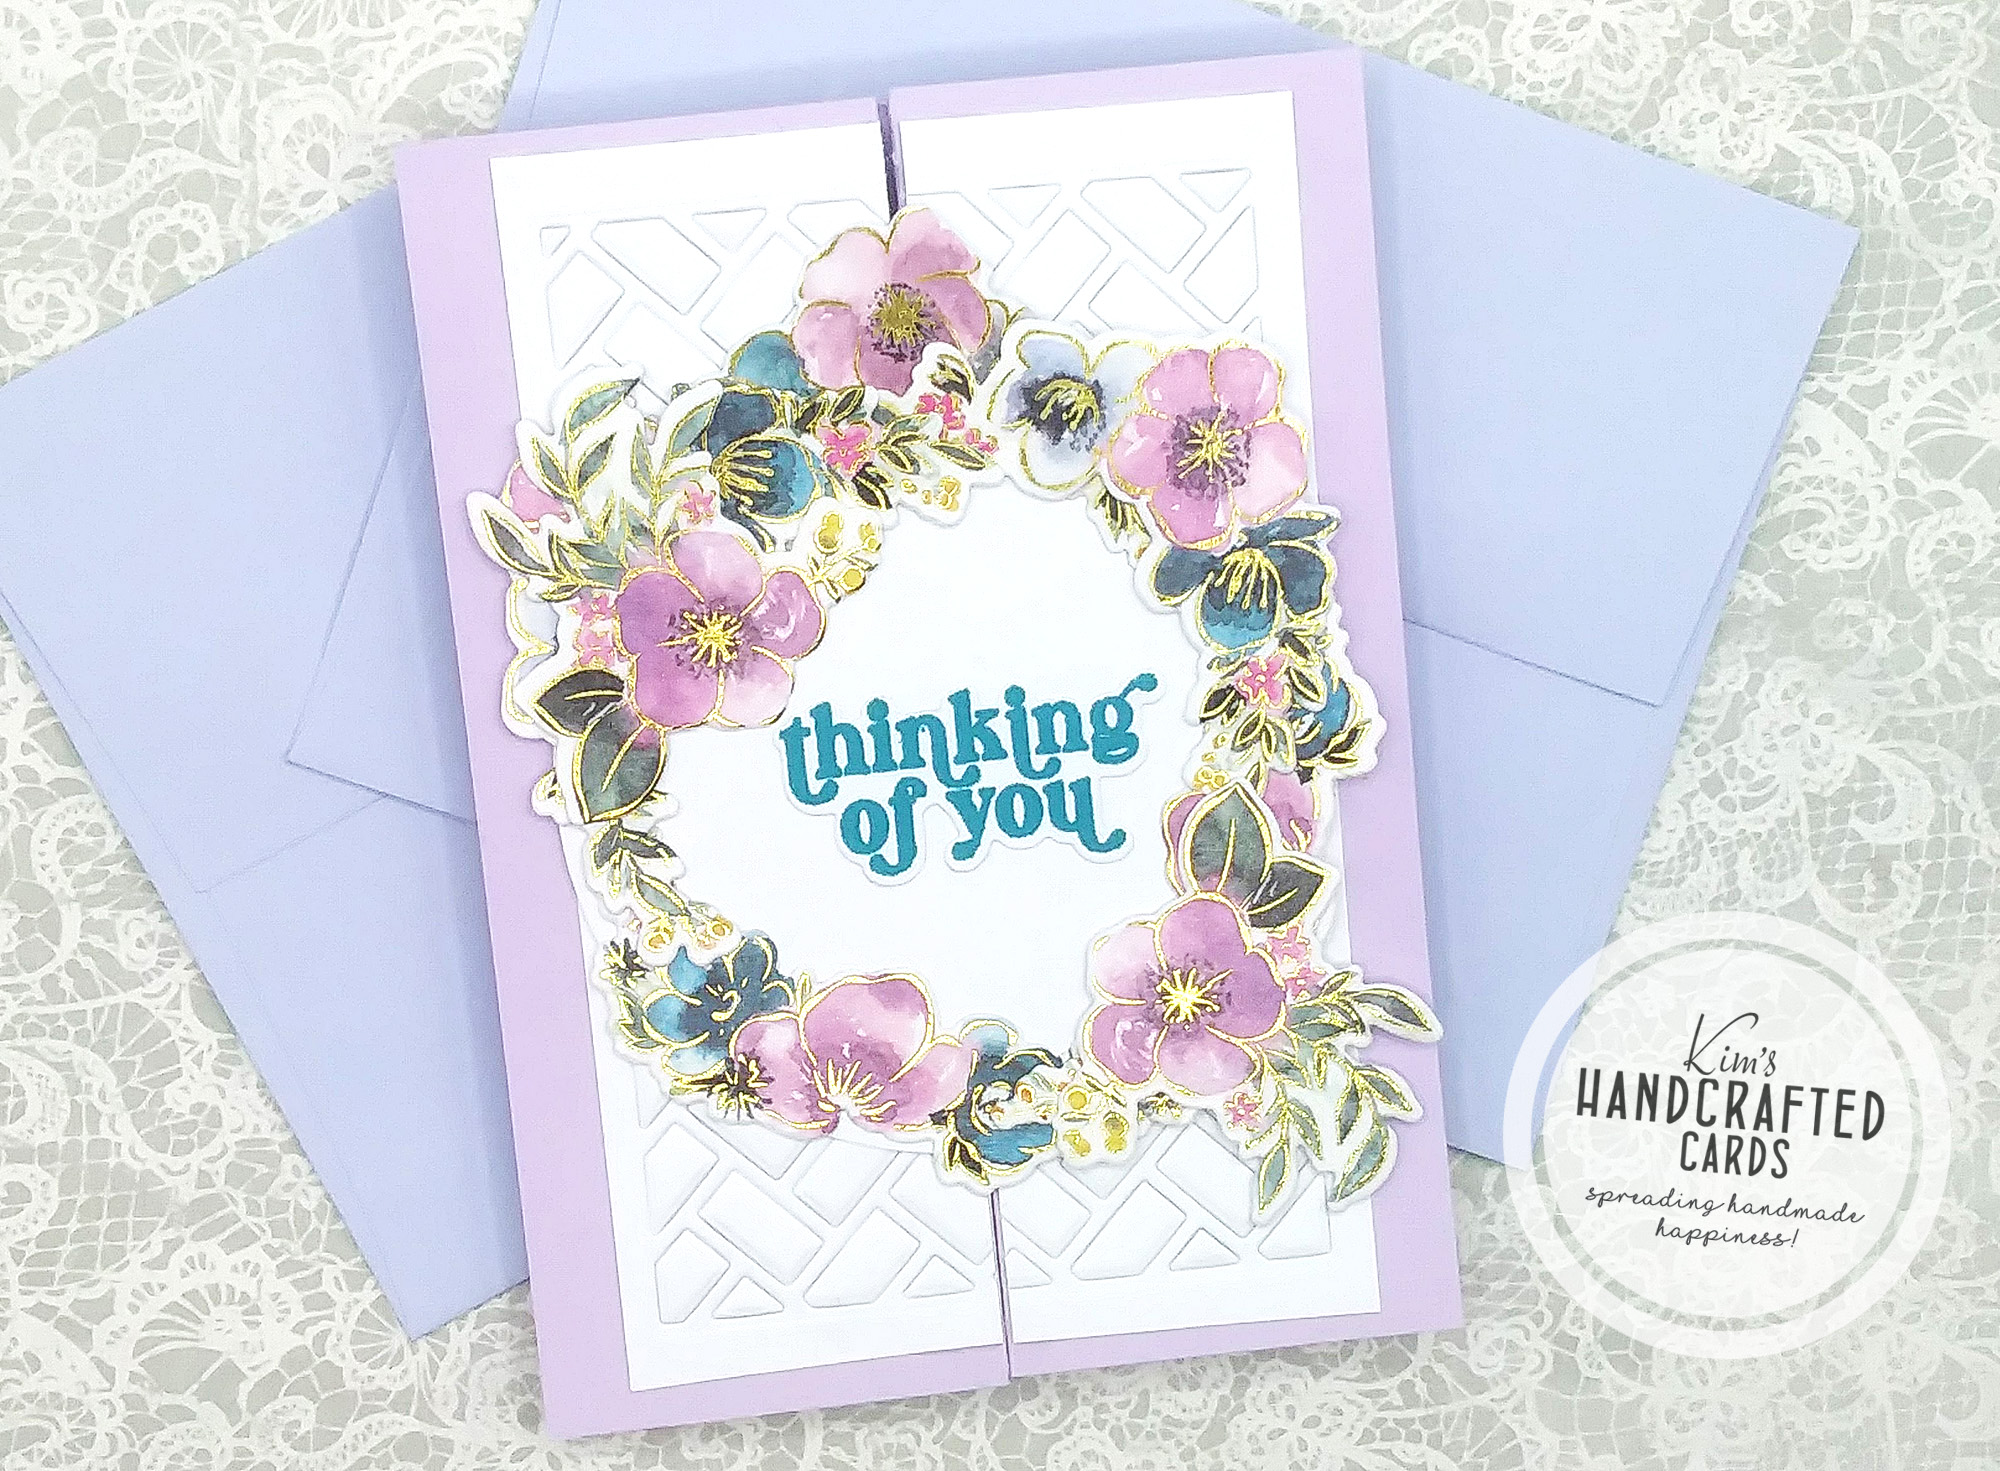
Also for the front, I used an older Washi/die set (“Anemone”) also from Pinkfresh Studio. I die cut a bunch of these to decorate the outside of my cards.
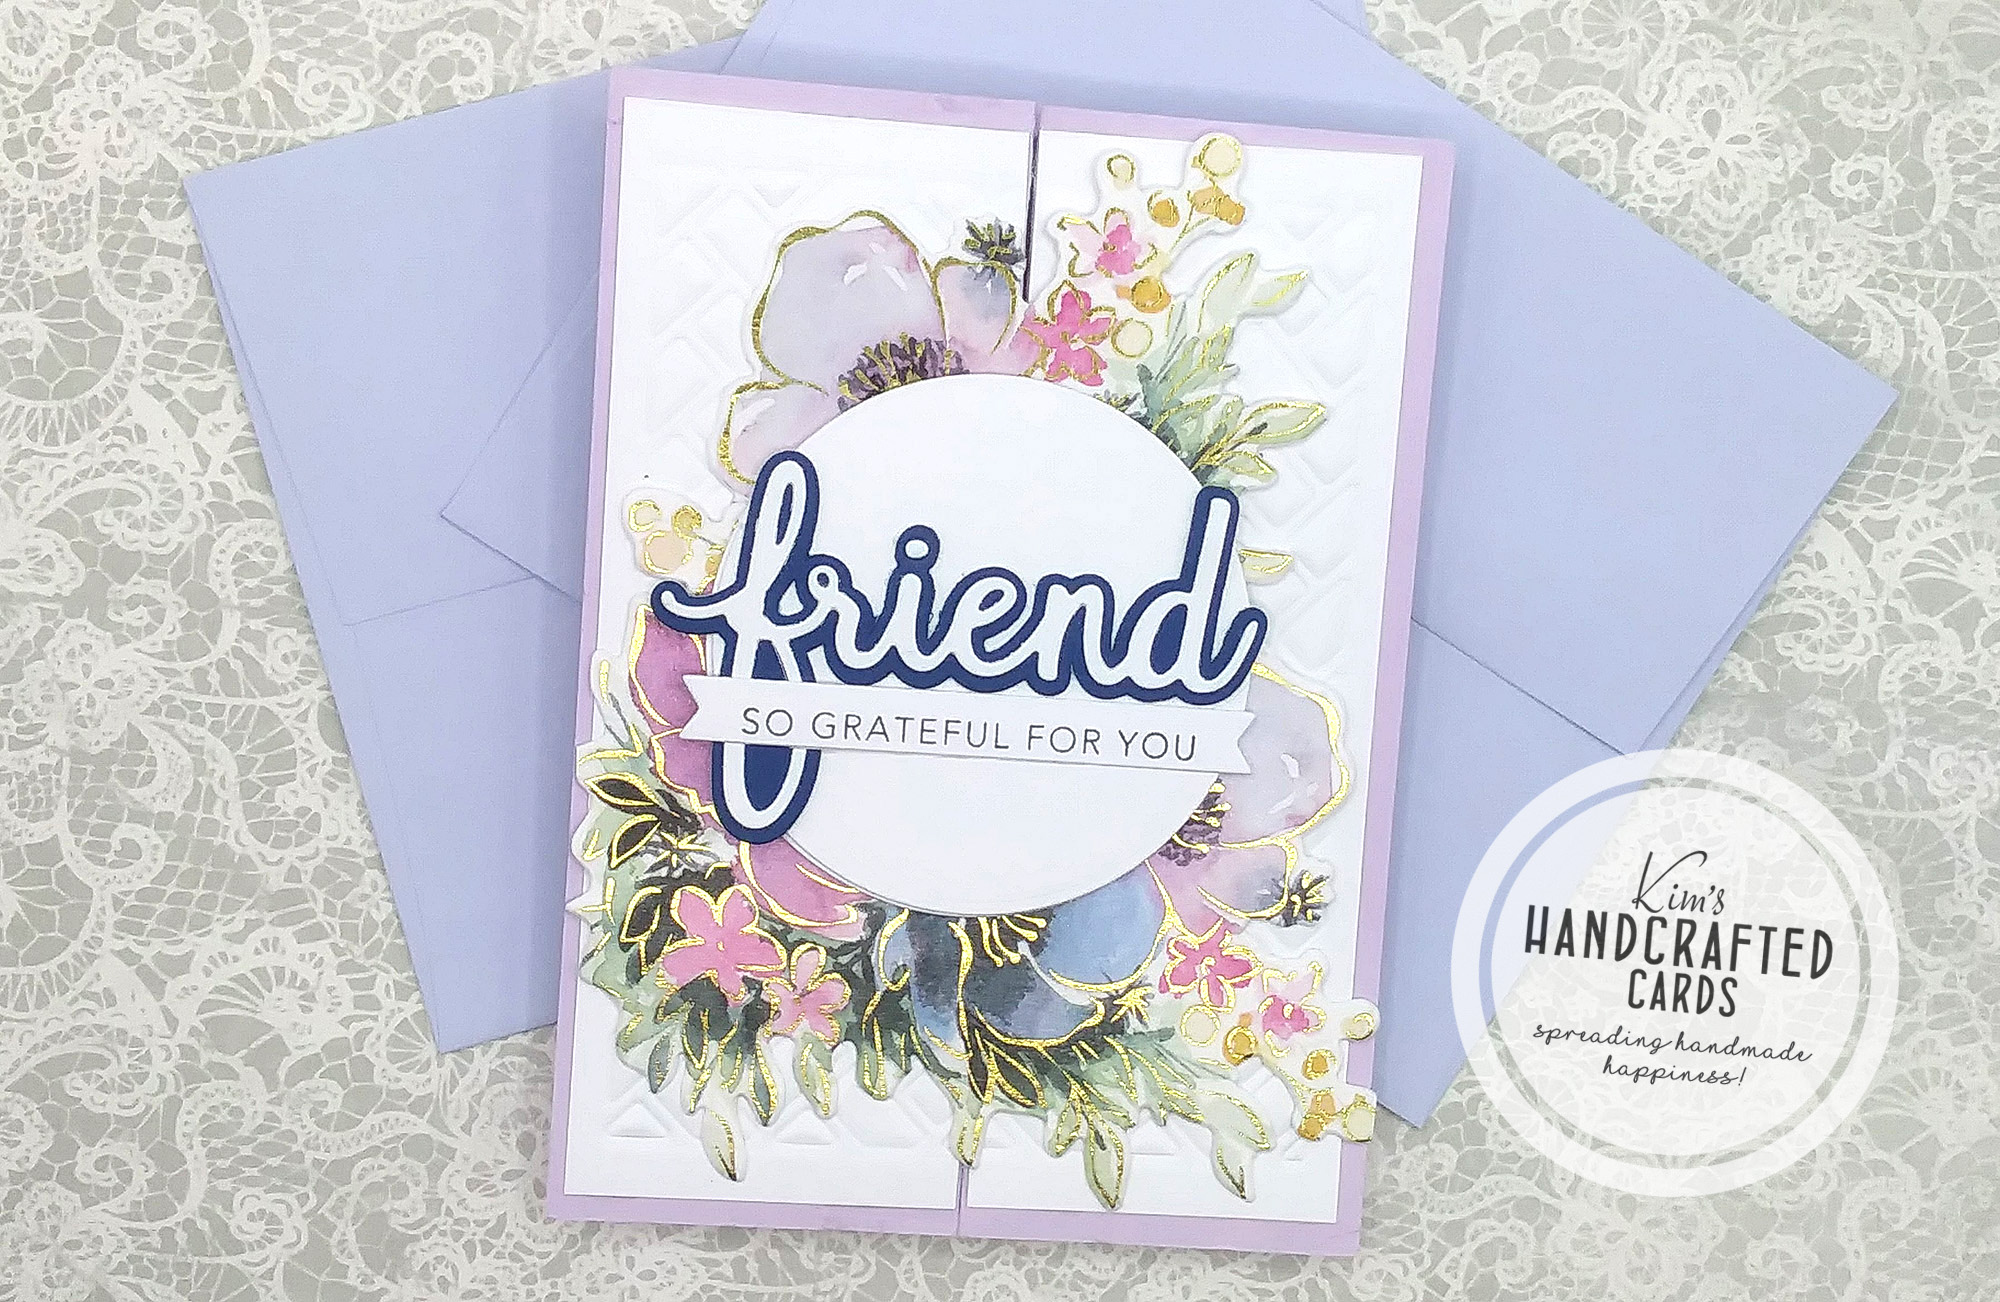
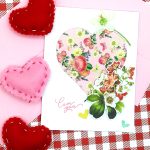
For my “Friend” card, I die cut the flower clusters from the washi tape and glued the two pieces together and added a circle die on top. I die cut the “friend” also from Pinkfresh from blue and white cardstock. The secondary sentiment is from Taylored Expressions.
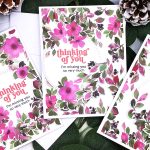
For my “Thinking of You” card, I created a wreath from the washi tape over my circle die. Then, added the sentiment die which is from Simon Says Stamp’s “Hibiscus” stamp set.
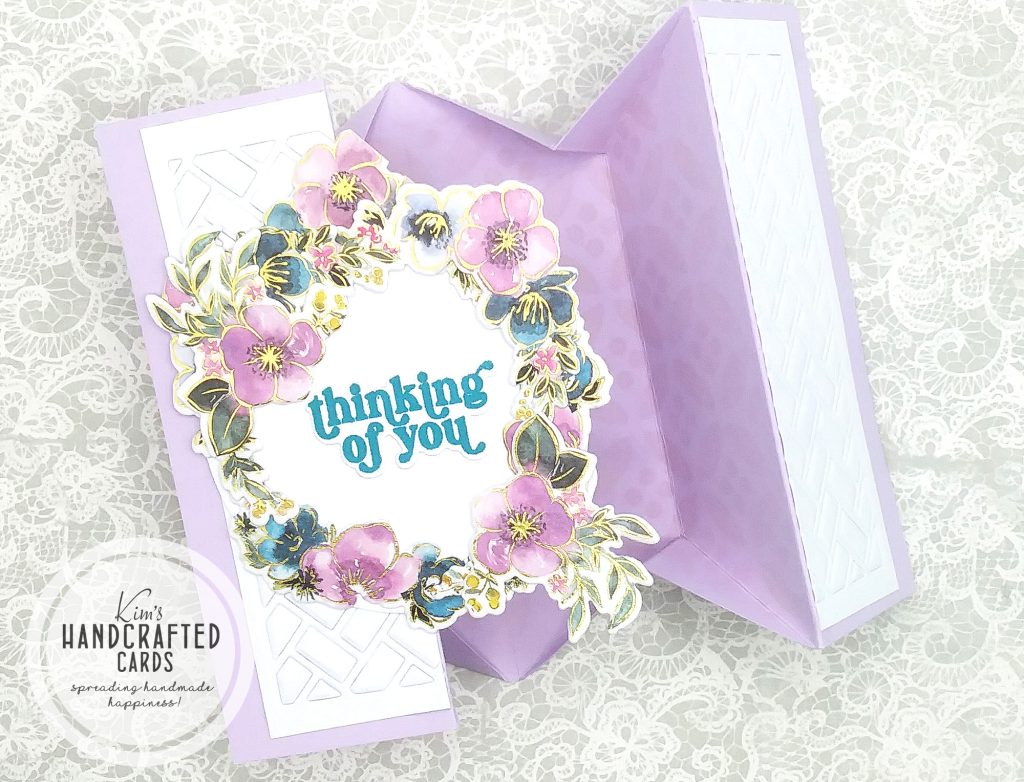
I JUST LOVE how these cards look when open!
See how they look like a bowl when opened! LOL 😀
What a fun card design! I hope you try it too, it’s really easy!

- Pinkfresh Studio “Anemone” Washi/Stamp/Die/Stencil Collection
- Sunny Studio Frilly Frames “Herringbone frame” die
- Cardstock Warehouse “Pretty in Pastels” Cardstock
- Pinkfresh Studio Essentials “Phrase Builder” Word Dies
- Pinkfresh Studio “Ballet Slipper” ink pad (single pad here) or in the 4-pack here
- Simon Says Stamp “Hibiscus” Stamp set
- Bearly Art Glue
- Waffle Flower Crafts “Additional Circles” Nested Dies
- Vicki Boutin “Sweet Rush” Stencil 3-pack Collection
- Accents 100 lb. White Cardstock
- Taylored Expressions “Simple Strips Backgrounds” stamp/die set