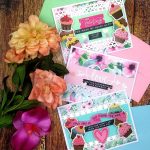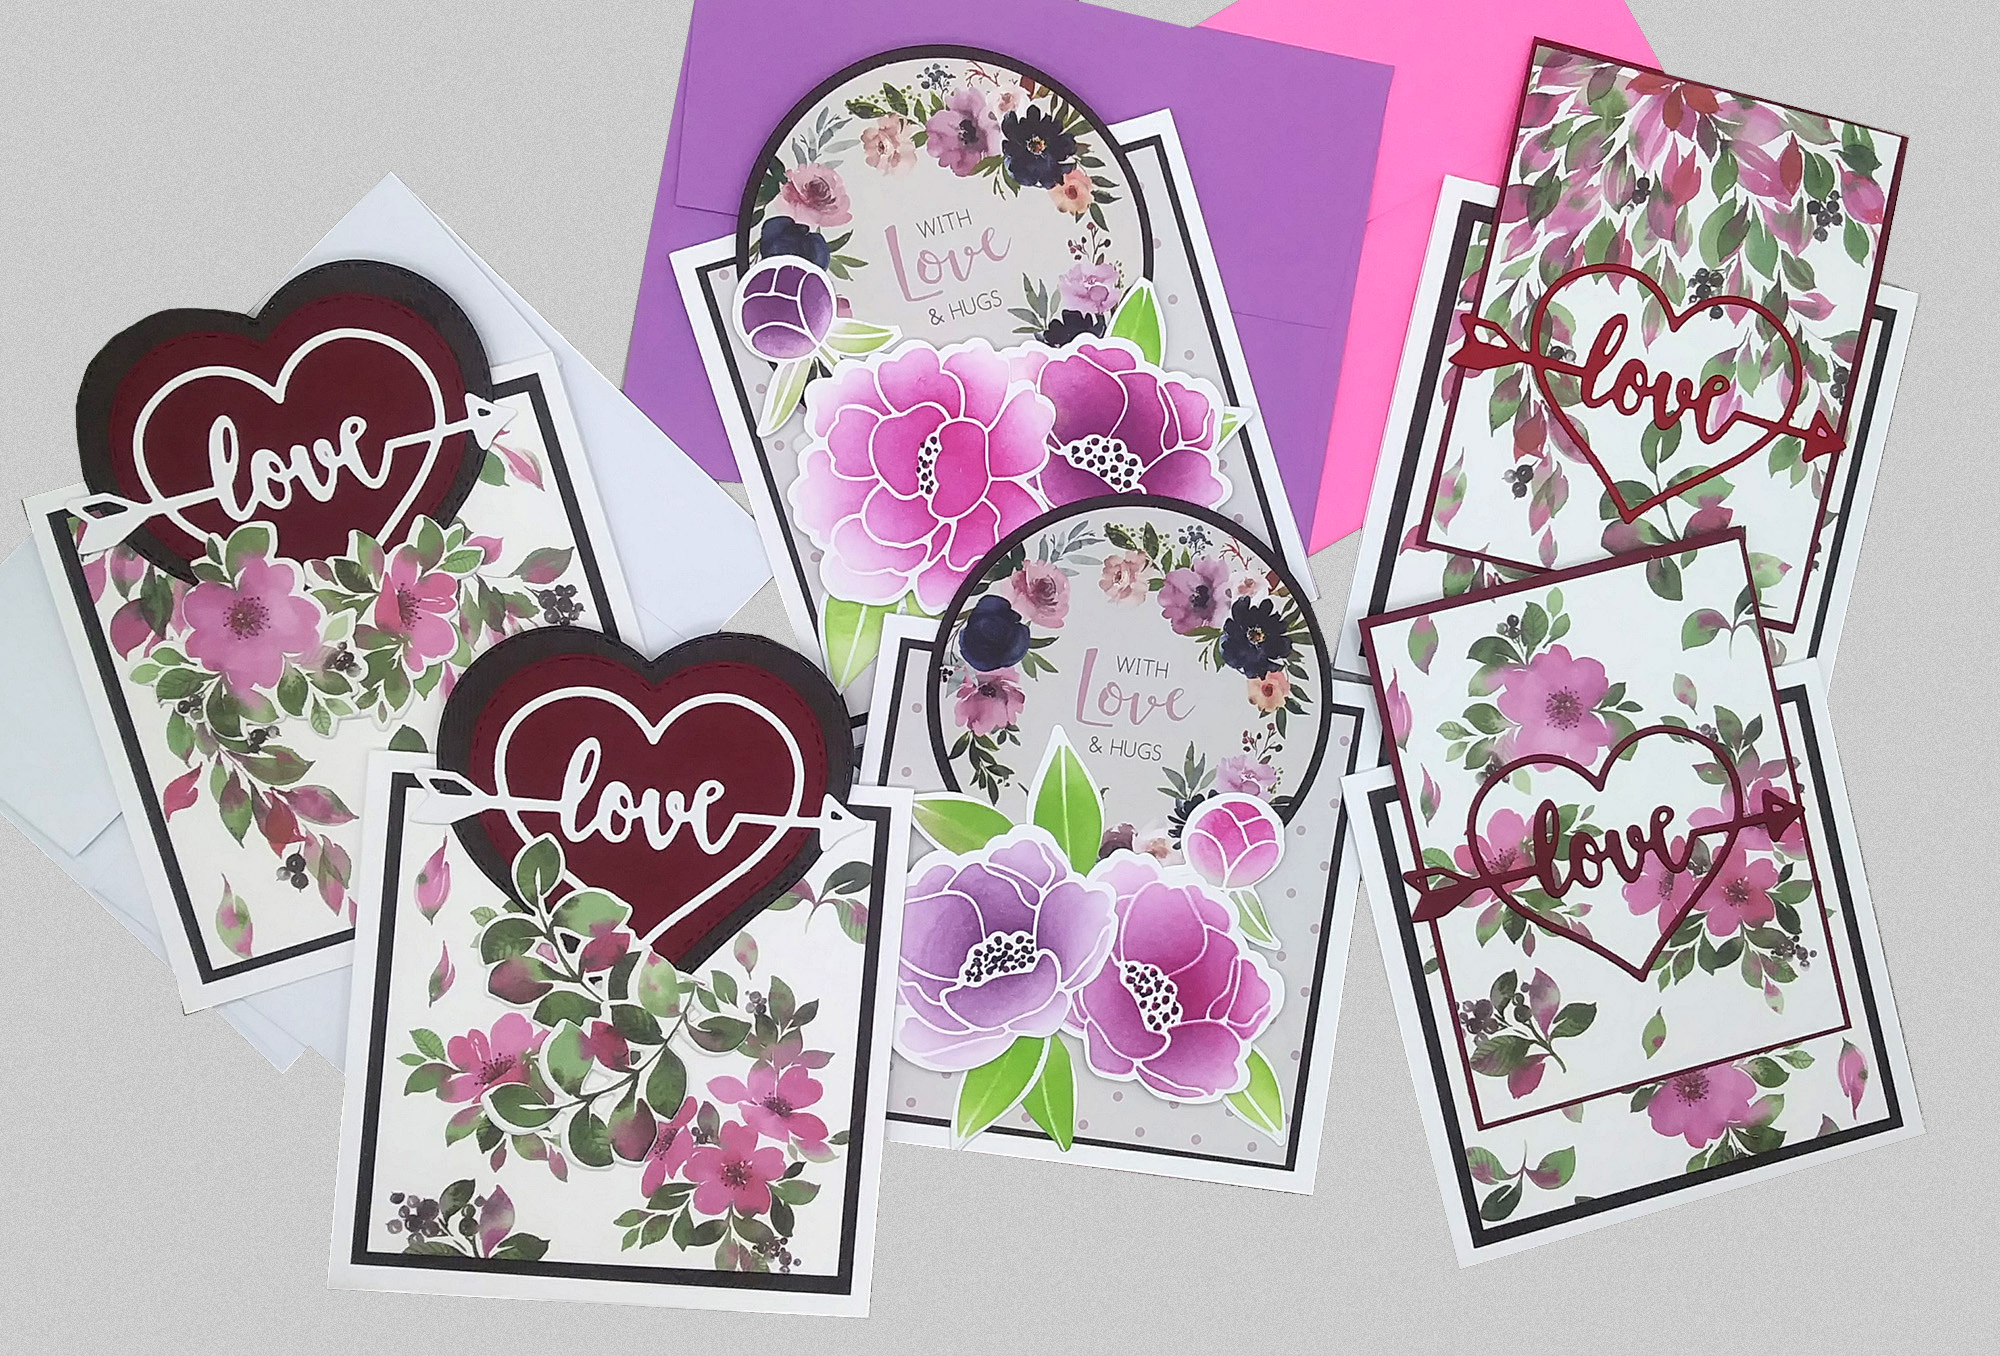
Ever since I watched Gina K. of Gina K. Designs introduce a tent topper card design, I’ve loved making them! I created a bunch last year and I thought how cool to make some more for Valentine’s Day.
I’ve paired her technique with several products from: Pretty Pink Posh, Lawn Fawn, Paper Boutique and Simon Says Stamp. I also wanted make the topper portions with rectangles and hearts as well as the circle that I’m more familiar with. I so enjoyed making these, there’s a total of 6 cards I’m sharing today 🙂
If you’re not familiar with how to make a tent topper card, I highly, highly recommend watching Gina’s video! If you haven’t made one, I believe you’ll really like it. It’s a fun way to make a card that’s different and they fit perfectly into a regular size A2 envelope!
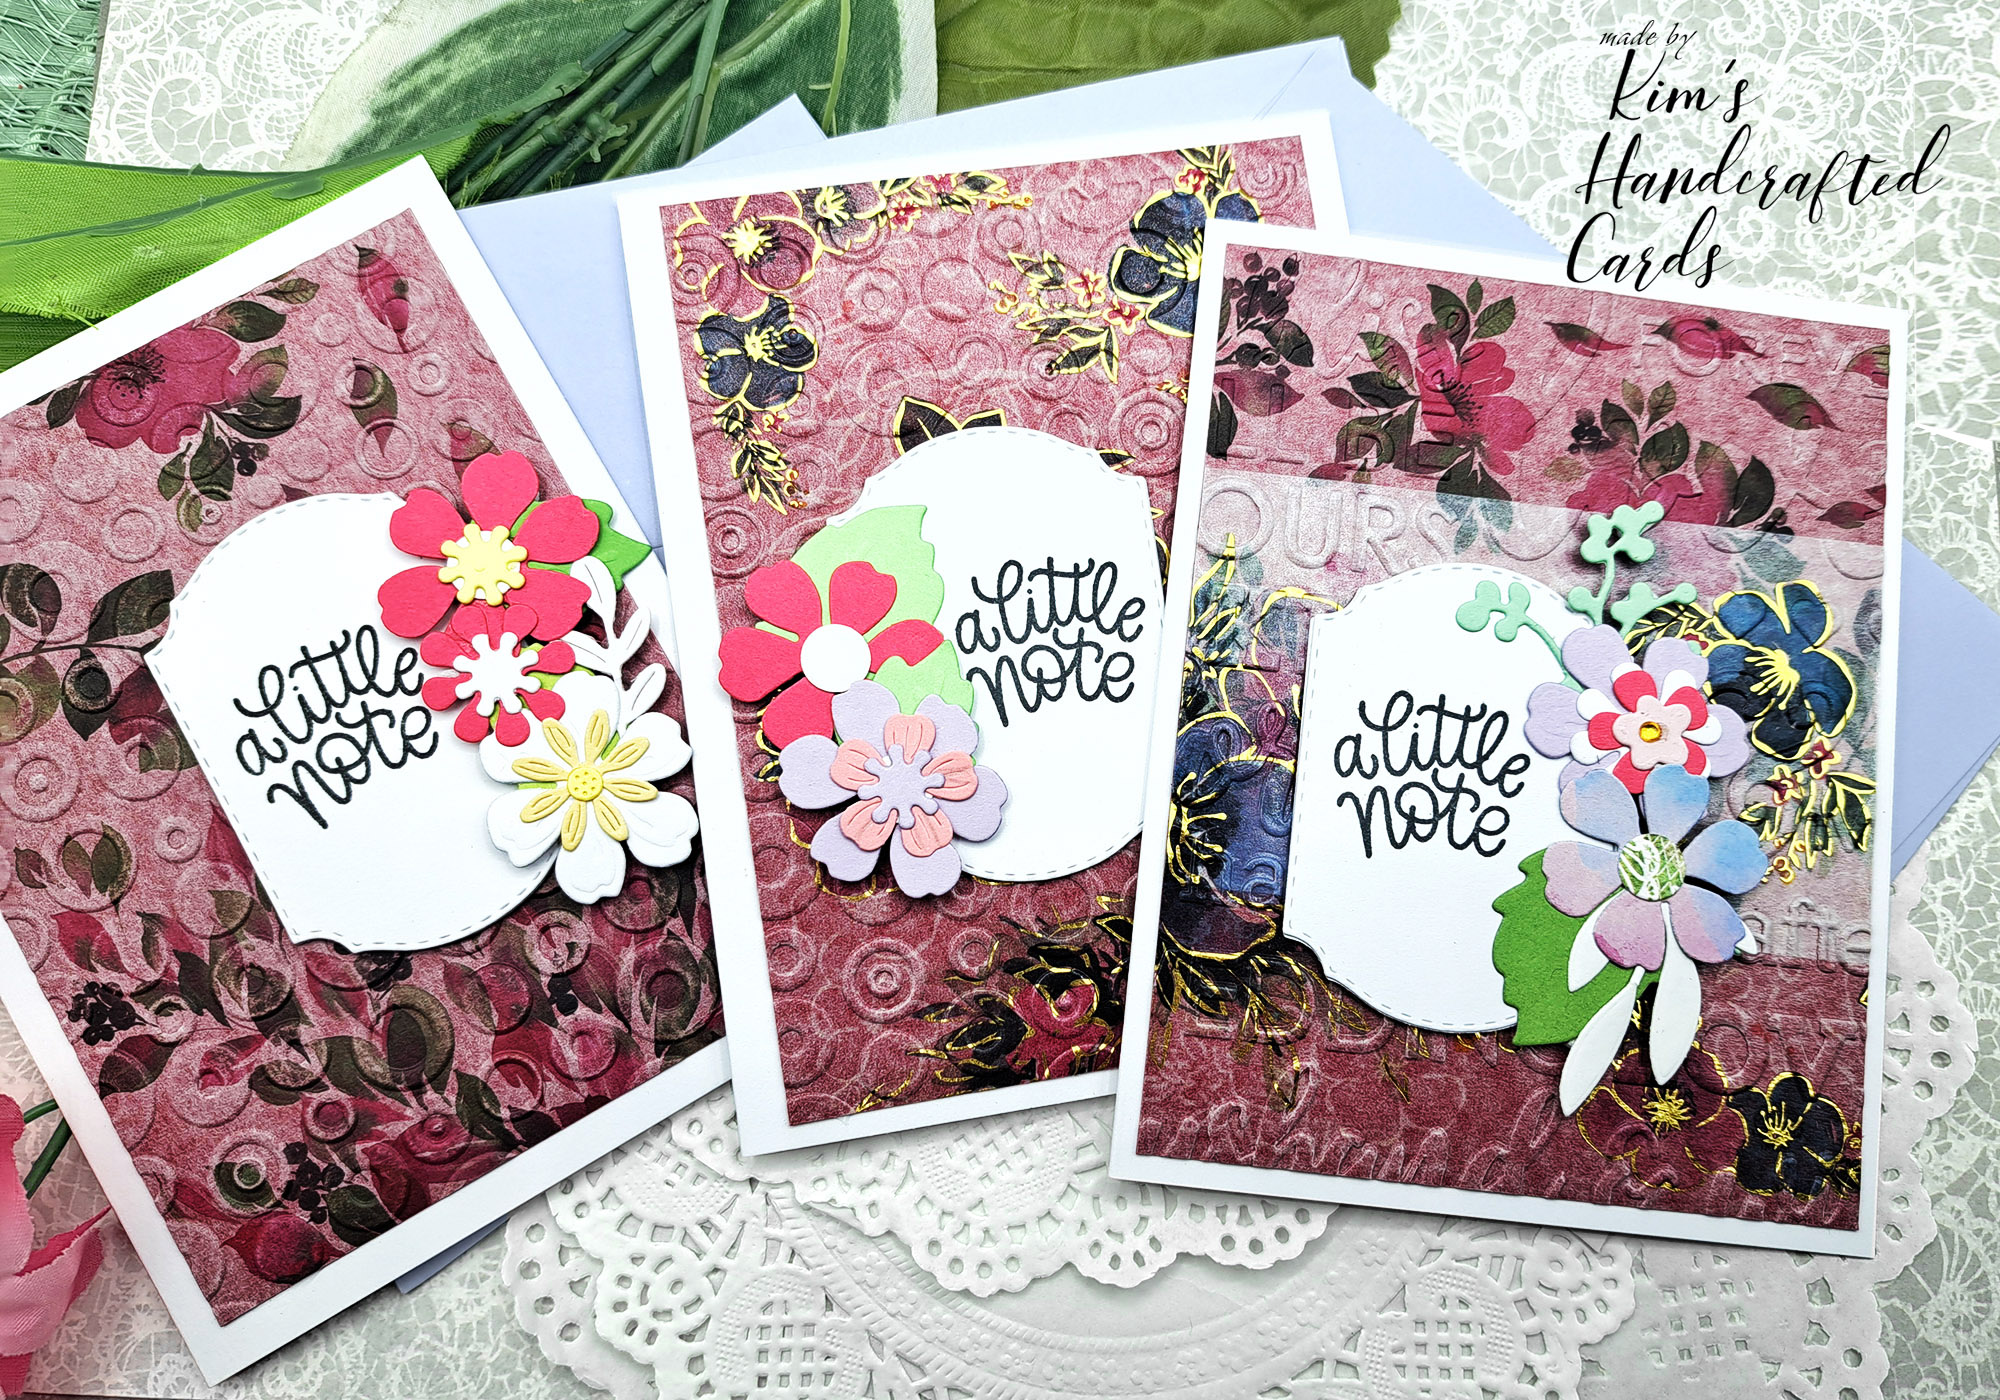
SET of CARDS #1
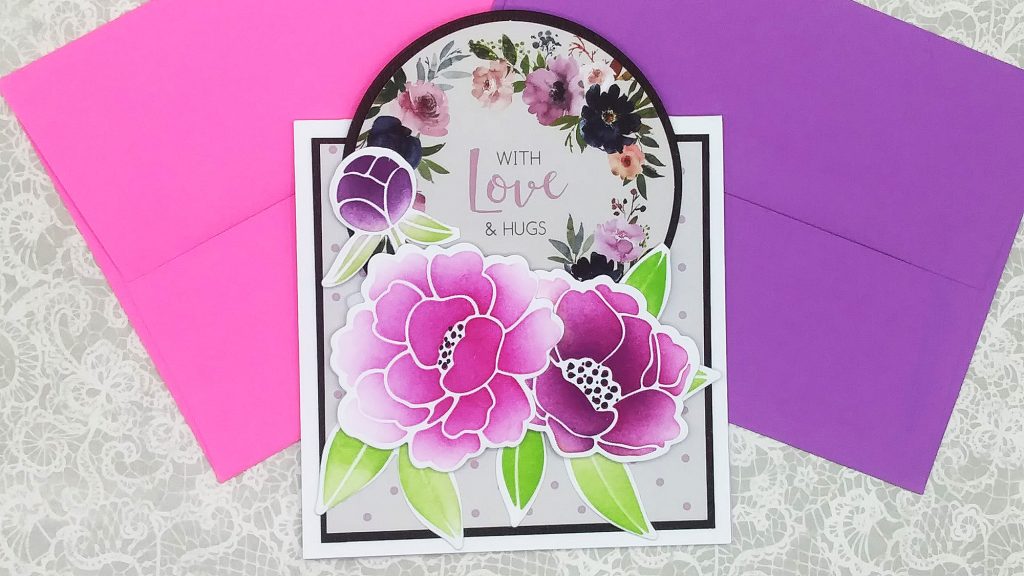
These are the first 2 set of cards made. I broke down this post into steps for how I made each set of cards. I think it’ll be easier for you to follow along!
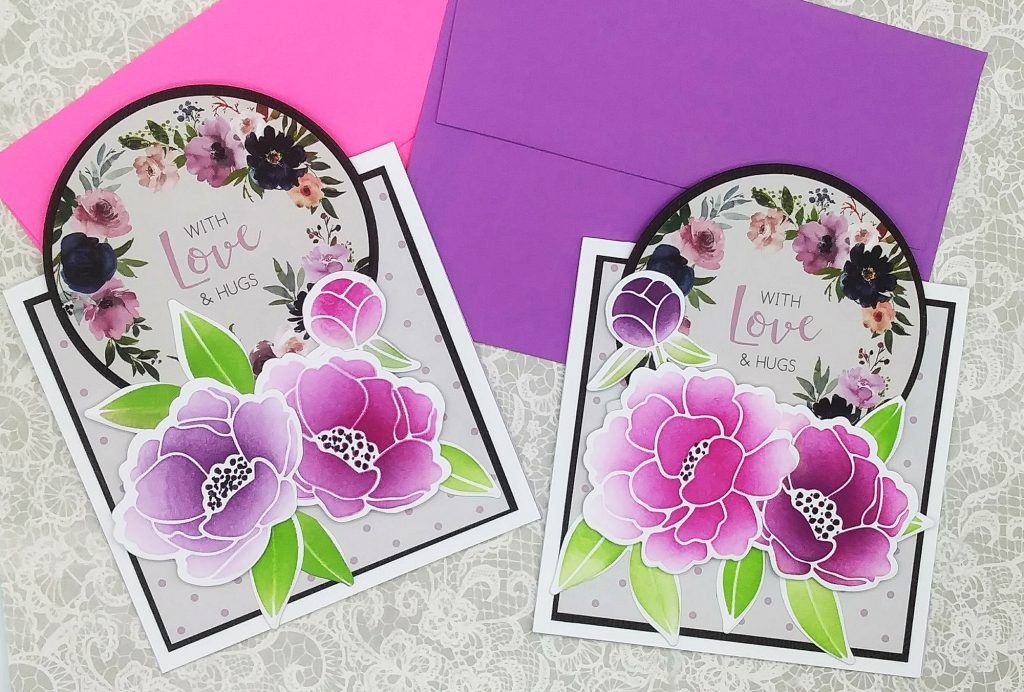
STEP 1 – CARD BASES/PANELS
- I started out with regular white heavyweight cardstock that has a top fold edge. I trimmed these down to 4-1/2 x 4-1/2 so we have square card bases. Set these aside.
- I wanted a dark border so I used Lawn Fawn’s “Dark Brown” Woodgrain cardstock and I trimmed this down to 3-7/8 x 3-7/8. I glued this to my card bases.
- Next, was picking out some pattern paper which I used Paper Boutique’s “Damask Delights” 8×8 paper kit. I just purchased this and I LOVE all the flowers and designs. I picked out polka dots as I knew I wanted flowers on top and this pattern would not overshadow my flowers.
- The pattern papers were trimmed to 3-3/4 x 3-3/4 and I glued this to my woodgrain cardstock. Now, the card bases are done and I set these aside.
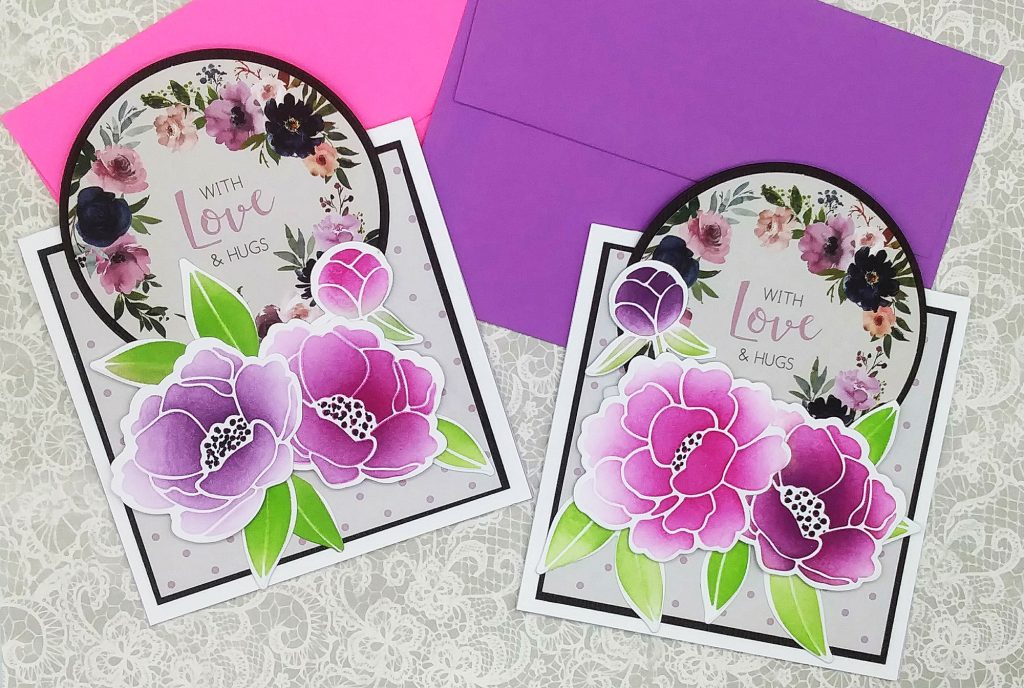
STEP 2 – FLOWERS
- I used Pretty Pink Posh’s “Peonies” stencils/dies to color the flowers with Pinkfresh Studio Ink colors: “Bubblegum” and “Sapphire“. The leaves were ink blended with “Key Lime”.
- Added details to the centers with my Faber-Castell “PITT Artist” black pen.
- I die cut the flowers and played around with placement, then I used some Glad Press’N Seal to pick them up. I set them aside so I could concentrate on my tent topper portions.
STEP 3 – TENT TOPPER
- I used a circle dies from the Waffle Flower Crafts “Additional Circles” nested die set. The Paper Boutique (“BP”) collection has some square and circle pieces that were just perfect for this card design. My circle die is just slightly larger than the ones from PB so again I could have a nice border.
- Glued these circles together. I did die cut a couple more circles to have a little dimension, but this step could be skipped.
STEP 4 – PUTTING IT ALL TOGETHER
- Now that I had all my pieces done, it’s time to put the cards together. I used Gina’s tip from her video of how to place the topper portion onto the card bases. She used her Scor-buddy placing the card base (horizontally) to the left edge and placing the topper portion at the 5-1/2 mark. This ensures that the cards will be A2 sized.
- I then glued my circle toppers to my card bases with liquid glue, but double-sided tape would work too.
- Took my flowers with the Press’N Seal and added my adhesive (foam squares) and gently placed them onto the cards. And these 2 cards were done!!!
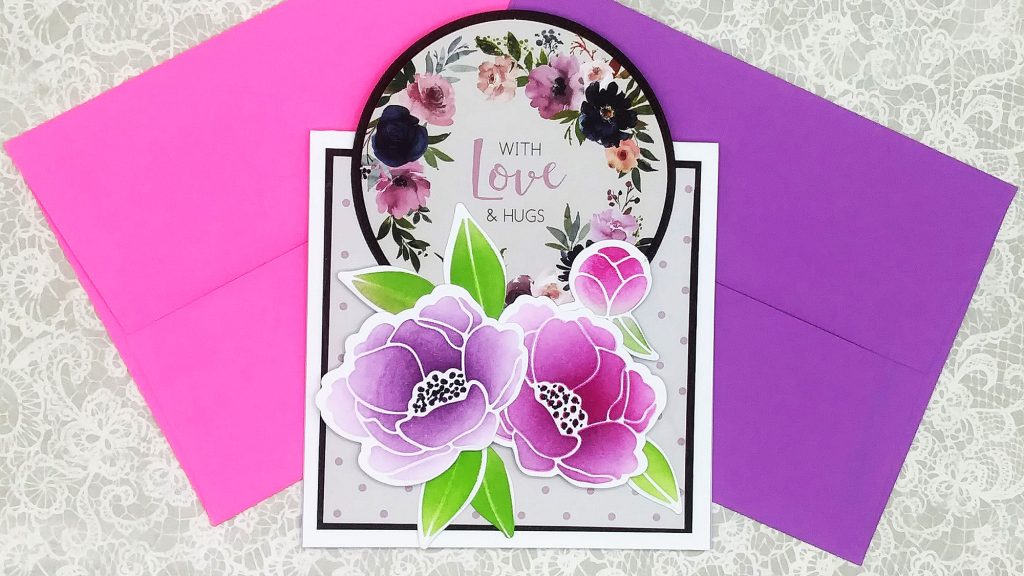
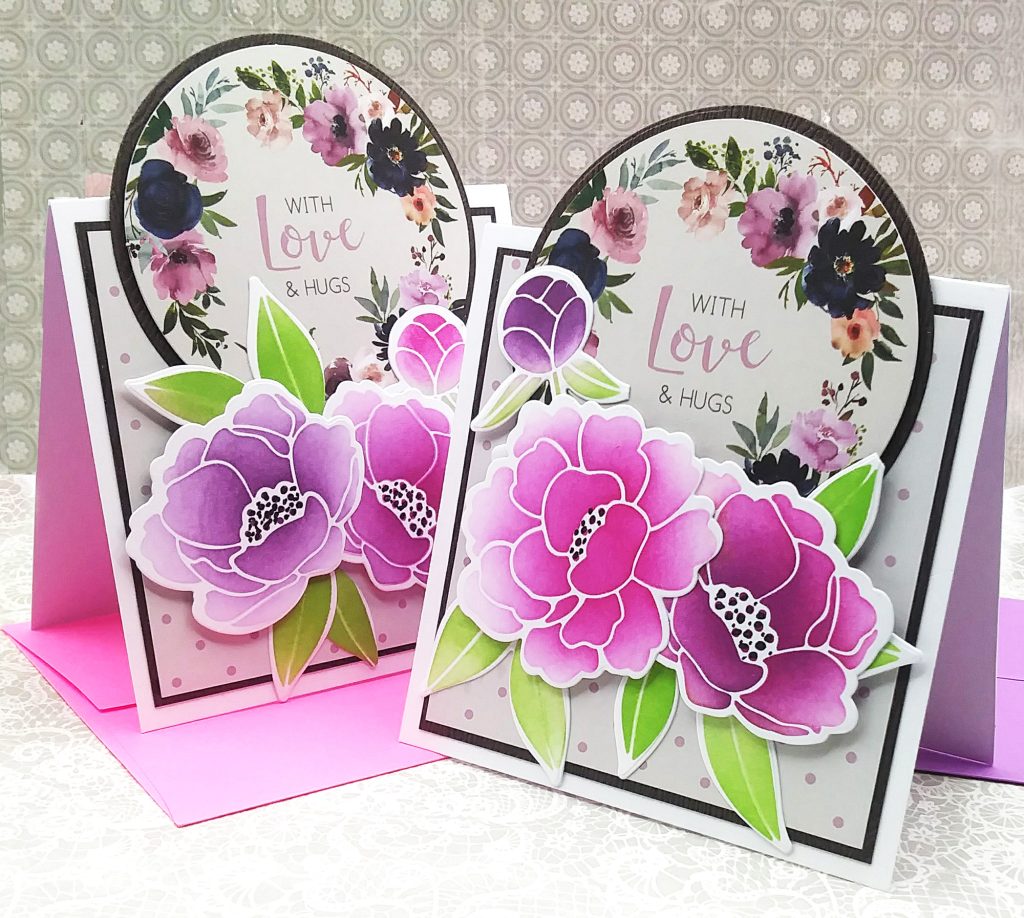
Here’s a picture of what they look standing up!
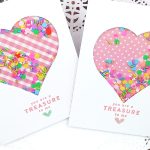
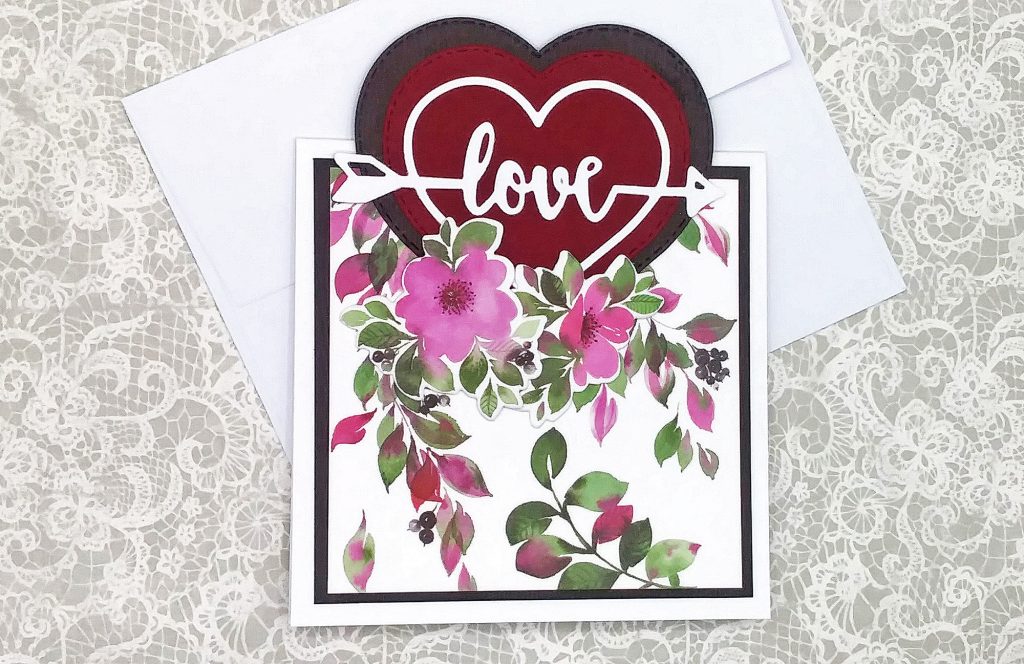
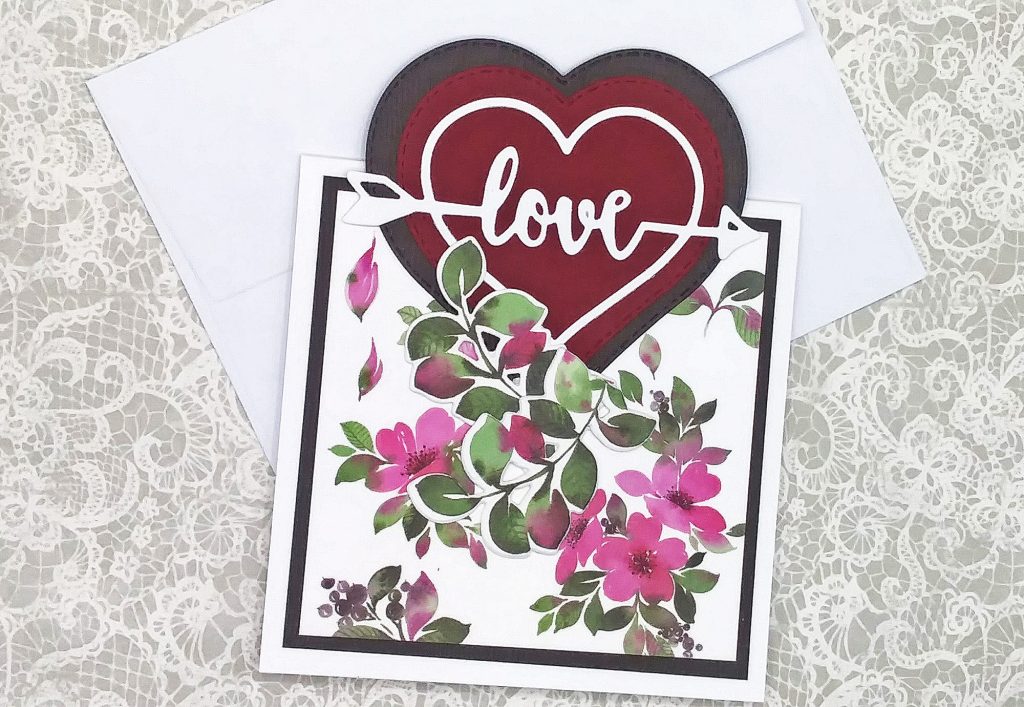
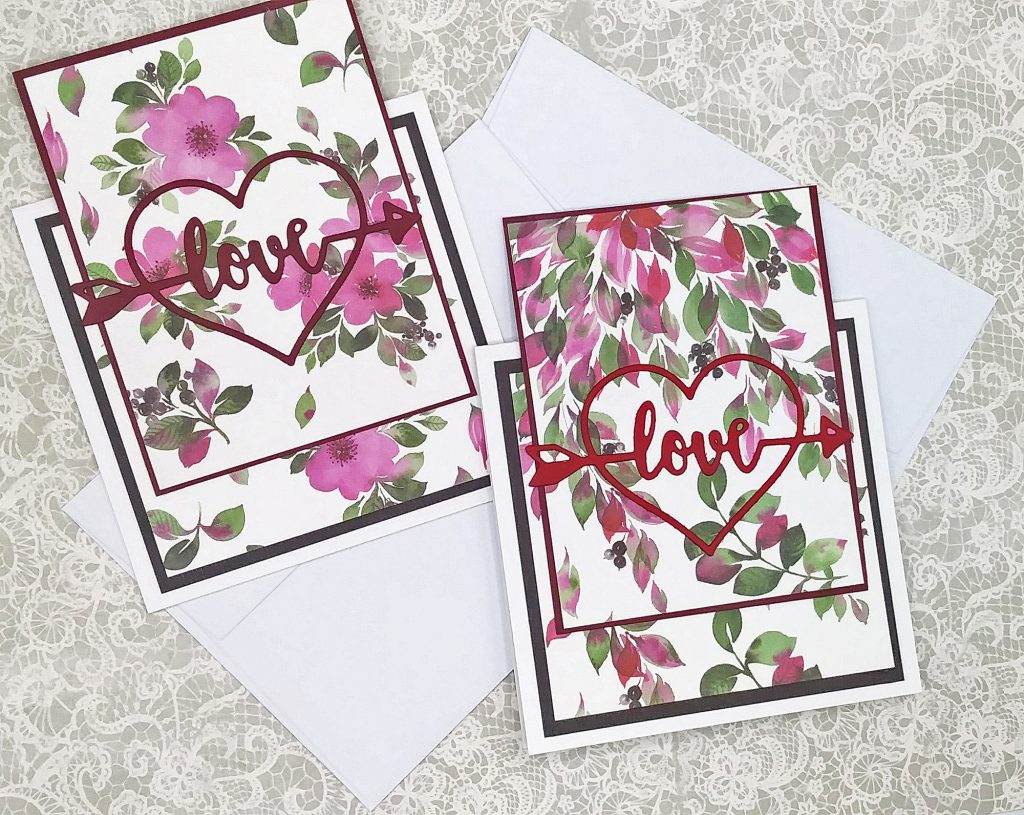
SET of Cards #2
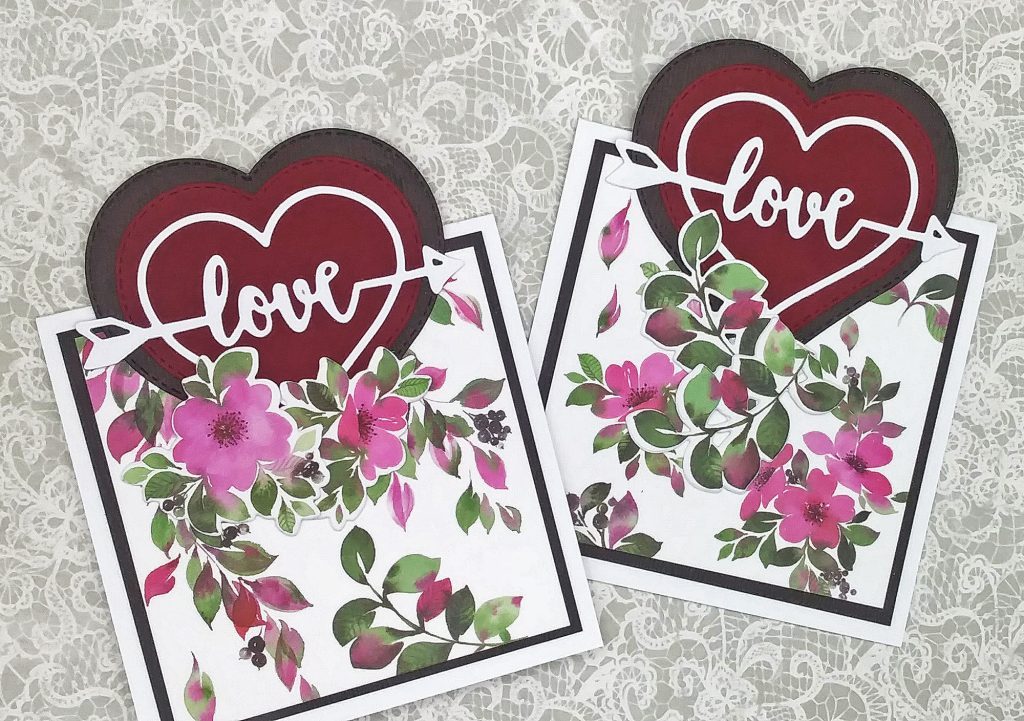
For my 2nd set of cards, I decided to try a heart topper! Unfortunately, I only have 1 heart nested die set and each heart maybe about an 1″ apart so you’ll see these have a larger border but I went with it! I’m hoping to purchase another set where the hearts are more close in sizes.
For my card panels, I went with Pink Fresh Studio’s “In the Meadow” washi tape and dies as my focal points! I placed the washi tape down first and then cut these to the 3-3/4″ x 3-3/4″. I even had extras left over 🙂
I followed the same steps for the first 2 cards to put together my card bases.
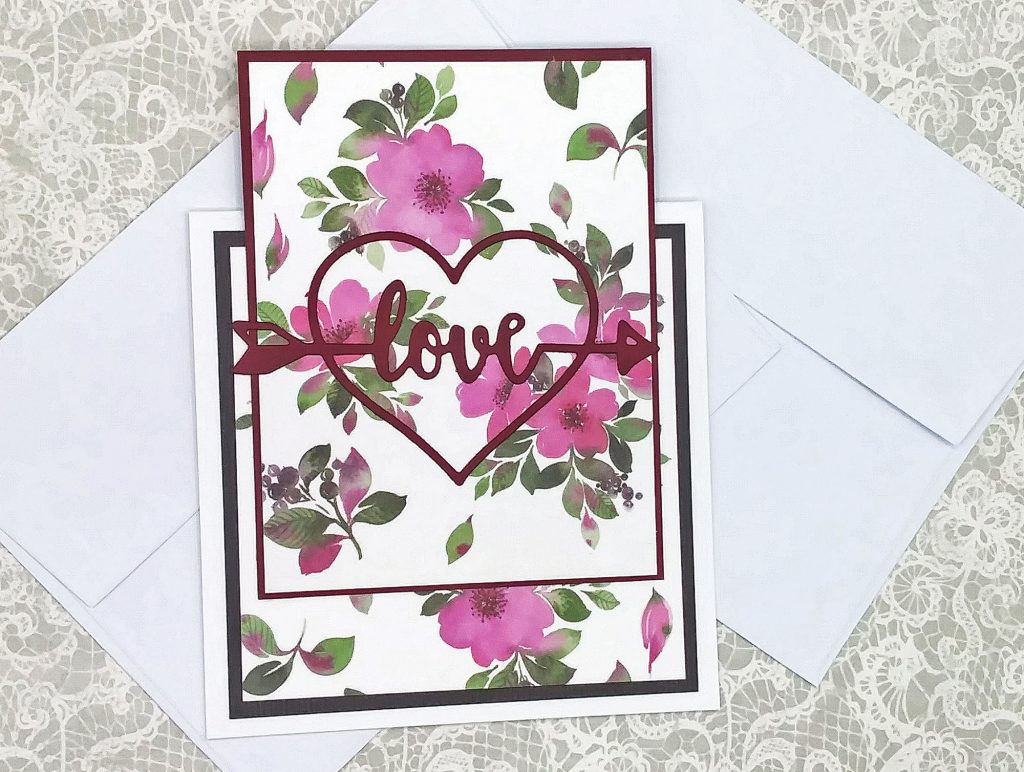
STEP 1 – SENTIMENT
- I die cut my Love arrow die from Dress my Craft (“Be My Valentine” die set) in white heavyweight cardstock and set aside.
- I used some dark red cardstock from Simon Says Stamp (it seems to be more of a wine color) that I thought would compliment my hearts and again used the dark brown woodgrain cardstock for the borders. I glued all these together and set aside.
STEP 2: PUTTING IT ALL TOGETHER
I adhered the hearts to my card bases with the same steps from my first 2 cards and then placed a few extra die cut flowers from the washi tape to frame my hearts.
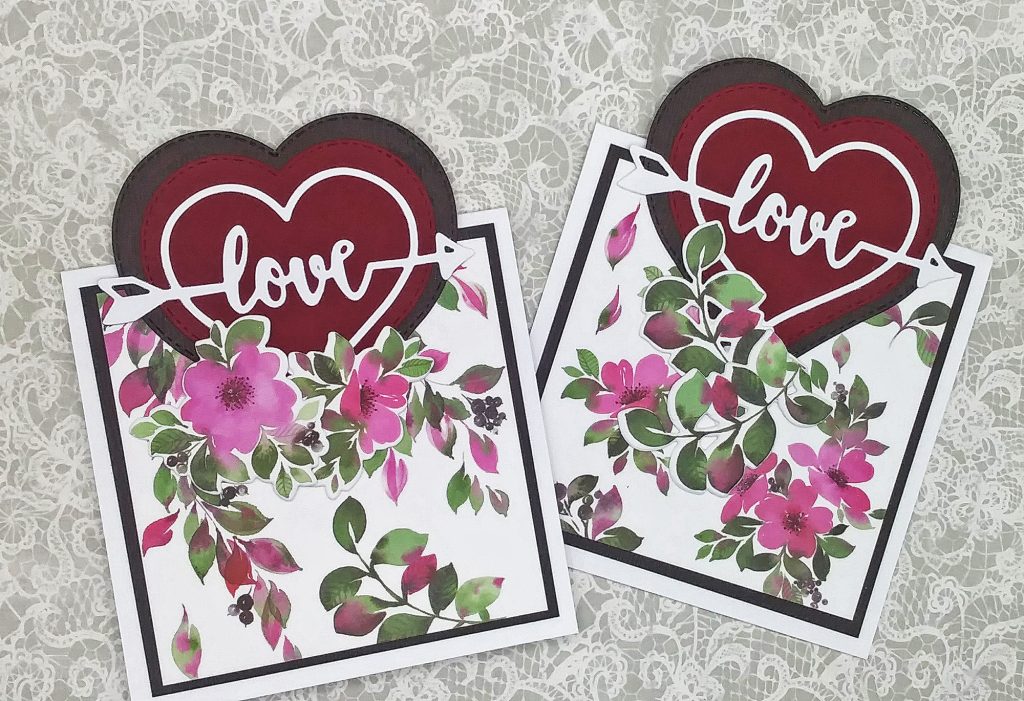
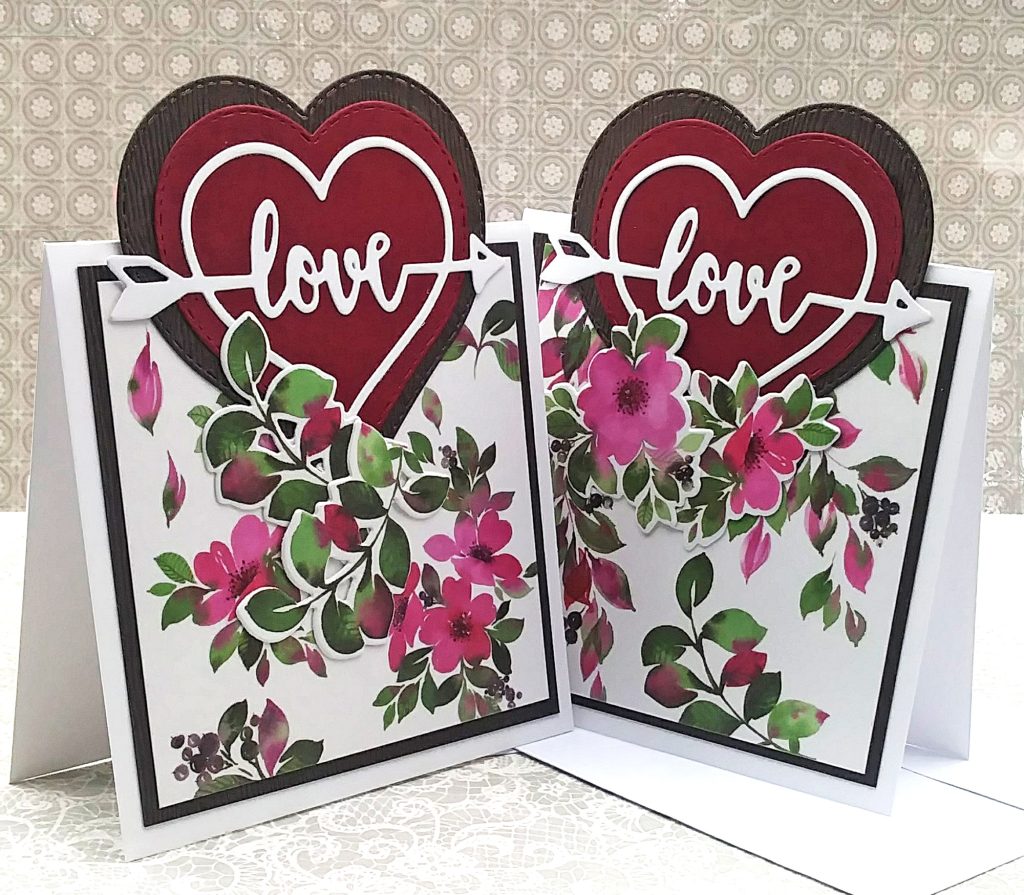
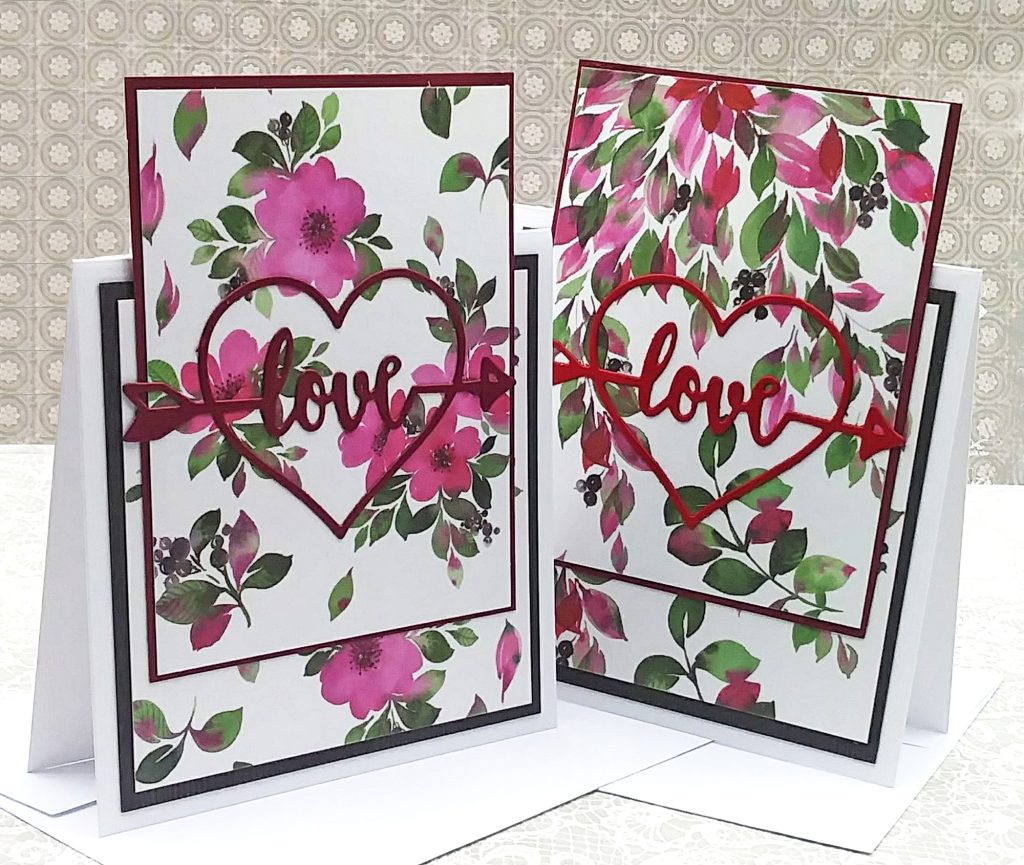
And this picture is how these 2 cards look when standing up!
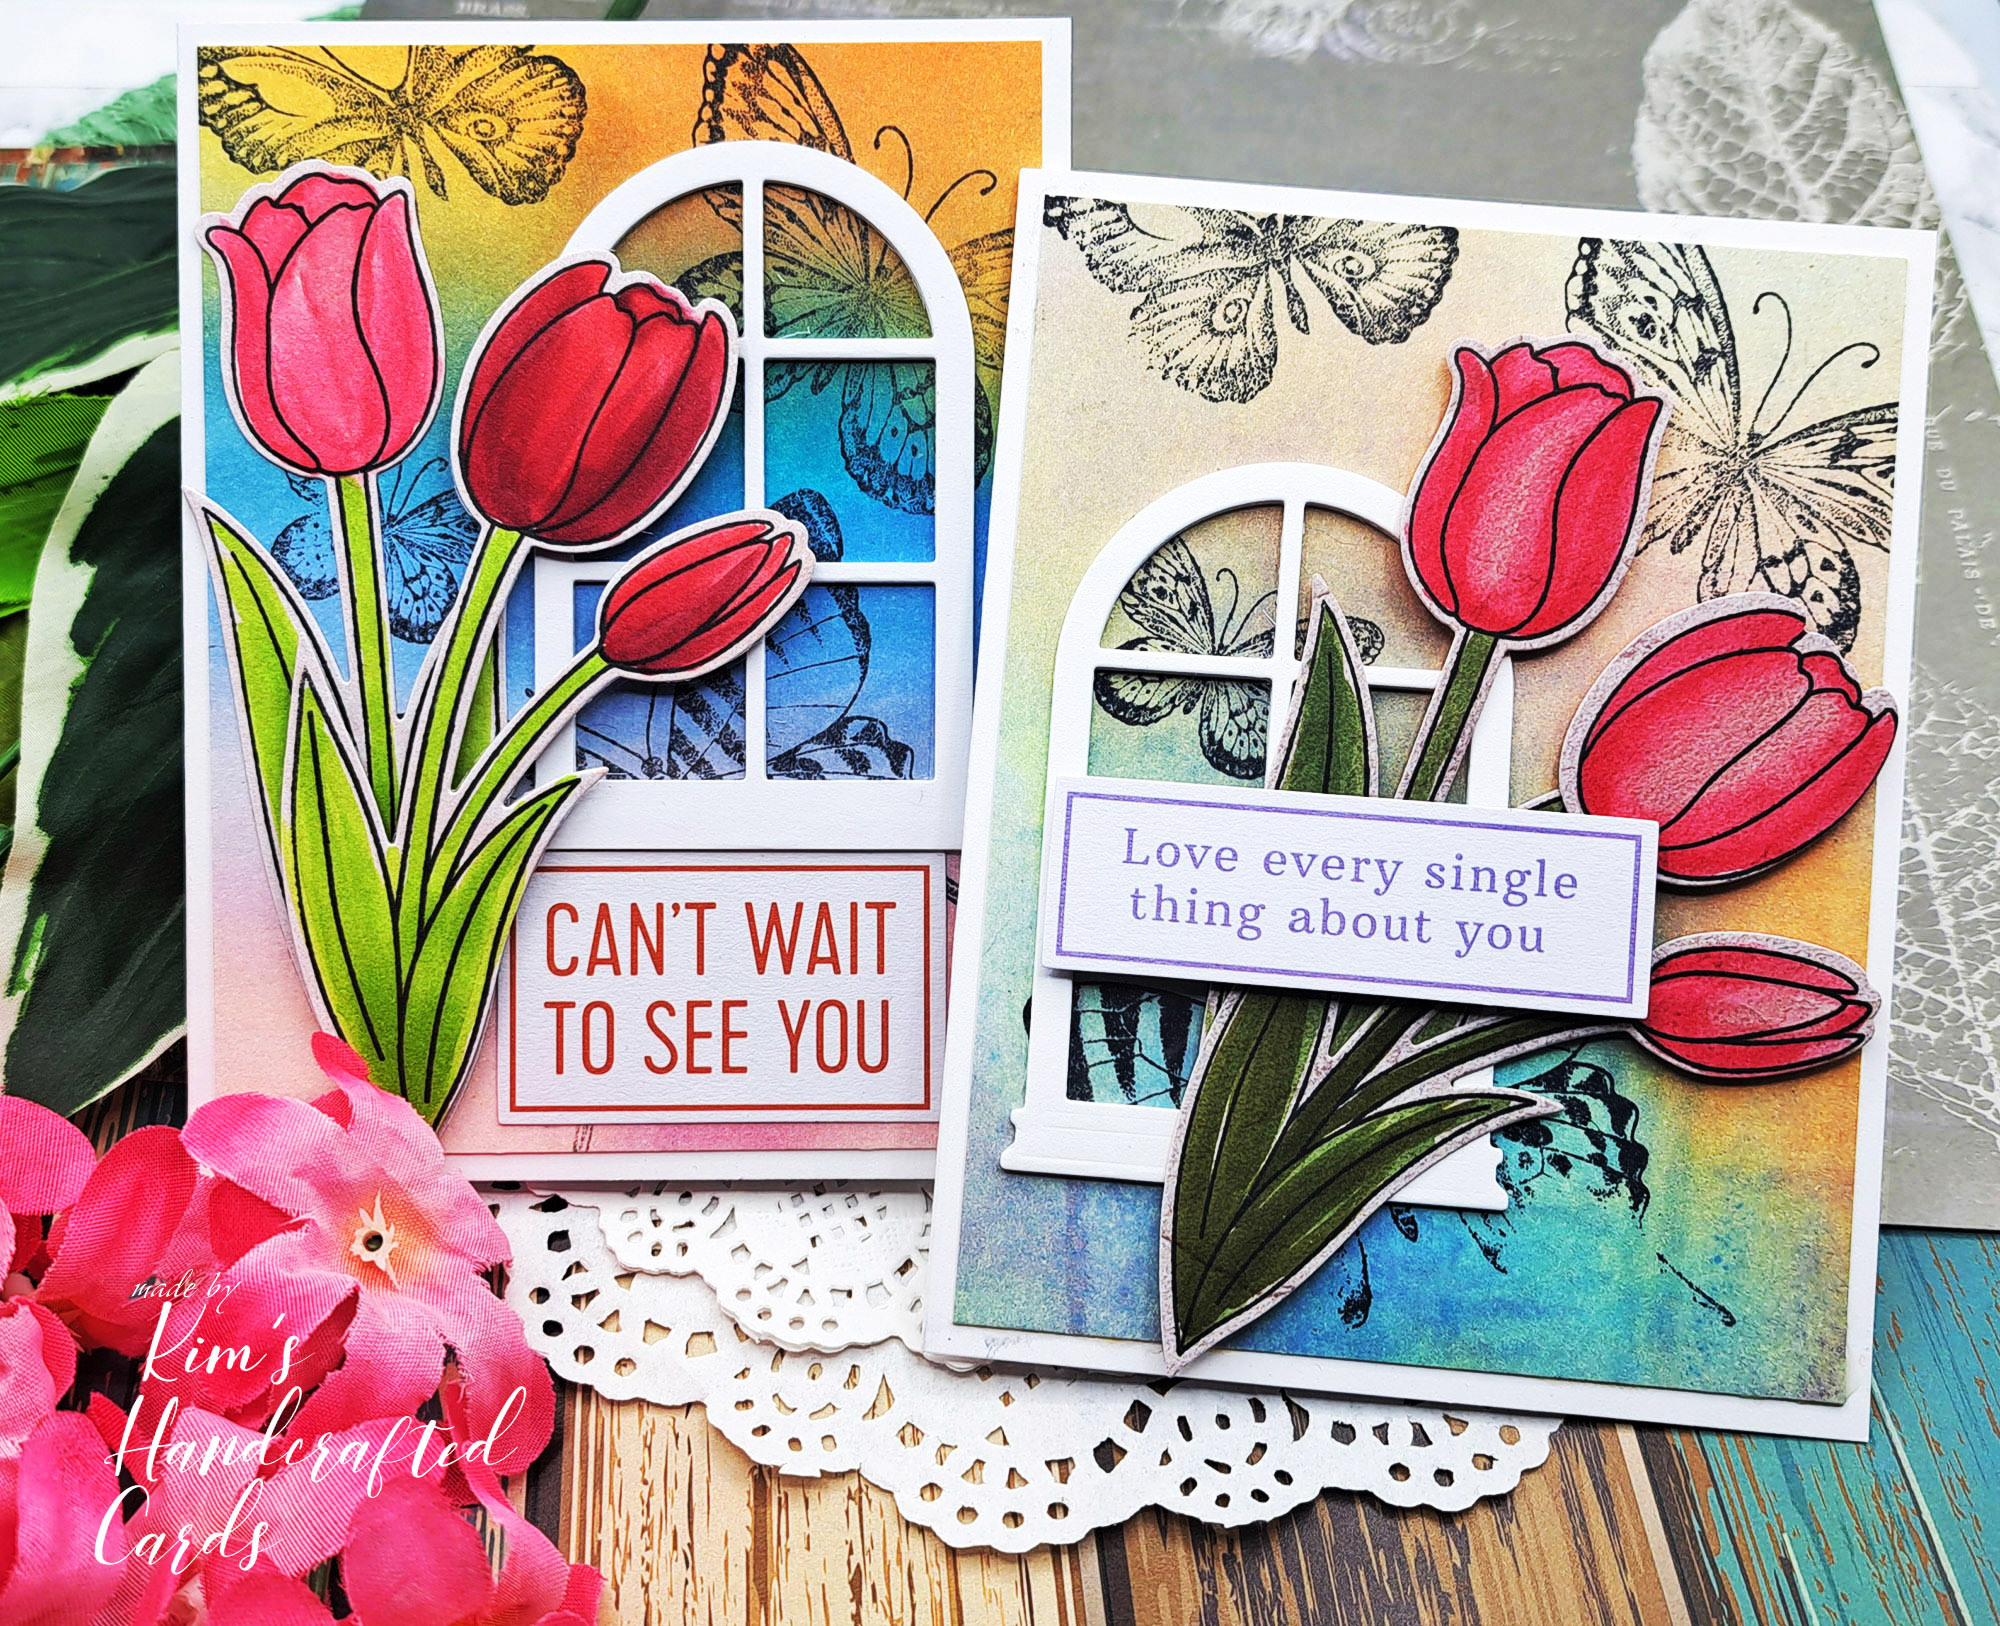
SET of CARDS #3
The last two cards I wanted to make a rectangle topper with more of the “In the Meadow” washi tape and my love arrow die.
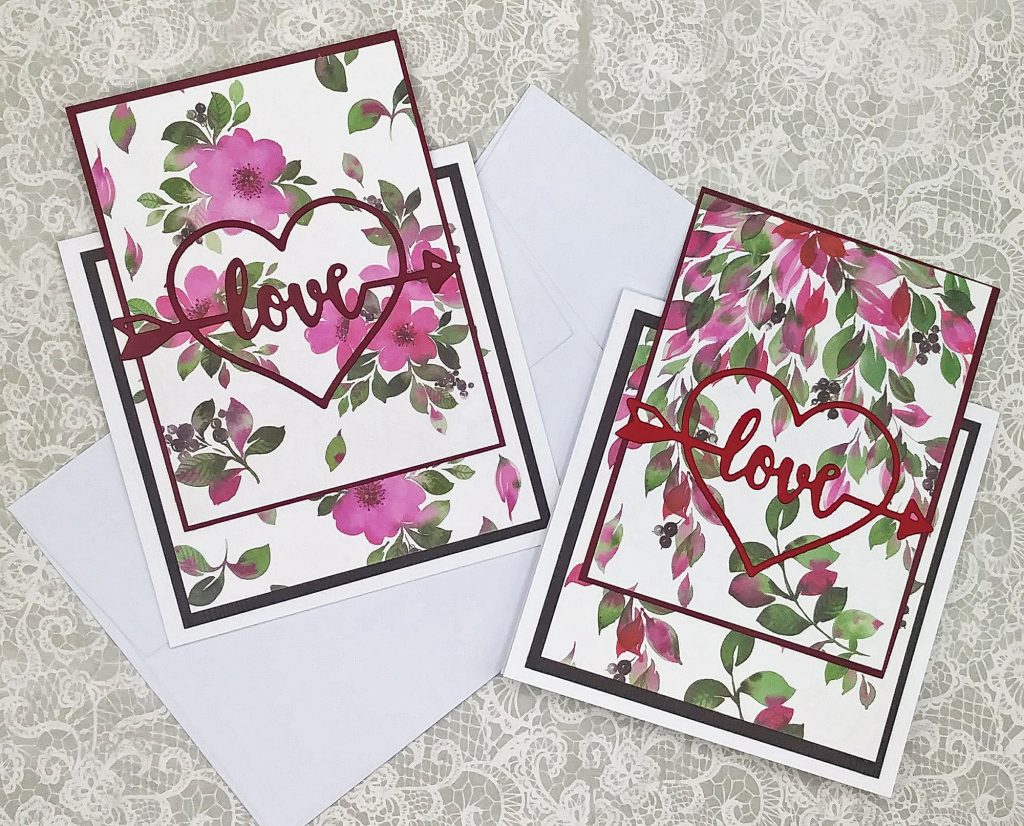
Step 1: Square Tent Topper
- I die cut the love arrow with Schoolhouse Red and that darker red cardstock from Simon. My border piece measures which is 4-5/16 in length and 3-3/8 in width. The washi tape panel on top measures 3-1/4 in width x 4-1/2 in length.
- I glued all these pieces together and set aside.
Again, I followed the above steps to place the toppers to my card bases. And, we’re all done!

And this picture shows these 2 cards standing up!
Can’t say it enough how much I love making tent topper cards! Tell me if you’ve made some in the comments below!

- Pretty Pink Posh Peonies Stencil
- Pretty Pink Posh “Peonies” Die Set
- Pinkfresh Studio “In the Meadow” Washi Tape/Stencil/Stamp/Die
- Paper Boutique Damask Delights Collection – 8 x 8 Paper Kit
- Dress my Craft “Be my Valentine” 2-die set
- Waffle Flower Crafts “Additional Circles” Nested Dies
- Heart Nested Die Set
- Simon Says Stamp Assorted Cardstock Pack
- Lawn Fawn “Dark Brown” Woodgrain Cardstock
- Faber-Castell Pitt Artist Black Pen
- Pinkfresh Studio Inks
- Glad Press’N Seal