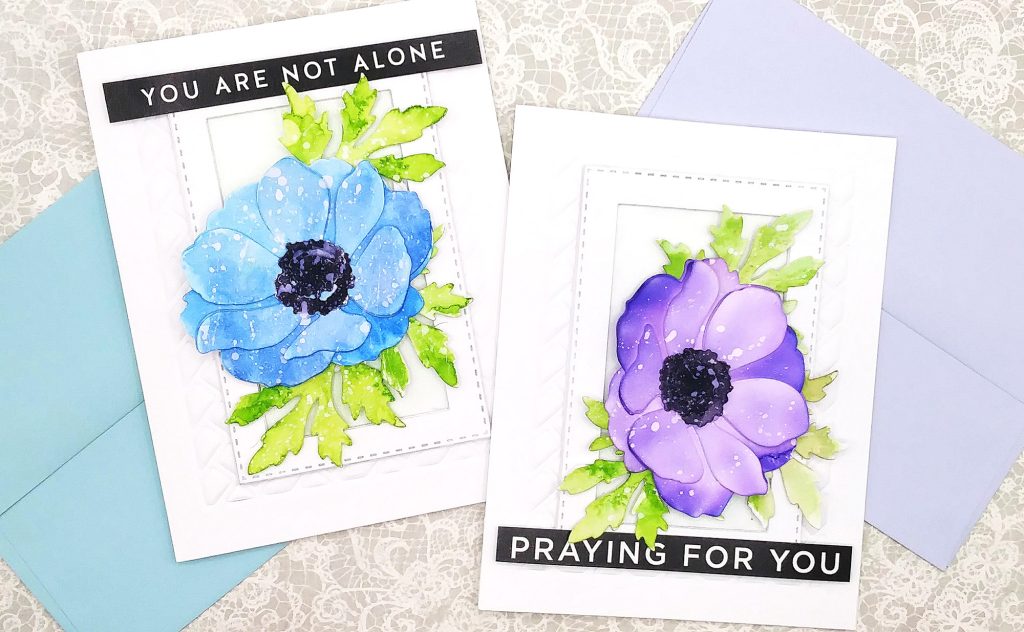
I really love playing with watercolor to do simple coloring. Today, I have 2 cards that used my Zig Clean Color Real Brush Markers on my flower die cuts. I hadn’t played with my Zigs in a minute so it was great to use them again!
I got my inspiration from Joy with “Create It with Joy“. She posted a video on the Honey Bee Stamps’ YT channel using their Tulip and their Greenery die sets and her card was soooo beautiful! I don’t have the Tulip die yet (it’s out of stock where I purchase so I signed up to be notified). I ordered the Greenery die and it’s shipped so can’t wait to get it!
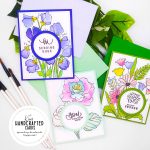
Anyway, when you don’t have the same products, you use something comparable, so I used Honey Bee Stamp’s Anemone die set. First, I die cut all my flower pieces on Bristol Smooth Paper. As for the colors, I made a purple flower using “Deep Violet” and “Violet” and for the blue flower, I went with “Cornflower Blue” and “Persian Blue”.
I followed Joy’s instructions on the video with my coloring, but basically I started with my darkest shade at the bottom of each petal, then did a little overlapping with the 2nd shade and added water from my waterbrush pen to blend it together. I even sprayed a little more water as I wanted my cards to have a soft look.
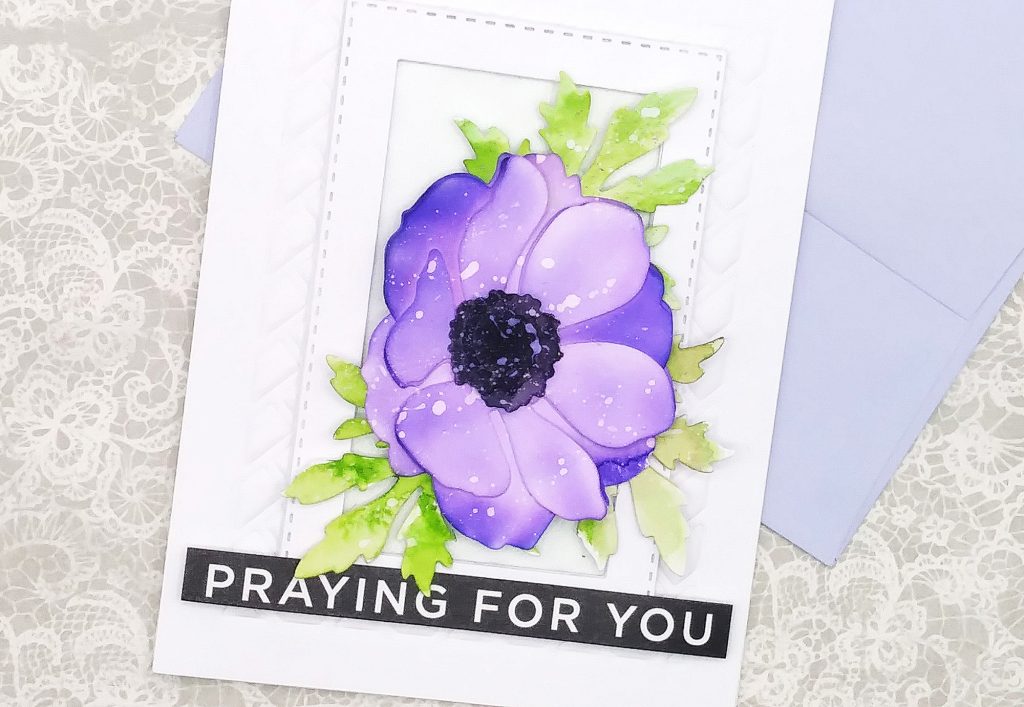
For the centers of my flowers, I used “black” and water and you can see that it even took on a little of the purple color. For the leaves, I just used “light green” with water. To get a more ombre look, I went back in and added more color with a little more water until I was satisfied with my leaves.
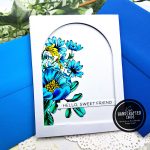
I absolutely LOVE how these flowers looked after they completely dried. And I let them air dry for several hours. No heat gun used! Then, I glued my layers together.

I added white droplets over my flowers with Distress “Picket Fence” Paint.

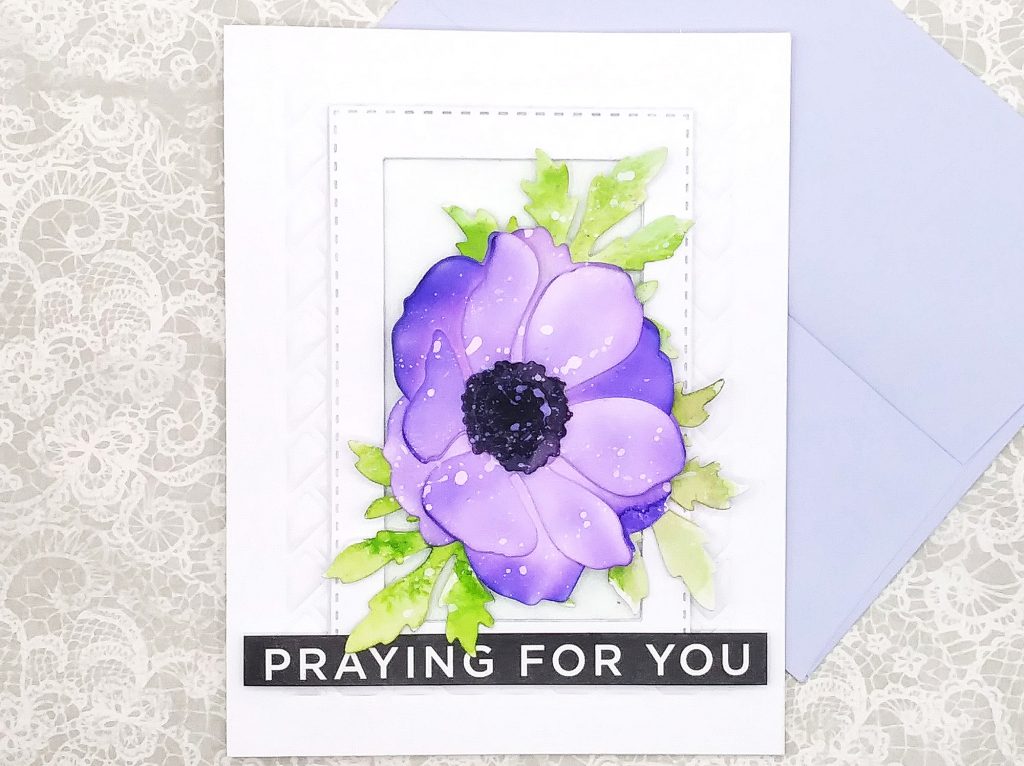
I wanted my cards CAS but still have interest and so I used some extra card panels left over from this card project with Sunny Studio Frilly Frames’ “Herringbone frame” die where I used the die like an embossing folder. I adhered those to my card bases.
Then I thought it would be fun to make a frame for my flowers. So, with a rectangle die, I chose 2 sizes of them and die cut them 6 total times; 3 frames glued together for each card. I love the dimension and the stitched detail!
With the large rectangle die I used for the frame, I die cut that twice on Lawn Fawn’s Pearlescent Vellum. It has a pretty shiny color, that I added behind my frames. I glued that to my card panel and then used double sided foam squares behind my flowers and adhered them over my frames.
For my sentiments, I went with Simon Says Stamp’s reverse sentiment strips. They’re just the perfect sayings for how I’m feeling now. I used black double-sided foam squares behind them and nestled them just under and over my flowers. Love how simple these came together but I also love how elegant they look in real life!

- Honey Bee Stamps “Lovely Layers” Anemone Die Set
- Bristol Smooth Paper
- Zig Clean Color Markers (60-set)
- Sakura Large Waterbrush Pen
- Sunny Studio Frilly Frames “Herringbone frame” die
- Rectangle Nested Dies (part of a 6-set of shapes)
- Spellbinders Platinum 6 Die Cutting/Embossing Machine here or here
- Lawn Fawn Pearlescent Vellum
- Bearly Art Liquid Glue
- Distress Spray bottle
- Black double-sided foam squares
- White double-sided foam squares
- Distress “Picket Fence” paint
- Ngwall Round Paintbrushes (set of 12)
- Simon Says Stamp Reverse Sympathy Sentiment Strips (sorry, I couldn’t find the sentiment strip pack with the “You are not alone” included 🙁 )