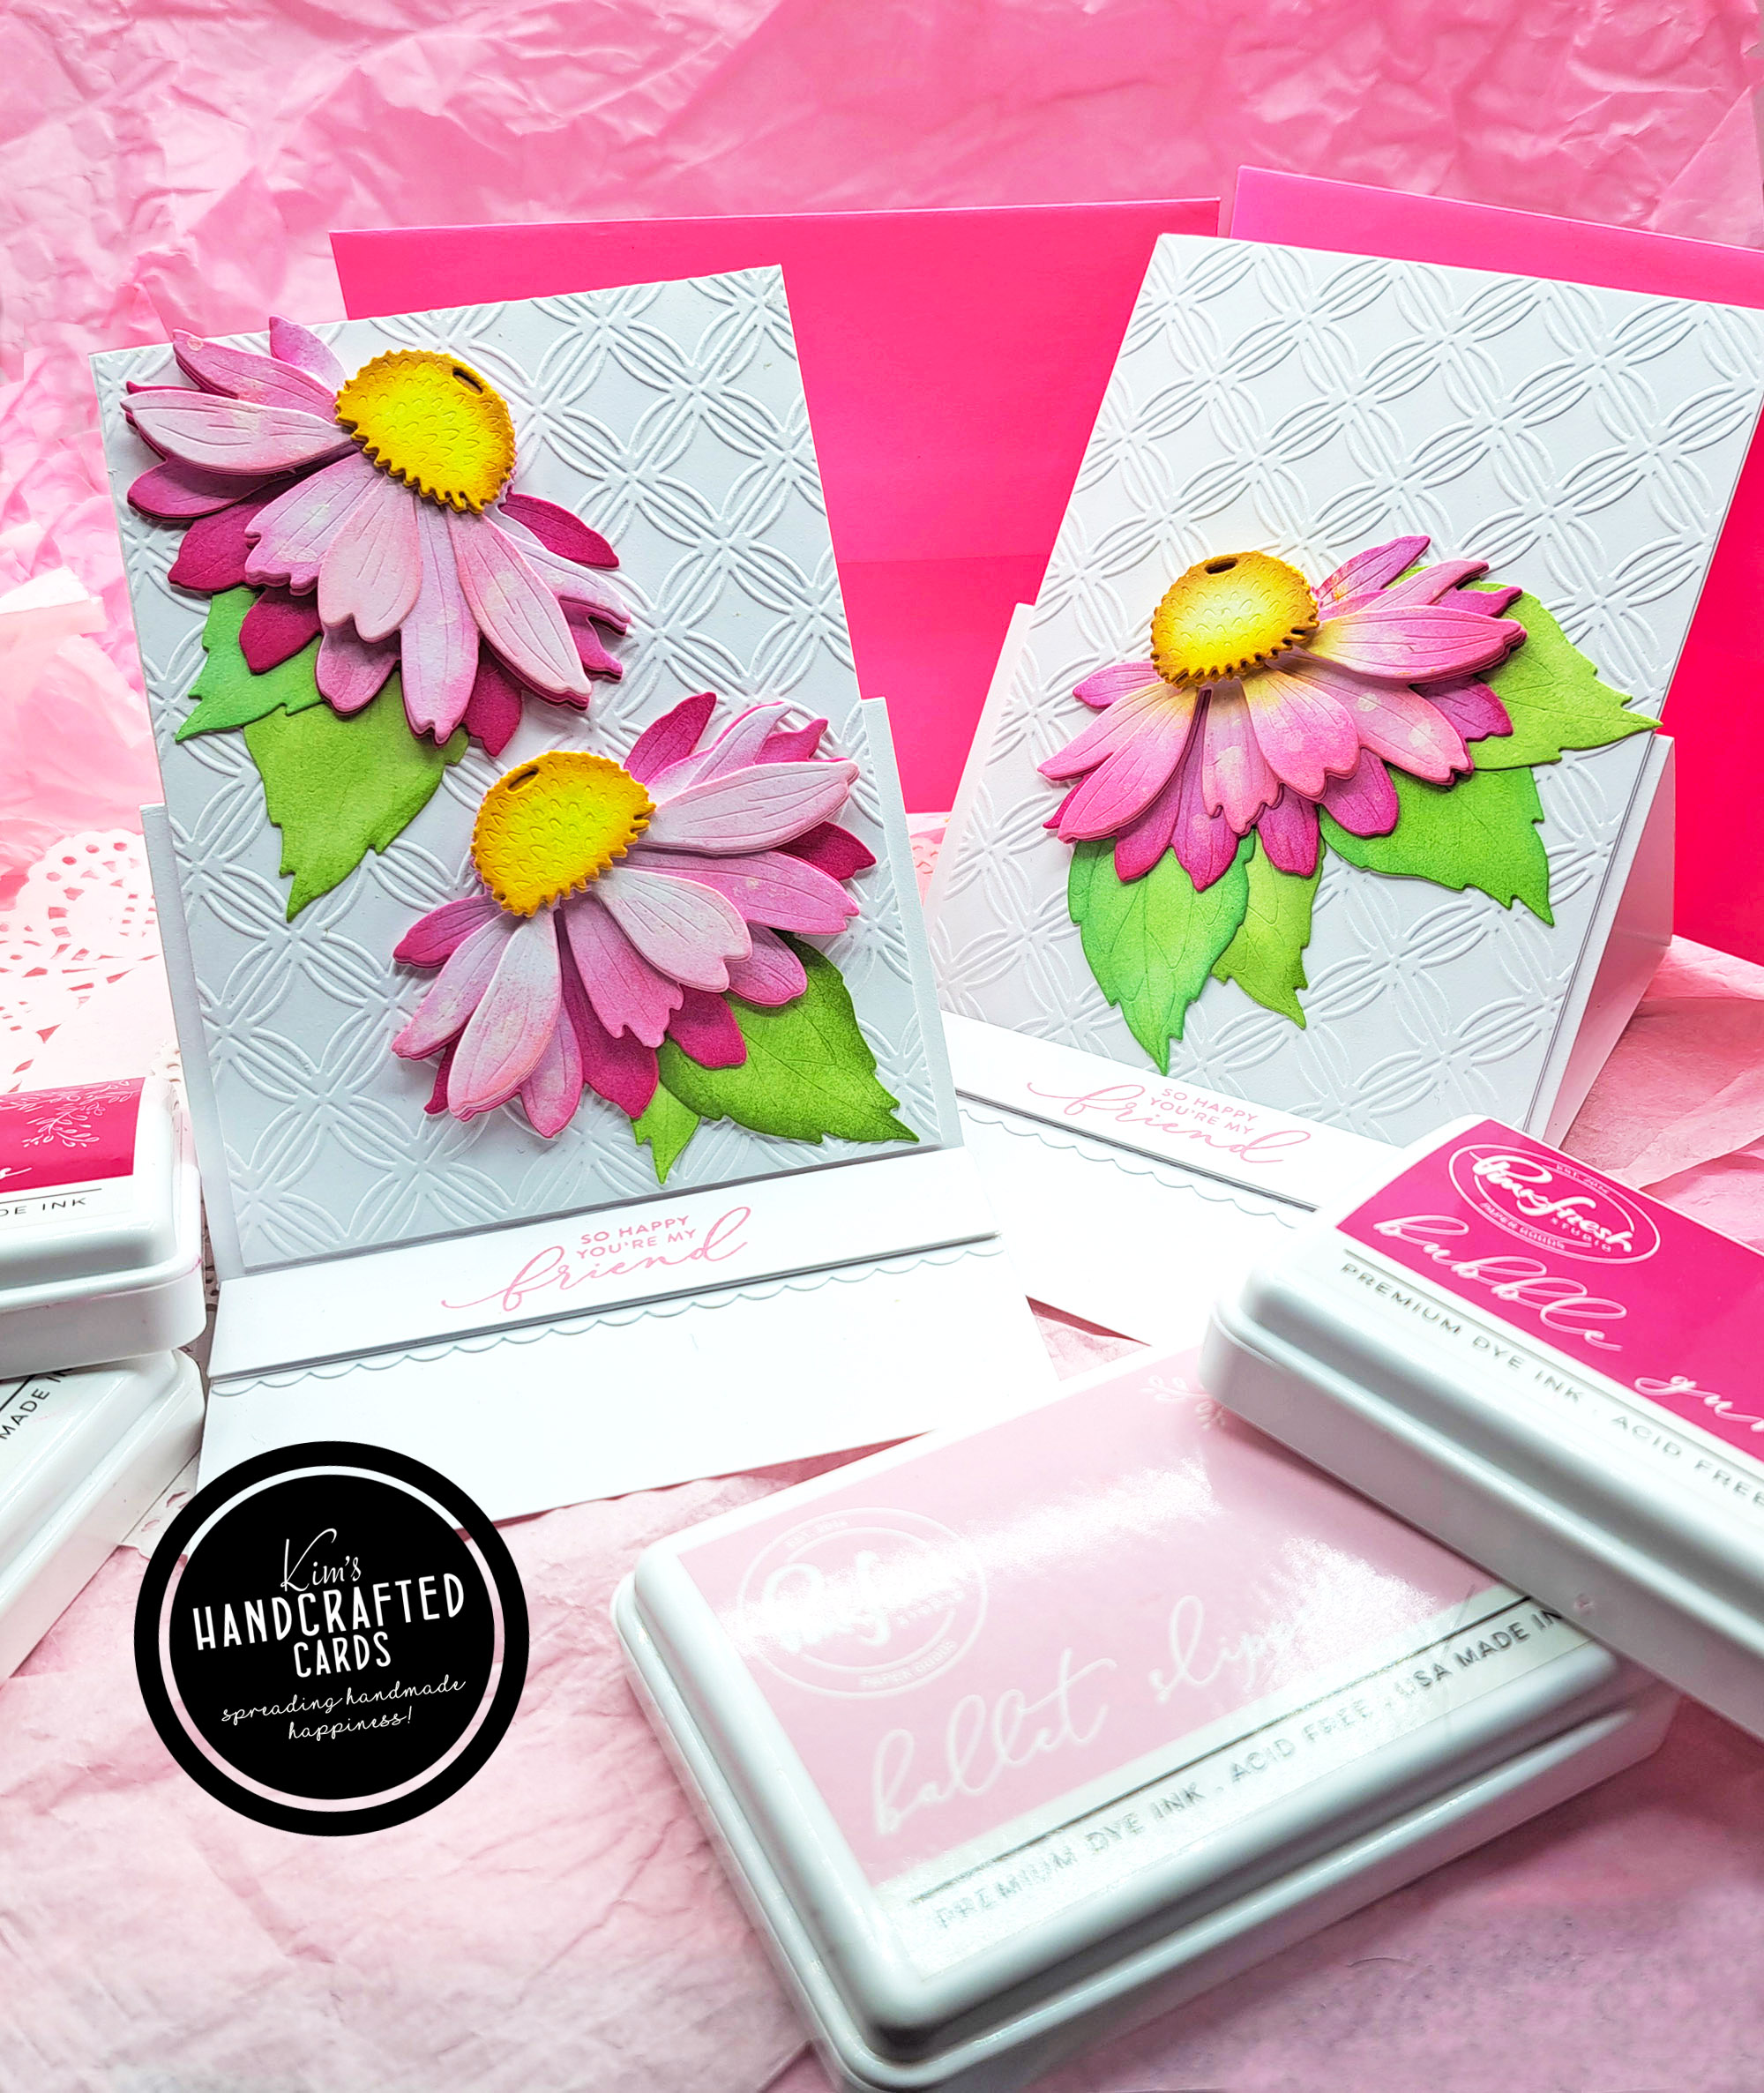
I got so inspired by Pinkfresh Studio‘s December 2021 release that was on their YT channel especially when I saw their “In the Meadow“ washi tape bundle! This pattern is stunning and it has the die, stamp and stencil set too, a win-win combo!
When Pinkfresh Studio introduced their washi tape die/stencil stamp bundle collections, I had to have them! I’m building my collection so right now, I only have the Anemone tape/die set. It’s got to be one of easiest methods to make a bunch of cards. The die matches the washi tape perfectly and it cuts out all the flower clusters at one time!
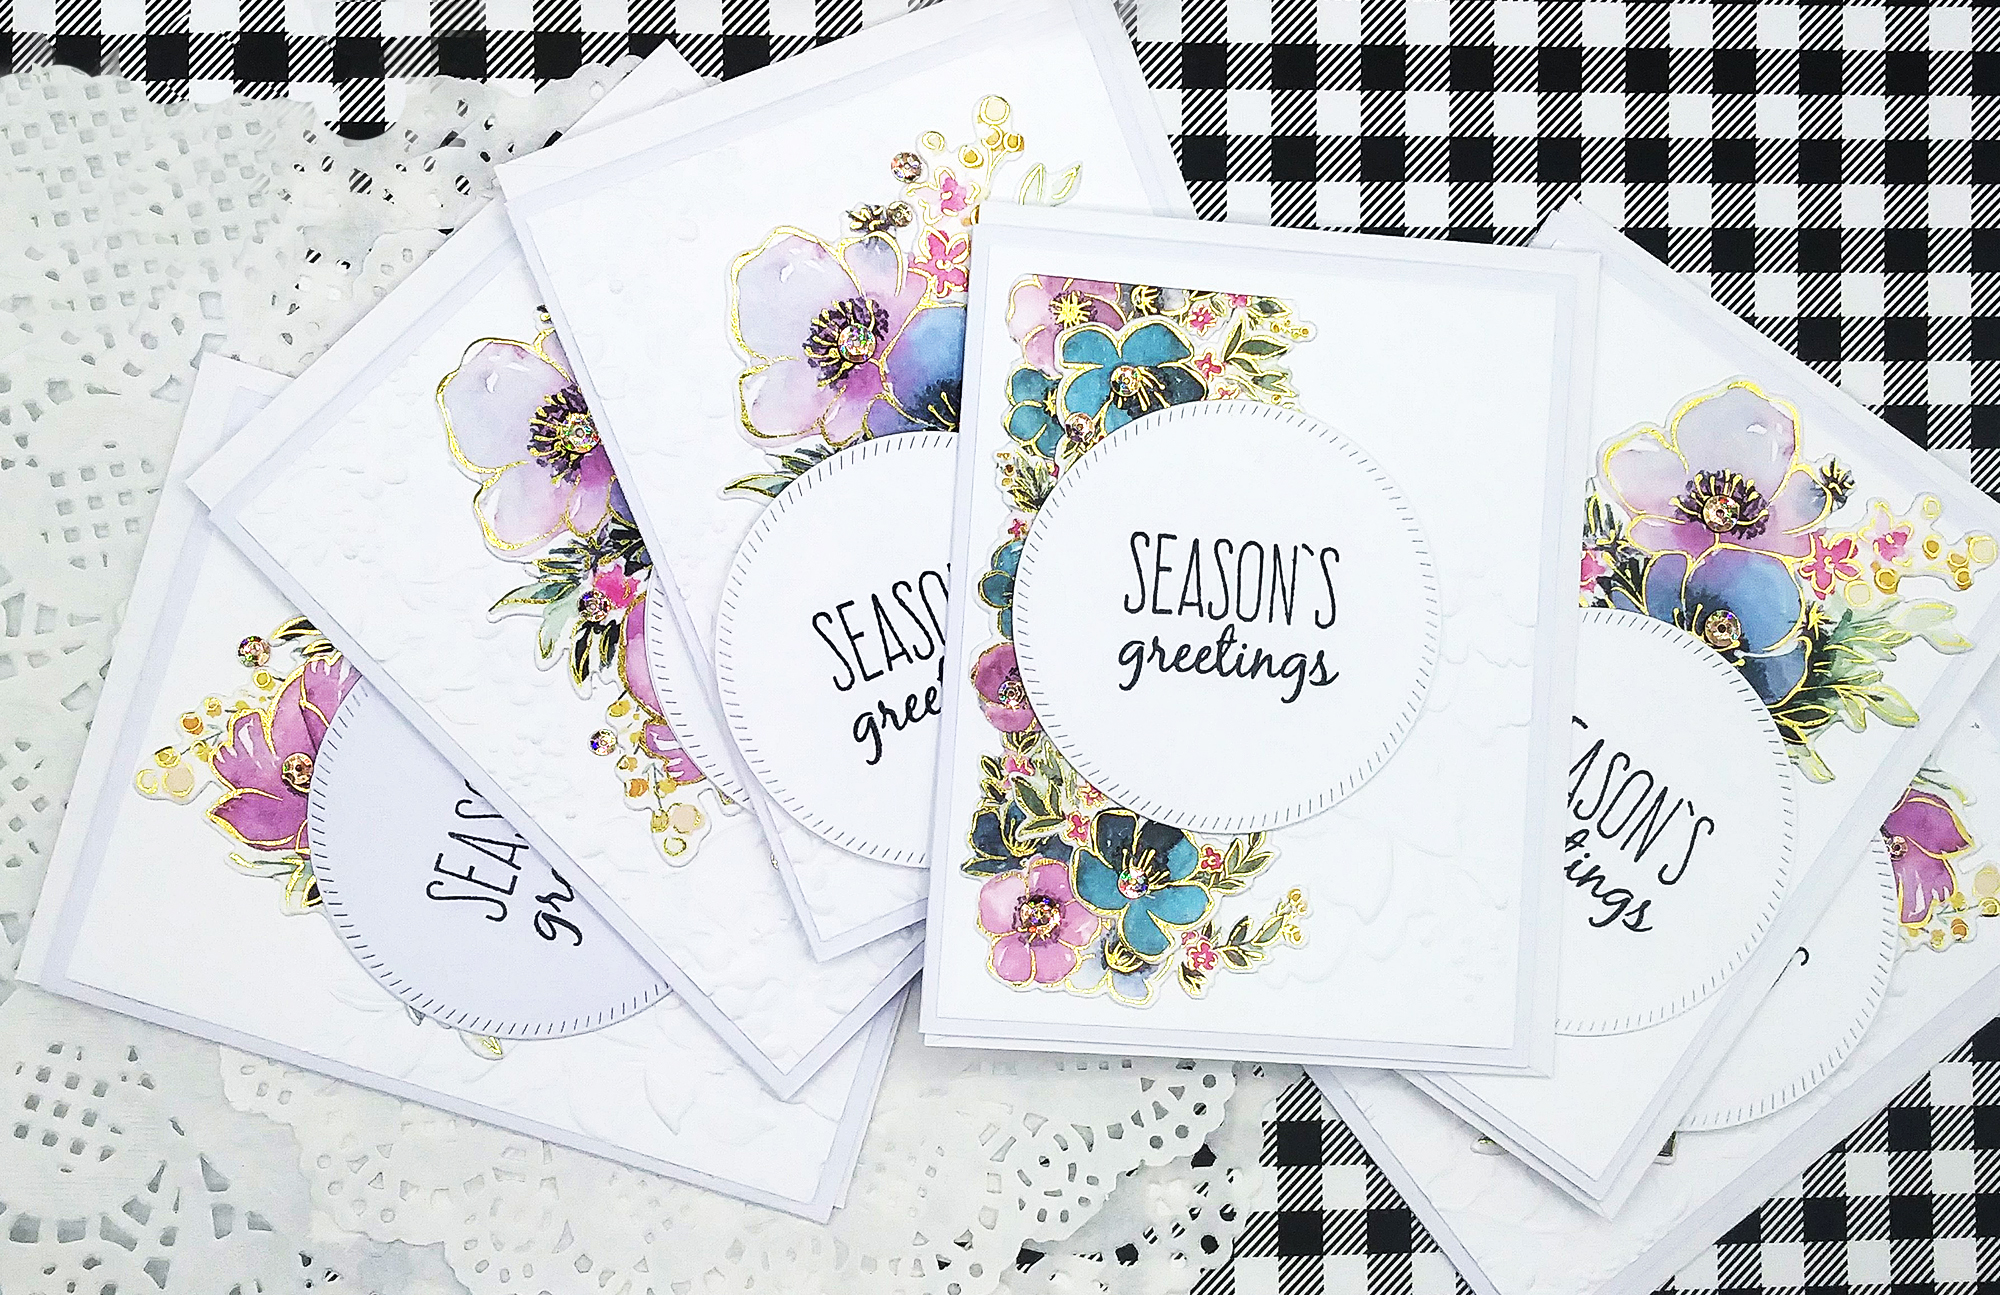
I did a LOT of mass producing cards when I had my Etsy shop and I did that to stock my store. However, even though I no longer sell cards, I still on occasion love to make a bunch of cards at one time. And it’s especially easy when you love the products you’re working with. So, I went a little crazy and made a total of 11 cards!
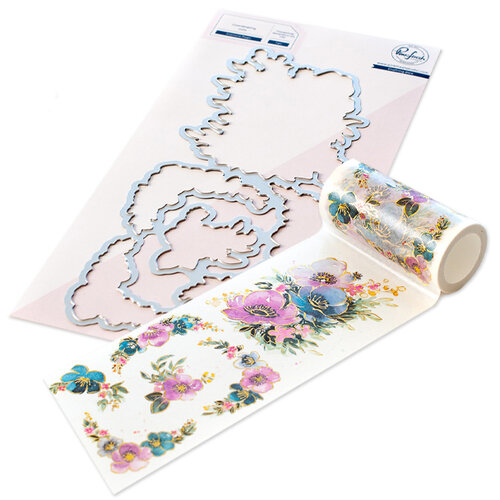
This is the Anemone Washi Tape/Die set that I have. There’s these flowers and borders all with beautiful gold foil details. And, Pinkfresh Studio improved how the tape comes off the roll (no more tearing the tape! yay!). So, I just trim a regular size sheet of cardstock at 5-1/2″, roll off the washi tape and place it on the cardstock, it immediately sticks down and then I use the die to cut all the pieces out.
When I was planning out my design for these cards, I wanted to use two 3D embossing folders for the backgrounds. I really haven’t been using these a lot and WOW I’ve been missing out! One is from Simon Says Stamp and it’s called “Peony Bundle“. The other is “Blossom Field“. Both are beautiful designs. I highly recommend them!
I went assembly line so first thing was to emboss all my card panels and when I used the Peony bundle, I moved my cardstock in different areas to emboss on the left or right side of my card panels.
Next, I die cut out the washi tape which left me with a bunch of pieces and I decided to arrange them differently for each card. This way, I wouldn’t get bored making an exact design over and over again.
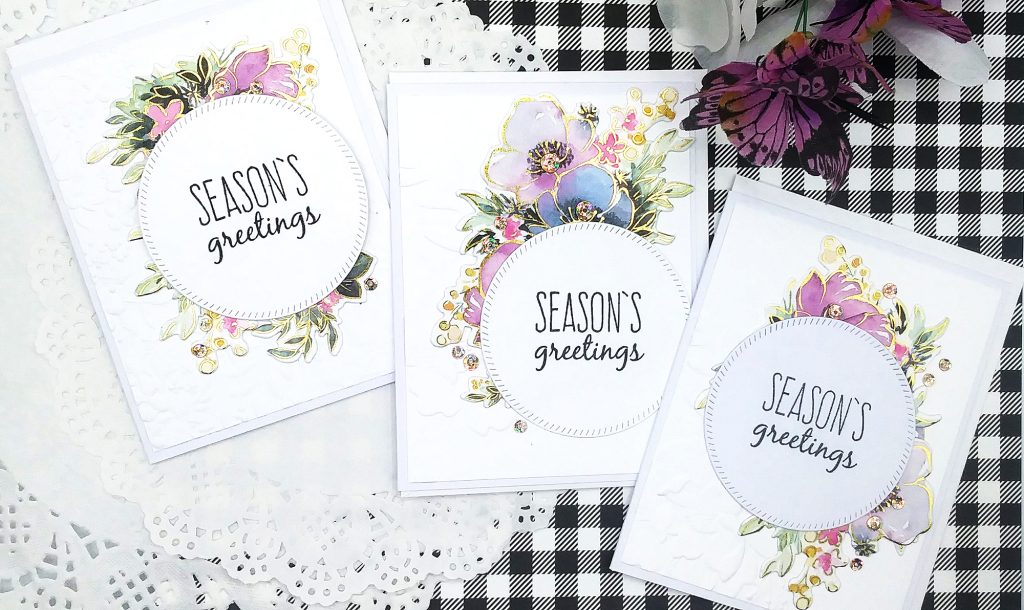
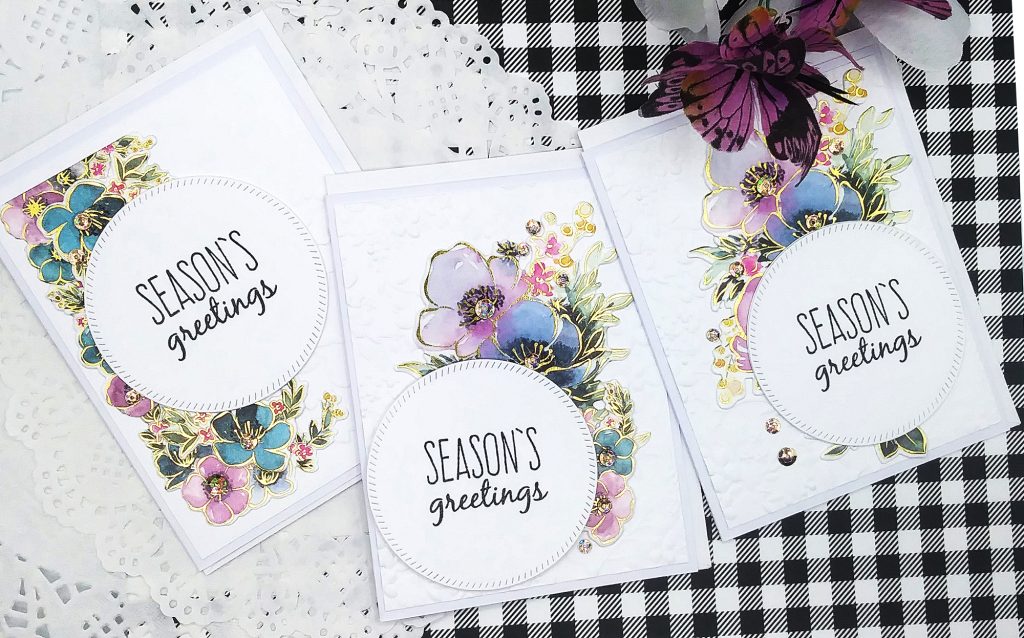
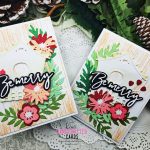
I glued down my panels to the card bases and then adhered my flowers. Next, time for the sentiment. For this, I used Pinkfresh Studio’s circle die that leaves this nice diagonal stitched edging and stamped my sentiment from Spellbinders (sorry this is from their Merry Everything Christmas kit that’s is no longer available).
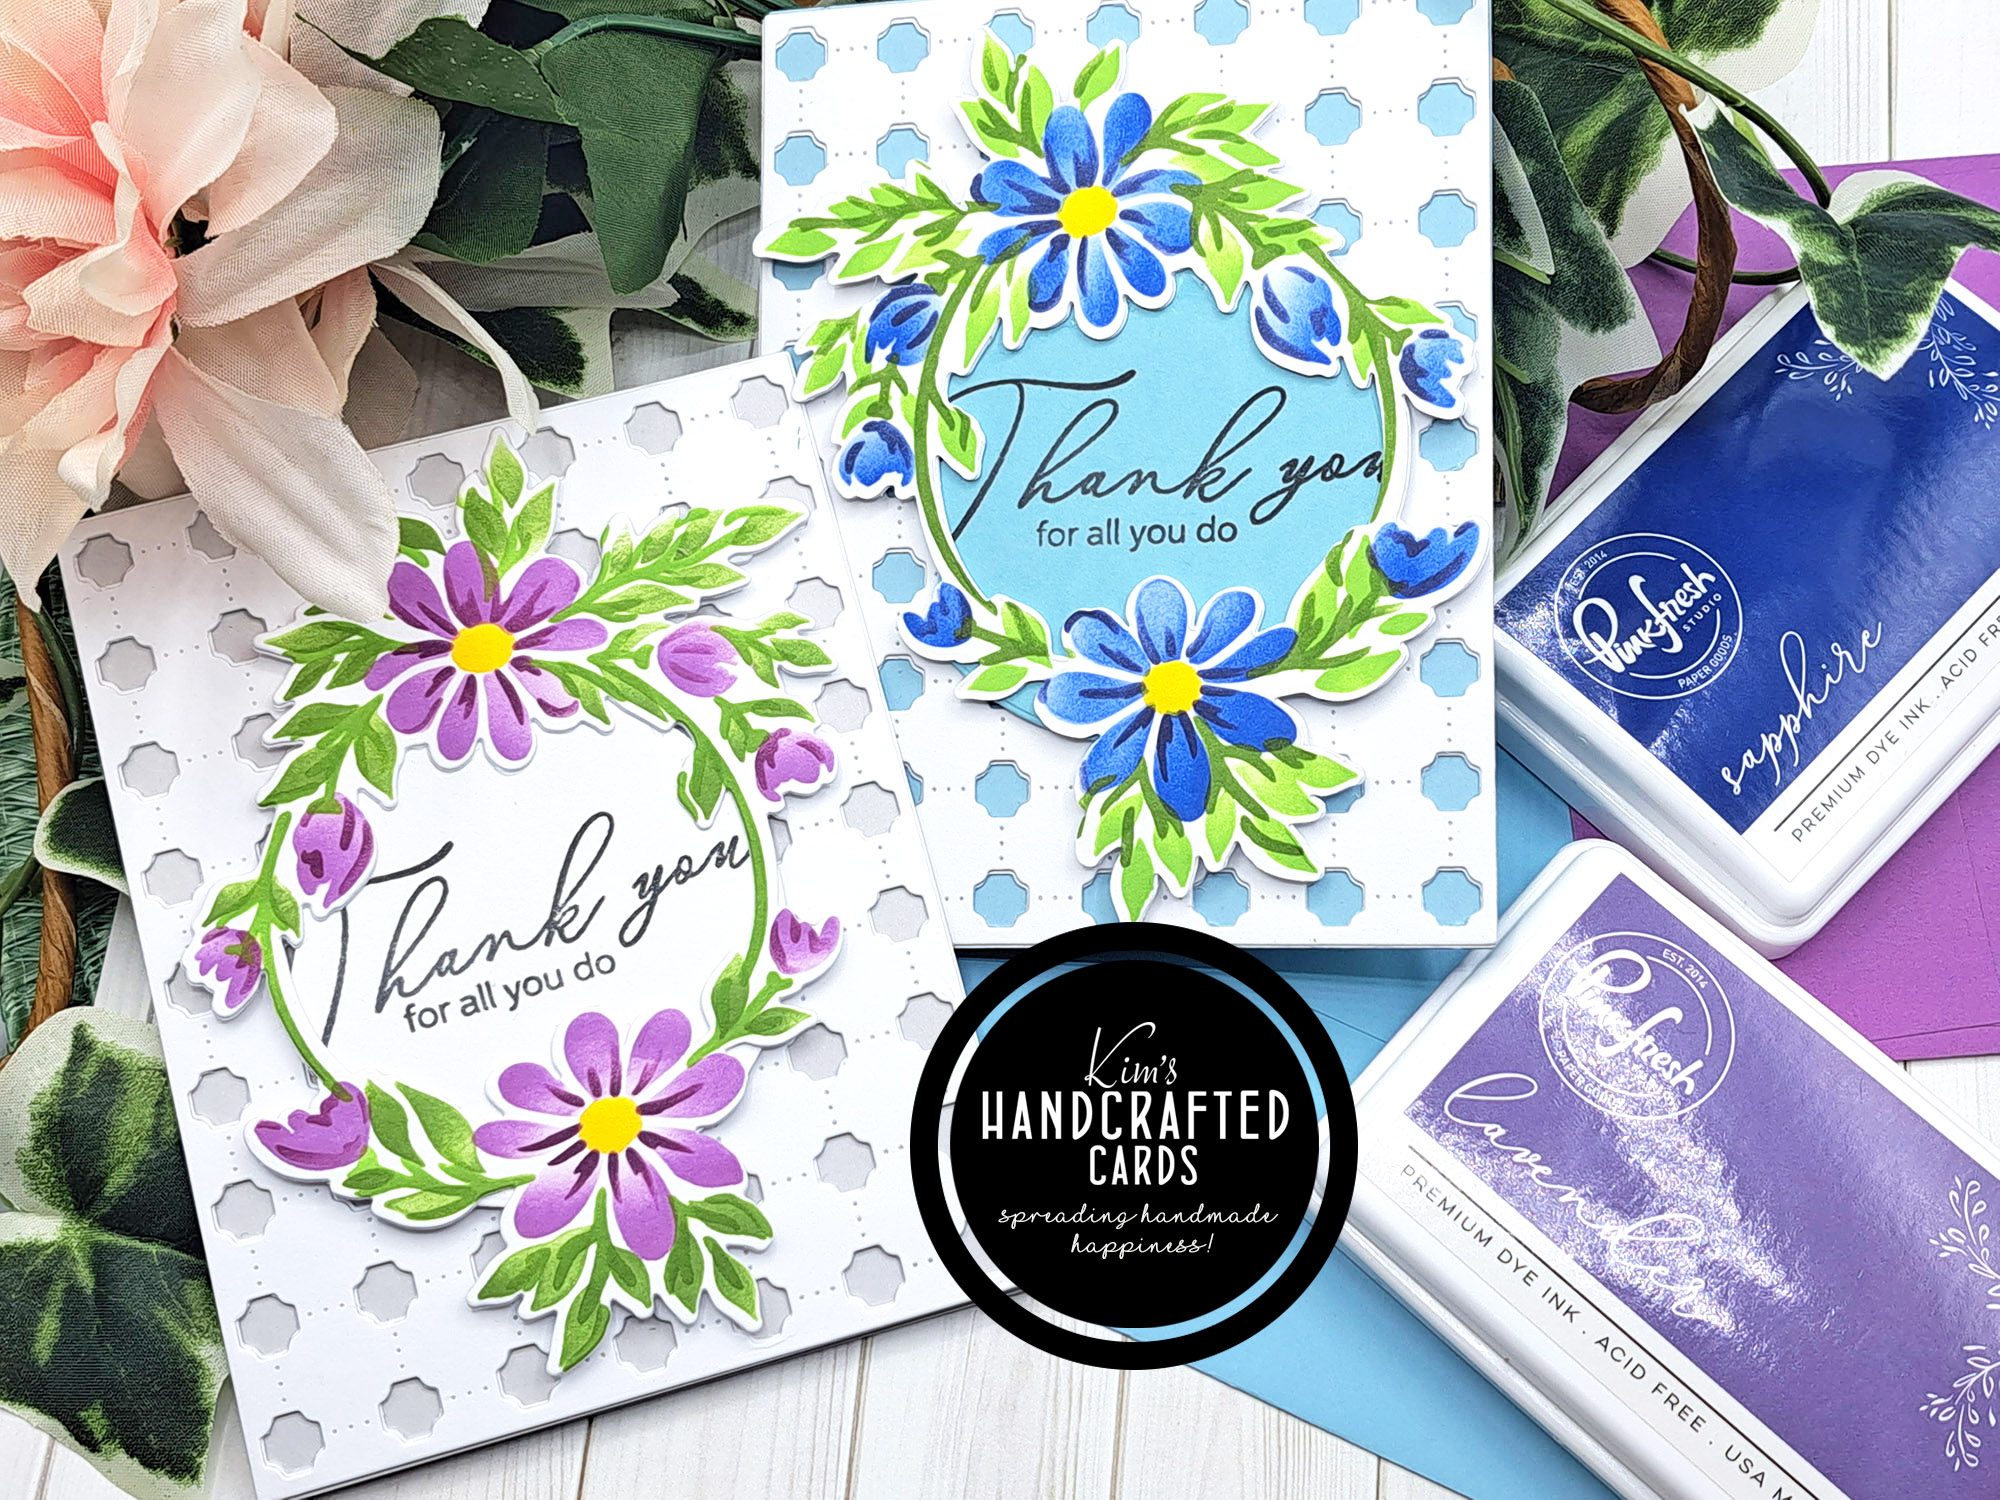
For my 2nd set of cards, all I did was change my sentiment to this “Thank you” die from Simon Says Stamp. You’ll notice also, I changed the placement of all my sentiments. This is another tip I use for mass producing cards to keep me from getting bored. I change things up a bit from placement to using different sentiments.
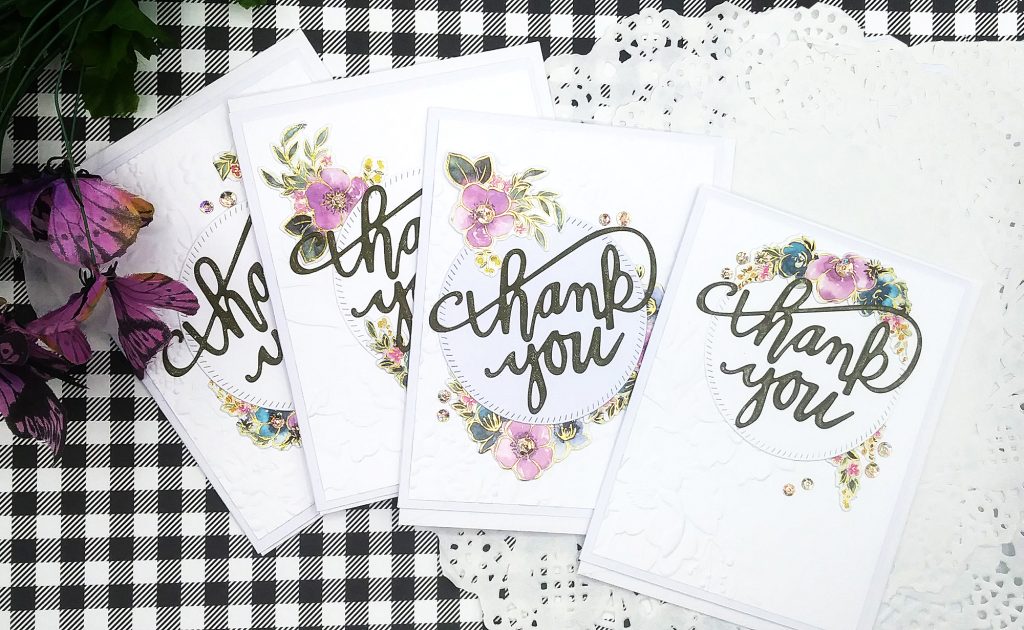
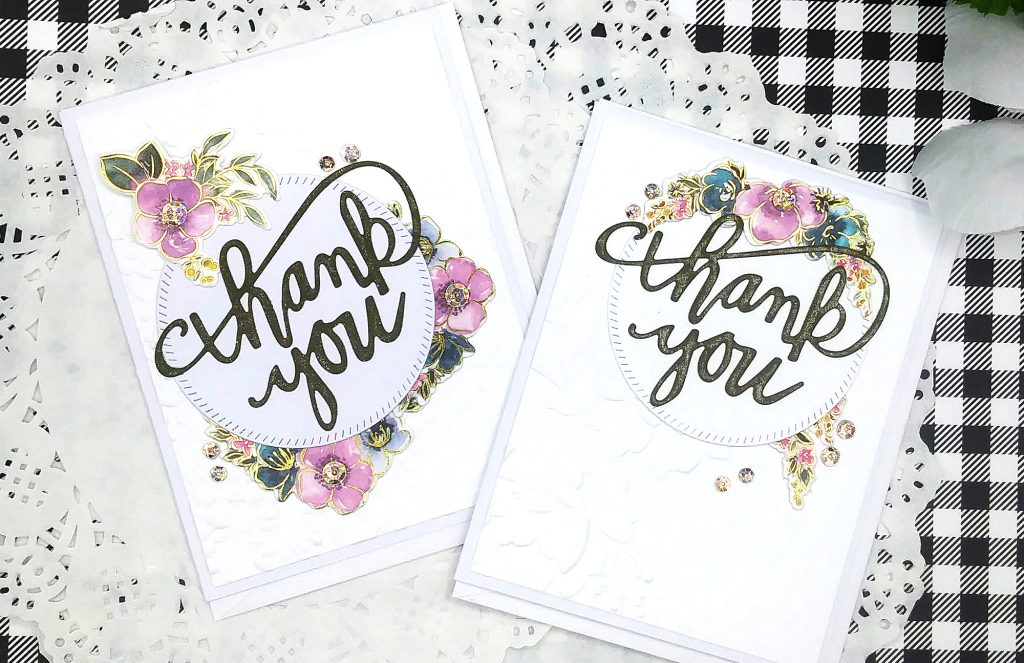
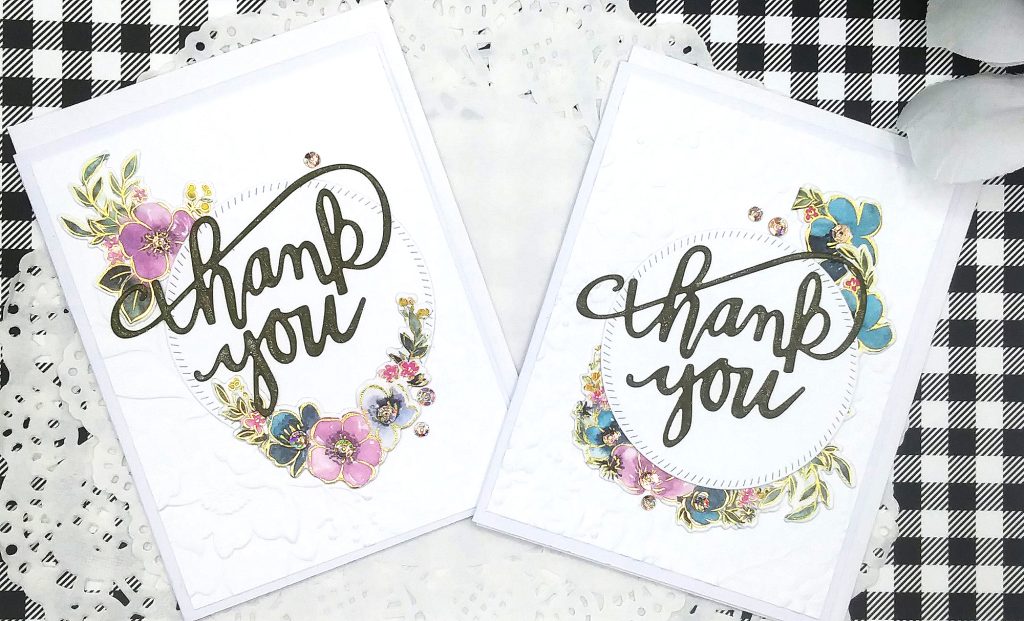
I used my Wink of Stella pen over the Thank you sentiment for a bit of shine. The brown cardstock comes from Lawn Fawn “Rainbow” Cardstock 8-1/2″ x 11″ Paper Pack. Topped off all the cards with Nuvo “Champagne Shine” Sequins.
Bonus Card
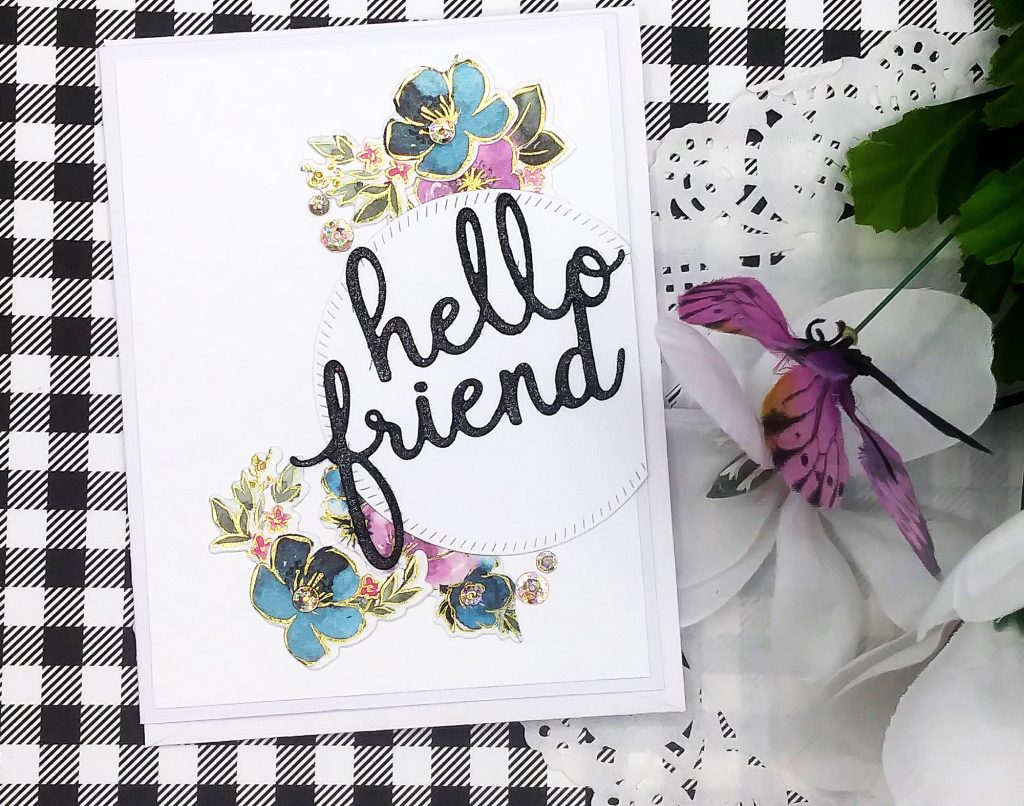
I told you I went a little crazy!! I just had so many washi tape die cut pieces leftover that I said, “why not another card?!” So, here it is!
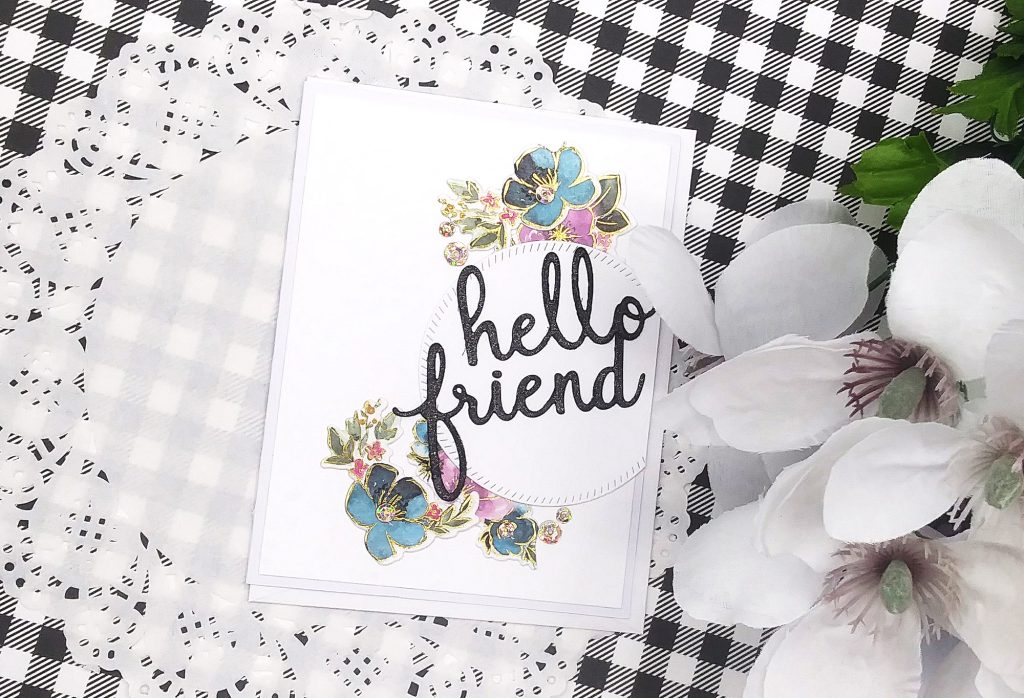
The “Hello Friend” is also from Pinkfresh Studio. You might not be able to see the 3D embossing detail in the pictures, but believe it’s there and so pretty in real life. For the sentiment circle, I put on the right side and cut off the excess for a different look.
I had an absolute ball making these cards! I wish I had a few thousand dollars to buy up all their collections!

- Pinkfresh Studio Washi Tape and Die Set (Amenone)
- Pinkfresh Studio Diagonal Stitch Circle Die Set
- Pinkfresh Studio “Hello” Phrase Word Builder Die Set
- Spellbinders Sentiment “Seasons Greetings” from the Christmas Merry Everything Card Kit (no longer available)
- Simon Says Stamp Thank you Die (couldn’t find the one I used, but this one is similar)
- Simon Says Stamp “Peony Bundle” 3D Embossing Folder
- Simon Says Stamp “Blossom Field” 3D Embossing Folder
- Lawn Fawn Rainbow Cardstock here or here
- Nuvo Sequins Pack
- Wink of Stella Pen

