Hi my crafty friends! I hope today is going well for you! I am so excited to share with you a new card design I just learned only yesterday! Like many of us paper crafters, we collect a lot of pattern papers and oftentimes not sure how to use them up.
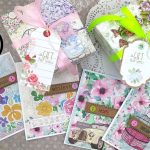
I’ve made gift boxes with some of mine which is another great way to use them up, you can check out all the gift boxes I’ve made here, here and here.
For today’s 2 cards, I wanted to do something different and I did a YT search and the pop-up box card came up! Bingo! And you don’t need die sets at all! In fact, you don’t need any specialty stamps, dies, stencils, just good ‘ol pattern papers and some embellishments.
You can decorate these pop-up box cards anyway you want, sky’s the limit!
I watched a few videos, but most seem pretty complicated and I was looking for simple and quick! I found the perfect video! If you’ve never made one of these cards before, I highly recommend watching this tutorial, it’s just 10 minutes and it’ll give you simple instructions for constructing this type of card. You might want to watch it first, then come back and read this post as some of what I share may not make a whole lot of sense.
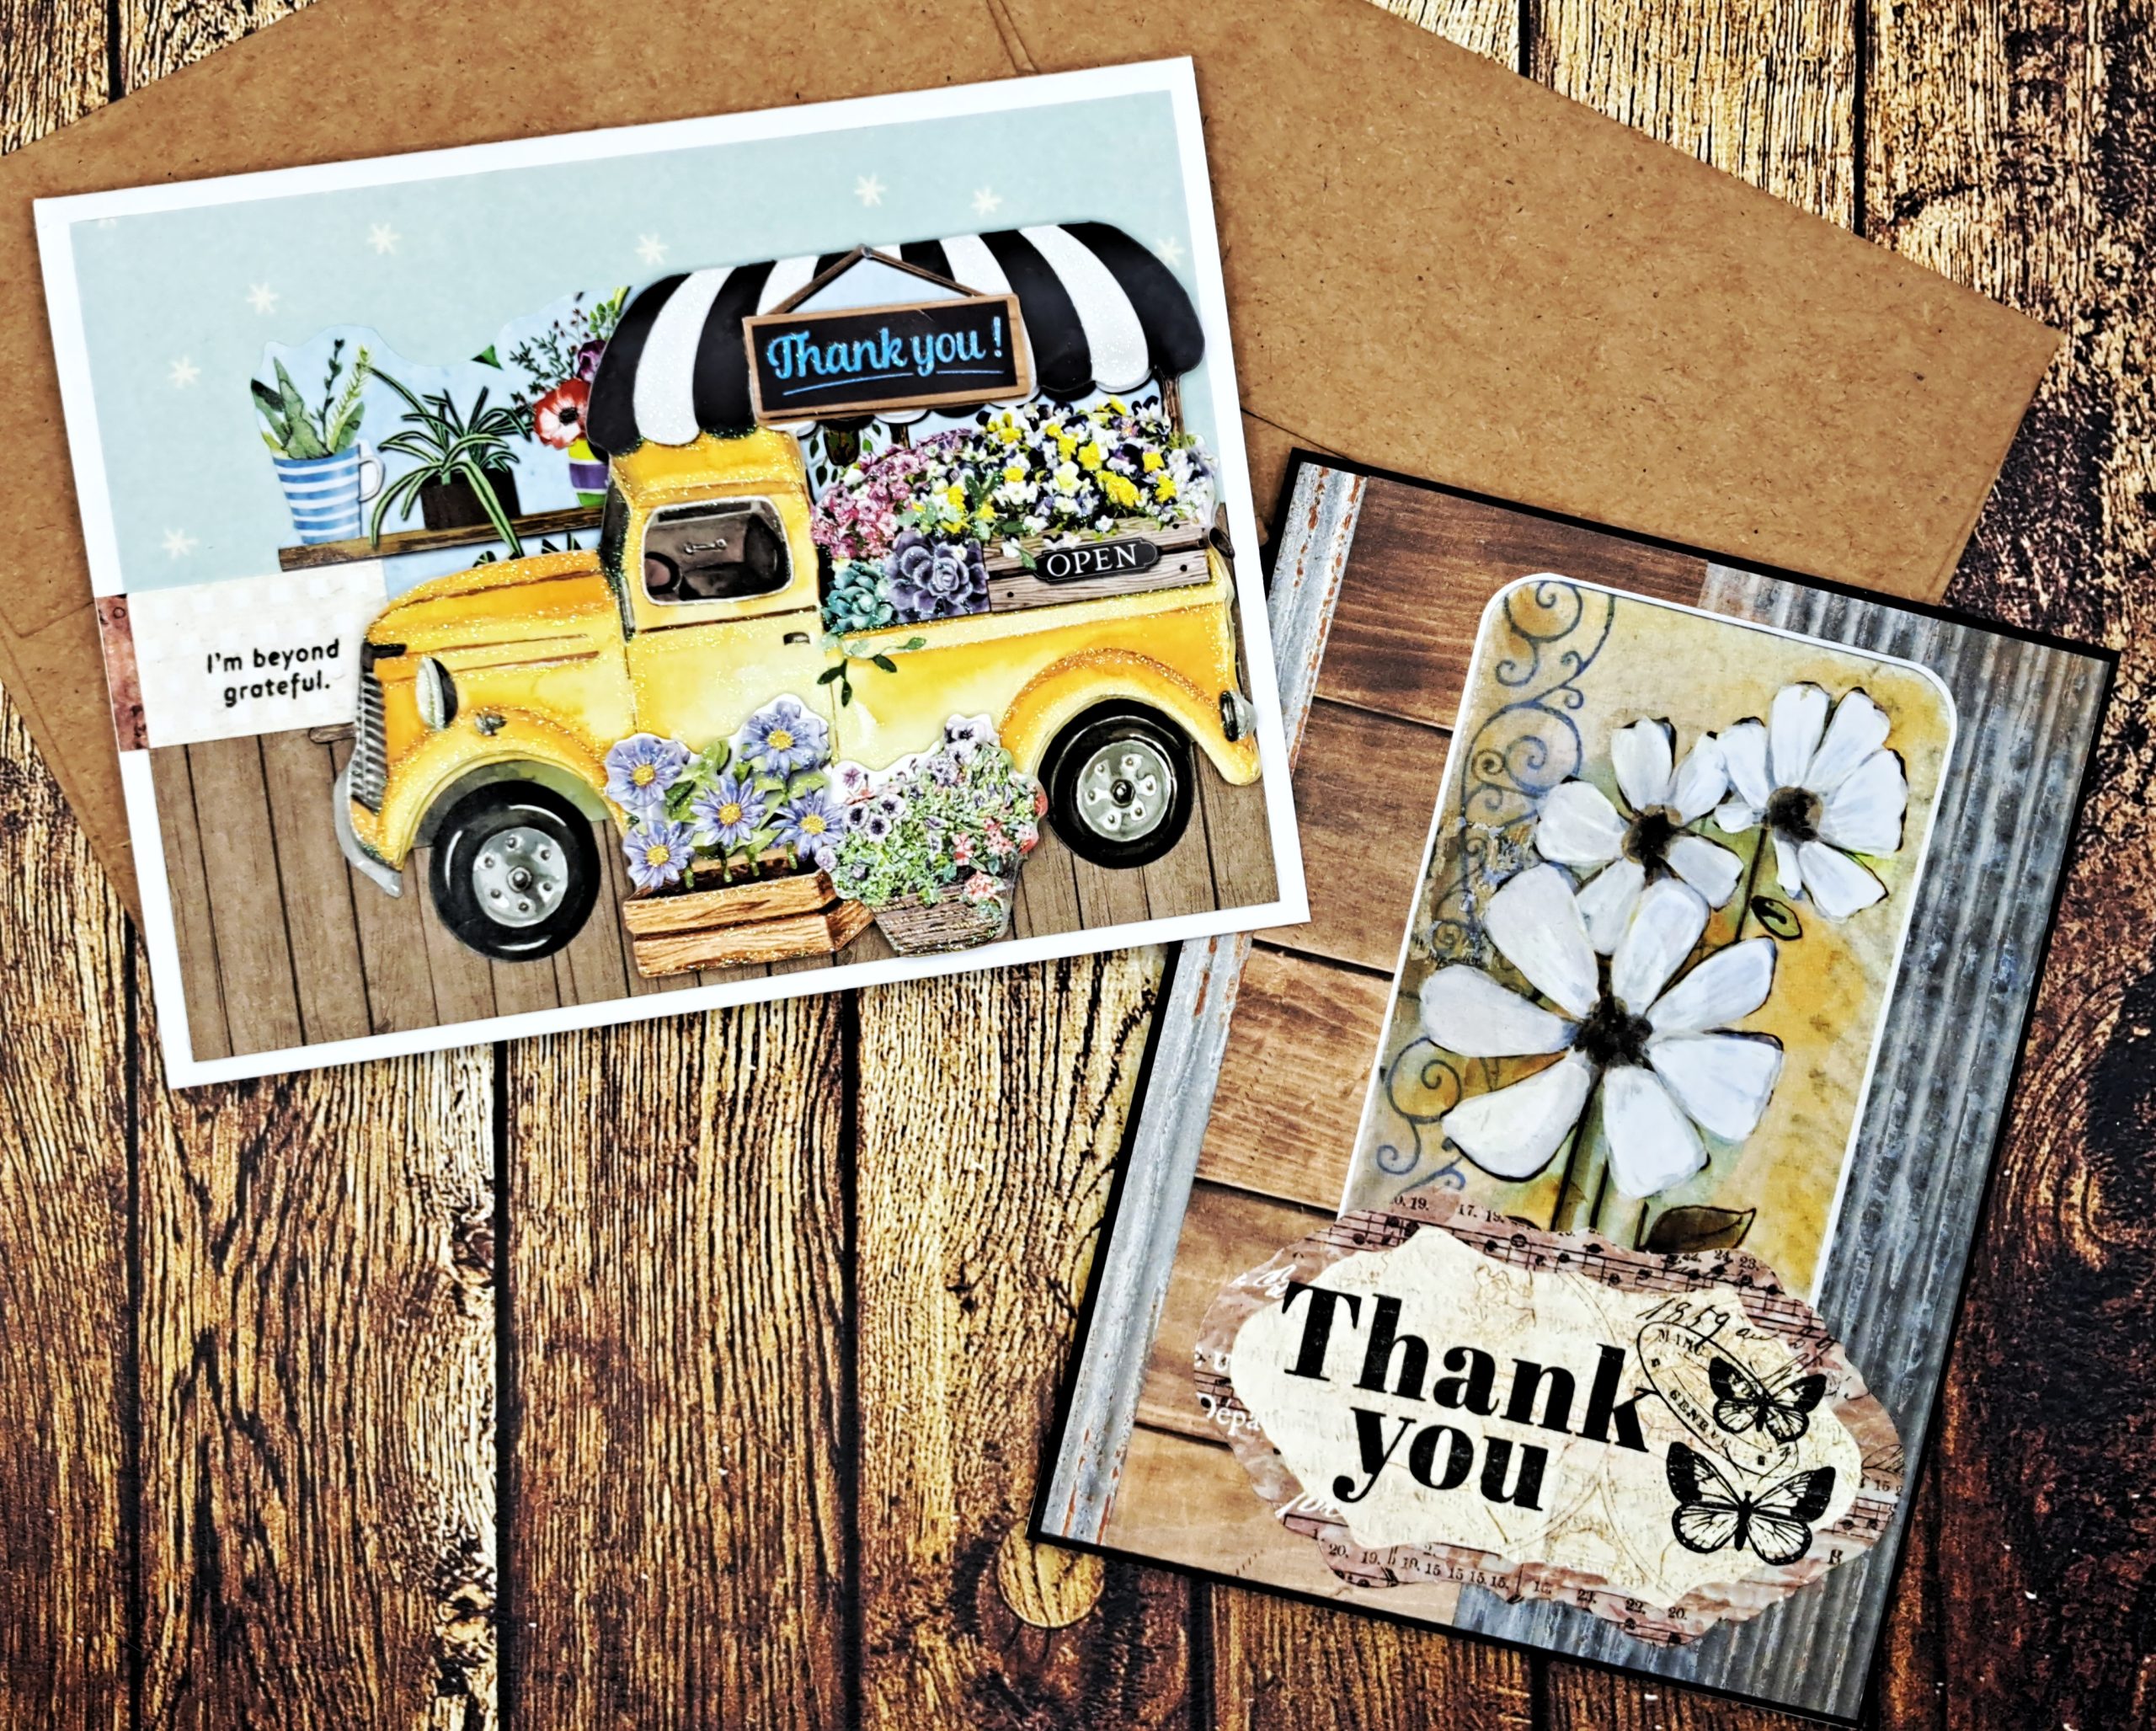
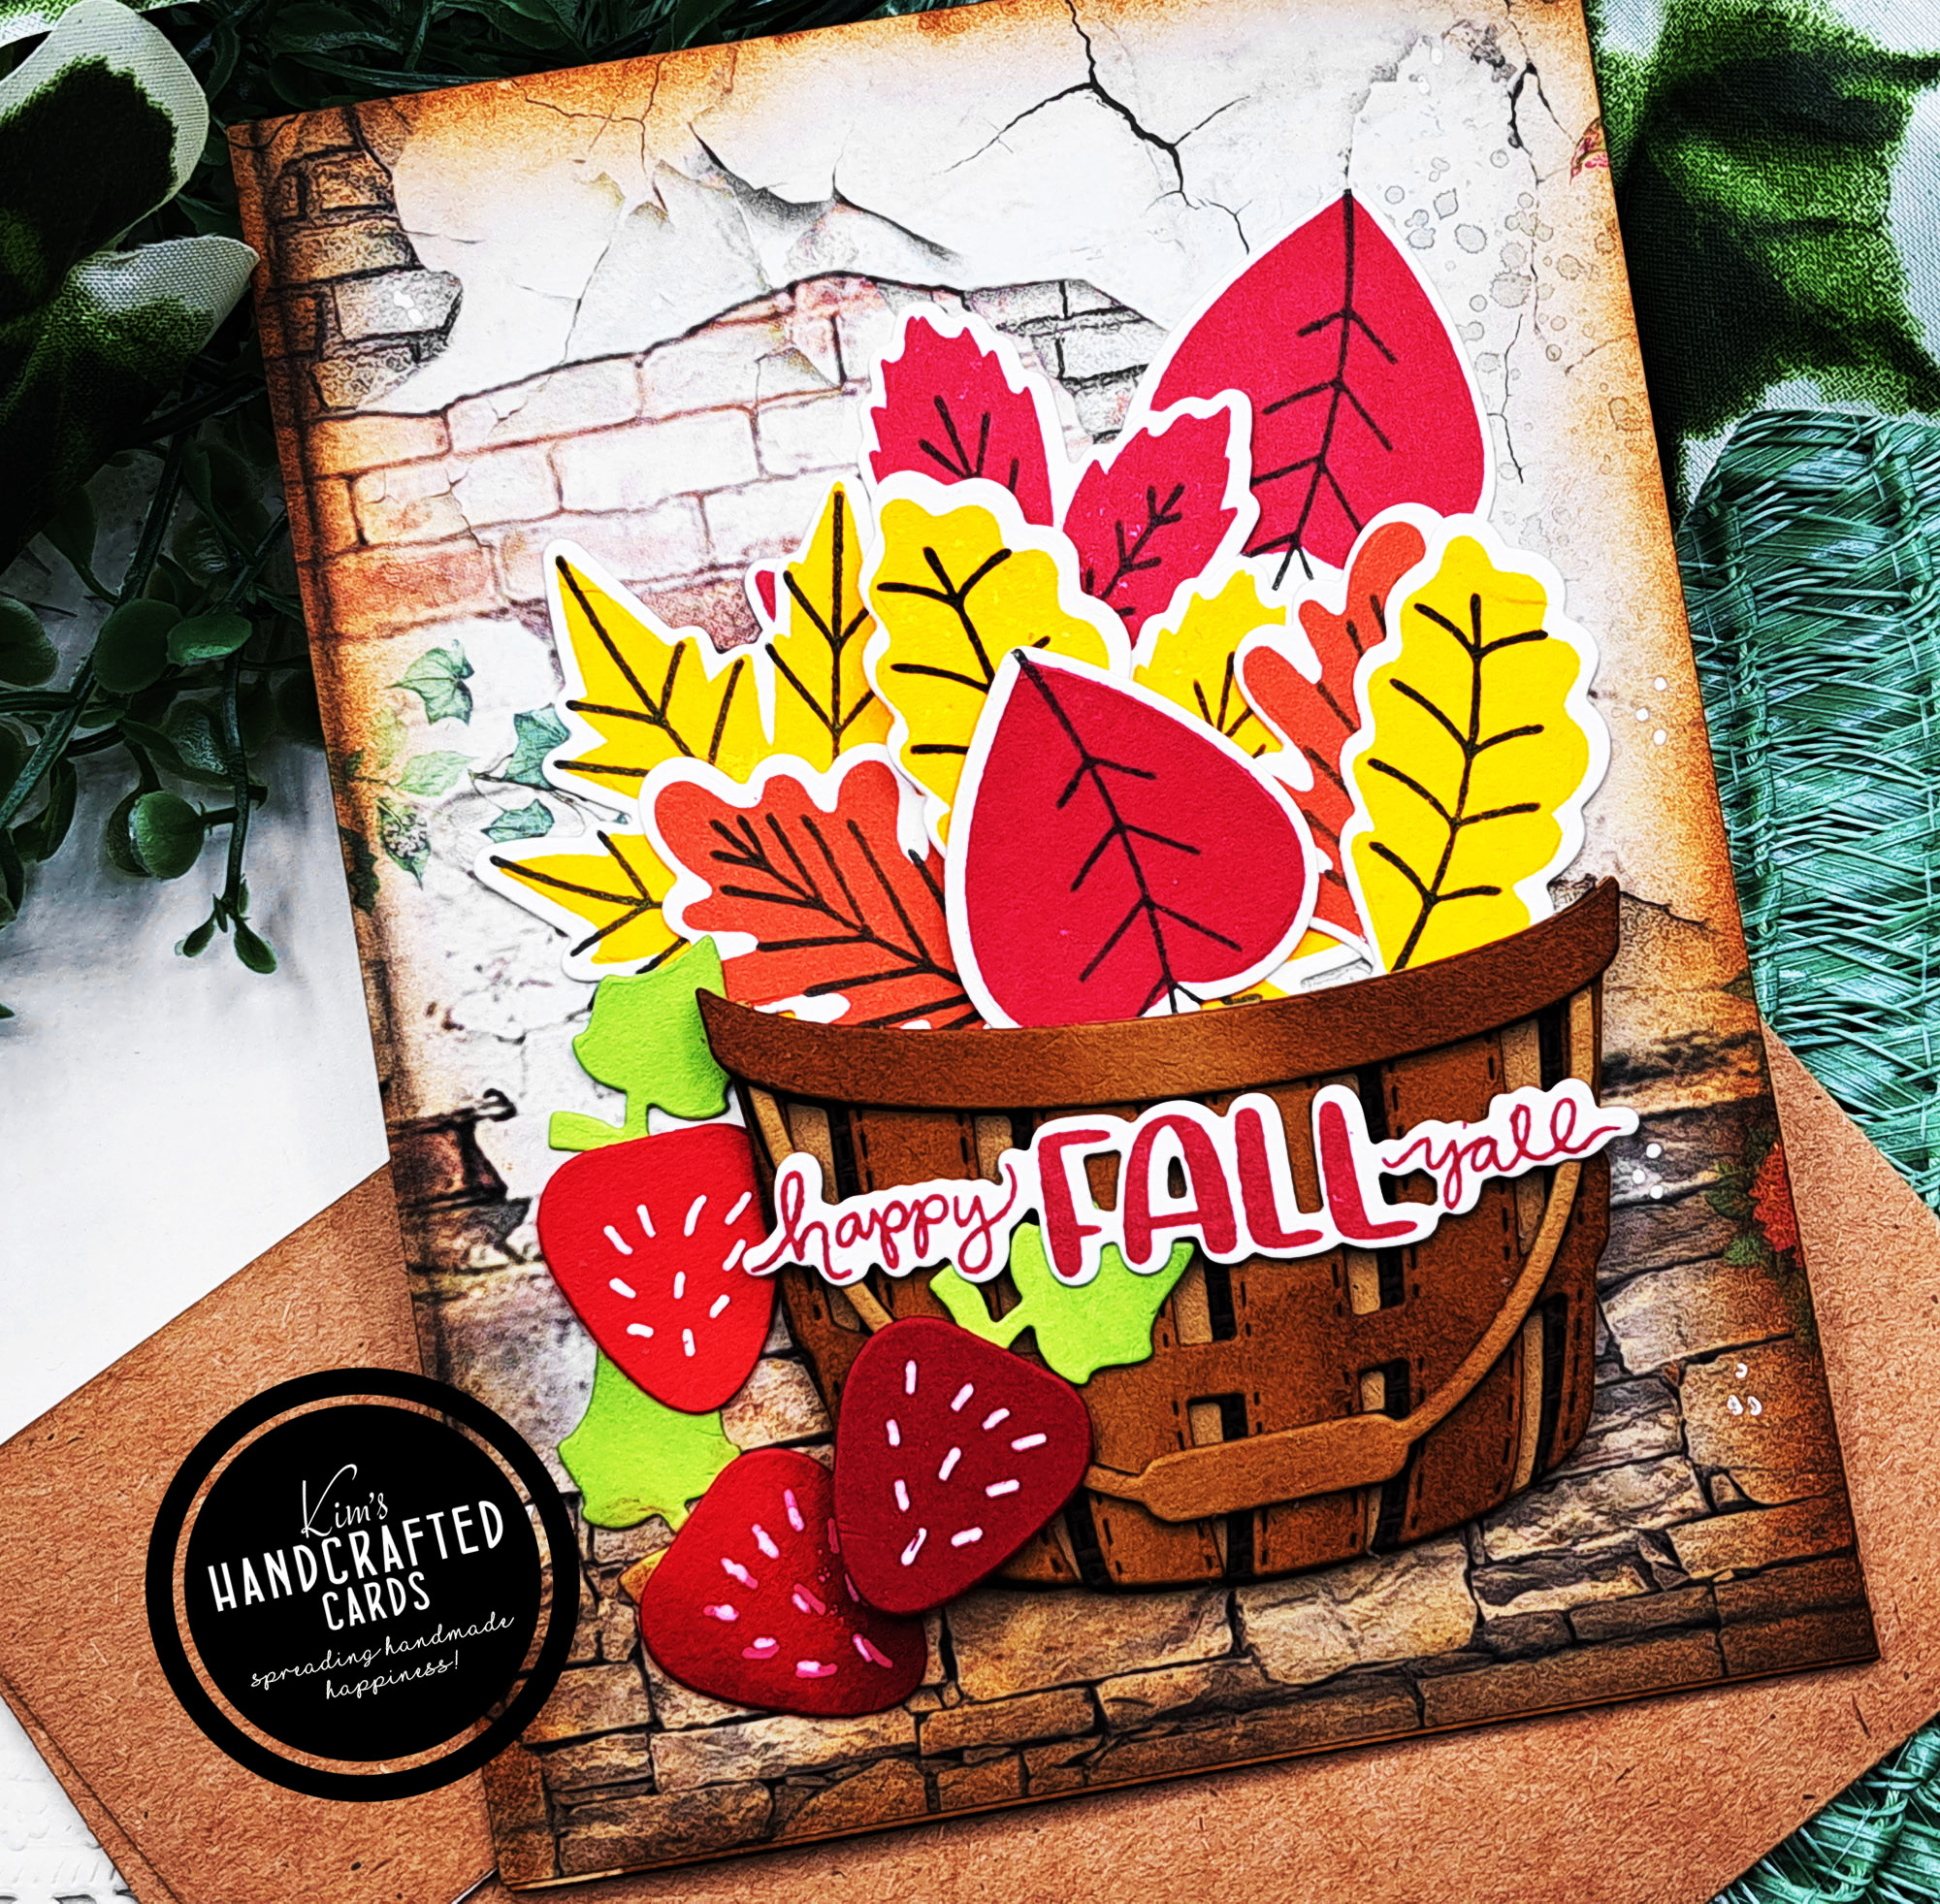
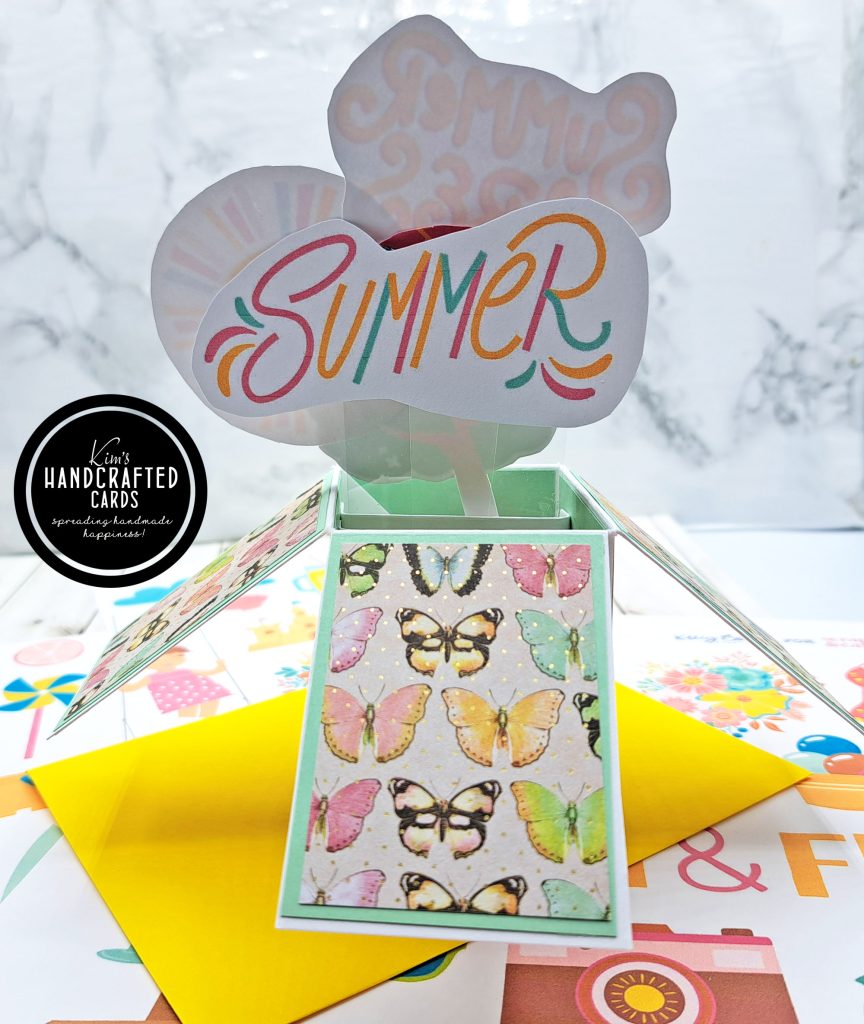
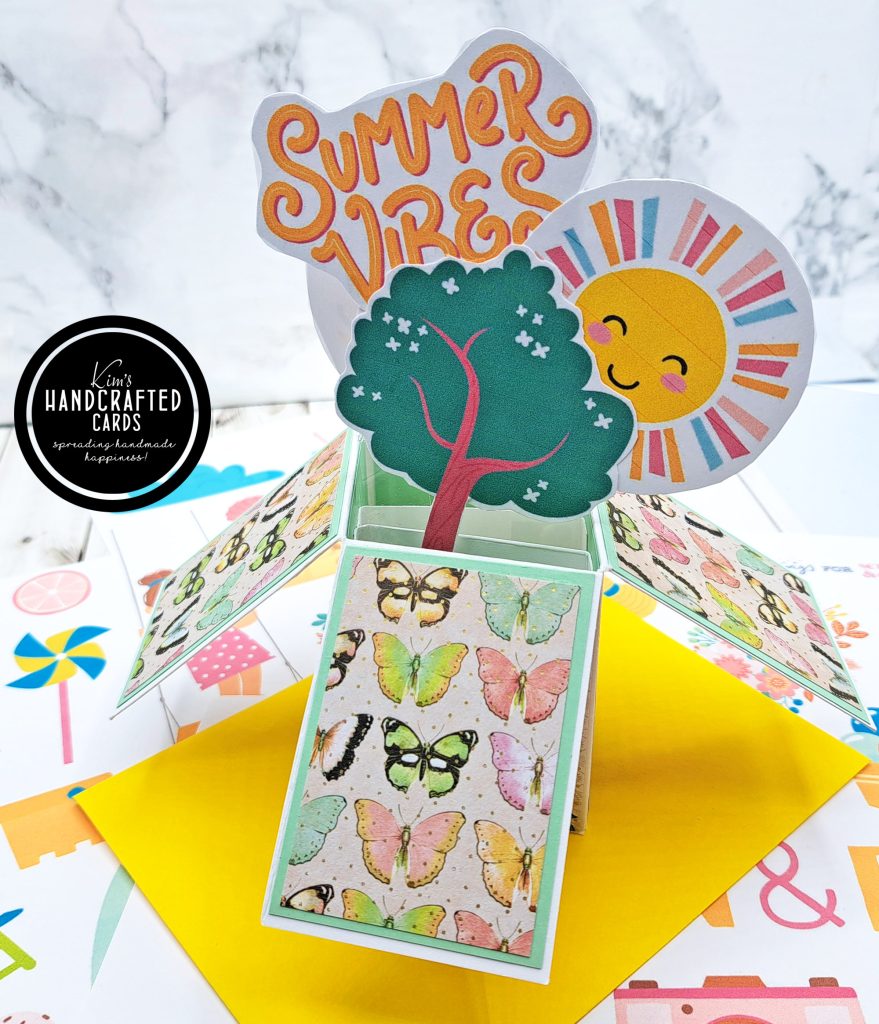
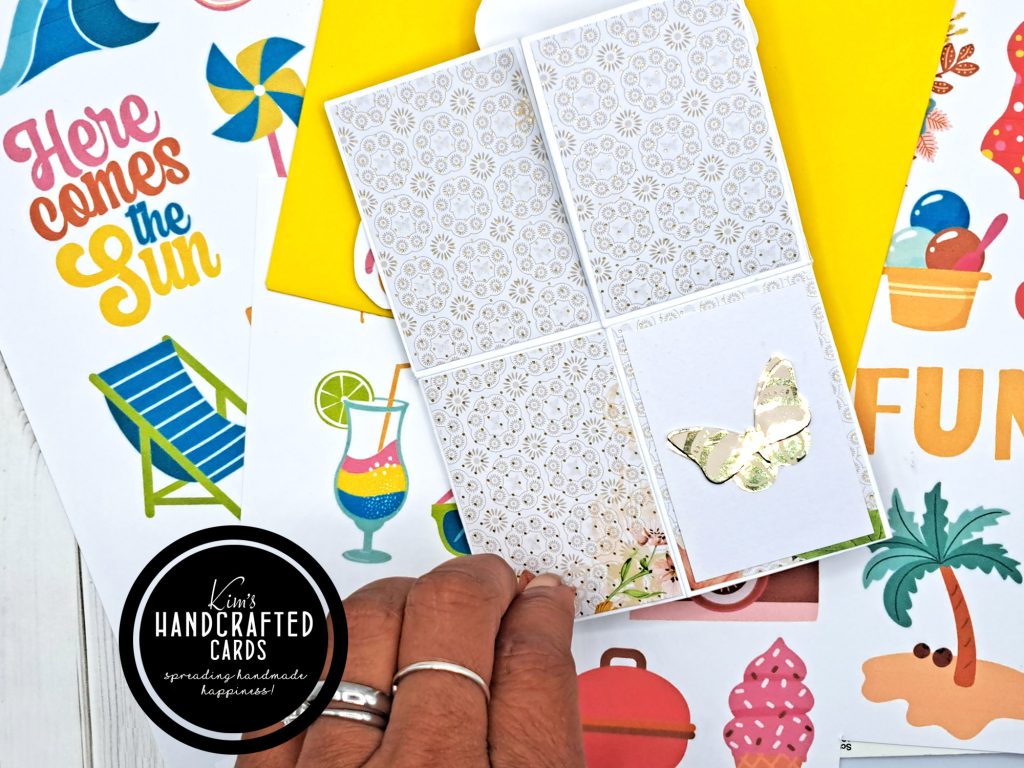
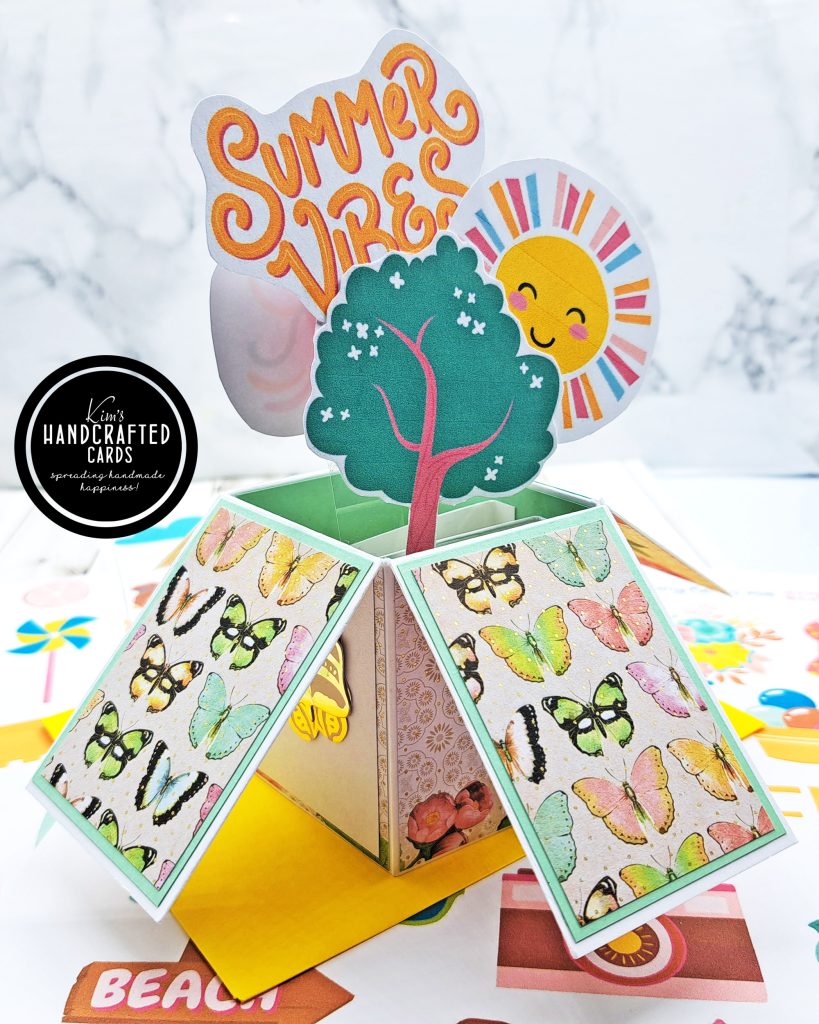
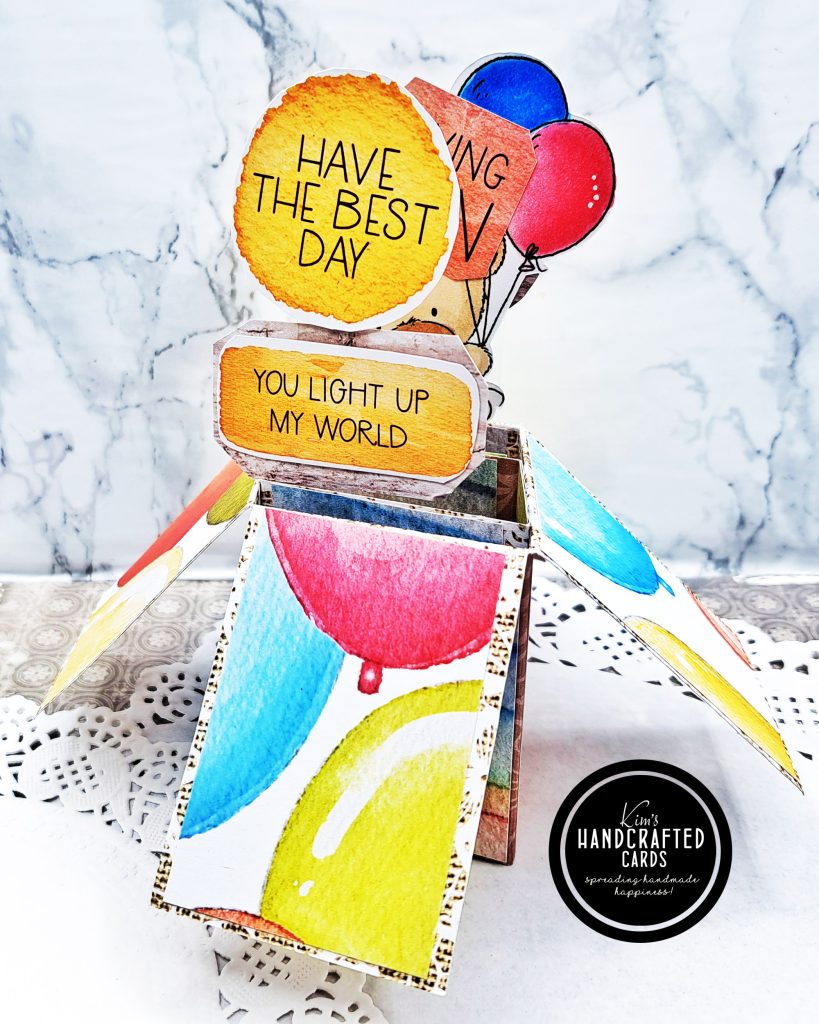
So, for my first card (summer-theme), I used patterns papers from a butterfly pattern paper pack in my stash. As for the pop up decor, I downloaded images (they are free to use for personal usage) from the Summer 2023 issue of Scrapbook & Cards Today magazine. You can find those images here. I fussy cut all my images out!, can you believe that?! The scissors I have for this are phenomenal! 😀
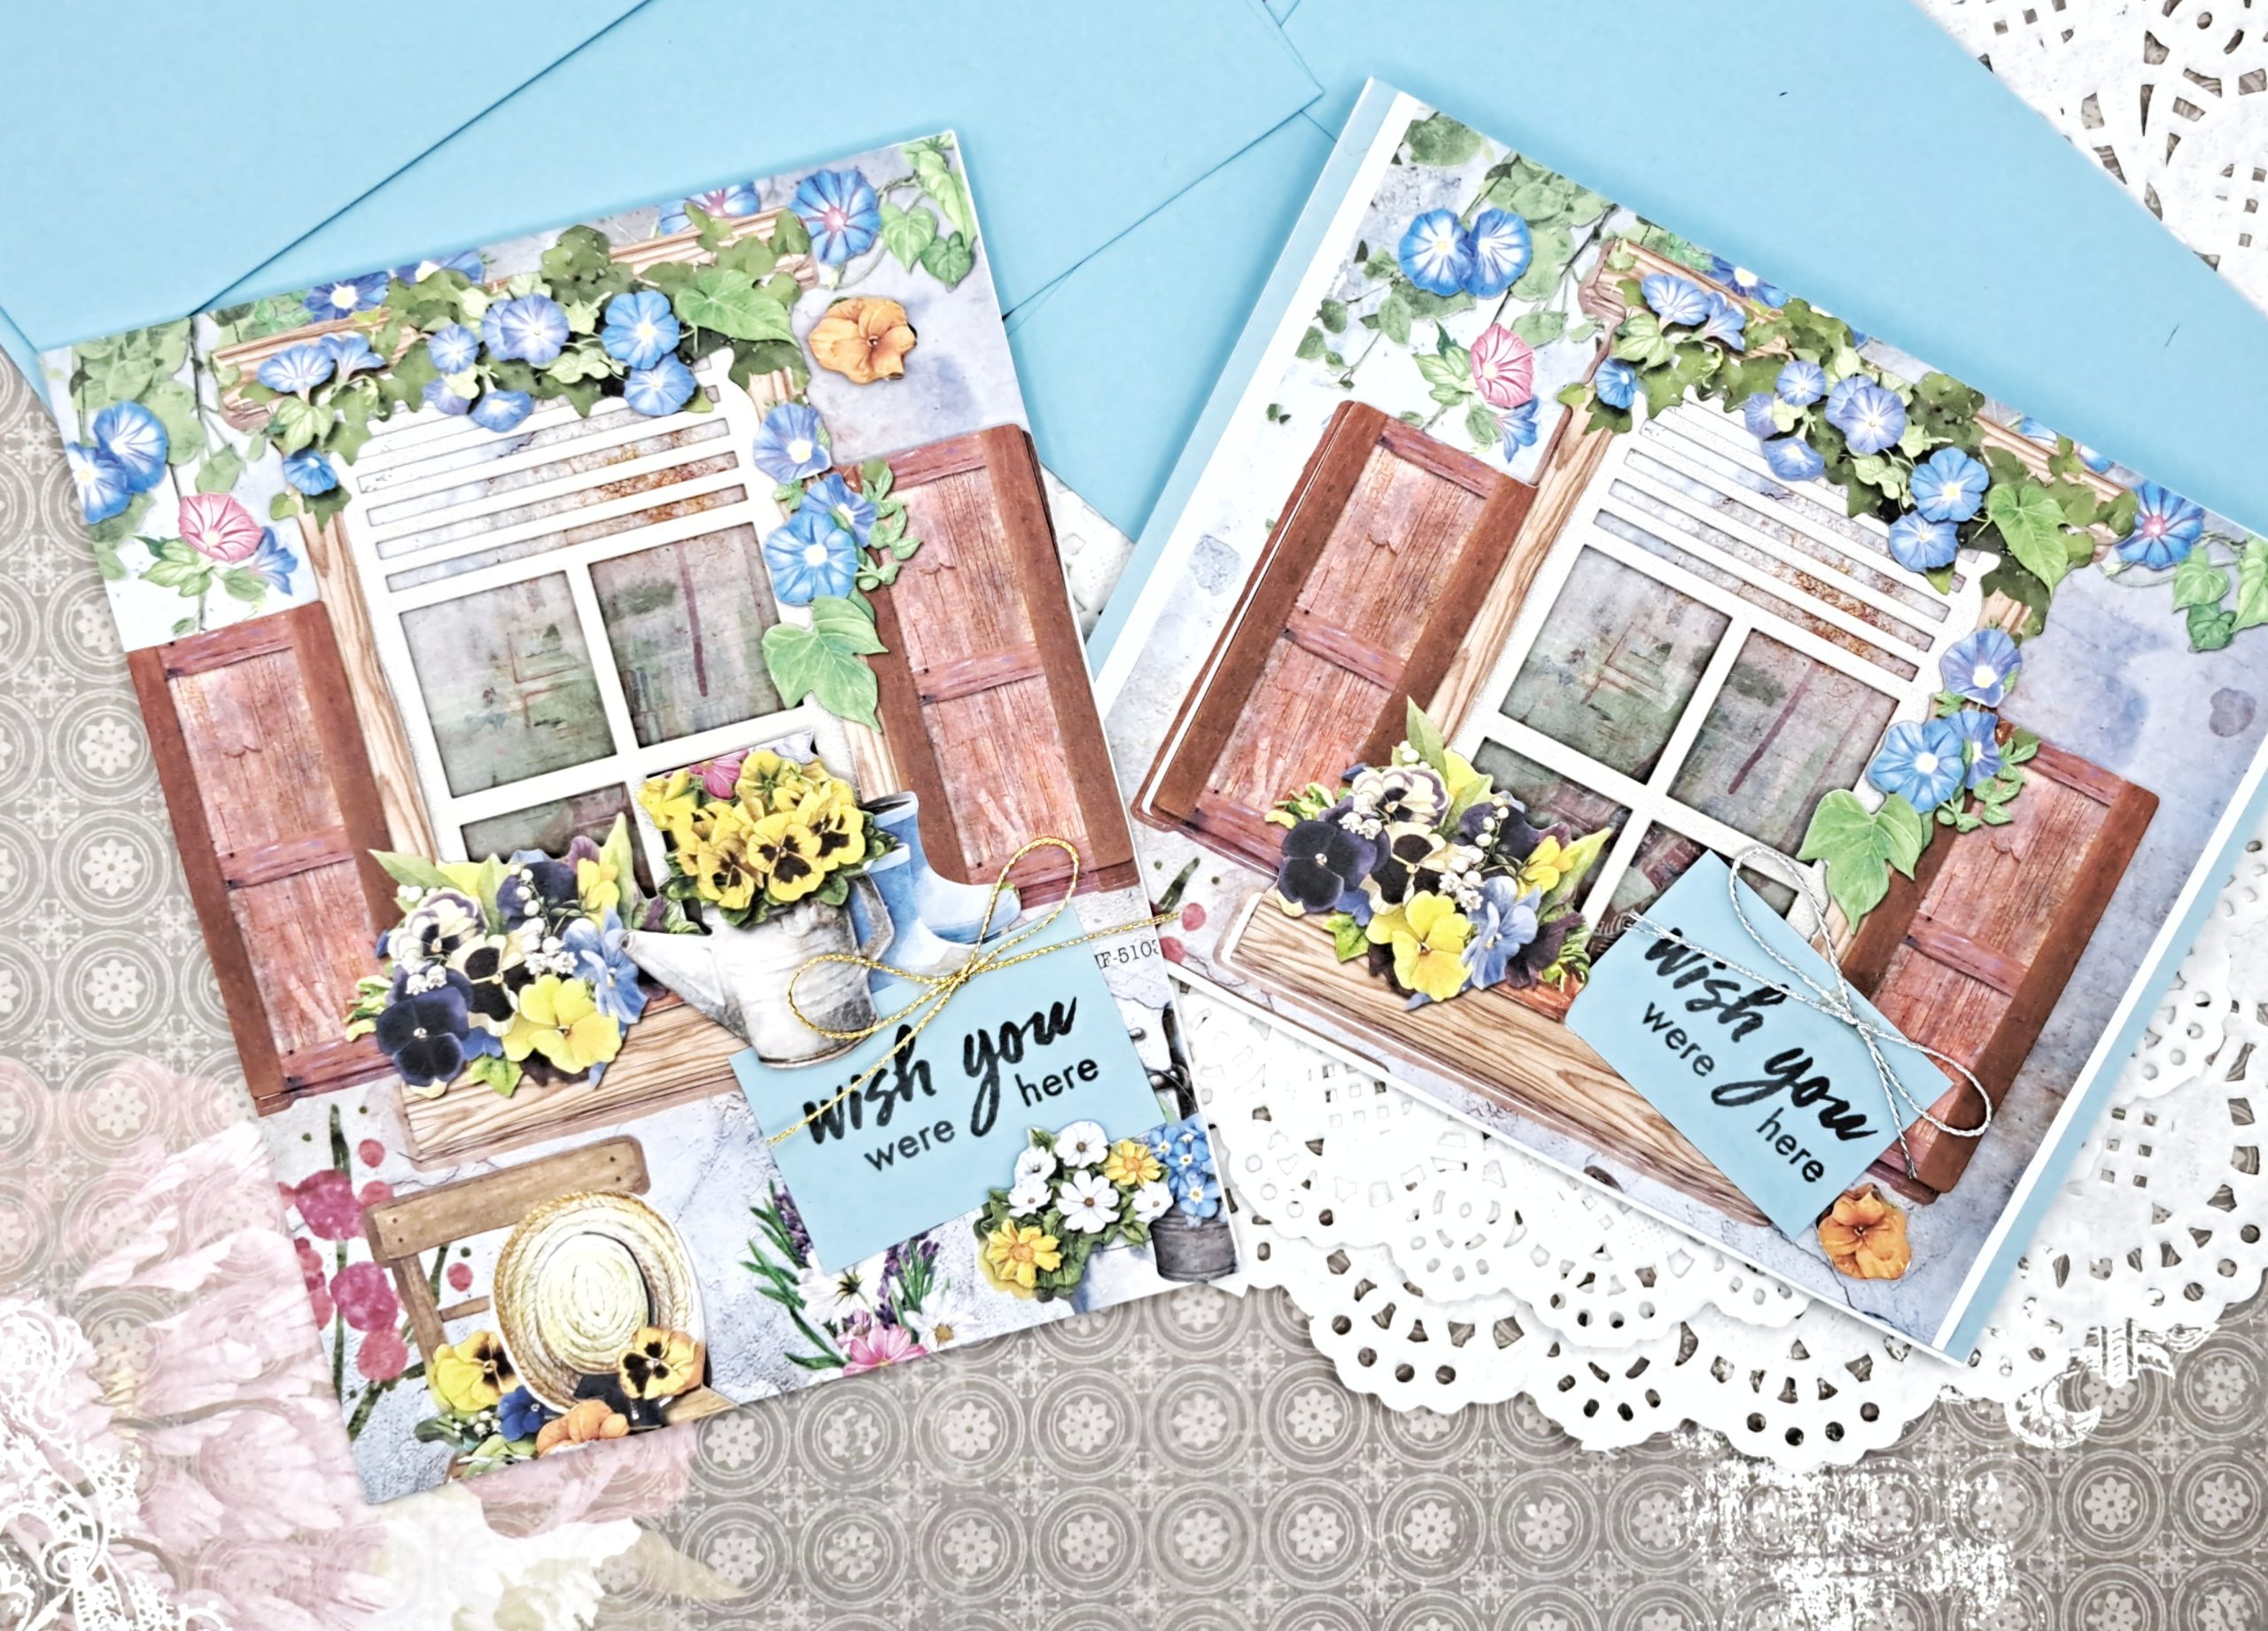
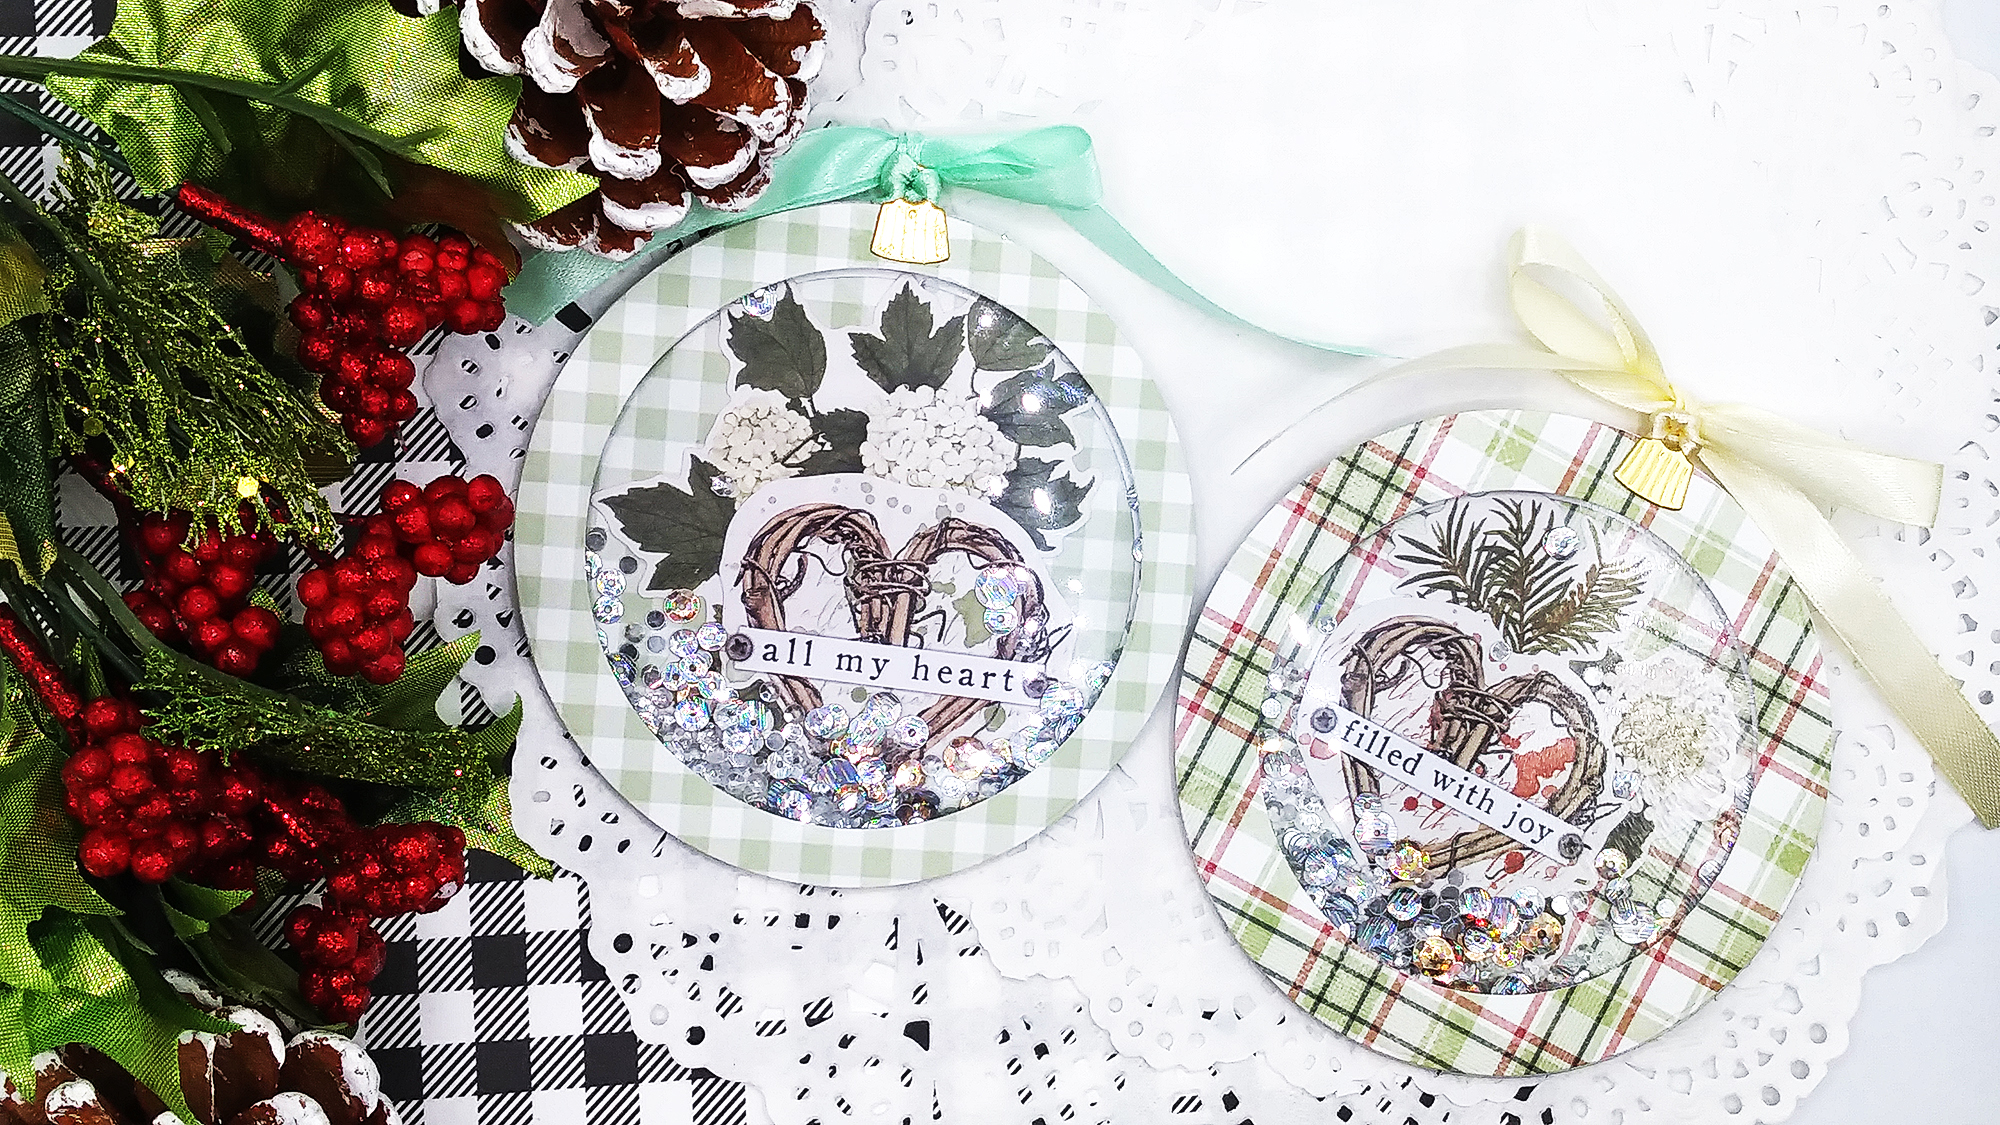
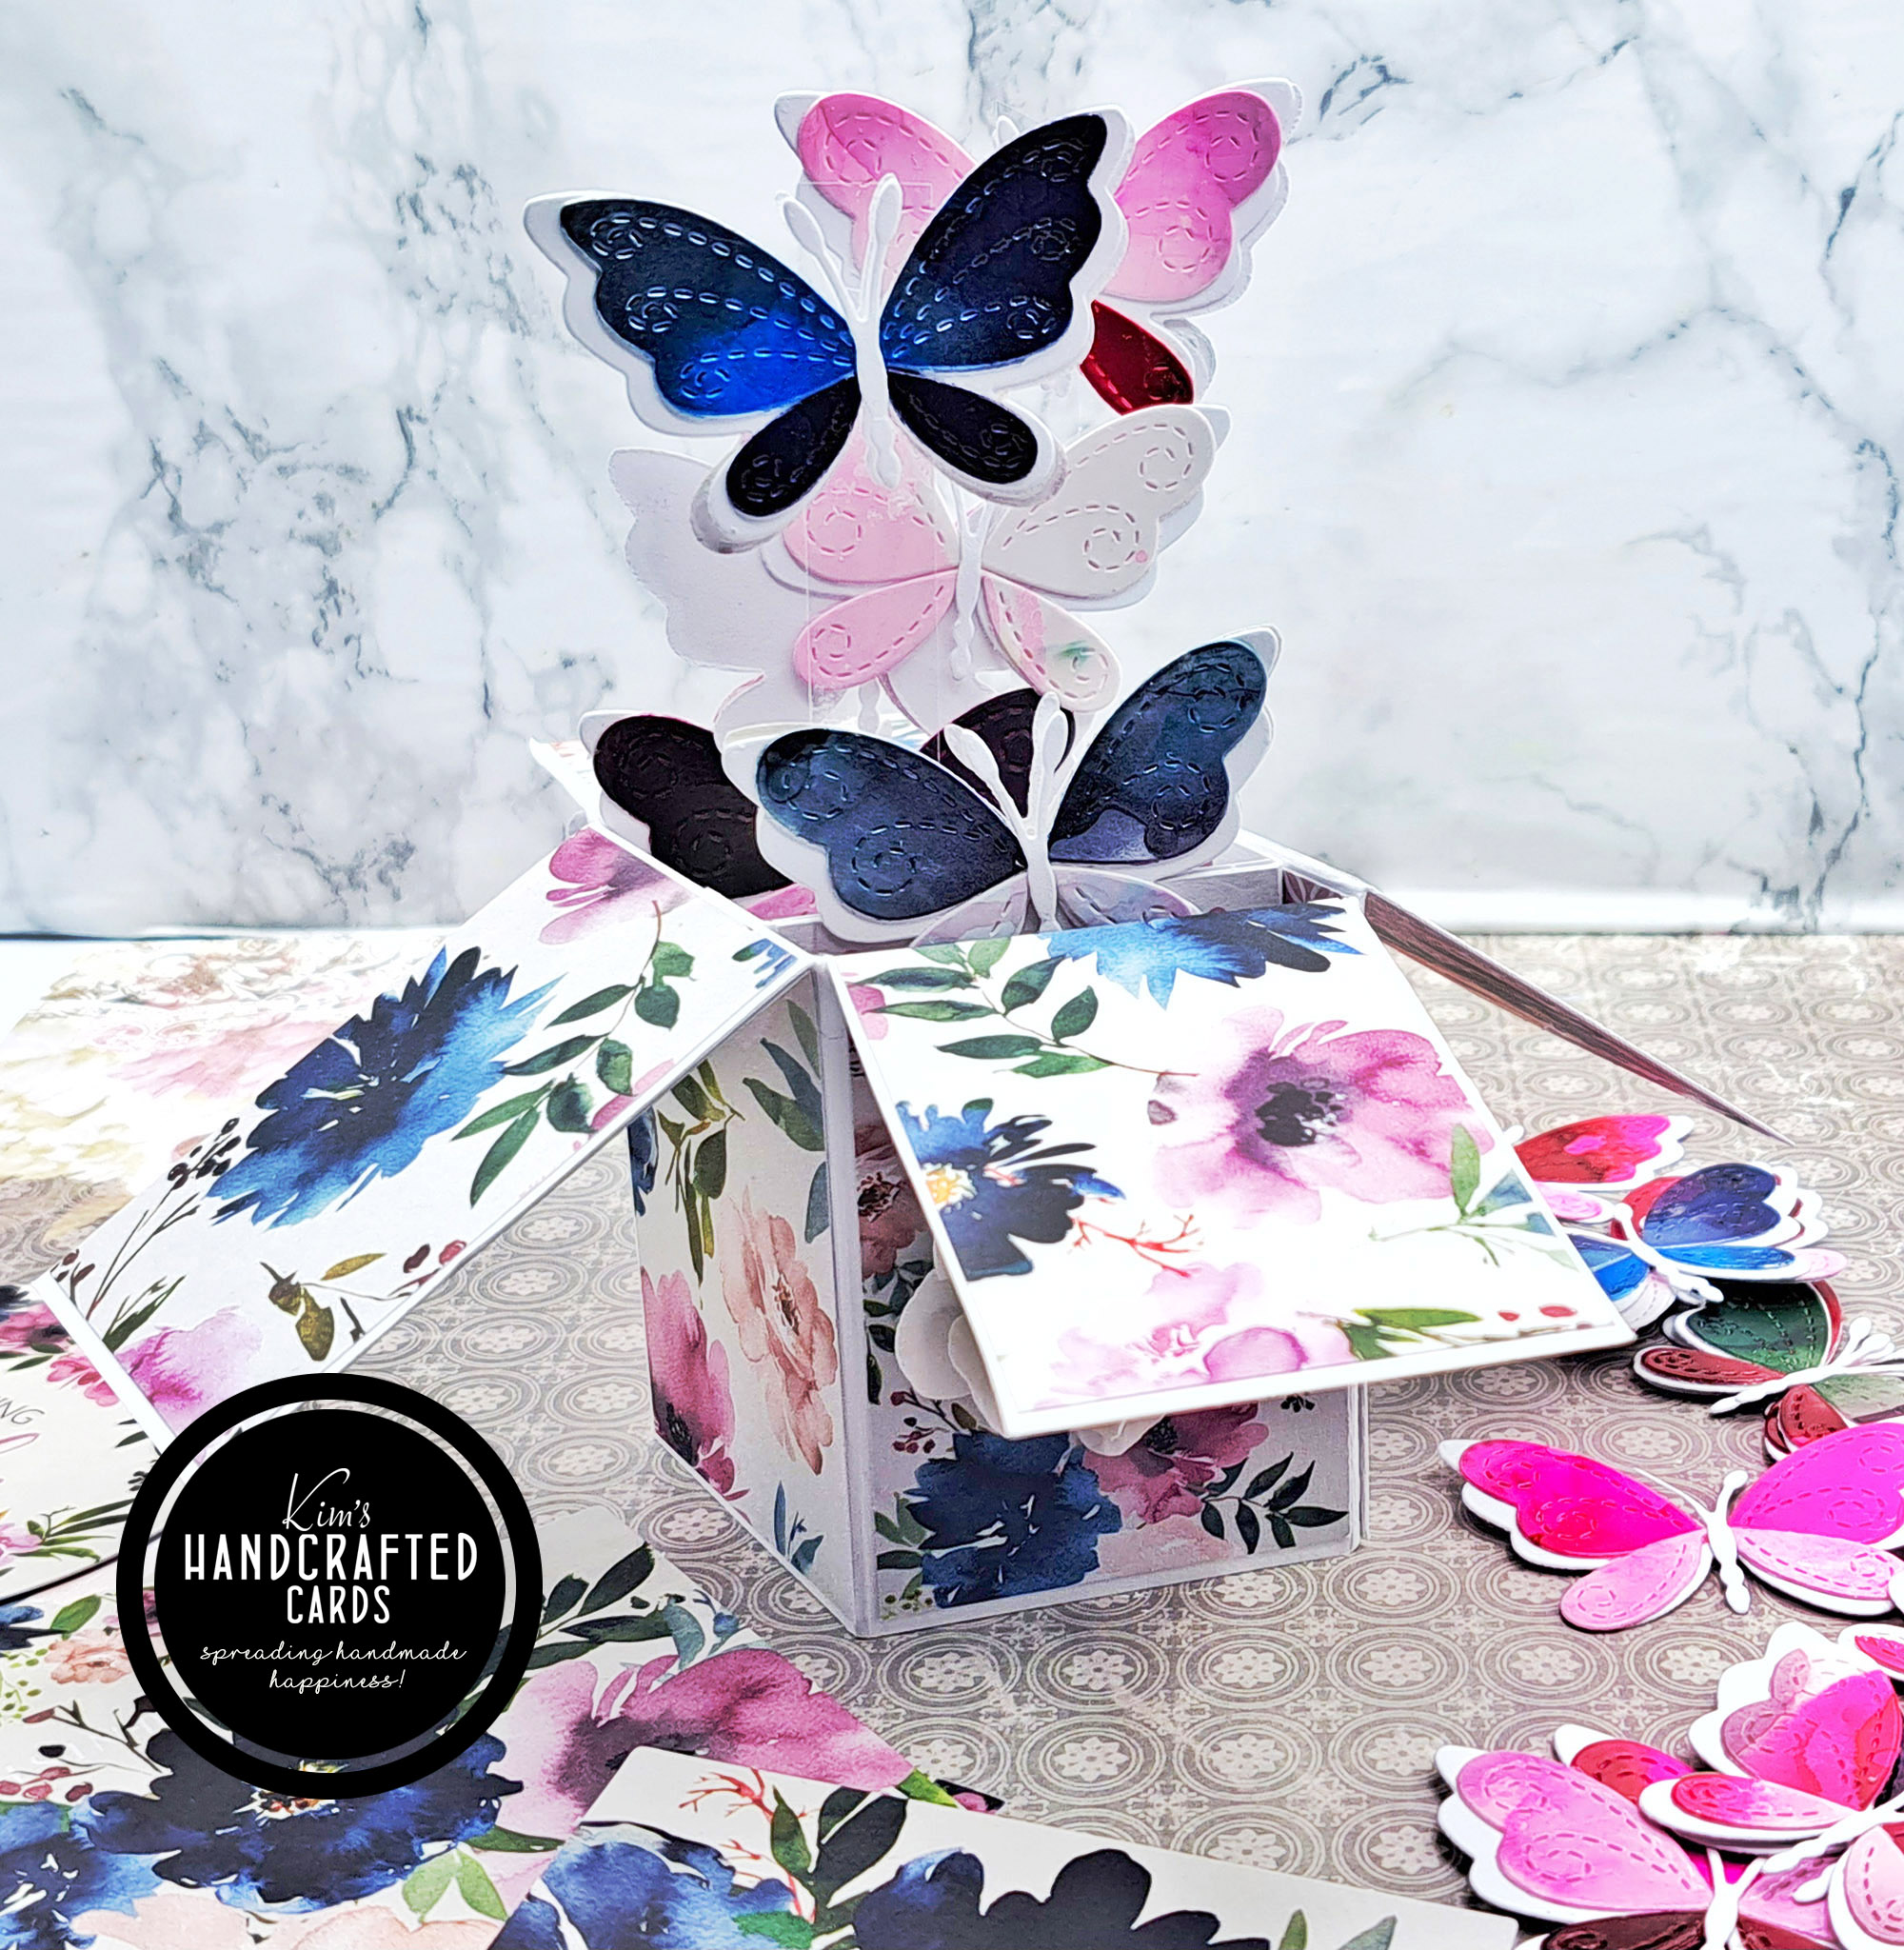
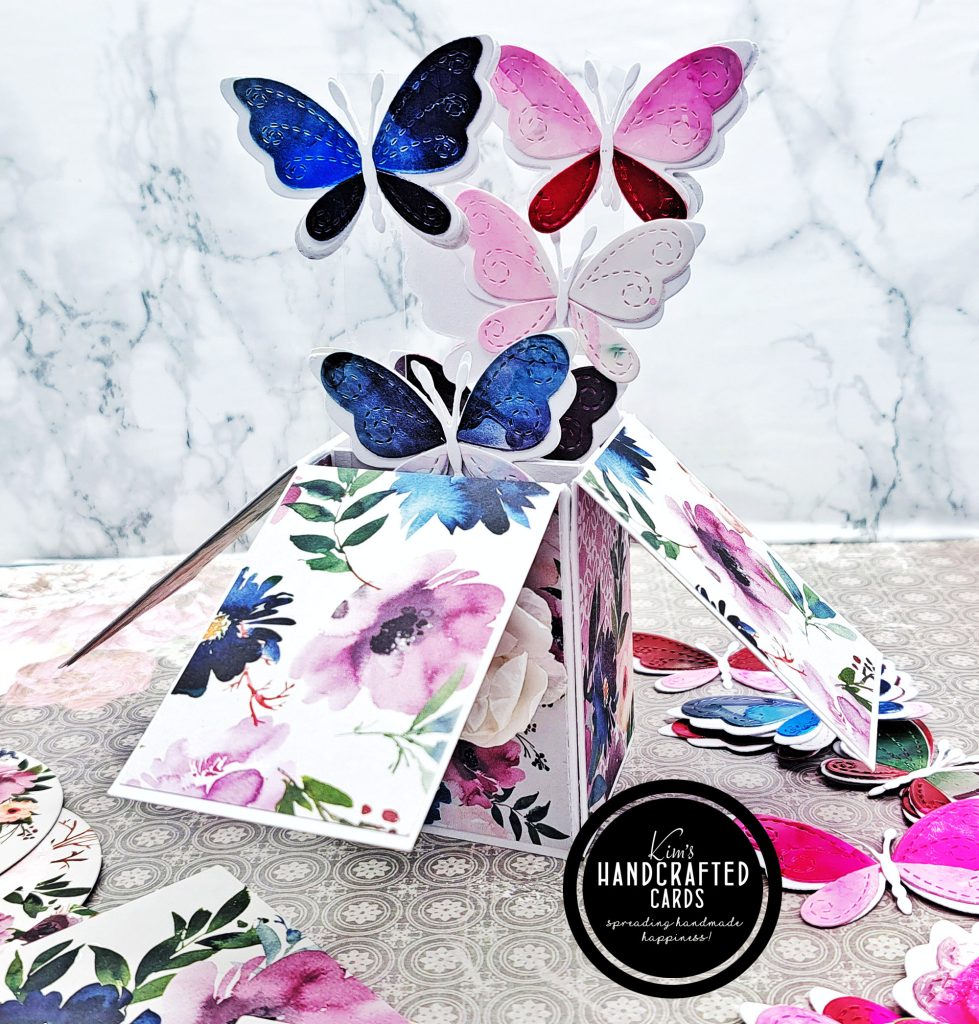
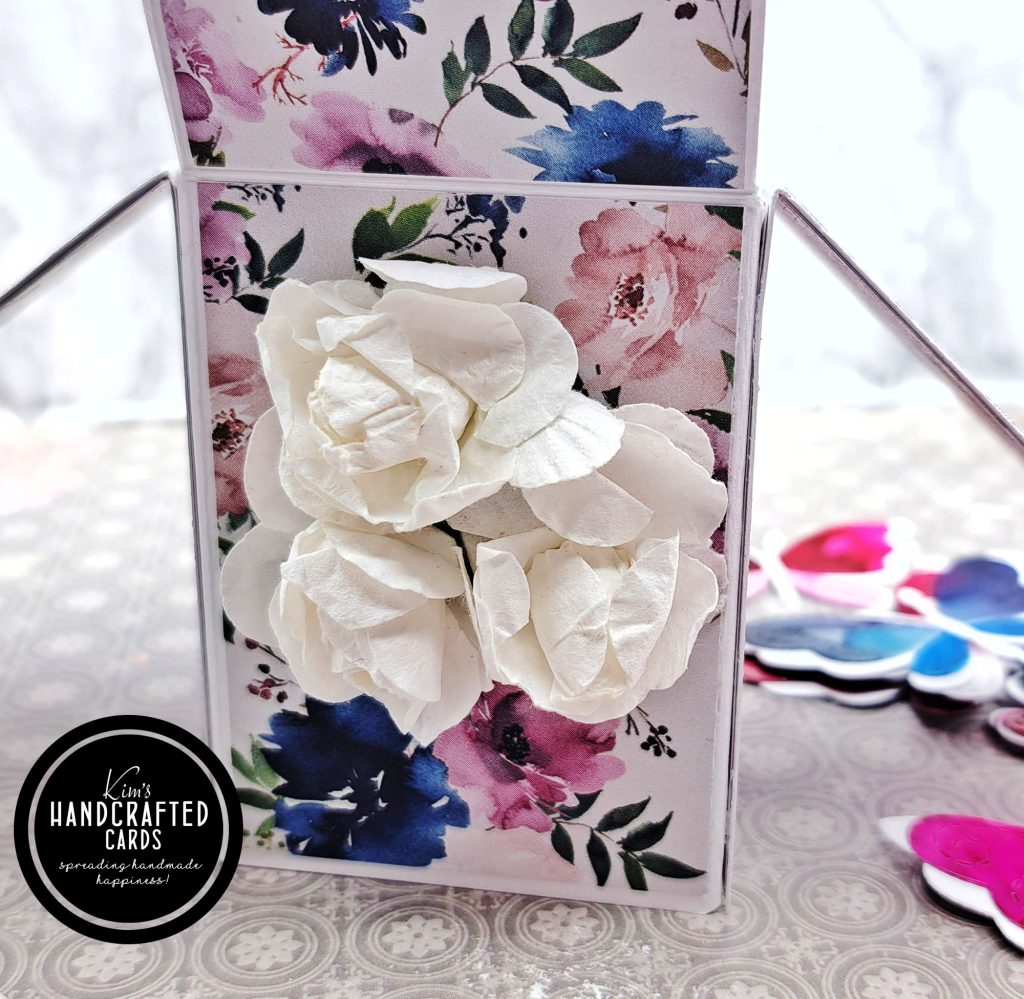
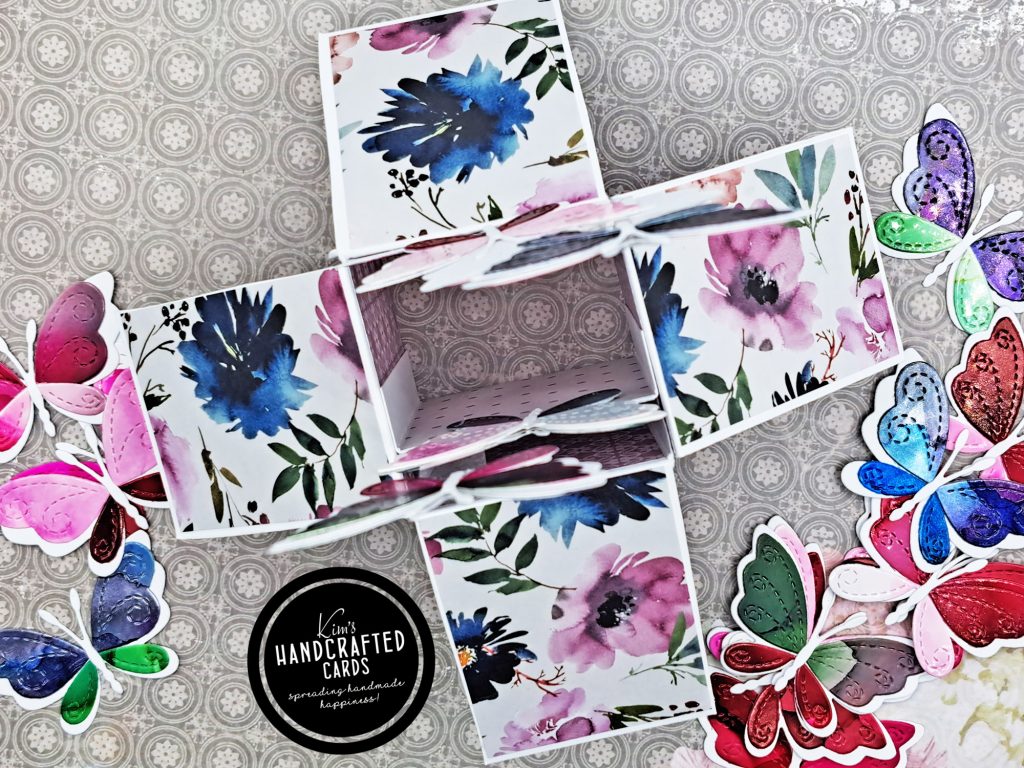
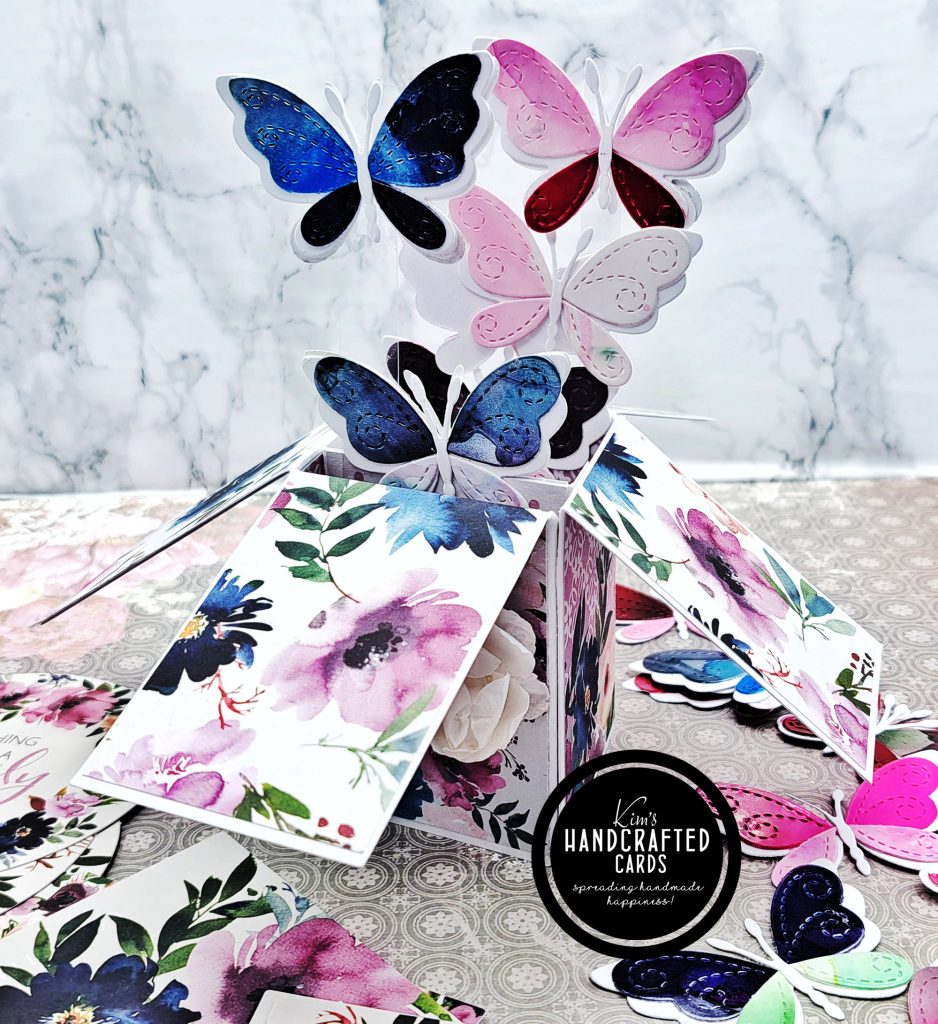
For my second card (floral, butterfly-theme), my pattern papers are from The Paper Boutique’s, “Damask” paper pack. I am in love with this collection and used it many times before in gift boxes, tent topper cards, backgrounds and even in a floating shadow box card! The florals in this pack reminds me so much of the florals I used to create when I ran my Etsy shop, “BellaArts Creatives”. On the front panel, I added some small 3D florals with foam squares. I don’t remember where I got these from, they’ve been in my stash for years so decided to use them. It added extra dimension, so I won’t be mailing it in an envelope.
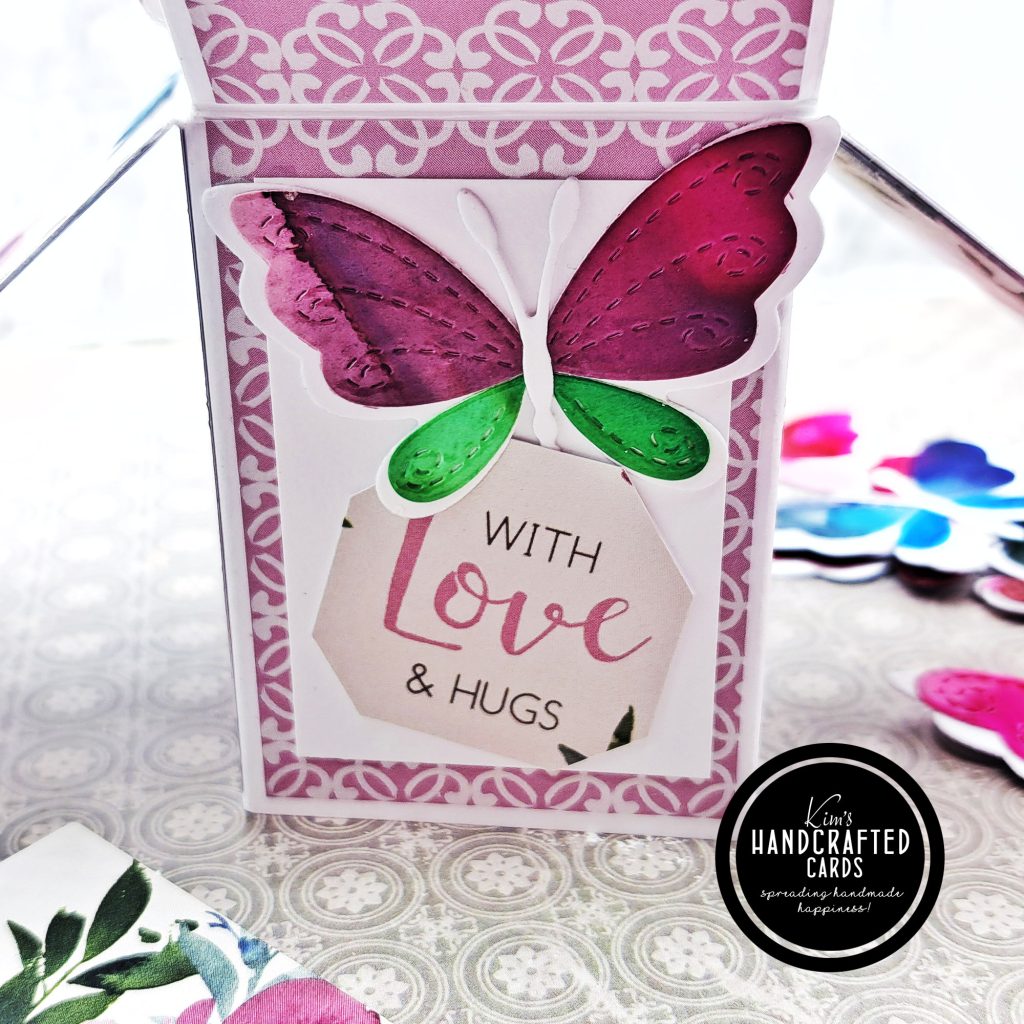
I embellished this card with some of my “alcohol-inked” butterflies from Simon Says Stamp and used some of the sentiments from the Damask paper pack.

I made a test card using Paper Rose’s “Summer Beach” pattern pack in addition to these that I’m sharing because I enjoyed this type of 3D card so much that I wanted to get more comfortable with it.
And I’m sharing 3 of my recommendations that I believe important to remember to be successful constructing this card (you’re learning from my mistakes!).
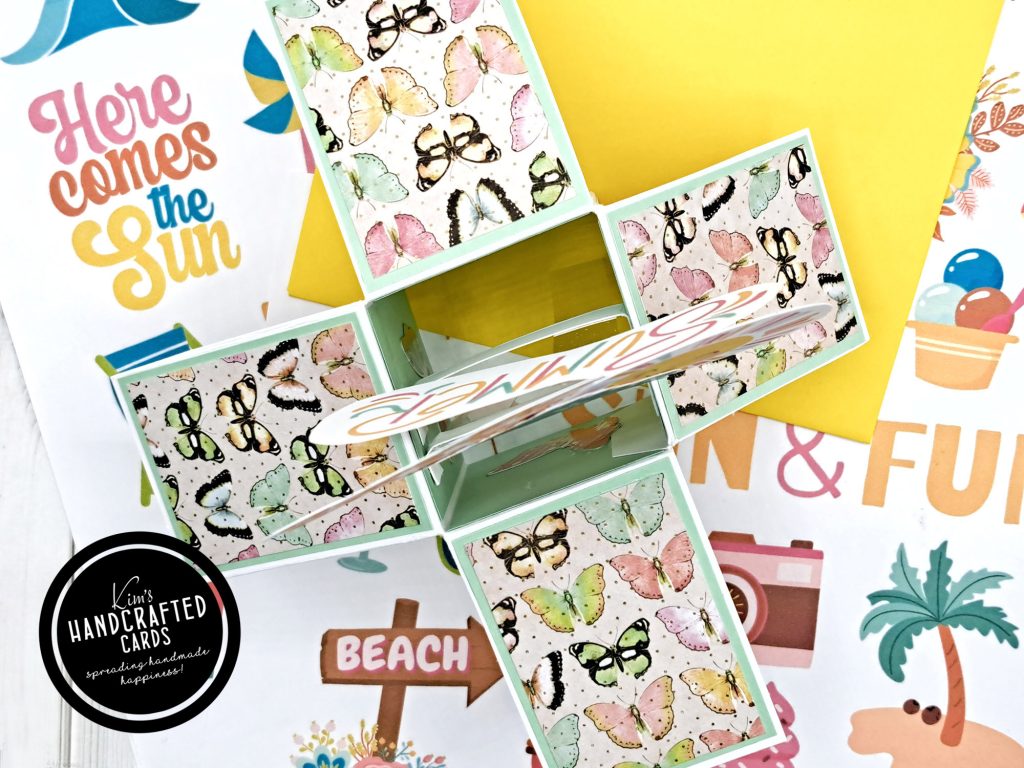
- Decorate first, glue last. I find it easier (for me) to decorate all my panels BEFORE I glue the box together because I like adding pattern papers to all 16 panels (this covers the front and the back of the card). It’s just looks more finished to me. You don’t have to decorate all the panels, you can decide to make your cardbase with a solid color cardstock and add pattern papers to any flaps you want. Again, watch the video so you’ll better understand what I mean here.
- Keep testing. Because this card will fold to fit inside an envelope (A2 size is what I made), I recommend folding every time you’re decorating the inside (pop-up) of the card with your embellishments to ensure they won’t stick out where they shouldn’t.
- Stay aware of where the back and front of the card is. On my Summer-themed card, I forgot to ensure the inside panel piece was facing the front of the card. This is so that the pop-up embellishments would point to the front. However, my decorations ended up pointing to the back! To fix it, I added more pattern paper on top of the back panel instead of the white cardstock I had intended for a personal message. Lesson learned!
Overall, this was such a fun project and I definitely want to make more of these types of cards. They fit comfortably inside an A2 envelope. It’s a fun card design to give to someone and perfect for sitting up as a keepsake. I hope you try it this if you haven’t before!

- Paper Boutique Damask Delights Collection – 8 x 8 Paper Kit
- Paper Rose “Sunny Days” 12″ x 12″ Pattern Paper Collection or 6″ x 6″ paper pad here
- Paper Trimmer: Tim Holtz here (Ranger), here (Scrapbook.com) or here (AZ)
- Simon Says Stamp Adeline Butterfly die set
- Tim Holtz Alcohol Inks Bundle – Etsy ~ AZ
- Ranger Alloys bundle or get them separately here
- Ranger Blending Solution
- 99% Isopropyl Alcohol (bought my from my local Fred Meyer’s store, but you can use 91% – 99%); AZ has a bundle of six 91% Isopropyl Alcohol here
- Ranger Alcohol Air blower
- Ranger Alloys bundle or get them separately here
- Ranger Yupo Paper
- EK Tools Precision Scissors (great for fussy cutting)
- Acetate Sheets
- Scor-Buddy Scoreboard
- Bearly Art Liquid Glue
- White double-sided foam squares
- Glassboard Craft Mat → Use my Code → KIMCARDS20 at checkout
- Craft Reverse Tweezers by EK Tools (great for picking up die cut pieces)
- Accents 100 lb. White Cardstock