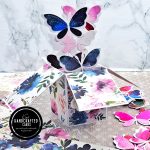
Hi Crafty friends! Today’s post is very special! I made a gift box but not any ‘ol box, this one is really beautiful and unique. You can check out the first gift boxes I’ve made here and here with pattern paper and just folding!
I first saw this box on YT (of course!) on Bethany of Bethadilly‘s video channel. Here’s the link to her tutorial on YT. She takes you step by step how she made this box. I watched it twice and wrote down all the steps before I attempted to make it! I recommend you watch it if you too want to make this box!
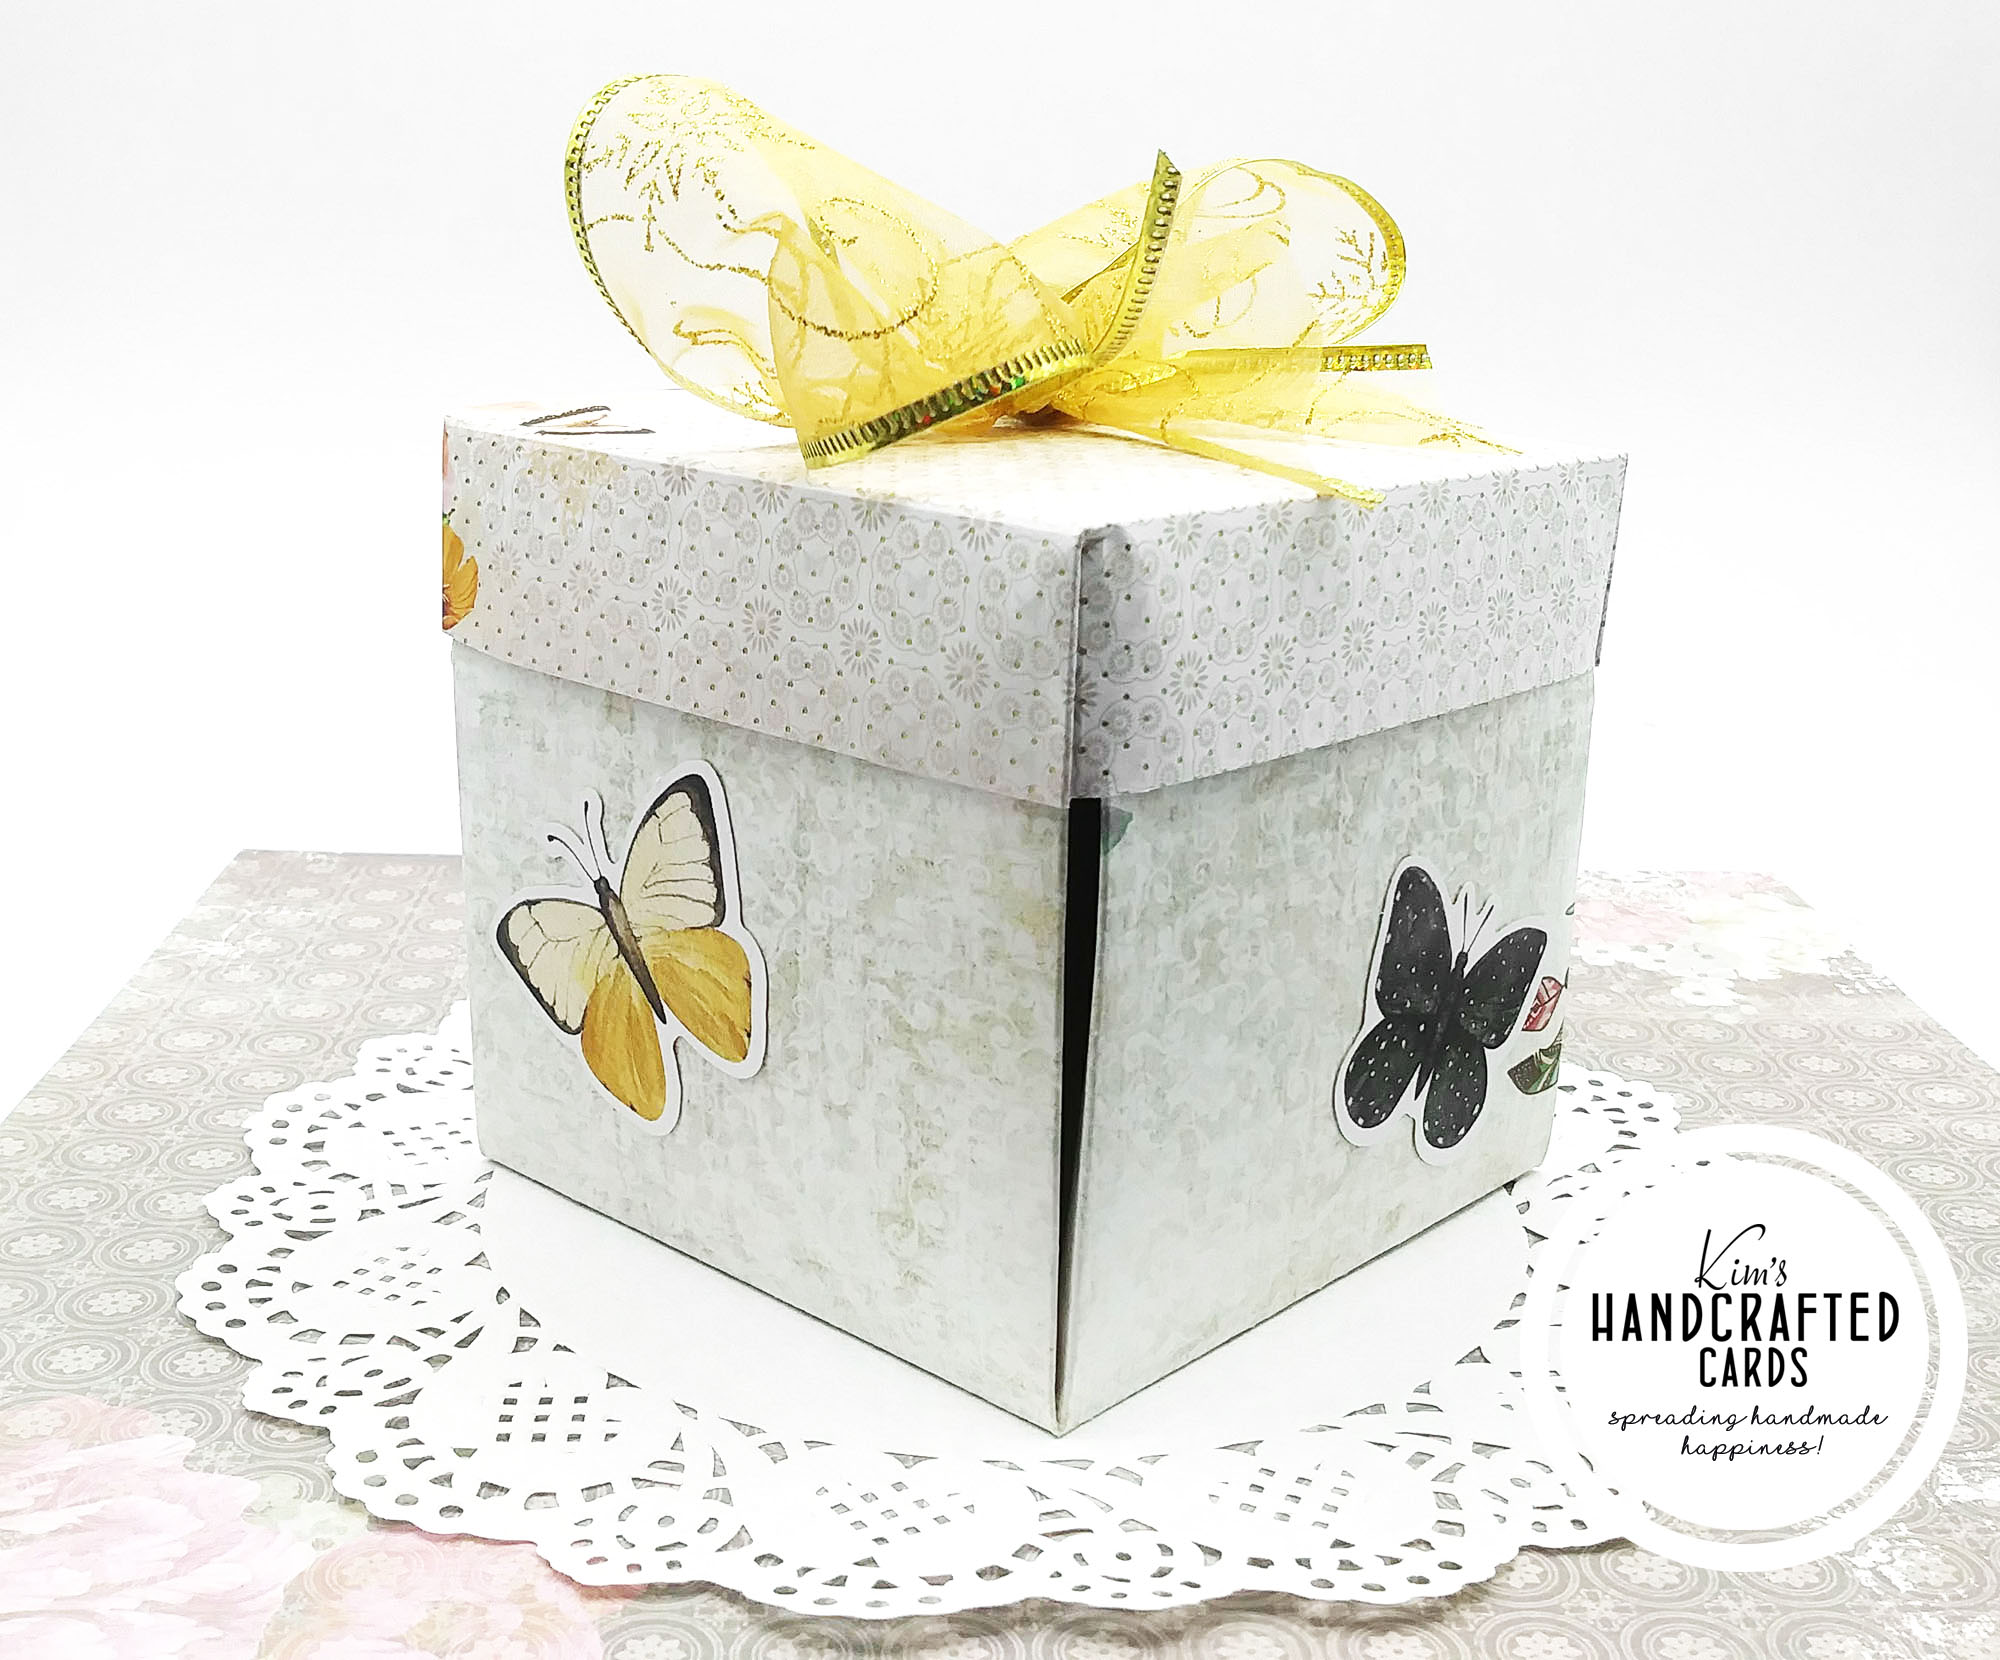
This box is built with layers that go from largest size to smallest. It’s easy to make, it repeats a lot so once you learn how to make the 1st layer, the rest gets easier and you don’t need a lot of tools. The one product you will need is: We R Memory Keepers Explosion Board. This is a guide that you make pretty boxes with! I ordered mine on AZ and I’ll like to this tool at the bottom in my Shop this Post section.
Other items you’ll need are:
- 6 Sheets of Thick Pattern Paper Cardstock (the heavier the better as it will give the box more weight and it will hold its shape better) – I recommend double-sided, but you can use single sided. I did cause I don’t have any double-sided paper but I plan to purchase some next time I make this box.
- Bone folder (optional)
- Pencil
- Fussy Cut Scissors (I’m not great at fussy cutting, (but my new scissors were helpful)
Now, my box turned out so beautiful but that said, it was not without mistakes along the way and I want to share that with you and how I rebounded.
Whenever, I make something for the first time, I always make a prototype and keep it as a reference.
Essentially the box has 5 inside layers. I wanted to make the 12 x 12 sized box, so I trimmed down 5 of the 6 pattern paper sheets to 12″ x 12″, 11″ x 11″, 10″ x 10″, 9″ x 9″ and 8″ x 8″. The 6th sheet will be the lid and I trimmed that to 6-1/2″ x 6-1/2″. The 12 x 12 is the outside of the box and the other 4 sheets will fit inside with the edges cut into a butterfly shape. The guide comes with butterfly templates in various sizes. If all this sounds confusing, watch Bethany’s video and you’ll understand!
I made the first layer of my box just perfectly, however my fussy cutting to make the hearts on the edges went a little wonky so I still need practice, no biggie. I went to make my 2nd layer and everything went well, but I got so excited that I ended up gluing it down over the 1st layer before I cut the butterfly edges and there was nothing I could do, the glue had dried! Ughhhh! 🙁
So, I carefully traced and fussy cut the butterflies as best I could without messing with the 1st layer. I learned from my mistake and was careful with the 3rd layer! But, because I was fussy cutting the butterfly shapes trying to keep from cutting into layer 1, they aren’t perfectly rounded. But, I rebounded by telling myself, “this is your first time making this box, it’s a sample piece, breathe and take your time.” Besides that, it’s a handmade gift! If a recipient notices that something wasn’t cut exactly perfect, maybe they aren’t the right person to receive my handmade gift, right?!
Once the box was made, I tackled the lid but I didn’t fold it correctly so it didn’t line up the way it should have. I had to snip it a bit to get it to lay right! Oh well, I kept going!
NOTE: Before you make this box, I recommend that you do it when you have a pocket of time that you won’t be interrupted. It is easy but it does take time and focus. If you’re in a hurry, you could make mistakes that will affect how the box turns out.
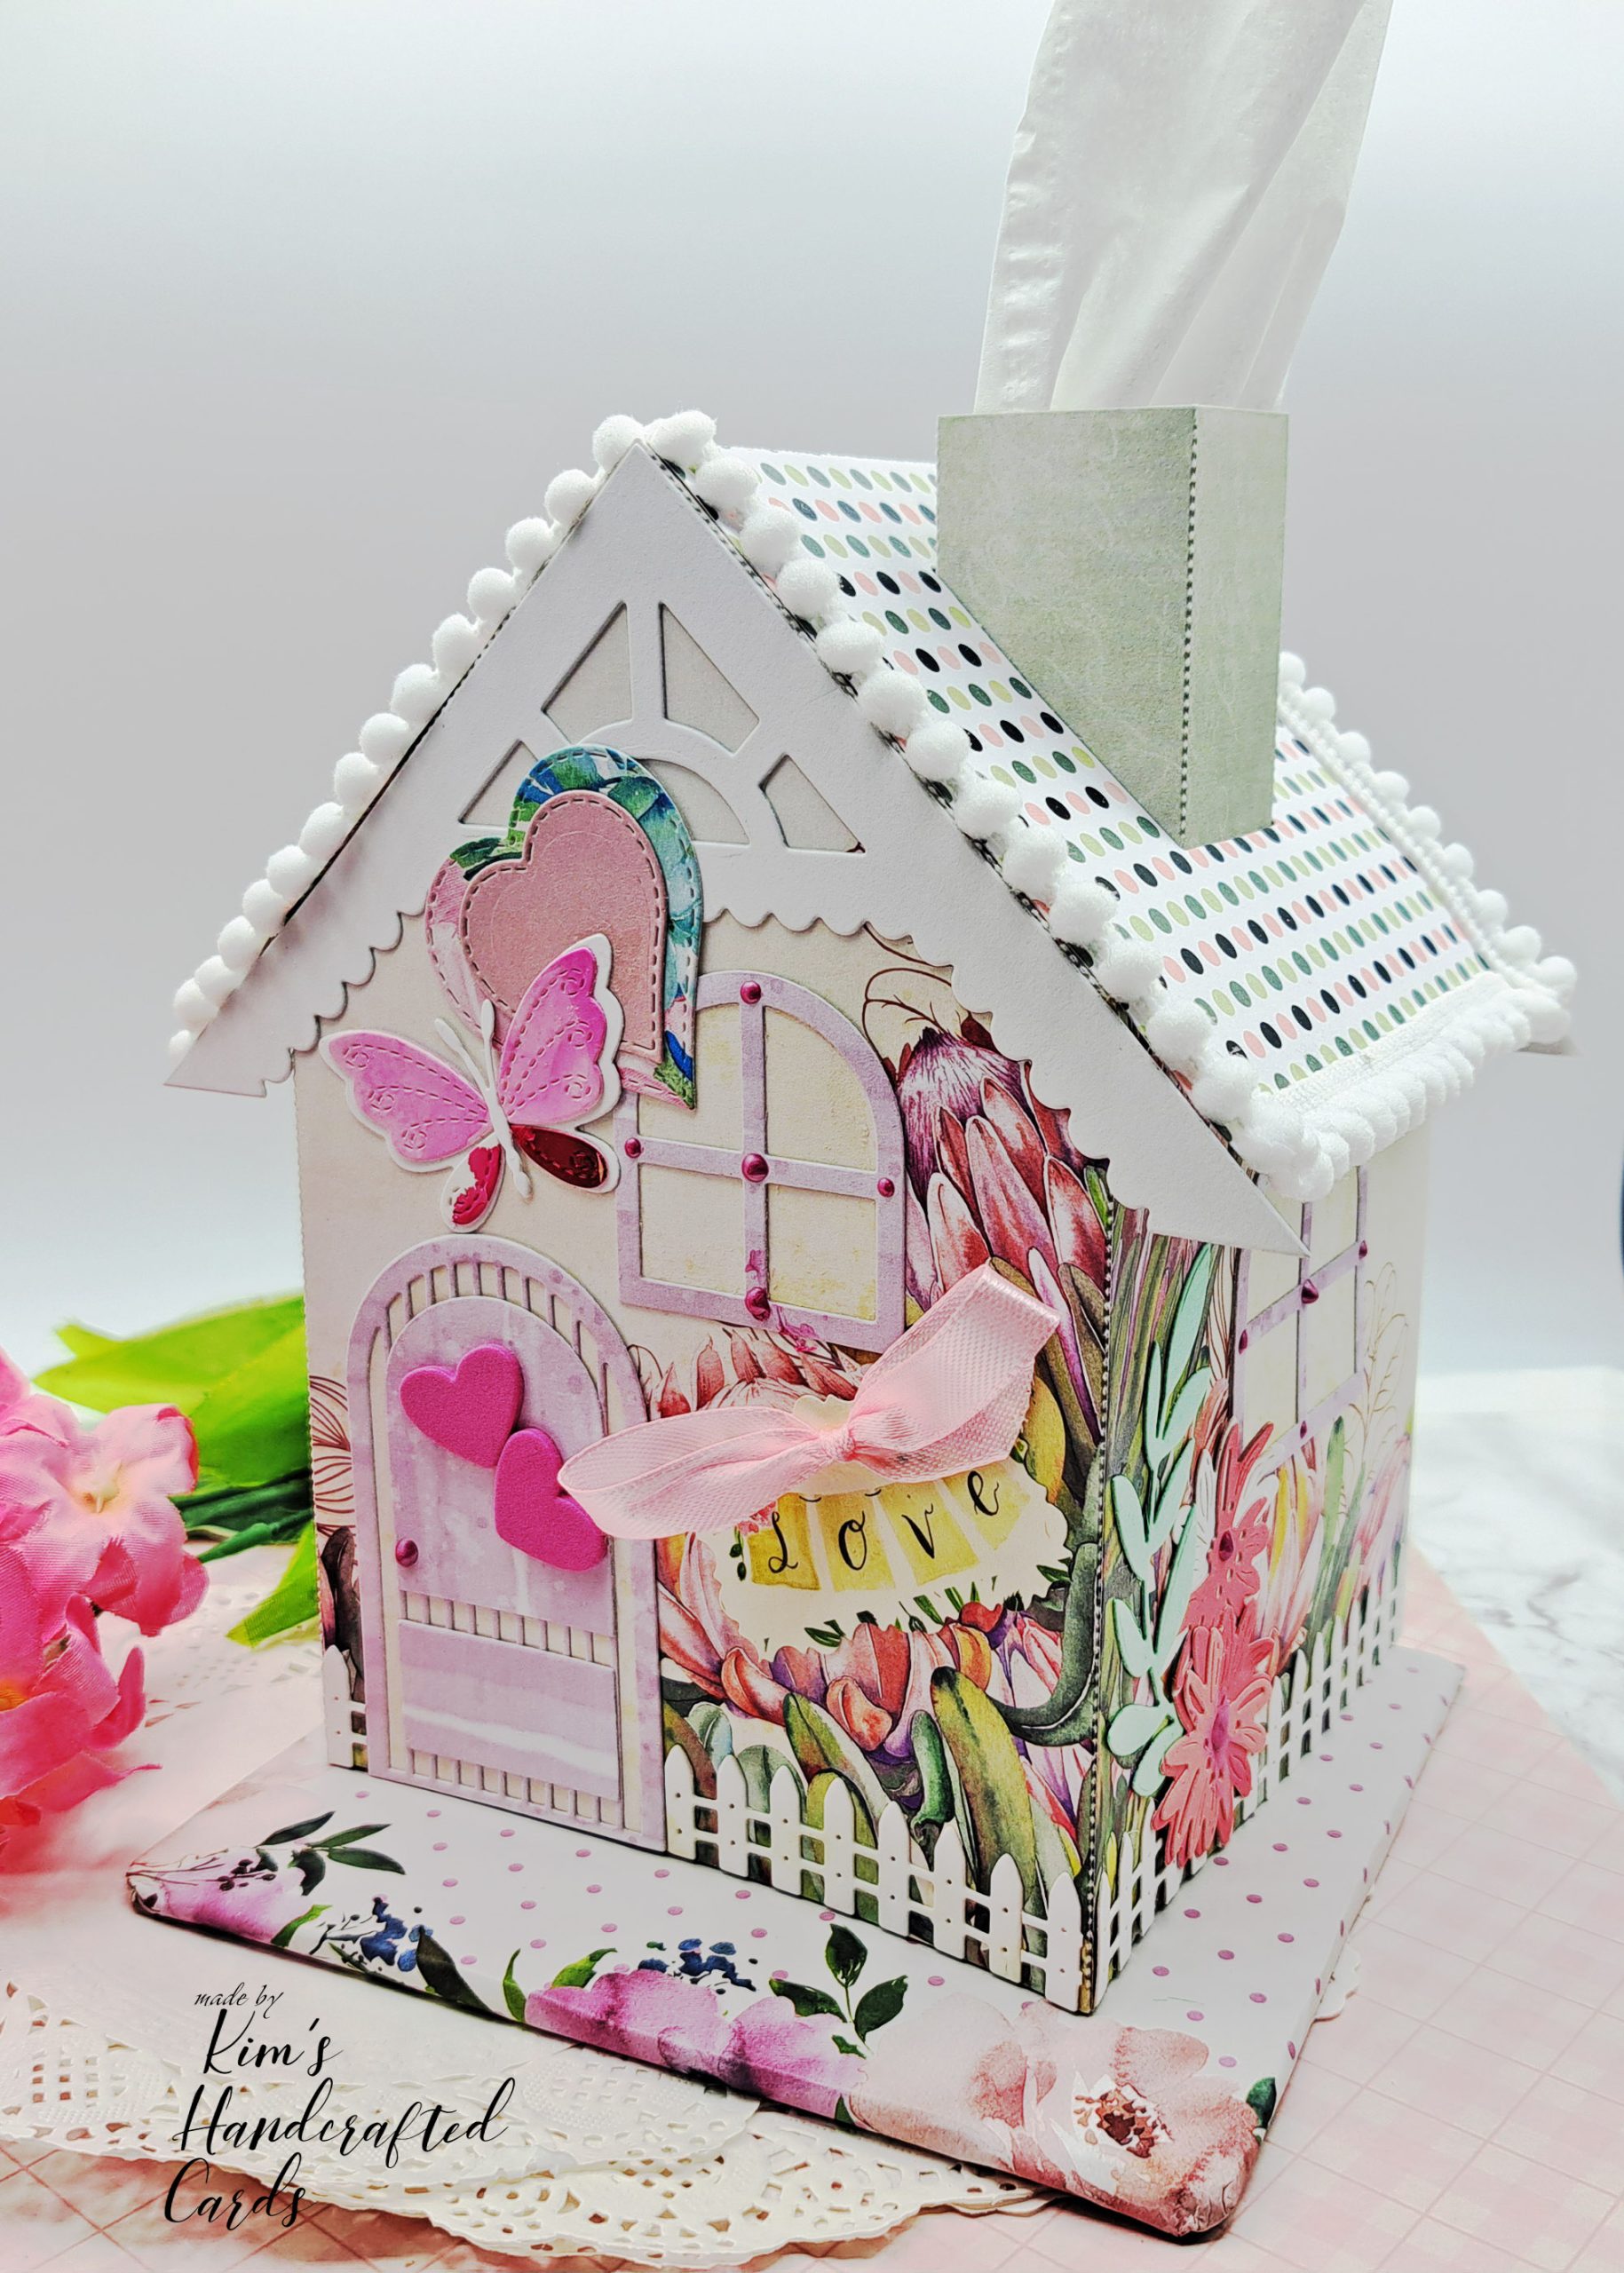
The fun part comes when the box is made and you get to decorate it! For my box, I decided to make it an “Affirmation Box” to myself. Let me explain why I call it that and then you’ll see all the pretty pictures.
Confession time: This is the Abridged version! I’ve struggled with manic depression and low self-esteem most of my life which led to self-destructive behavior and suicidal attempts. I gave my life to The Lord Jesus when I was 25 and a lot of that was healed. That said, a few years ago, I suffered a mental collapse and breakdown that developed into PTSD, panic attacks and nervous anxiety. That paired with the low self-esteem doesn’t mix well. Plus, when I was younger I didn’t make wise choices so some days I really struggle with self worth.
I read my Bible, pray and craft which helps me so much! And, it’s important to place verses around my room that encourage me. This week was really hard for me, so I decided to write affirmation sayings throughout the box and a note for the very inside of the box to myself. Whenever I need a pick-me-up, I can open my box and read all the messages I wrote… to me. These are quick notes to remind me that I belong to Jesus, that He loves and appreciates me even when I feel alone and unappreciated.
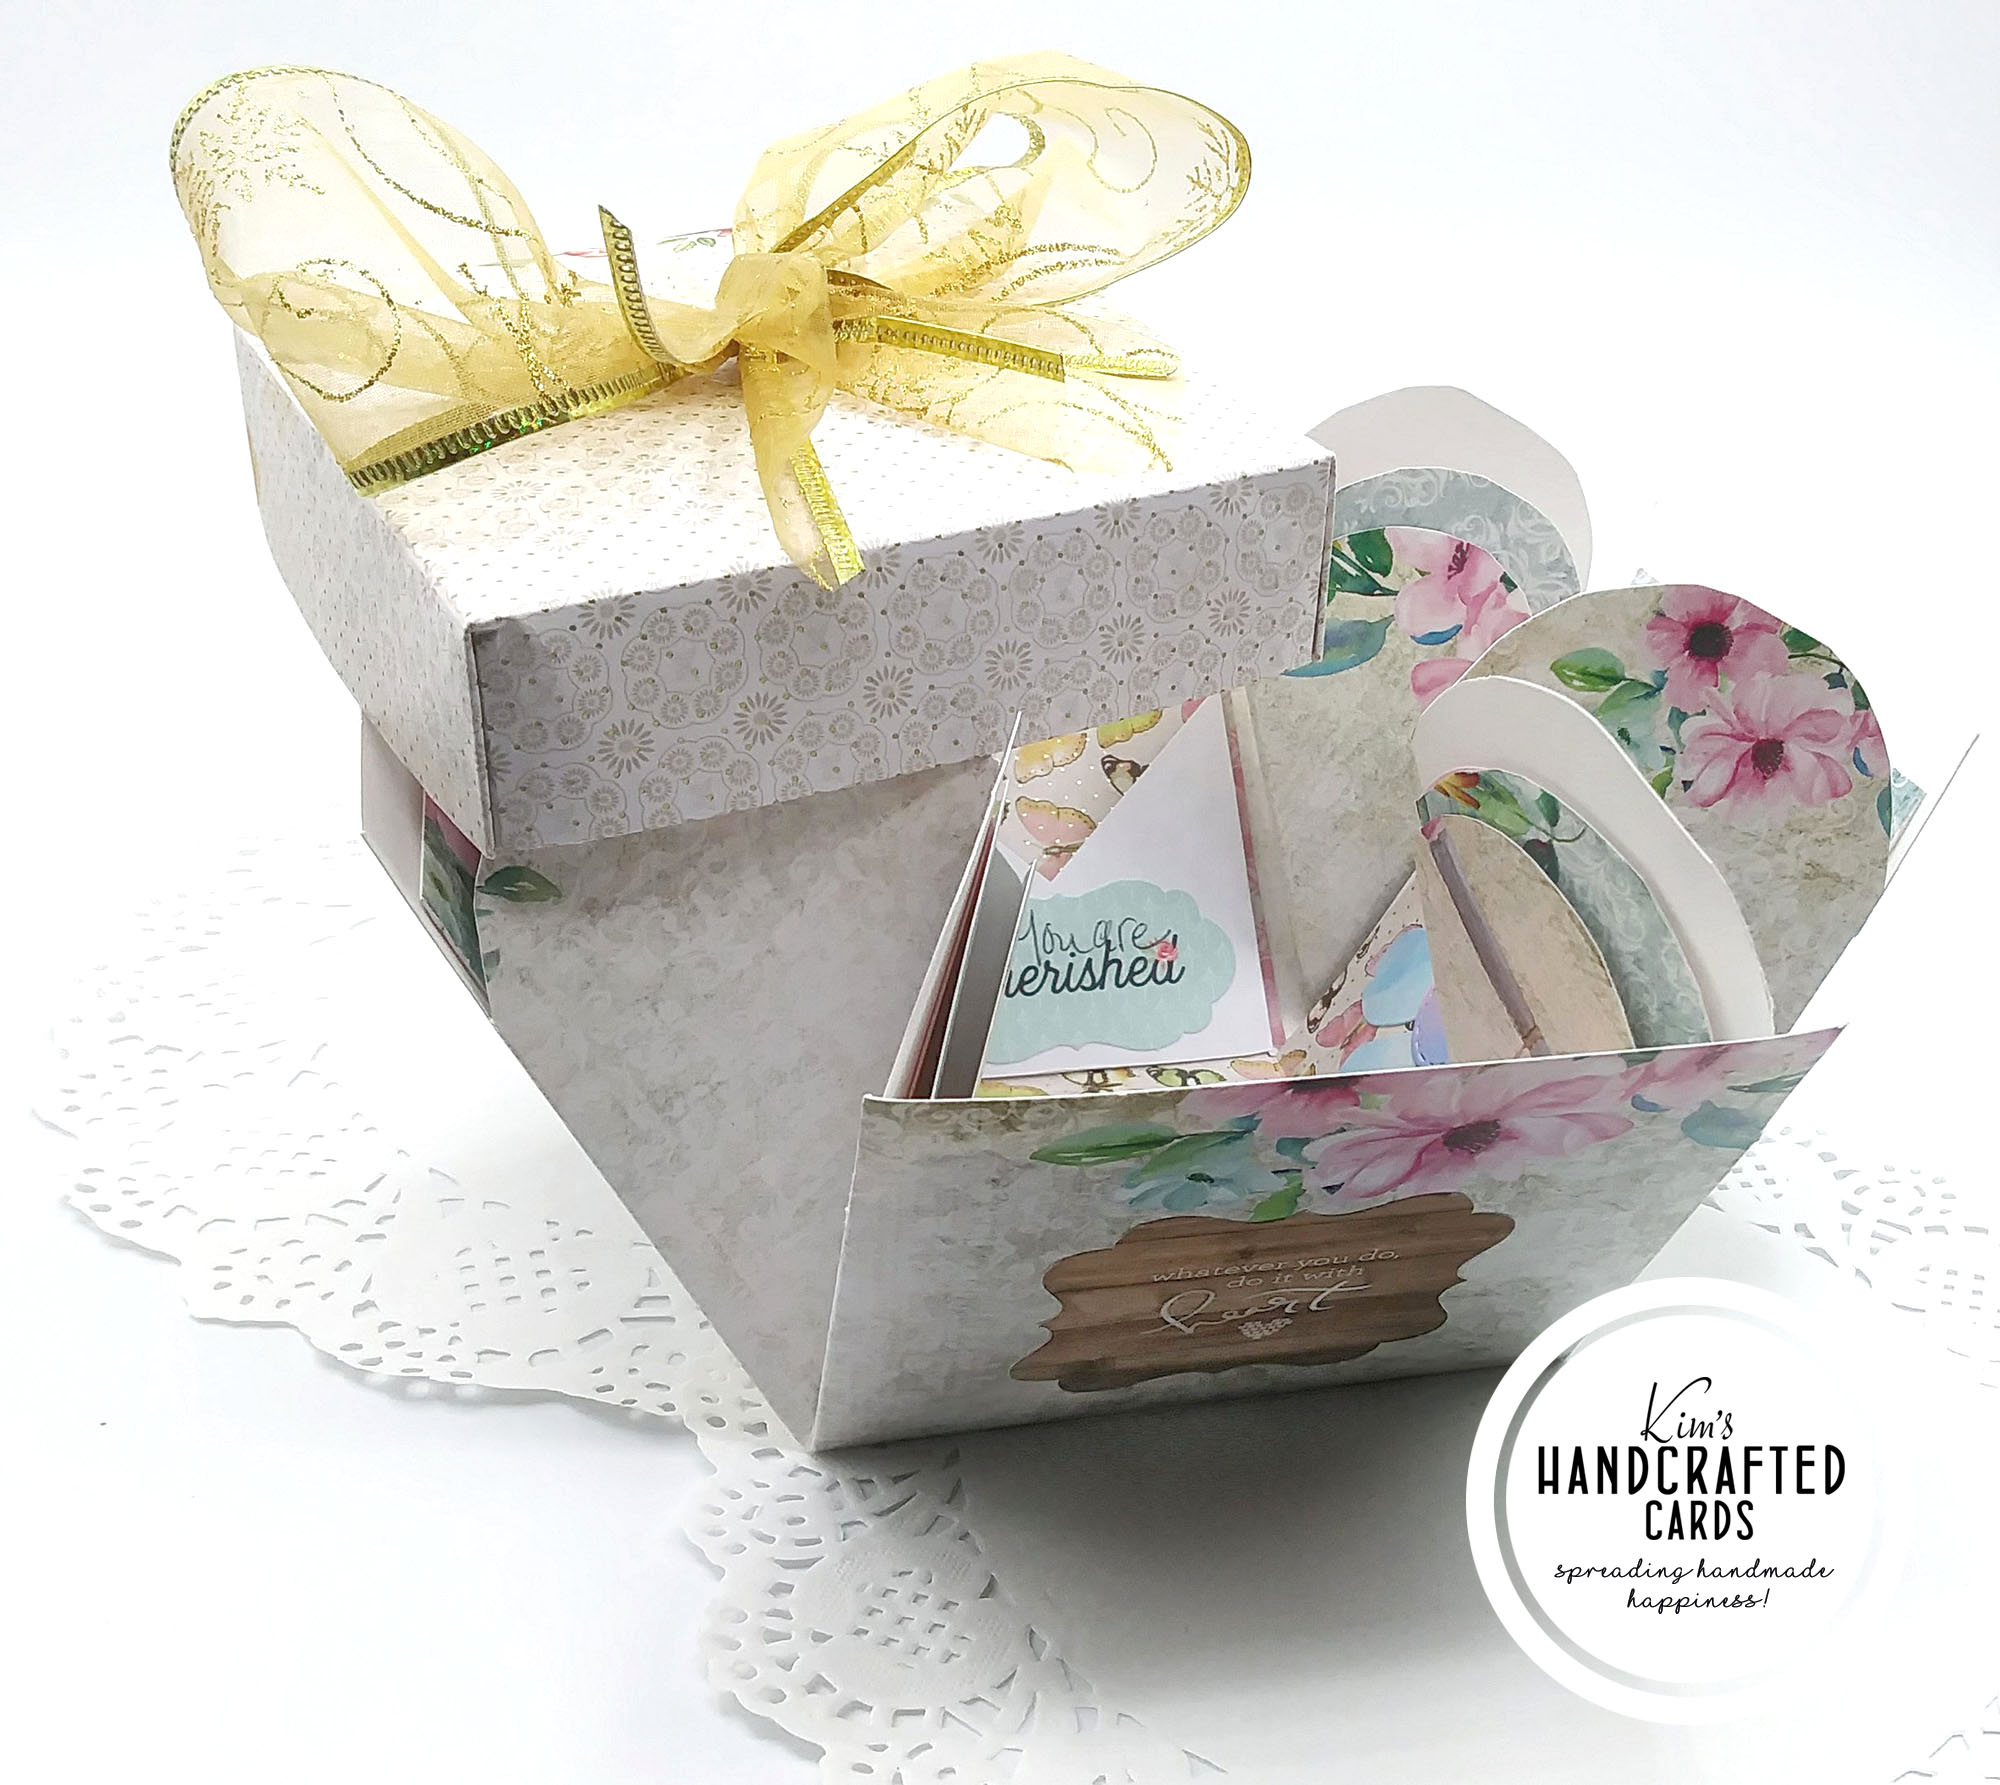
I took a bunch of pictures for you to see how it came out! I haven’t completed writing all the messages because I was just too excited to write this post and share the box! LOL! I hope you’ll give this a try because it’s so unique and you can decorate your box anyway you want for your recipients. It’ll be a nice surprise when the person removes the lid and all the layers pops out! There’s even 4 pockets on the inside that you can add cute little gifts inside! It’s a beautiful gift box!
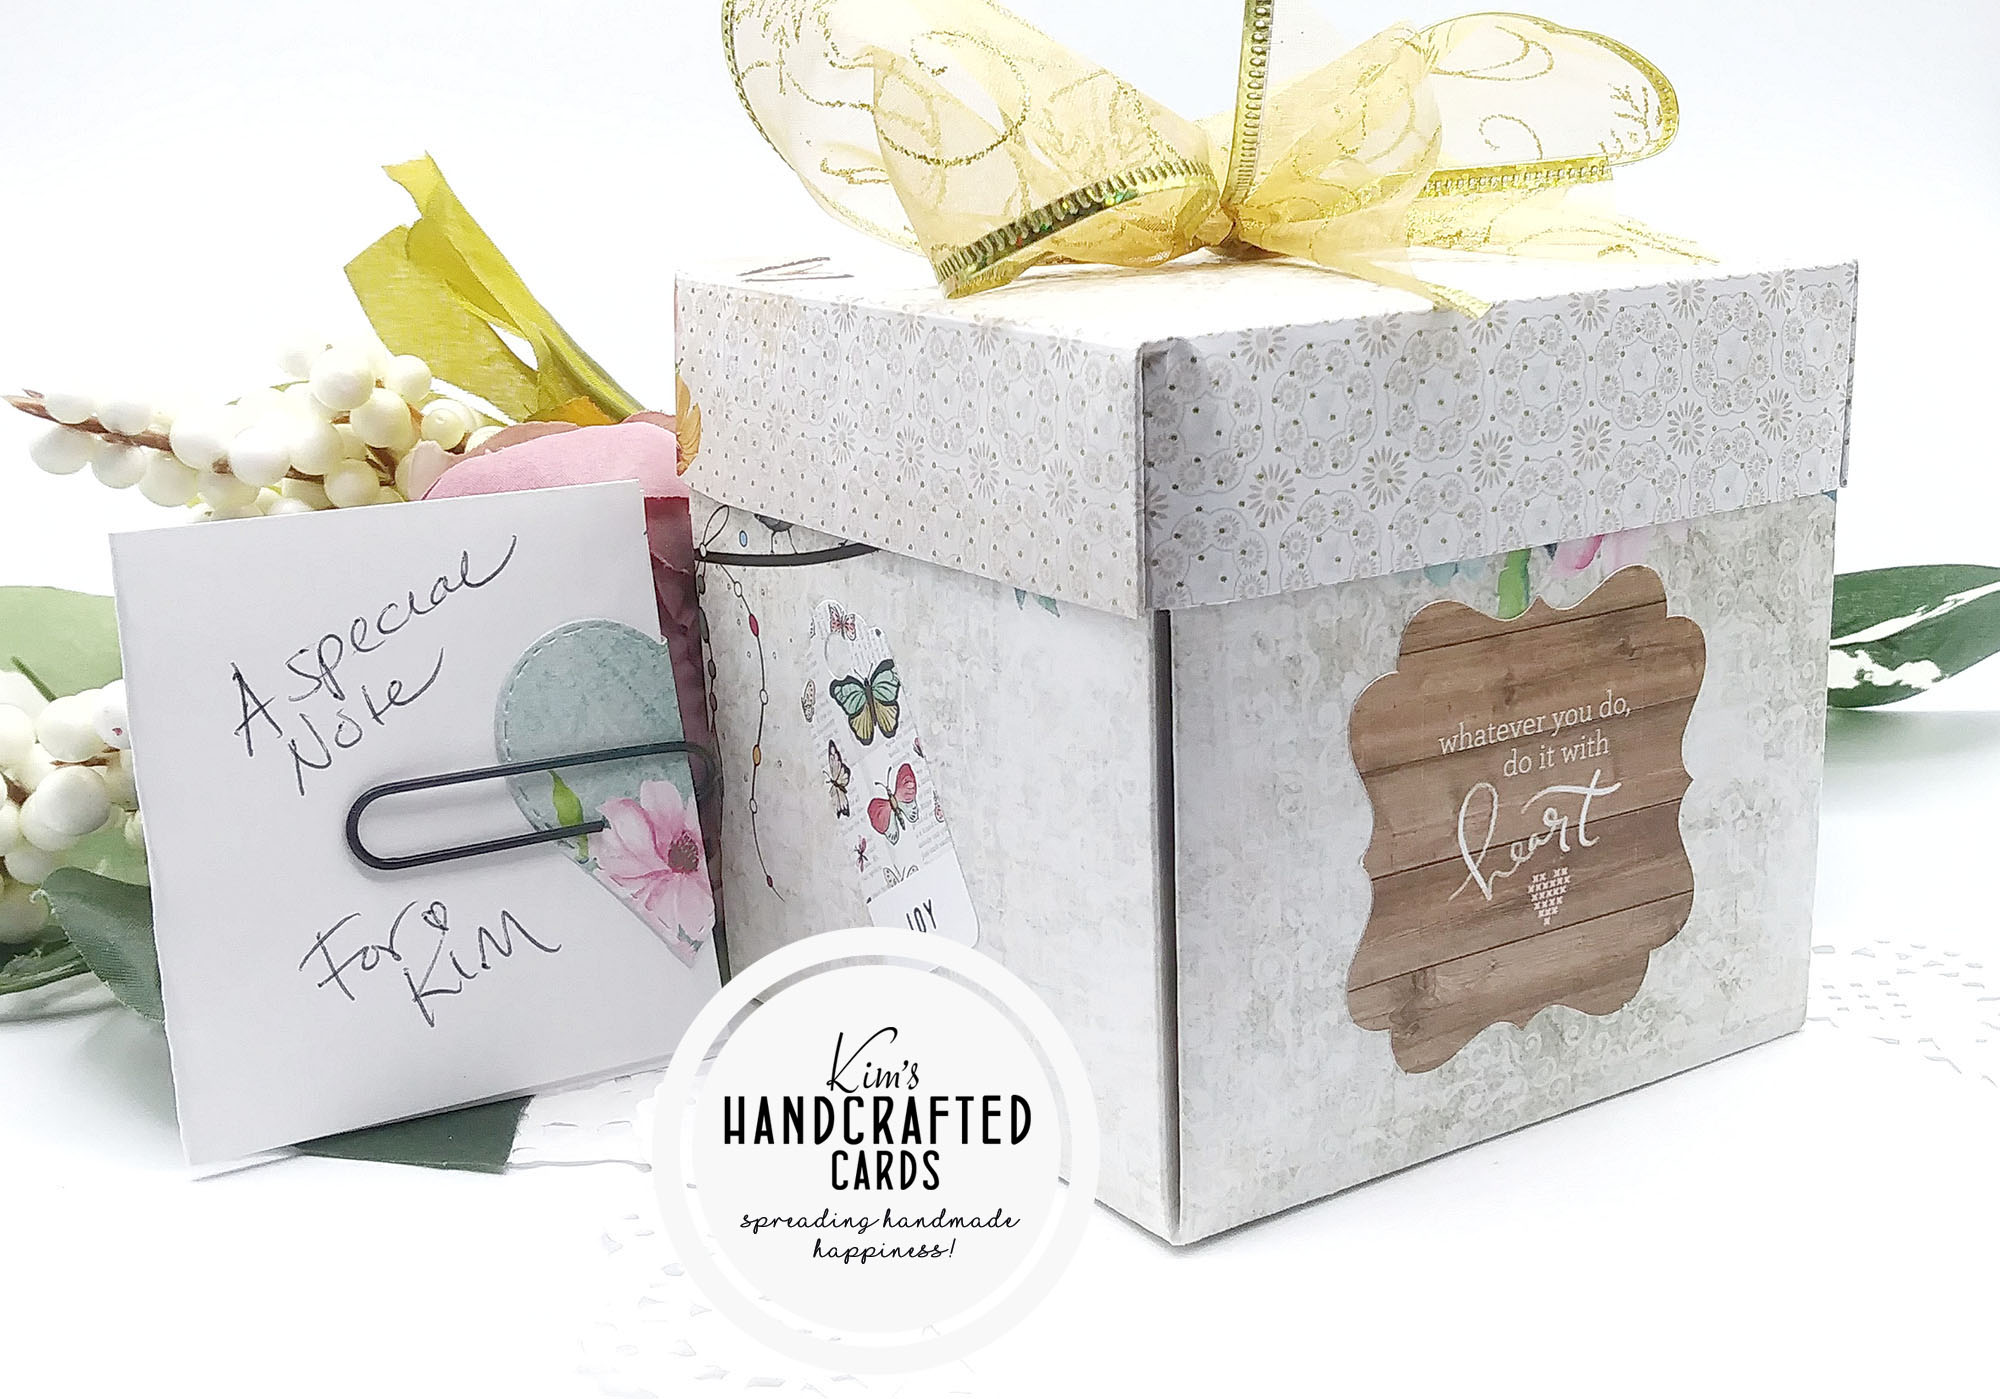
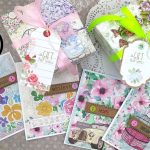
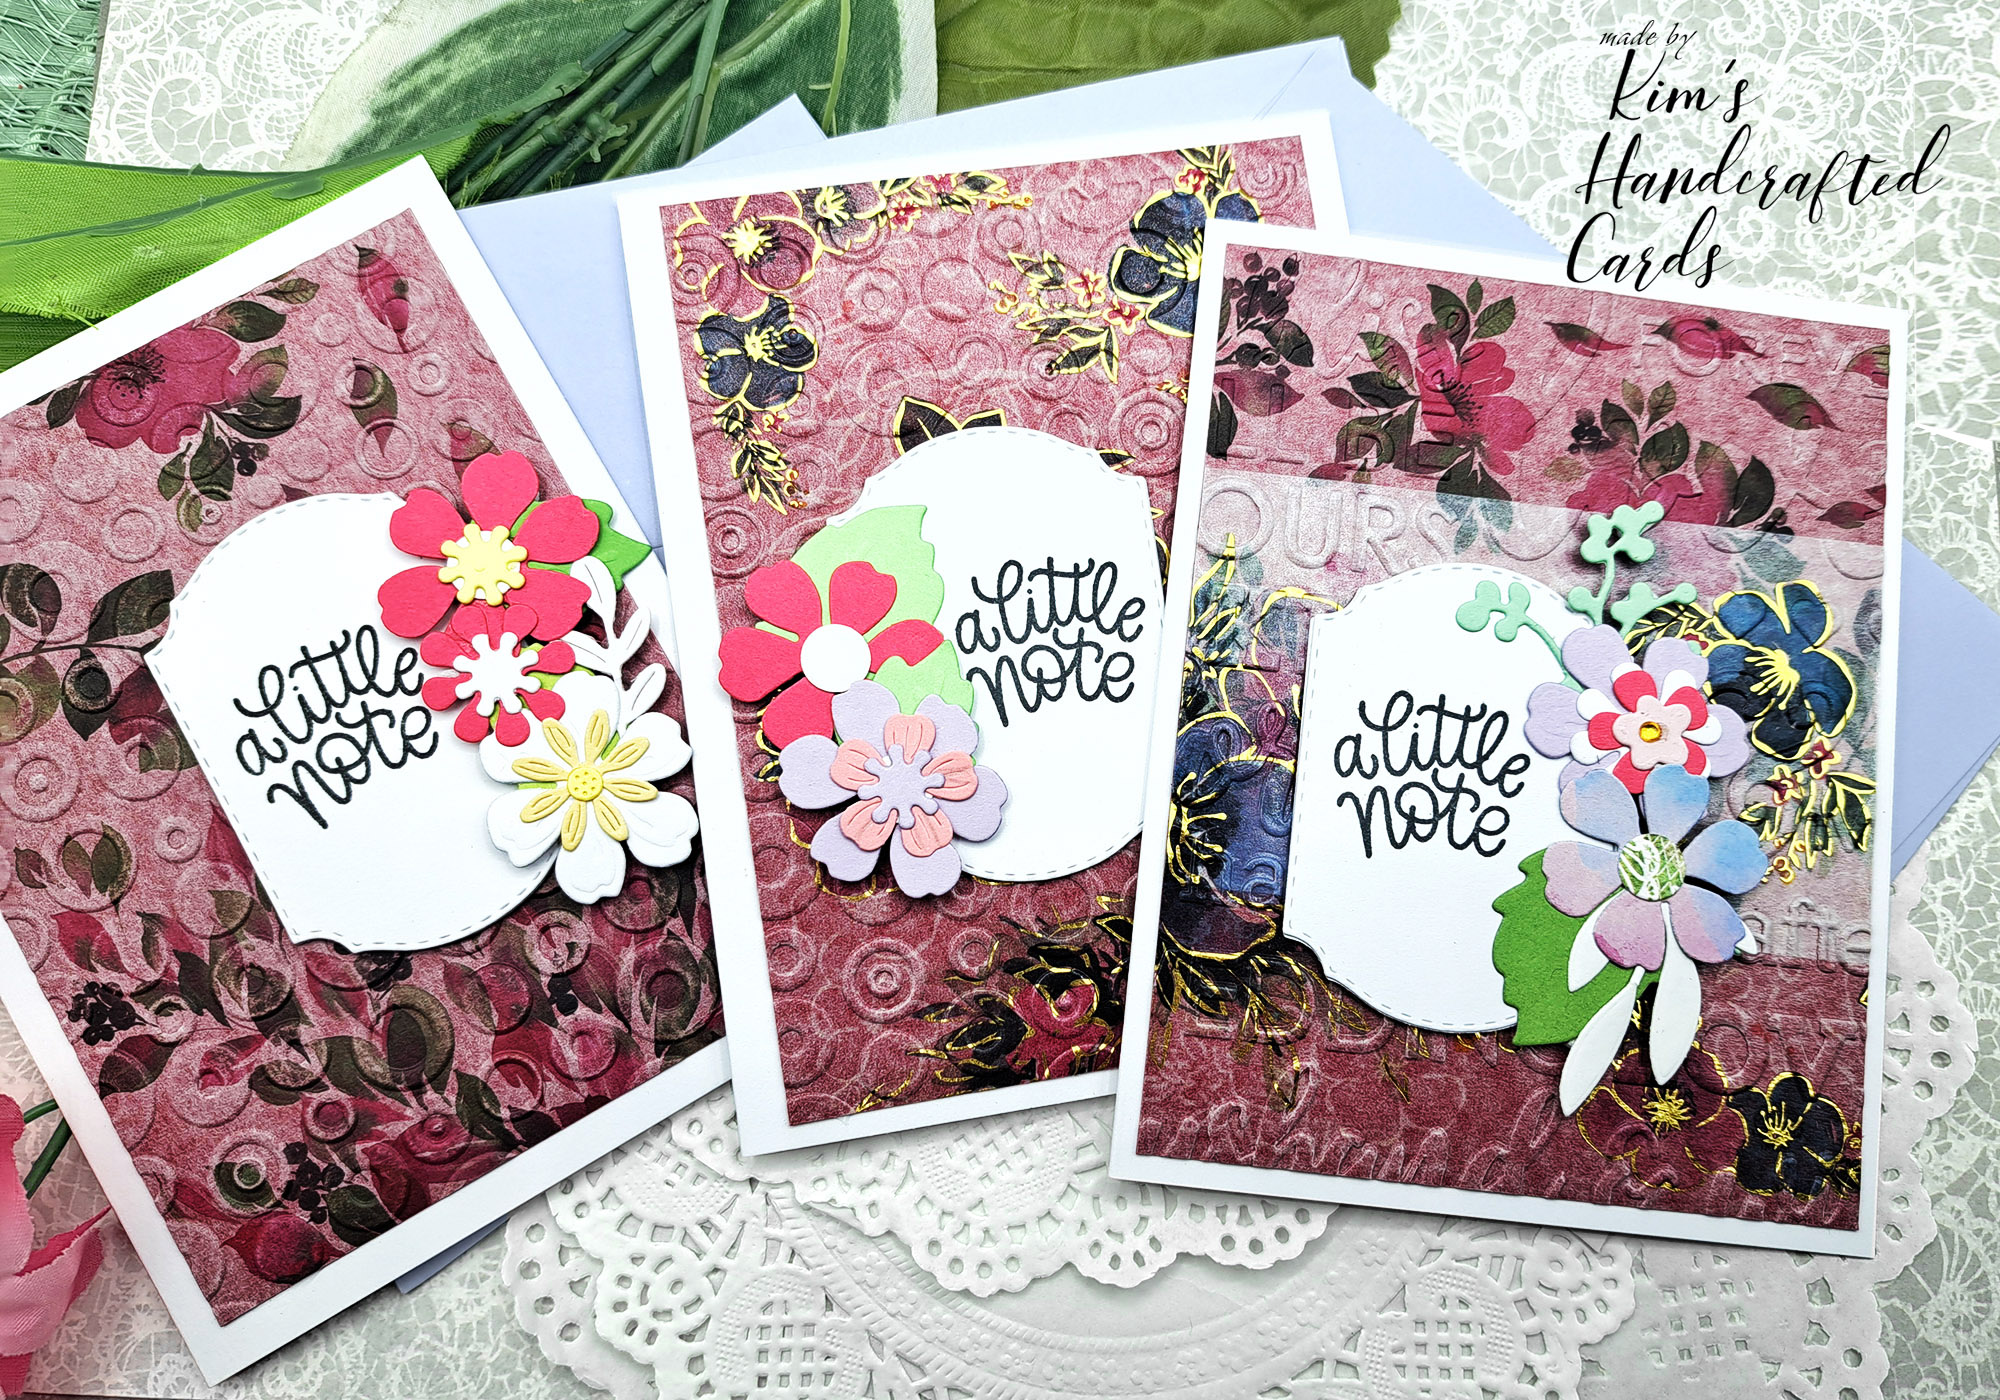
This is the note for the very inside of the box that I wrote to myself.
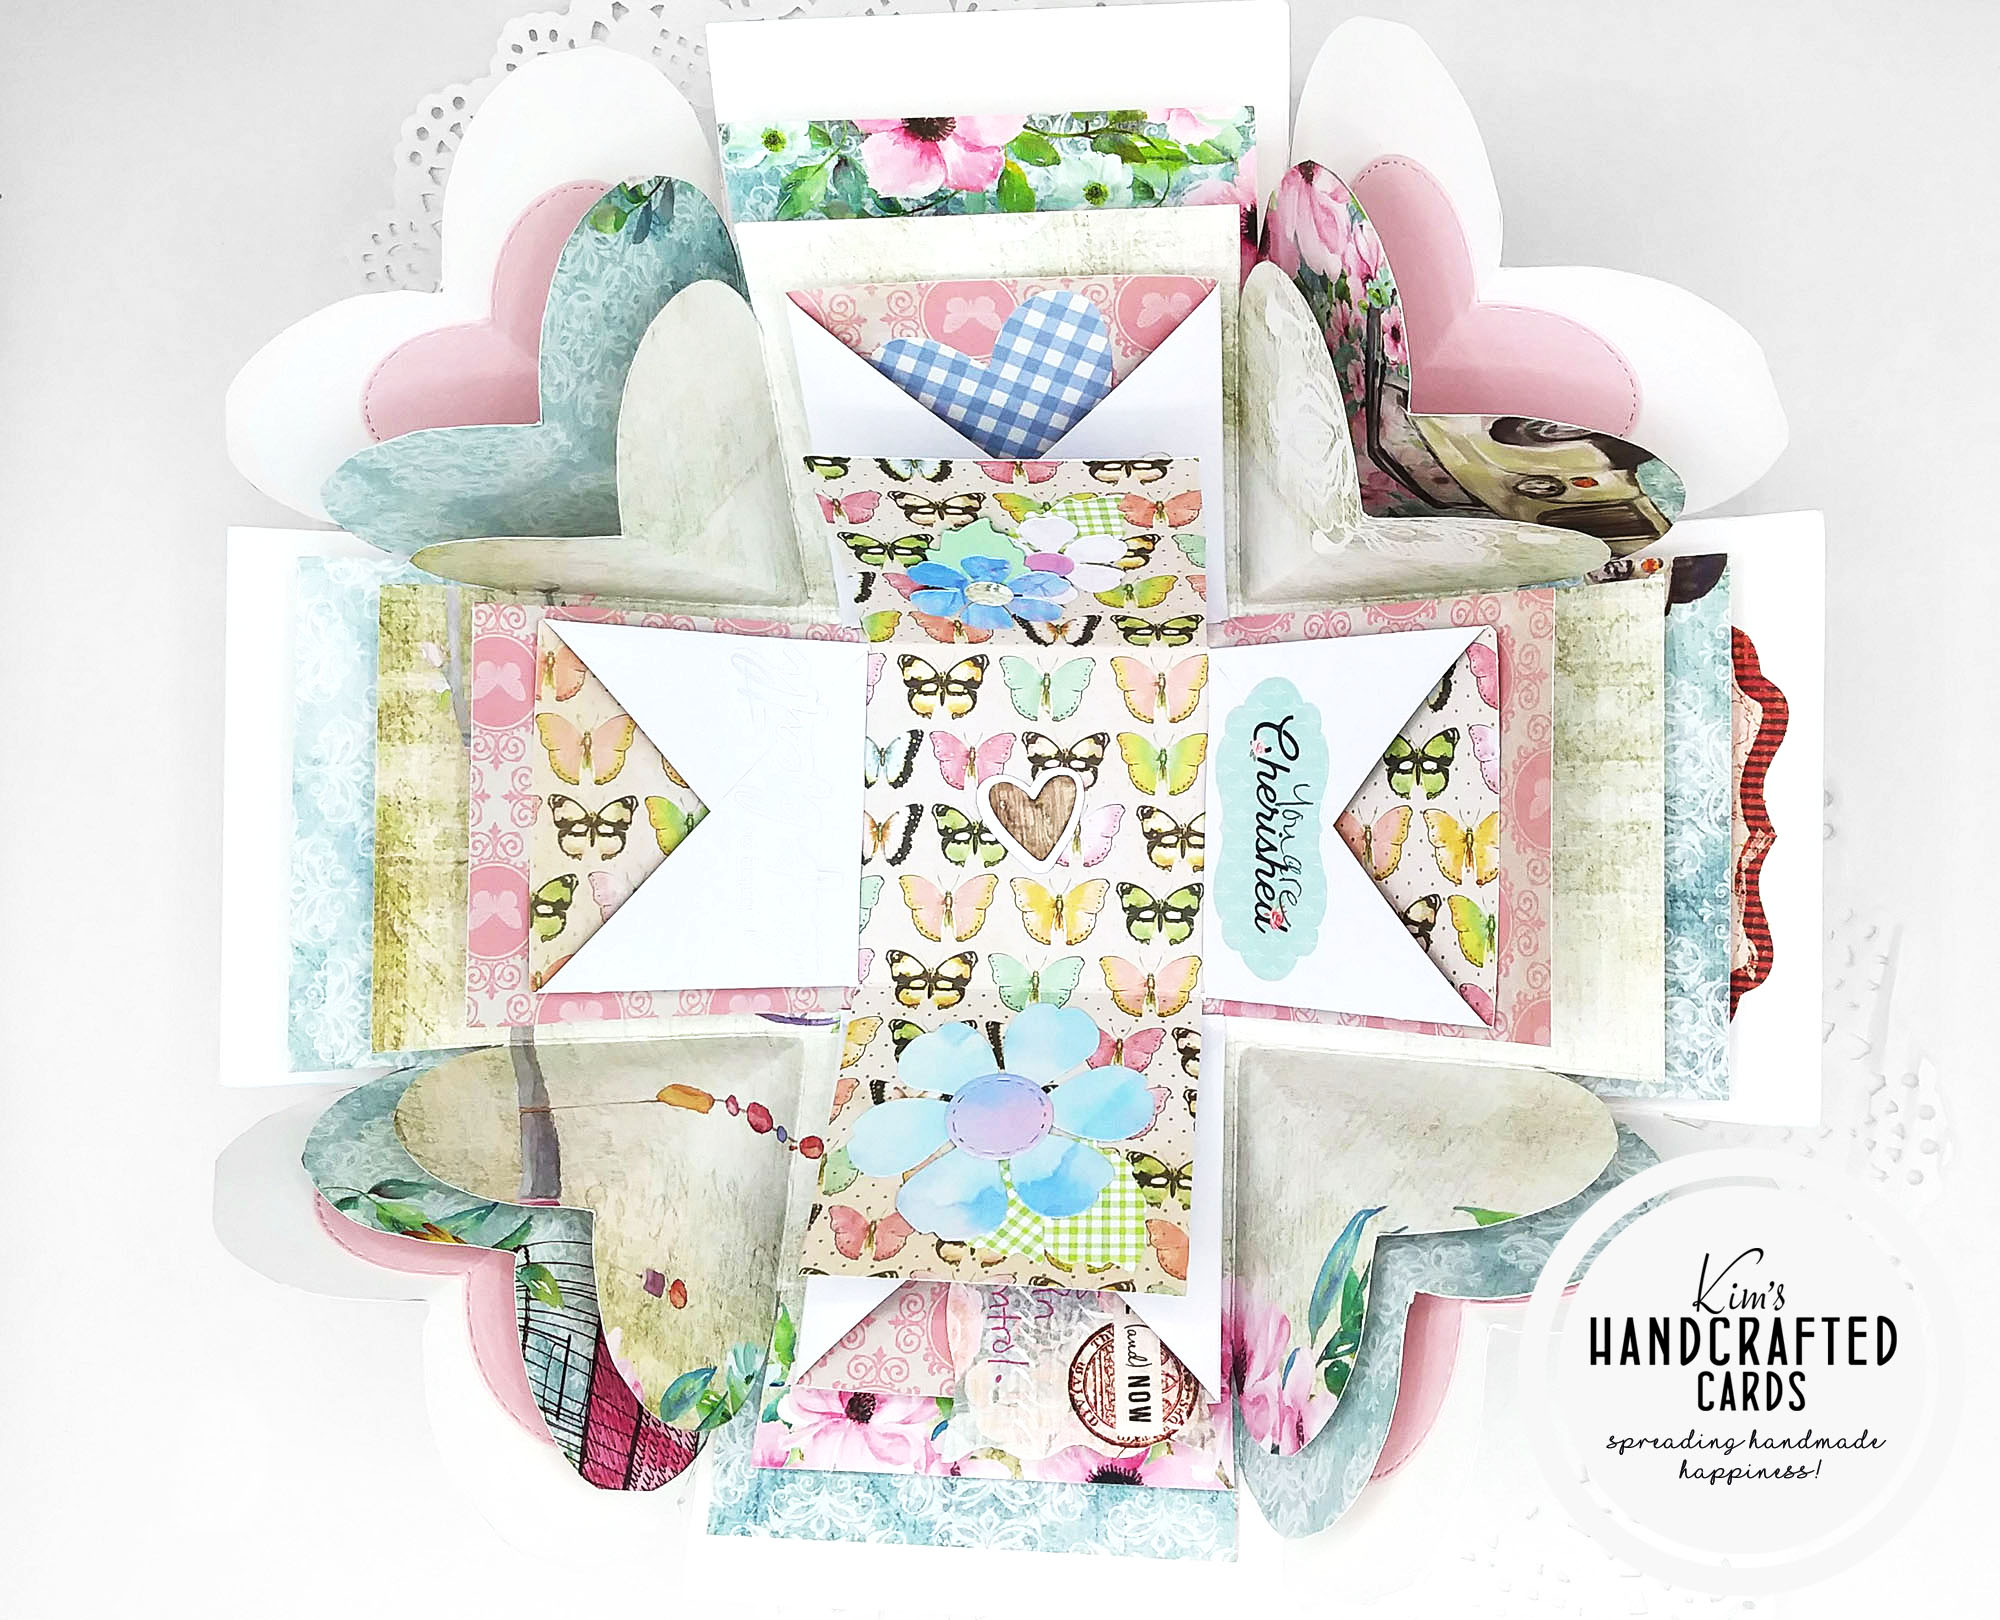
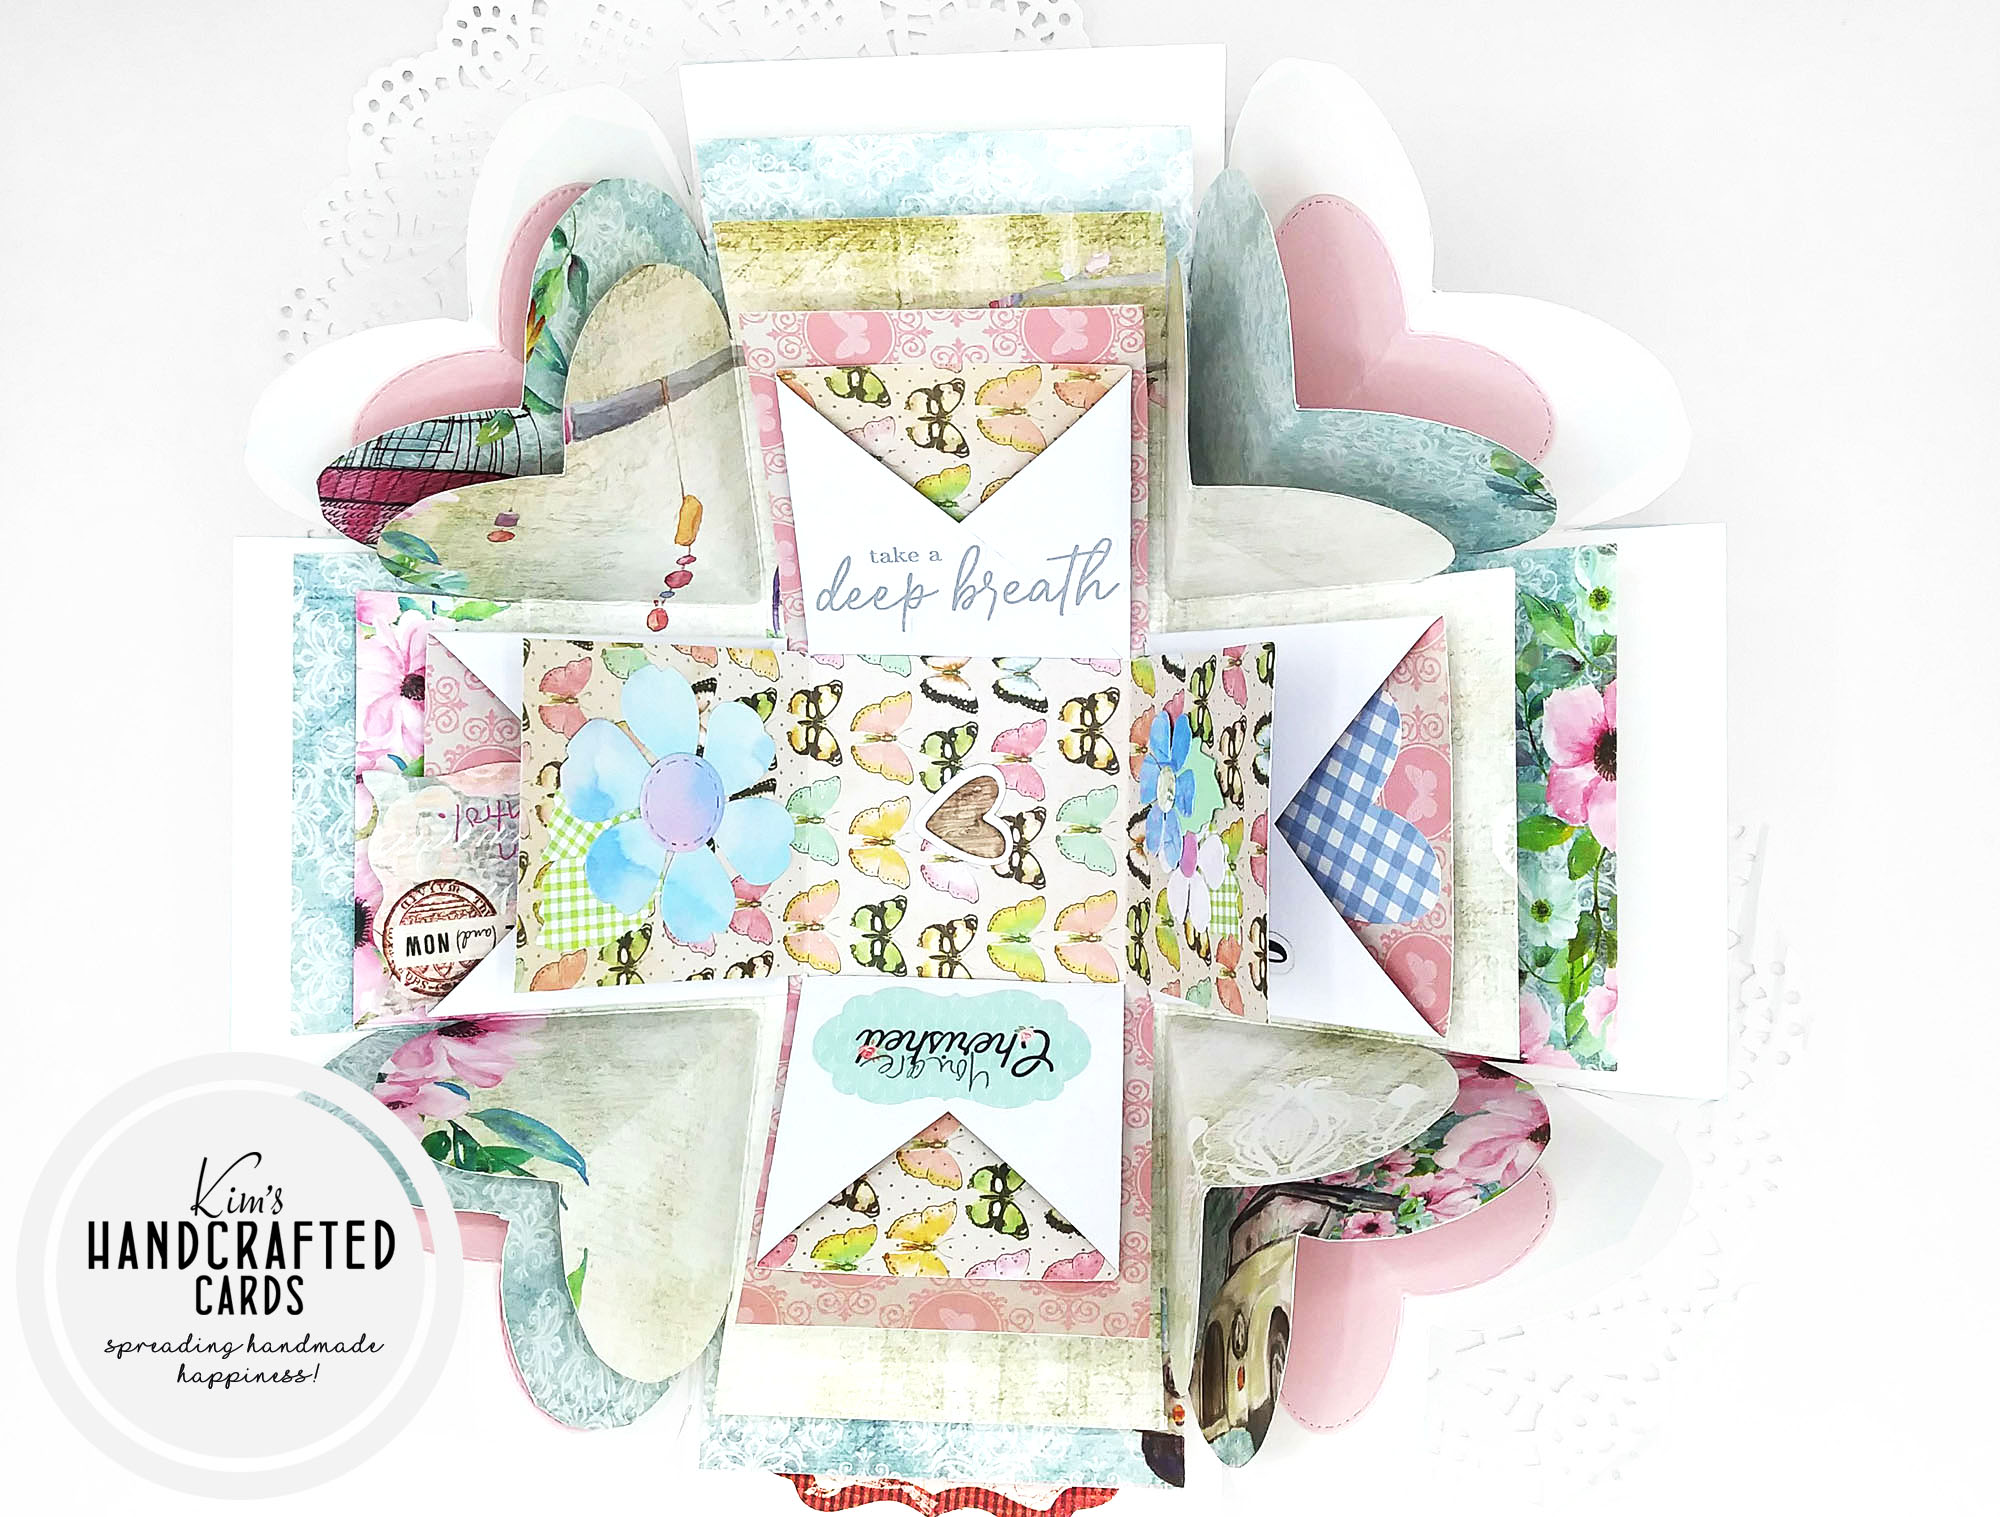
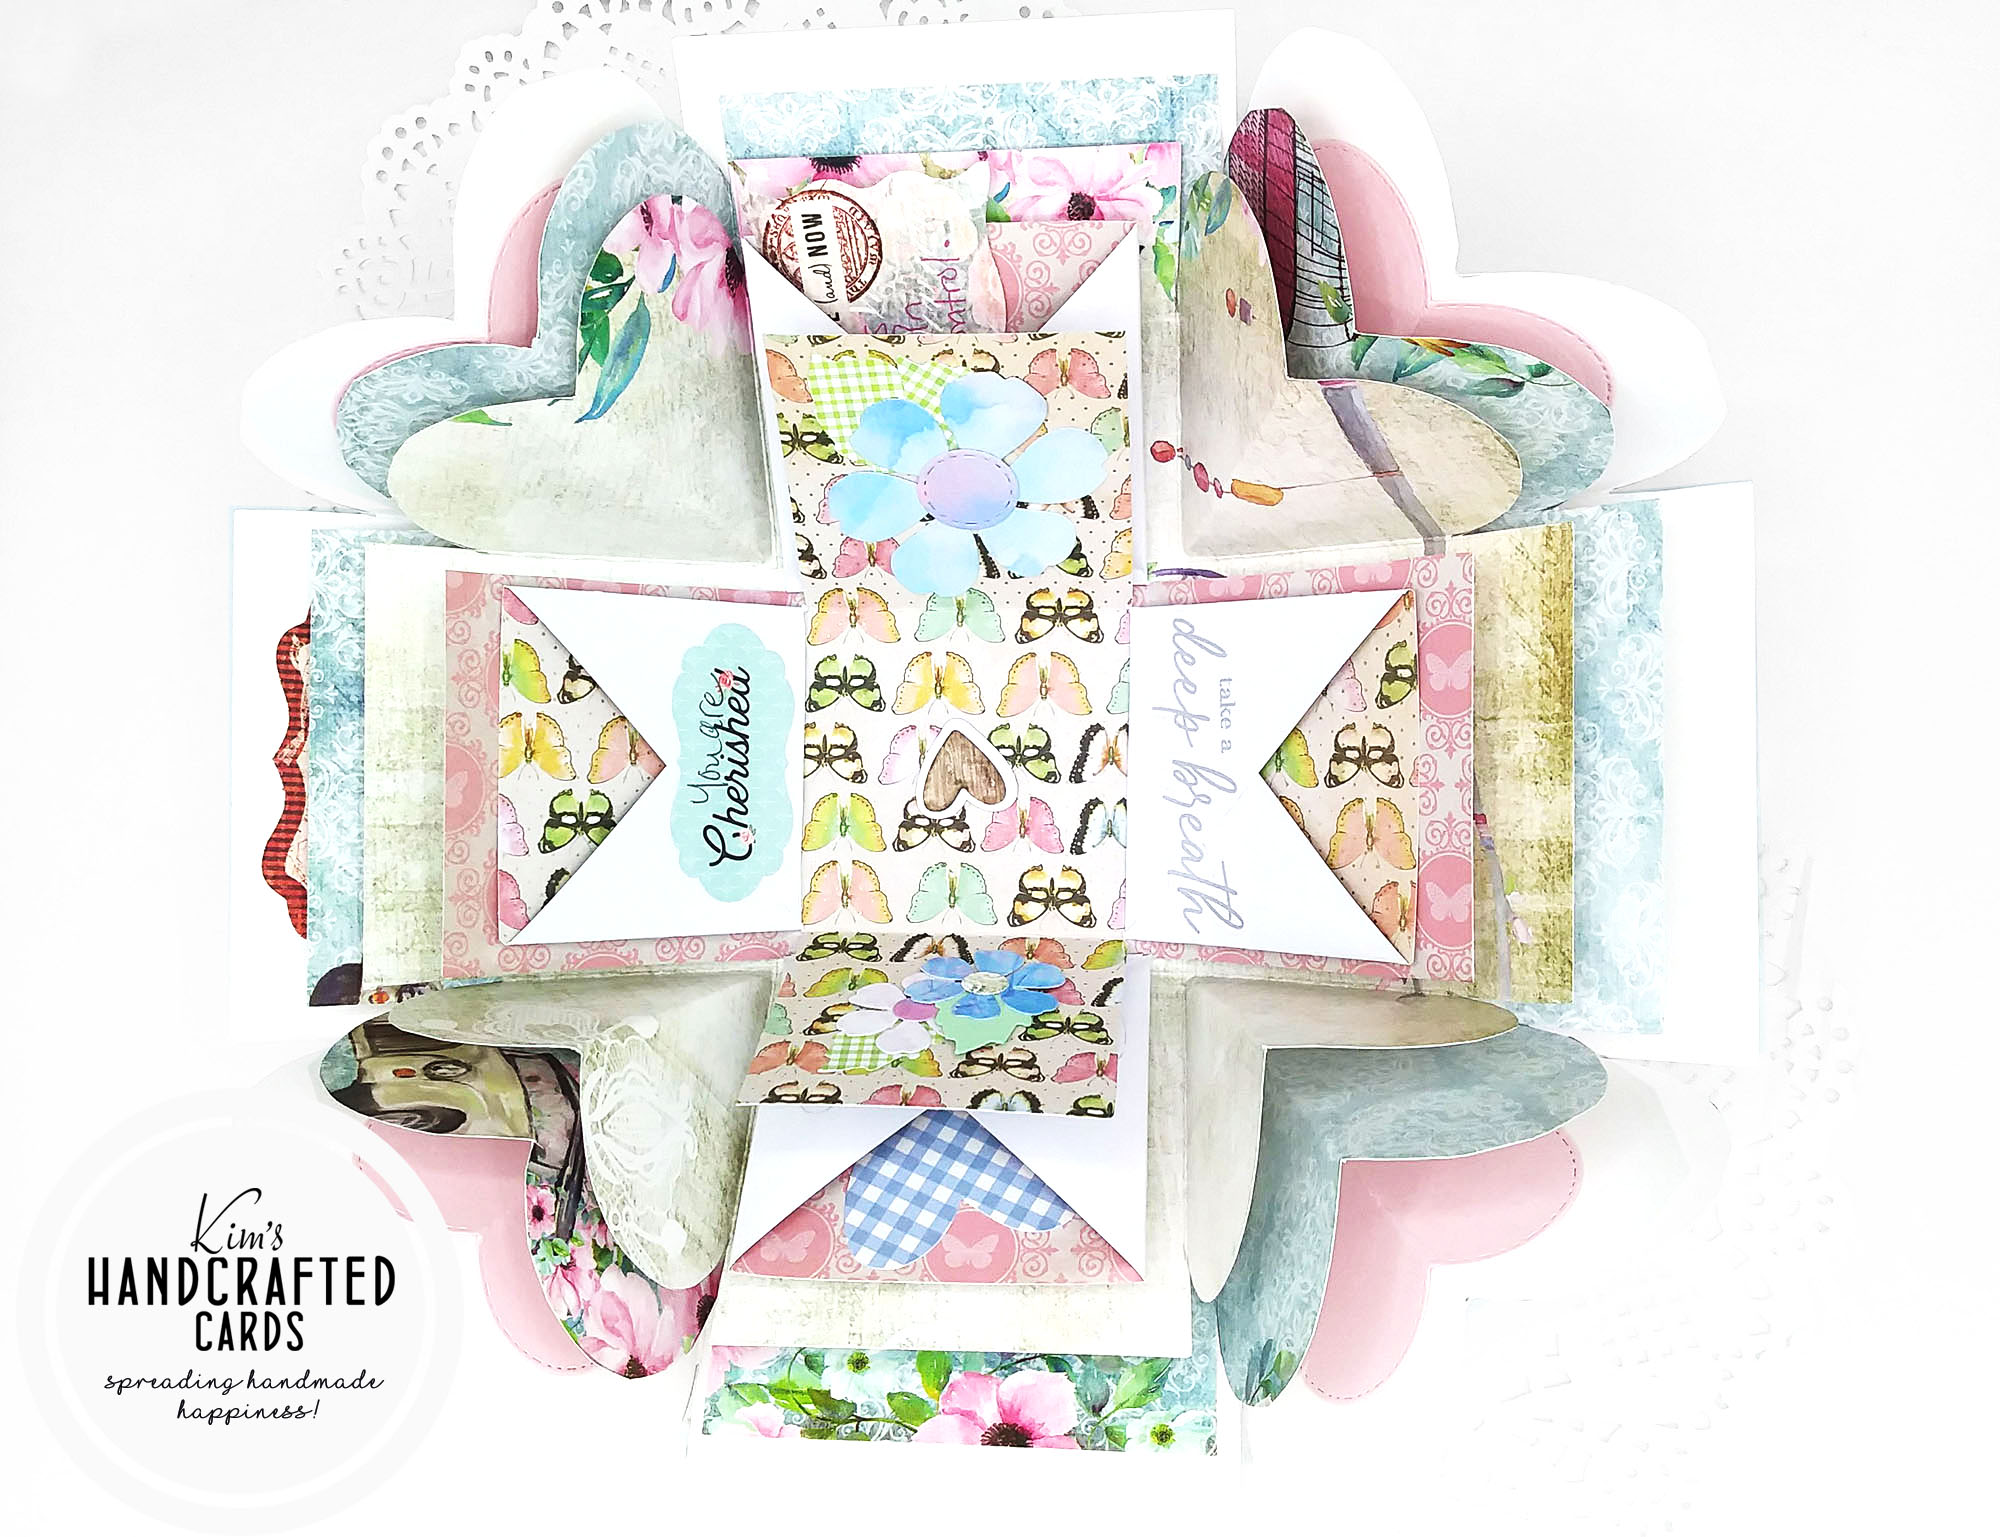
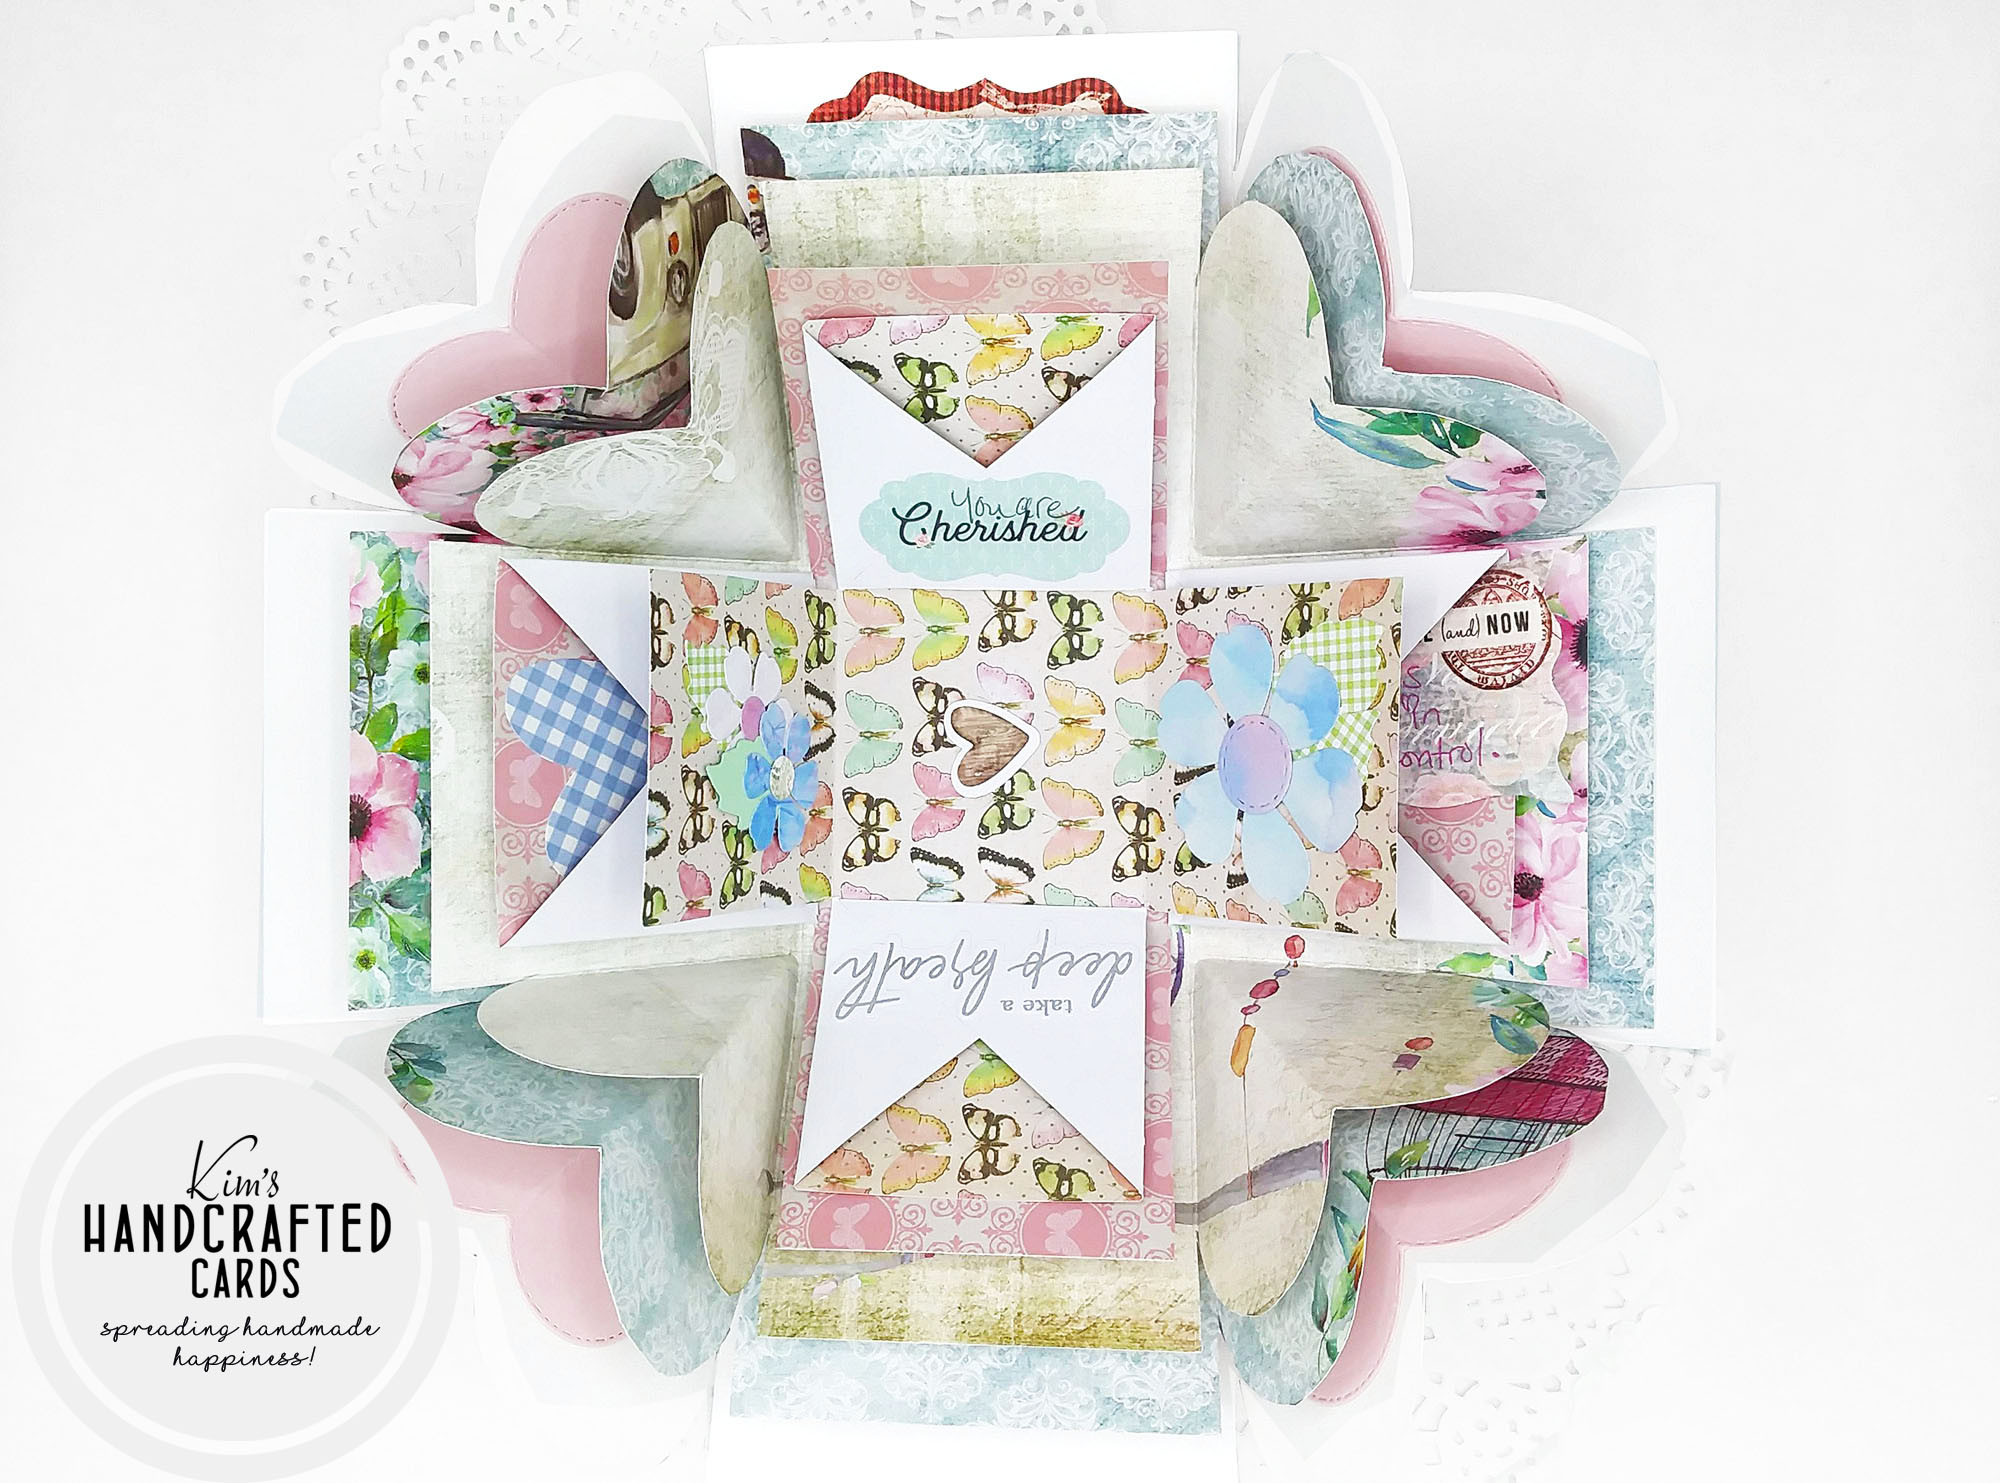
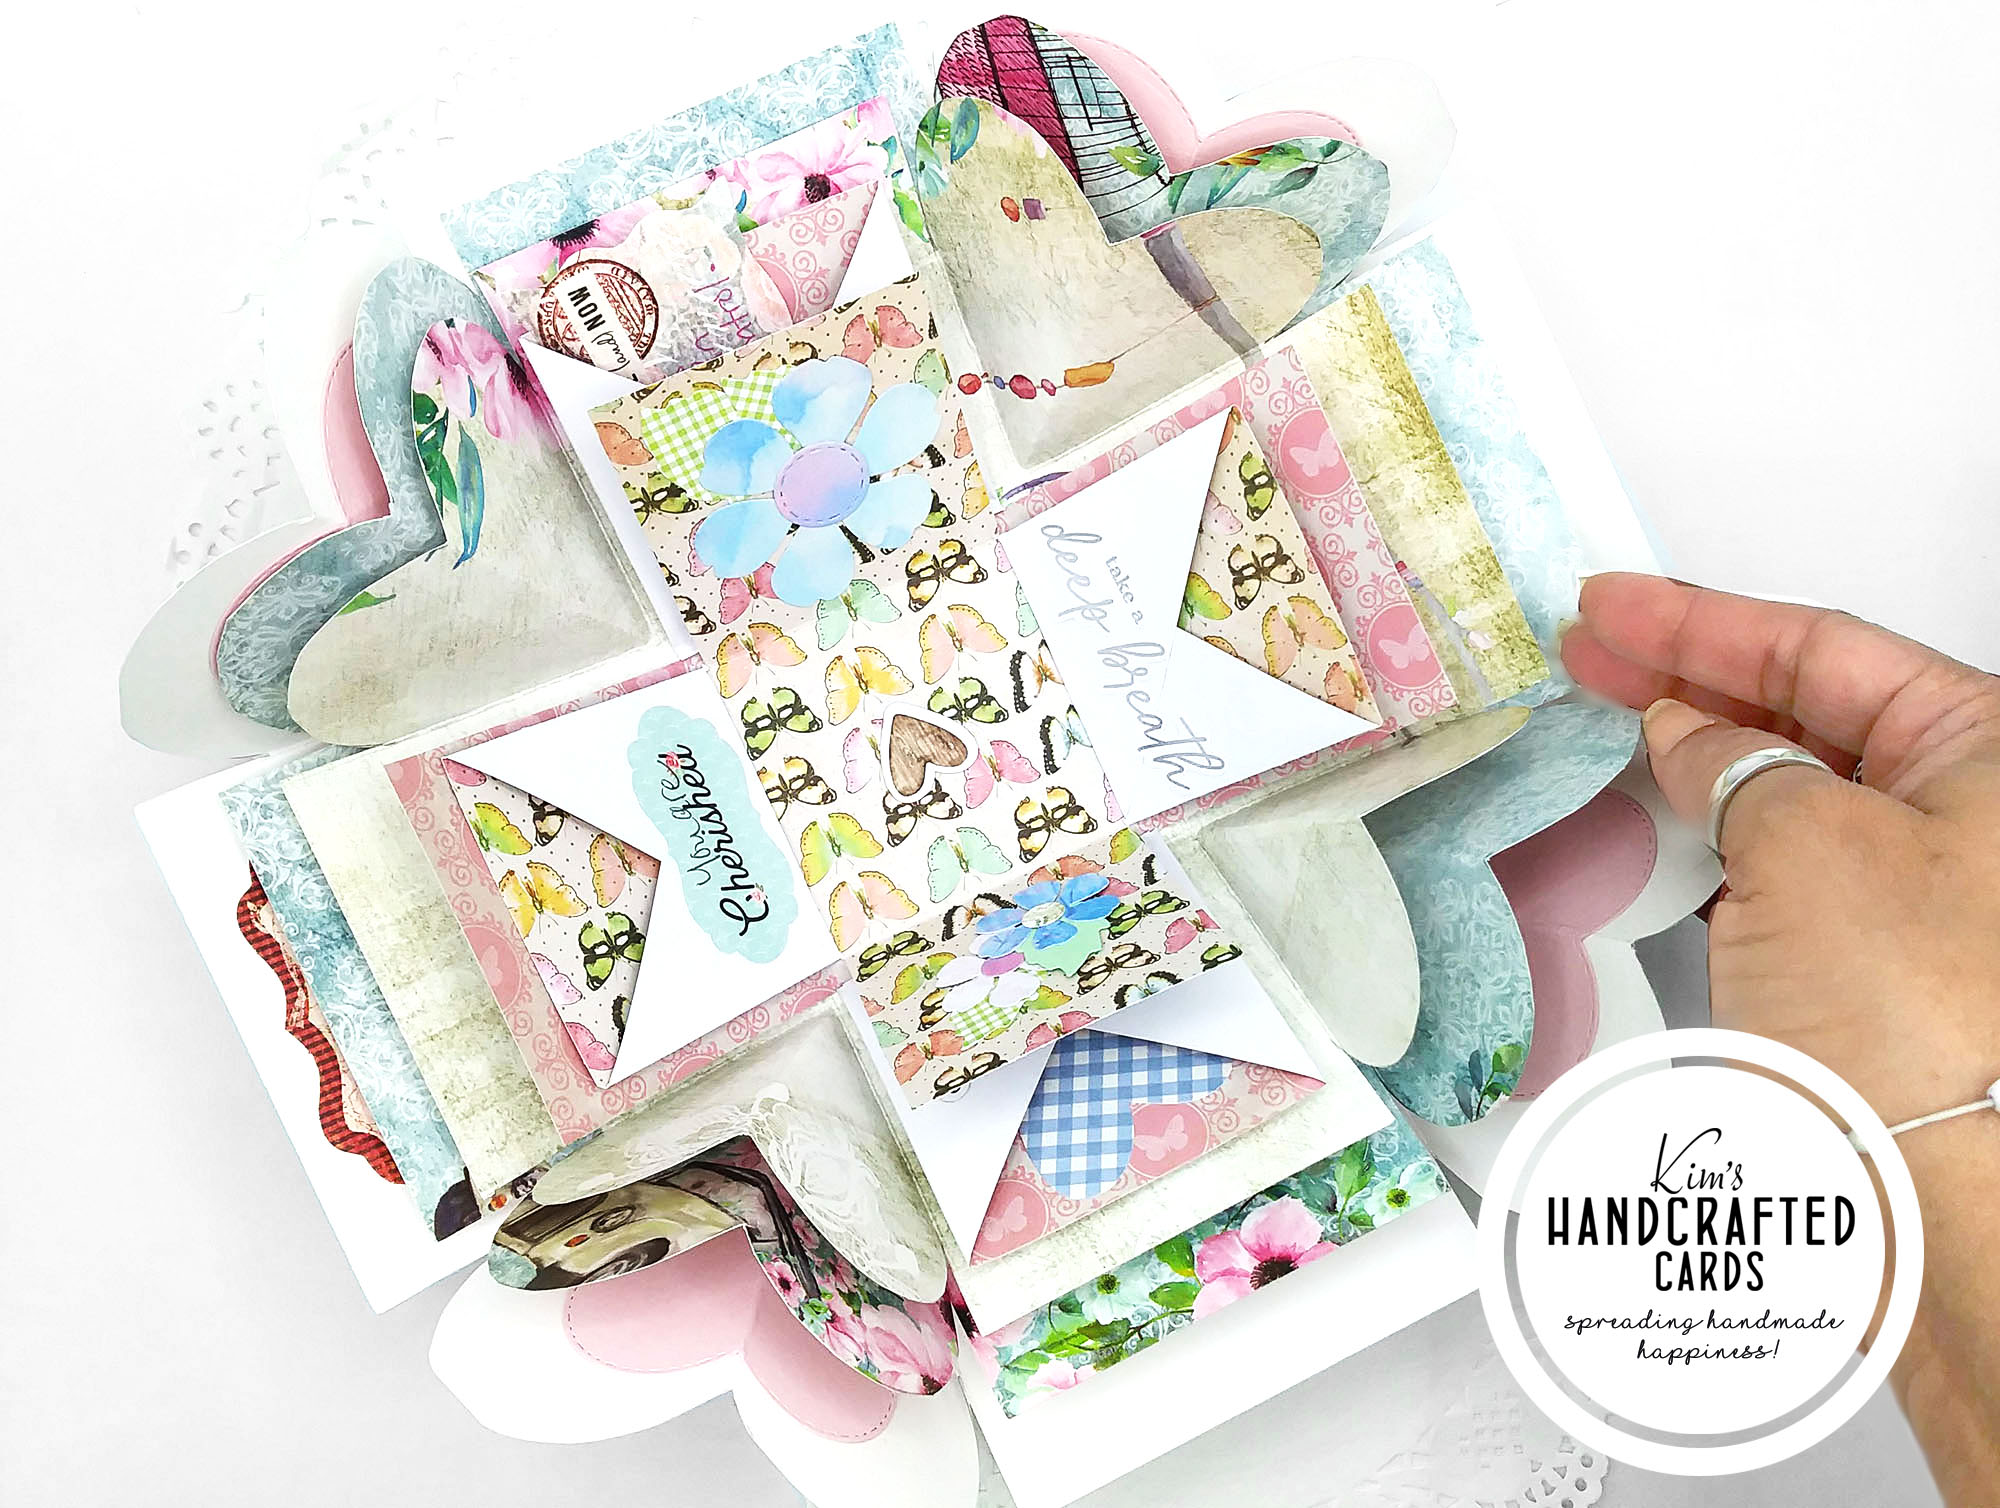
These pics are the inside of the box from all 4 corners. I also added extra hearts, sentiments and flowers that I had die cut from pattern papers!
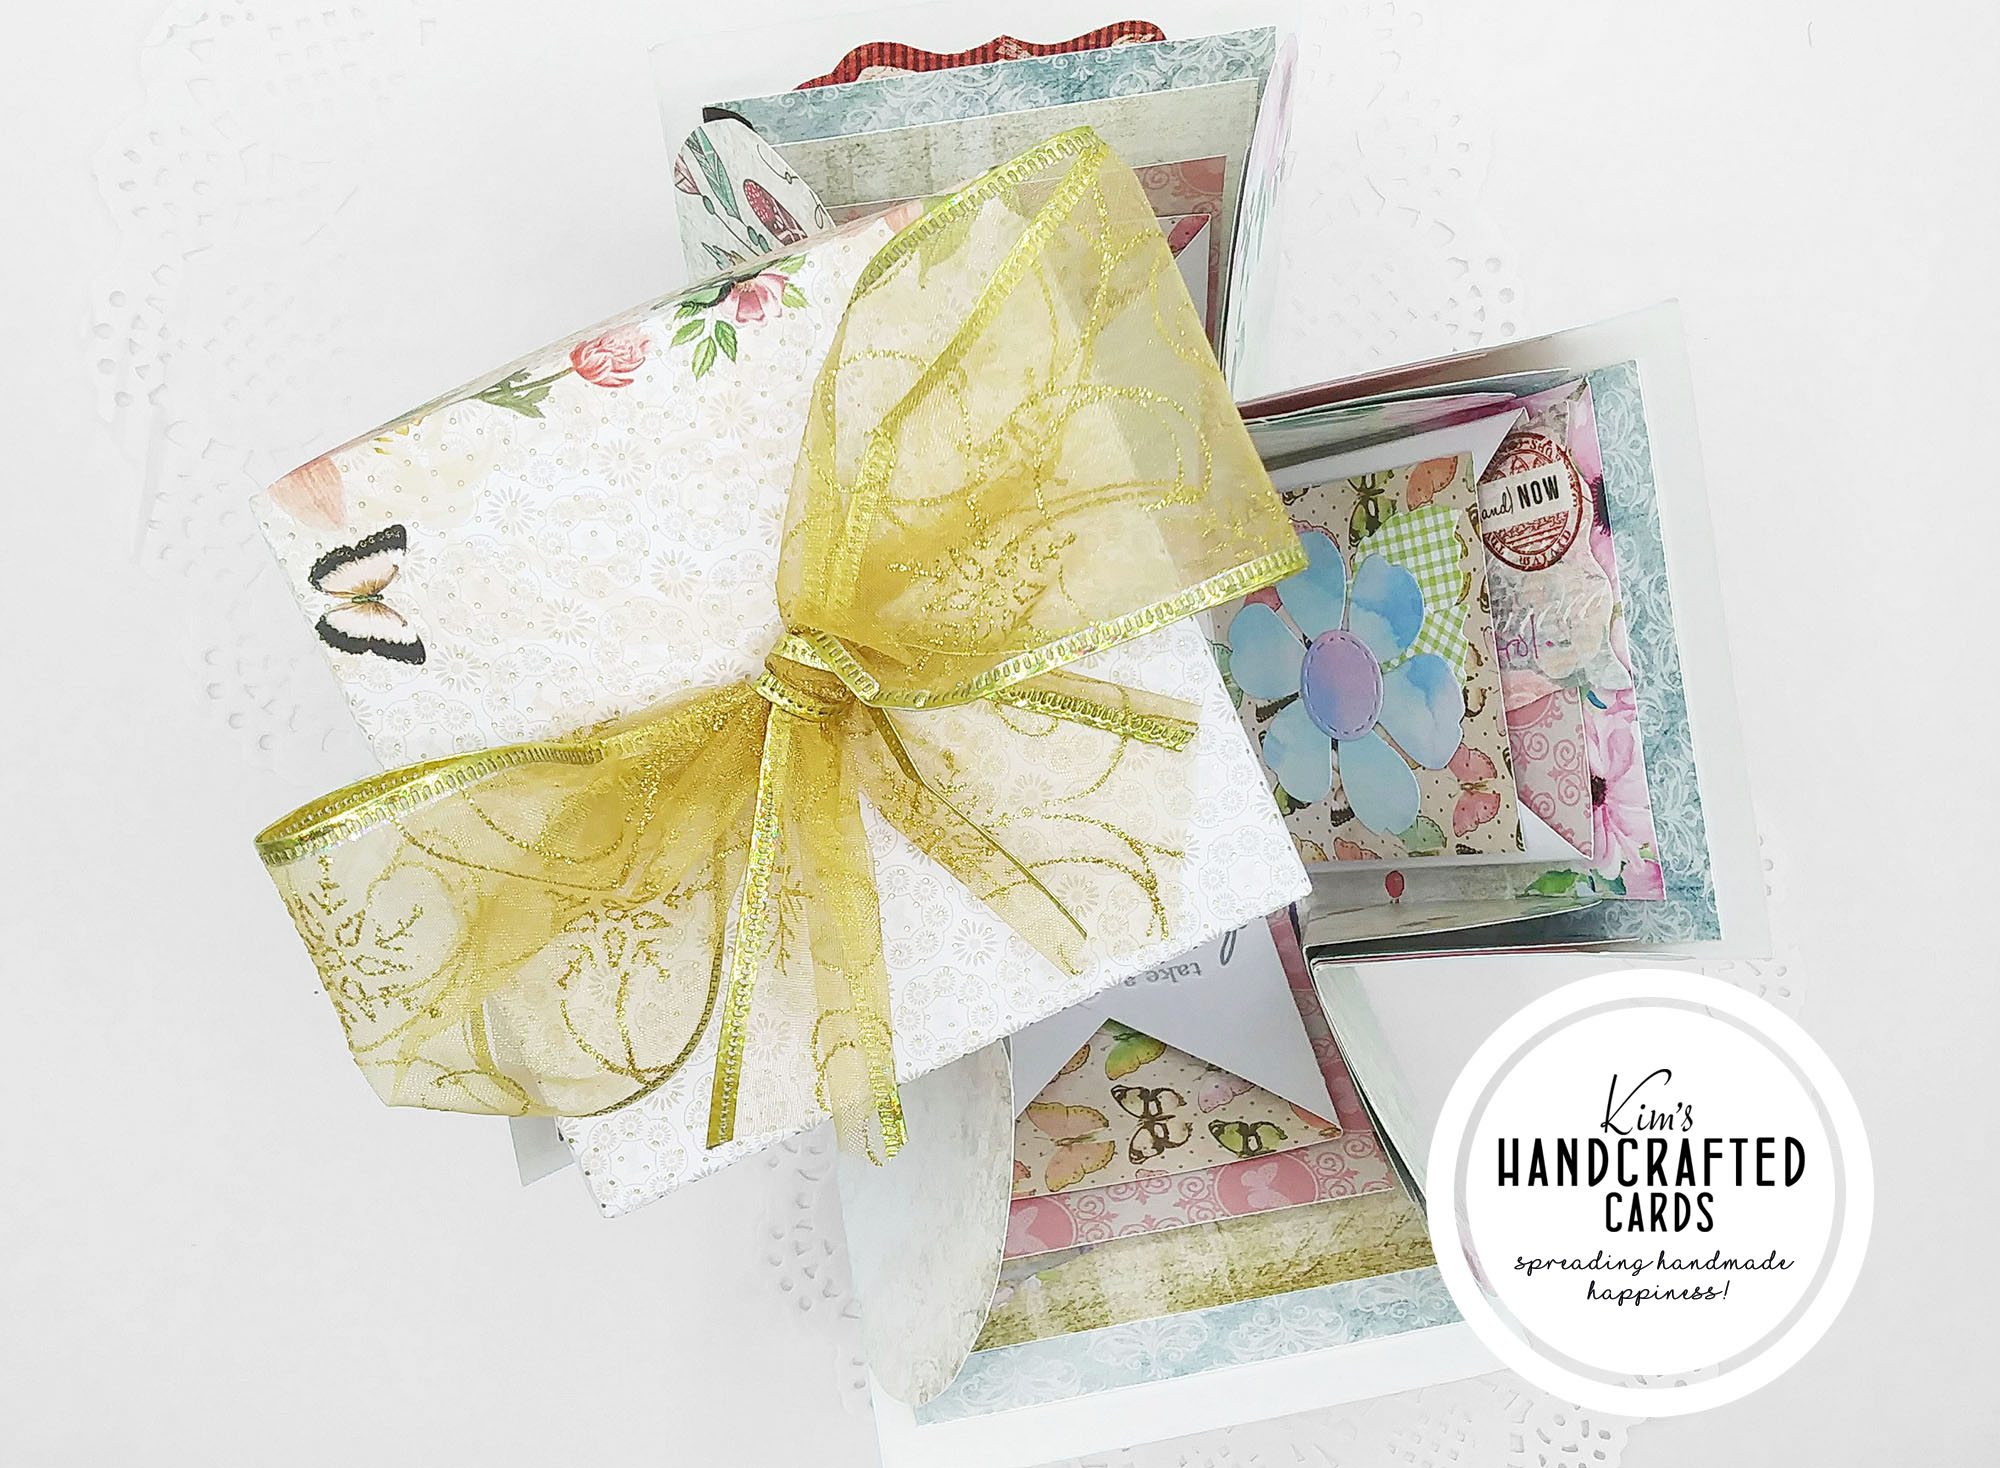

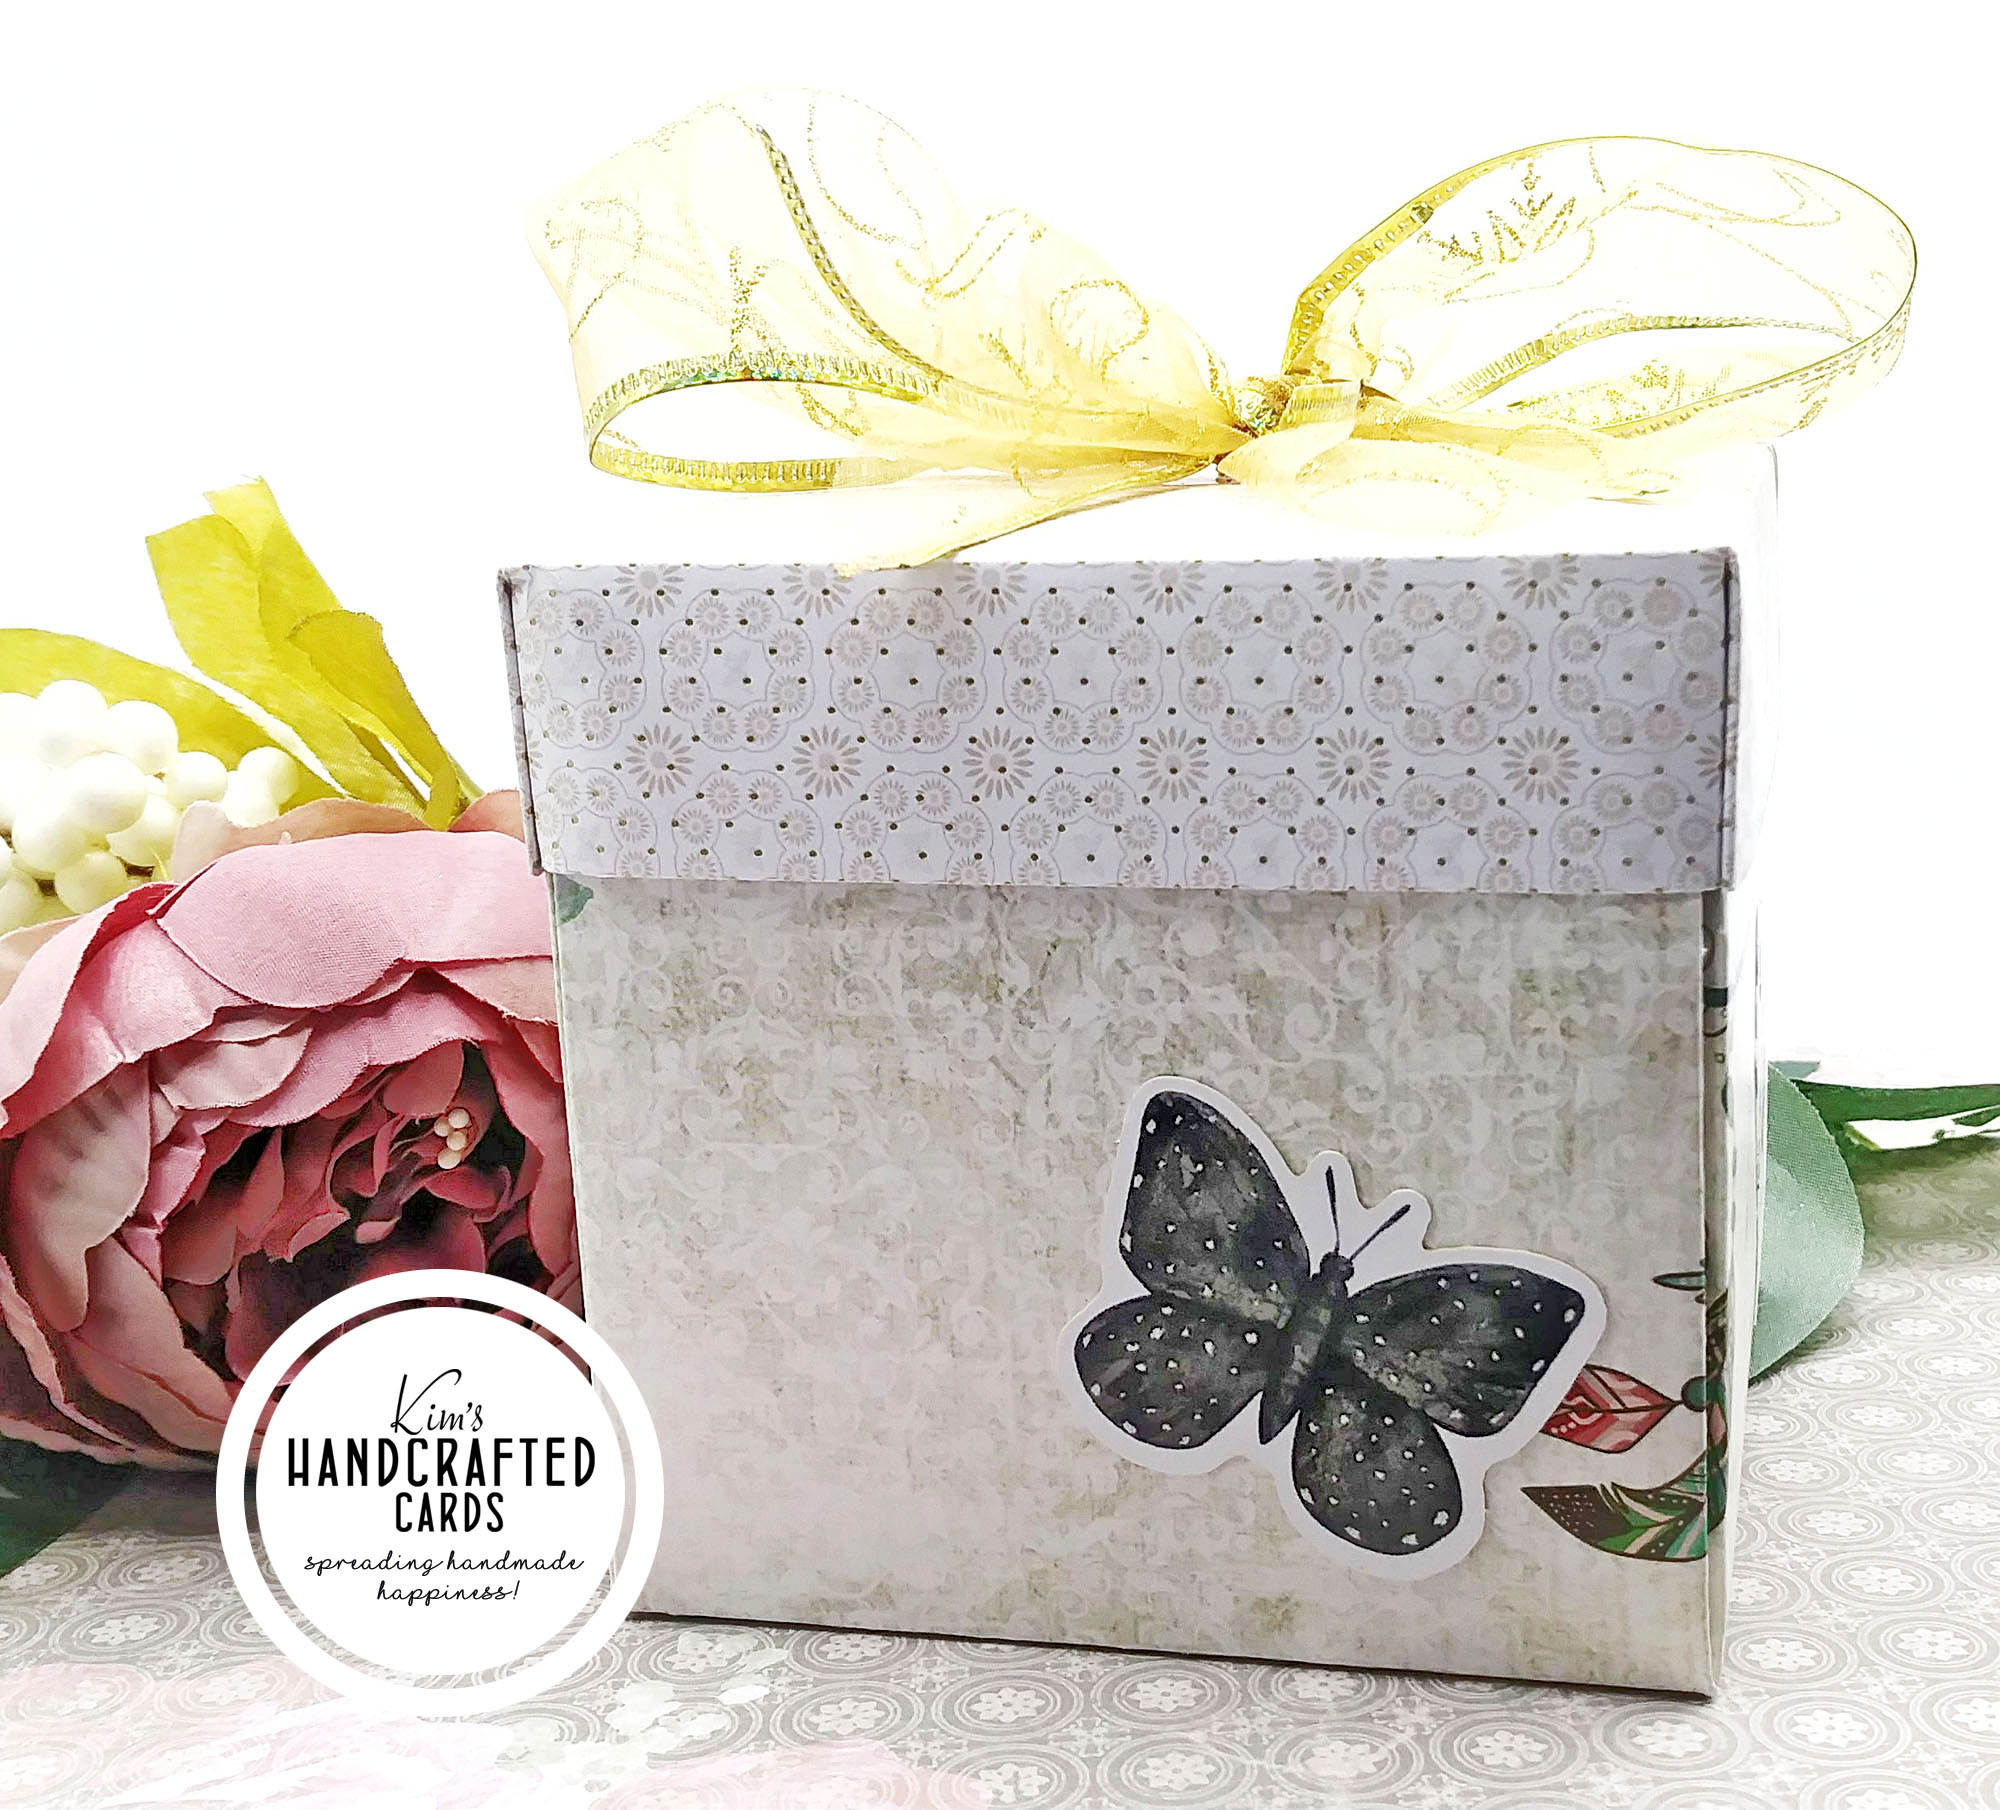
For the top of the box, I added a beautiful gold ribbon that I bought from Dollar Tree. So, what do you think of this box? Isn’t it beautiful?!
The pattern papers I used were a combination of Dress my Craft Magnolias paper pack and a butterfly pattern pack that I had in my stash, but you can use your favorite pattern papers for your box!

- We R Memory Keepers Explosion Board
- Dress my Craft Magnolias 12 x 12 Paper Pad
- Carta Bella Paper “Frames and Tags” paper pack
- Pinkfresh Studio Ephemera Foiled Sentiments Pack
- EK Tools Precision Scissors (great for fussy cutting)
- Bearly Art Glue