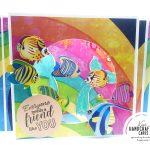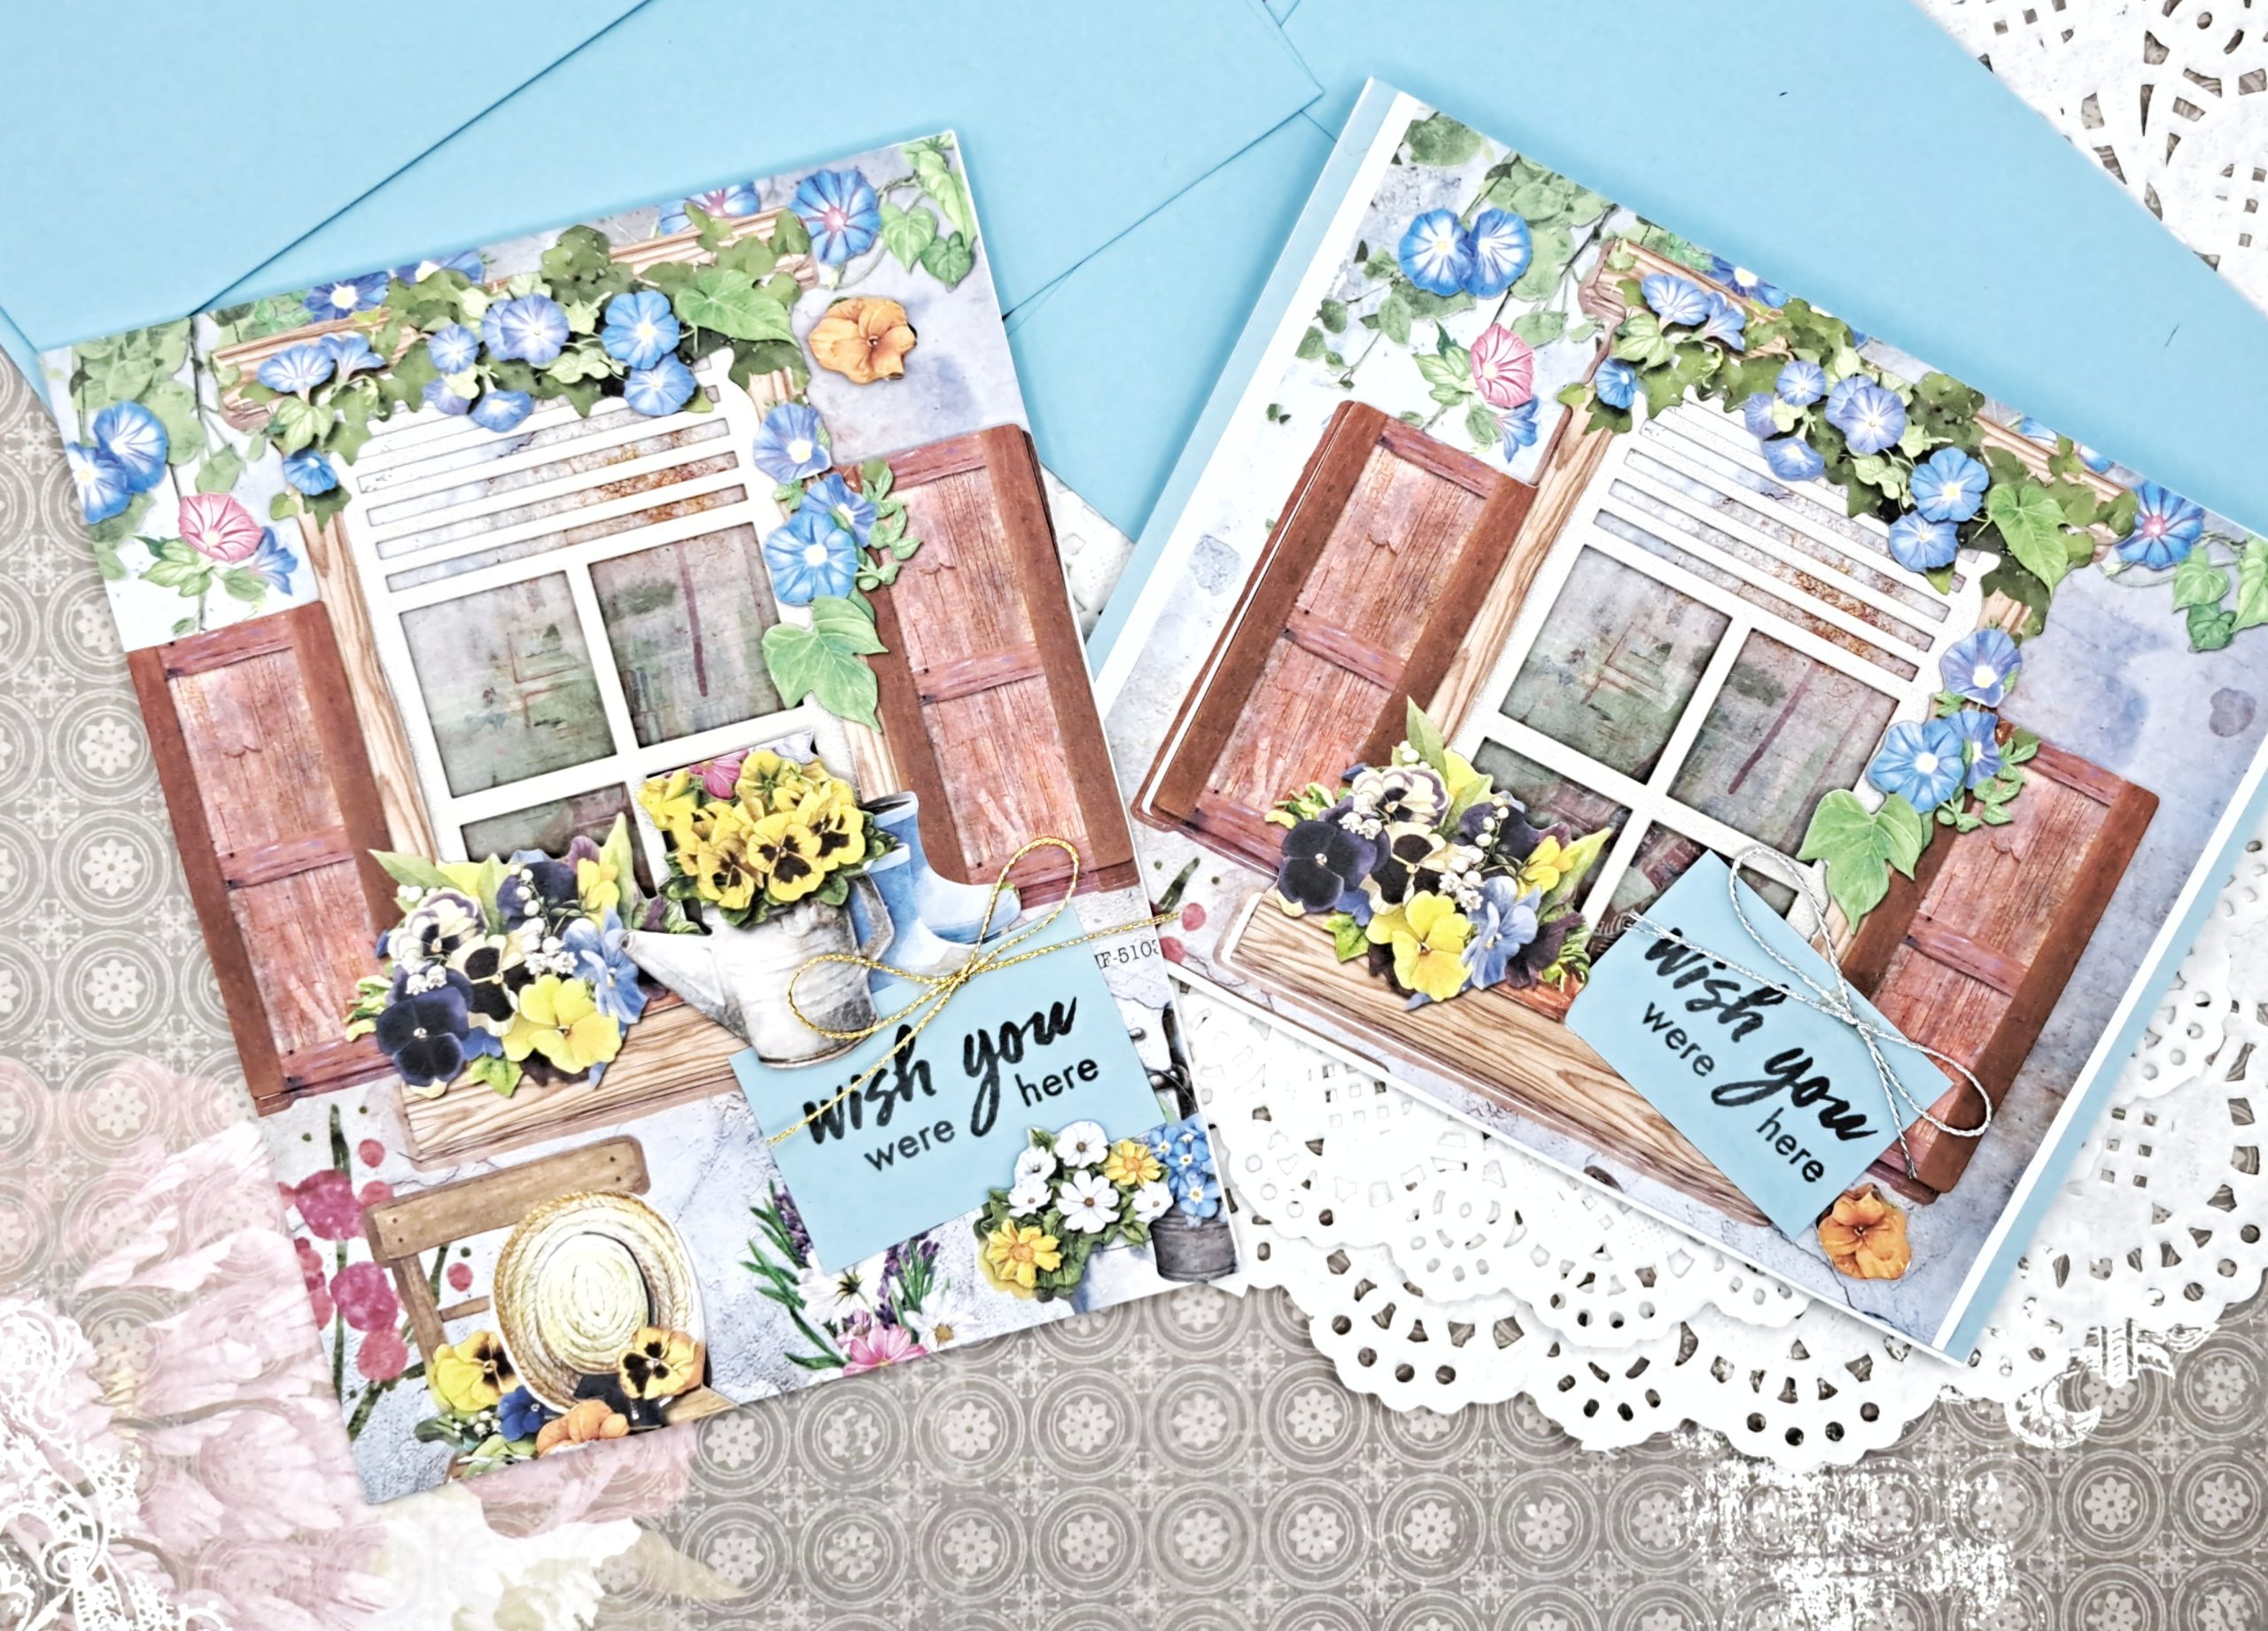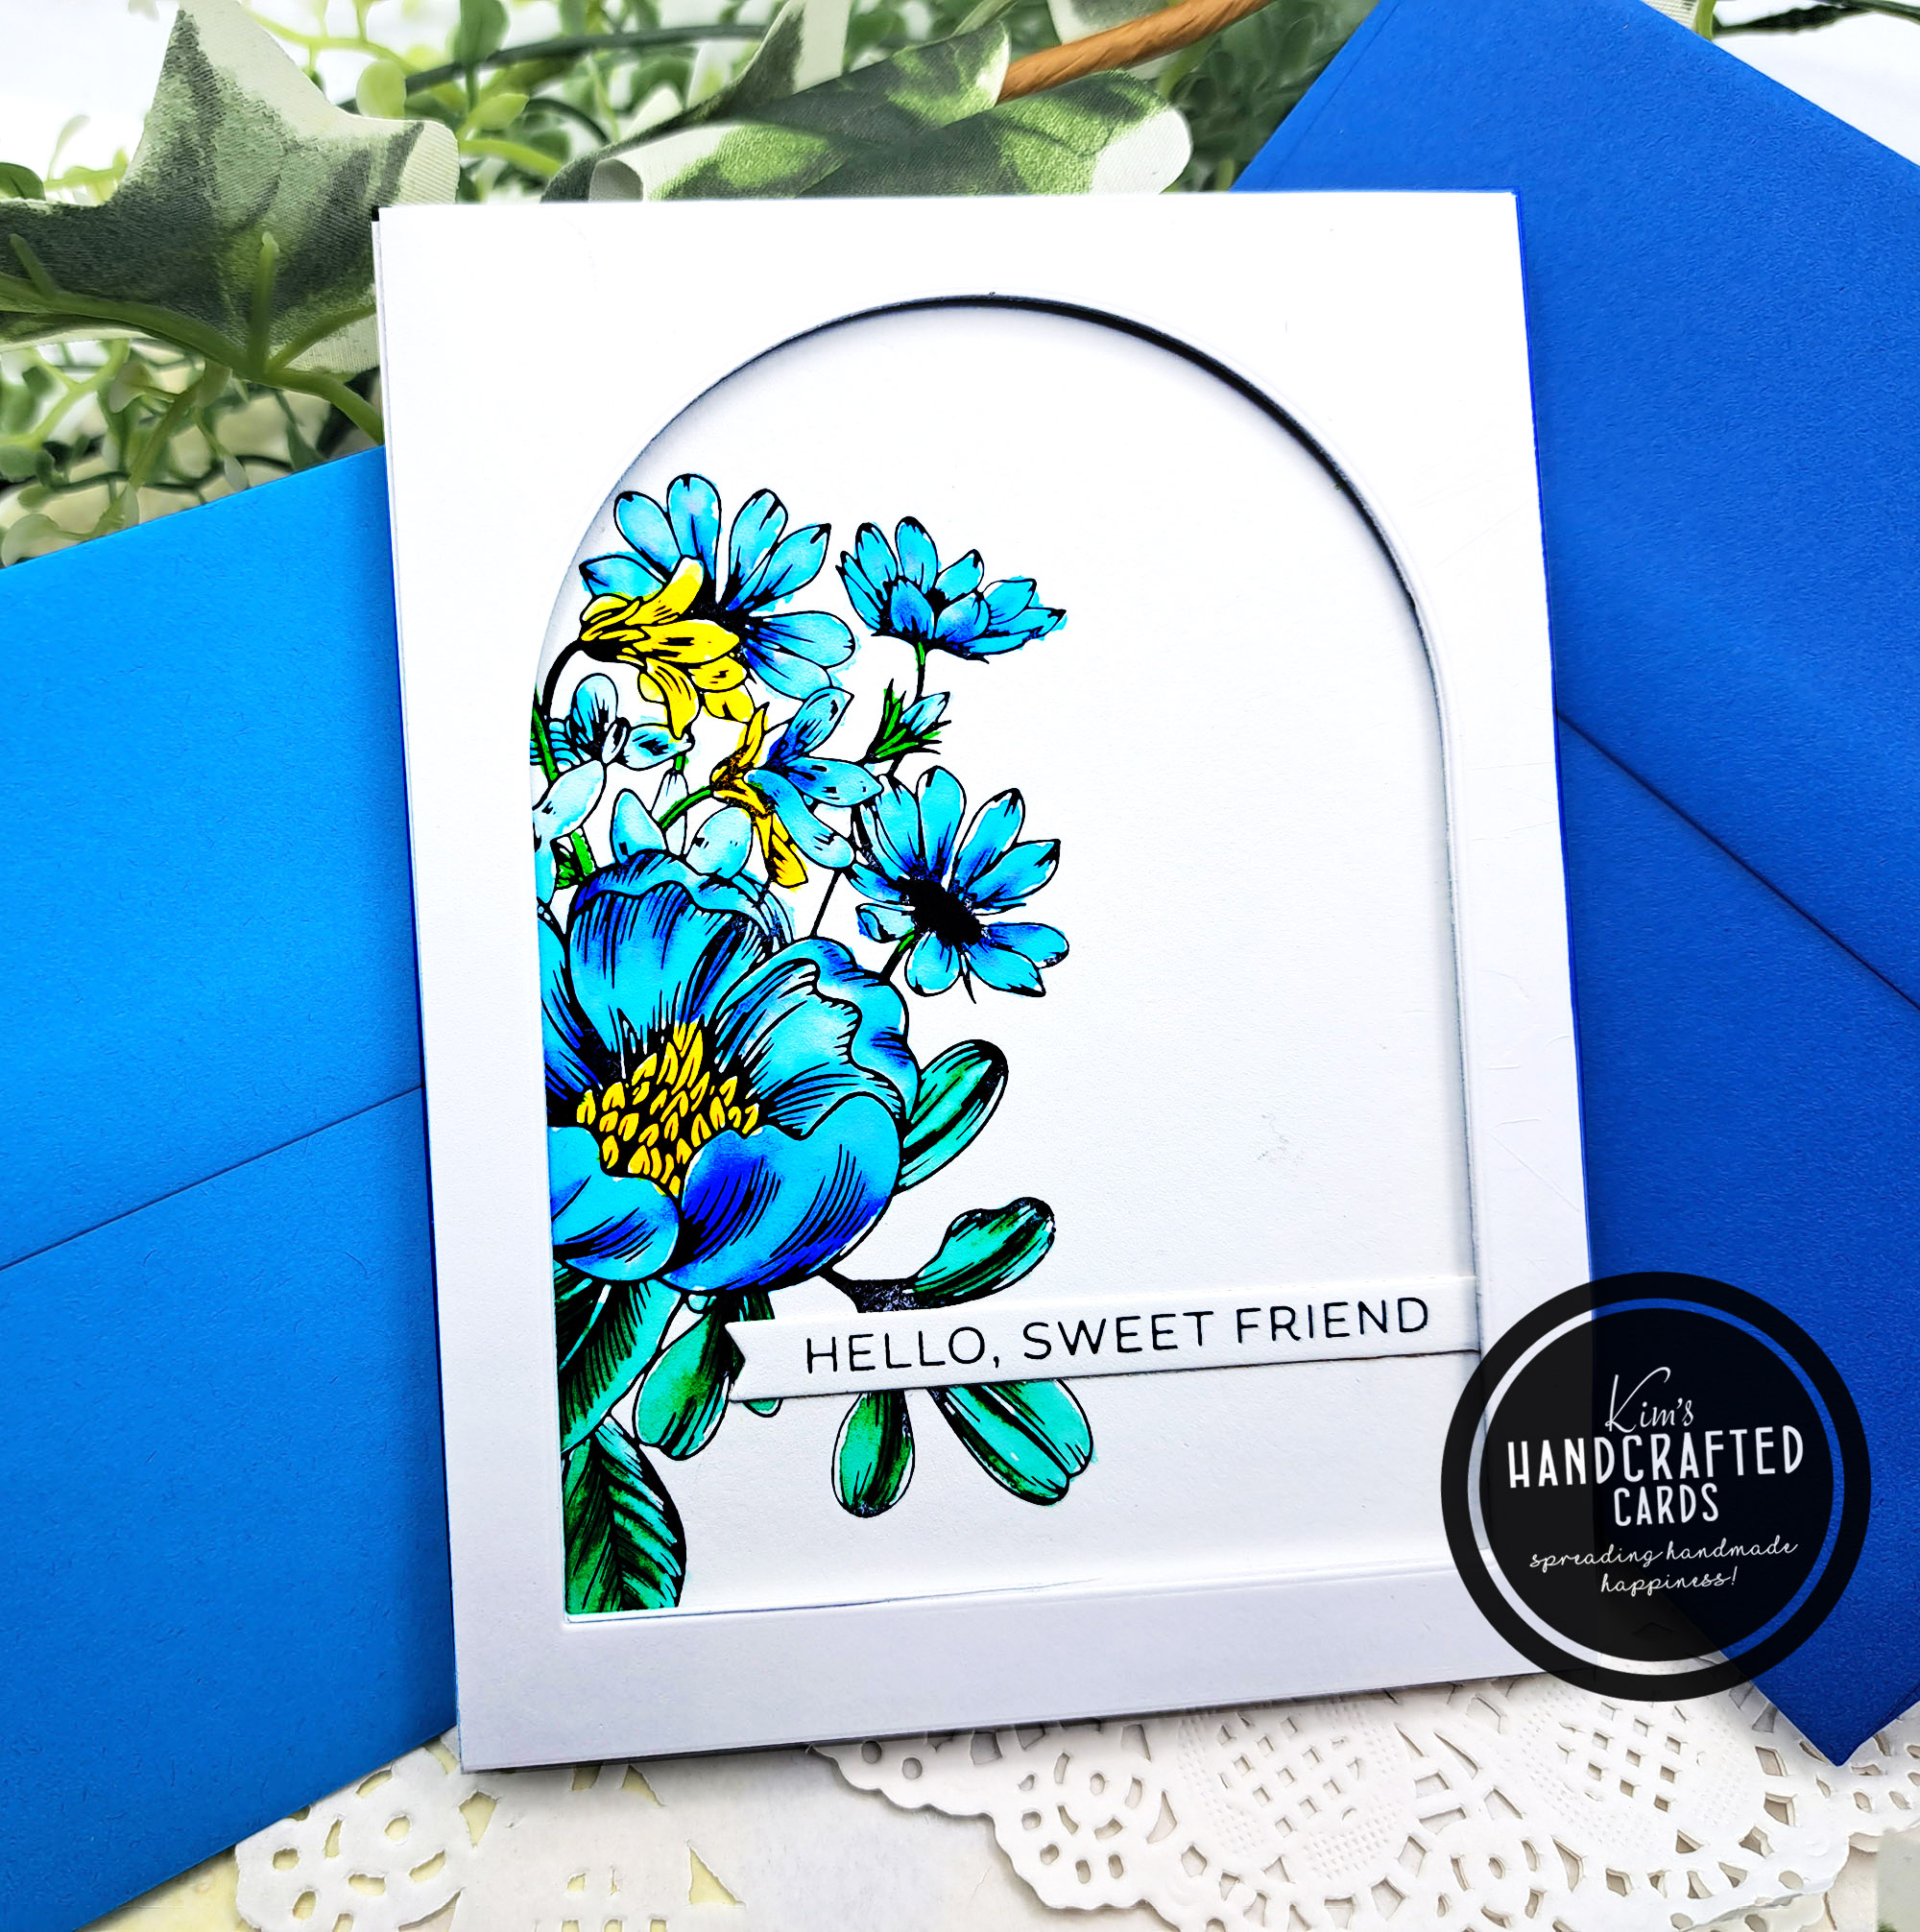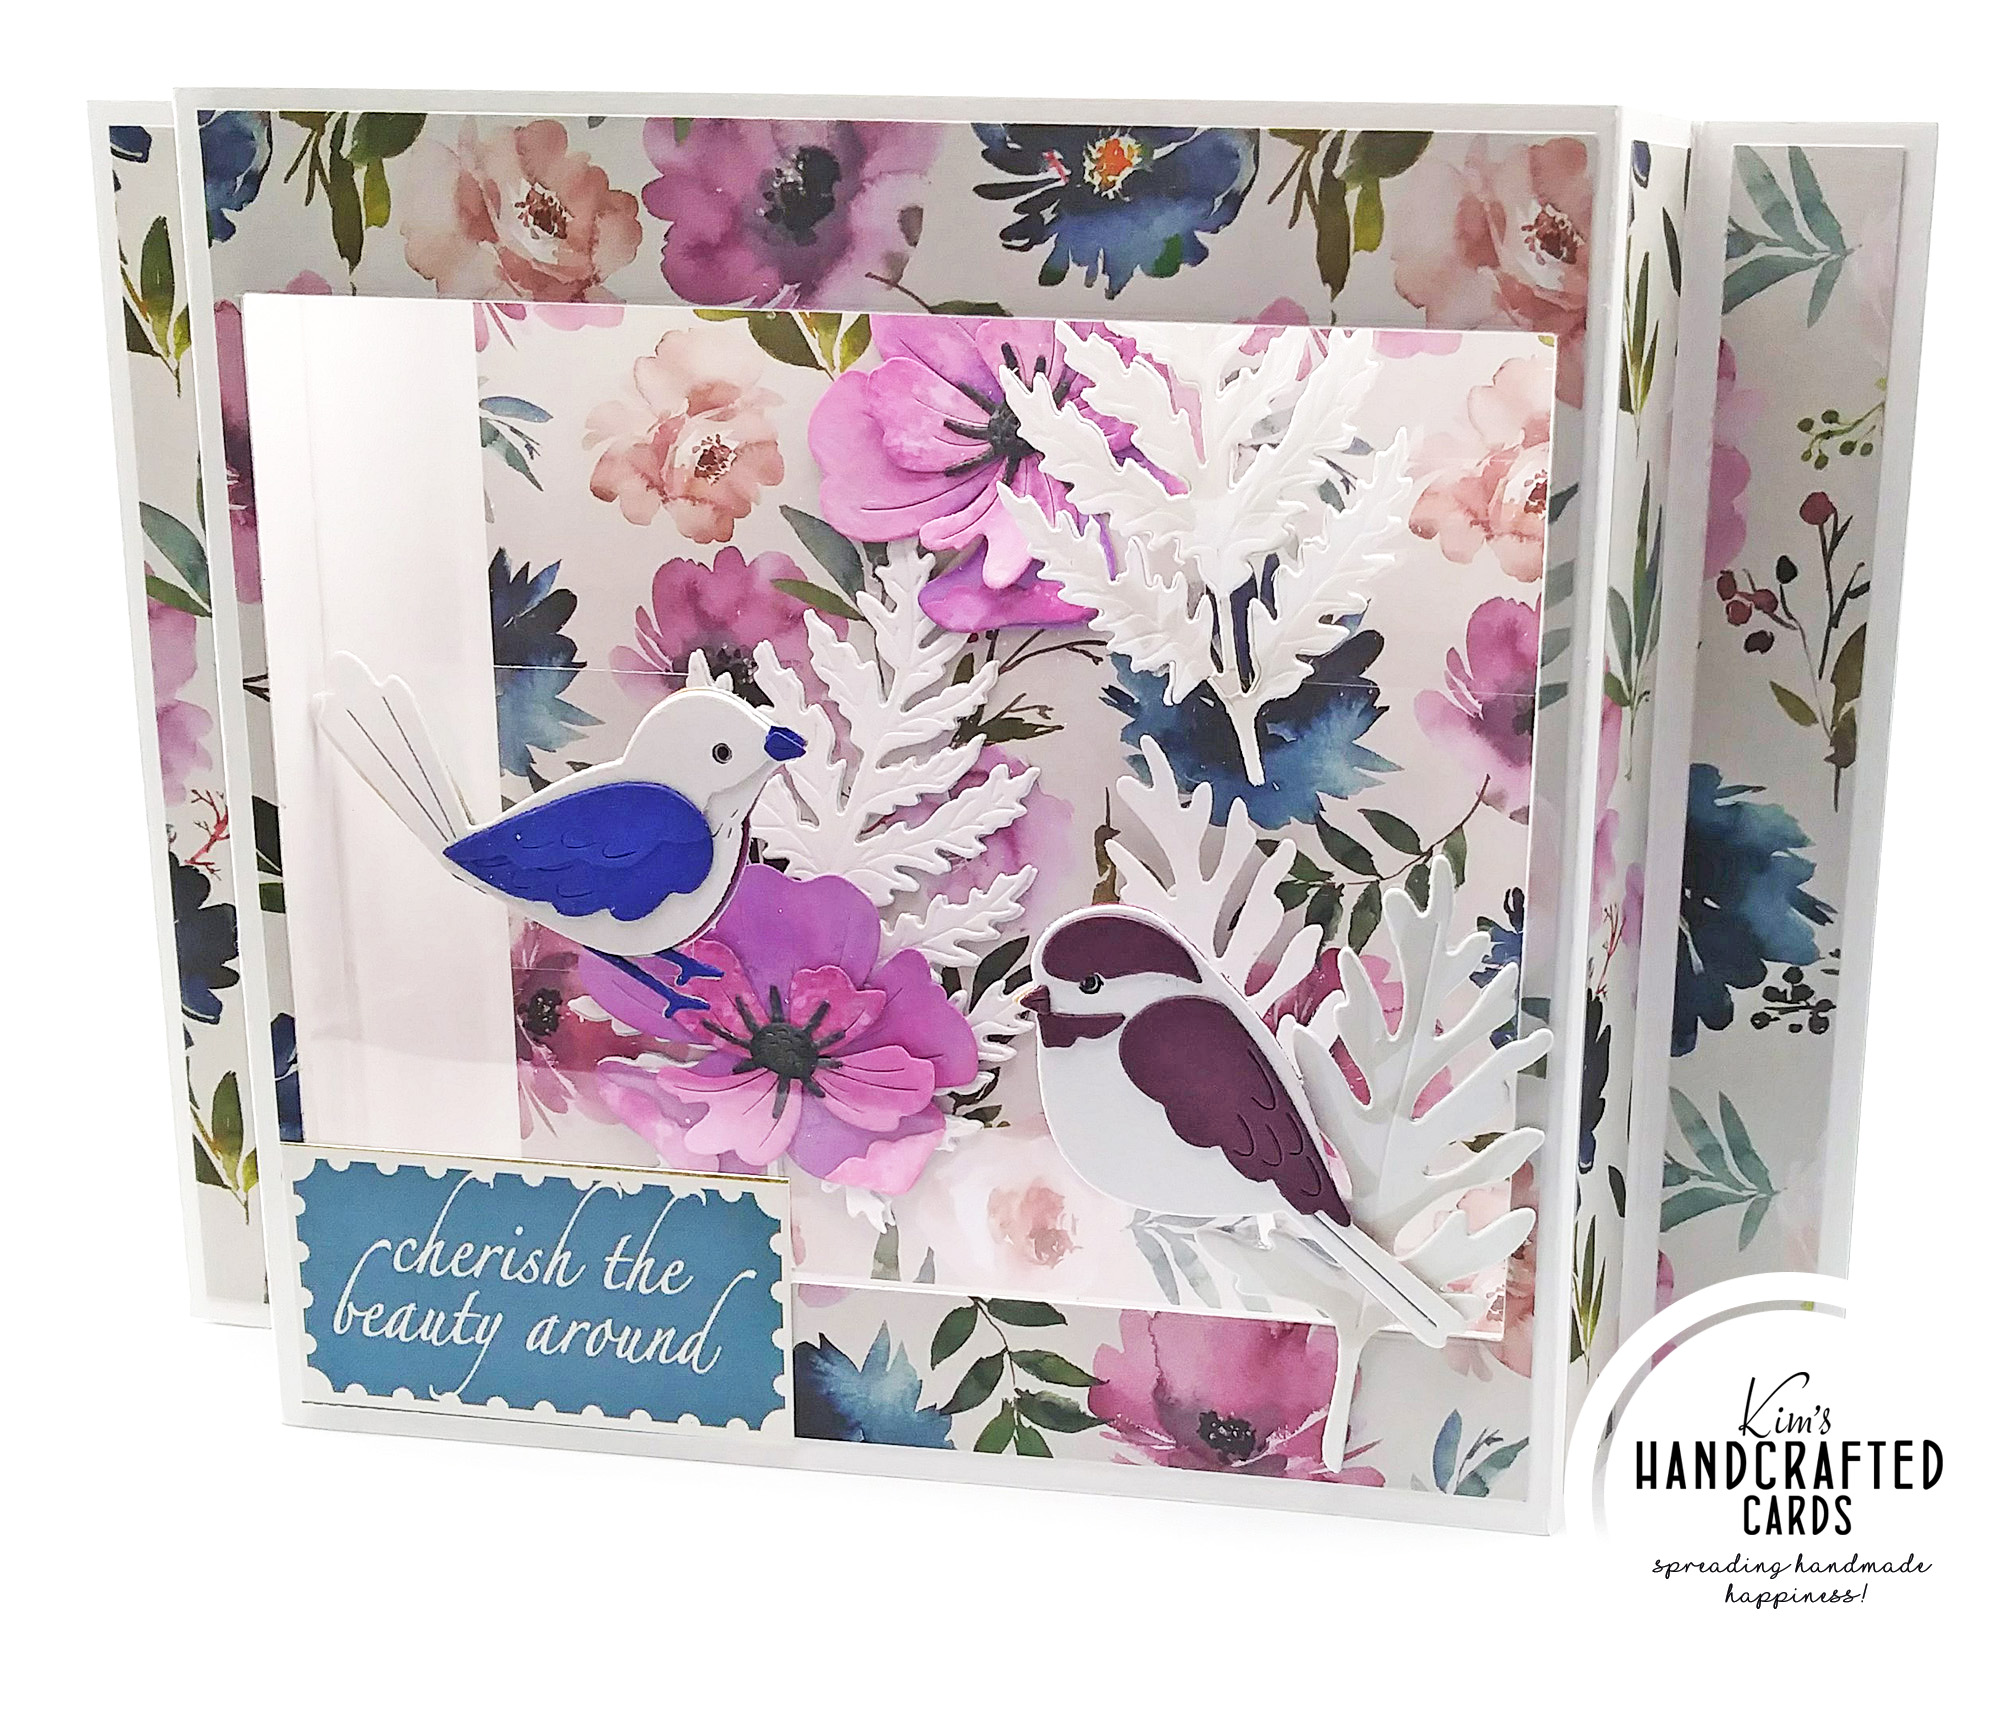
Hey crafties! I very rarely make myself anything crafty because typically I’m thinking of donating or giving cards away. But, yesterday I saw this card design for the first time on Sam Calcott UK-Mixup Crafts IG’s profile and I wanted to make one for me! She has a video tutorial on YT available and saw how easy it is to make. That’s when I decided to give it a try! If you’re interested, check out the video here.
I followed the instructions from the video with one exception. I don’t have a really large square die so I used the largest rectangle die from Waffle Flower Crafts A2 Layers Die for my window. It worked perfectly!
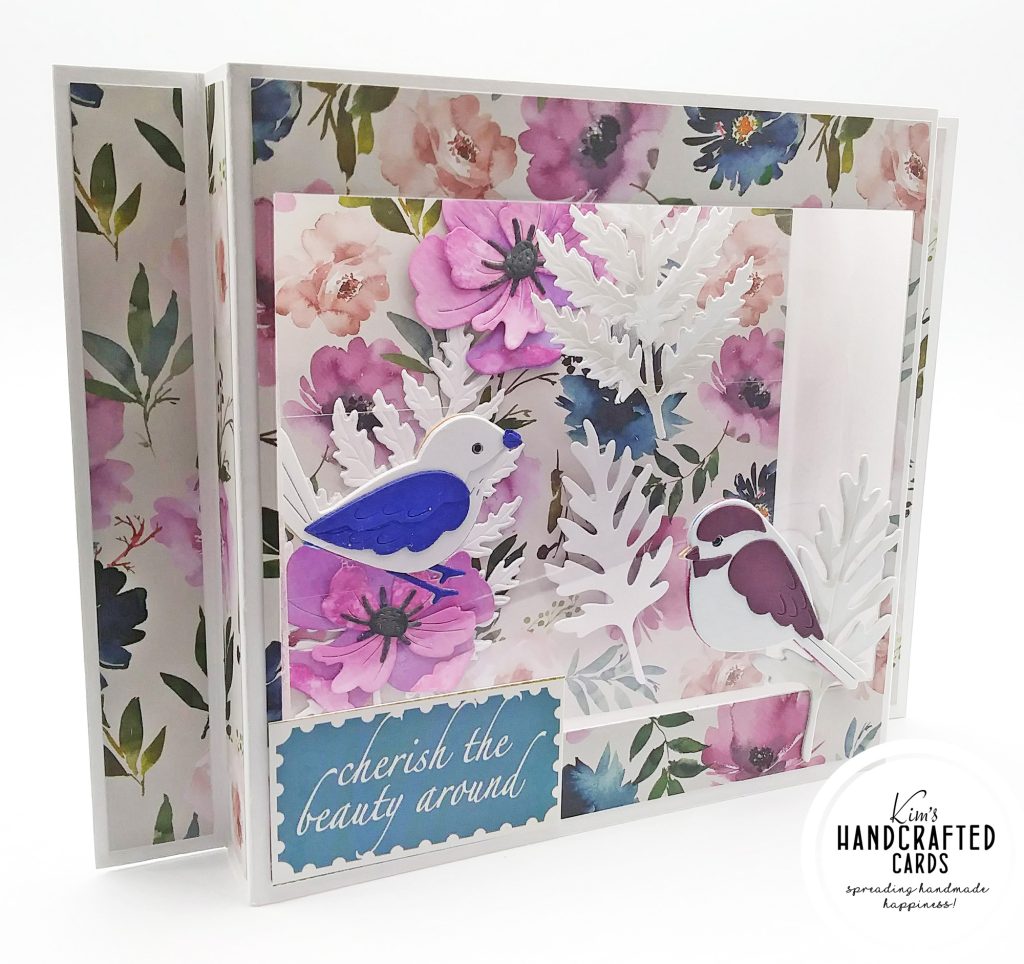
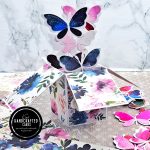
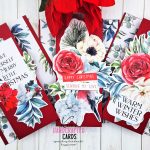
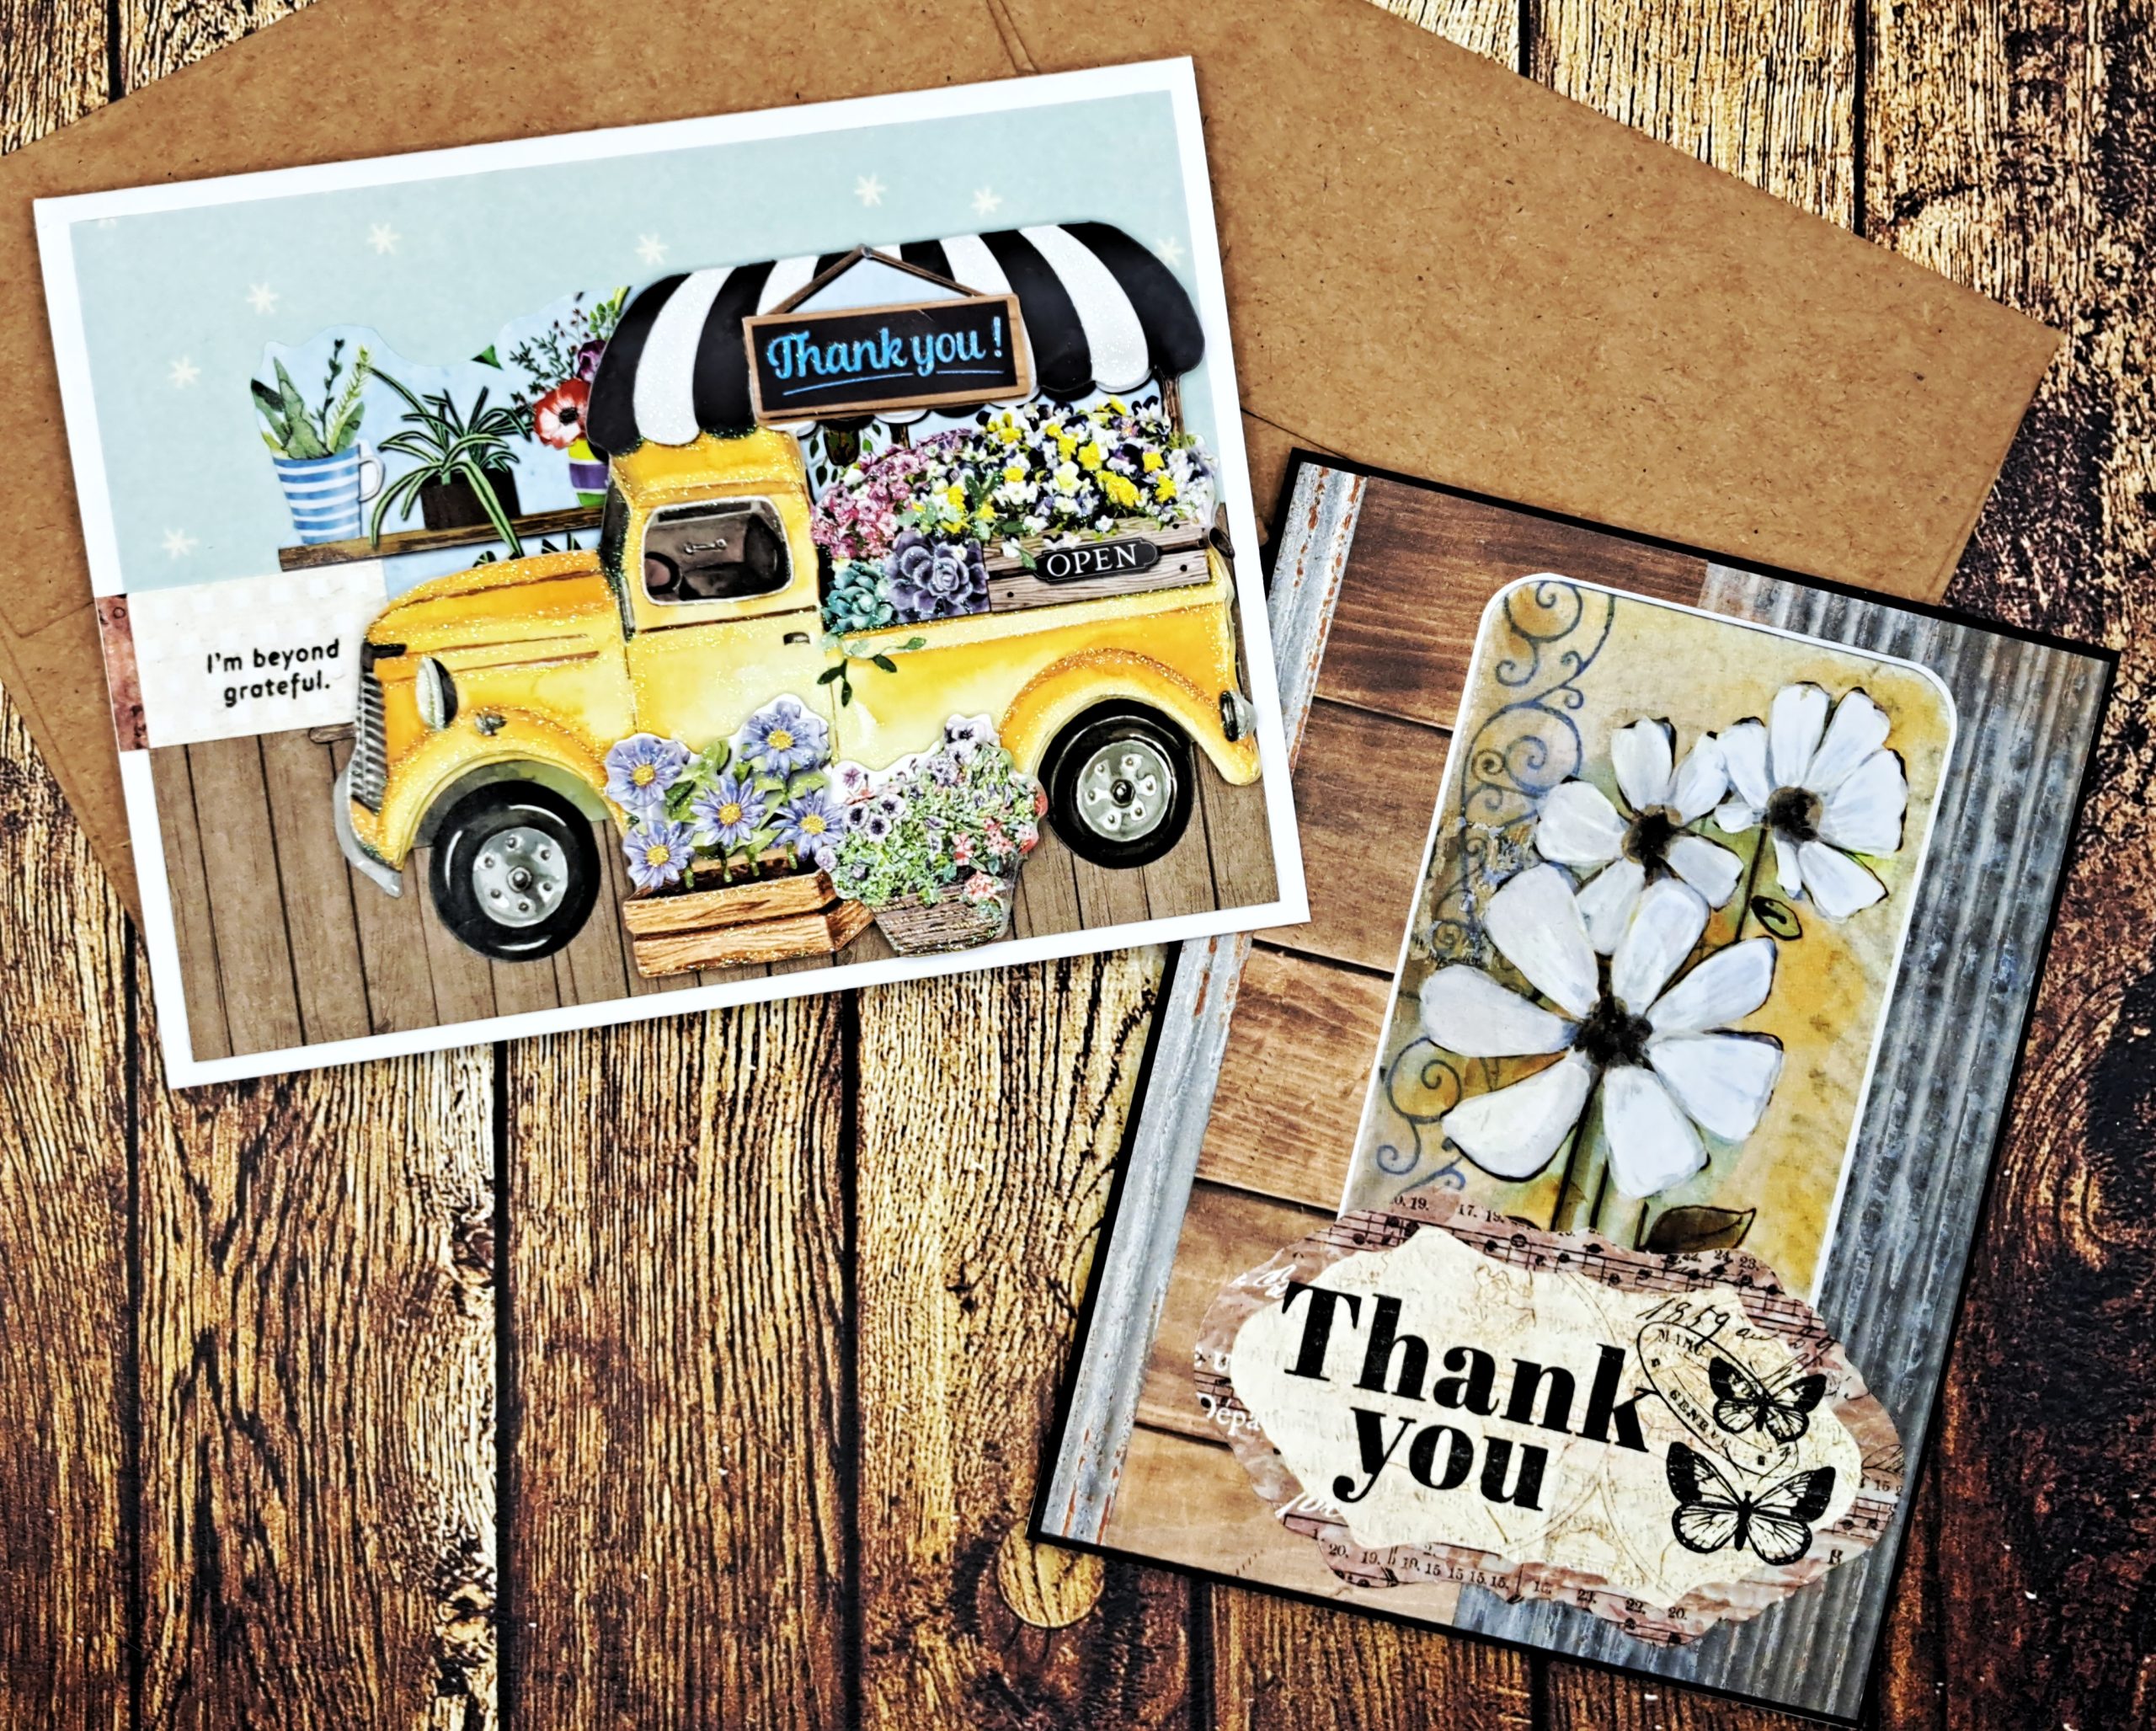
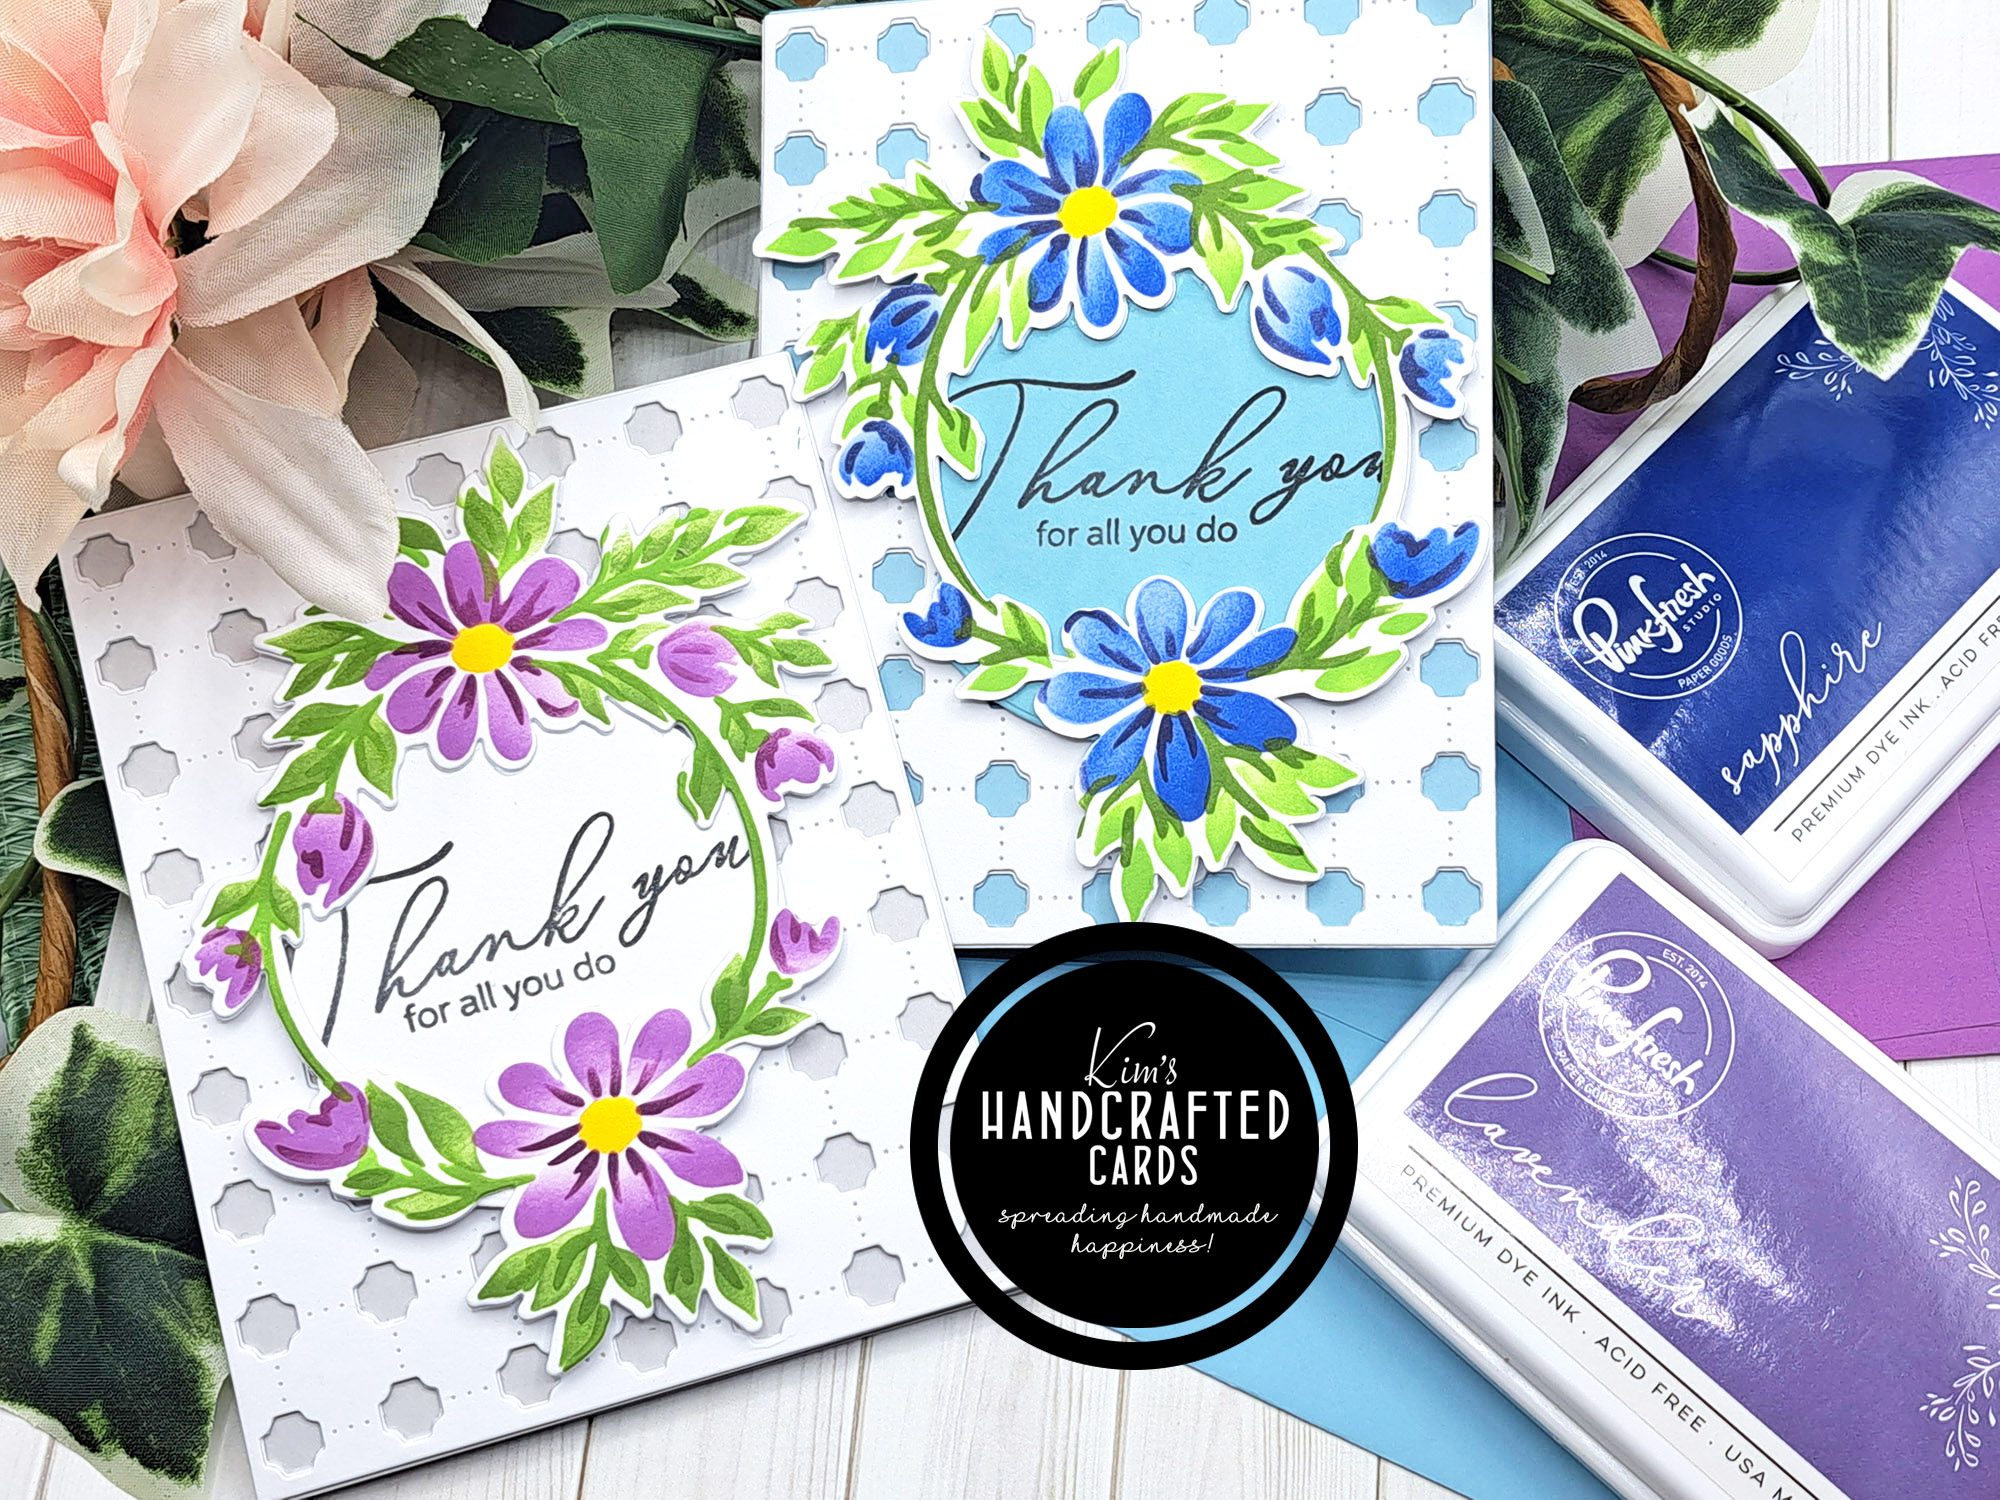
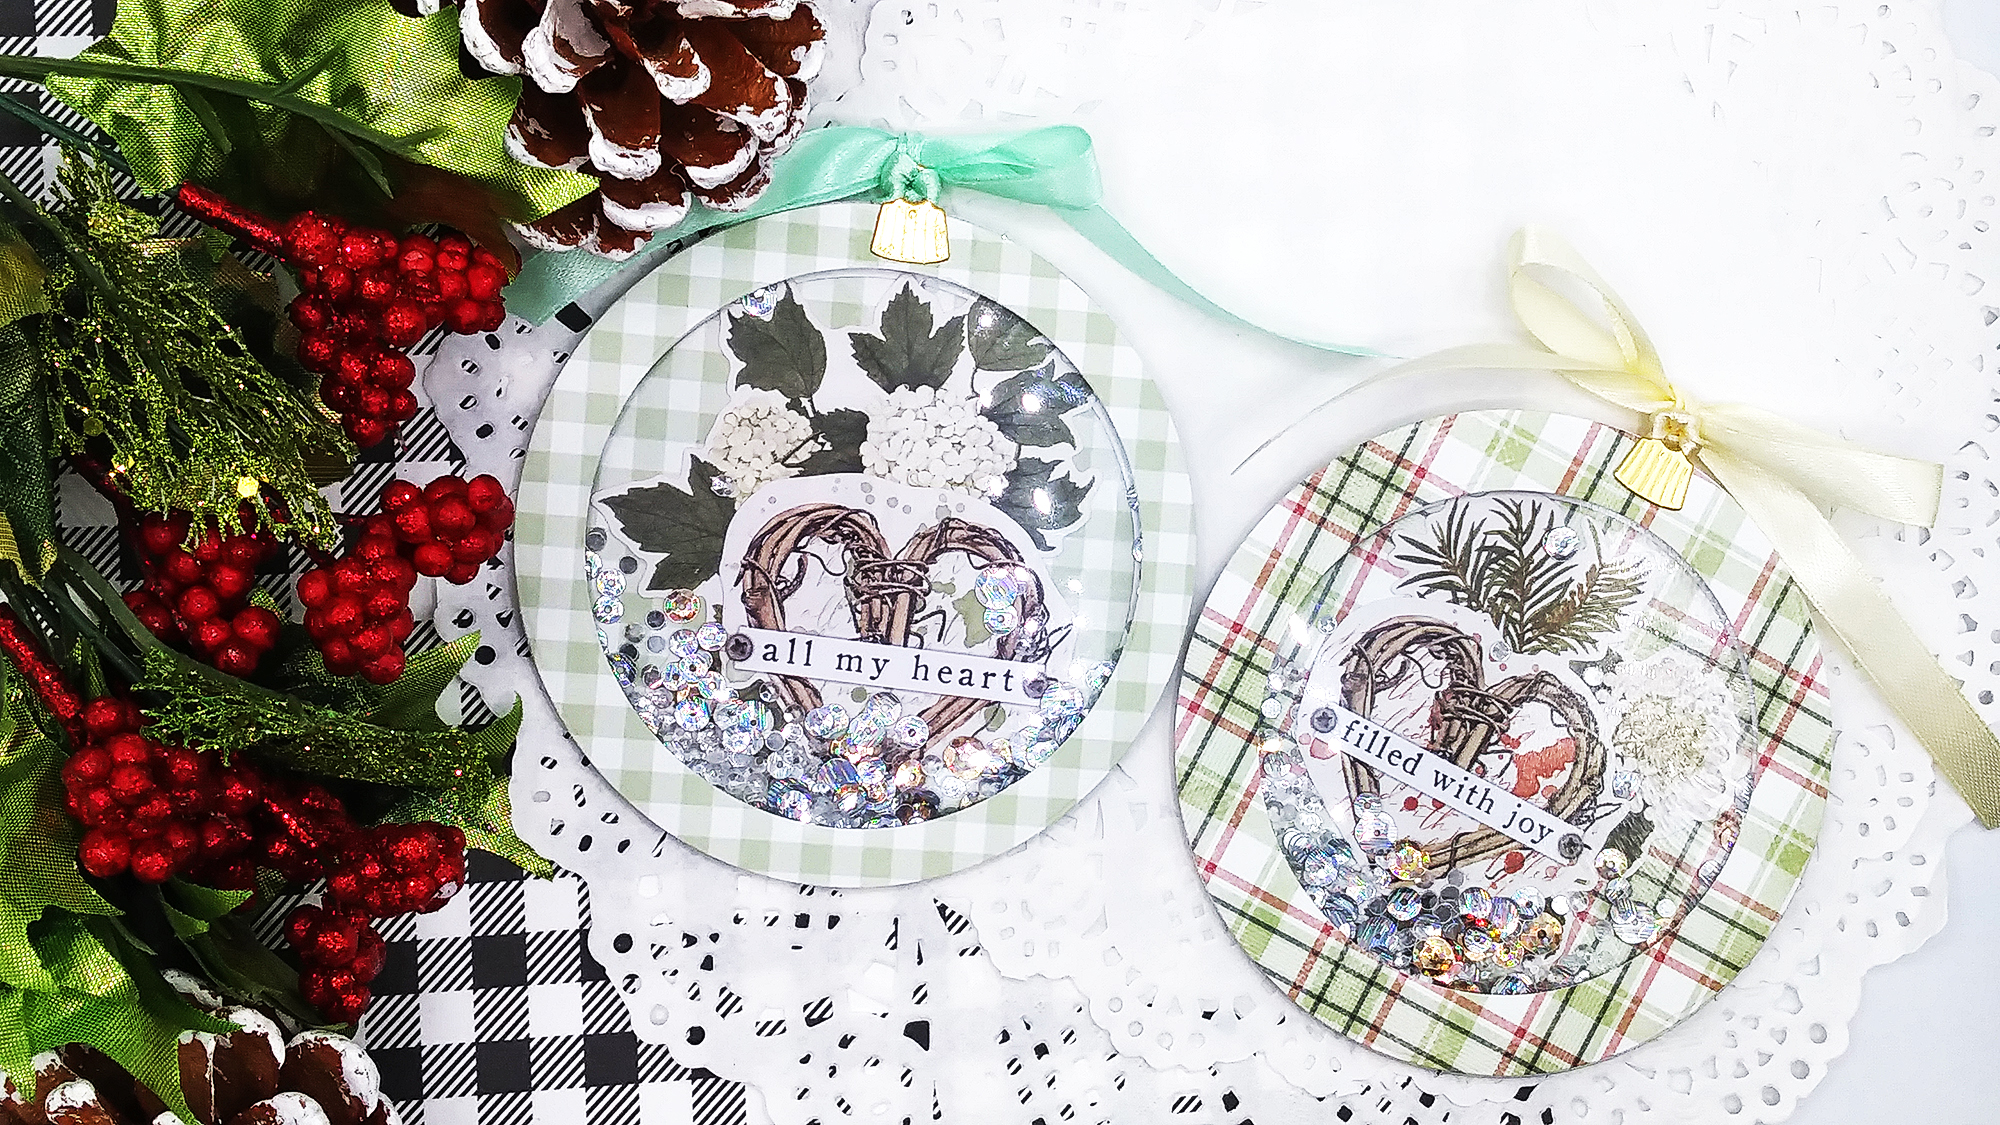
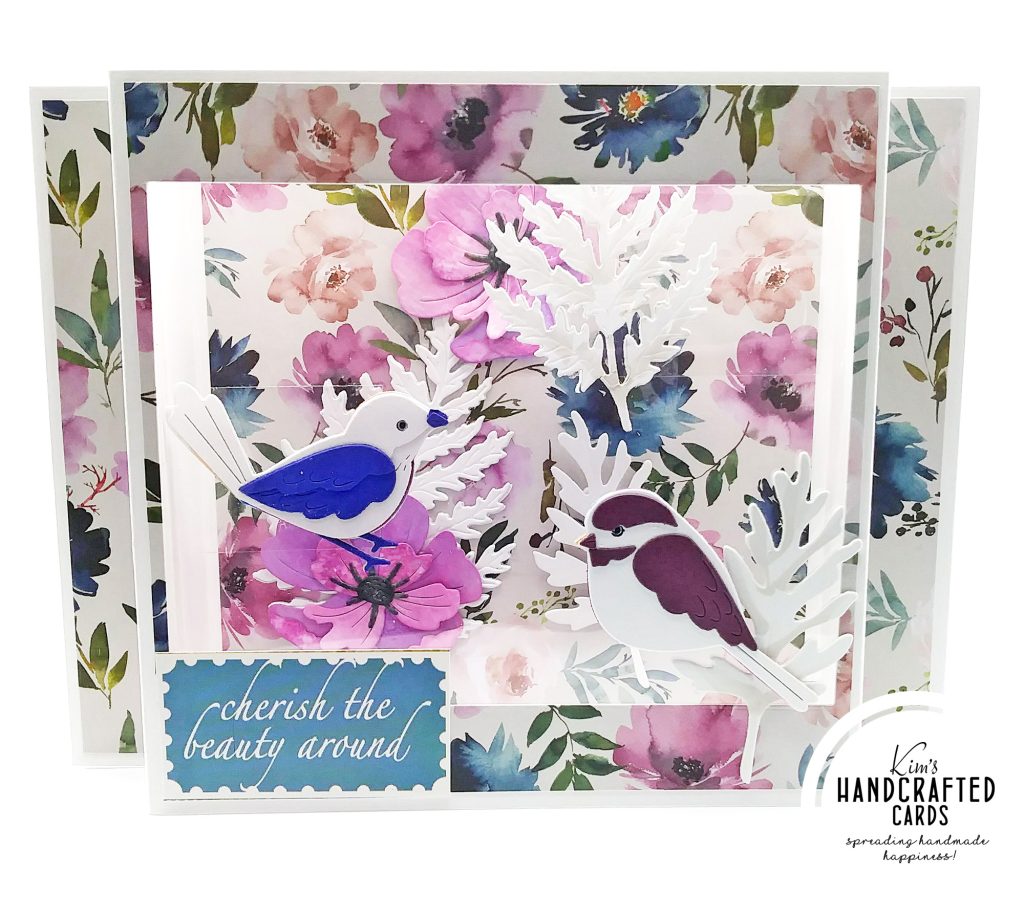
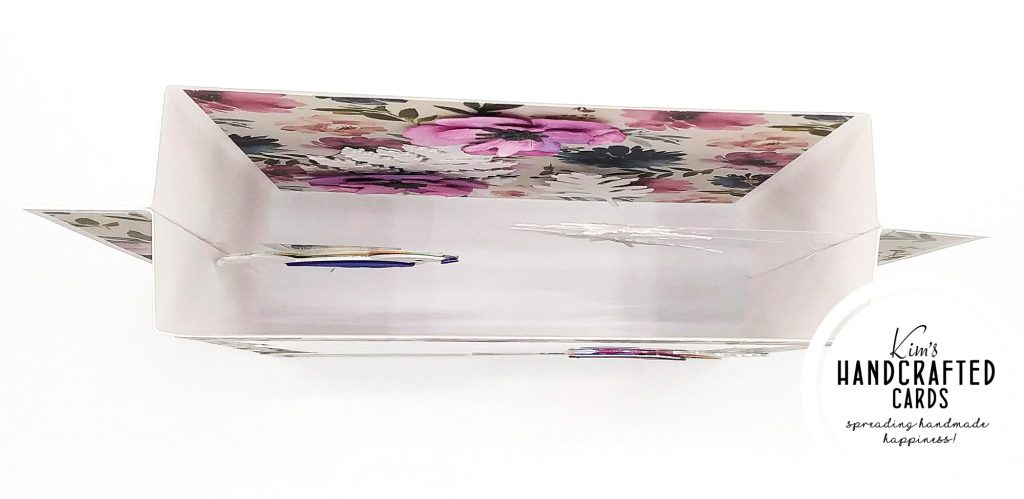
I used Paper Boutique’s Damask paper pads to decorate the outside, inside and front covers. Then it was time to add more decorations!
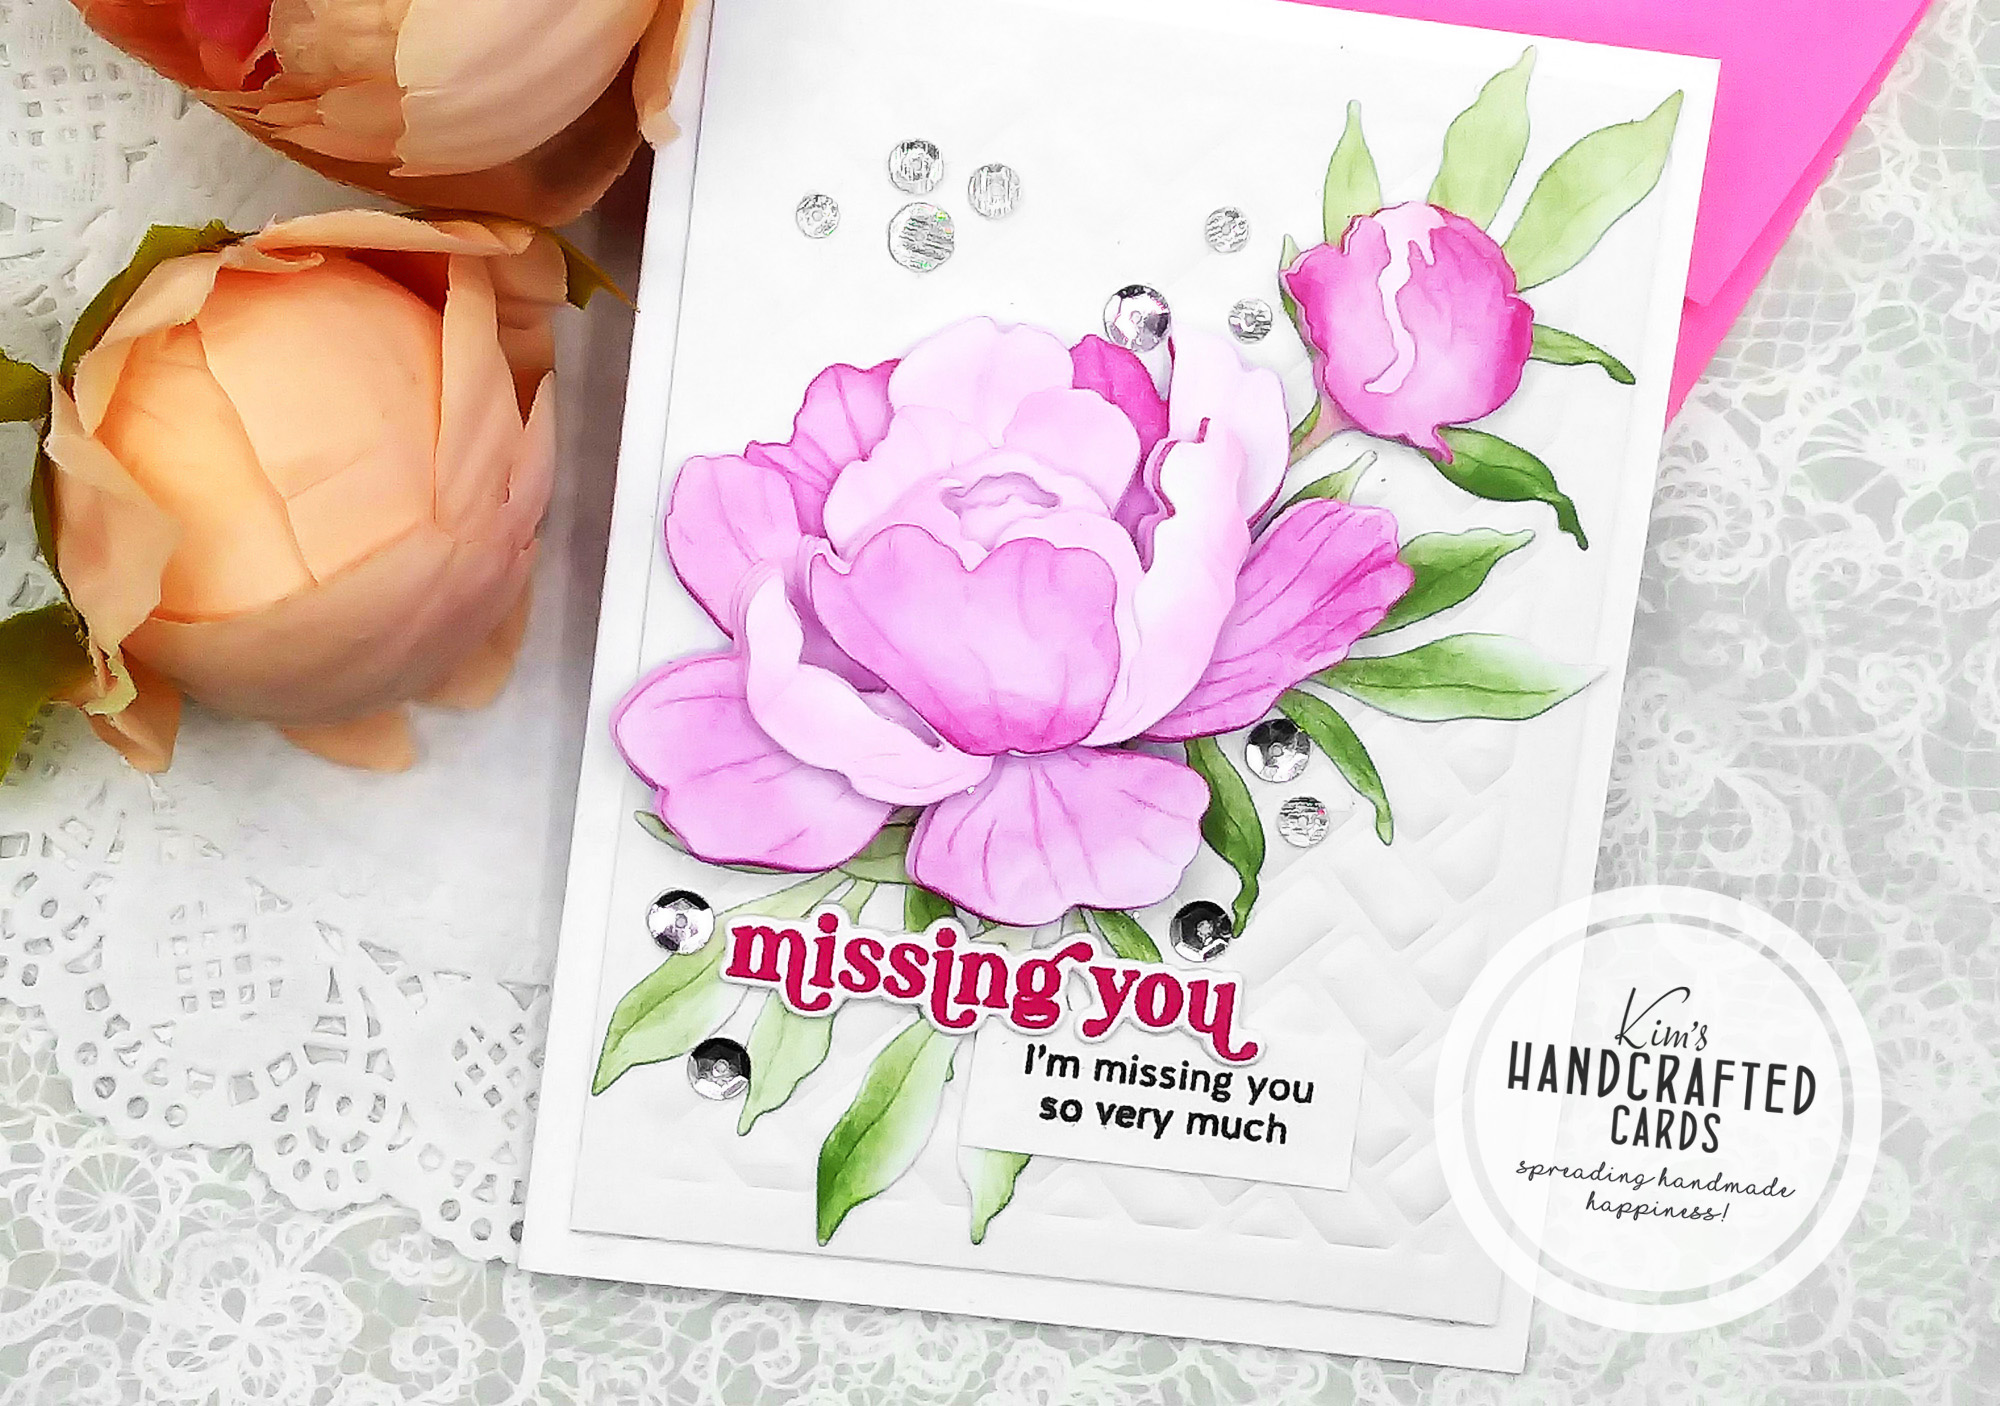
Other products I used to decorate were:
- Honey Bee Stamps “Greenery” Lovely Layers Dies Set here or here
- Simon Says Stamp Magnolia Blossom Die
- Simon Says Stamp “Layered Chick-a-dee” Die
- Simon Says Stamp “Layered Birdie” Die
- Paper Boutique Damask Delights Collection – 8 x 8 Paper Kit
The sentiment is from a pattern paper pack I had in my stash.
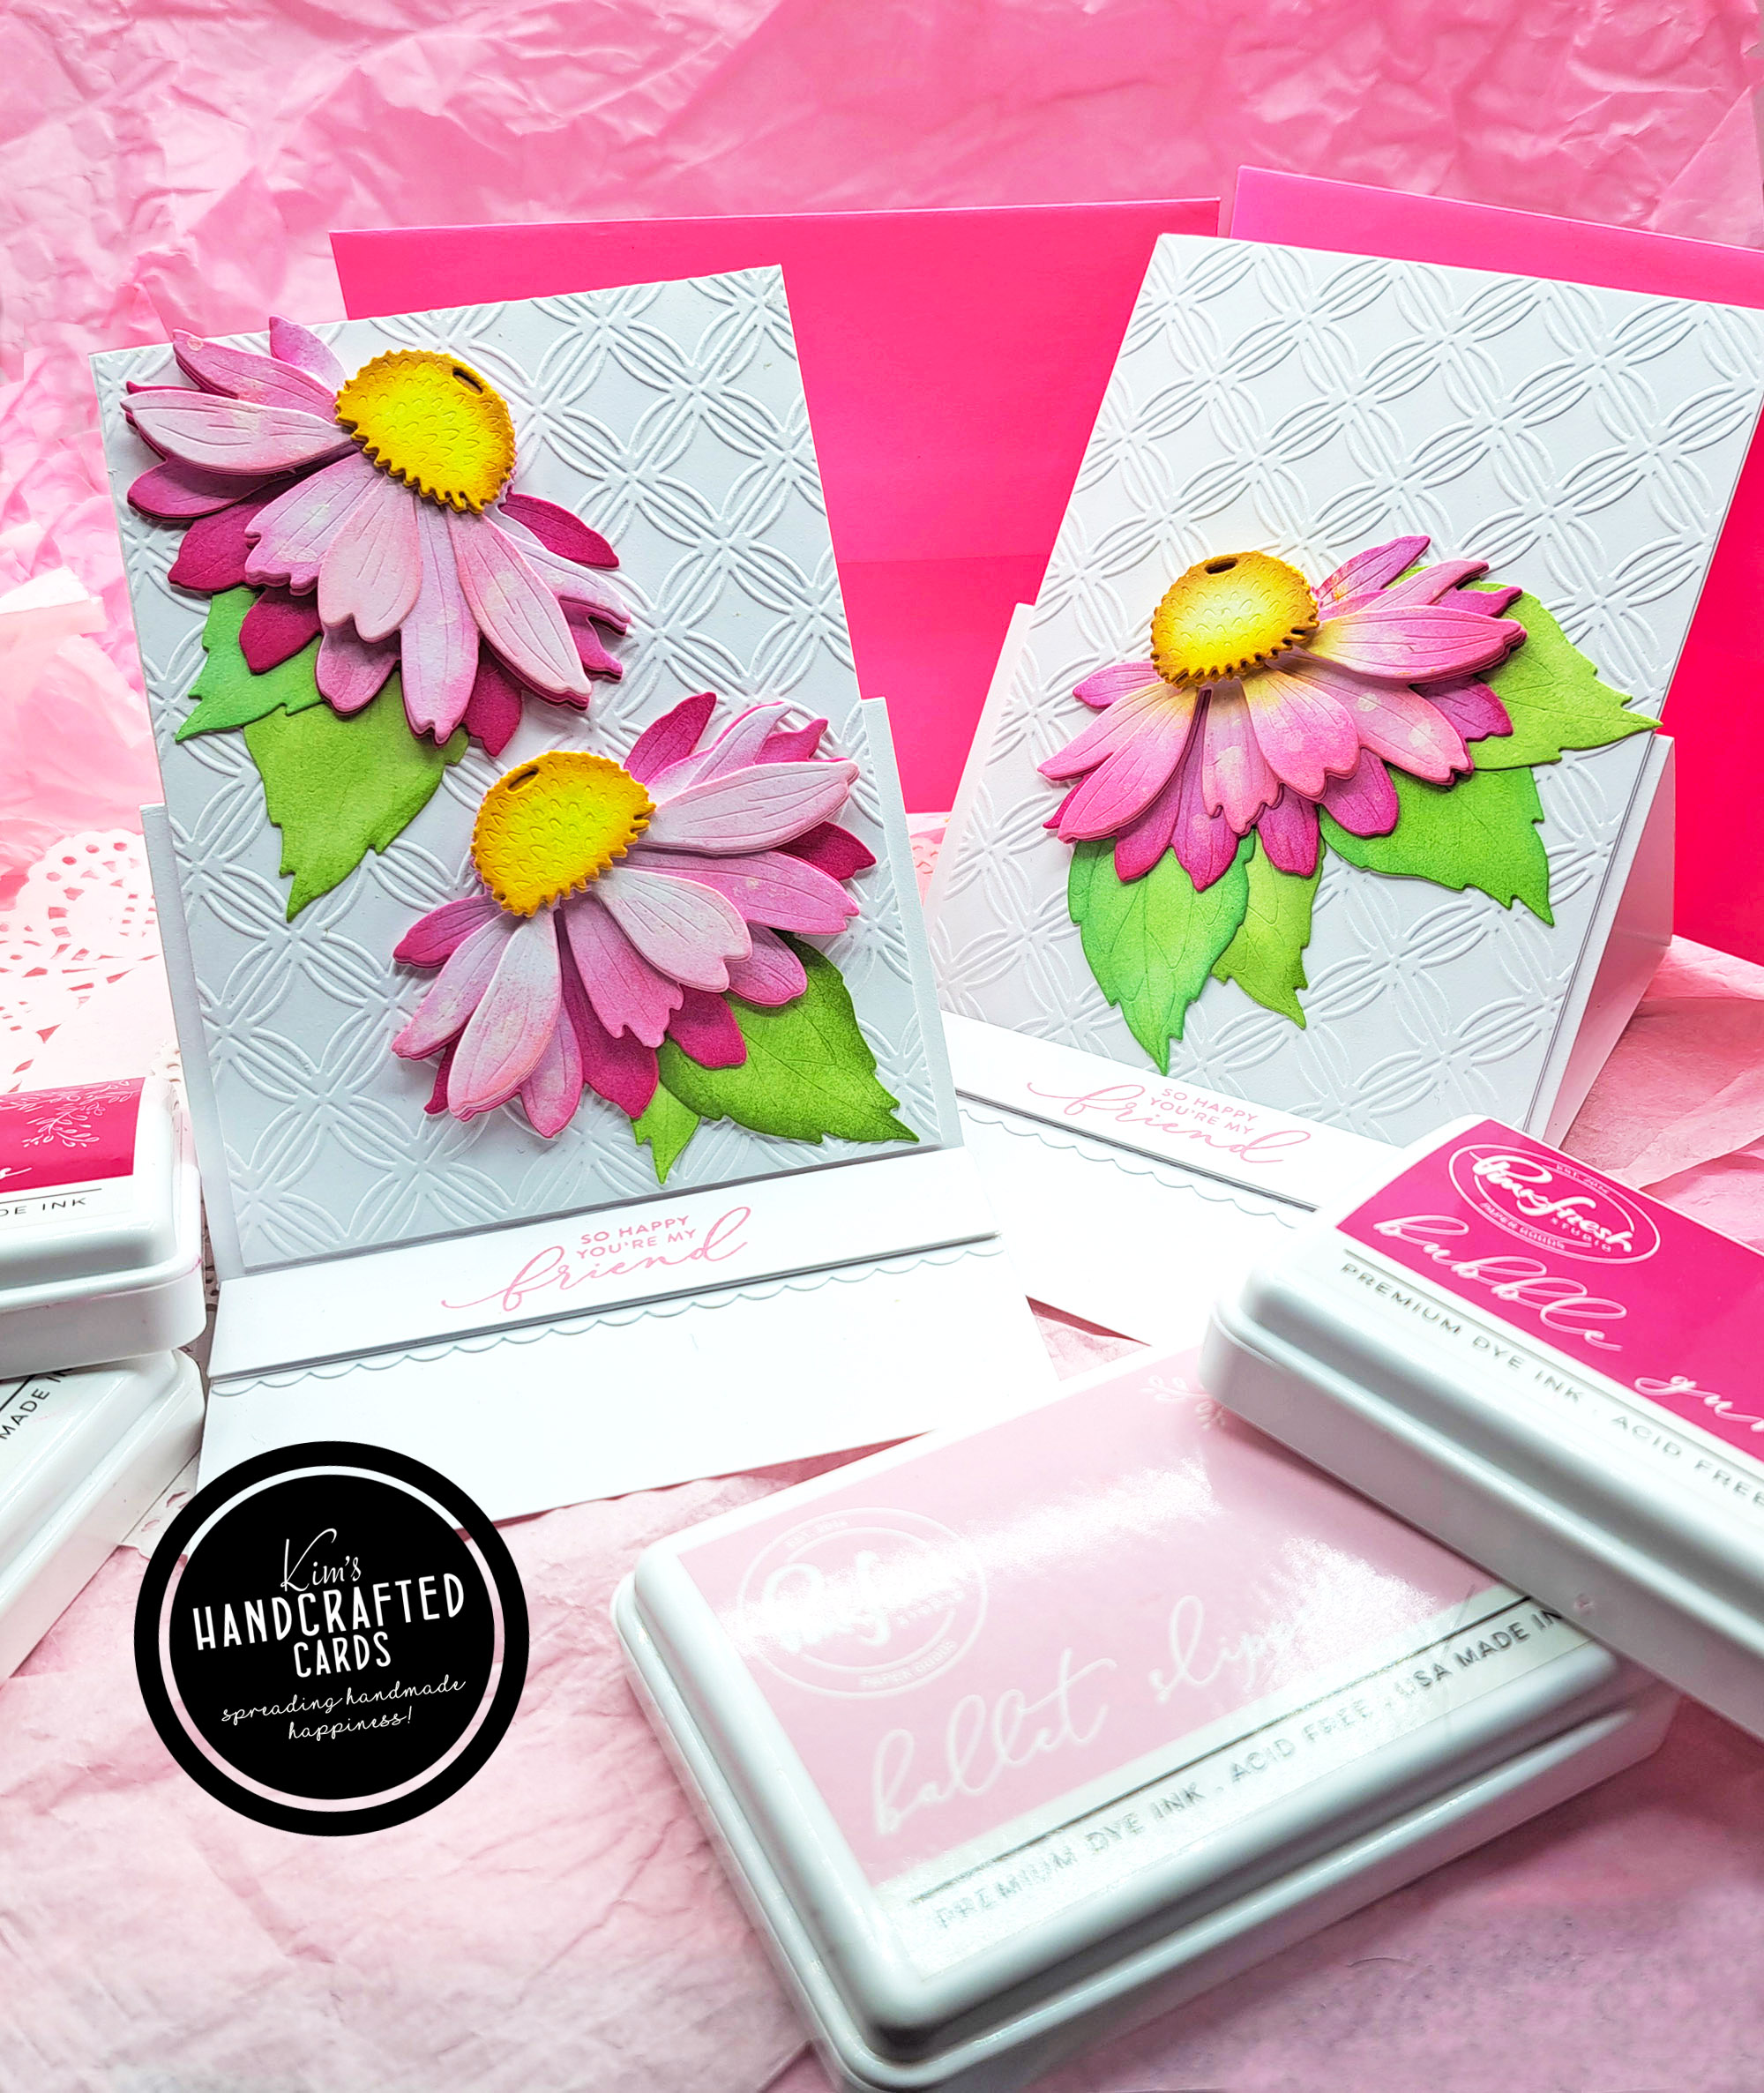
This card design was a lot of fun to make! I want to do an underwater scene next! LOL

Other Supplies used:
- Waffleflower A2 Layers Die
- Bearly Art Liquid Glue
- Accents 100 lb. White Cardstock
- Simon Says Stamp Assorted Cardstock Pack