Hey my friends! I am super excited for today’s cards because I learned an ink blending technique from Dawn of WPlus9 on her Facebook Group LIVE last Thursday night. I so adore her creativity, I’ve been following her ever since I first started with cardmaking. Anyway, she was using Honey Bee Stamps Lovely Layers Apple Barrel Die set. If you don’t follow her group, I encourage you to do so because there’s so much inspiration there and it’s a safe place for us crafters to share our creations.
Anyway, she is a colorist and an awesome watercolor artist and in her LIVE she was ink blending the barrel die set but the technique she uses to make her designs so realistic is simply taking more time, deciding where the light source will appear and using her sponge and detailer brushes along with the blending brushes to apply color. Also, she taught how she creates that “metal” color and so I had to try that too!
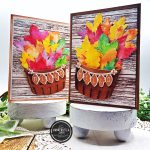
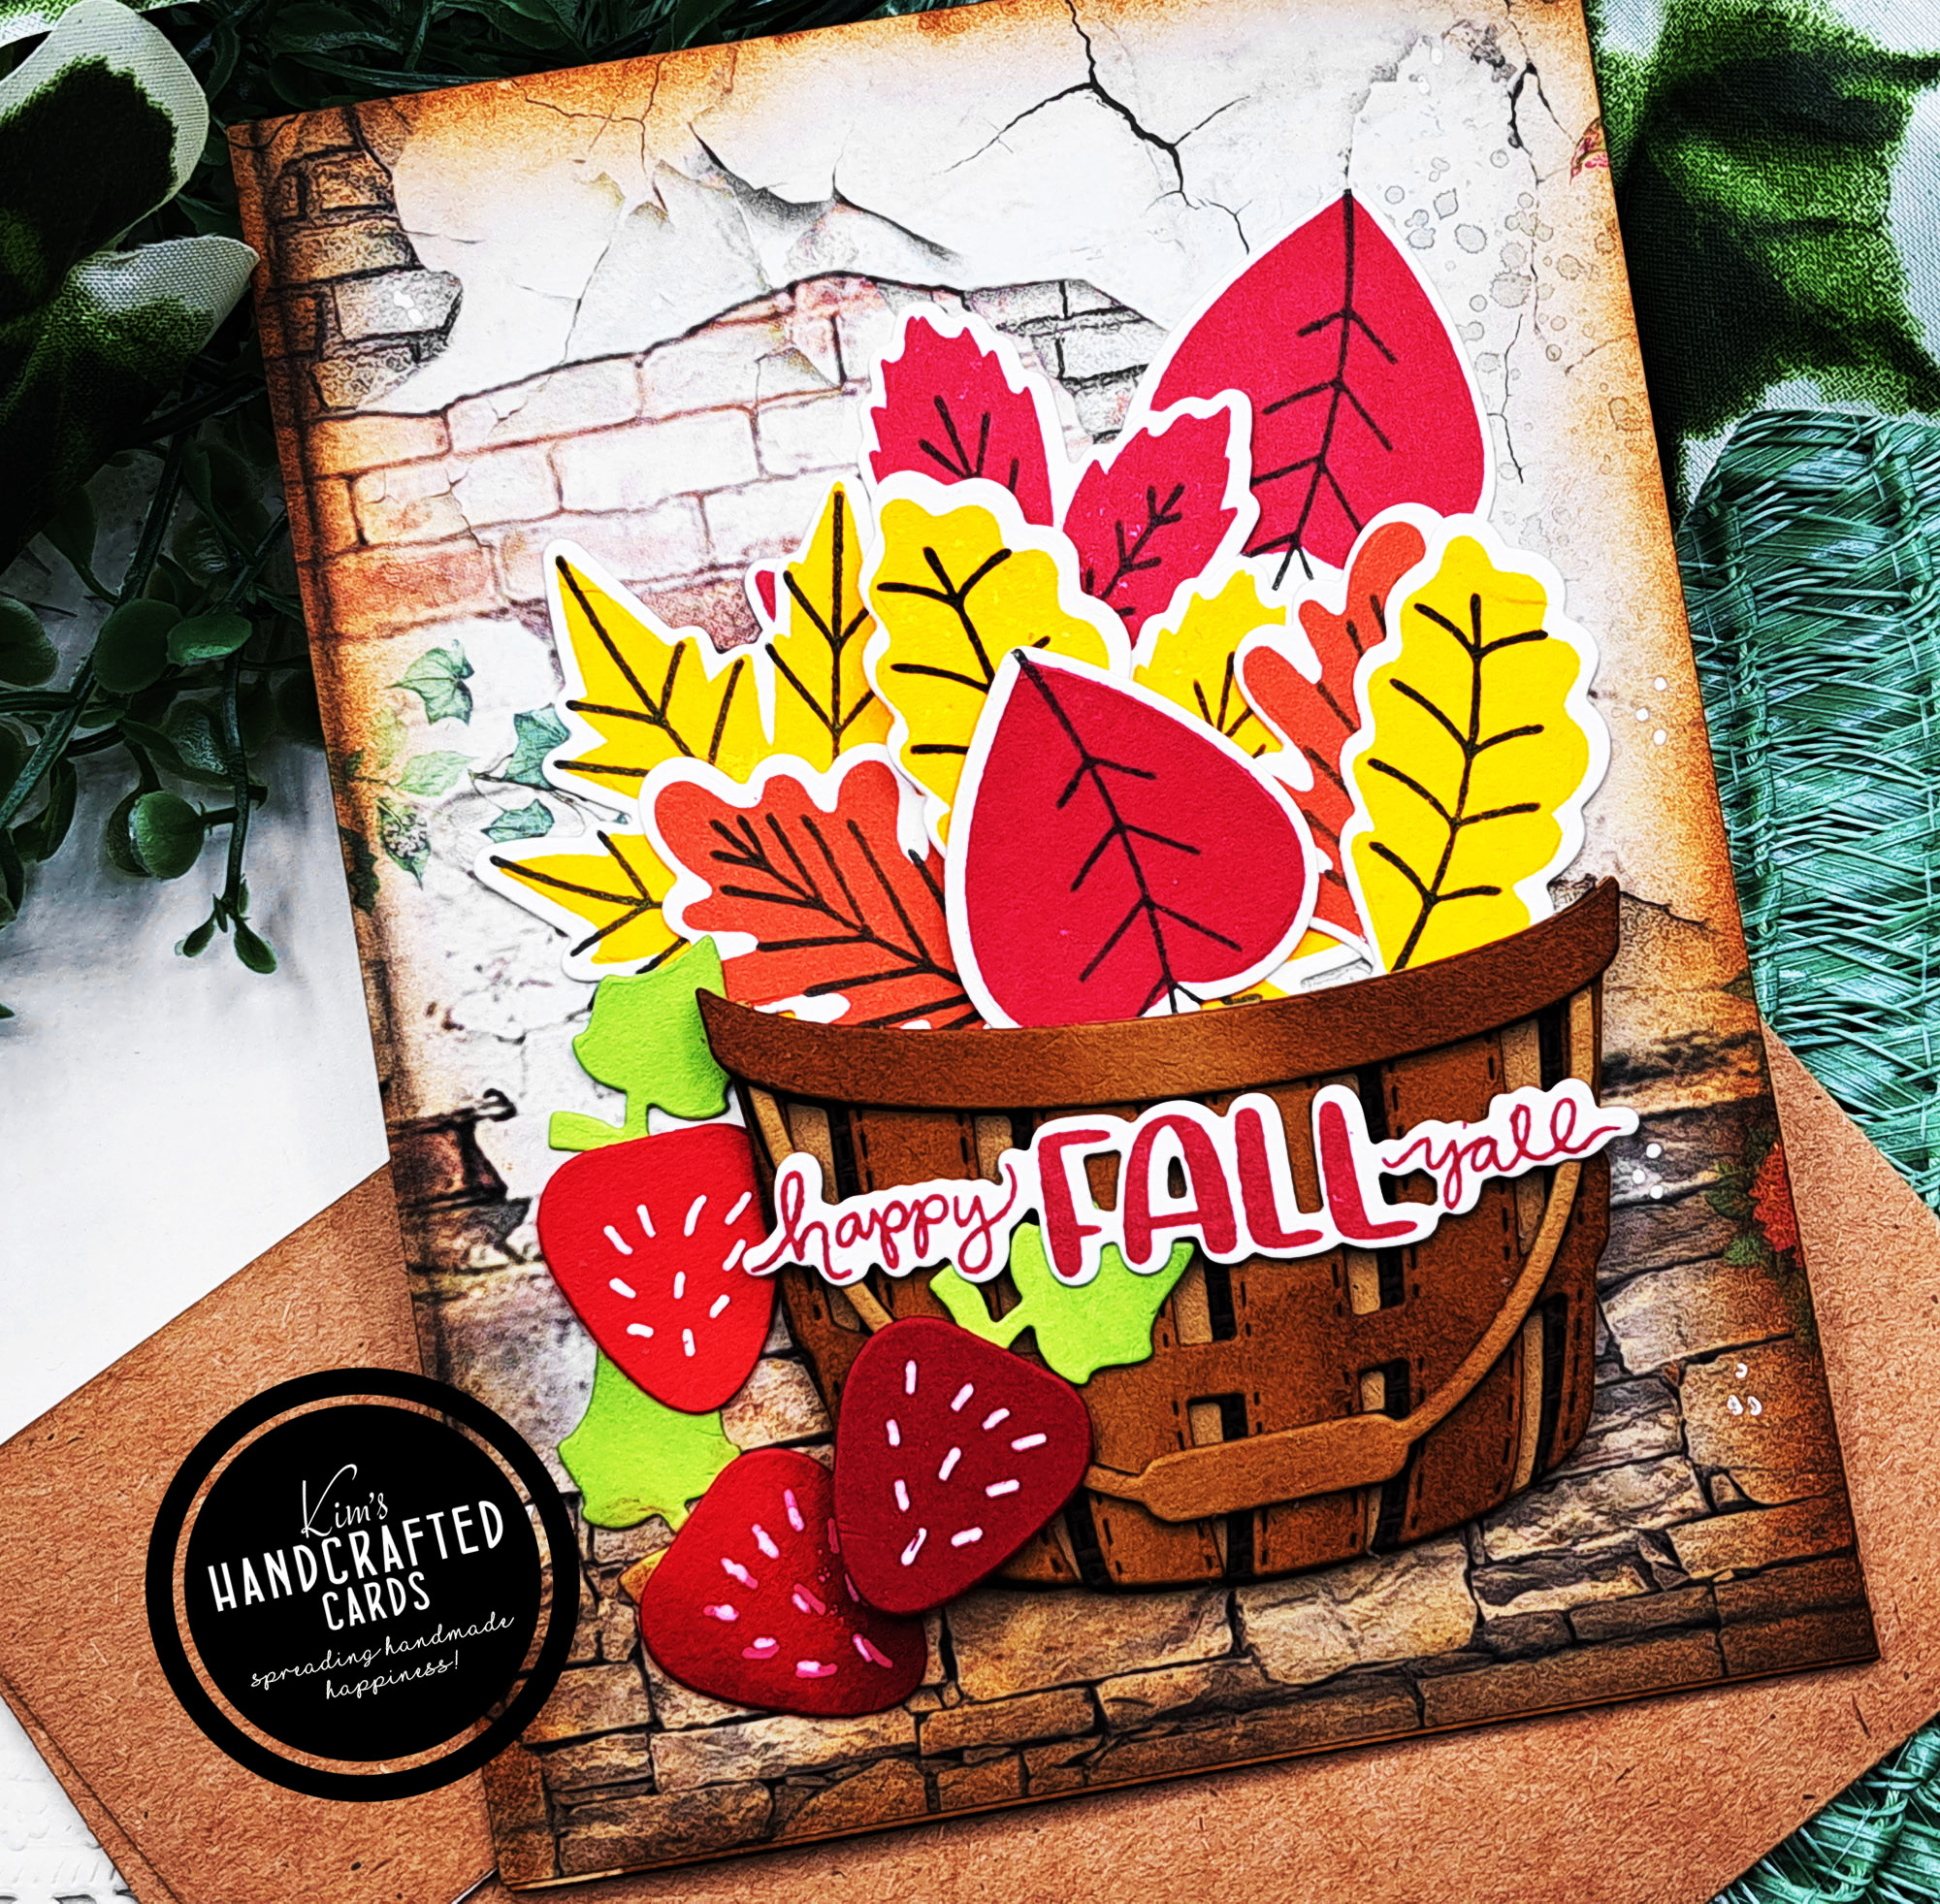
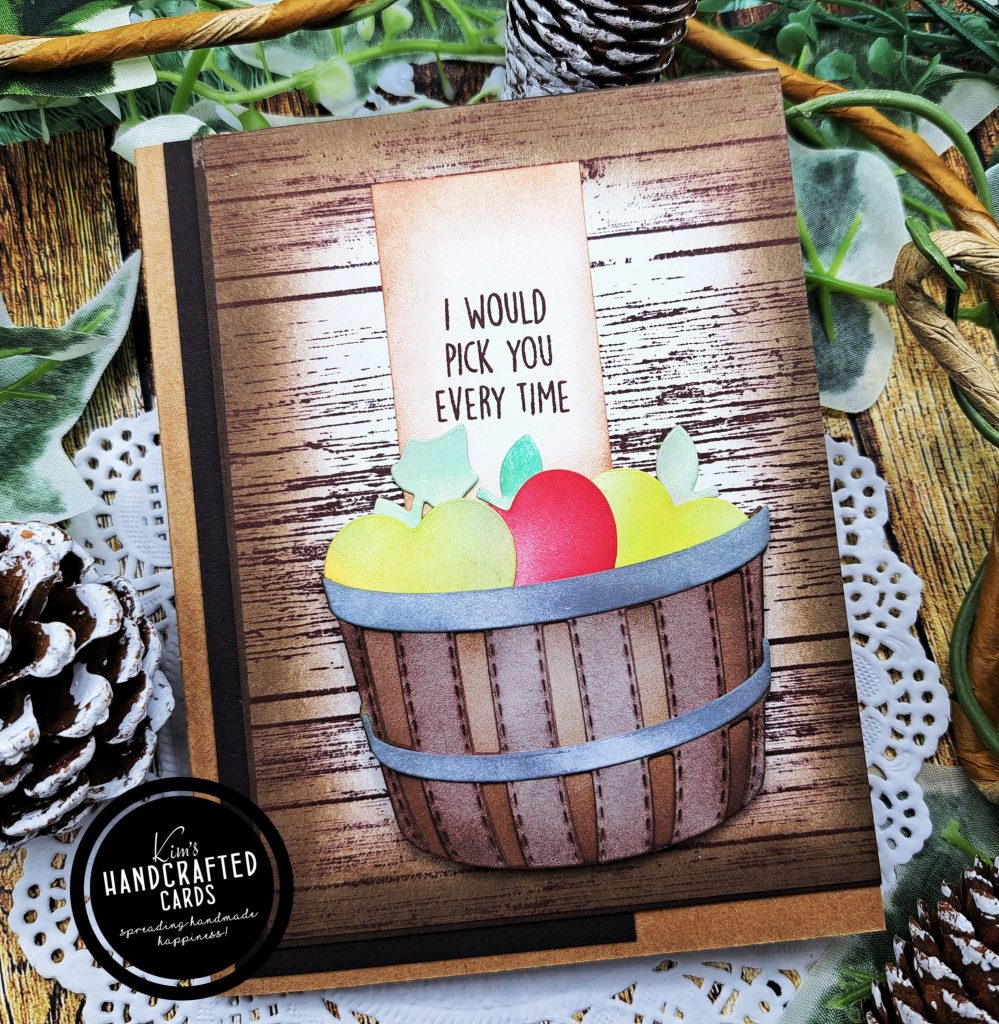
In the past, when I ink blended die cuts, I didn’t spend a lot of time, but just enough to apply the color. After watching her video, I immediately pulled out Concord & 9th “Freshly Picked” die set that I have fallen in love with. It’s the basket that does it for me! So, I die cut my basket pieces with white cardstock this time, in a previous post here, I die cut and ink blended the basket on Kraft cardstock.
Making it Look Real
This time, I took my time and as much time as needed to really blend my colors and make these baskets look more realistic, I went with Pinkfresh Studio inks so here’s the colors used:
- Doe and Gathered Twigs (brown)
- For creating that metal color piece; Metropolis and Licorice
I started with Doe (lighter color) and blended with it first lightly and then more heavier. I brought in the Gathered Twigs on the edges and attempted to make my light source more apparent on both cards.
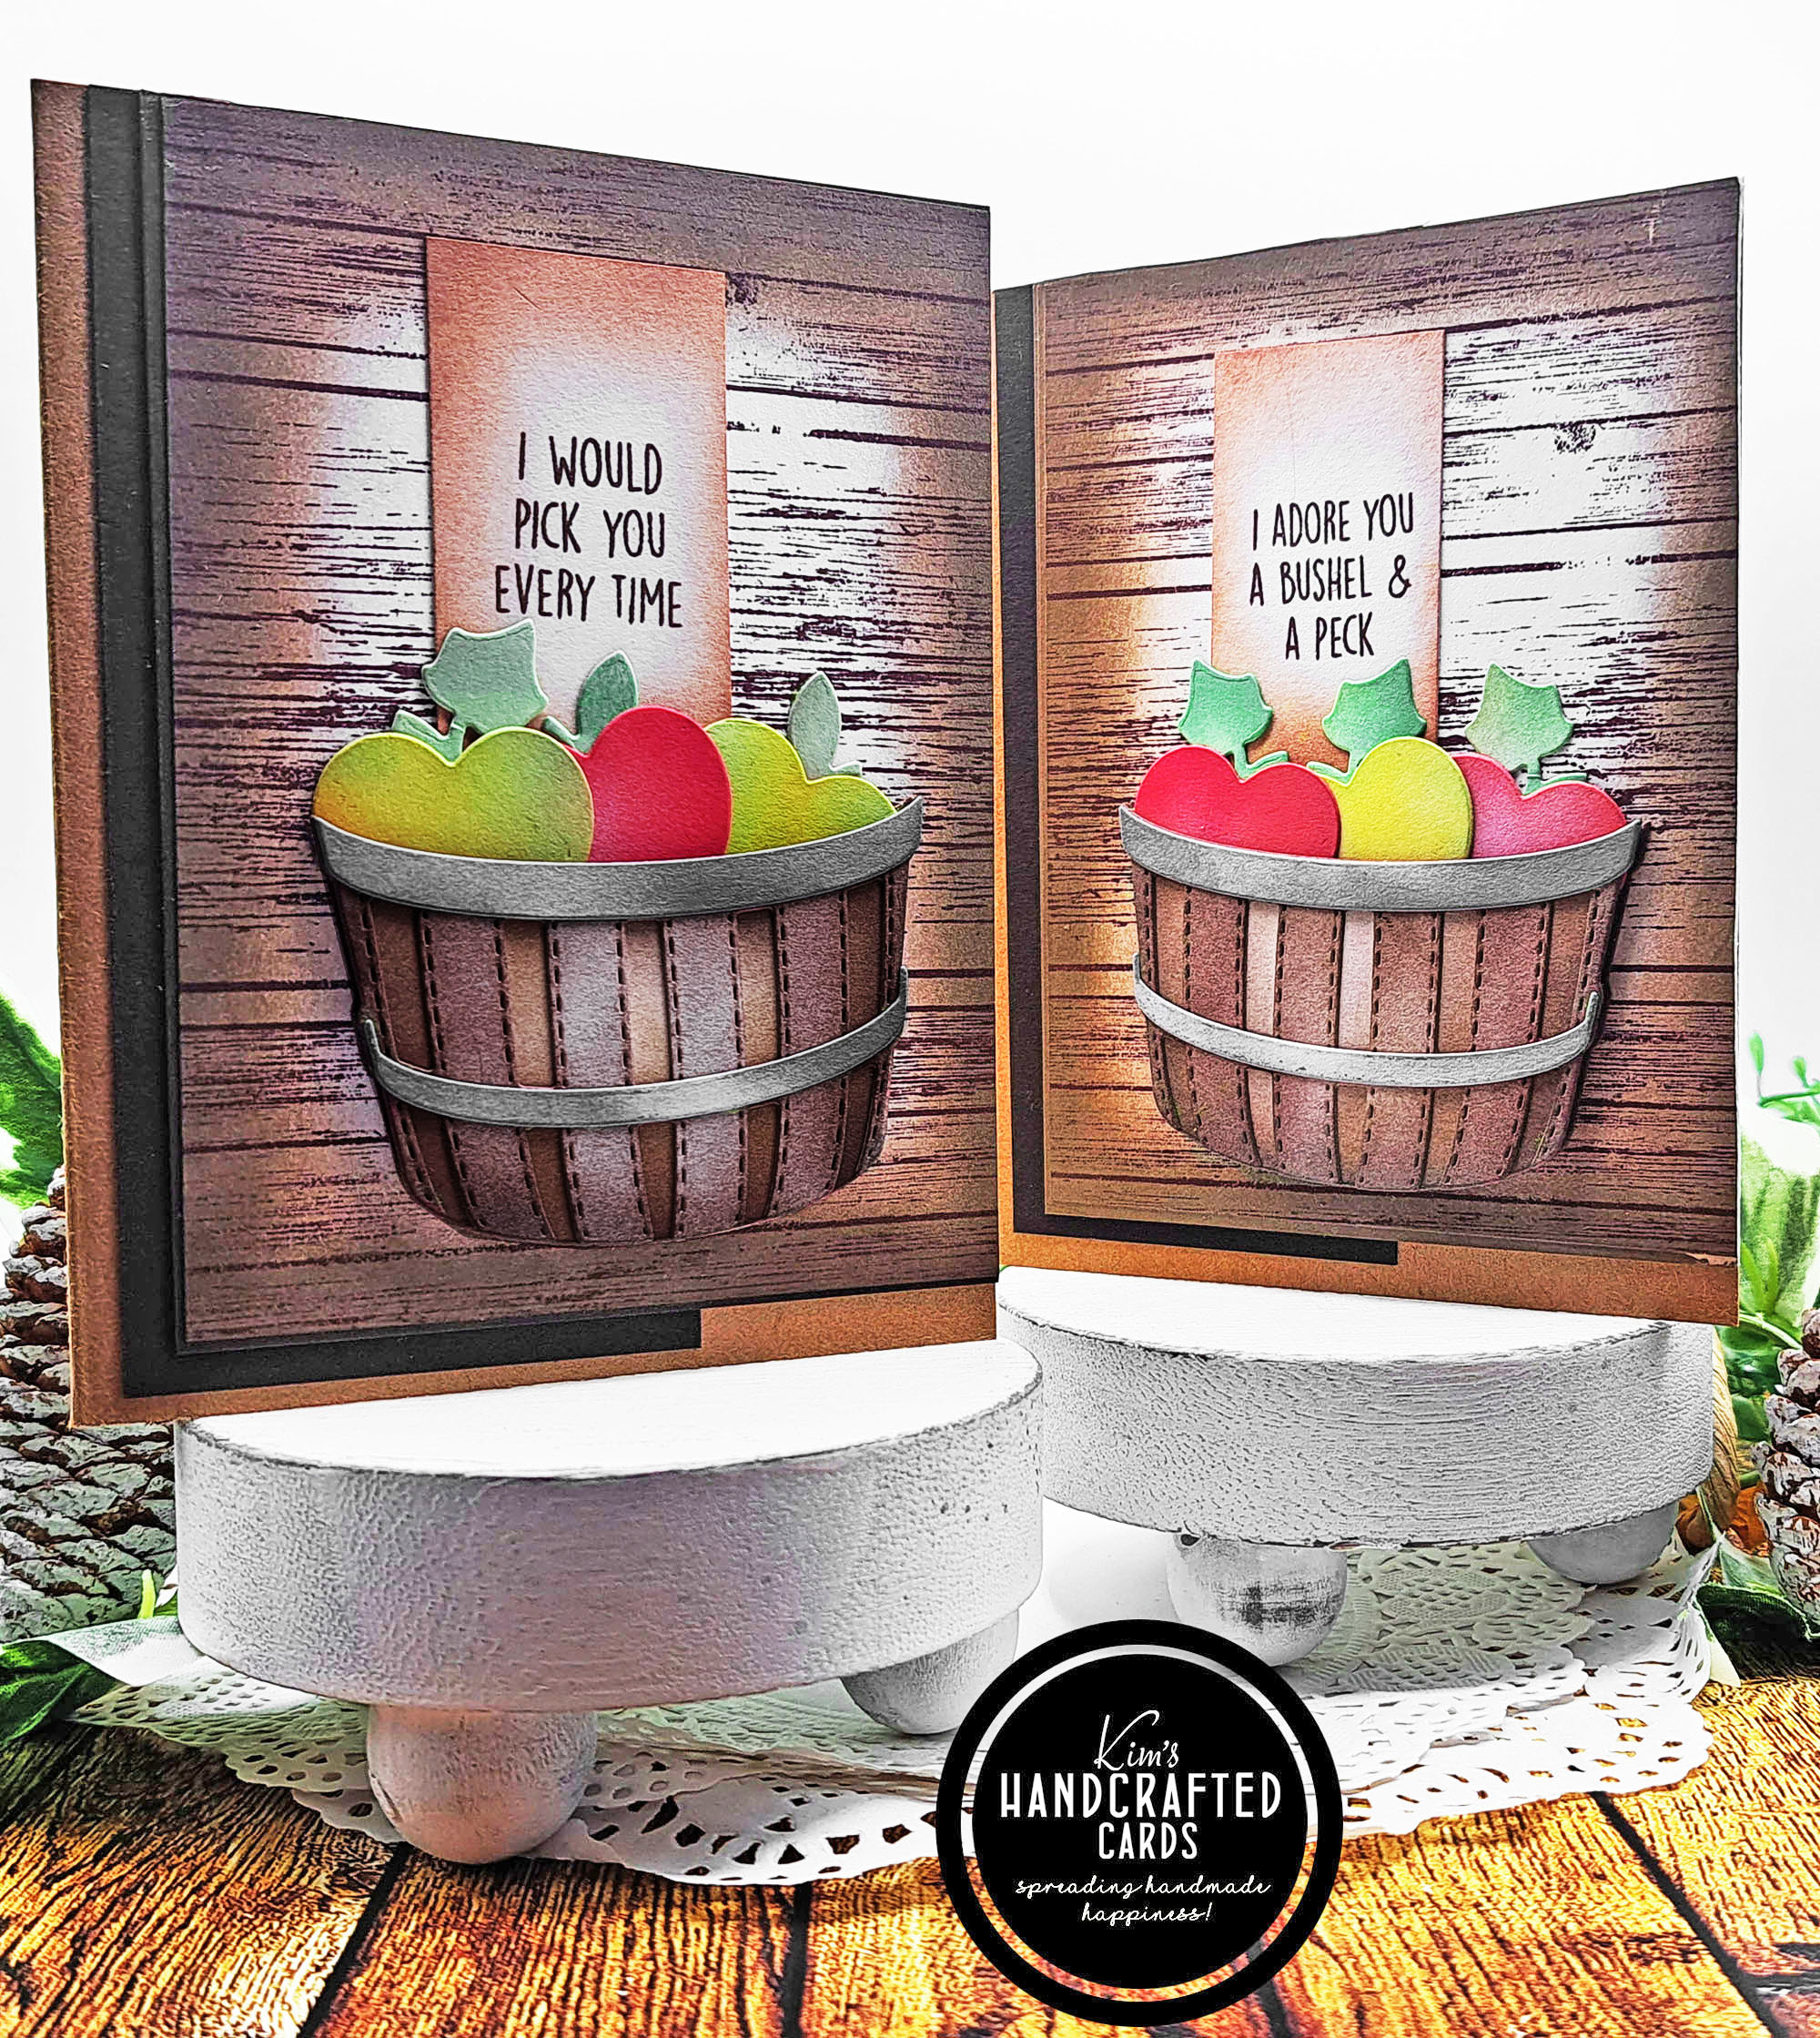
After finishing my coloring, I used some double-sided foam strips from Dollar Tree just behind the basket but in front of another die cut basket to add some dimension. Note: I added the glue to the mid and bottom but not the top of the baskets because I made apples to slide inside that space. And I colored all my die cuts so that you see the color all the way around.
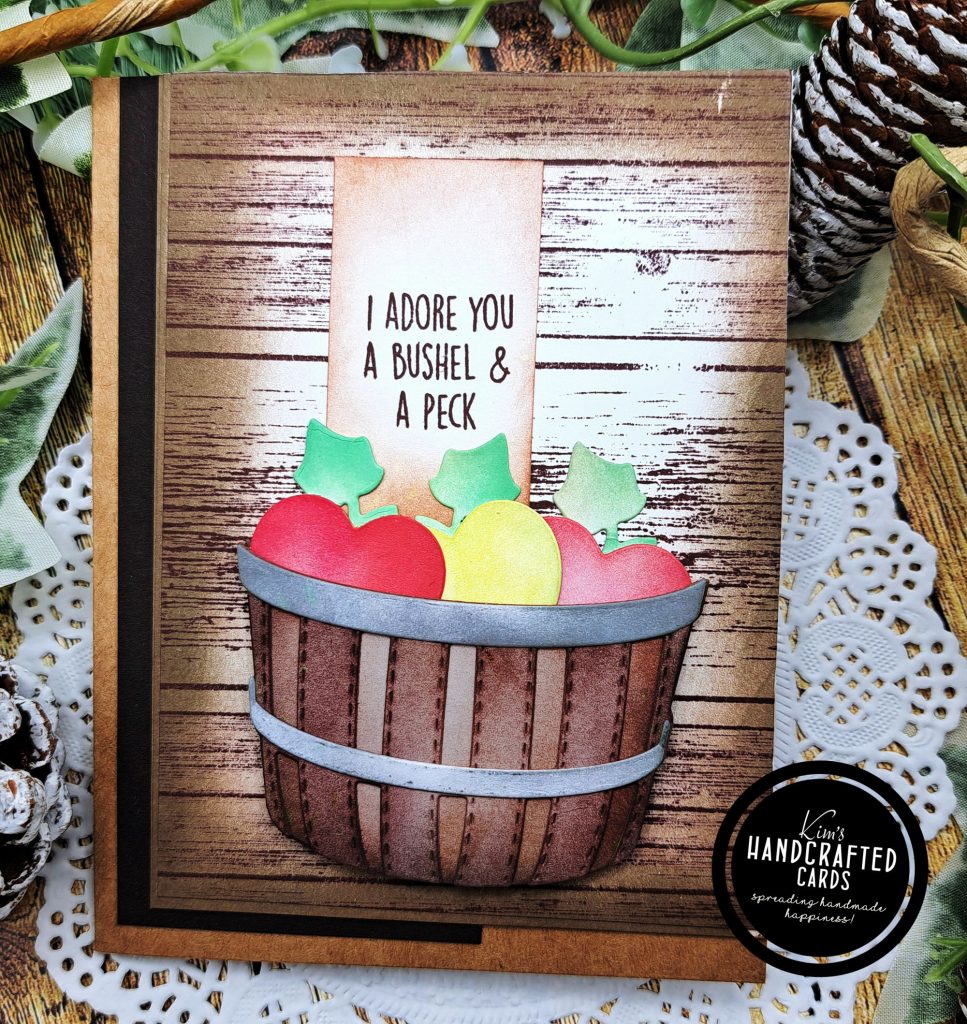
I fell in love and I spent about 2 hours just blending, I’ve never done that. I even added 2nd and 3rd layers of color. The baskets look amazing. Then it was for the apples and I spent about the same time blending them. I wanted red and yellow/green apples so to achieve these colors, here’s the inks I used:
- Candy Apple and Passion Fruit
- Sweet Mustard and Mint
- For the leaves, I used Meadow and Mint
What I found that was so neat is when I was mixing colors, they would make new colors so that also added more interest to my apples and baskets. You can’t even tell that I started out with white cardstock, there’s no trace of white anywhere! It’s all about enjoying the process and not rushing through it.
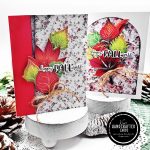
For my backgrounds, again I used WPlus9 Wood Planks stamp set with the Doe ink pad. But, I made a vignette all around the edges mixing again Doe and Gathered Twigs. I adhered the panel to more Kraft cardstock and finally to a darker brown border.
Time for the sentiment
I used the Freshly picked stamp set from the collection, stamped with my new Rose Quartz MISTI 2.0 Tool. Then I distressed all around the sentiment and trimmed them down to be about 1-1/4″ by 2-1/2″. I glued the sentiments down first and then overlayed them a bit with the basket full of delicious looking apples 😀
This crafty session last night was, by far, the best time I have ever had creating. Ink blending die cuts for hours is my new favorite way to color and I intend to keep practicing. I did use my detailer brush a bit but I’m still learning how to add shading with them. What do you think of my baskets? Leave me a comment below and thanks for reading!

Some of the links to the products I used are affiliate links which means that when you shop with them, I’ll receive a small commission at no extra cost to you. Your support helps me run my small crafty business. Thank you so much!
- Concord & 9th Freshly Picked Bundle
- WPlus9 “Wood Planks” Stamp Set
- Pinkfresh Studio Inks
- Blending Brushes, large size here, tiny size here
- Dollar Tree Double Sided Foam Strips (3-pack)
- Spellbinders Platinum 6 Die Cutting/Embossing Machine here or here
- Stamp Positioner: Misti here, here, here or here
- Accents 100 lb. White Cardstock
- Kraft Cardstock
- Bearly Art Glue
- Glassboard Craft Mat → Use my Code → KIMCARDS20 at checkout