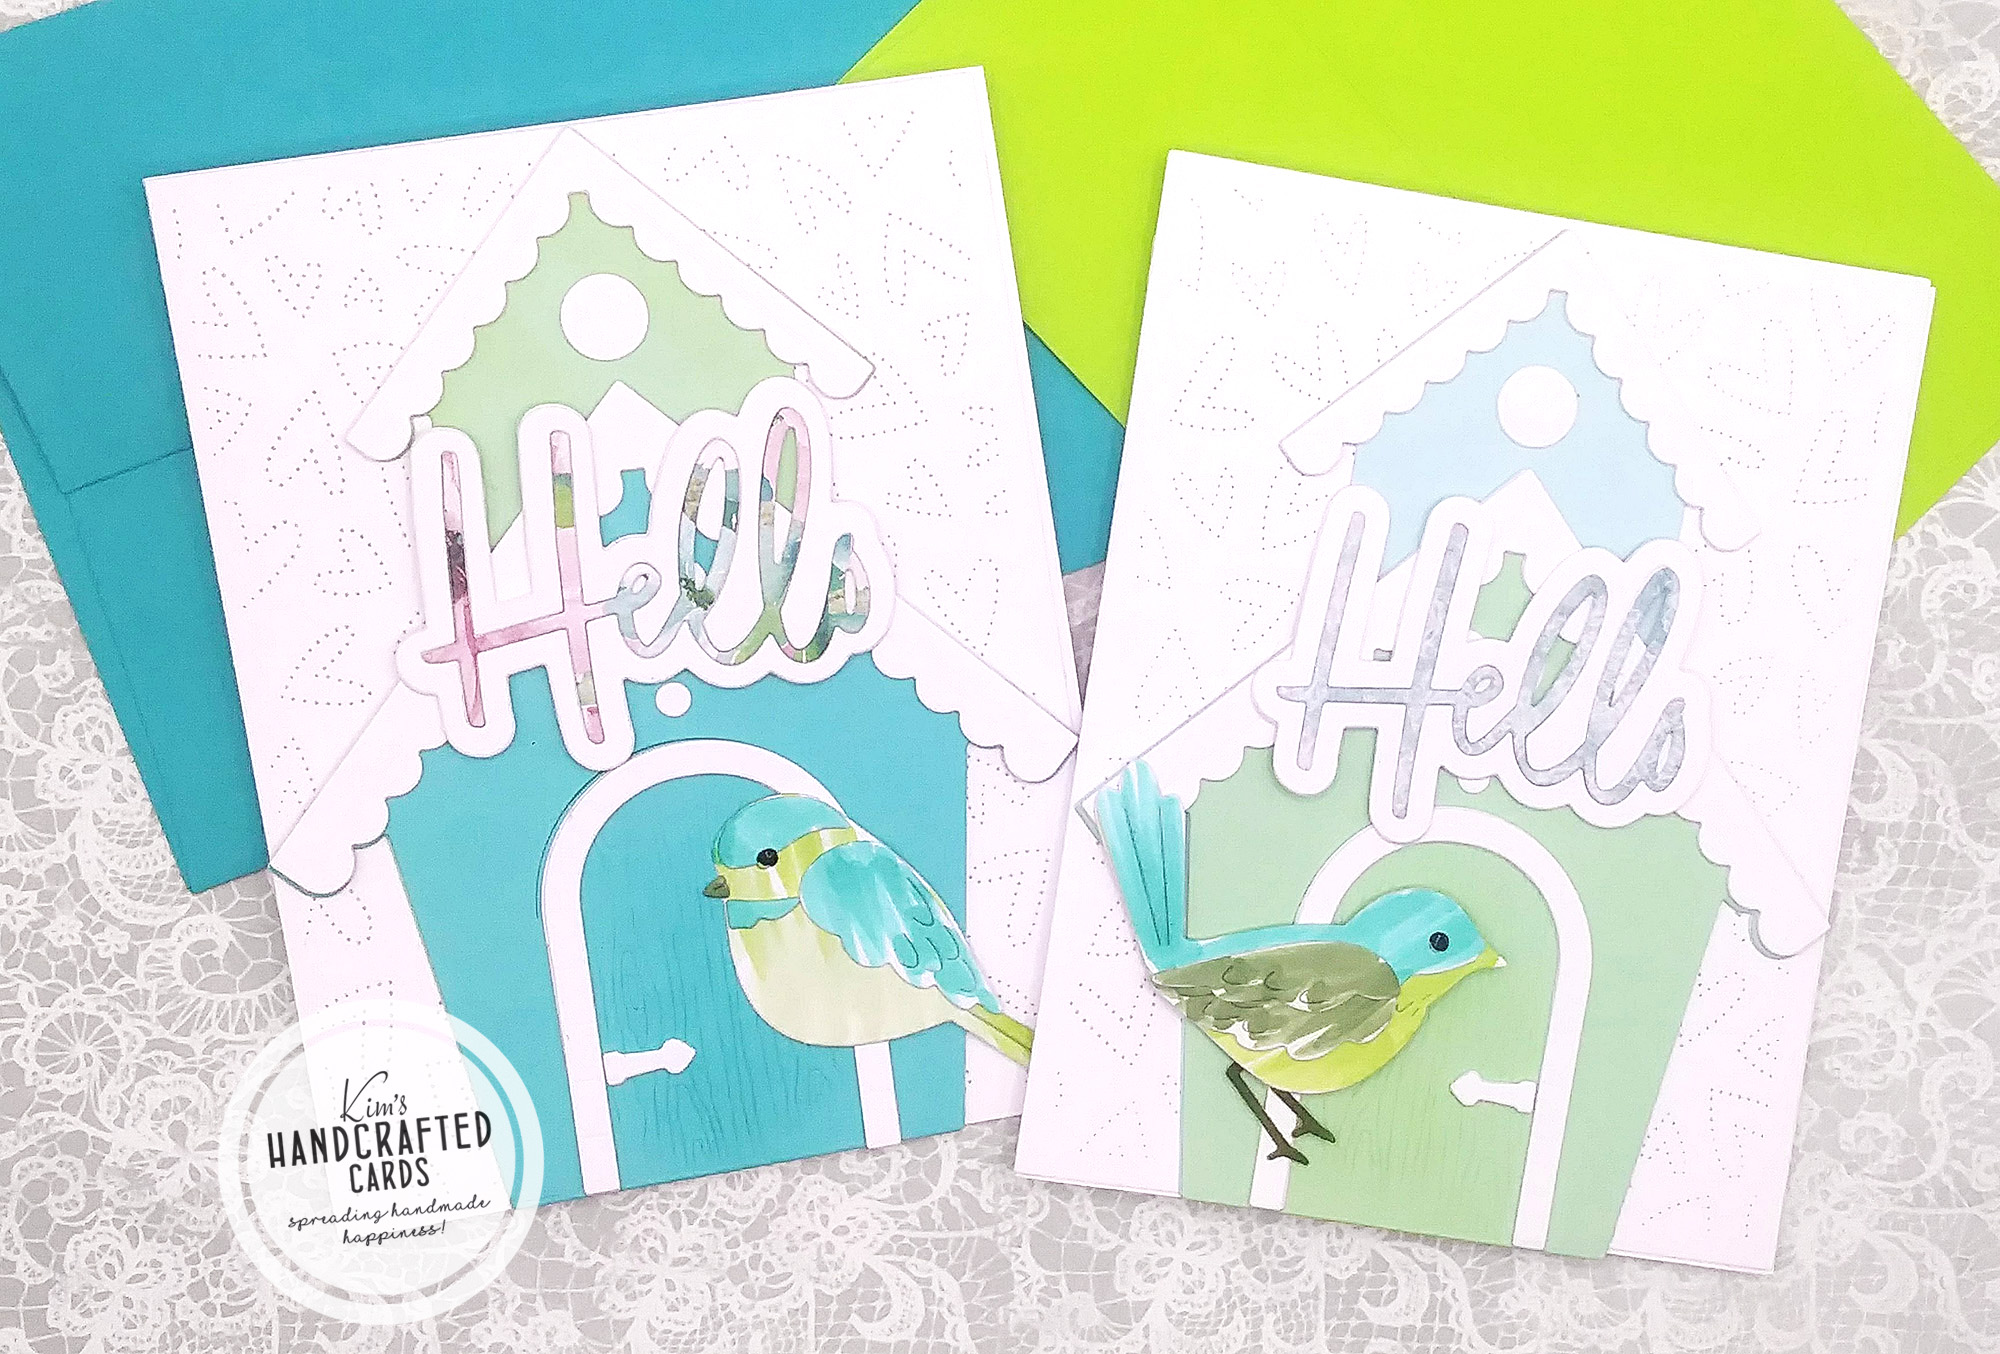
Ever since I saw Honey Bee Stamps “Bird house A2 Card Base” Die set, I knew I wanted it! Finally, I got my lil hot hands on the set and quickly I played with them! I also wanted some cute birds to pair with them so I purchased Simon’s “Layered Chick-a-dee” and “Layered Birdie” stand alone dies.
There’s so much you can do with the bird house A2 die set, it comes with extra pieces to really customize your birdhouse or you can create it a shaped card. I can see myself using pattern papers or ink blending colors on white cardstock and even changing it up to use for different seasons or holidays! It’s a great set to have in your stash.
For my 2 cards, I just die cut them on green and teal cardstock from Cardstock Warehouse. I matched these colors as best I could for my birds with Copic markers. I didn’t go for blending, but just adding color to my birds.
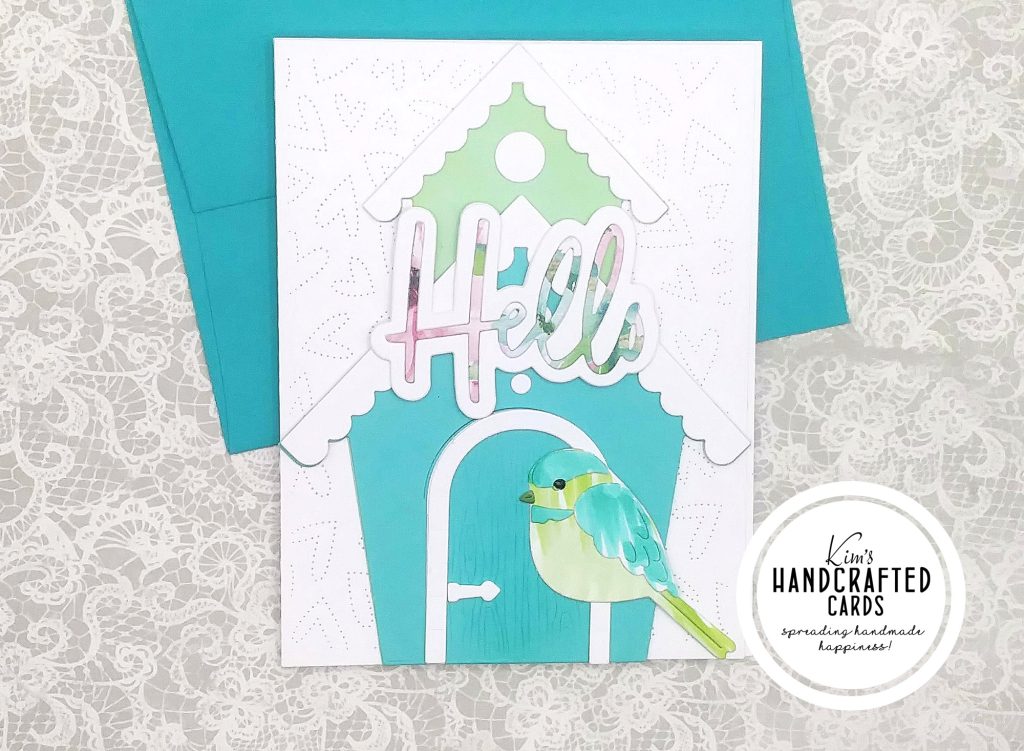
For my Layered Birdie above, colors I used were:
Body – G40 / Wings, upper head & chin – BG13 / Beak – BG94
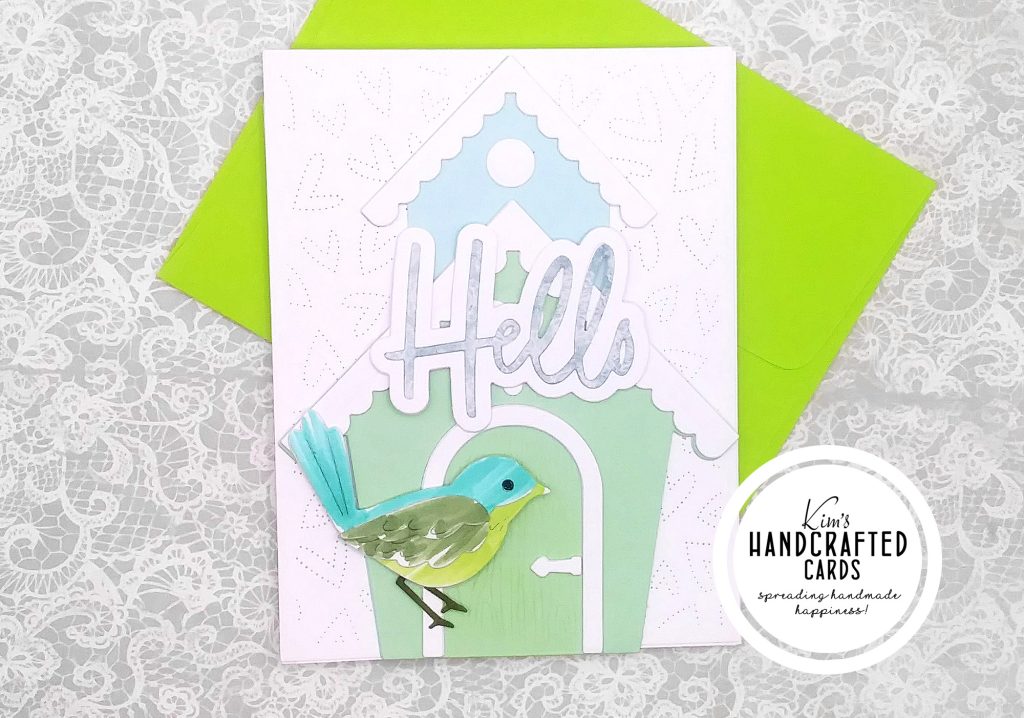
For my Layered Birdie above, colors I used were:
Lower body – YG03 / Upper body – BG13 / Wings – G99 / Legs & Feet – G94
For my chick-a-dee and birdie’s eyes, I enhanced them with Nuvo Ebony Crystal Drops.
My background is the “Fluttering Hearts Pierced Cover Plate” from Honey Bee Stamps as well.
For my sentiment, decided to go with a large word die from Pinkfresh Studio. The inner letters were die cut with pattern paper left over from the Dress my Craft “Magnolia’s” paper pack.
I die cut the birdhouses twice for some dimension and then put my cards together. Can’t wait to really explore more ideas with this die set!

- Honey Bee Stamps Bird house A2 Card Base
- Honey Bee Stamps “Fluttering Hearts Pierced Cover Die”
- Simon Says Stamp “Layered Chick-a-dee” Die
- Simon Says Stamp “Layered Birdie” Die
- Pinkfresh Studio Essentials “Classic Word Dies”
- Copic Sketch Markers here, here or here
- Copic #0 Colorless Blender here or here
- Cardstock Warehouse “Pretty in Pastels” Cardstock
- Dress my Craft Magnolia’s paper pack
- Accents 100 lb. White Cardstock
- Bearly Art Glue
- Nuvo “Ebony Black” Crystal Drops

