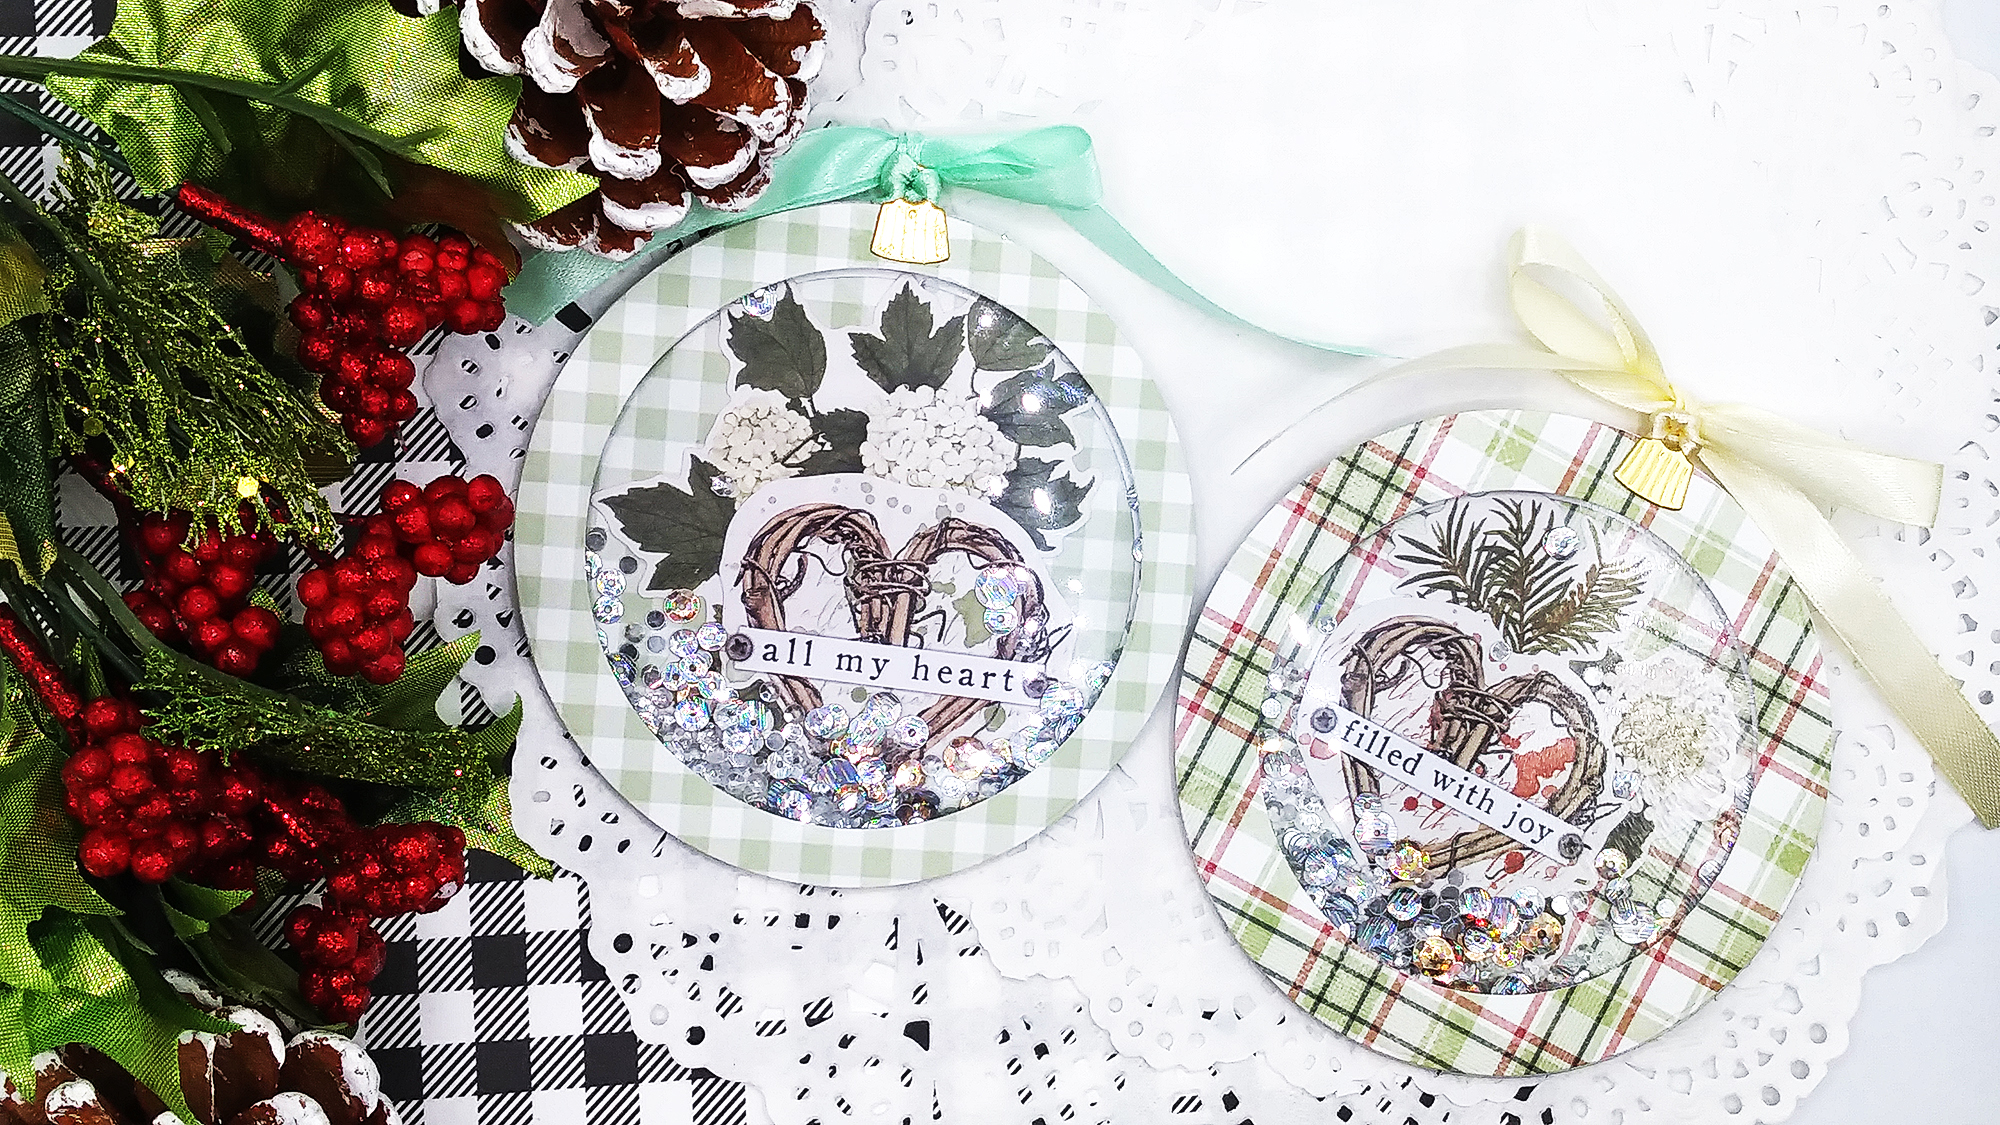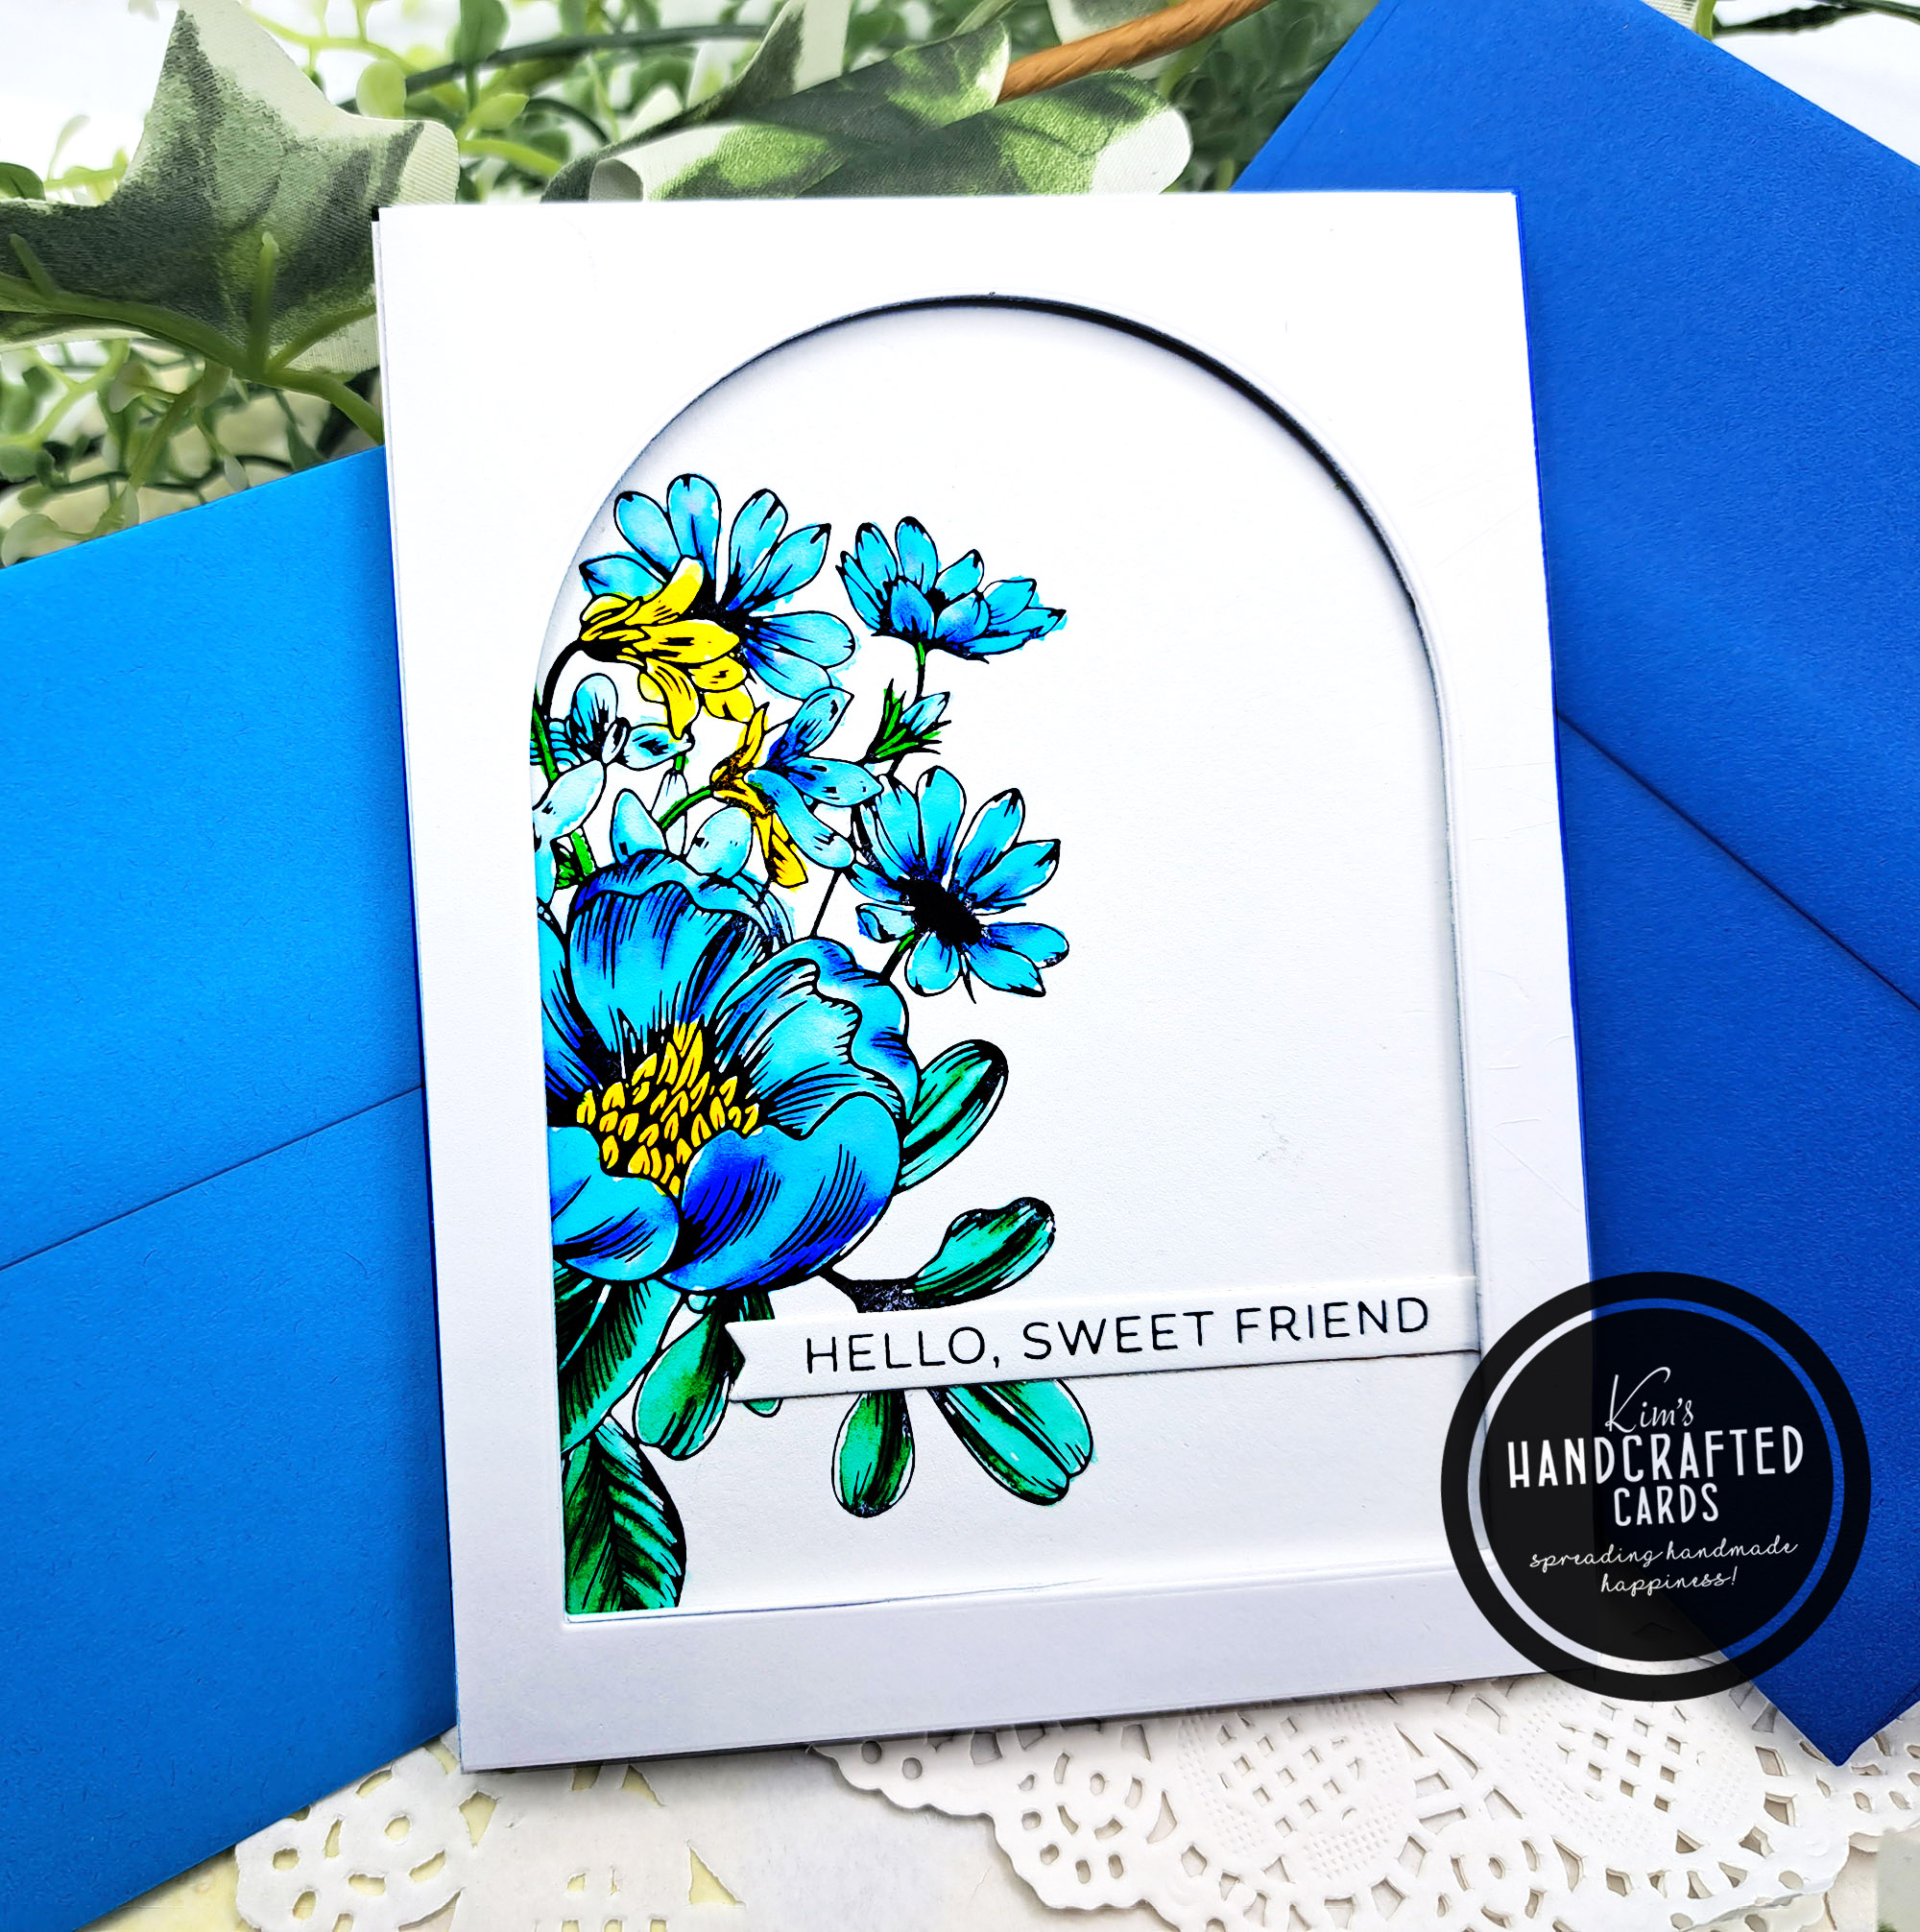
I’m having the best fun with this challenge of shopping and using my own craft supplies! Today, I’m sharing a shaker card using a nested arch die set by Essentials by Ellen. I LOVE archways in real life and just had to add this die set to my crafting.
There’s 15 dies in the set and each die also cuts out a border to go around each arch. I used 3 different sizes for my card today. Check out this post for other card I made with this set.
I took these pics in different lighting to try to show the beauty of the white cardstock with the embossing and acetate but it was tricky so hopefully you can see the details.


For the Steps
First, I embossed on the cardbase. I have quite a few by Cuttlebug in my stash. Next, I used the 4th arch die from the largest to cut an opening through the cardbase and set this aside. With the positive pieces of arches, I cut some acetate to the same size (I used the 3rd arch from the smallest) and I die cut about 3 arches from regular cardstock and glued them together for dimension.
Next, I used the borders (I glued those borders together as well to add dimension) left over from die cutting those smaller arches and glued this border to the top of my acetate. Then using some double sided foam tape from Darice, I carefully added that to the back of the acetate lining it up behind the arch border so it wouldn’t show through the acetate from the front of the card.
Now for the fun part…
I put my shaker bits on top of the arches placed aside earlier. I removed the tape from the border and carefully adhered it to my arches and now I have my arch shaker piece.
The arch shaker piece I lined up to go in the center on the inside of the card. I realize that it takes up much space on the inside for a personal message but there is a little room to write something.
After adhering the arch shaker portion, I decided to die cut a larger border to go around the entire opening of the card. For this, I picked the next large sized arch die and die cut this twice. I glued those borders together and added it to frame my shaker portion. Lastly, was to add the sentiment. I really how elegant this card turned out.
This card was a labor of love, it took me more than 1 hour to finally figure out how to create it. I never take that long on my cards, however it was worth it to see the final finish. Sometimes we struggle in the creative process. But, I couldn’t be more happier with how it turned out.

- Essential Arches by Essentials by Ellen
- Pinkfresh Studio Ephemera Foiled Sentiments Pack
- Darice Foam Strips
- Sequins mix from my stash (don’t remember where I bought them, so sorry 🙁 )
- Gemini Jr. Embossing & Die Cutter here or here, get the new Gemini here
- Accents 100 lb. White Cardstock
- Bearly Art Liquid Glue