Hi my Crafty friends! In keeping up with my monthly challenge of using my supplies, I wanted to try something different with Lawn Fawn’s Pop-up Butterfly  die set. It’s designed to go in the inside of the card, but I had this bright idea of turning it into a shaker piece for the front of the card.
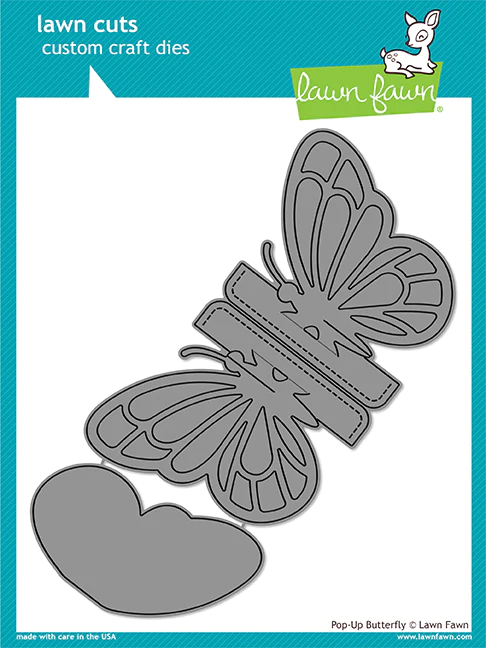
This die set comes in 2 pieces that you put together to make the full butterfly so that meant I’d have to make the 2 wings into separate shakers and then put the butterfly together. Lawn Fawn has a great video of how to use this die for the inside of your cards. If you don’t have this idea, I recommend watching their video!
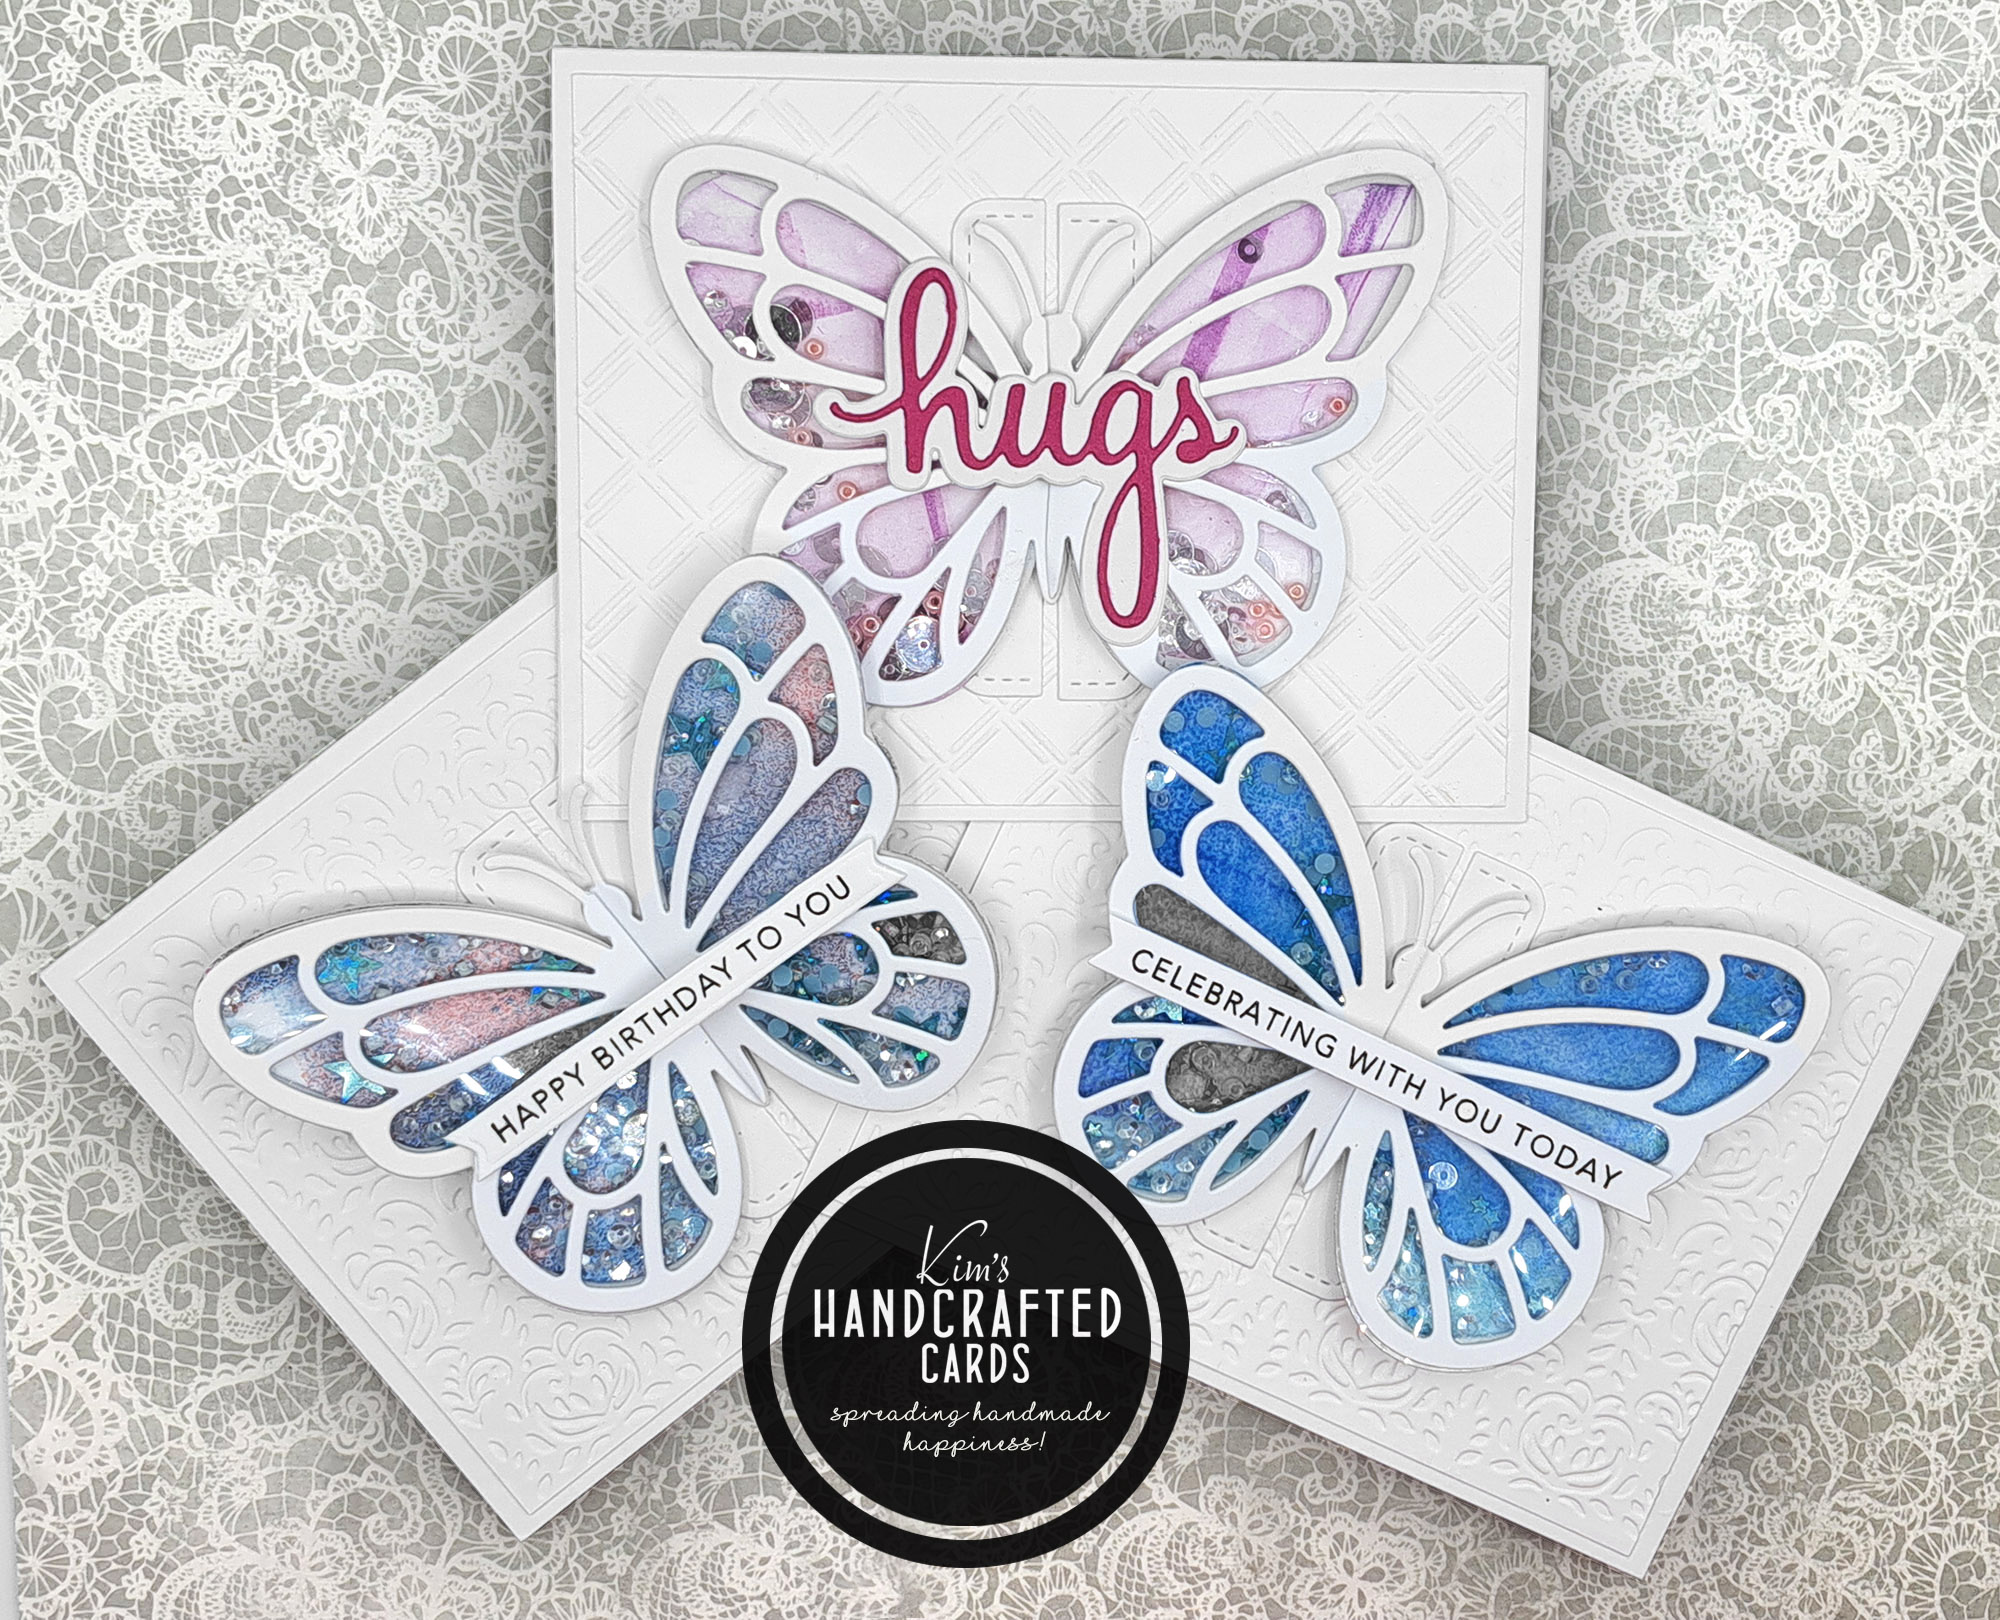
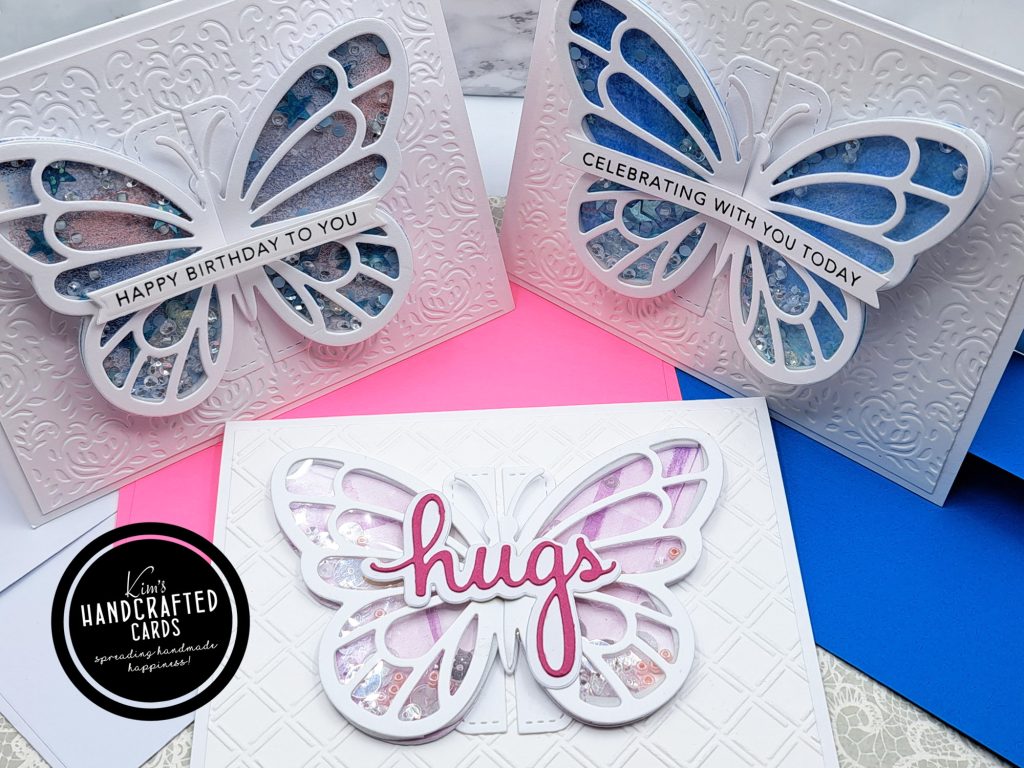
So,I wasn’t sure if it would work out, but it did!! In fact, I made 3 cards! One is flat on the cardbase while the other 2 I only glued the centers so that the wings would be free. And, the die fit my A2 cards perfectly!
To get started, I wanted to use something for the background of my butterfly wings. For this, I used some gel press backgrounds I saved from a previous card project. I die cut the wings 1 more time on white cardstock to add just a little dimension.
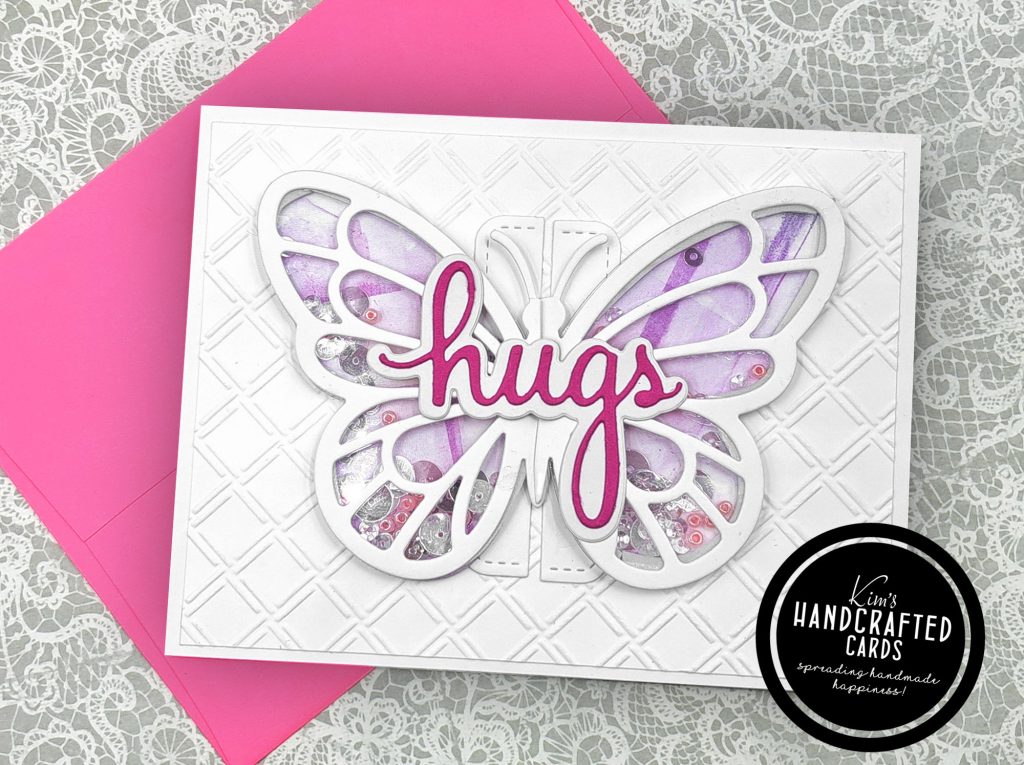
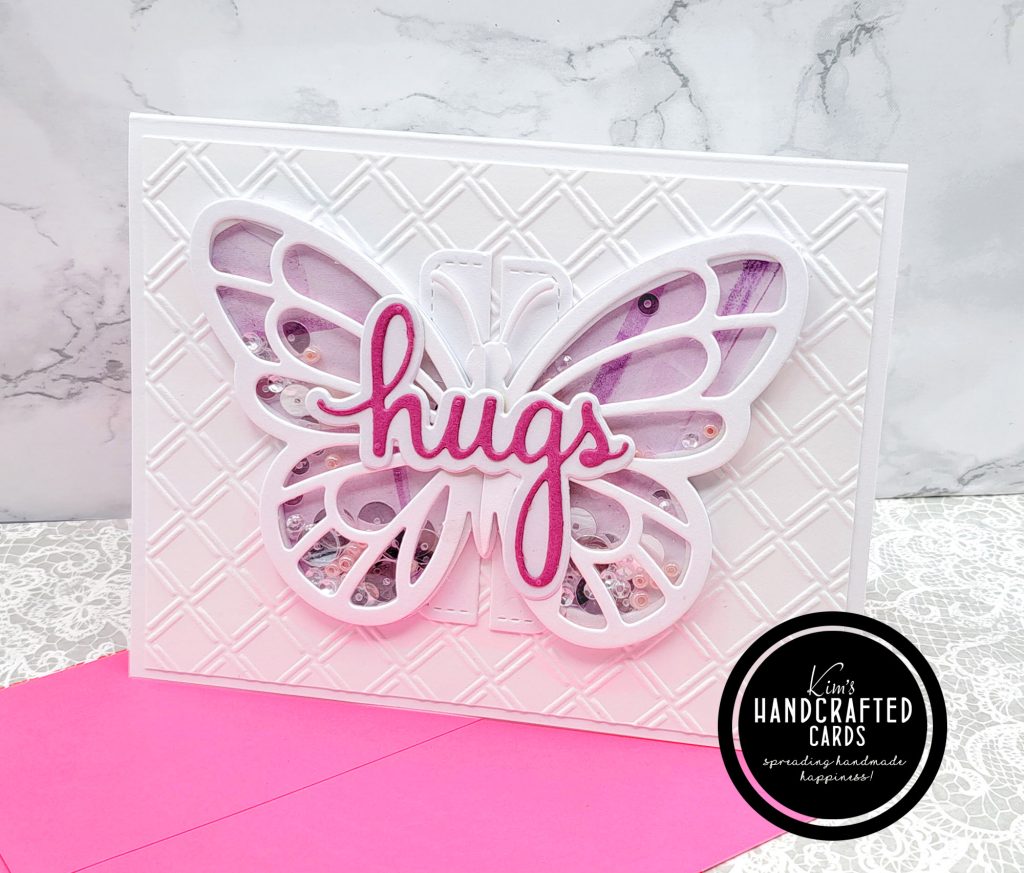
You’ll notice the first card (“Hugs”), I didn’t get it perfect. You’ll see a little of the foam tape showing through, I wanted to share this because I make mistakes a lot in cardmaking. However, I got smarter with the 2nd and 3rd cards! I realized that to make my shaker walls, I had to get the foam tape as close to the edges as possible.
The Hugs card is the one that I glued completely on the card to make it flat. I used heavy weight acetate for both wings then adhered them to the front of the butterfly die. On the back is where I added the foam tape and filled it with my shaker bits. Then, I placed the acetate piece on top of each wing. Finally, I put them together to make the entire butterfly. The Hugs sentiment is Pinkfresh Studio’s Phrase Builder set that I love using! I die cut the letters on pink cardstock from my stash.
It’s not perfect, but still it’s so cute! So, I kept going!
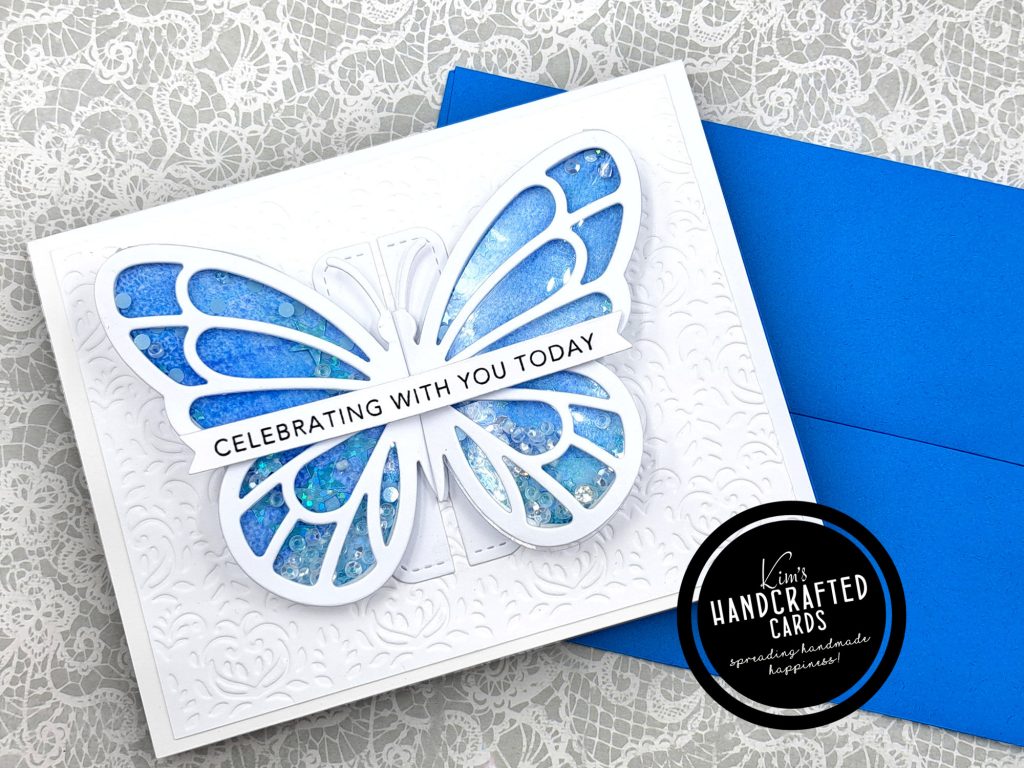
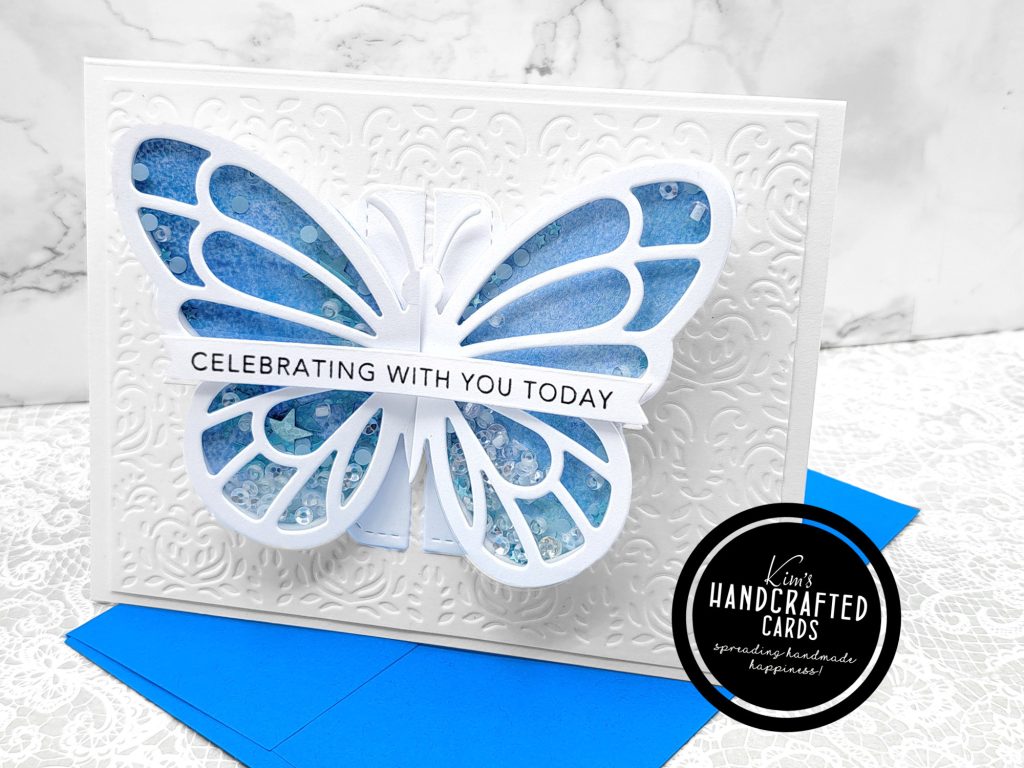
I got better with this card with my foam tape. A trick I learned about shaping the foam tape around a die cut to create a shaker is pulling off the protective paper and working with the tape. It’s sticky but it will bend a lot easier. I just took my time more and really got the tape on the edge of the wings.
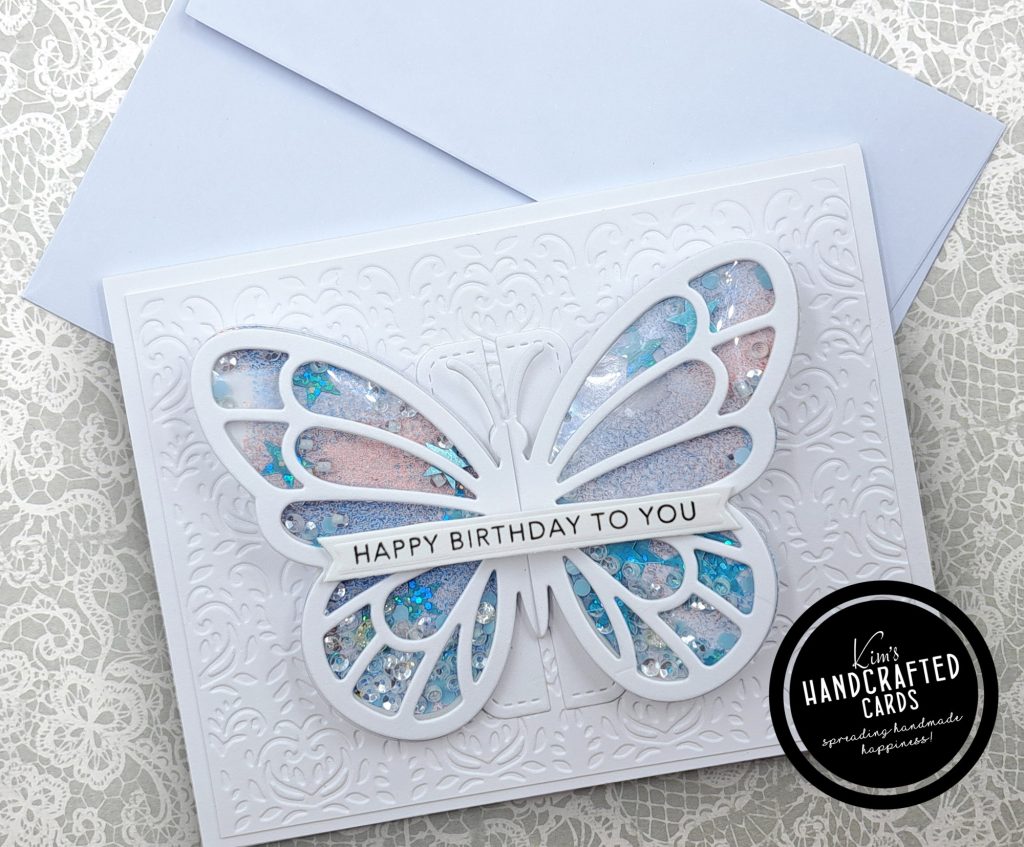
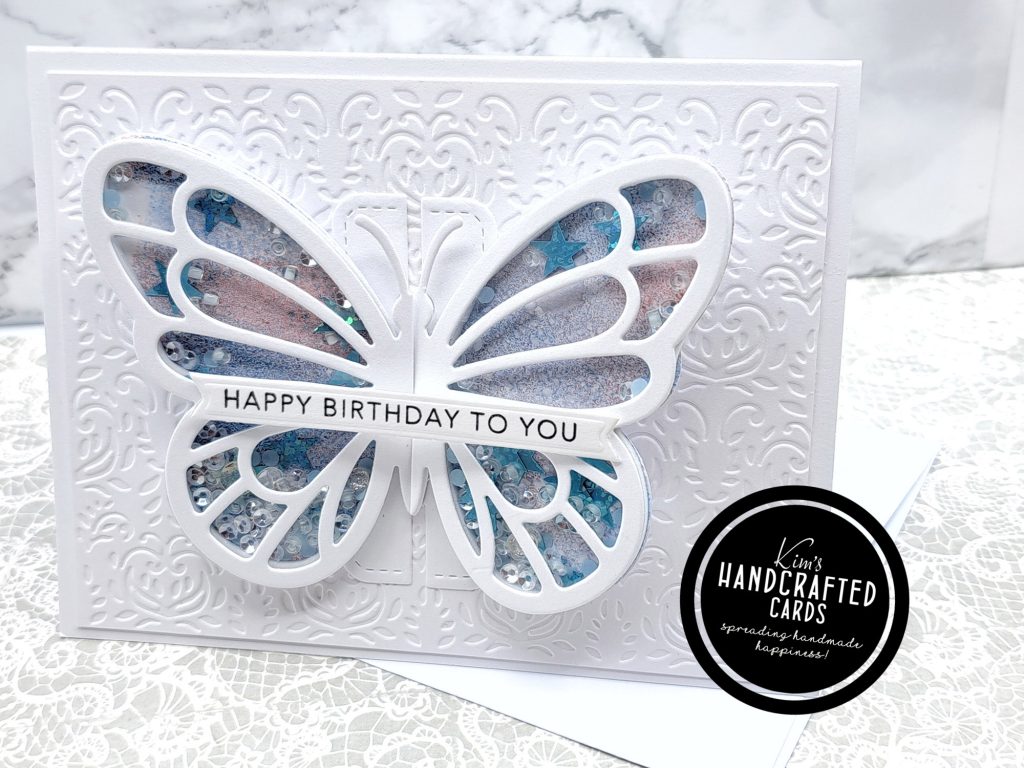
I used a combo of Sizzix and Pretty Pink Posh for all my shaker bits. For my gel press backgrounds, I worked with Distress Oxide inks just picking colors I thought would go well together. Using a gel press is wonderful to make quick backgrounds and I’ve turned to it many times when I was in a creative slump.
I also used some Cuttlebug embossing folders that I’ve had in my stash for years to add a little more interest to my card panels. And, all my sentiments are from Taylored Expressions, I used their “Simple Strips Backgrounds” stamp/die set and stored them.
This post is a wrap-up for this month’s Challenge of “Using/Shopping my Stash to make cards”! I had so much fun rediscovering the products I’ve purchased. To see all the cards in this month’s challenge, click here. I’m excited for next month’s challenge as well! Stay tuned!

- Lawn Fawn Pop-up Butterfly Die Set
- Pinkfresh Studio Essentials “Phrase Builder” Word Dies
- Darice Foam Tape (no longer available, I found that Scrapbook.com as a similar one here)
- Gel Press 8 x 10 size, 5 x 7 size here
- Brayers
- Gemini Jr. Embossing & Die Cutter here or here, get the new Gemini here
- Distress Oxide Inks (Collections and Bundles available too)
- Acetate Sheets
- Accents Opaque 100 lb. White Cardstock
- Glassboard Craft Mat → Use my Code → KIMCARDS20 at checkout
- Sizzix Sequins and Beads Collection
- Pretty Pink Posh Sequins
- Taylored Expressions “Simple Strips Backgrounds” stamp/die set
- Bearly Art Liquid Glue