Hi Crafty friends! I’m always inspired by florals and any time I can make them, I do! And, there’s been a lot of floral releases lately from some of my favorite companies.
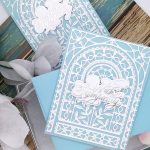
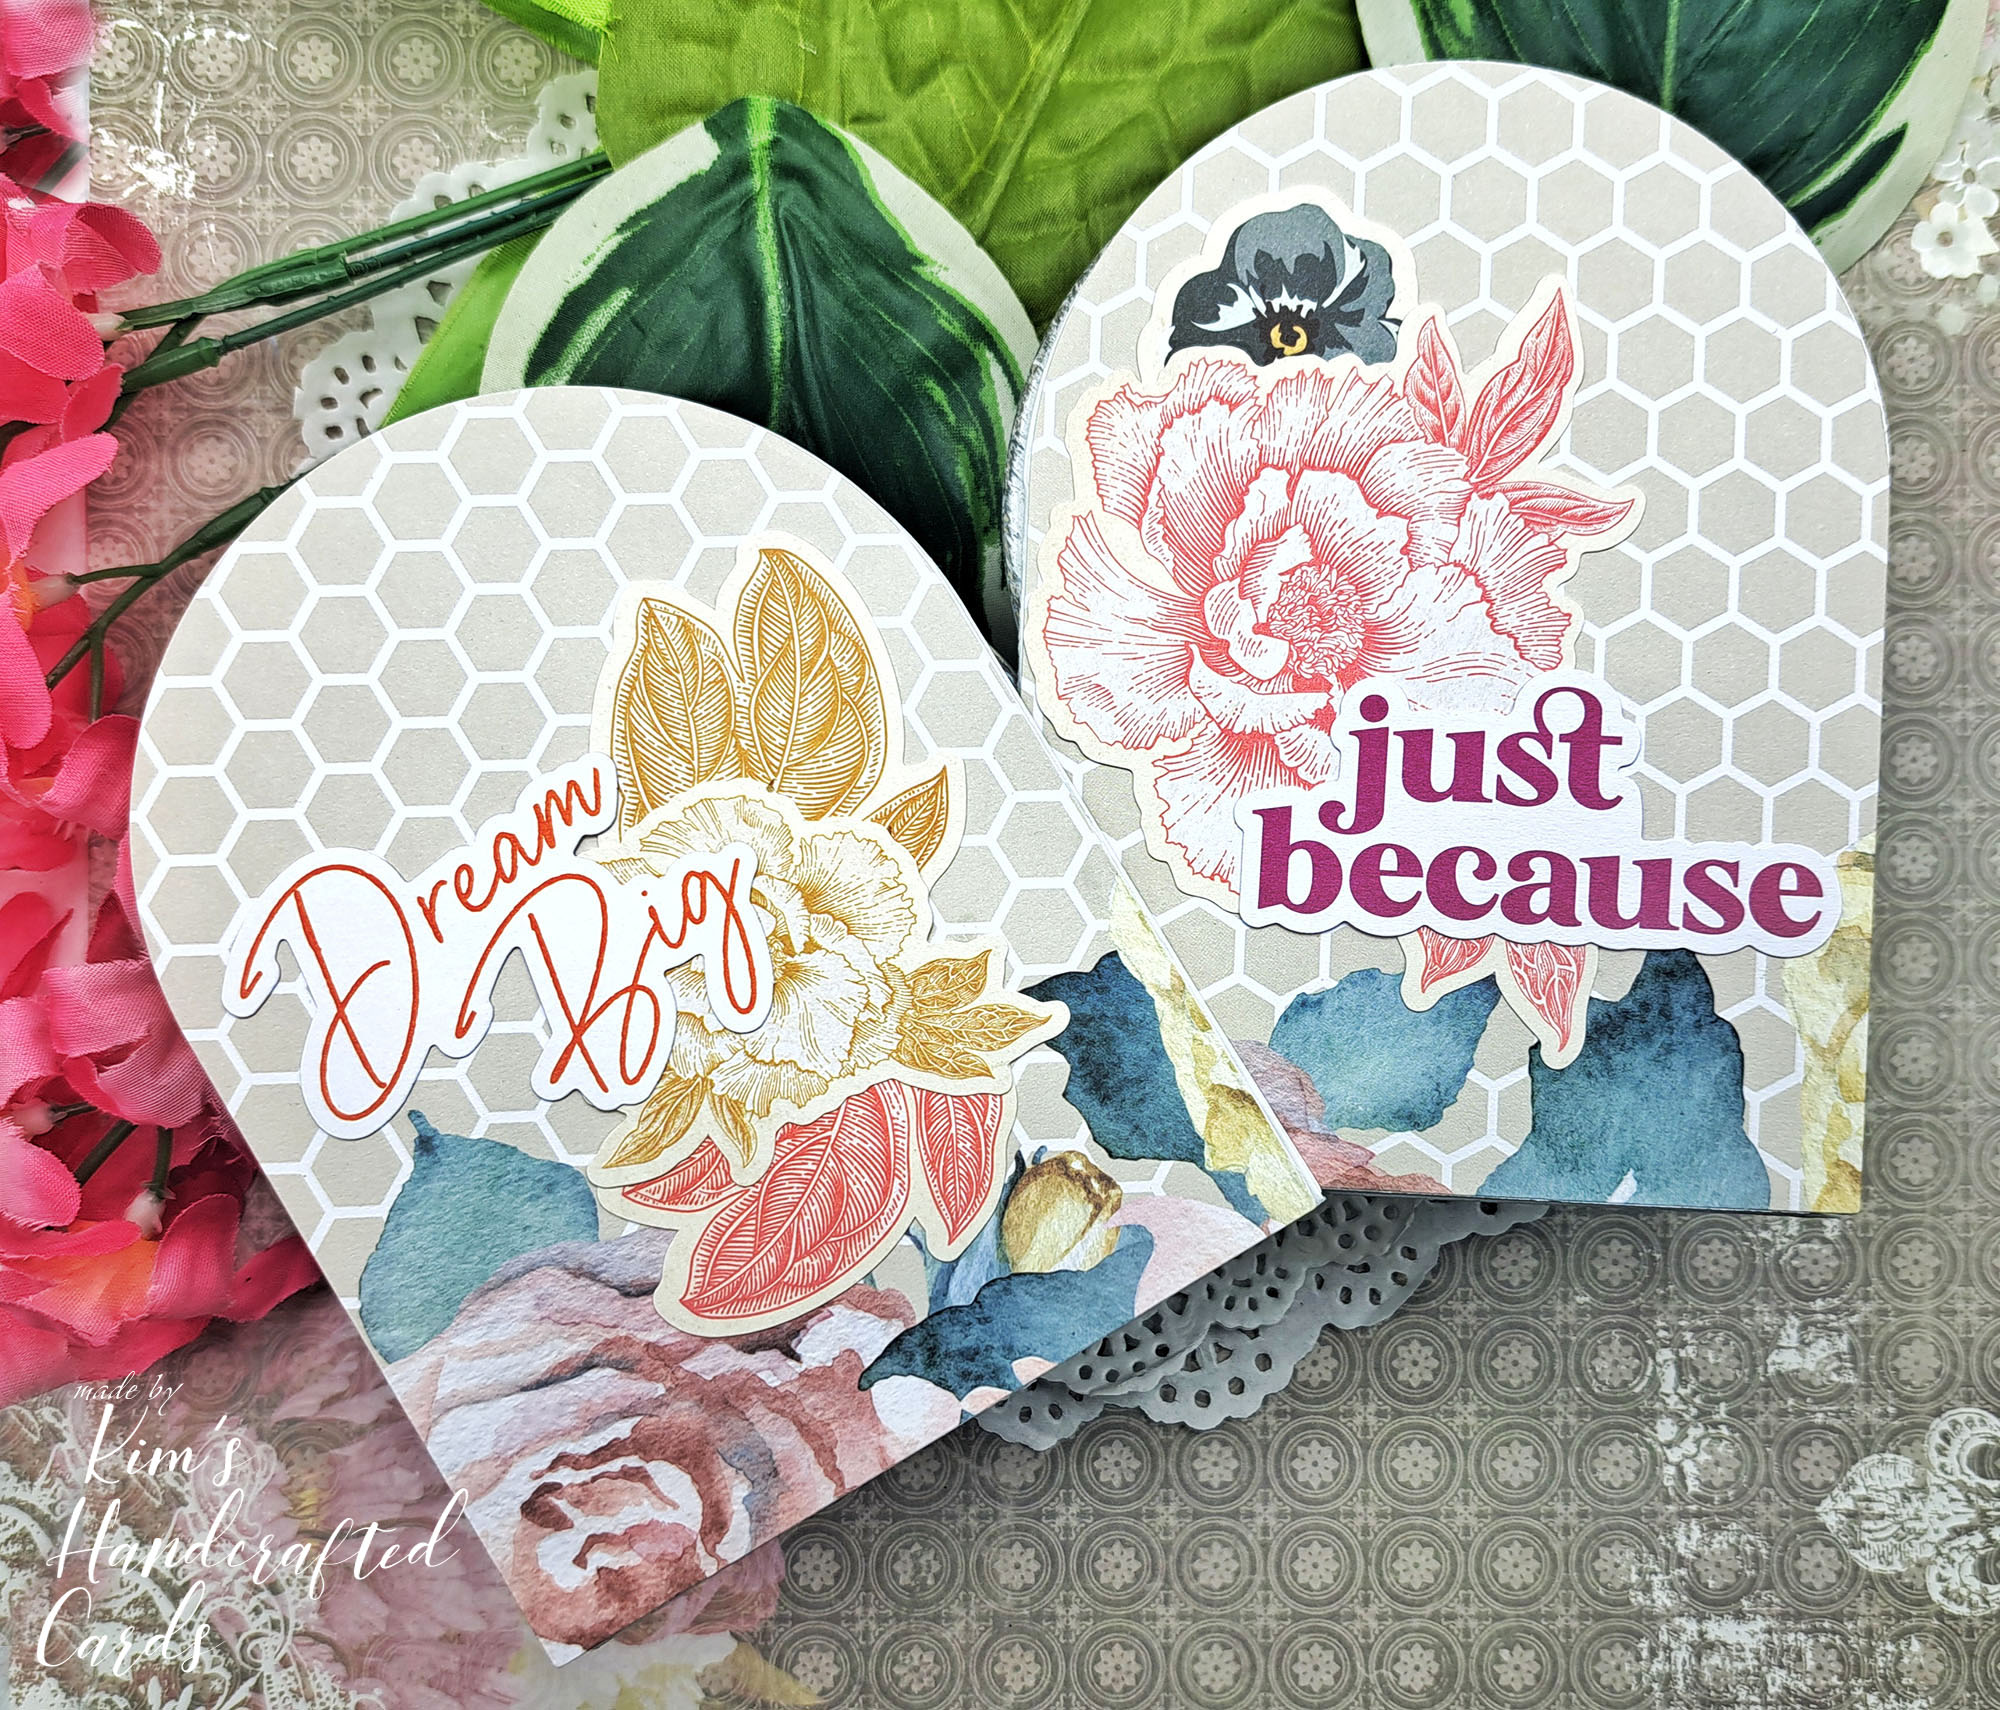
This is why I made these 2 beauties tonight…these florals in this set are just so breathtaking and because it’s a layered stencil set, you can really add so much detail to the petals.
I broke out my Simon Says Stamp Pawsitively Saturated inks for the job. These inks just blends so nicely!
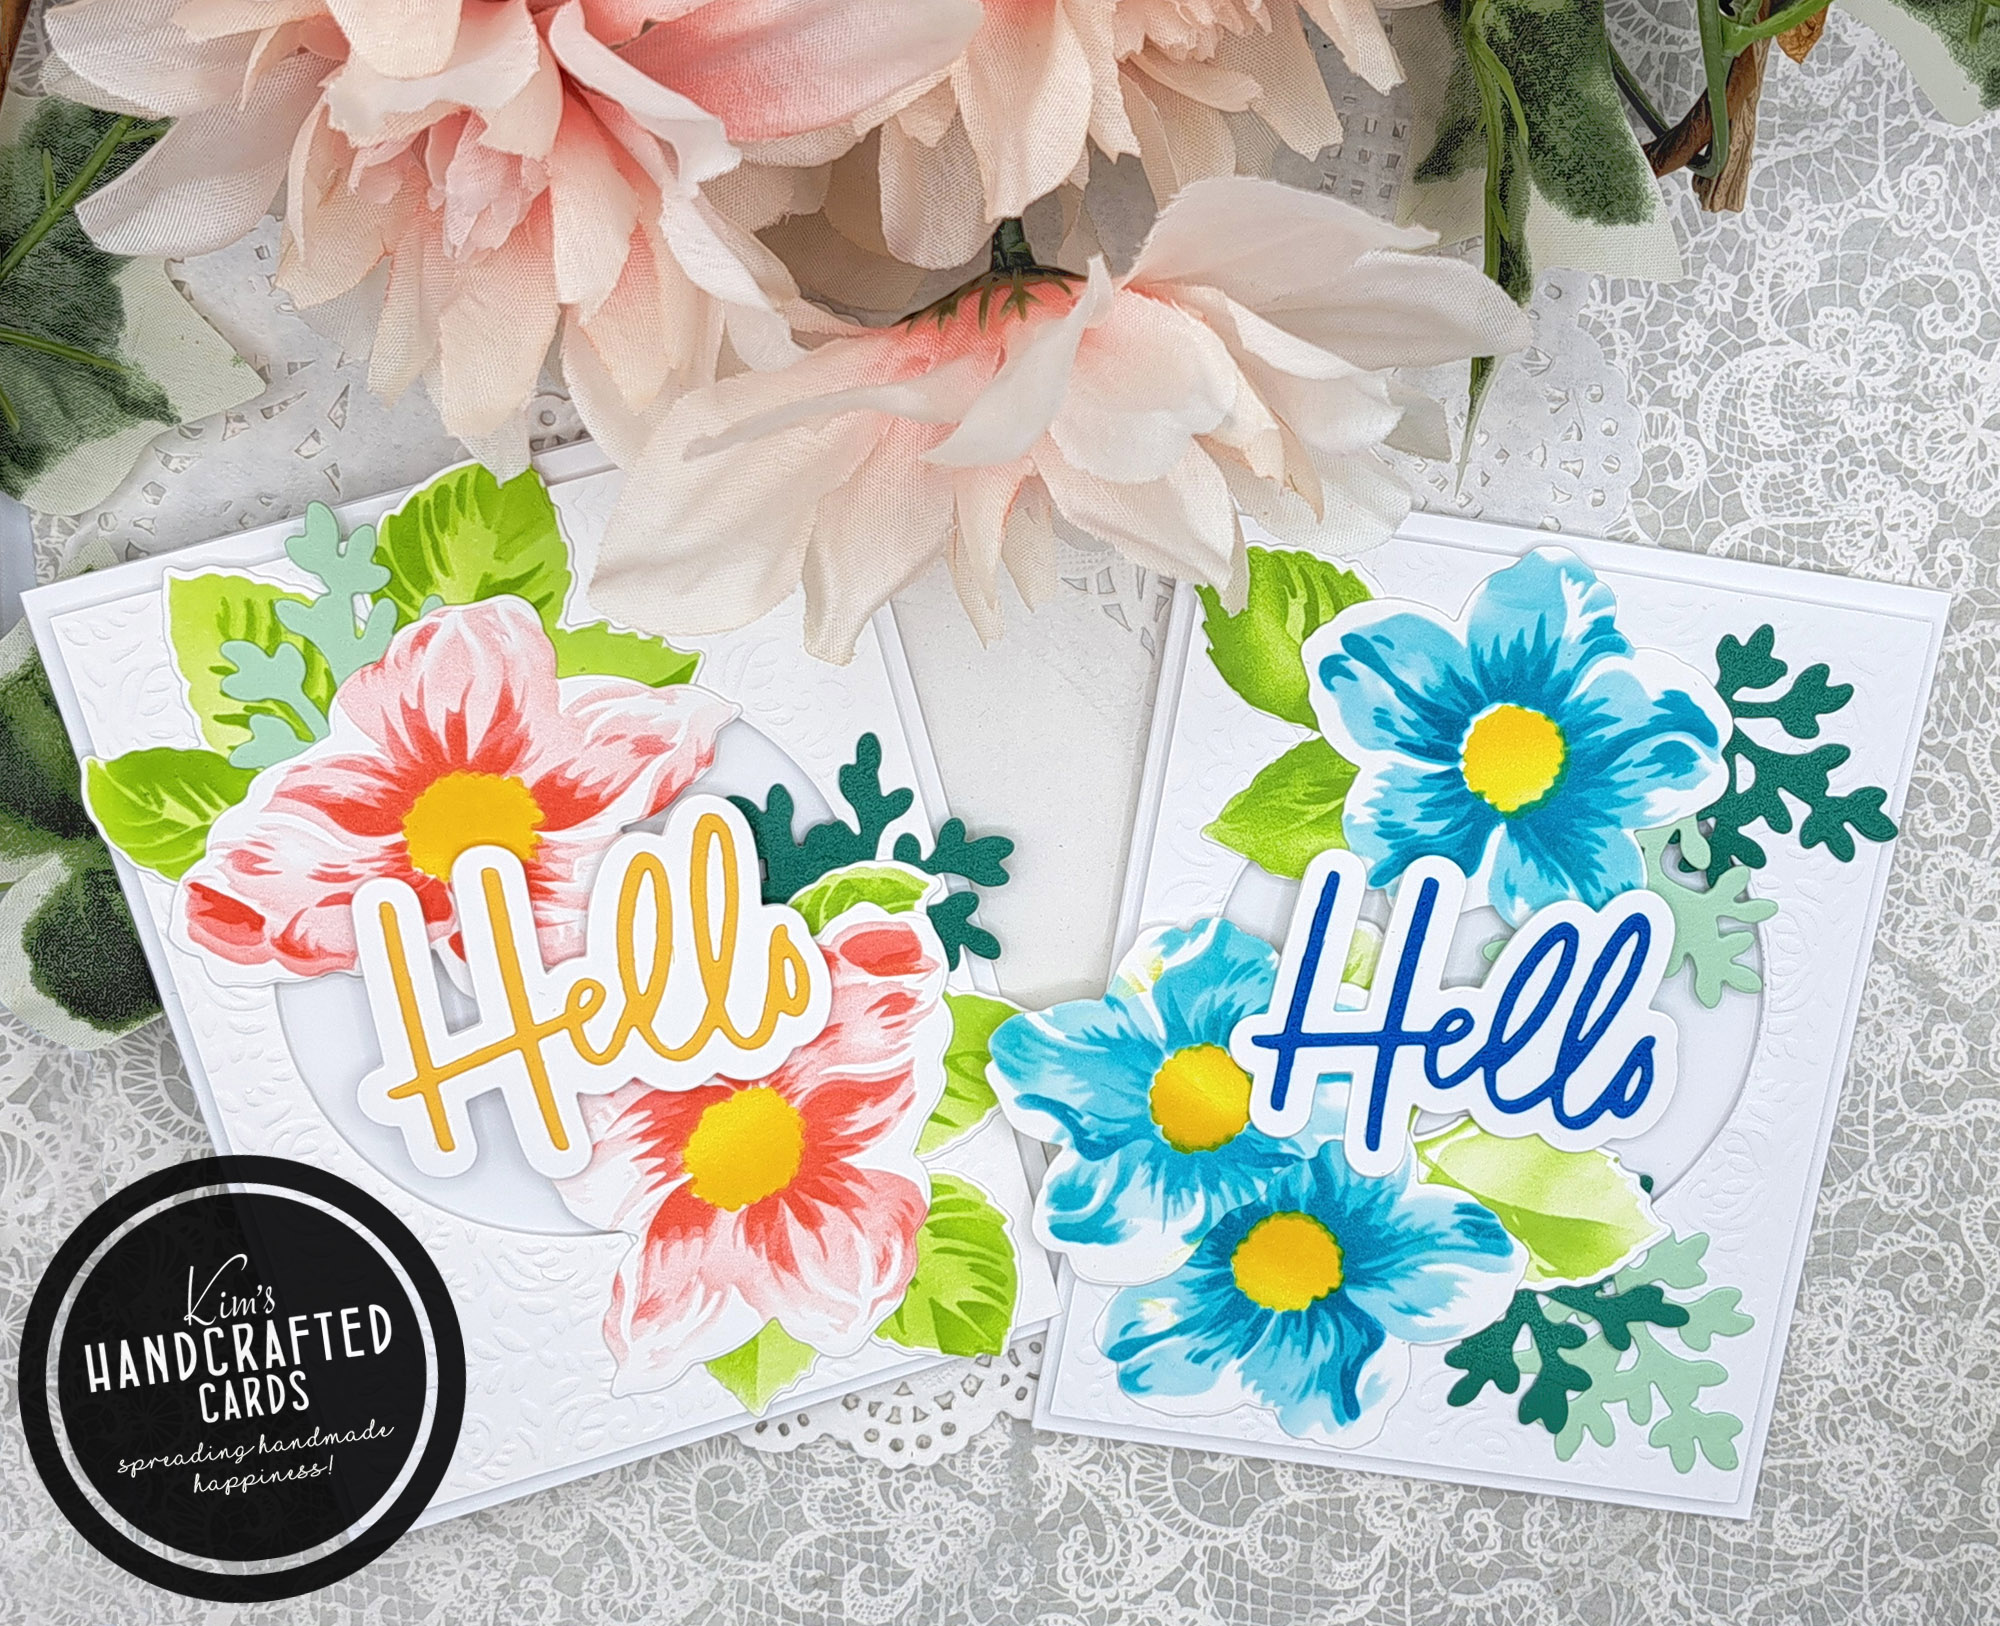
And after I colored my florals, I used the dies to cut them out. I wanted to use the clusters to frame a window frame on an A2 card but I really struggled with placement. These flowers are quite large and I was determined not to cut off anything hanging over the edges, so I left them alone. The cards will have likely go inside a 5×7 size envelope, but I’m okay with that!
And be sure to check out this post where I used the same set.
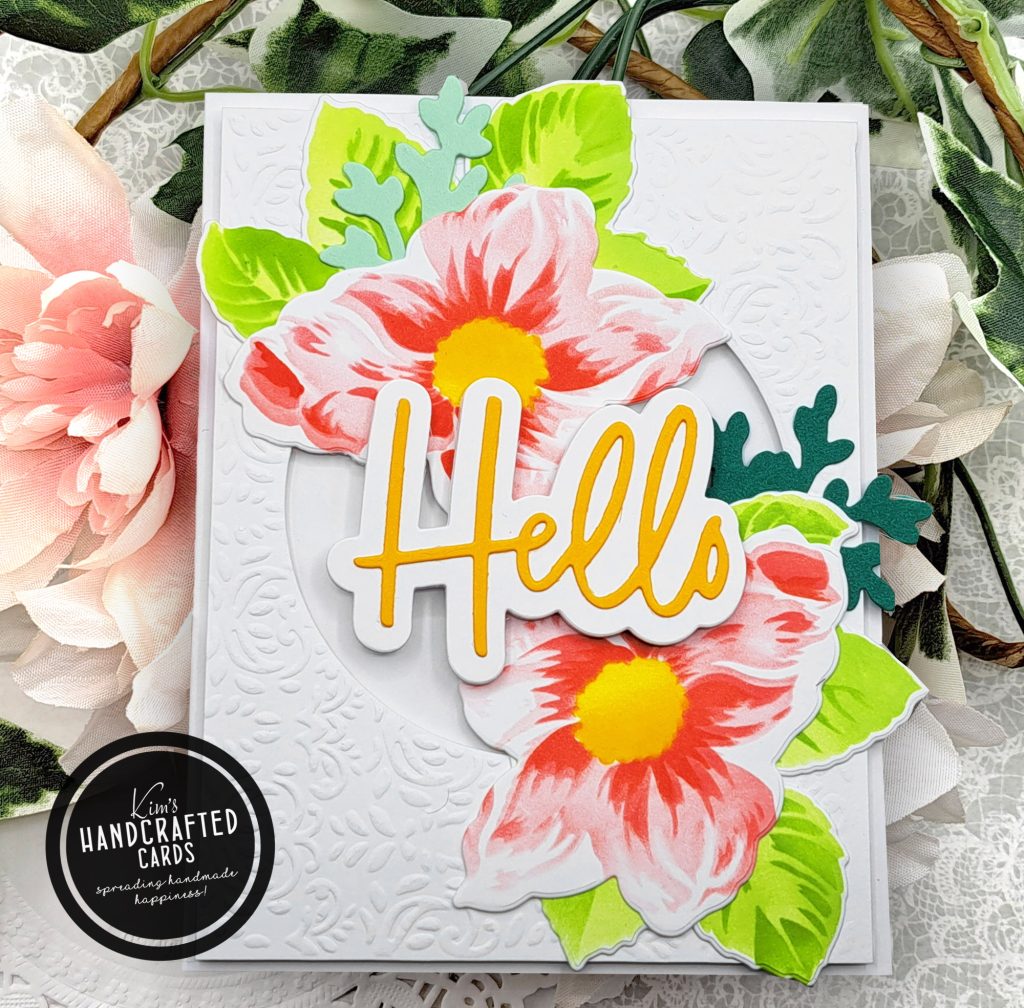
For my flowers, I used “Cheeky (lightest color)”, Blush” (mid-color) and “Pucker” (darkest color). For the centers of both flowers, I used “Citrine” and started with a lighter brushstroke, getting heavier to have a bit of a gradient color.
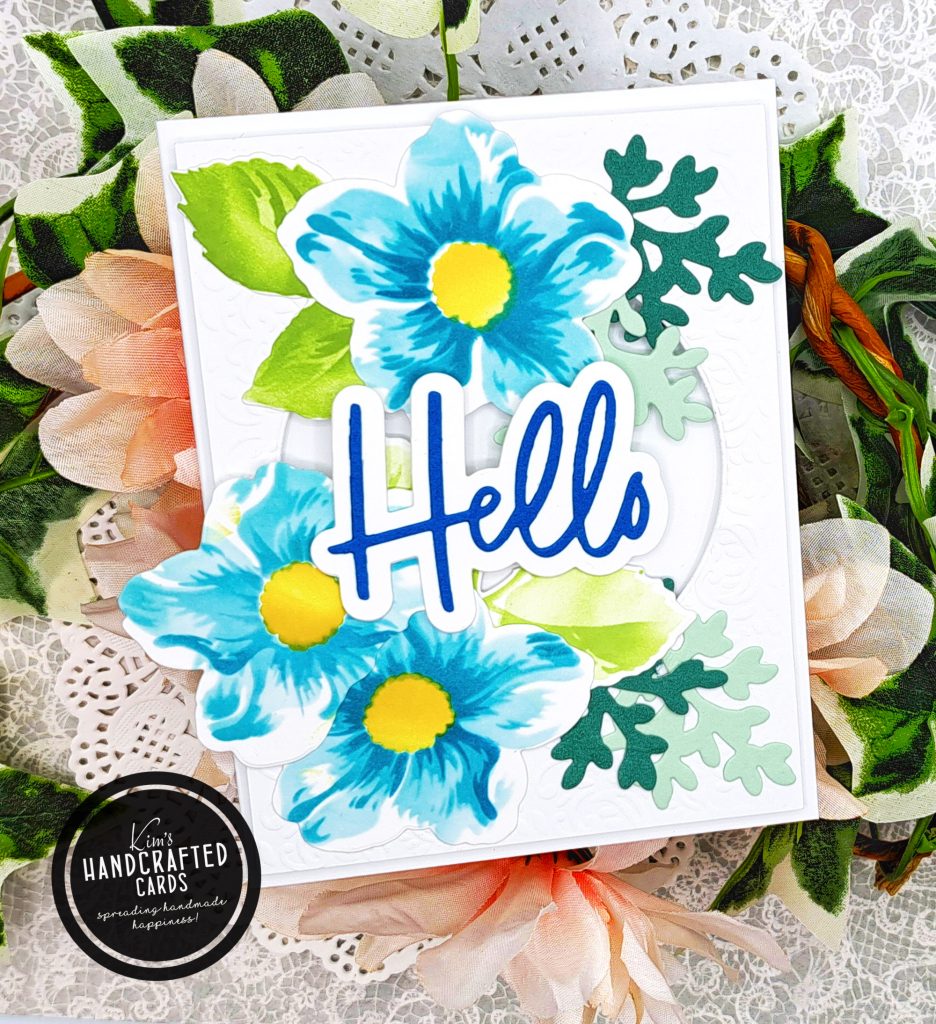
For my last card, I used “Seafoam” (lightest color), “Surf” (mid-color) and “Ocean” (darkest color). Some of these leaves were cut with green cardstock from my stash.
After coloring all my florals, I played with arrangement, used Press N Seal to keep them together while I worked on my card panels. For those, I used again my Cuttlebug embossing folders, trimmed them down to 4″ x 5-1/4″. I used a circle die from Waffleflower Crafts. The size I went with is the 4th from the largest.
I die cut the circle on my card panels, then added some double-sided foam tape for dimension and adhered them to my cardbases. Next, was the part I struggled with and that was how to place my floral clusters to frame the window. It took me awhile to get it right. I even took pictures so I wouldn’t forget how I wanted them to look!
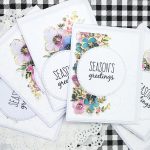
Final touch was adding my sentiment using Pinkfresh Studio’s essentials word die set. I die cut the shadow a couple of times, then cut the letters. I added foam squares to give it dimension. And, that’s all folks!

- Altenew “Beauty Within” Die Set
- Altenew “Beauty Within” Stamp Set
- Altenew “Beauty Within” Stencil Set
- Simon Says Stamp “Pawsitively Saturated” Inks (1st collection)
- Blending Brushes, large size here, tiny size here
- Waffle Flower Crafts “Additional Circles” Nested Dies
- Scrapbook.com Double Sided Adhesive 2 mm Foam Roll
- Gemini Jr. Embossing & Die Cutter here or here, get the new Gemini here
- Glassboard Craft Mat → Use my Code → KIMCARDS20 at checkout
- Pinkfresh Studio Essentials “Classic Word Dies”
- Scrapbook.com Double Sided Adhesive 2 mm Foam Roll
- White double-sided foam squares
- Bearly Art Liquid Glue
- Accents 100 lb. White Cardstock