Hi my friends! Well, it’s July and time for a monthly challenge! This month’s challenge is “Finish Making that Card!” The purpose behind this challenge is sometimes I’ve gone to make cards and for some reason I didn’t finish it. And, sometimes I’ve put down that project and then found it months later while working on something else. My thought is, “oh why didn’t I finish this?!”
There’s a multitude of reasons why we start a project but don’t finish. For me, it’s was like:
- The design didn’t turn out quite the way I envisioned it
- I didn’t know what sentiment to use so I wanted to think about it further
- Got sidetracked
- I messed up the design and had to come up with a Plan B, but didn’t have a Plan B
- Just wasn’t feeling the way the card was looking so took a break
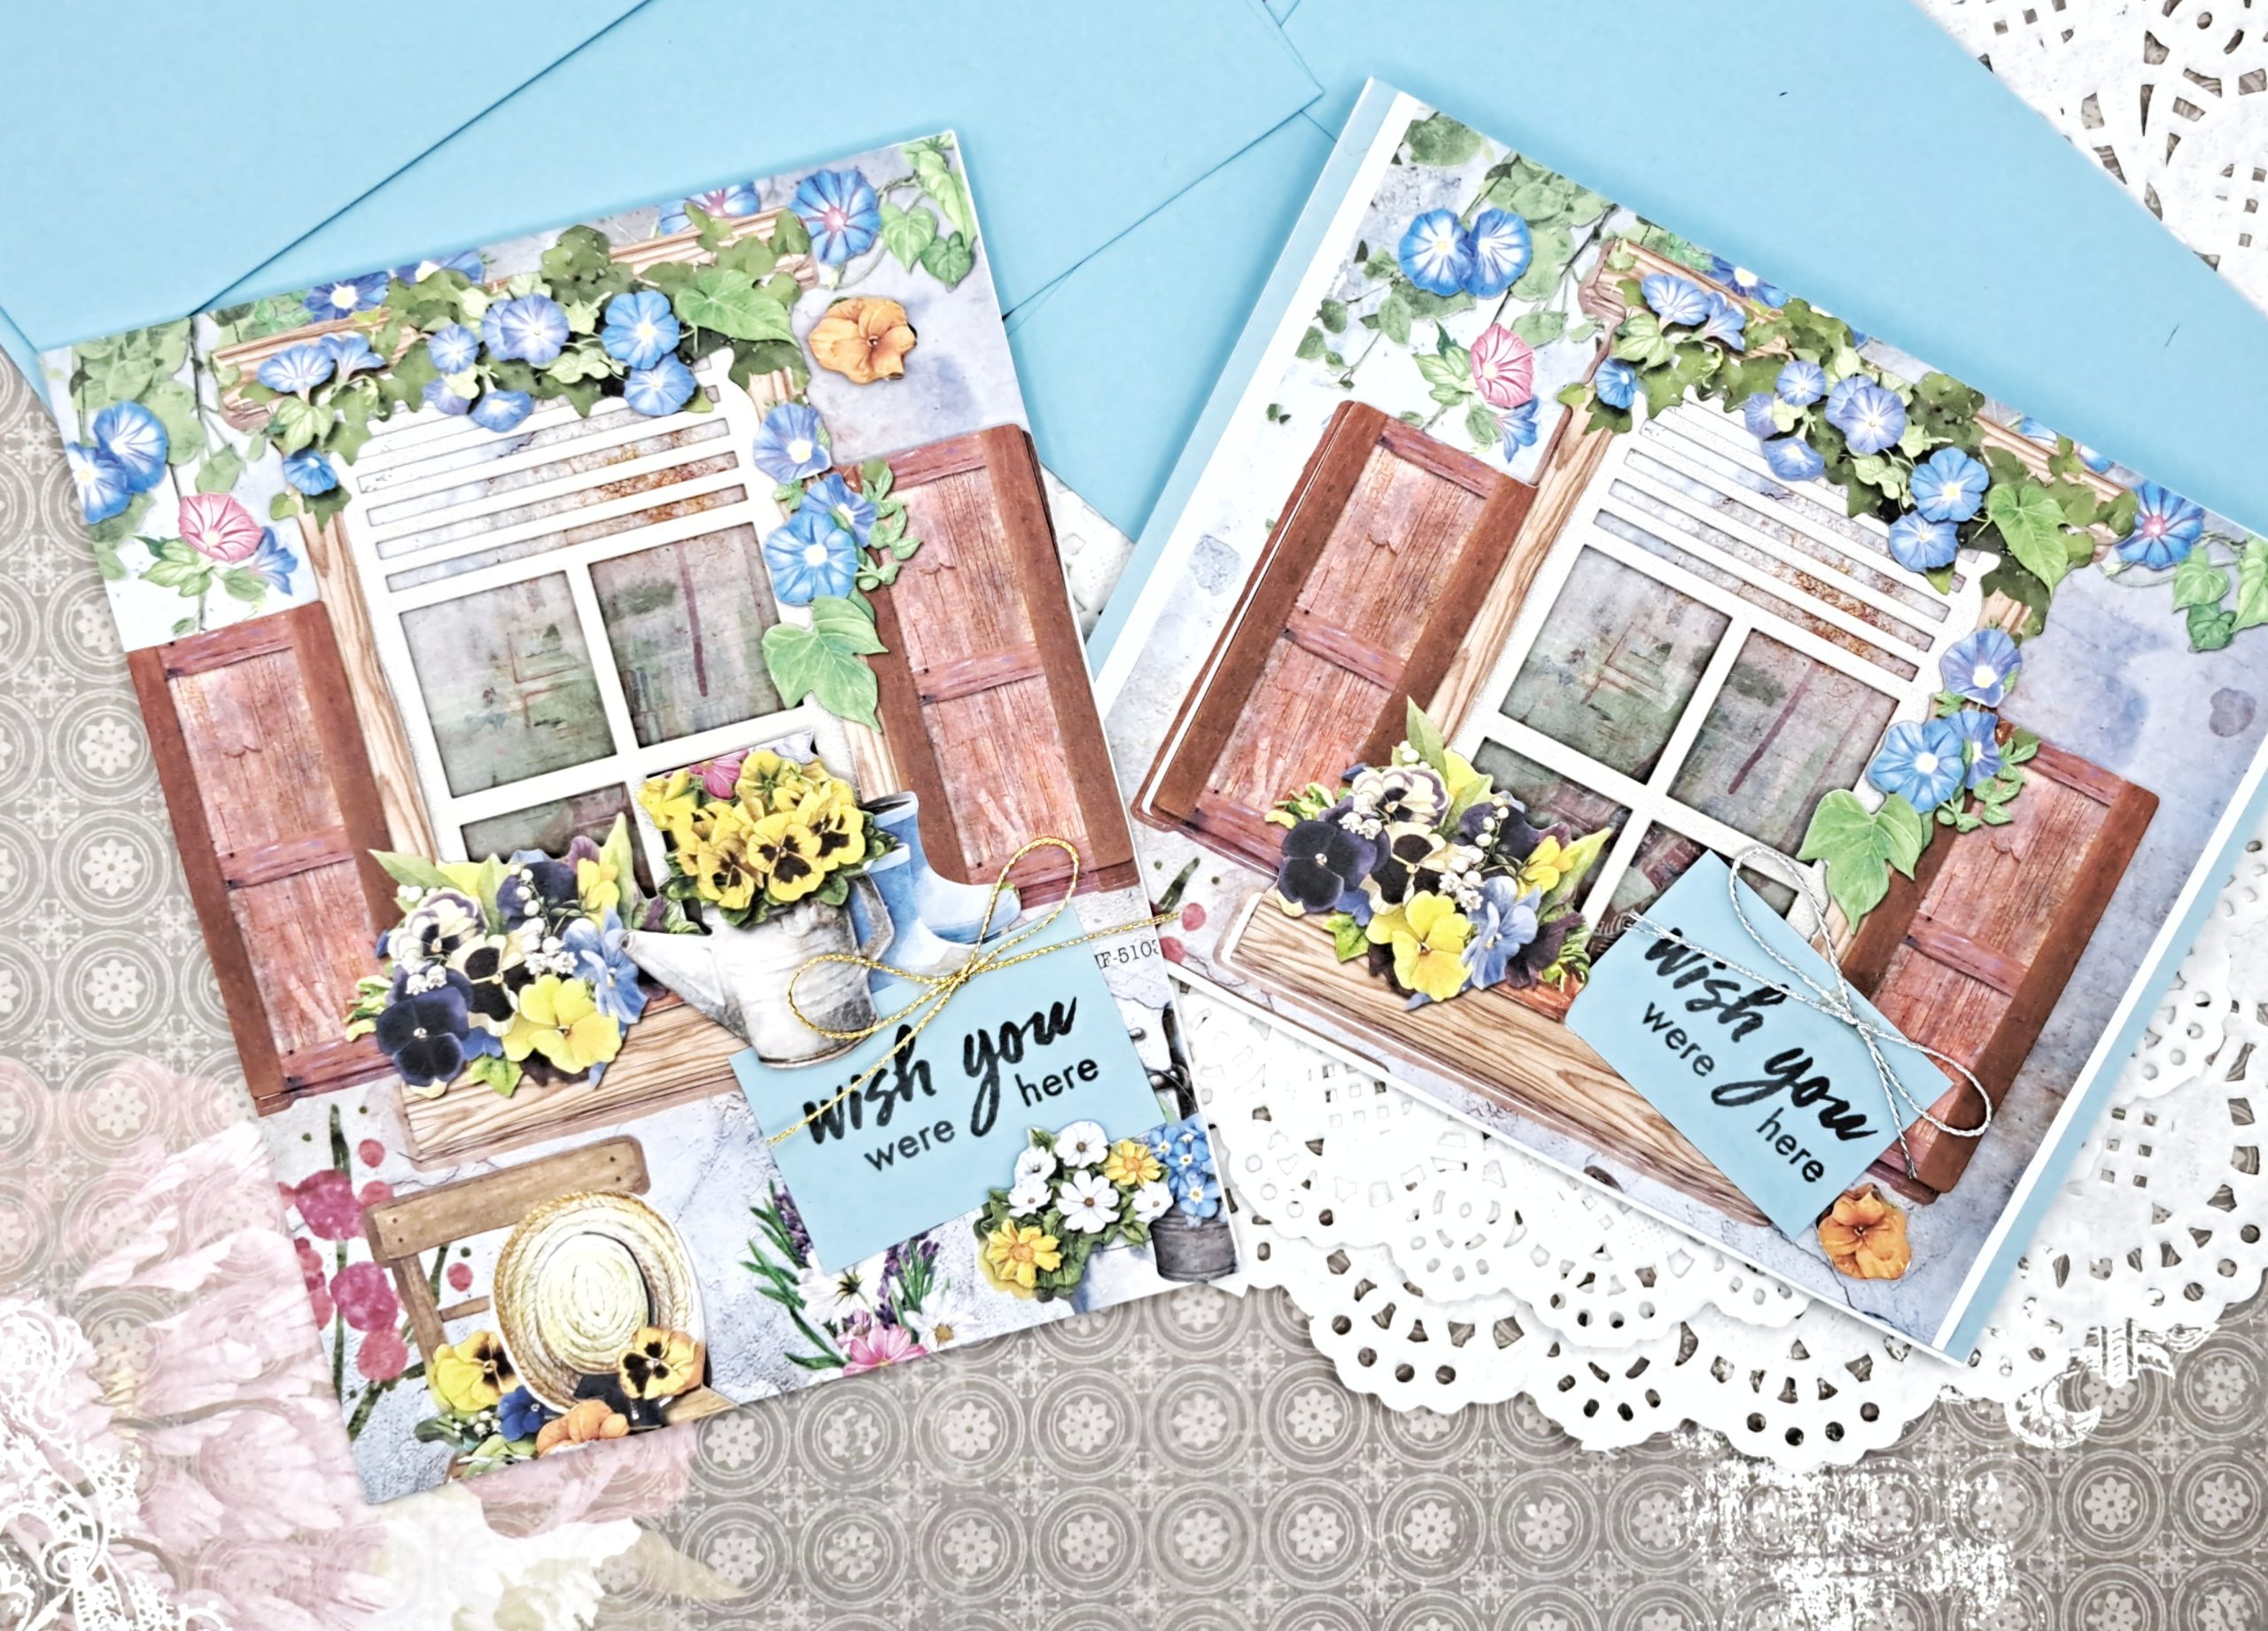
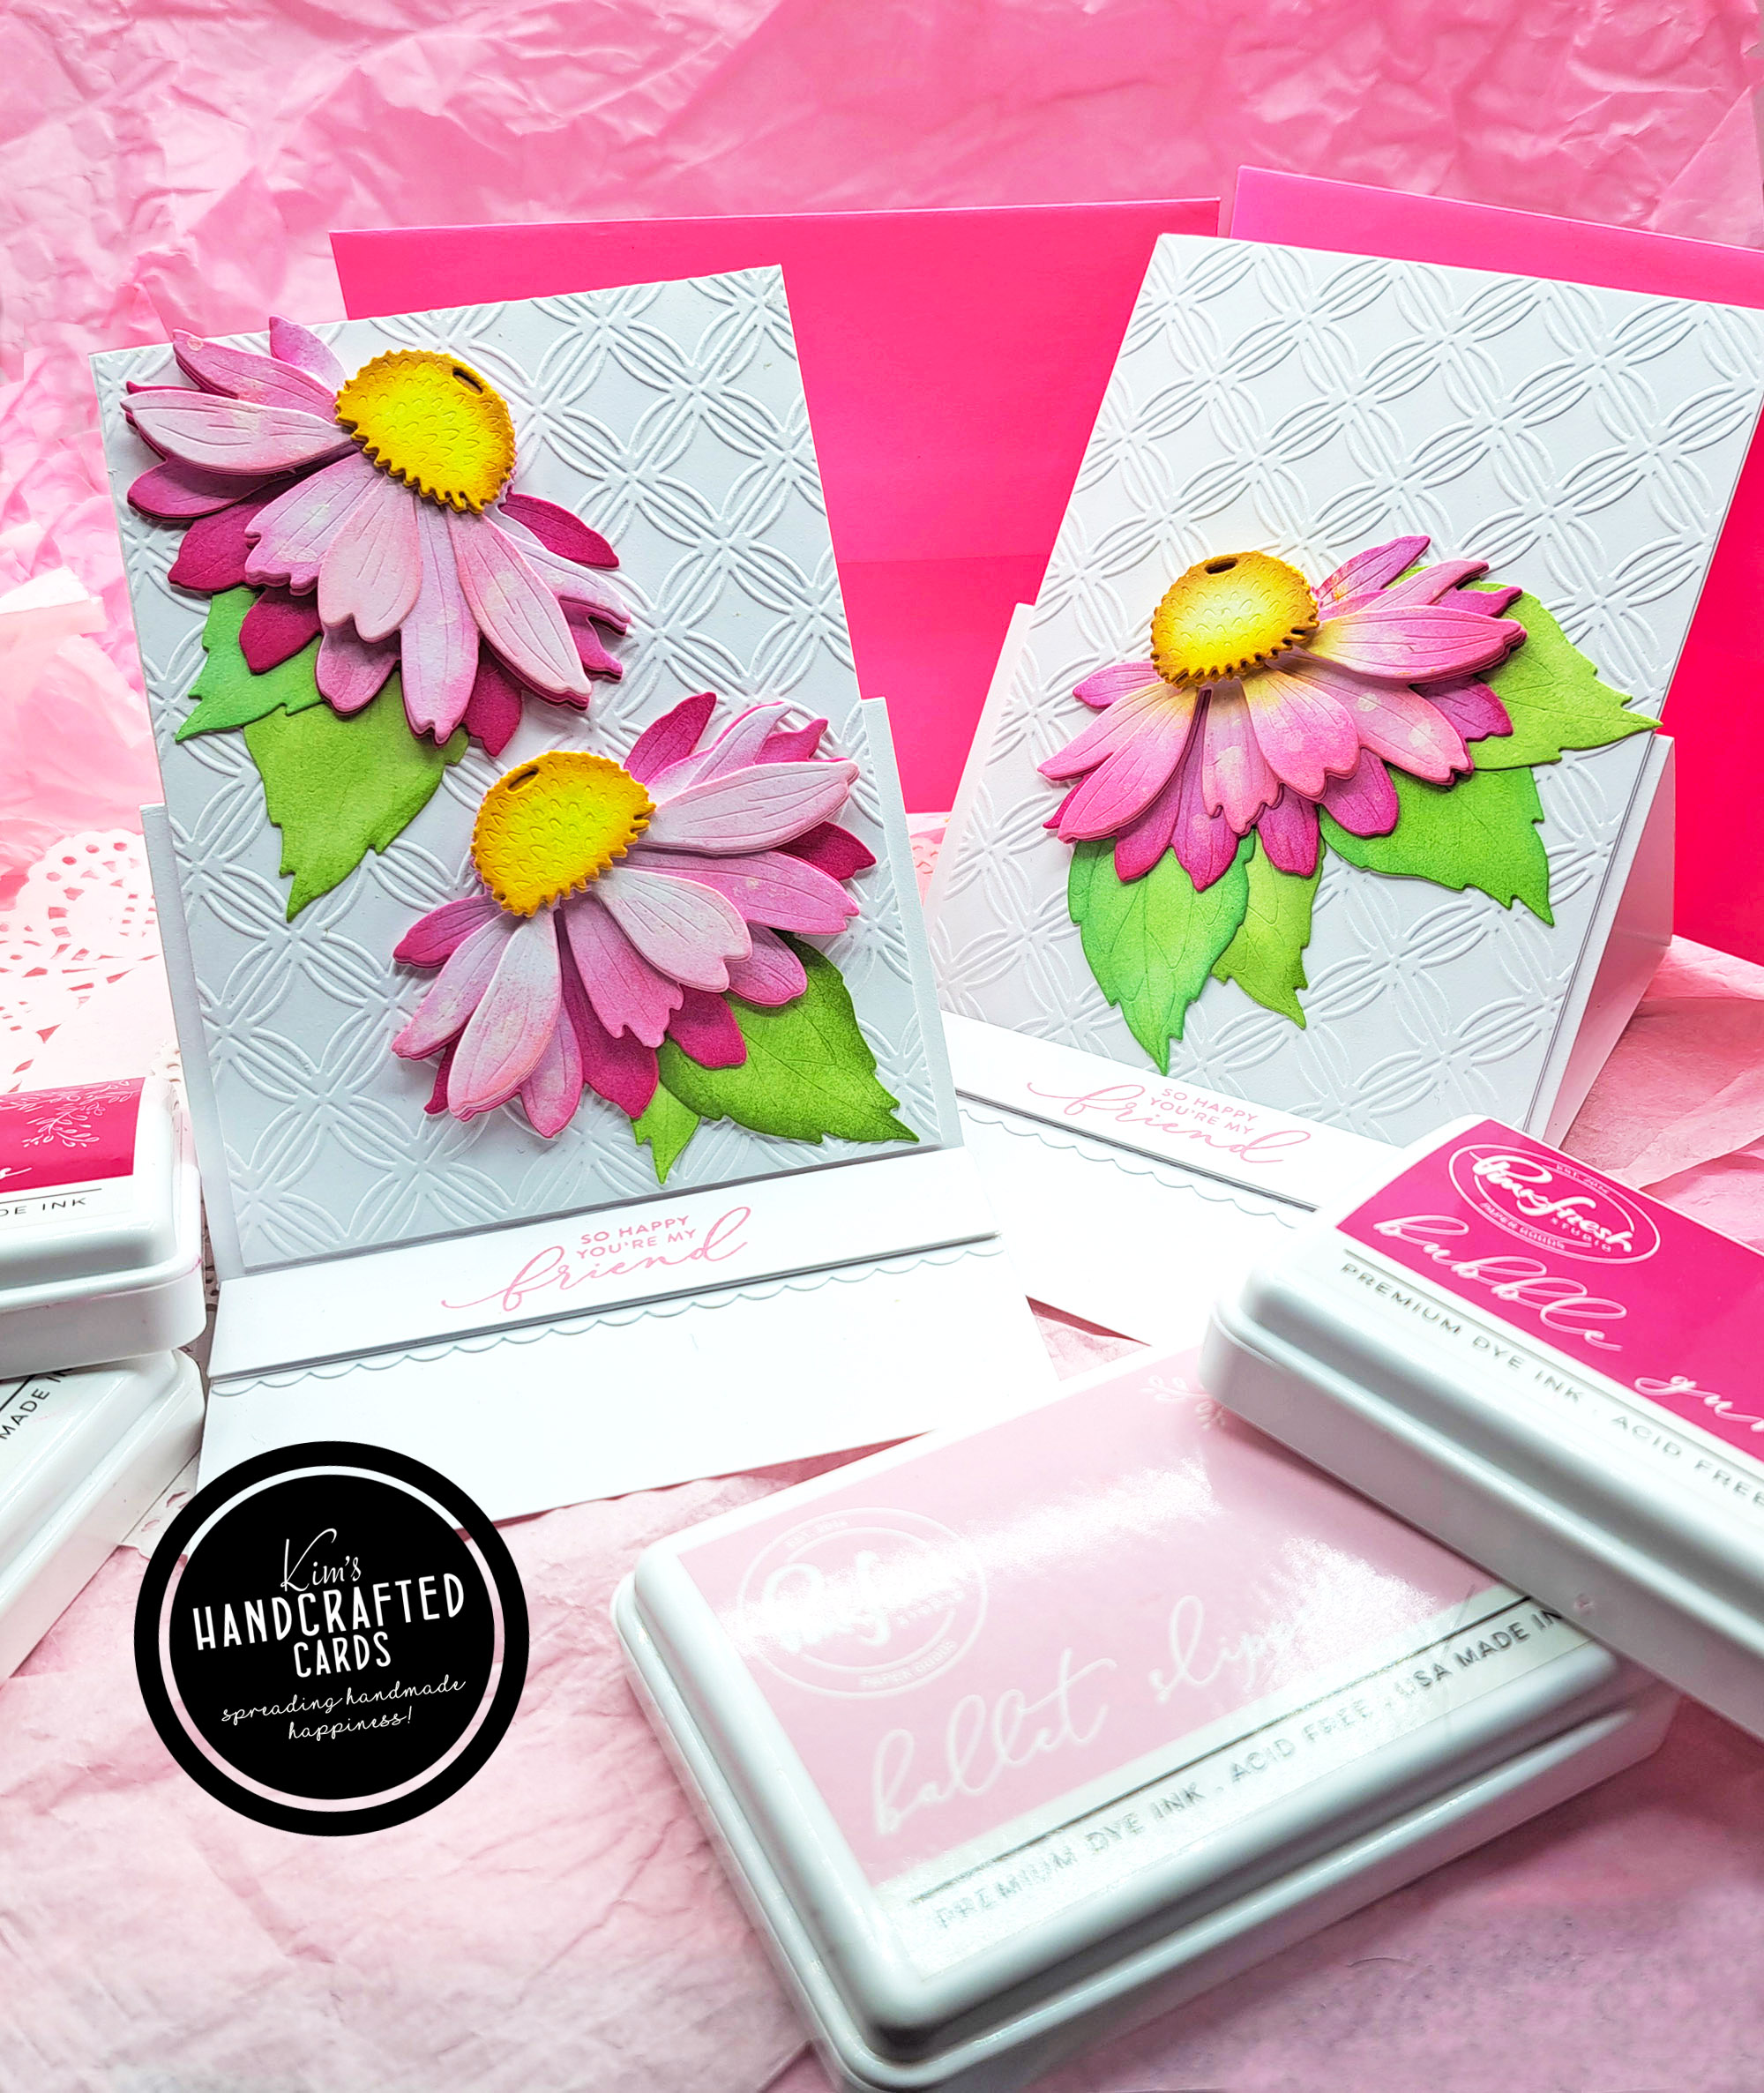
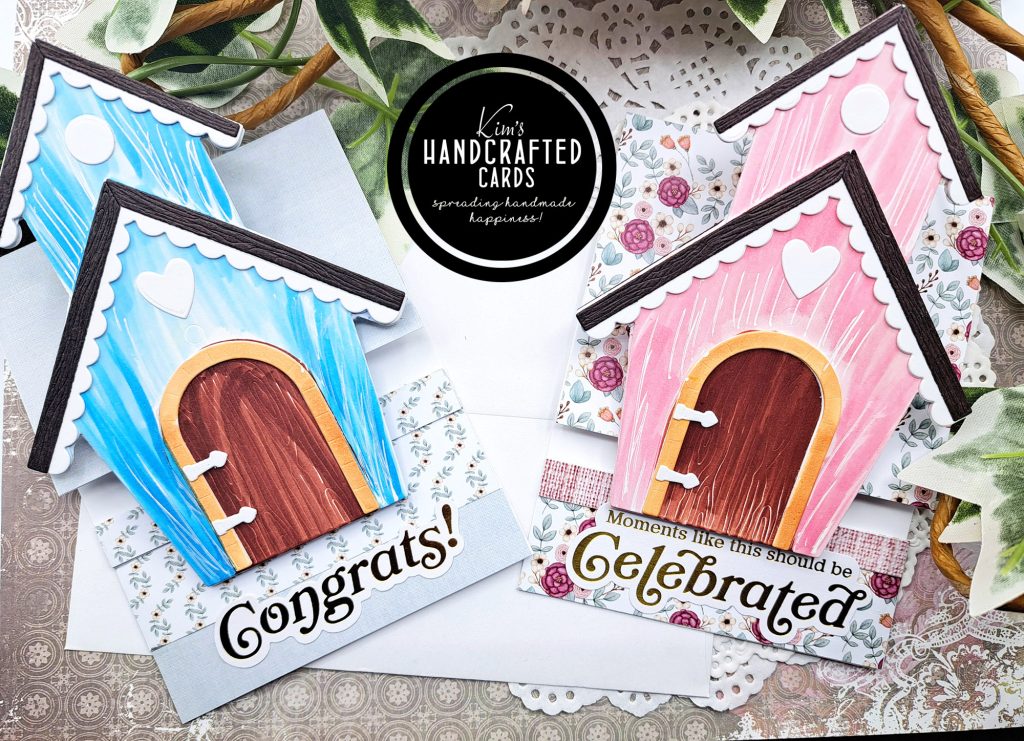
So, in this post, I’ll share 2 cards I finished today. They started out as birdhouses using Honey Bee Stamps A2 Birdhouse Die set. The house die portion comes in 2 pieces so you can use one or both and I used both. Be sure to look at the shaped birdhouse cards I made here.
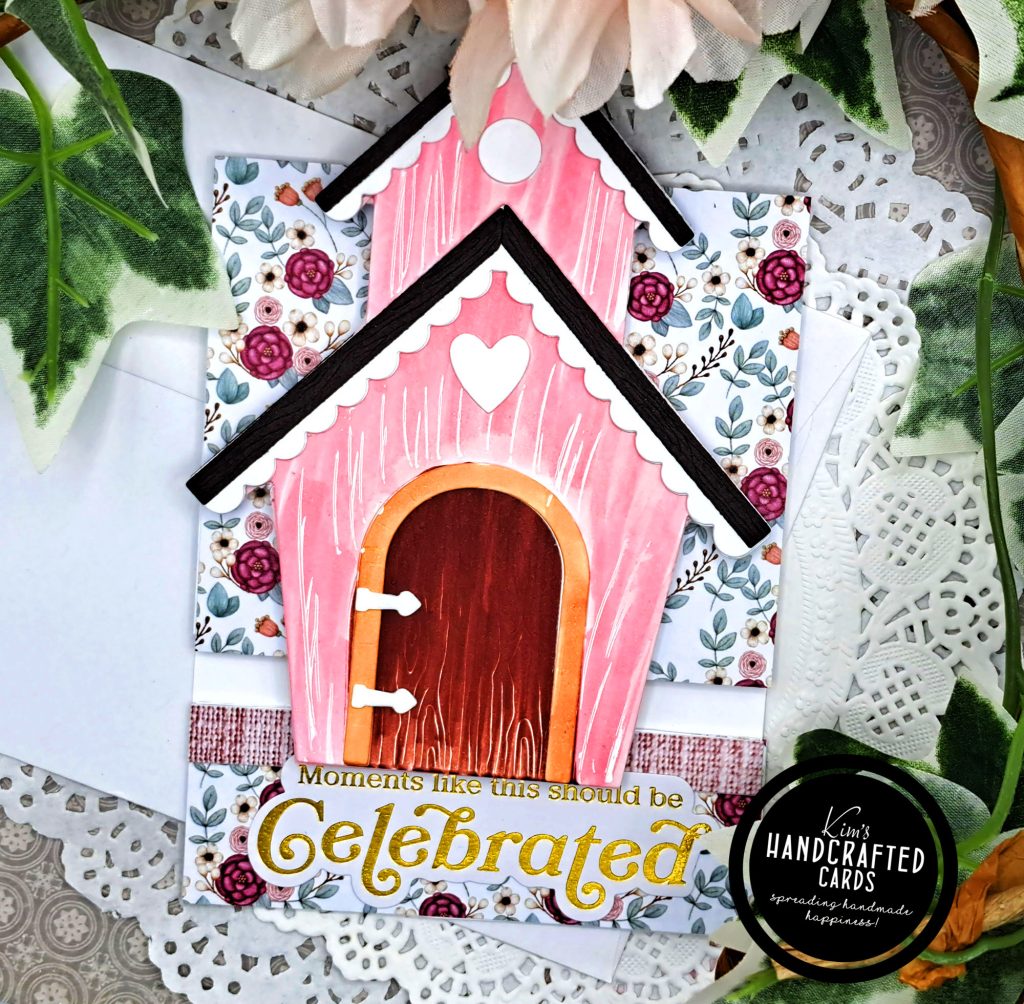
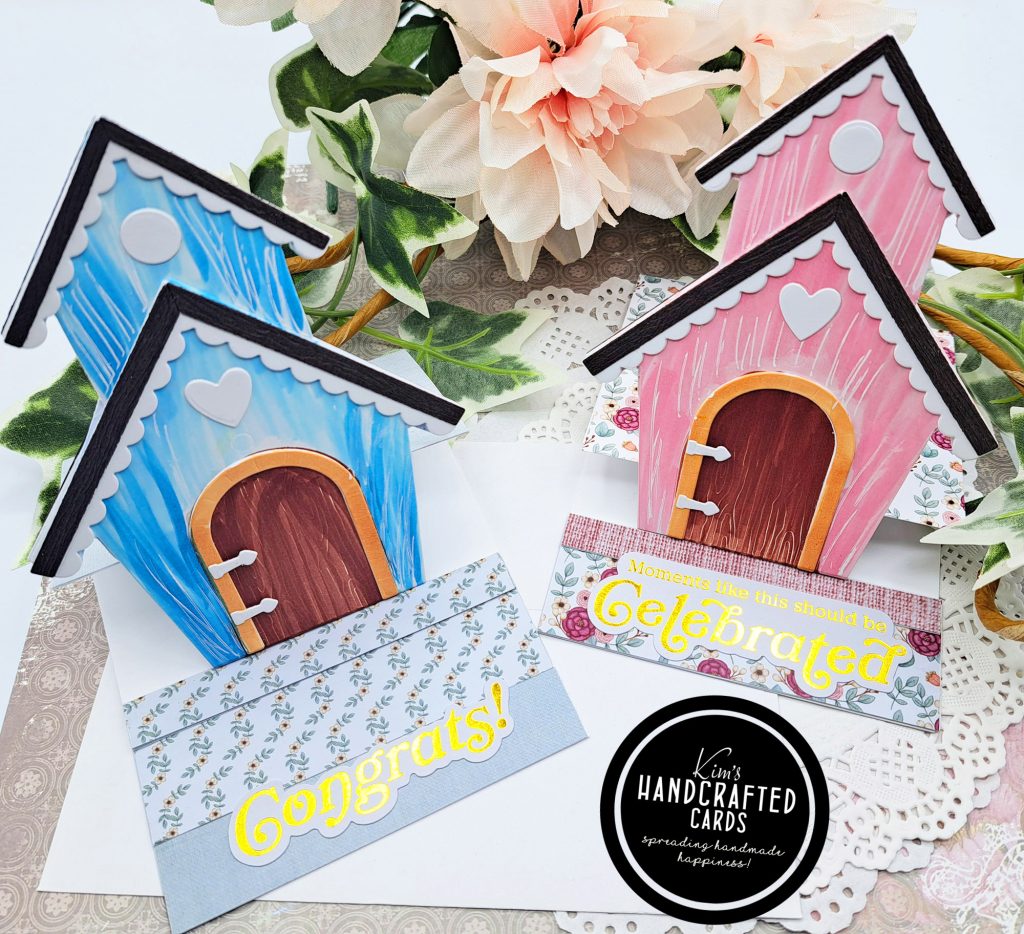
After making my birdhouses (I made 4; 2 pink and 2 blue using copic coloring on my birdhouses with a little white jelly roll pen for accents.), I adhered them to cardbases but I didn’t really like how they looked. So, I put them down intending to go back and finish the cards, but I never did… until today! LOL
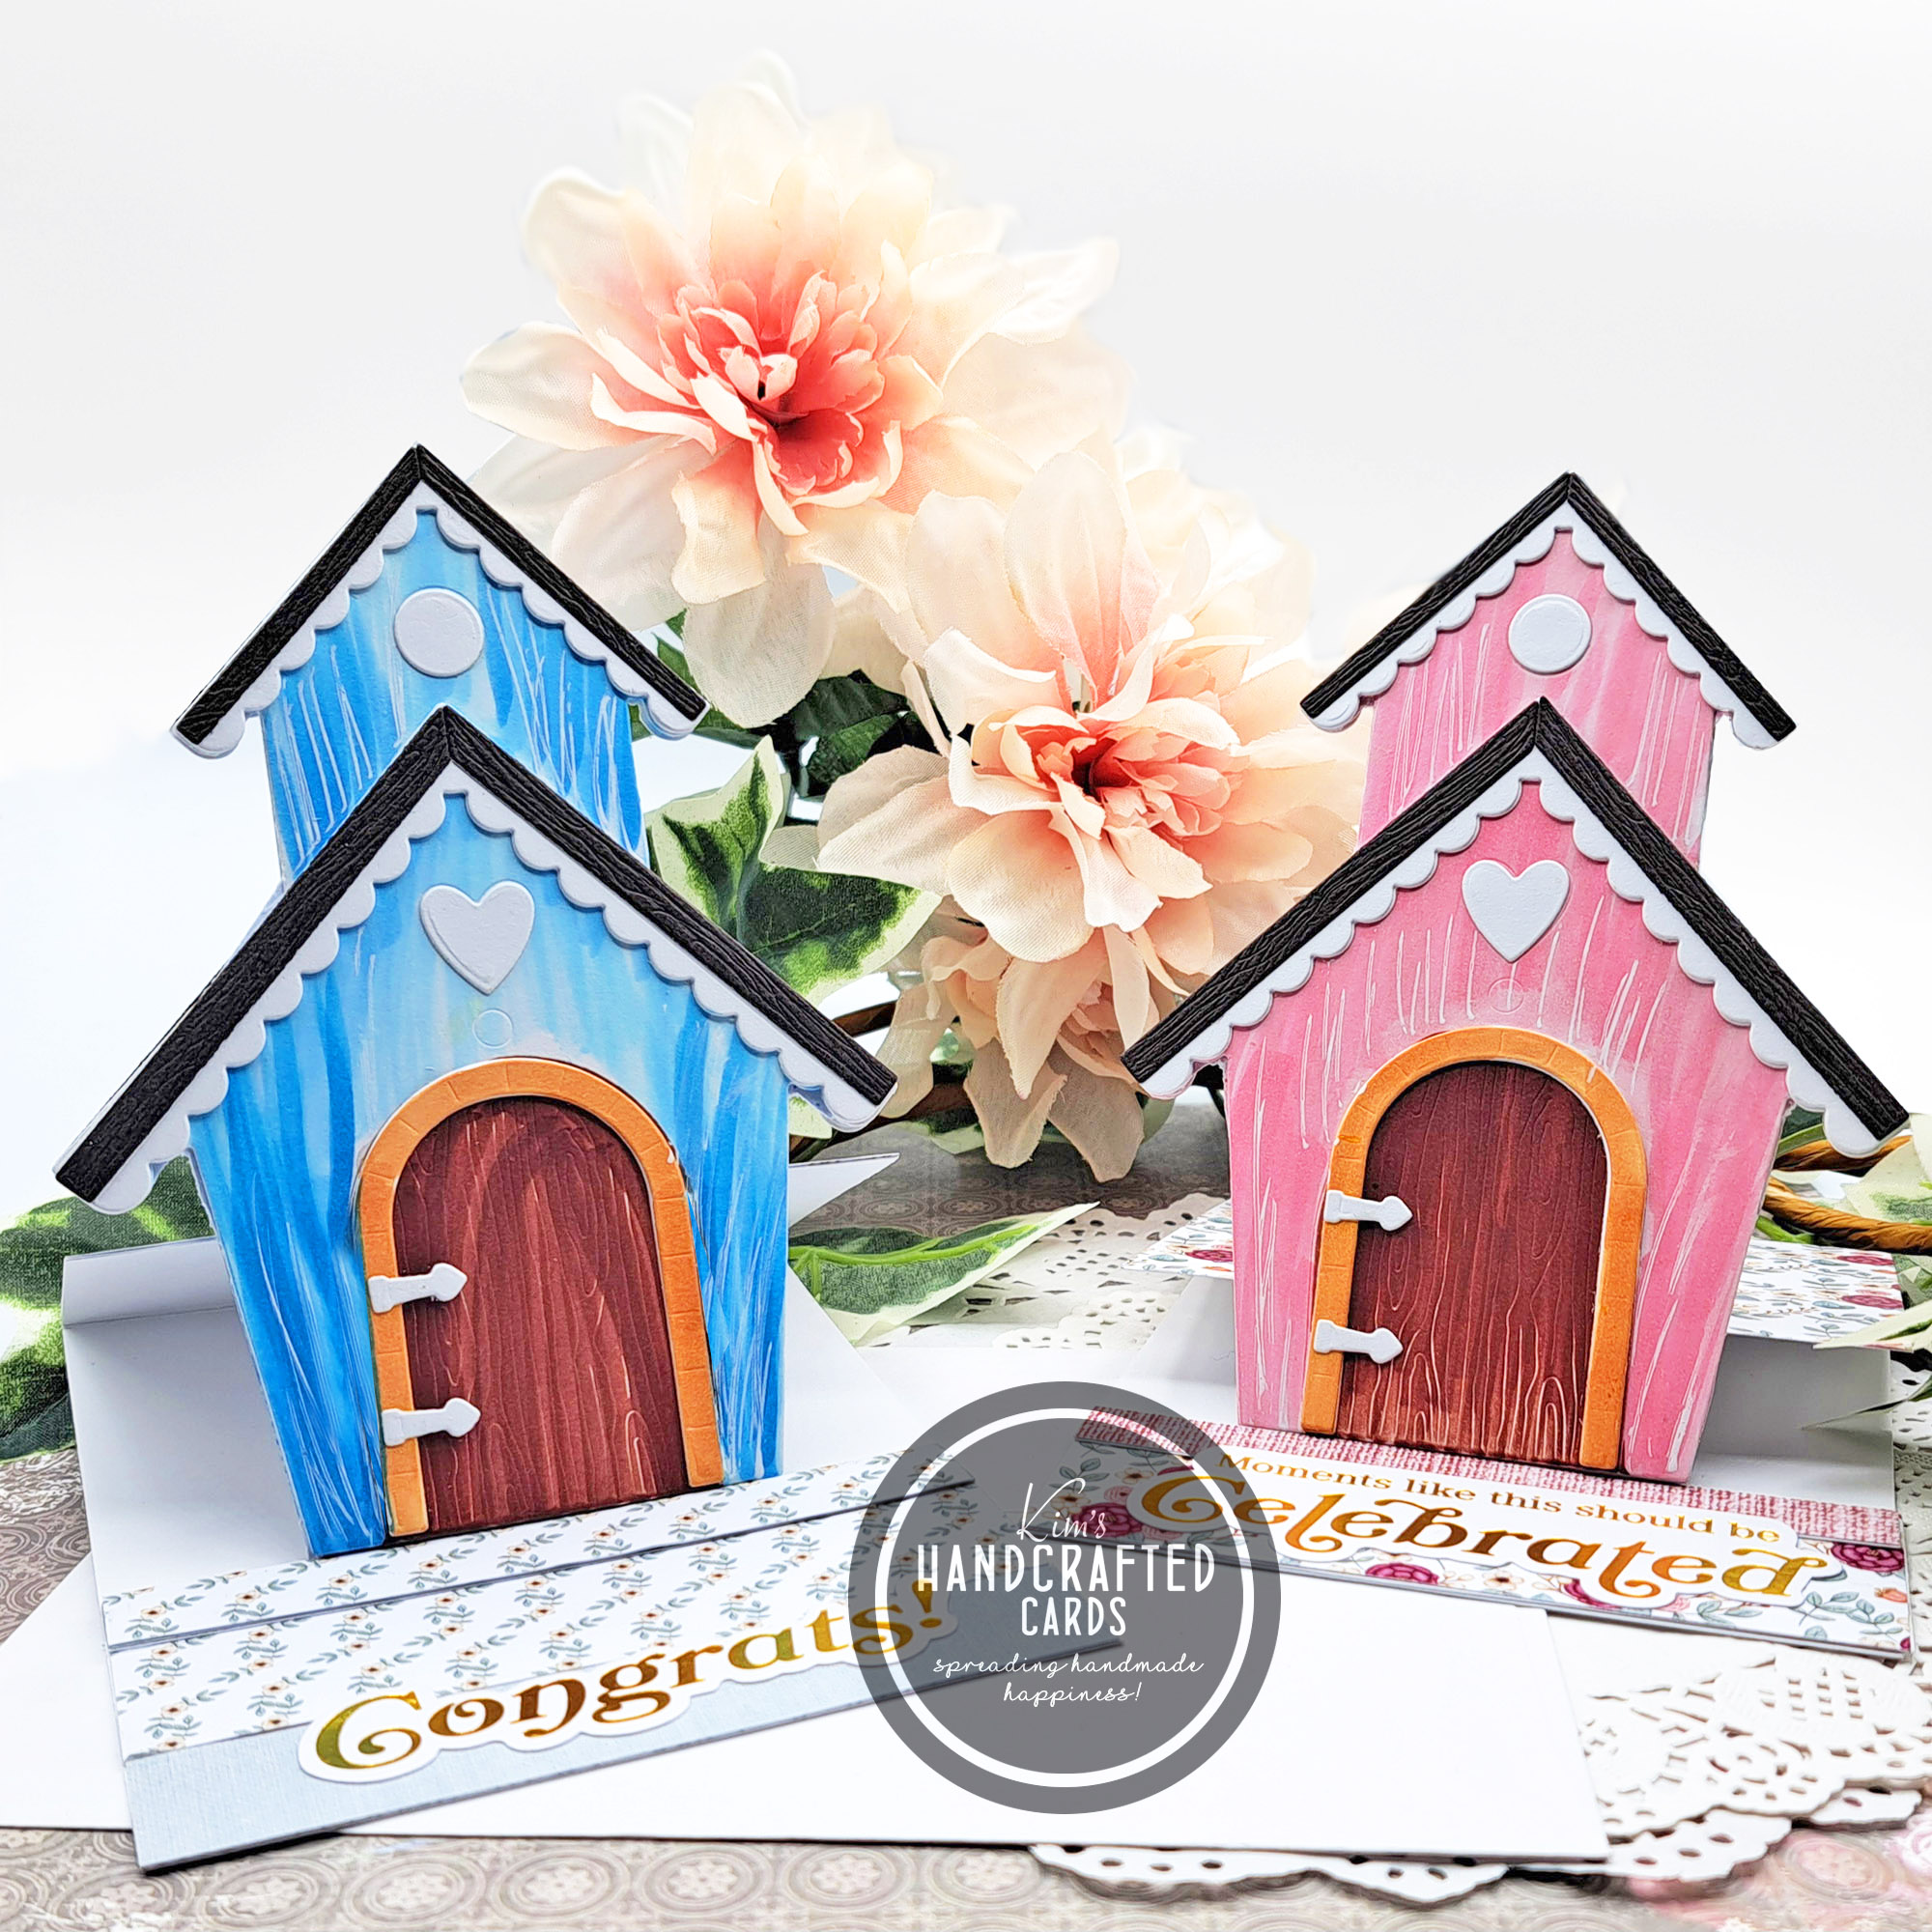
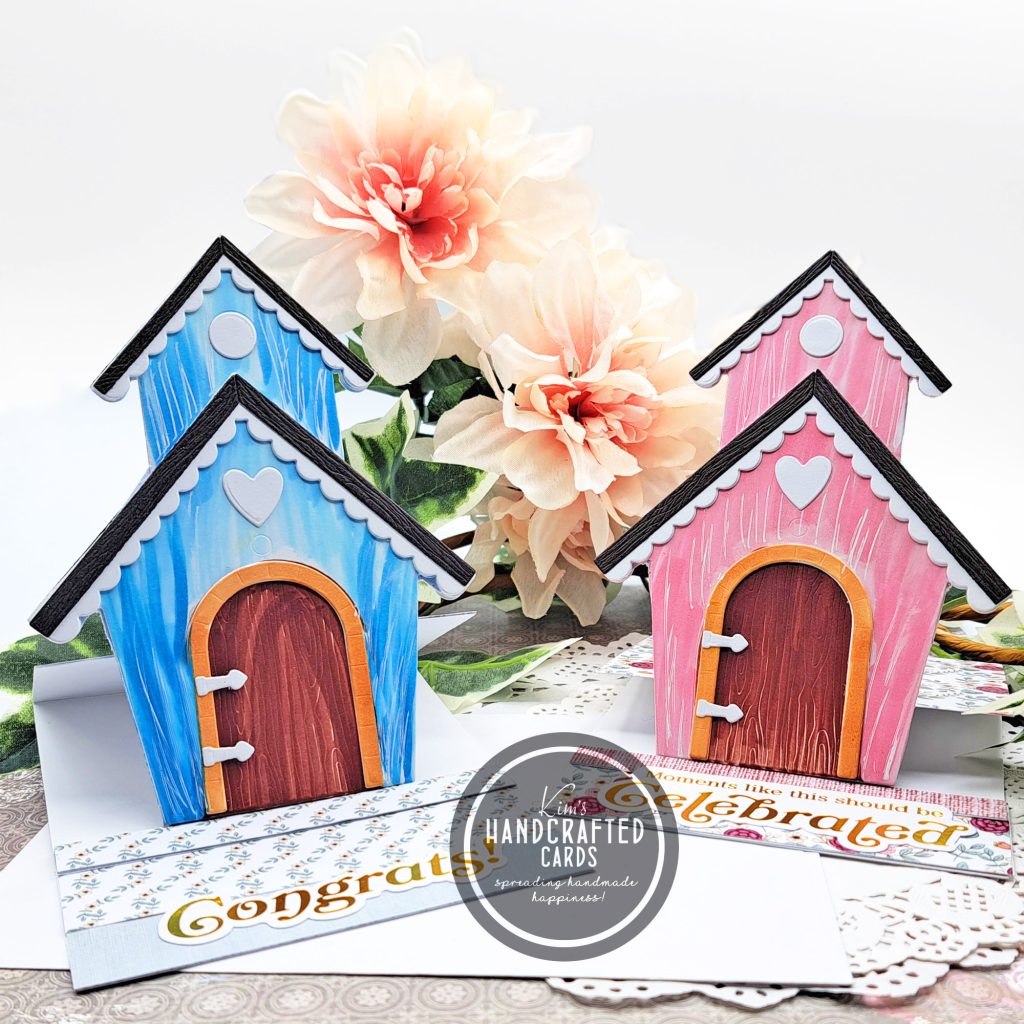
I decided to repurpose my 4 cards into 2 so first thing I did was remove all the birdhouse dies from those cardbases. This took some elbow grease on my part, but also I had to be careful cutting around the birdhouses. I then, glued the pink houses together and the blue houses together, this gave them such much dimension!
After that, I started looking back at other cards I’ve made that were a lot of fun to make and that’s when I saw easel cards. I LOVE making these types of cards. However, this time, I wanted to do a shaped easel card!
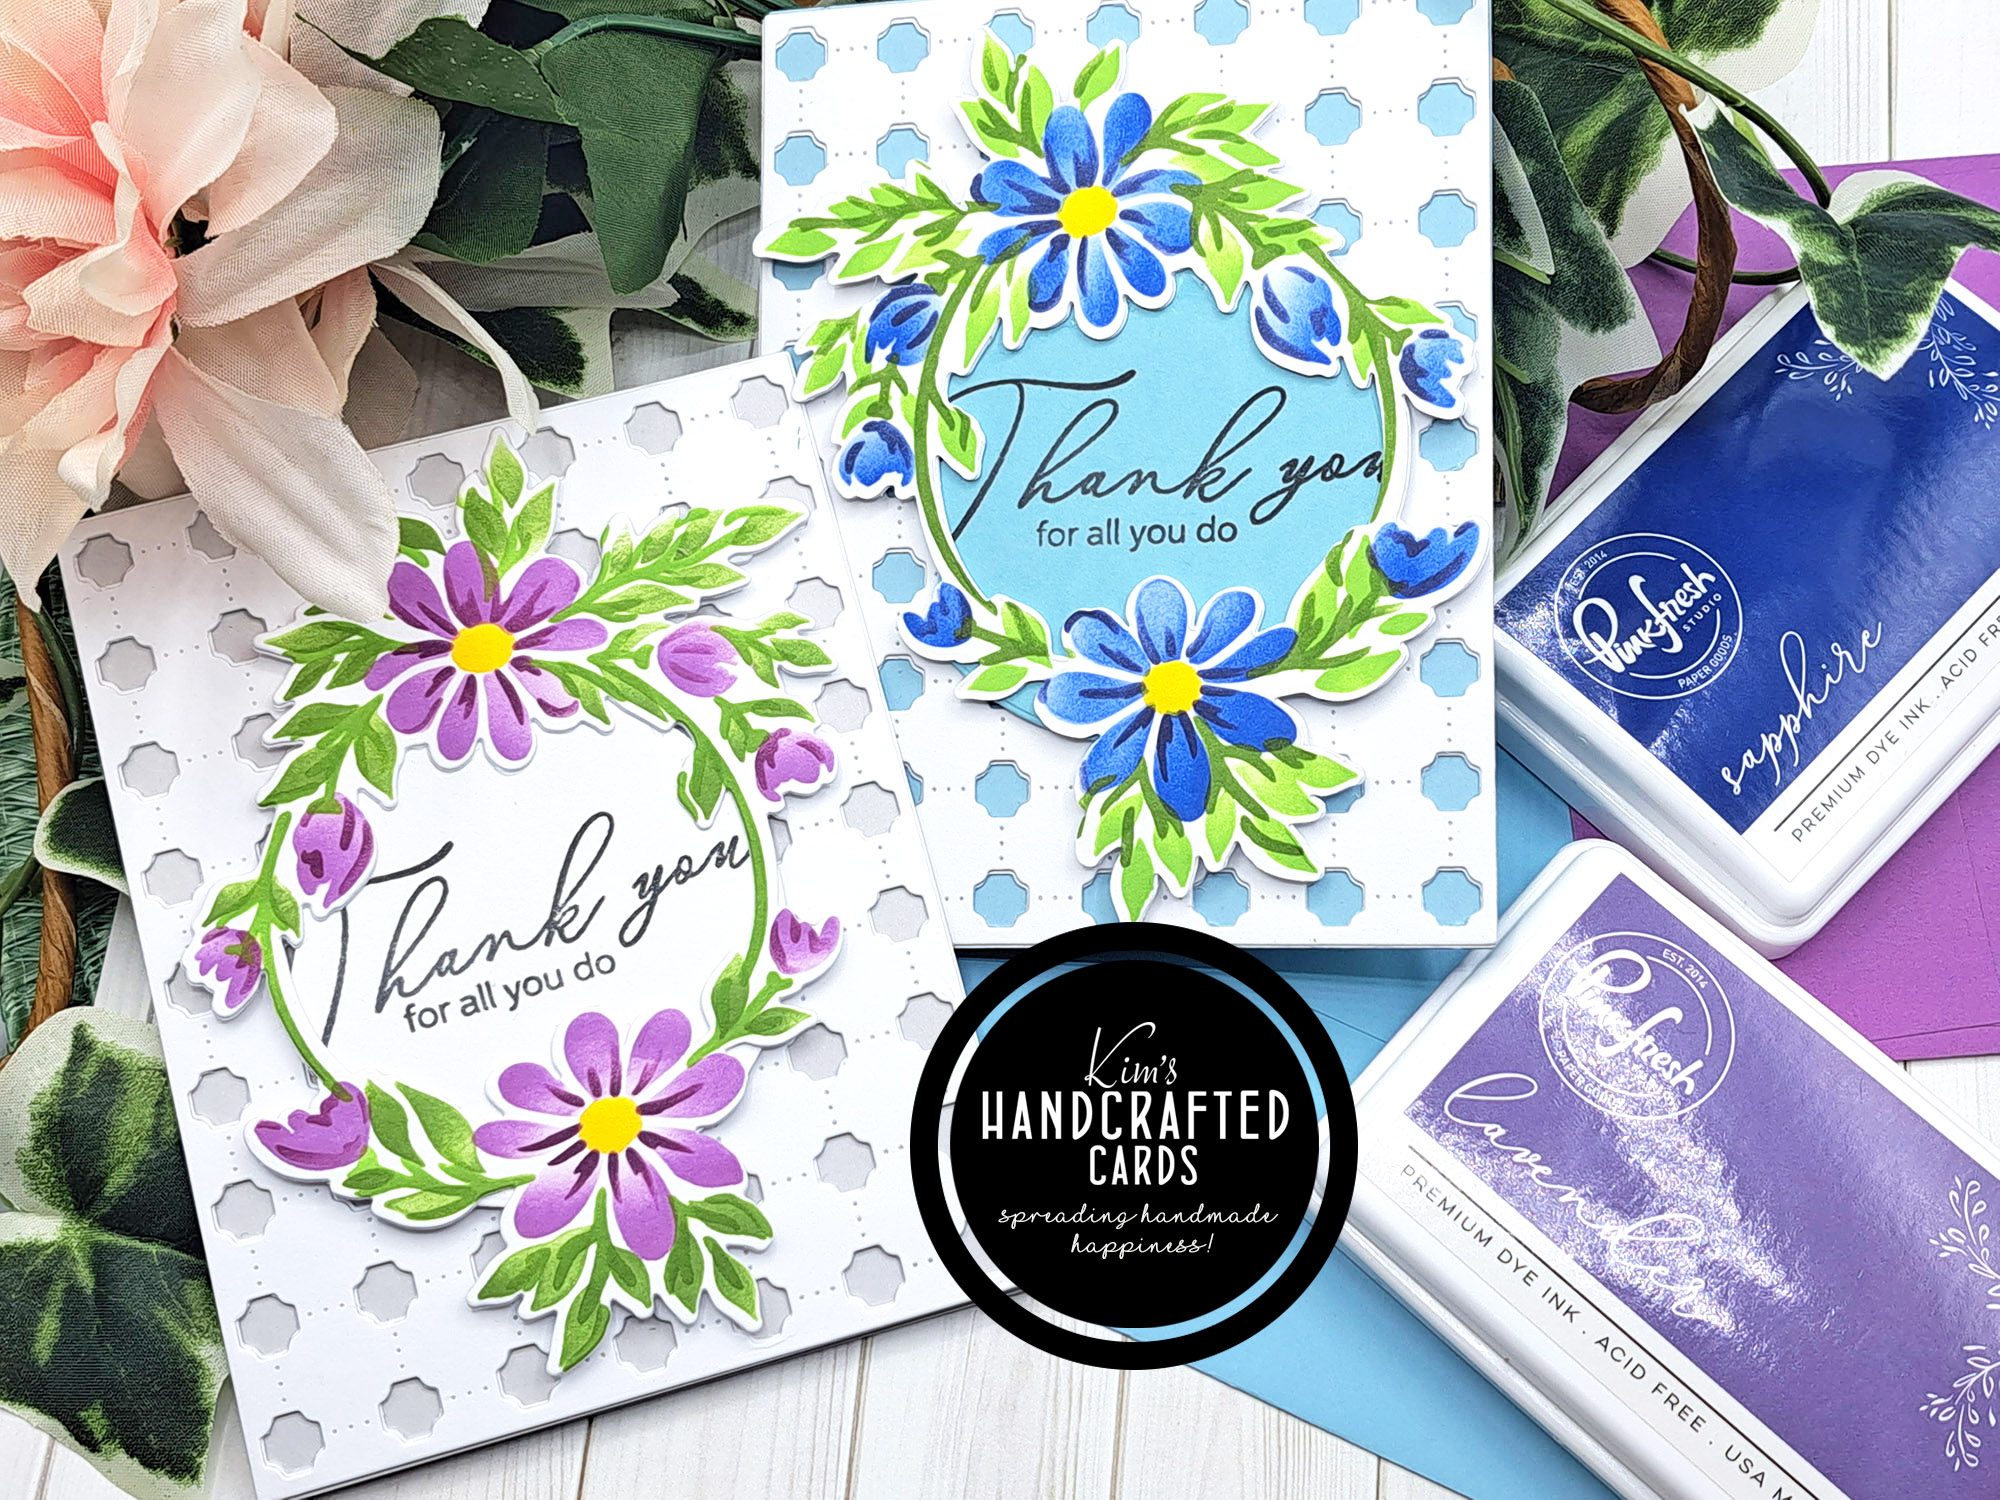
I picked out some pattern papers from Paper Rose Studio’s Embroidery pack to dress up my cardbases and trimmed them down to A2 sizes and set aside.
I re-watched Jennifer McGuire’s YT video, “5 Easy Easel Card Designs” to re-familarize myself with the process. And at the end of that video, she showed how to make a die cut the easel portion of the card and it was a lot easier to make than I thought.
Essentially, what did was measure the bottom of my birdhouse because I would need a leveler piece (this is the piece that will allow the die cut to stand up without showing the cardbase behind it.) I trimmed my levelers to a little over 2-1/4″ x 1-1/2″ with heavyweight white cardstock. It really should be heavy cardstock so as to have the strength to hold up the diecut.
Now to make a traditional easel card, you start with a top folding A2 cardstock (you can make easel cards in other sizes, but for me I was going with the A2 size). You then score on 1 side at 2-3/4″. However, you skip this step when making a die cut easel card. Instead, you cut at least 2″ off one side.
This is where that leveler piece comes in. So after I trimmed my leveler, I folded it in half, glued 1 side of it and adhered it to the back of that top part of the cardbase piece that was left over after I cut off the 2 inches. It should line up to the score line of the leveler.
Now, I added glue to the other half of that leveler and placed my birdhouse on top of that. While the glue was drying, I worked on the stopper piece that will allow my birdhouses to sit up like an easel. This part was really easy, because all I did was trim cardstock pieces to 4-1/4″ width about 4 times because dimension and strength is needed to hold up the birdhouses.
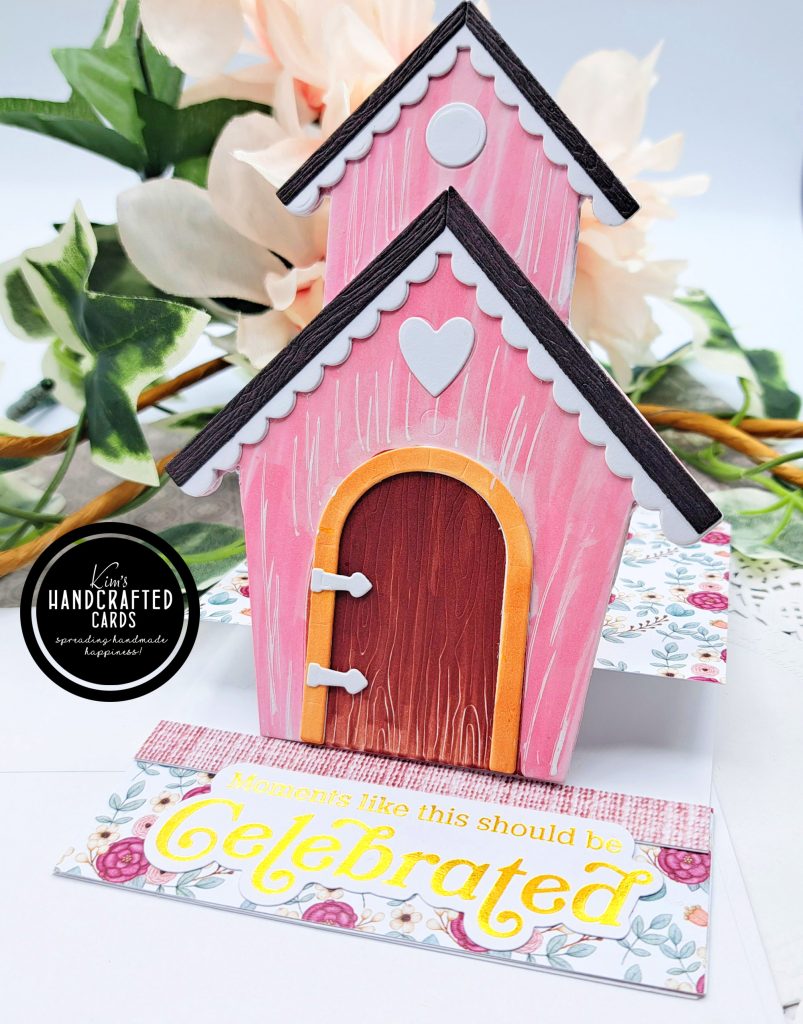
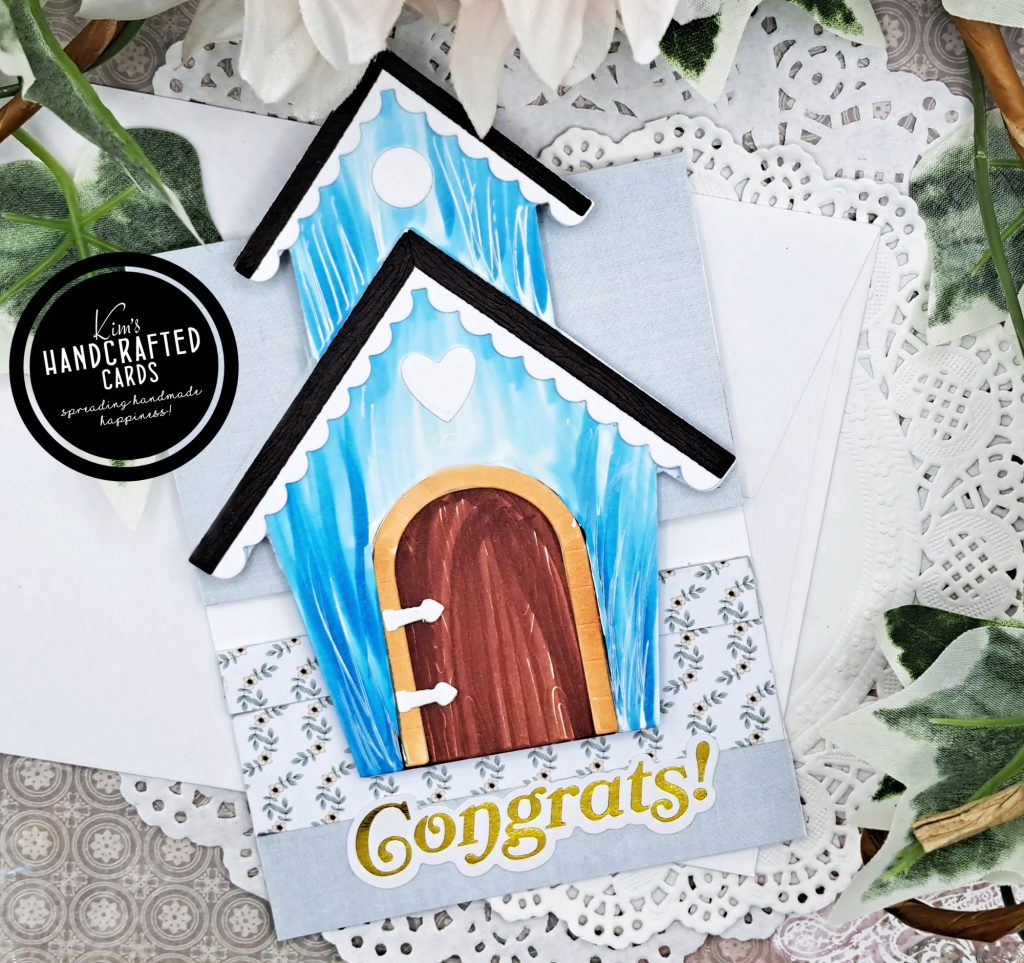
I glued my stoppers to the edge on the inside of my cardbases and cut off any excess. Now I have my easel card design and my house can sit up perfectly! I added some gold sentiments from Pinkfresh Studio and the inside has room for a personal message. The purpose of the sentiments was I was going for more like celebrating buying a home but I only have birdhouse dies :D! What does it matter, it’s a handmade card gift right?! LOL
Two other things to mention: (1) I messed up my blue birdhouse card and had to fix it so you’ll notice my stopper is longer than on the pink card. Oh well, at least I was able to salvage it!, and; (2) These cards won’t fit inside an A2 sized envelope, but fits inside a 5 x 7 envelope nicely. If I had omitted the top portion of the houses (kinda reminds me of a chimney), it would fit an A2 envelope. But again, that’s fine, I can hand these cards to someone or drop them in a care box and mail out.

I really, really loved how these turned out, so much better than my original idea. Tell me what you think of these! Did I do okay finishing what I started? Do you have craft projects you started and haven’t finished? I encourage you to challenge yourself to complete it even if you have to start over. I’ve done that many, many times. It just feels good to finish what we start!
I took pics under different lighting settings so you can see how the gold foiled sentiments glows.
Thanks for reading!

- Honey Bee Stamps Bird house A2 Card Base
- Paper Rose “Embroidery” pattern paper pack
- Copic Sketch Markers here, here or here
- Pinkfresh Studio Ephemera Foiled Sentiments Pack
- Gemini Jr. Embossing & Die Cutter here or here, get the new Gemini here
- Accents 100 lb. White Cardstock
- Bearly Art Glue
- White #10 Gelly Roll Pen
- Glassboard Craft Mat → Use my Code → KIMCARDS20 at checkout