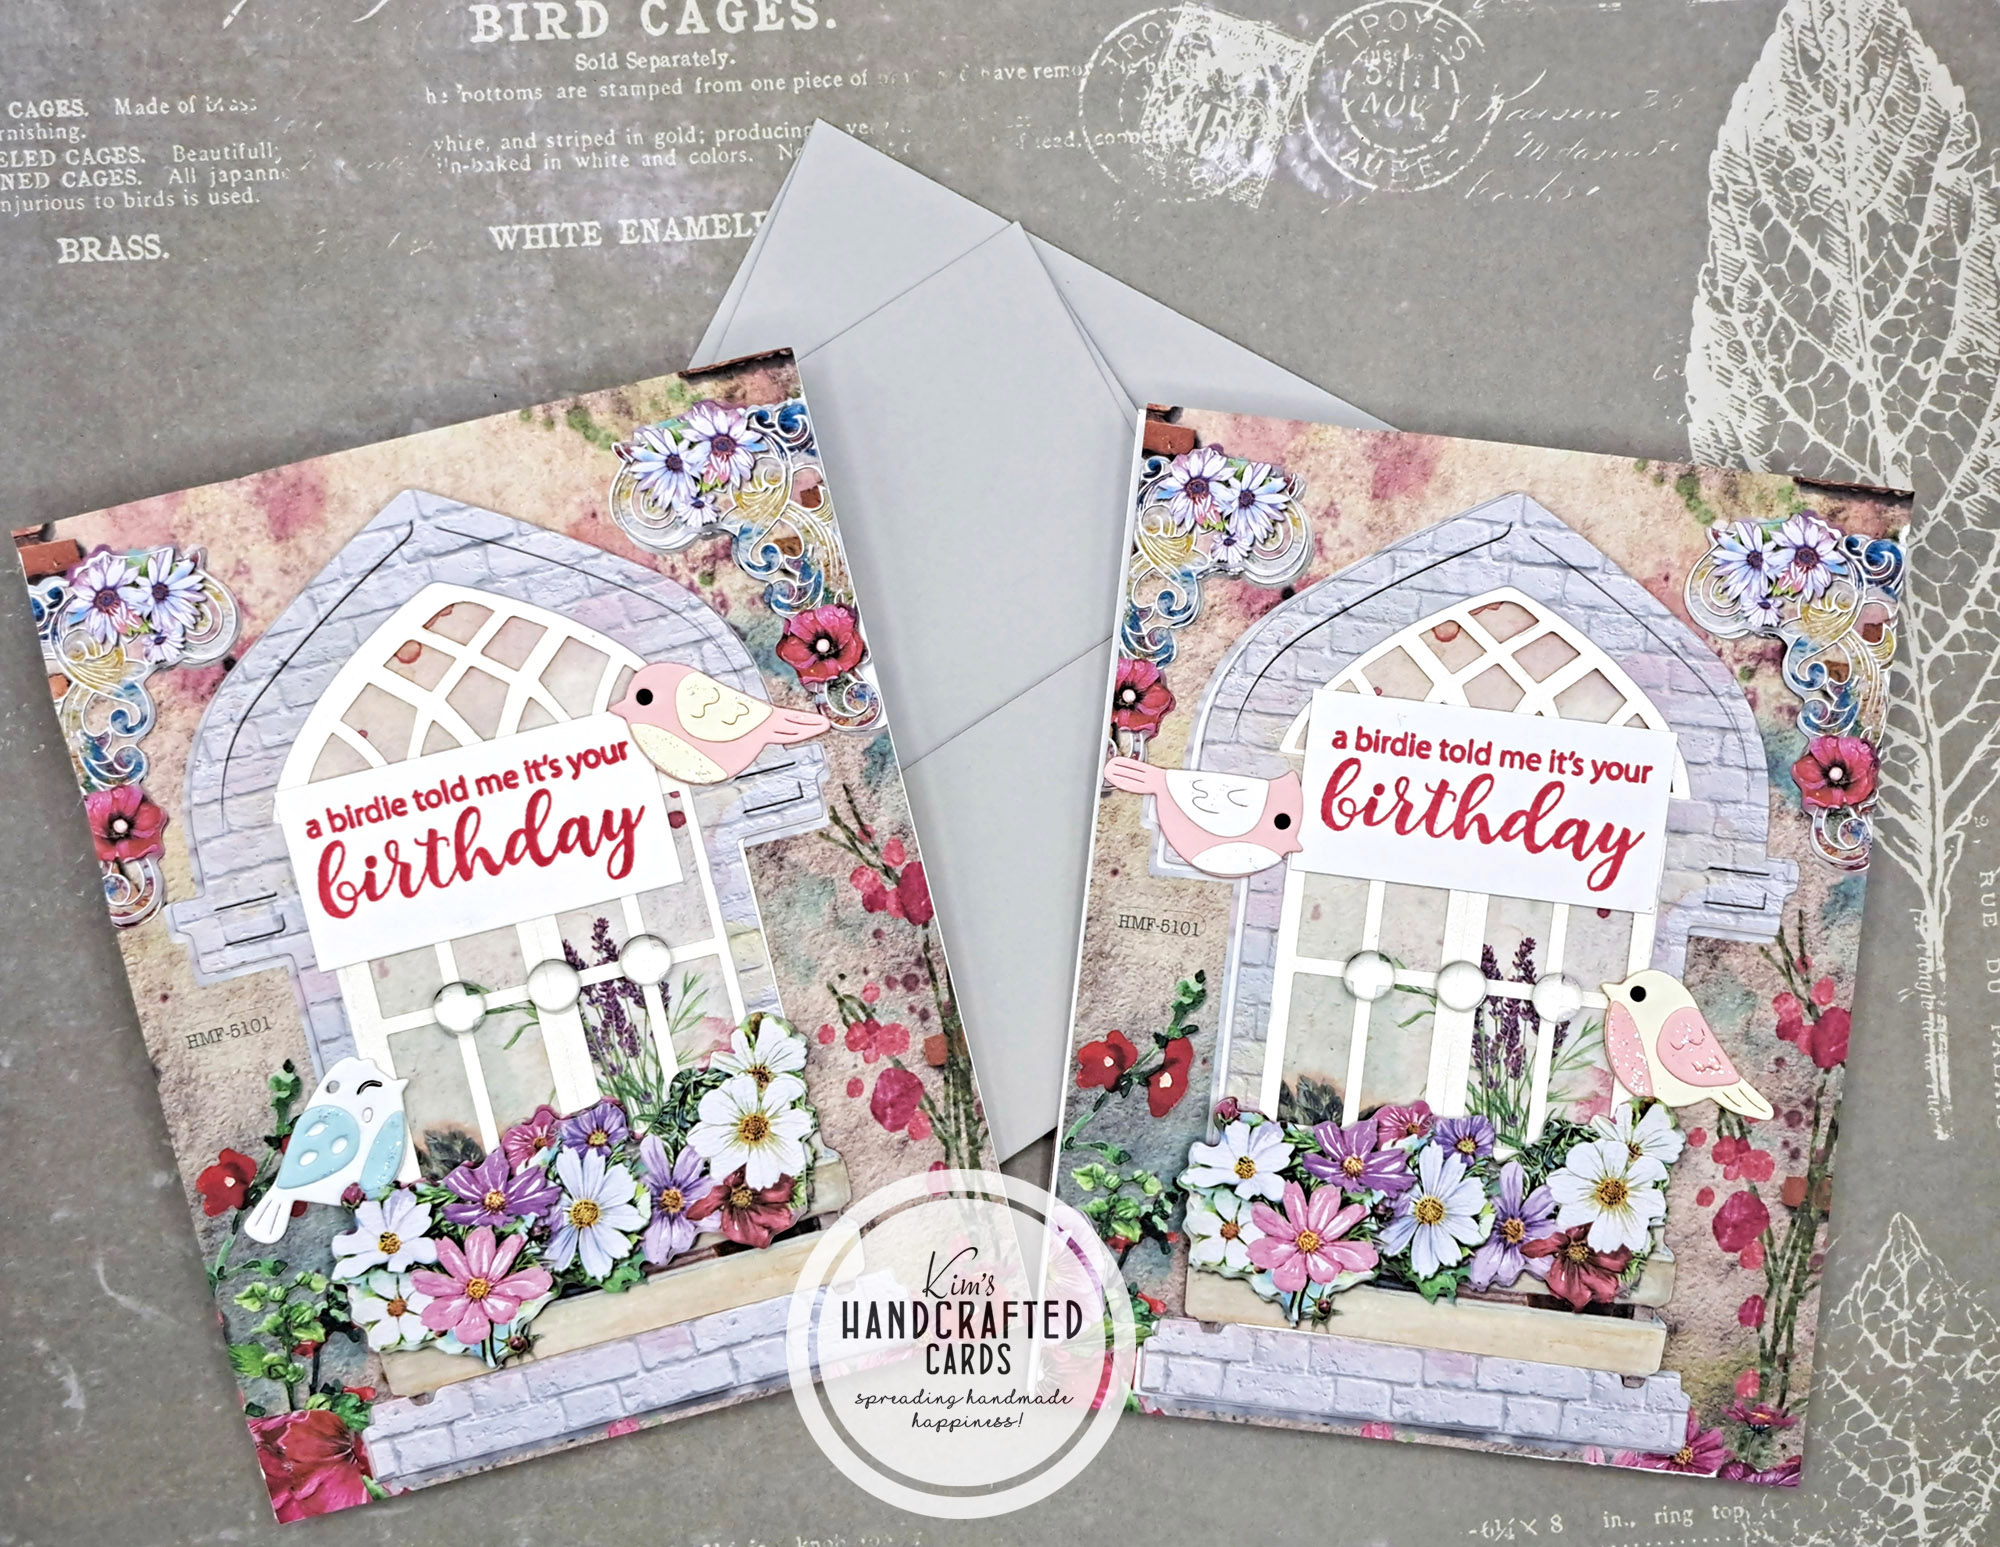
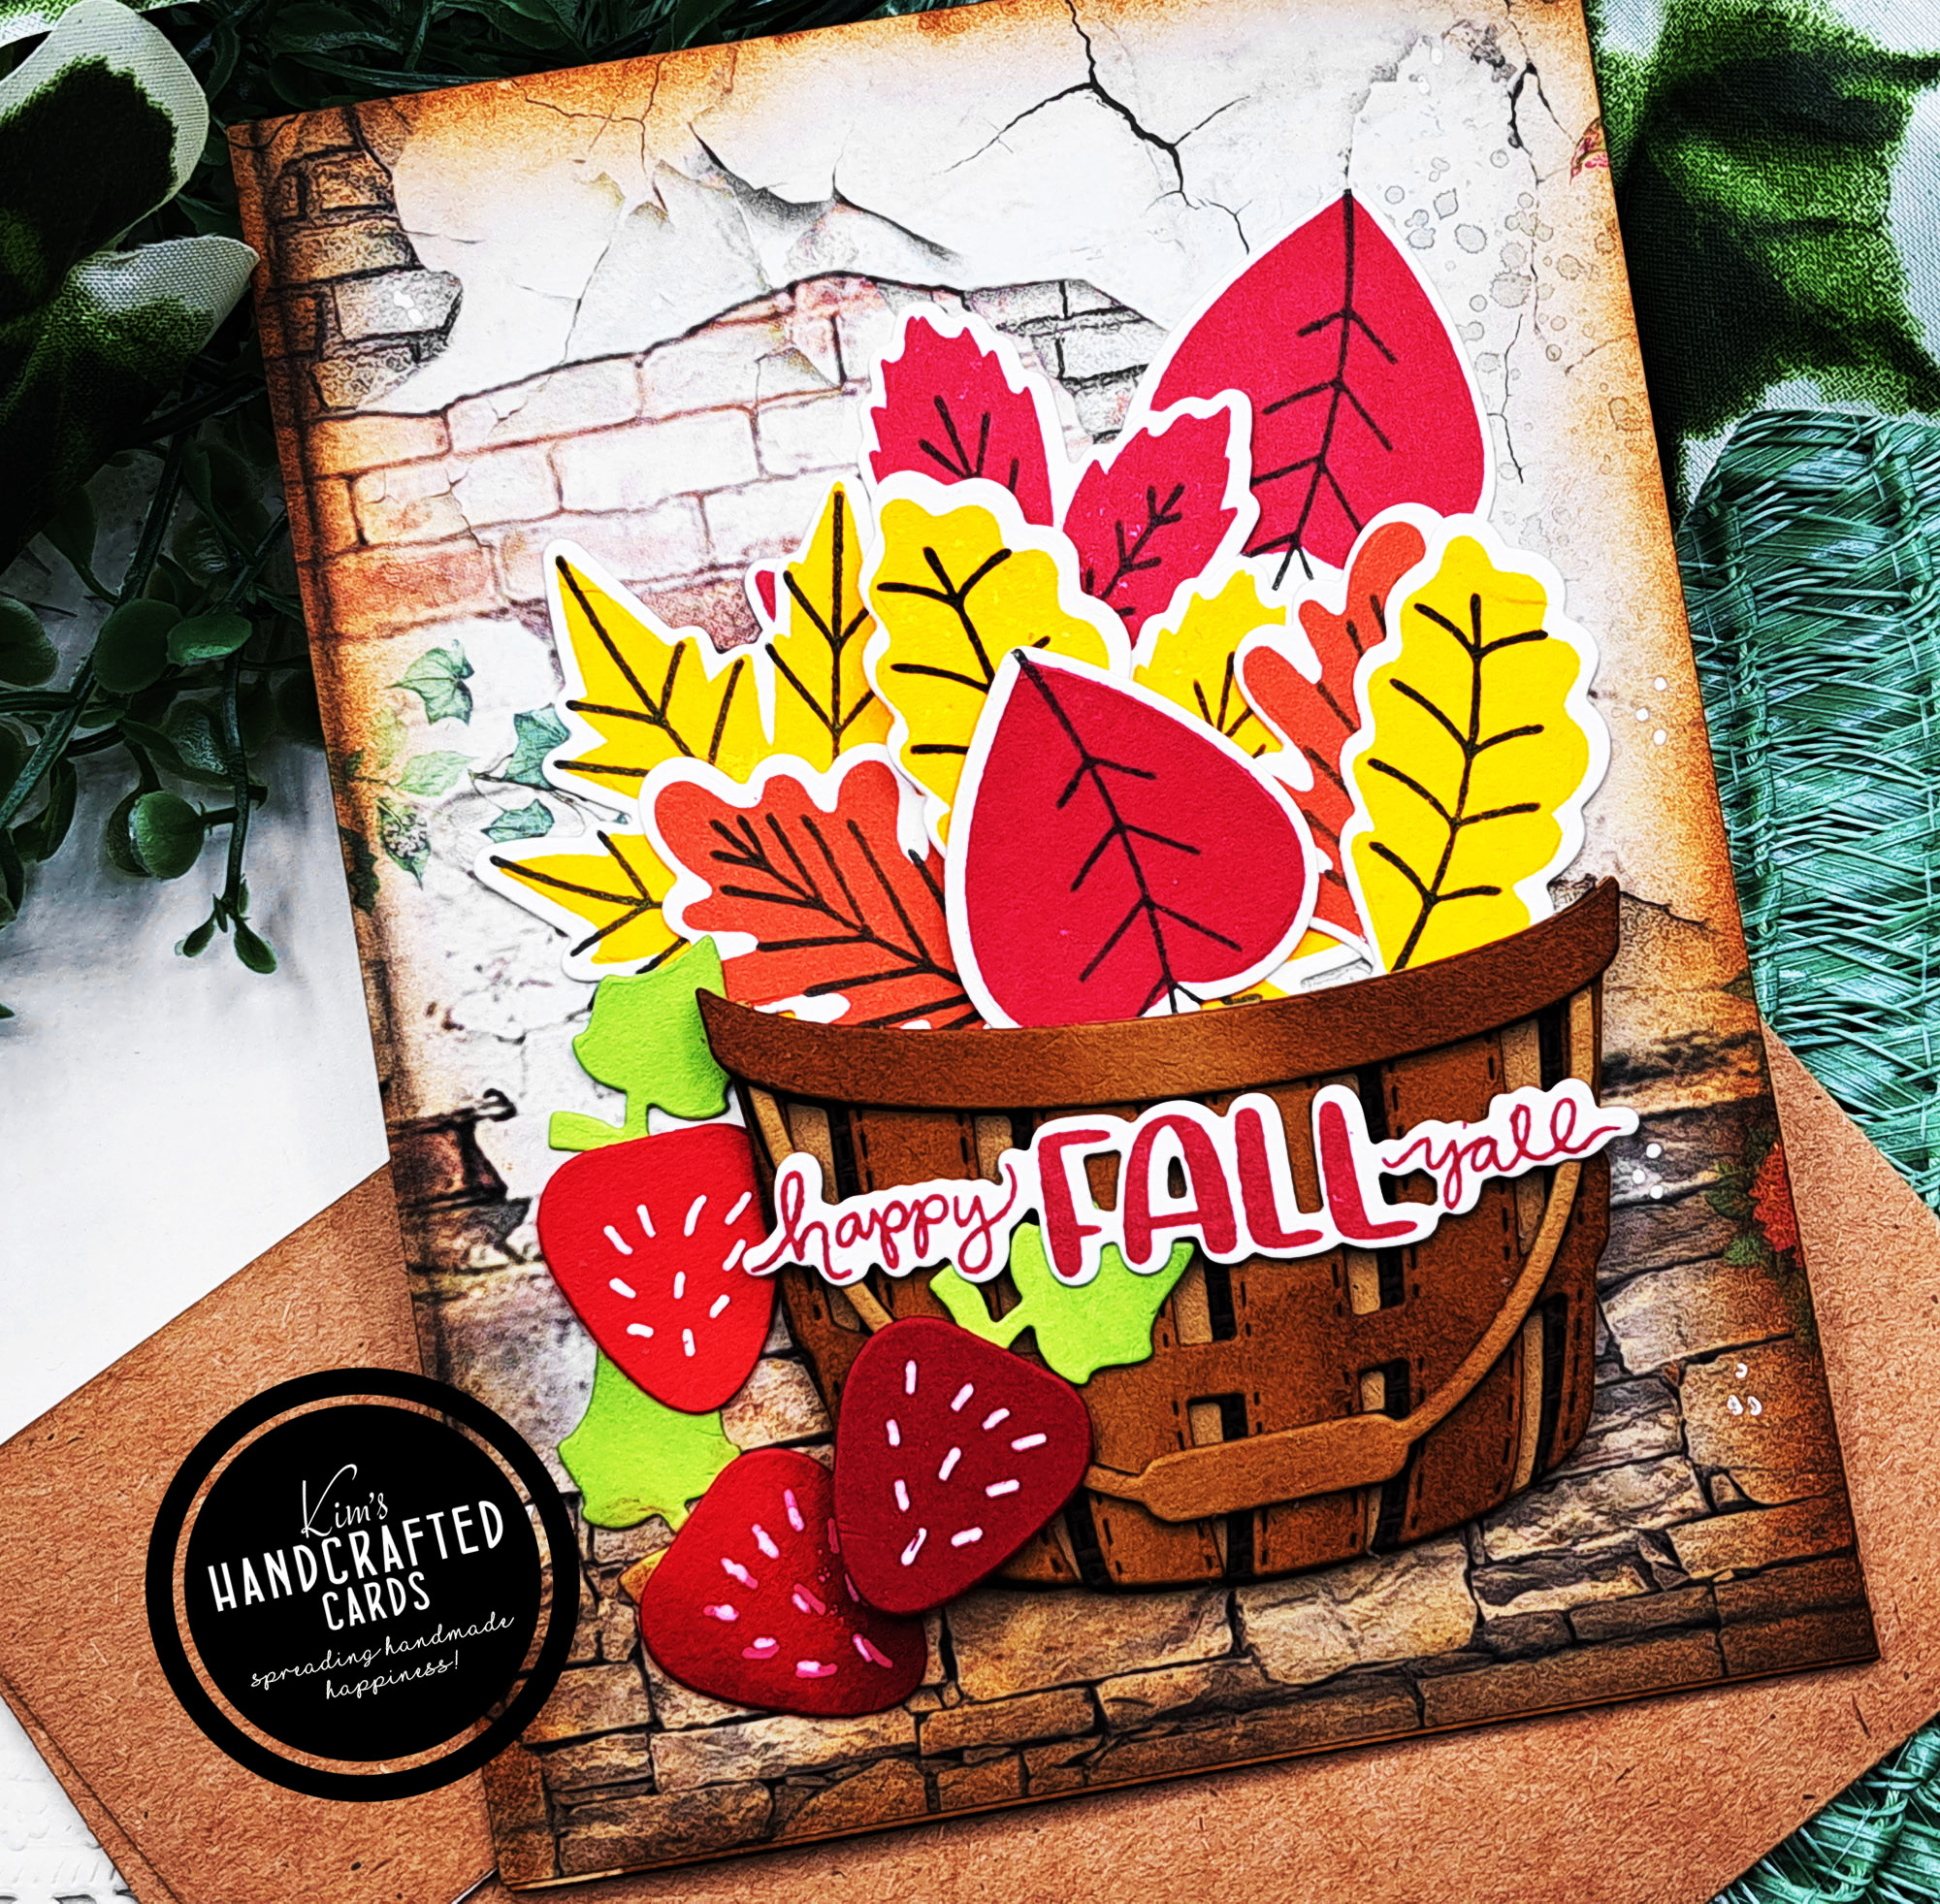
Today’s post is different than what I usually publish, but I’ve been thinking a lot about how to extend GUIG to include more interesting content by adding different topics to share.
One idea I tossed around was sharing what I’m making. Because I’m handmade crafter, I thought it would be fun to show you some of my current projects from time to time. I like paper crafting but also I love to play with fabric. And, having a variety of fun blog posts will give you a little break from reading all the serious stuff! LOL!
Anyway, a fact about me: I started crafting at around age 12 crocheting prayer shawls. I took one class in Chicago and shawls was all I made for years. When we moved to Oregon, I joined the women’s ministry crafting class and that’s where my love of yarning really took off. I crocheted and knitted hundreds of items for the annual church bazaar including: hats, scarfs, home decor items: like hot pads, wash cloths and finally clothing! It ended with my shoulder and wrists and that’s when I transitioned to paper crafting (cardmaking).
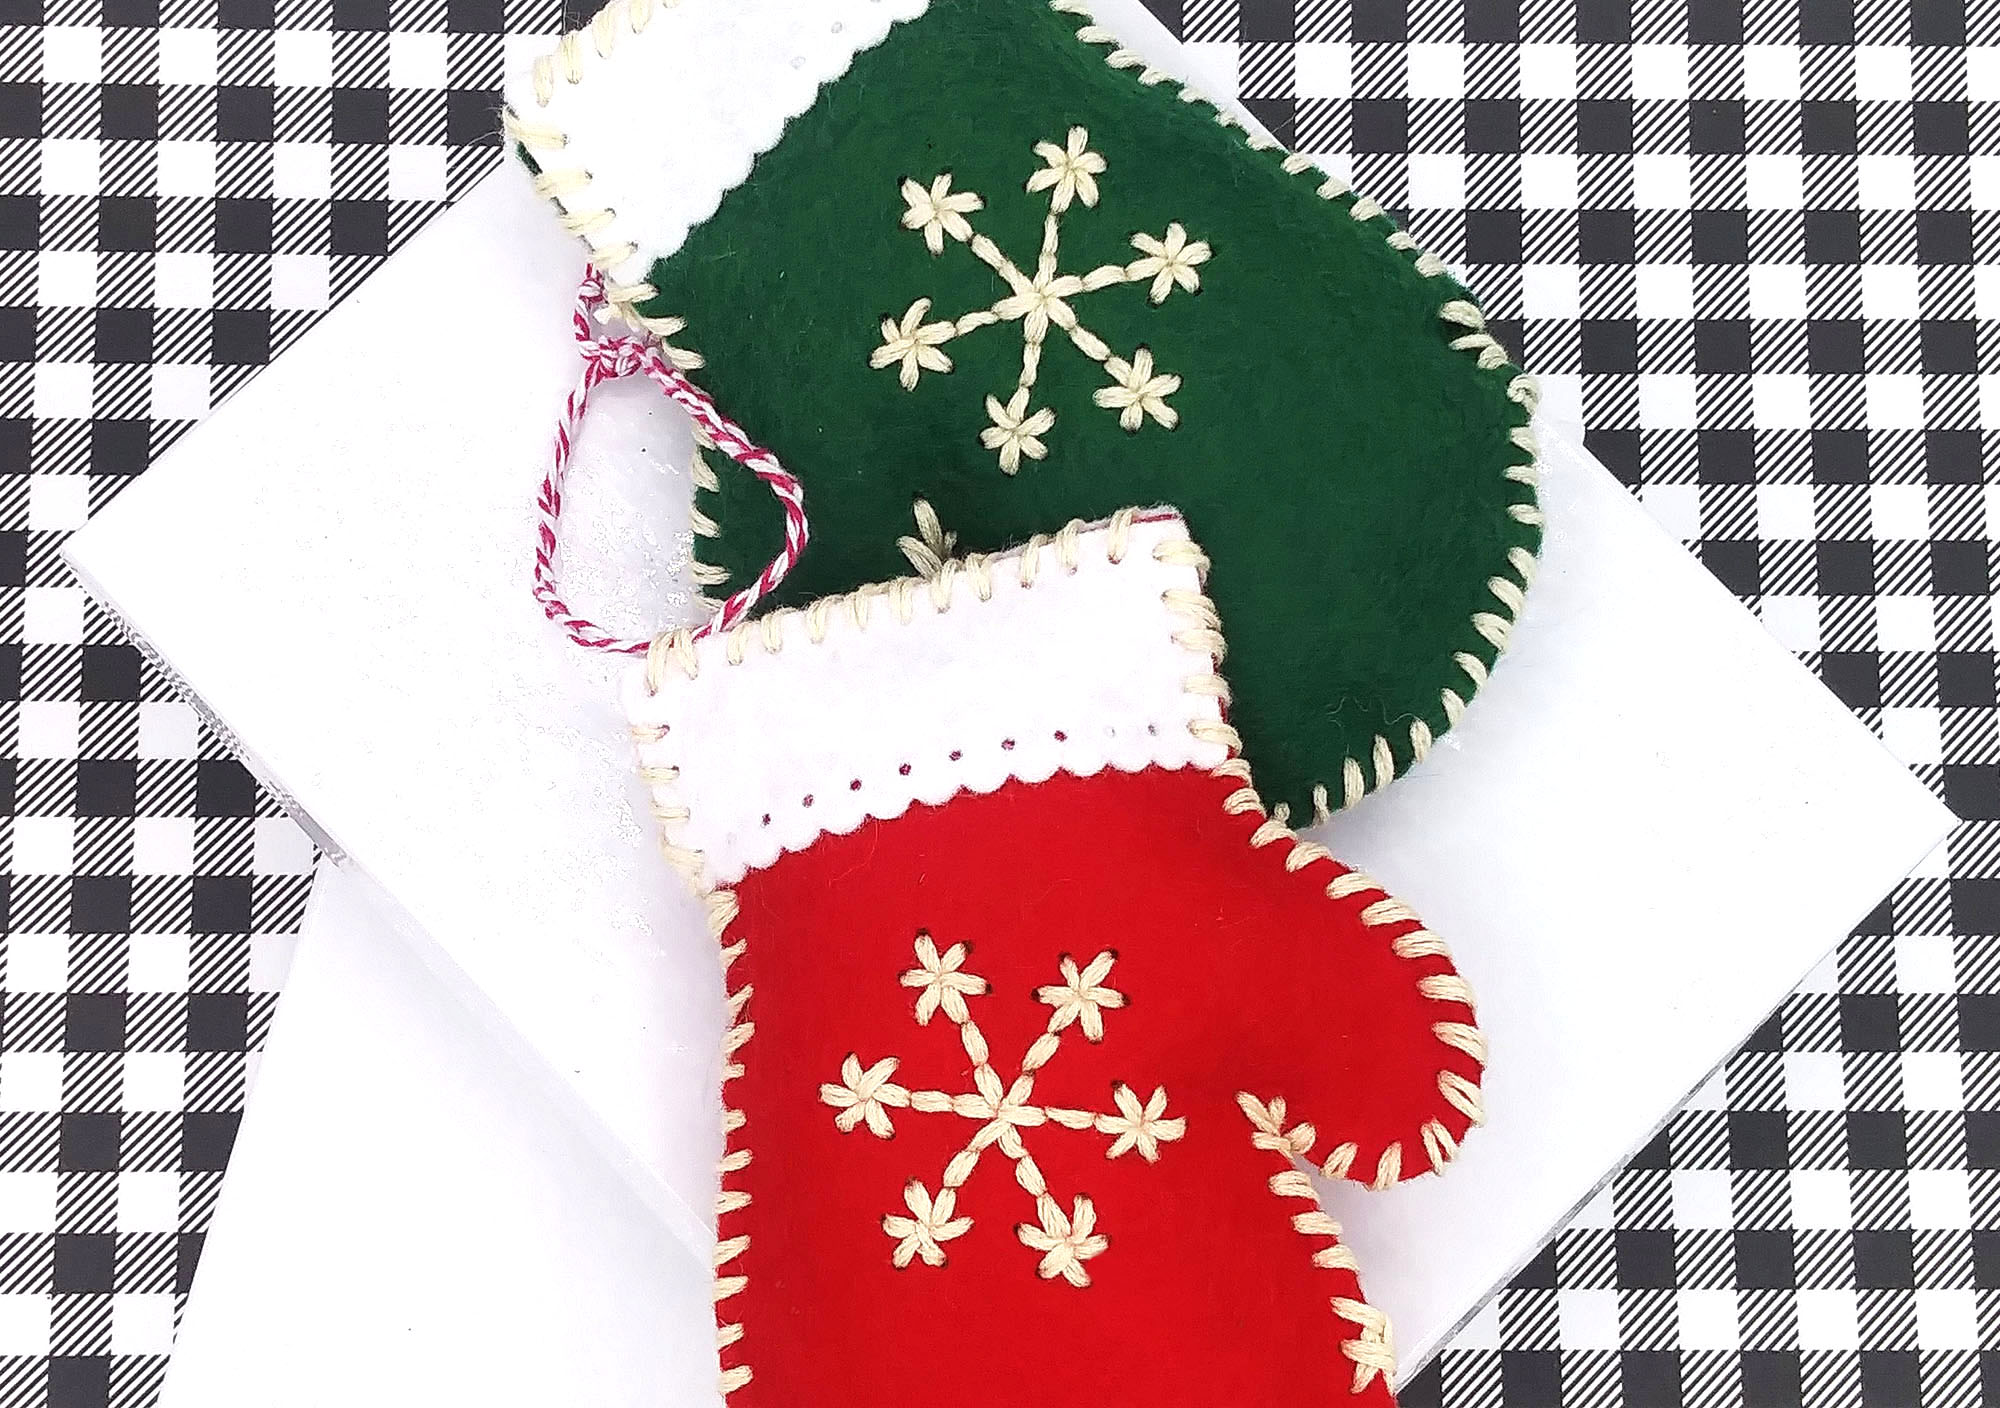
I still love to make cards, however I haven’t lost my love of fabric so when I saw a YT video about stitching on felt, I was all in! I purchased a plush mitten die set that comes with the mitten, cuff, snowflake and buttons dies. I bought some felt and had a ball making these little mittens!
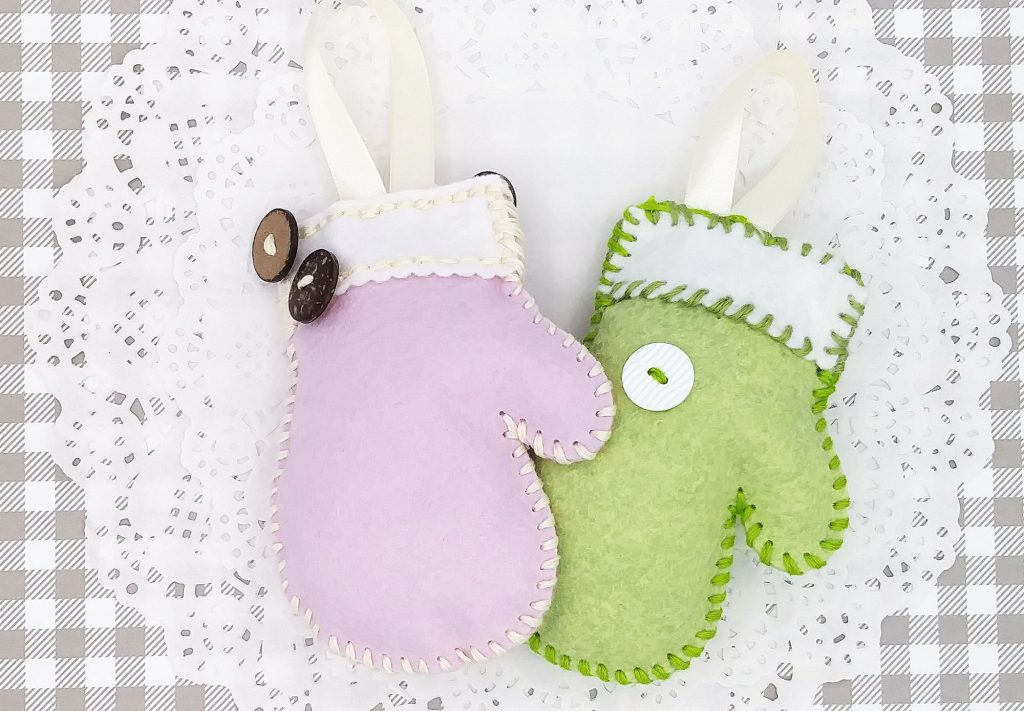
My cross stitching skills are not the best but it sure is fun. I already had a lot of embossing thread and tapestry needles on hand from my crochet/knitting days. The first mitten (green) I made shows all my stitching mistakes, but I’m including pics so you can see how I was able to do better on the next few mittens.
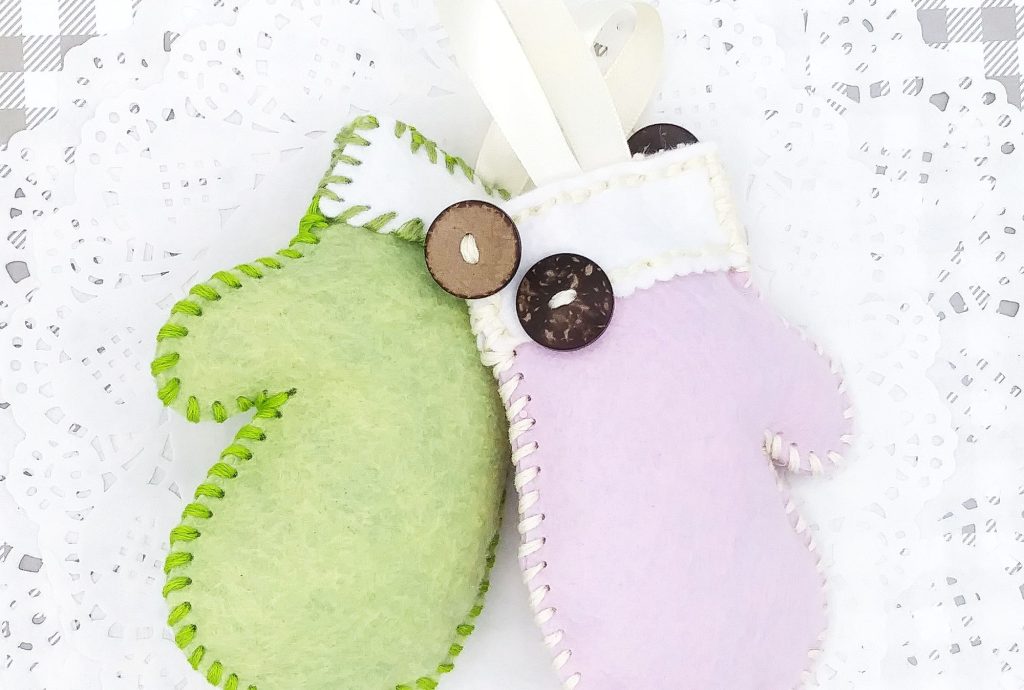
The way the die works, it comes in 2 pieces: the mitten portion and the cuff. To stuff it, you die cut 2 of each pieces on the felt. I used my Spellbinders Platinum 6 die cutting machine. The die cuts the little holes for stitching and this felt is so soft. I had no trouble stitching my embroidery thread through the felt.
I used the DMC 6-strand thread and hid all my knots in between each piece of felt. I added some buttons from my collection and ribbon for a handle. I’m planning on hanging these on our Christmas tree this Holiday.
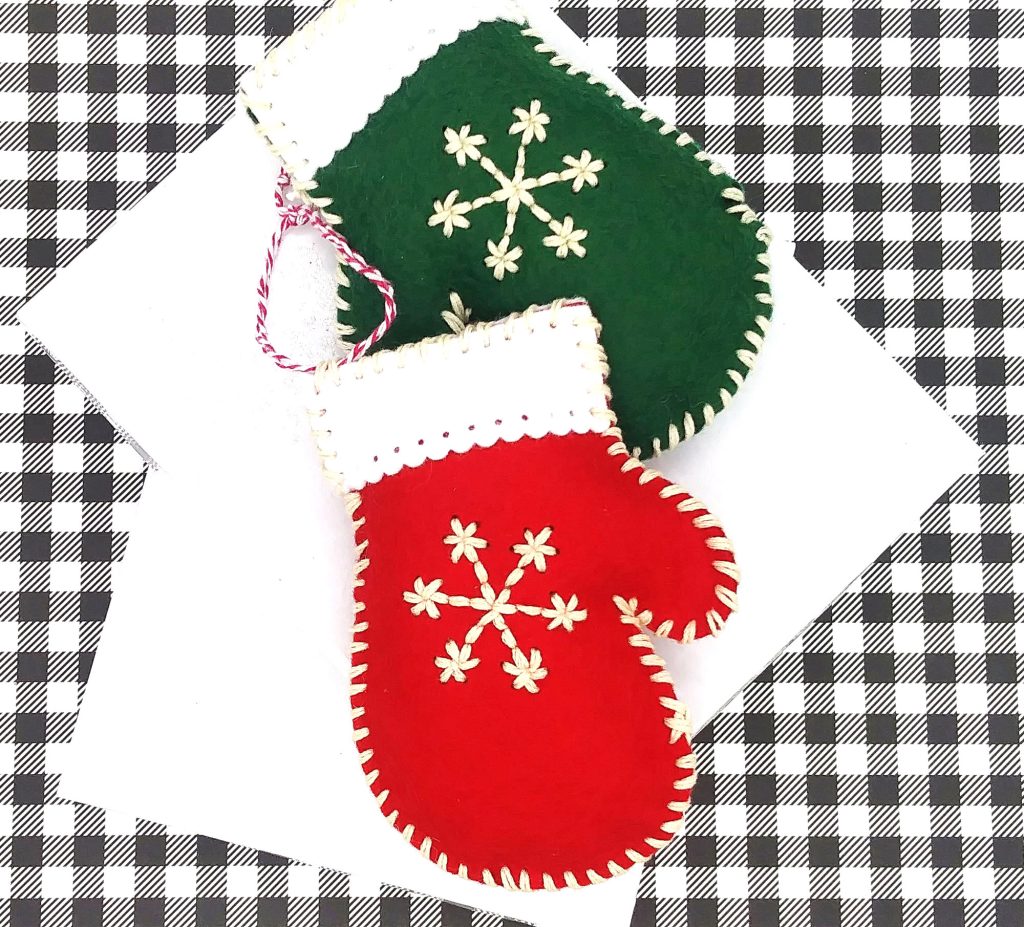
You can clearly see where I went wrong on the top of the green mitten. There’s a certain order that I should have followed and I didn’t figure that out until I made the pink mitten. I think it turns out better when I put the 2 mitten pieces together with the 2 cuffs and stitched through all the holes at once.
When I made the first mitten, I stitched the cuff on the front side of the mitten and then repeated that for the back side. So, when I stitched the front and back together, it made the top of the mitten not look as good as I wanted.
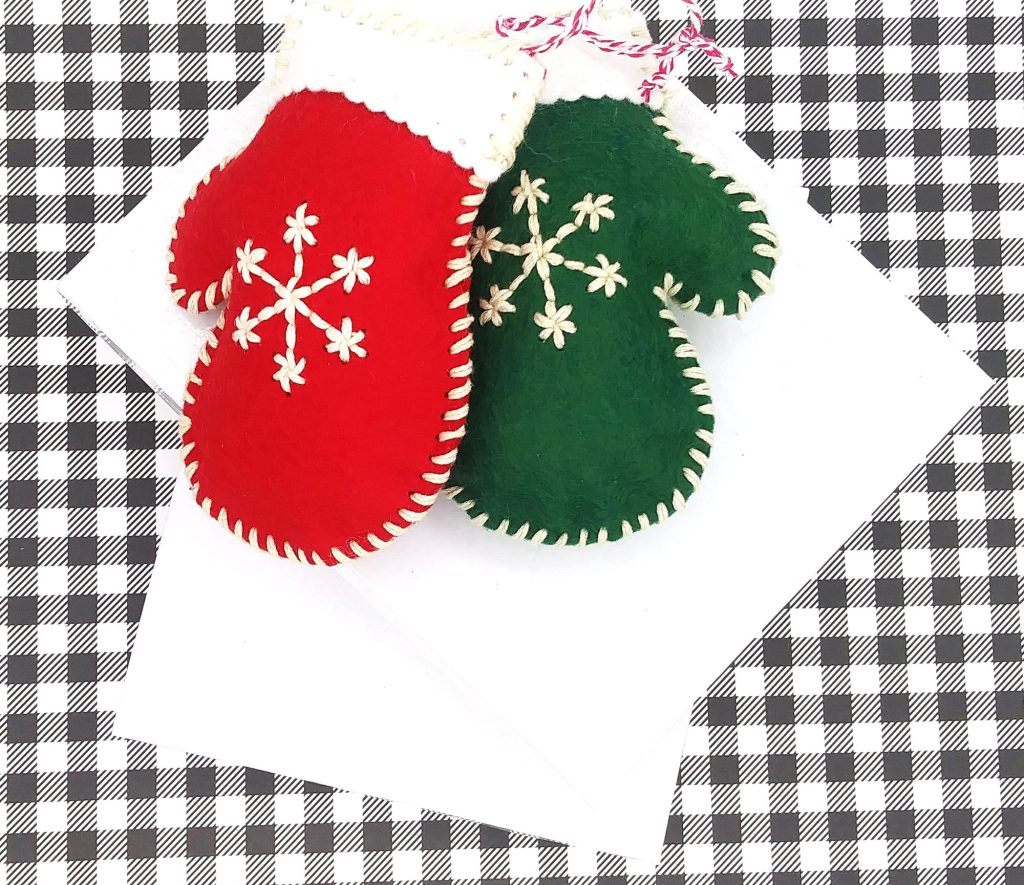
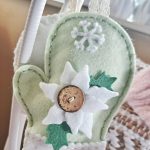
Here’s where I got smarter LOL with my stitching, practice, practice, practice! Decided to add the snowflake so I die cut the holes in the center of these mittens to stitch and I LOVE how these 2 came out. The mitten die set also includes a button die and I think for my next few mittens, I’ll use it and stitch that with a different color thread.
I took some twine to make the handle on the red mitten, I still need to make one for the green one but I was thinking of crocheting a short handle for it. It shouldn’t take more than 10 minutes to do so my wrist should be okay! To stuff the mittens, I used some polyfill that I also had in my stash and I made sure not to overstuff them.
There’s other plush dies that I can buy. I saw a snowman, penguin and a stocking but not sure if I will buy more. I do want more felt because I want to make some brown mittens.
I think it is so much fun to make with your hands. It helps me with my healing process + it’s satisfying when you make something yourself. Let me know what you think! Do you like to make crafts?, or are you thinking of crafting? Please do share, I’d love to hear from you!


