It’s been a minute since I’ve crafted and posted a card. I took a long break from social media and crafting. I was focusing more on my day job, reorganizing my craftroom (that’s an almost daily thing LOL) and moving over old recipes to GUIG and that’s a HUGE job.
But also, I go through phases. Sometimes I just want to make, make, make for months followed by months of not wanting to create anything. I don’t like pressure either and I put myself under a lot of it when I sold cards on Etsy. Now, that I can create whenever I want, it’s better. So, anyway this past week, I got inspired to make some cards thanks to a couple of videos on YT!
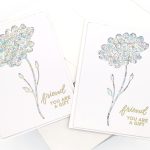
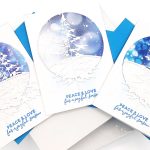
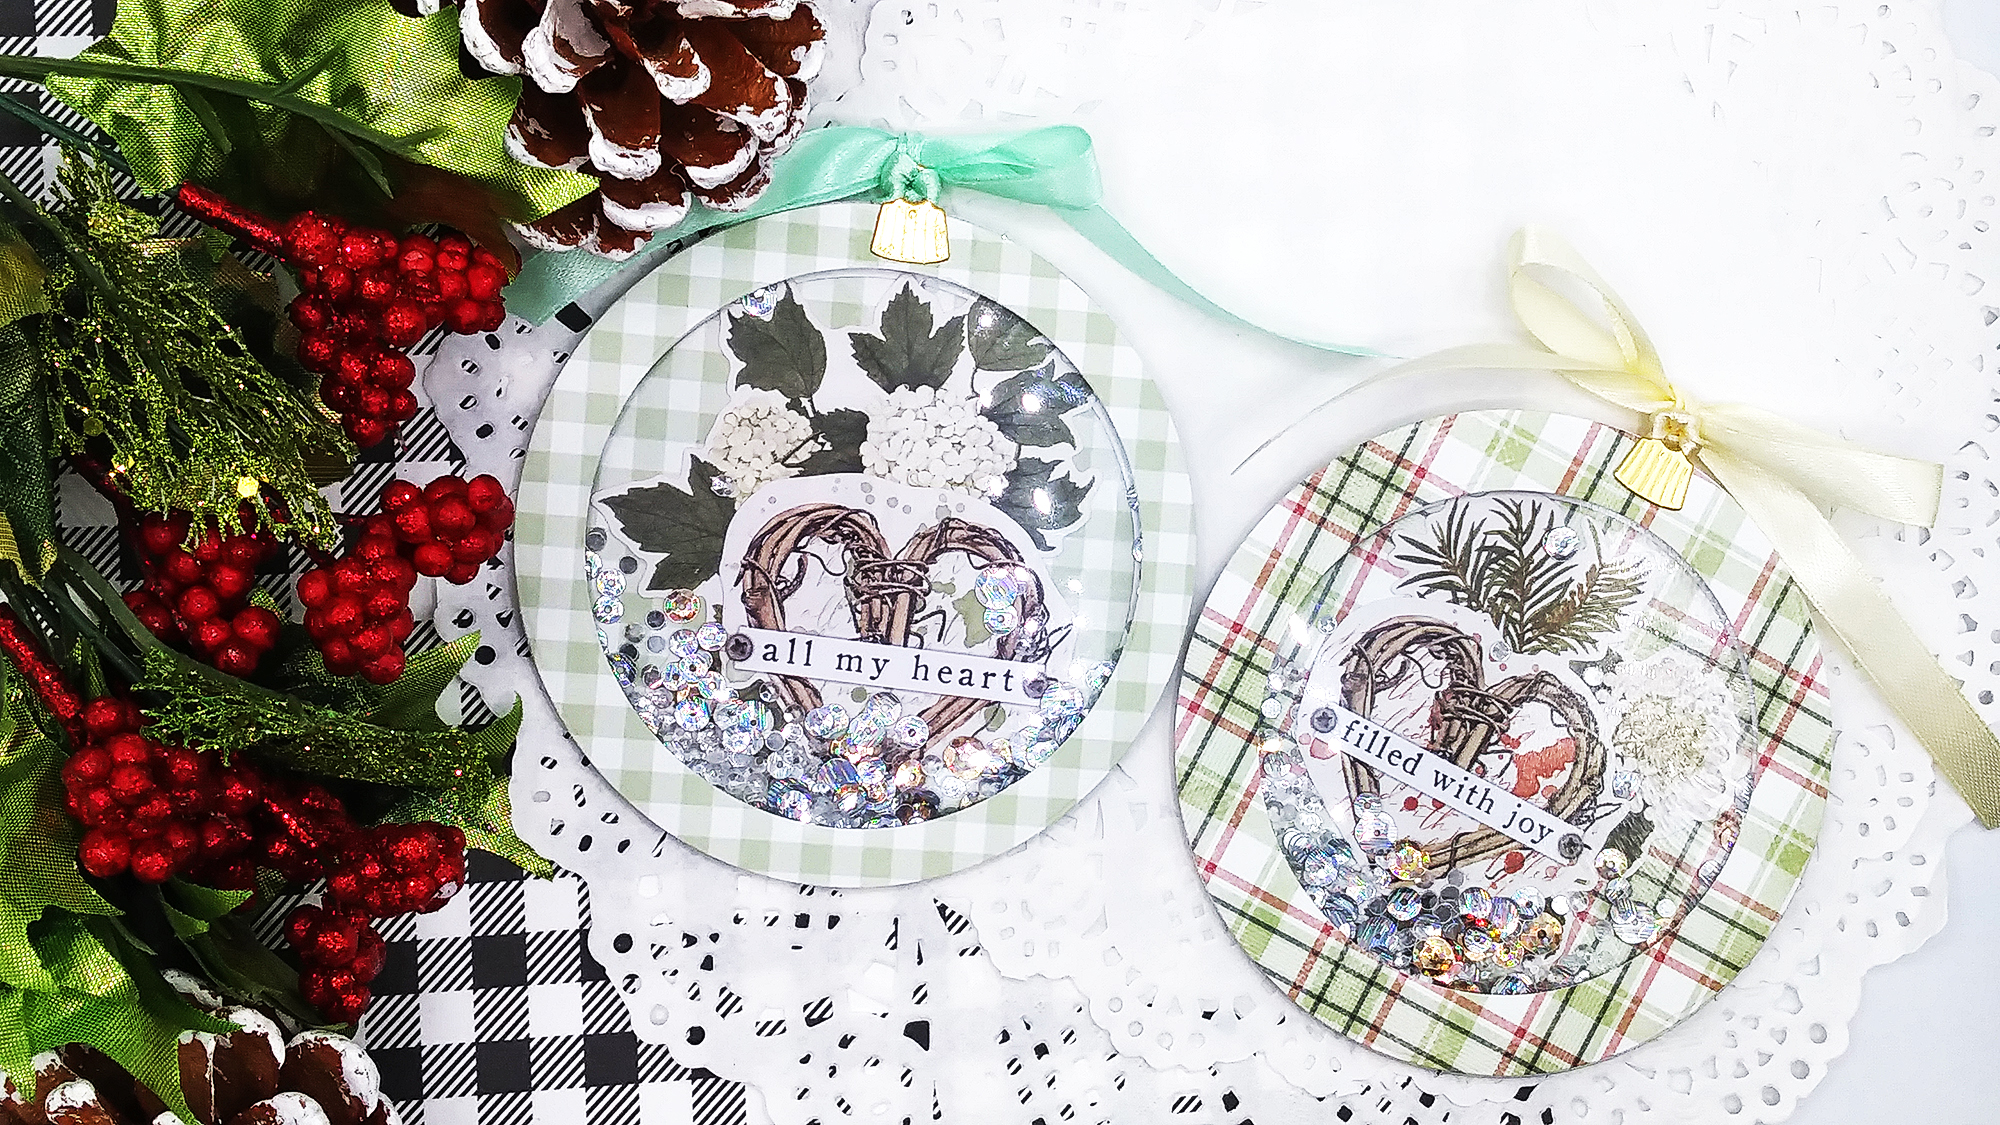
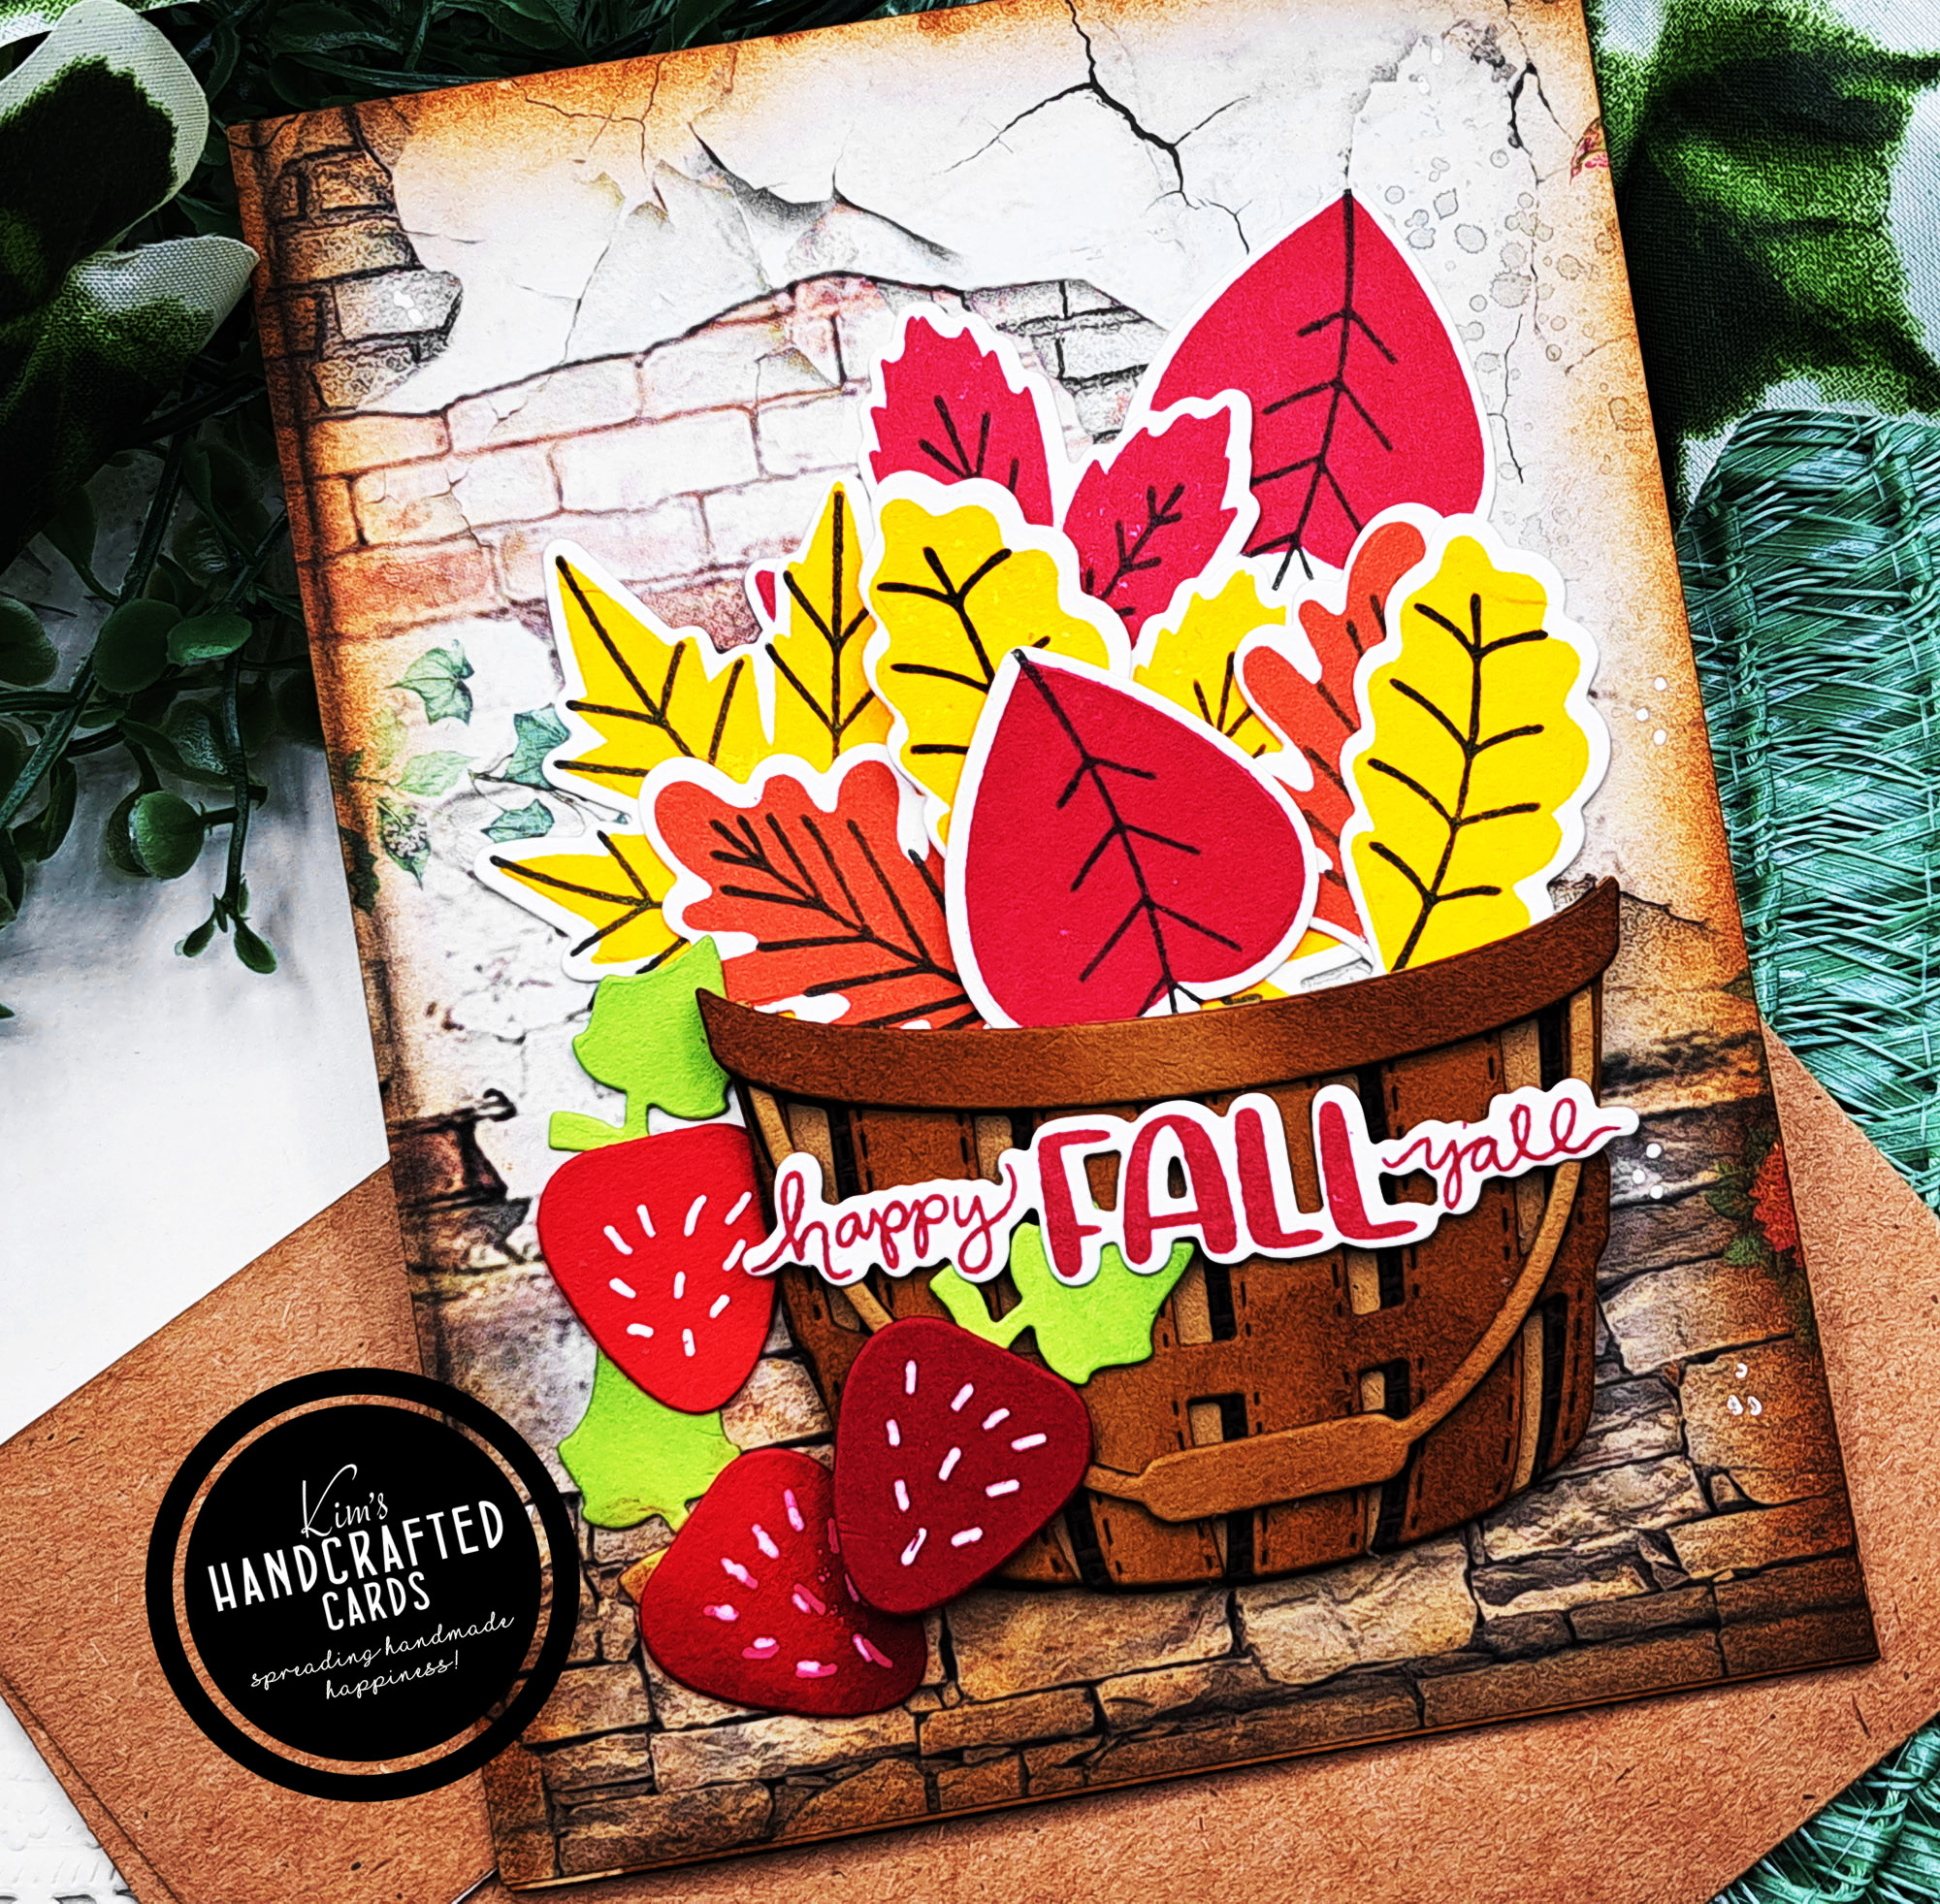
The Stained Glass Look
First technique I learned was from Jennifer McGuire Ink from her video. She created cards with this stained glass look using alcohol inks and acetate sheets. Then she die cut leaves and glued them to the alcohol inked acetate sheets to use on her cards. I loved the outcome she got so I had to try it myself. I used supplies I have in my stash so didn’t have to buy anything new.
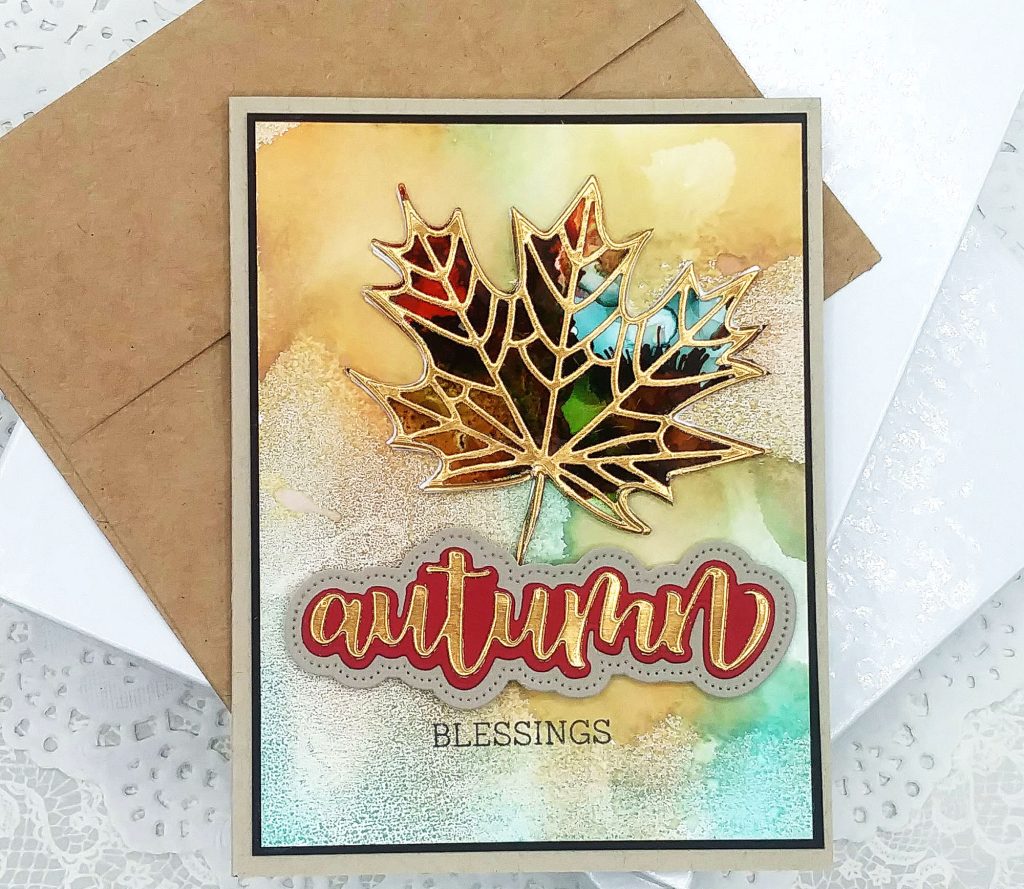
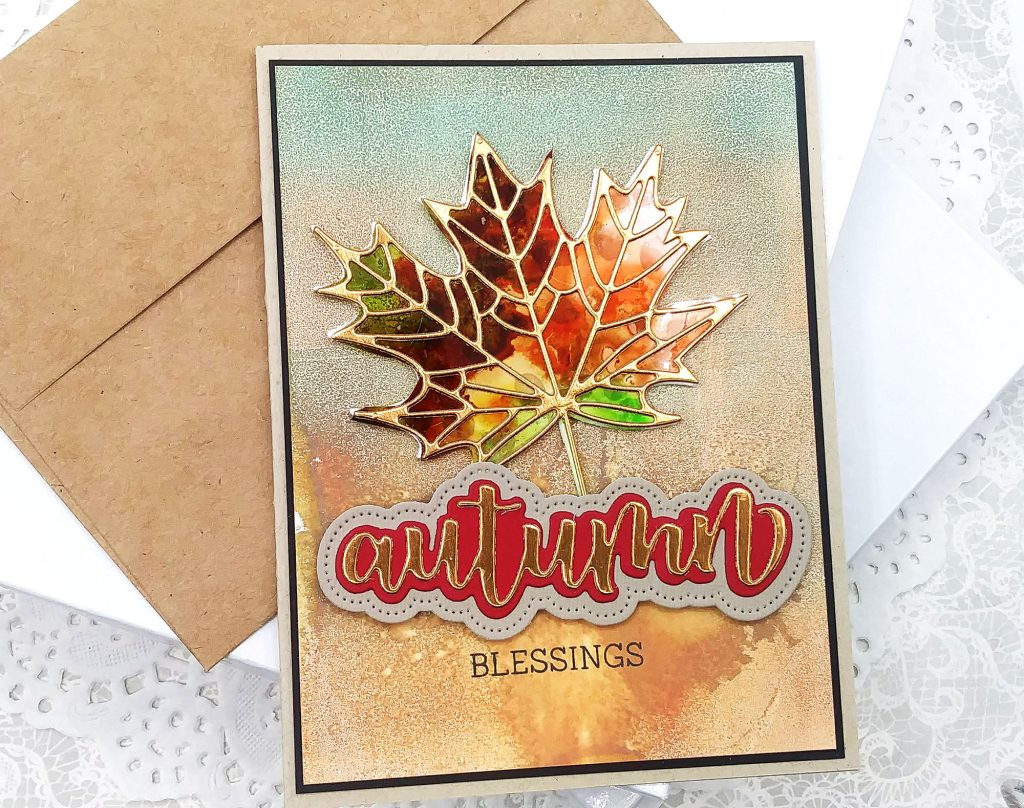
I used various colors of alcohol inks by Tim Holtz along with the Gilded alloy over my acetate sheets. I let them dry completely and meanwhile I die cut my leaves with gold metallic paper and then on white cardstock three times so my leaves would have some dimension.
The “Autumn” sentiment was die cut with Kraft and red cardstock and the letters with the gold metallic paper. The “Blessings” I stamped. The backgrounds were made awhile back with distress inks and my gel press! The gel press is a wonderful tool for creating quick backgrounds for cards.
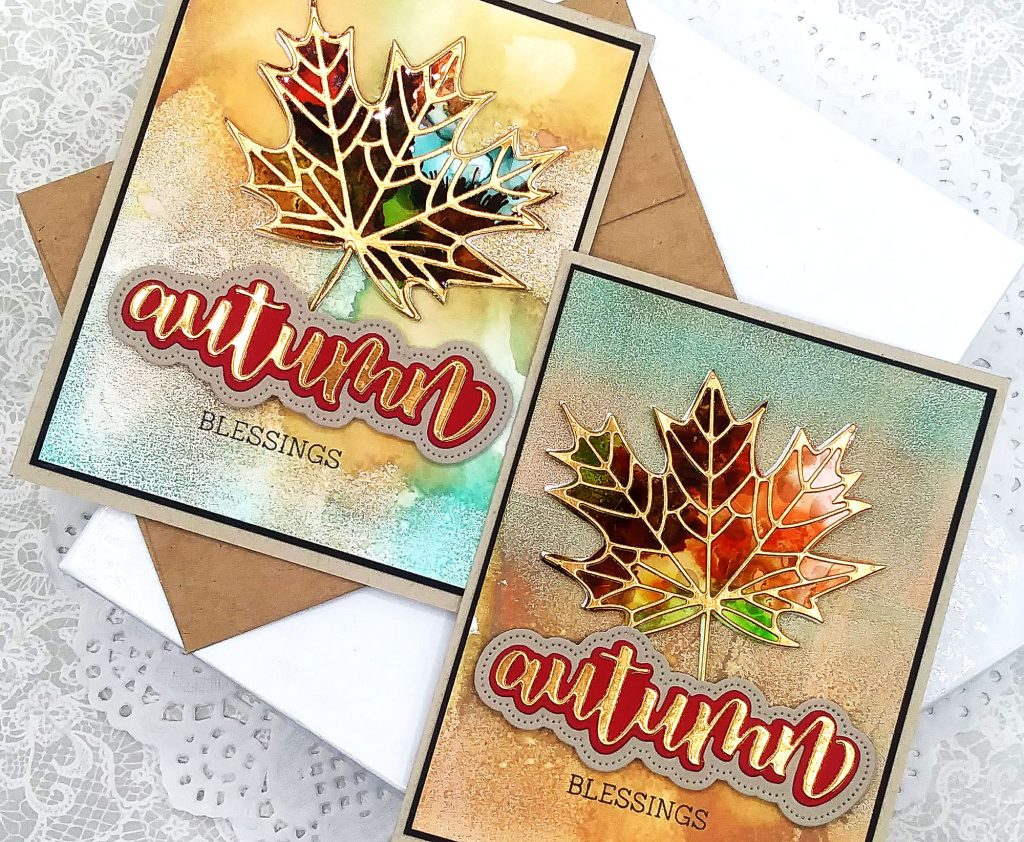
The acetate is like looking through glass and I LOVE how these 2 cards turned out!
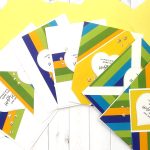
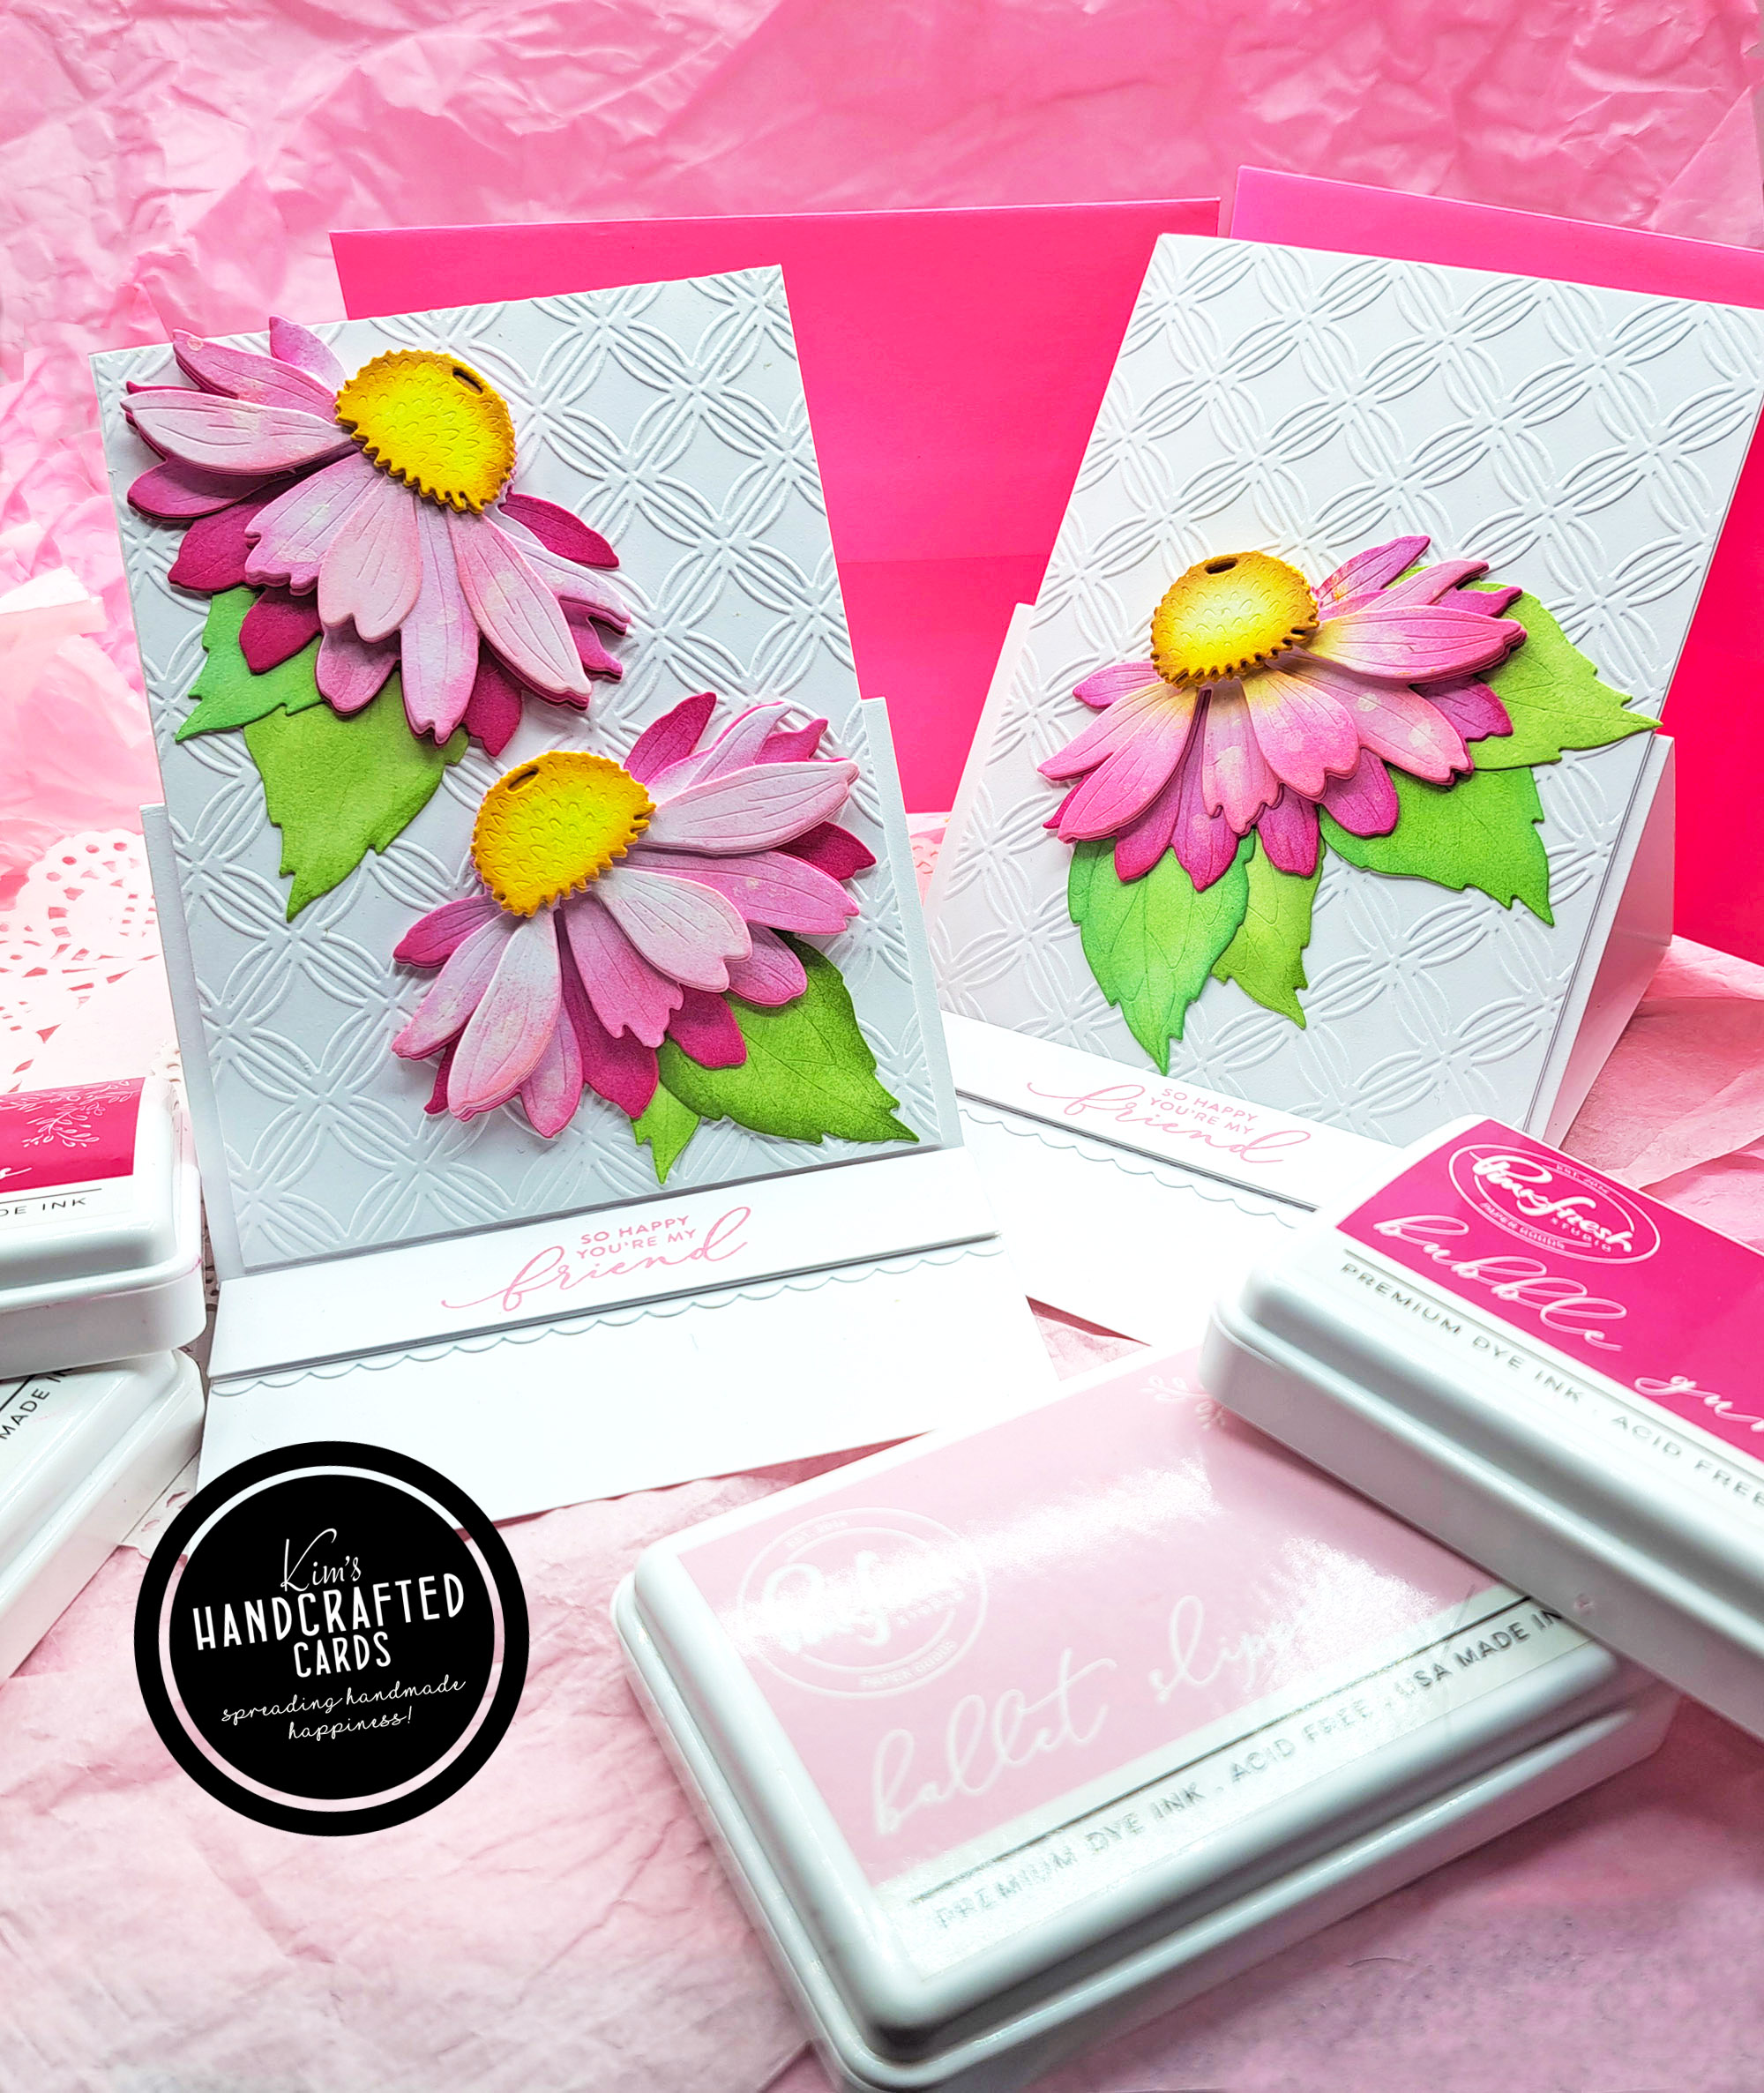
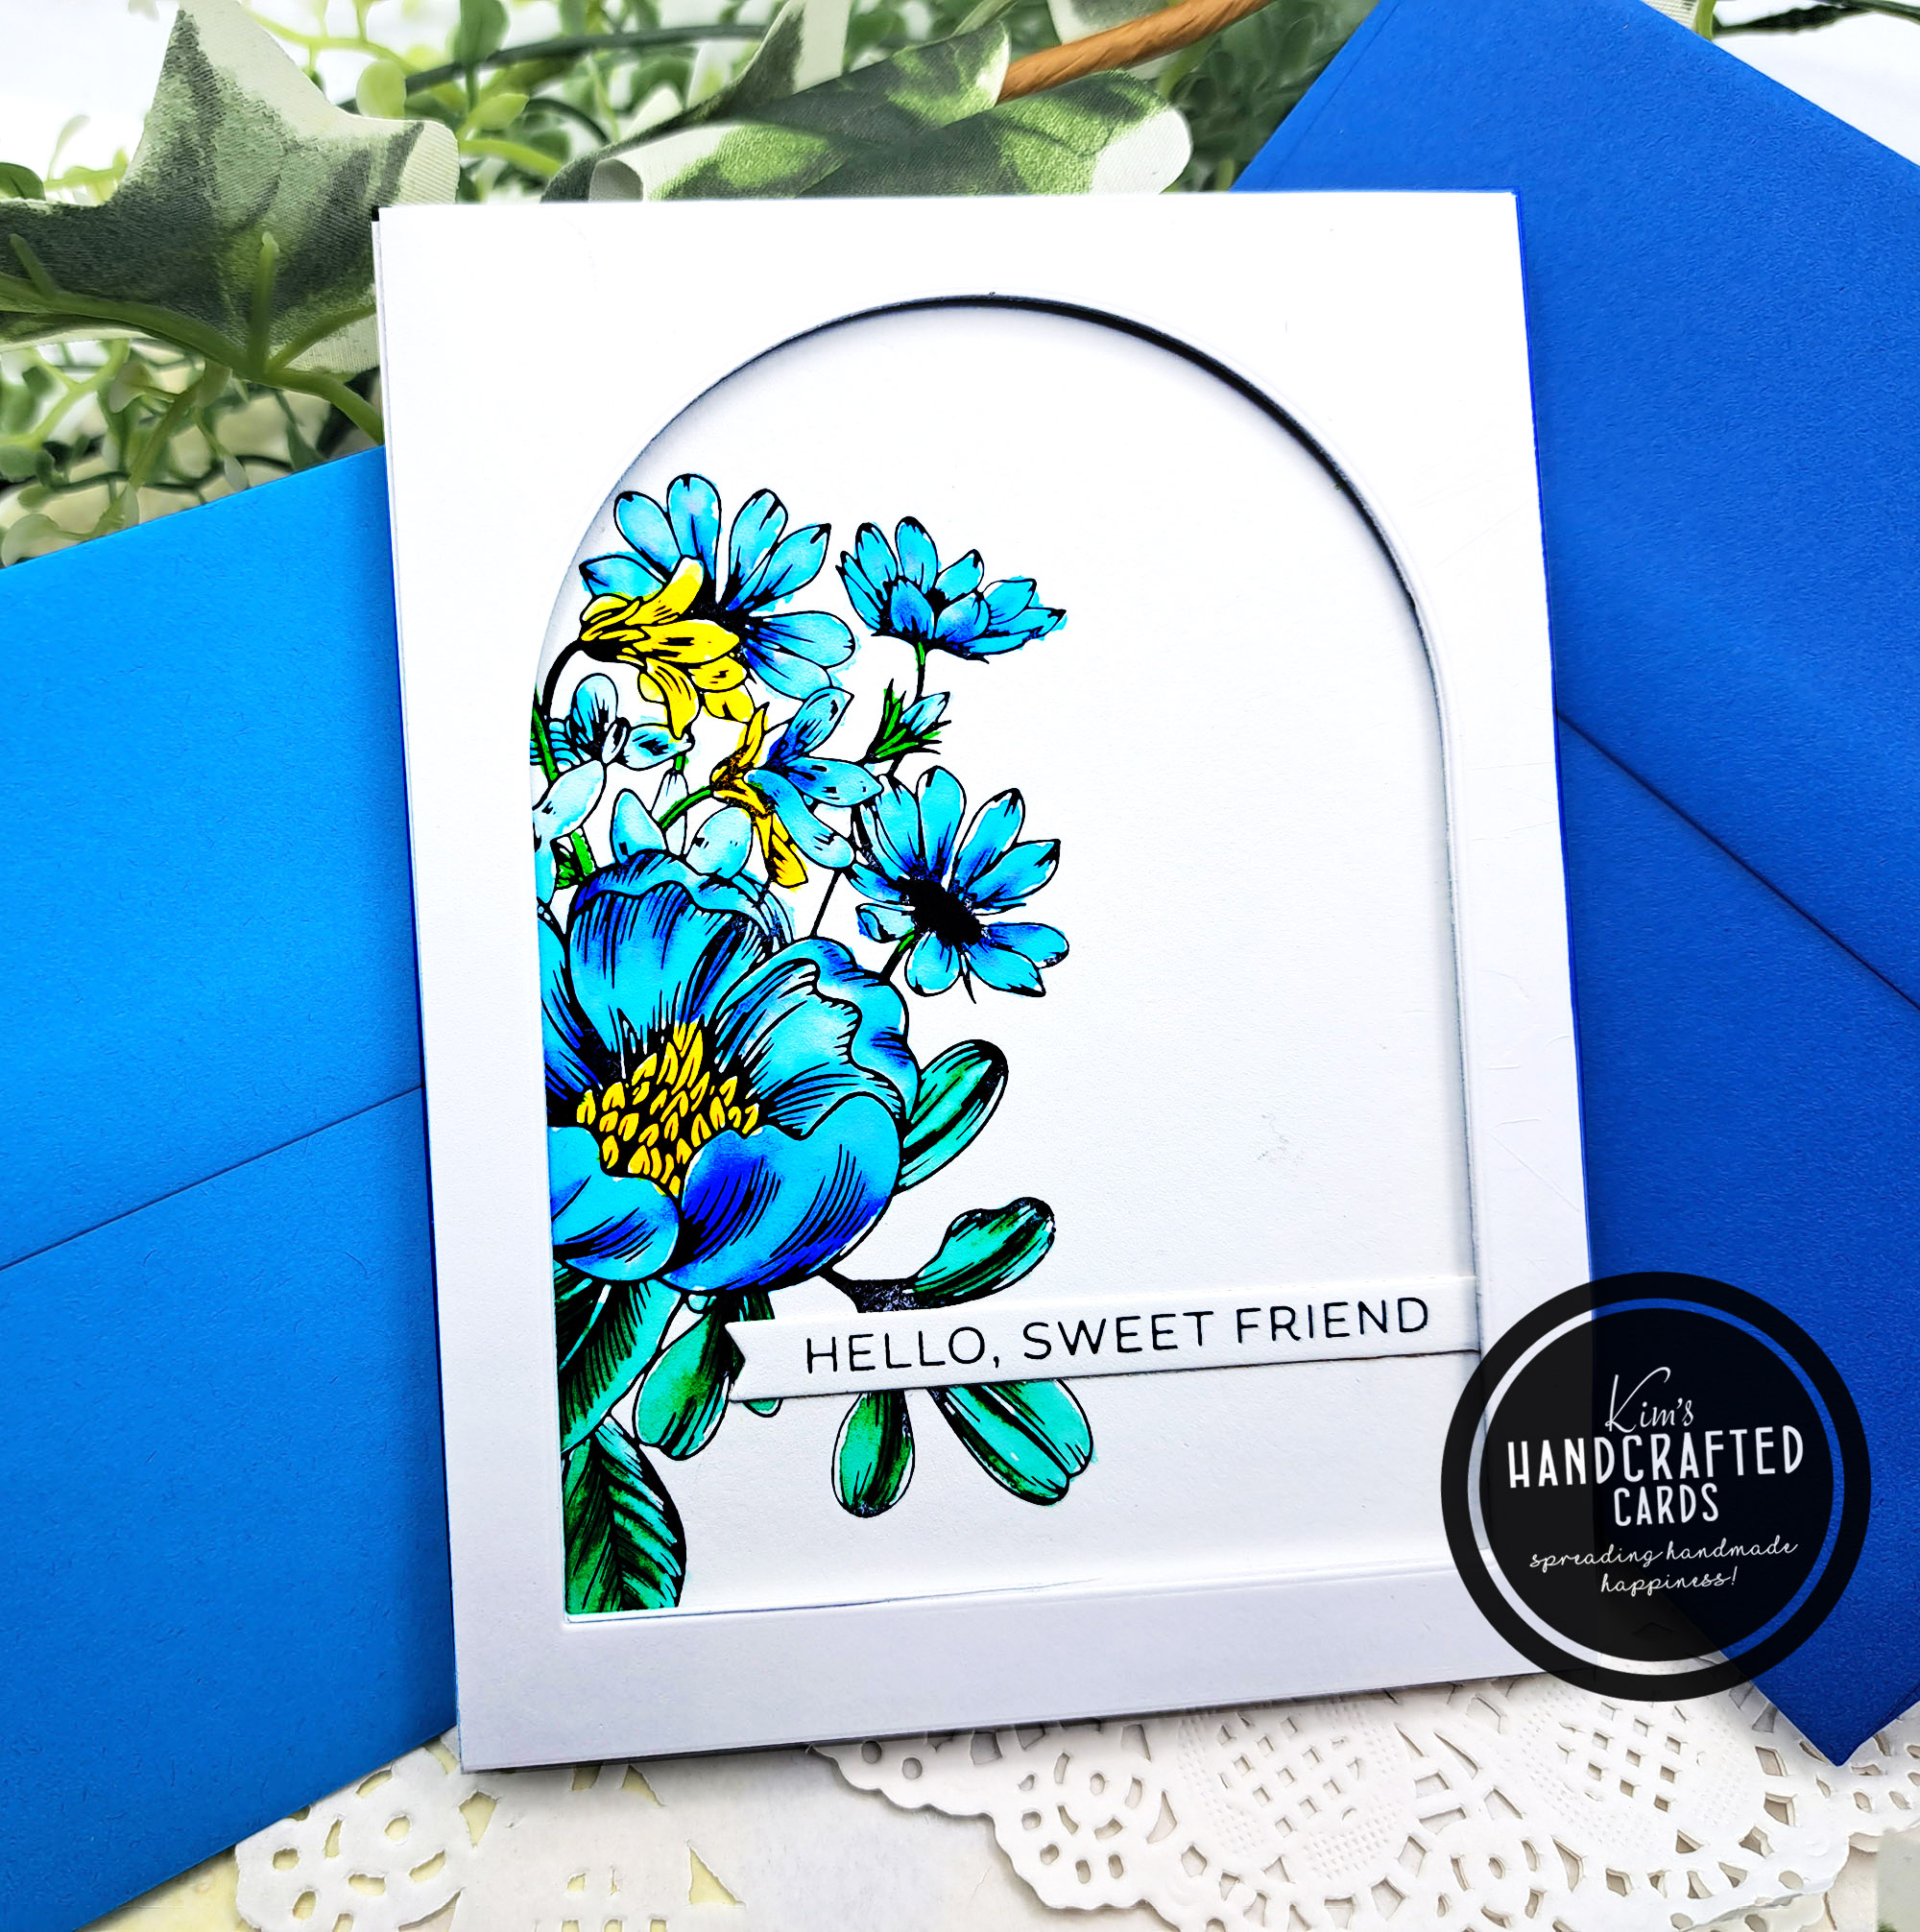
Ink Coloring Direct to Paper
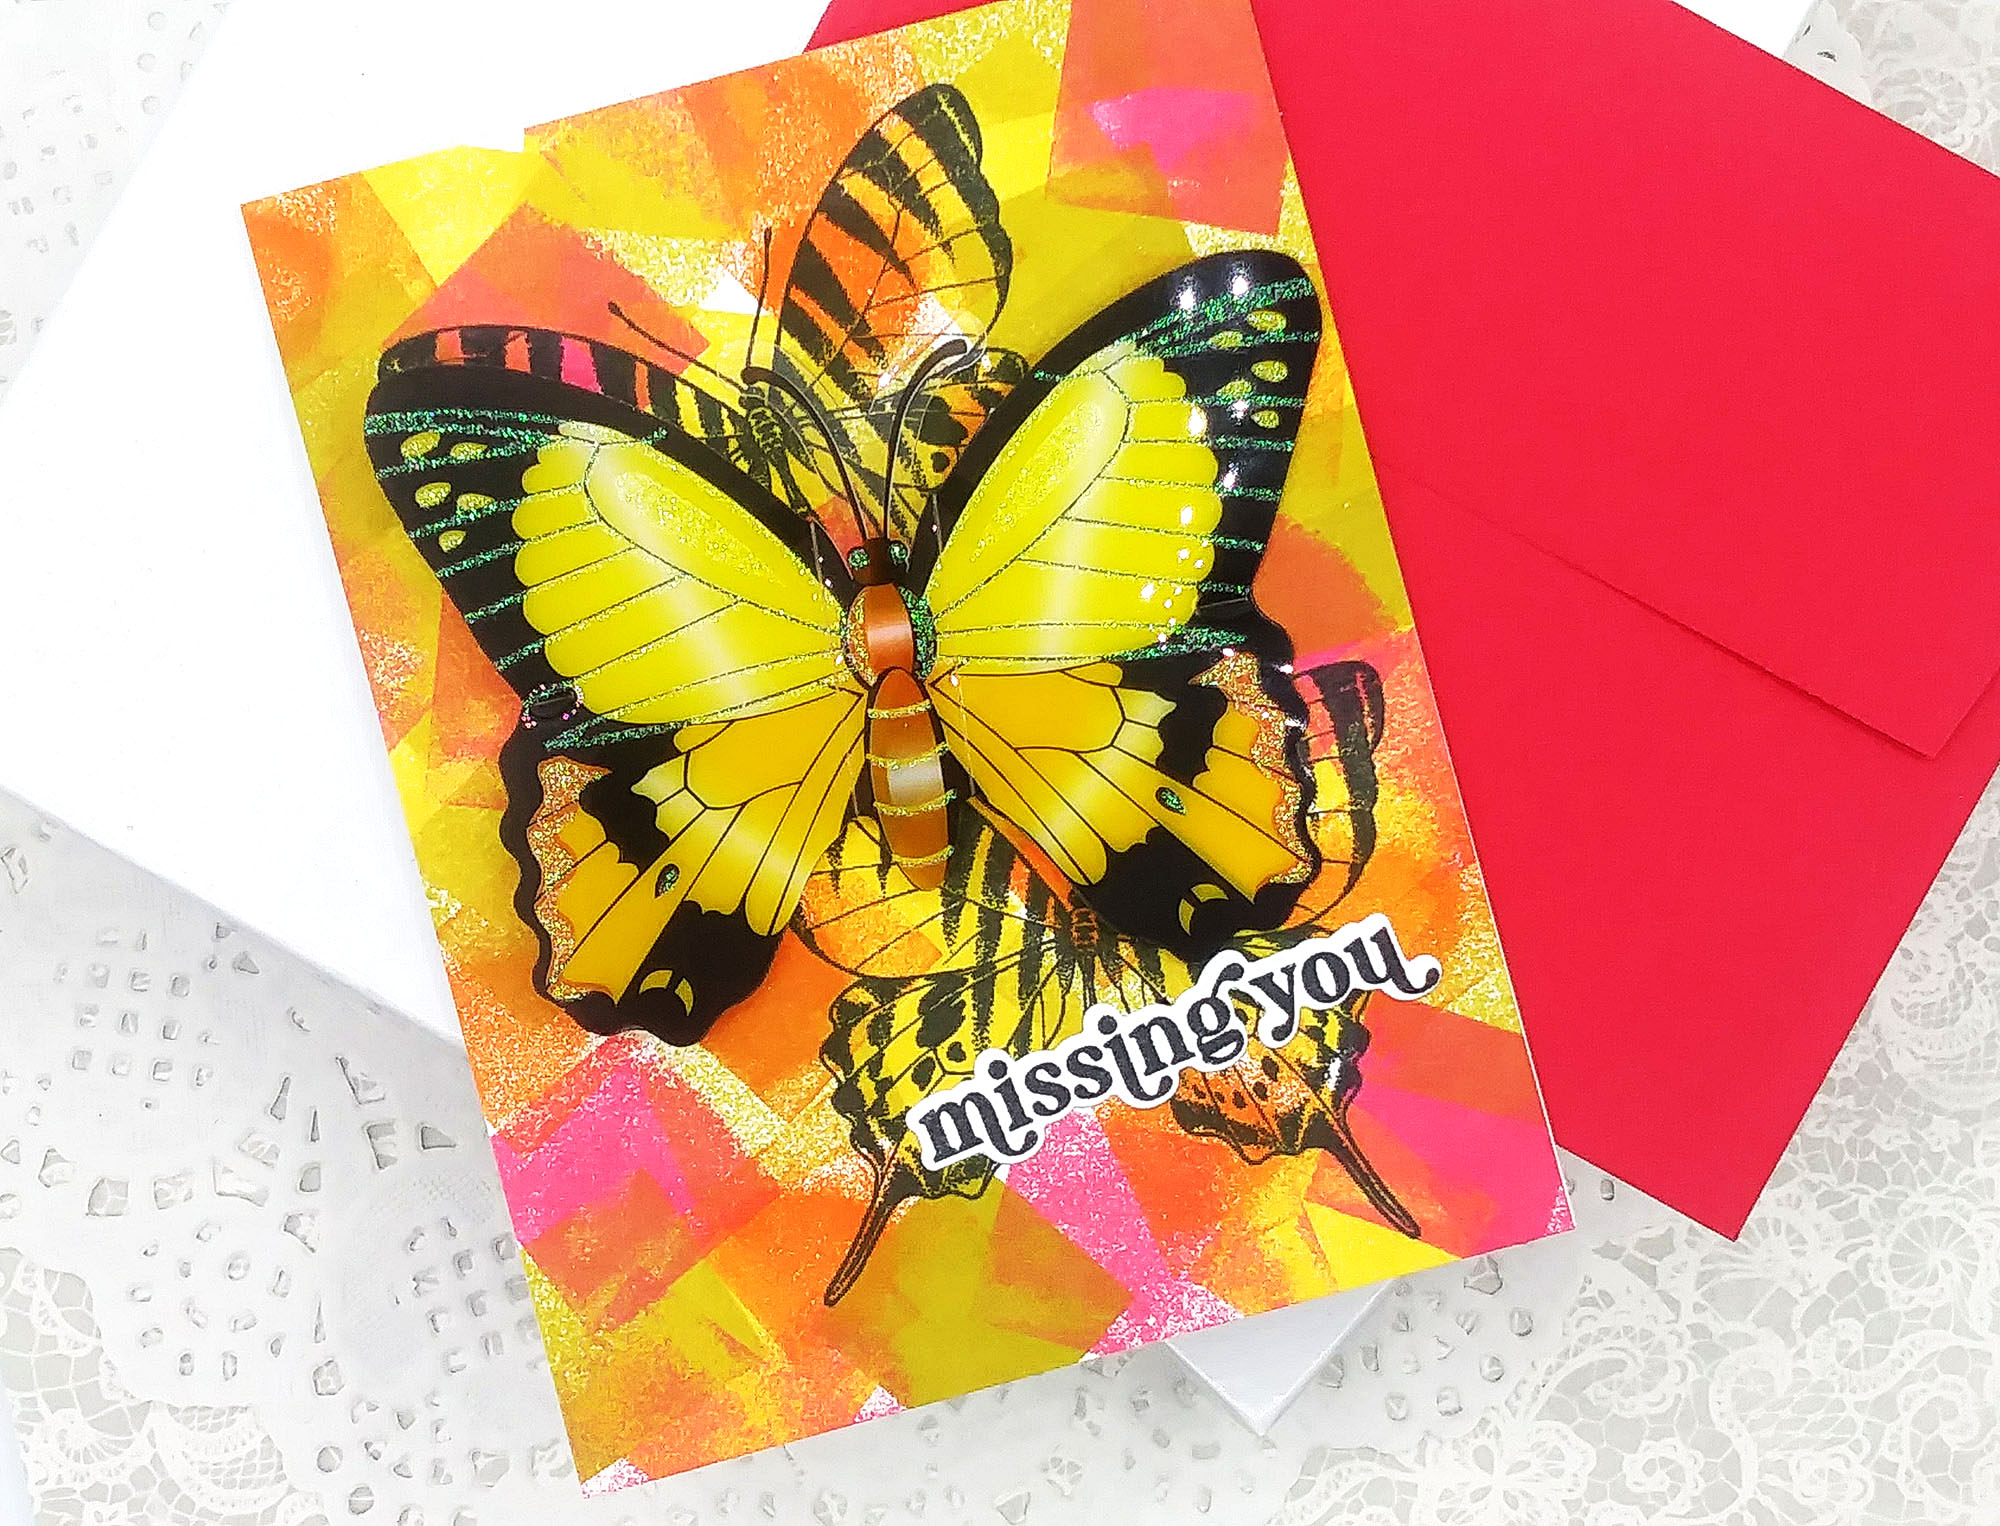
Next in my lookbook is another technique that I learned from Gina K. Designs’ YT video. She took some mini ink cubes and stamped them direct to paper in all different directions to make a quick background. Then, she stamped butterflies on top in black ink. She added a sentiment and the final finish she got was so cool.
Her video was only a little over 4 minutes and she had a card! I love quick projects so I tried this and ended up making 4 cards! LOL!
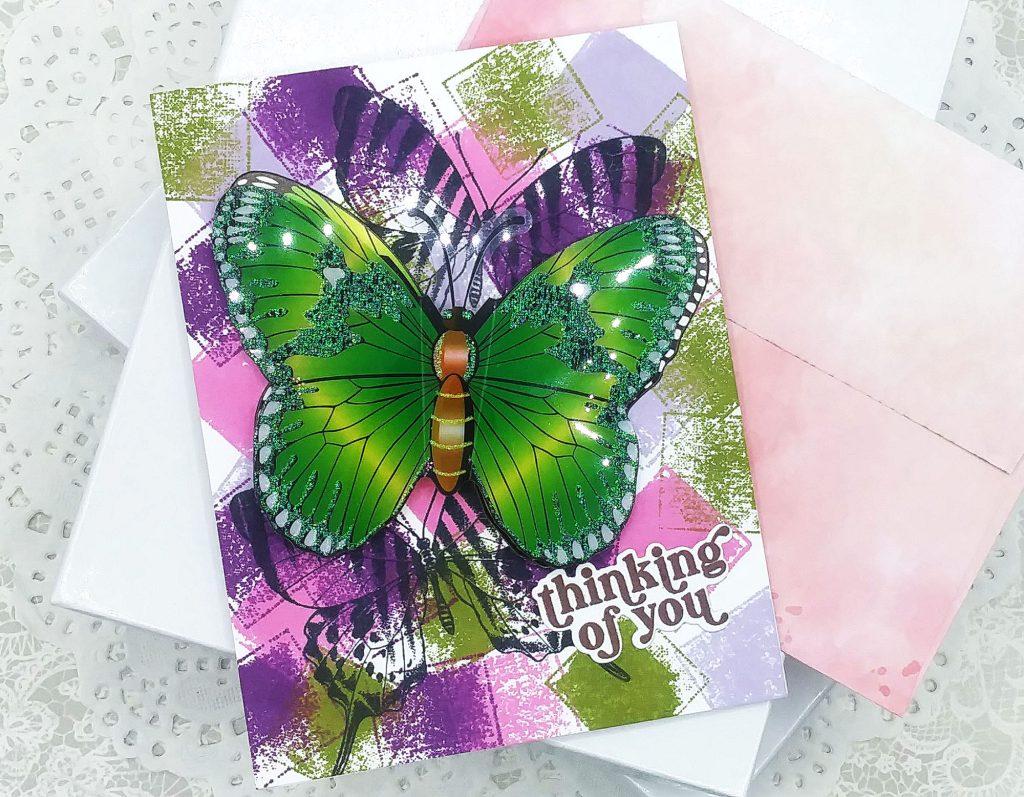
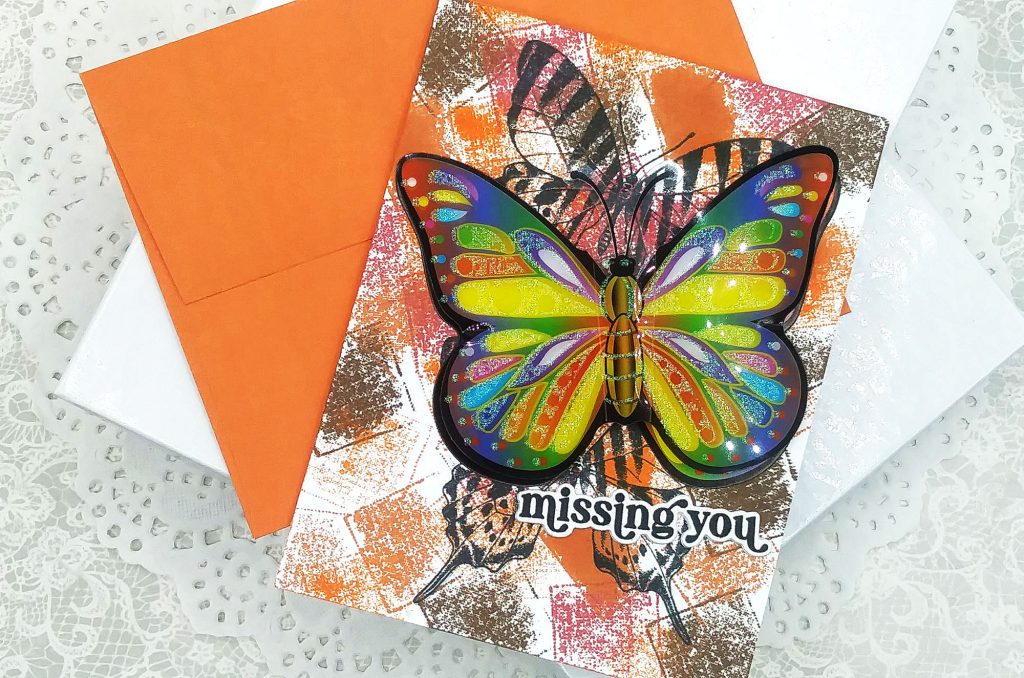
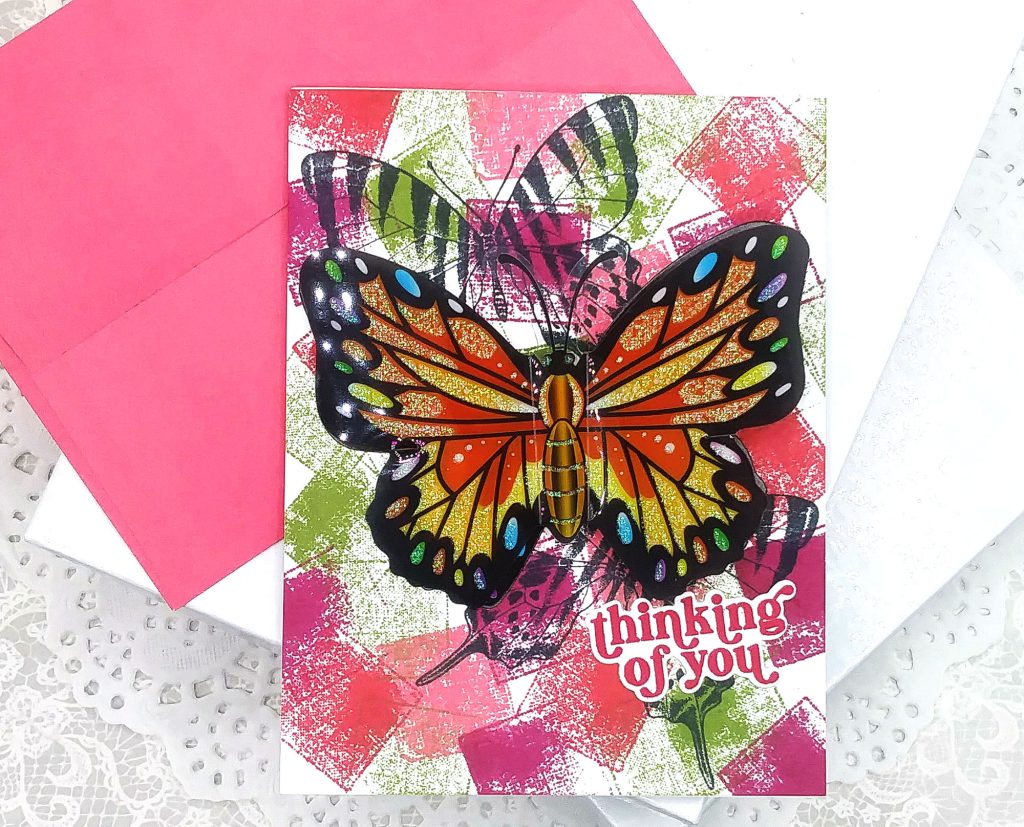
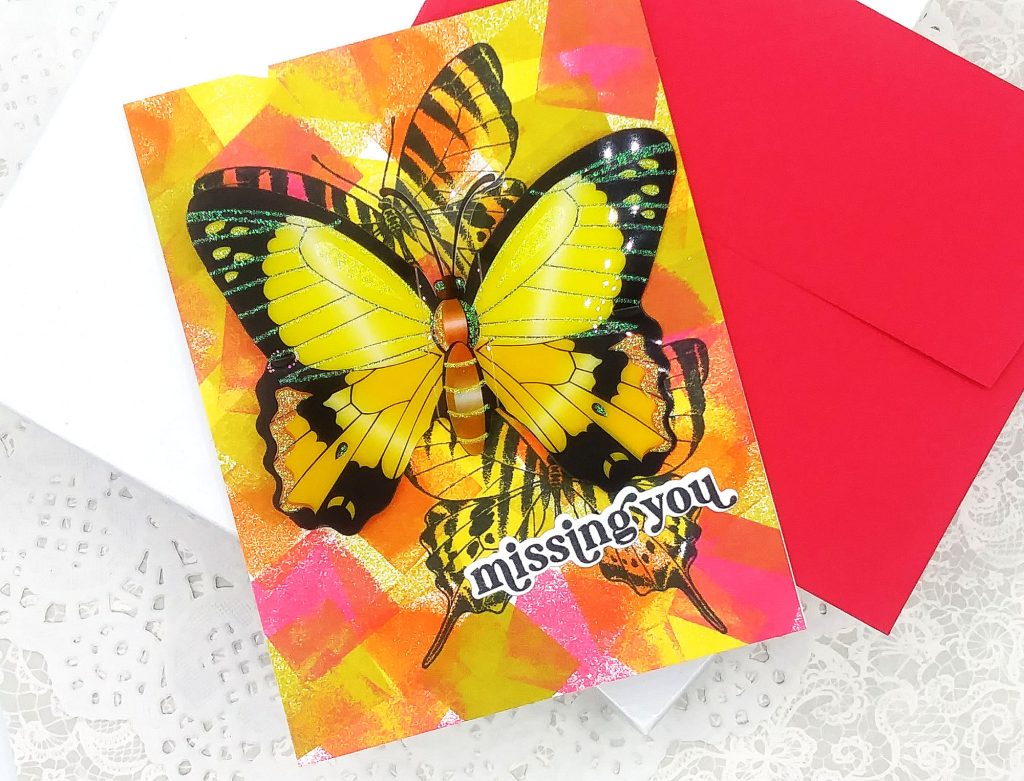
The inks I used come from Hero Arts and for the last card, Concord and 9th! I have a bunch of mini ink cubes from both companies and I used different colors and just stamped them all over my cardstock and even overlapping the colors.
Then, I stamped butterflies from Simon Says Stamp in Memento black ink for each card. I let everything dry. Then added the final touch, 3D butterflies that I bought from Dollar Tree several months ago that I hadn’t used. Have you ever bought something that you knew that you knew you’d use but then it just sits on the shelf for months? I fell in love with the colors of the butterflies but I wasn’t sure how I would use them on cards. After watching Gina’s video, I had my “aha” moment! They’re large enough to fill up the front of a card and I just love how they look.
Finally, I stamped and die cut my sentiments which comes from Simon Says Stamp as well and I had 4 finished cards!
I had so much fun making these cards, it felt so good to craft. Sometimes it doesn’t take much to get inspiration!