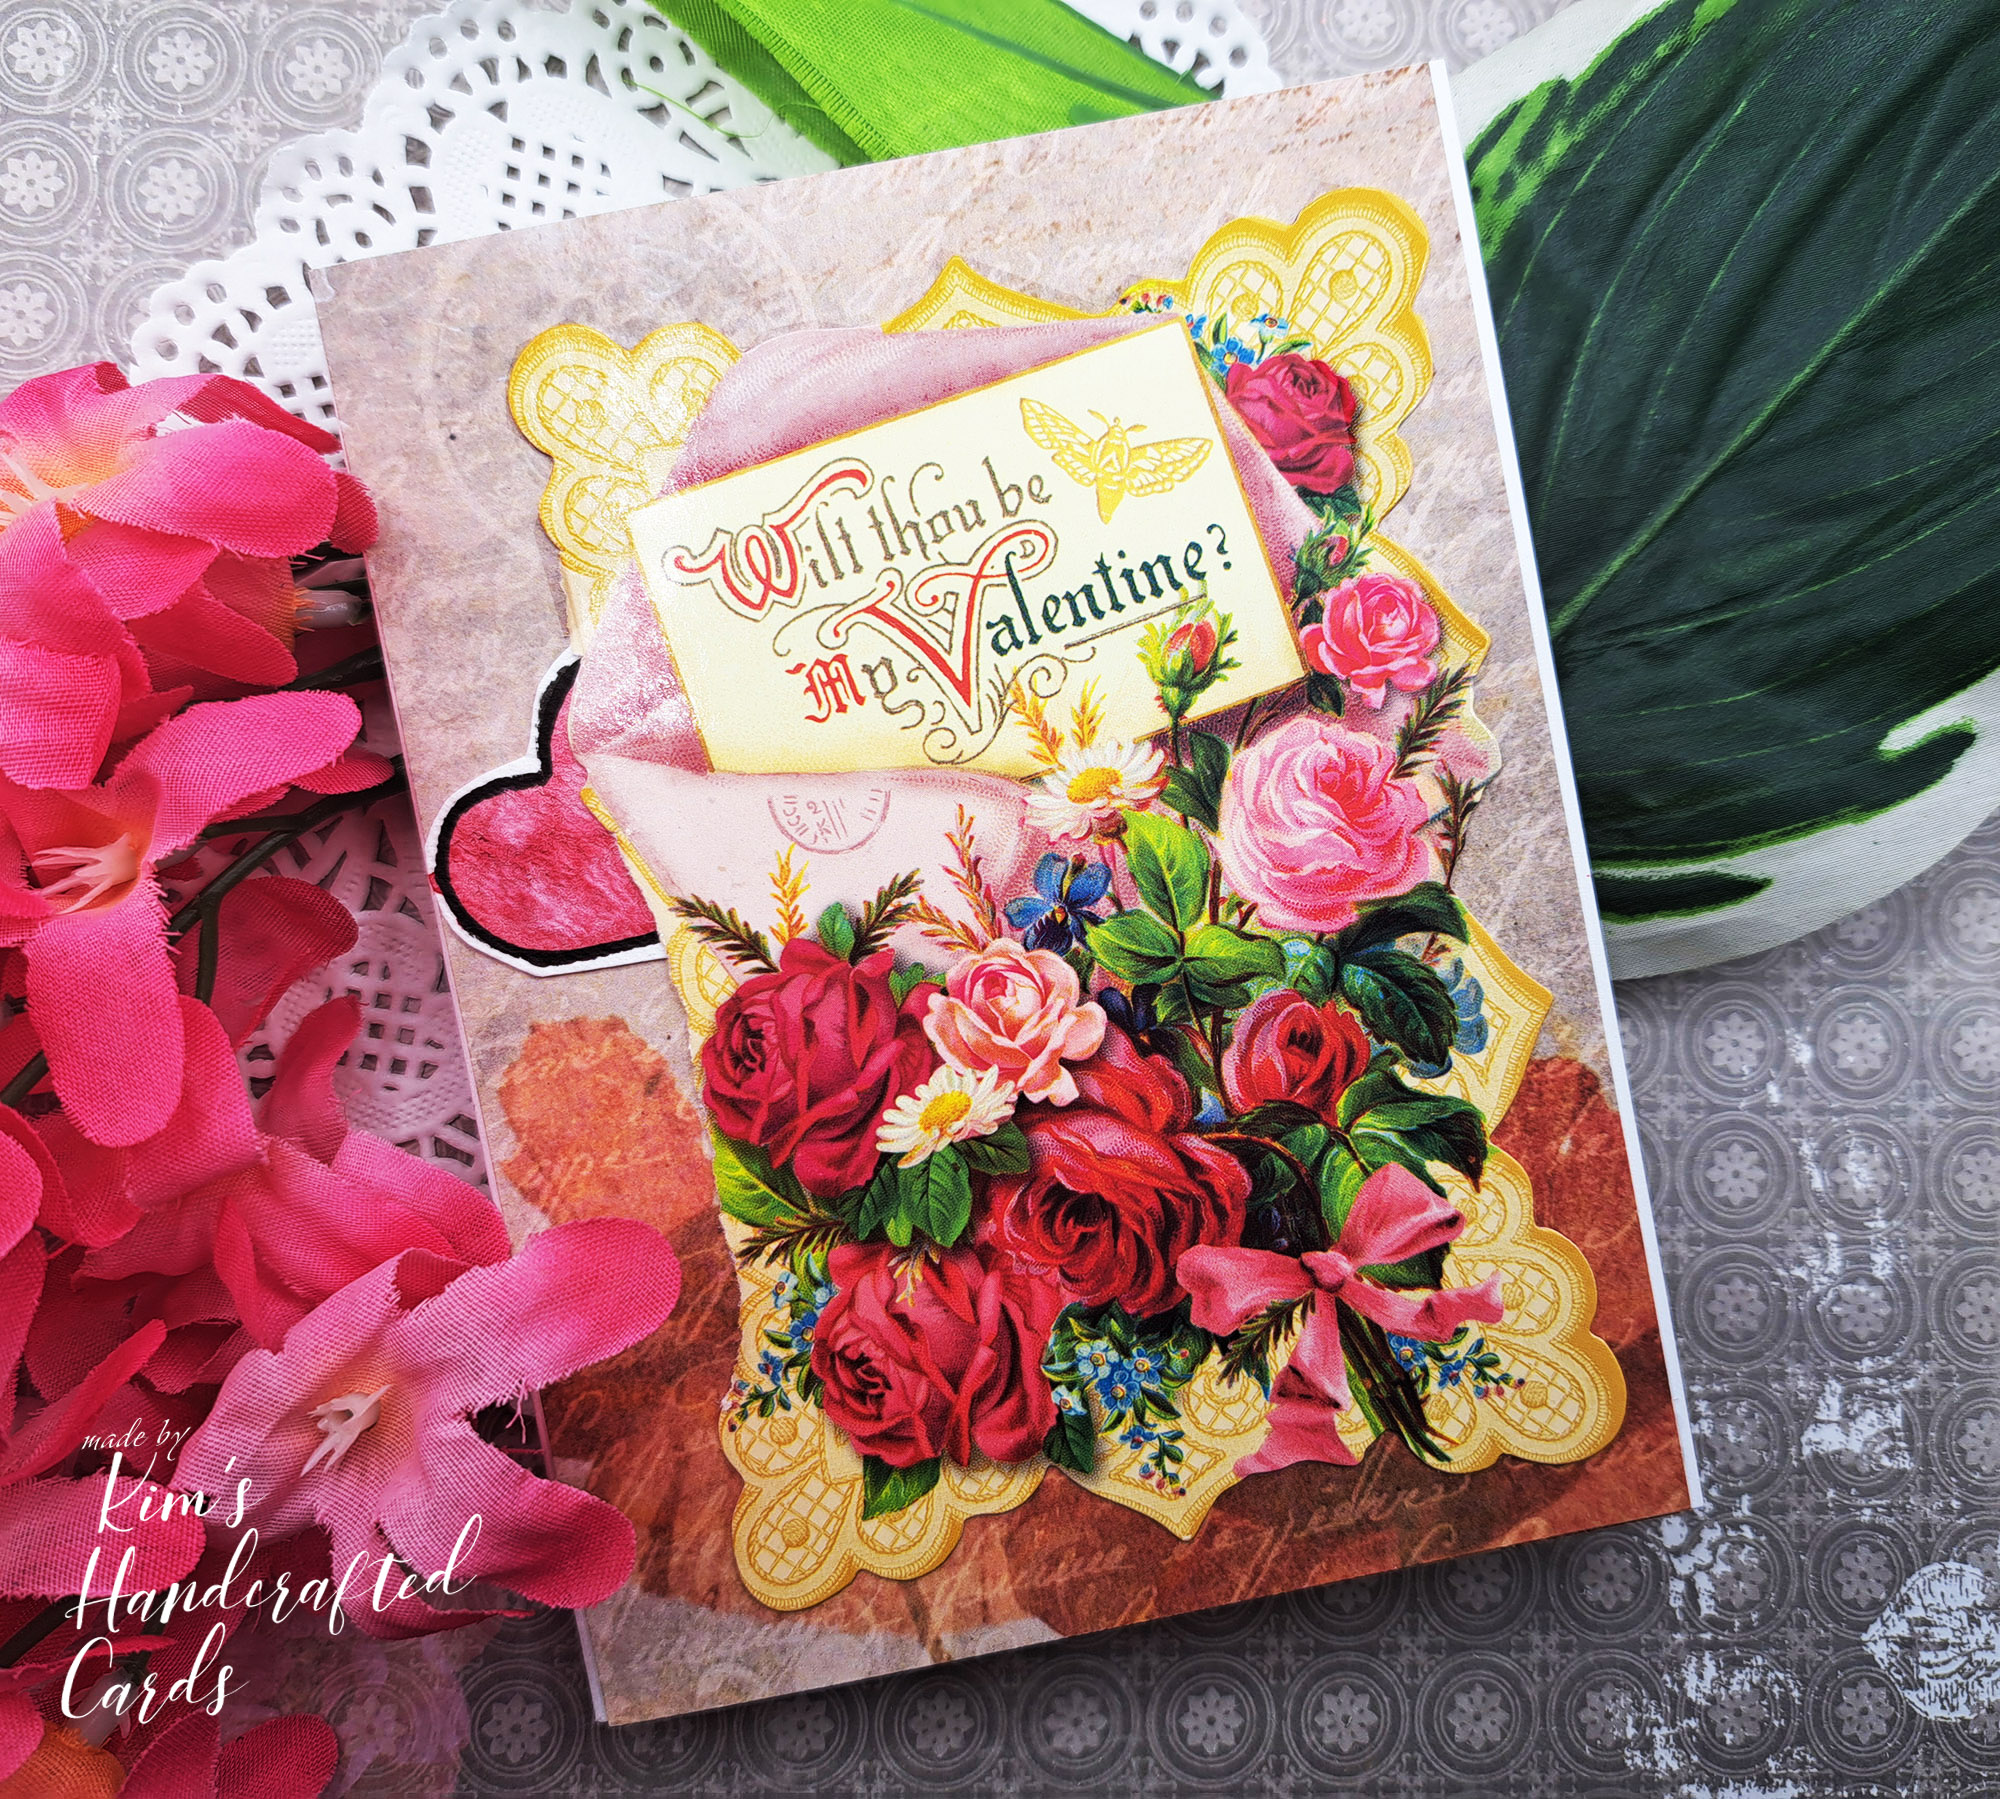
Hi my friends! Today, I’m sharing a very special card project for Valentine’s Day. Much of the design is from vintage cards that I’ve repurposed from a journal made for me as a gift from one of my besties’ Kimberly McGuiness Art & Design. She is such a talented artist and she makes so many wonderful art products. Take a look-see at her website here!
A few years ago, I asked her to make me a pink journal! Pink is my favorite color and Kimberly didn’t disappoint me at all. The journal is absolutely beautiful. It has pages with lots of pockets and she included a load of embelishments like pre-cut watercolor images perfect for Valentine’s Day. There were several original vintage cards that I used for my project today.
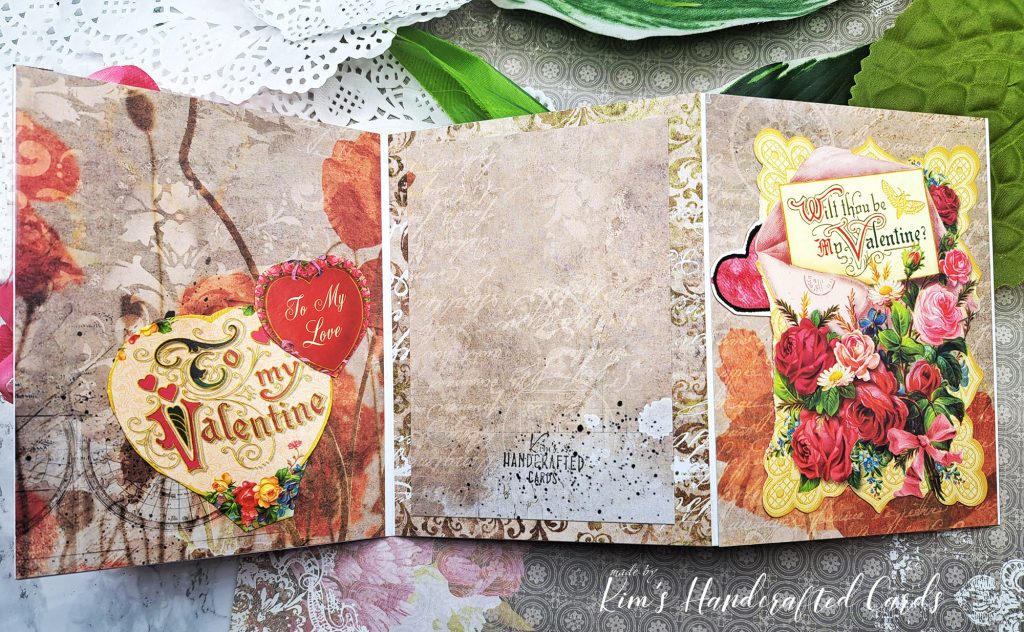
I did a lot of fussy cutting (I’m actually getting better that it! LOL) and trimming to create a Z-fold card! If you follow me, you’ve probably have seen the last 2 Z-fold cards I made and how much I loved making them! If you haven’t seen them, check them out here. Z-fold cards are so cool because you can design them to extend your design over 3 to 6 panels or turn it into a storybook. My card today is a continuation of those vintage pieces from the journal.
Making the Z-fold Cardbase
The cardbase is easy to make, you start with two A2 sized card bases and I flipped upside down one of my card bases and I glued the right panel of the first cardbase to the left panel of the second cardbase, so when it sits up, it looks like the letter Z. Now it was time to embellish. To do that, I trimmed down six pieces of pattern paper from the Paper Rose 12×12 “Back Then” collection. I’ve already made a couple of cards with it, you can check them out here! This paper pack was the perfect match for my embellishments with that old vintage handwriting and that kind of sepia tone color.
I adhered the pattern papers on all the panels (front and back) of the card. On the back panel, I also trimmed another sheet of pattern paper to 3-1/2″ x 5″ and glued it on top to stamp my logo on. Now for the most favorable part… playing with all the embellishments and deciding where they would go!
I left the front center panel for my personal message. This card was so fun! I had some extras left over so I made a bonus card.
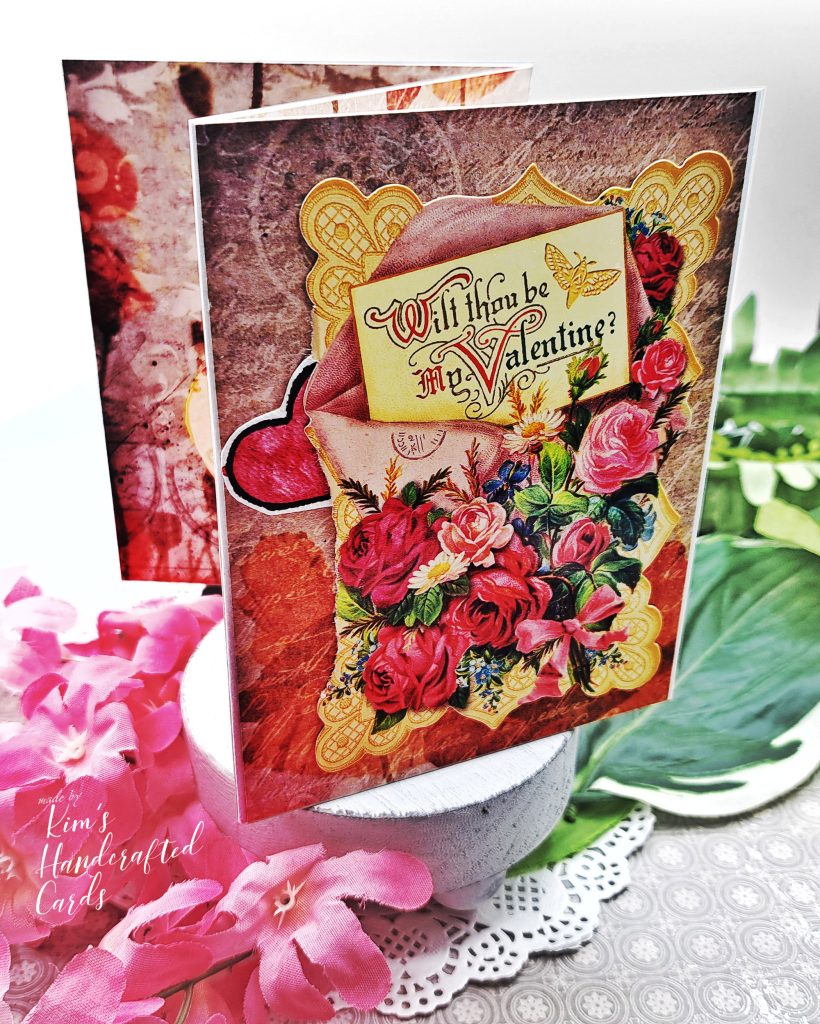
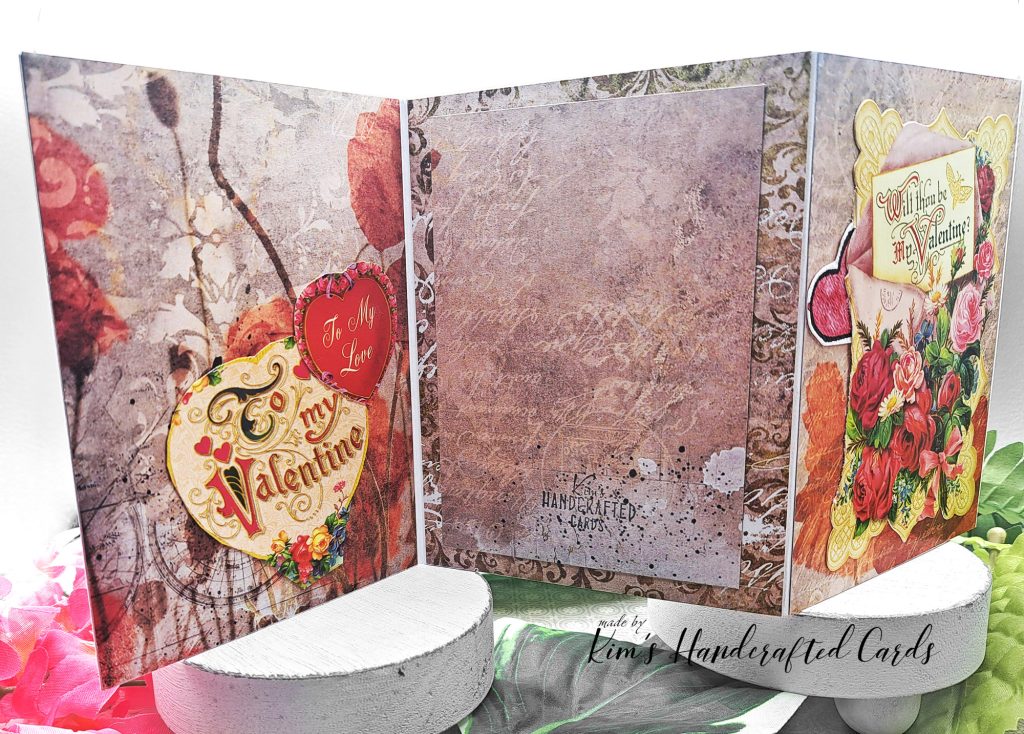
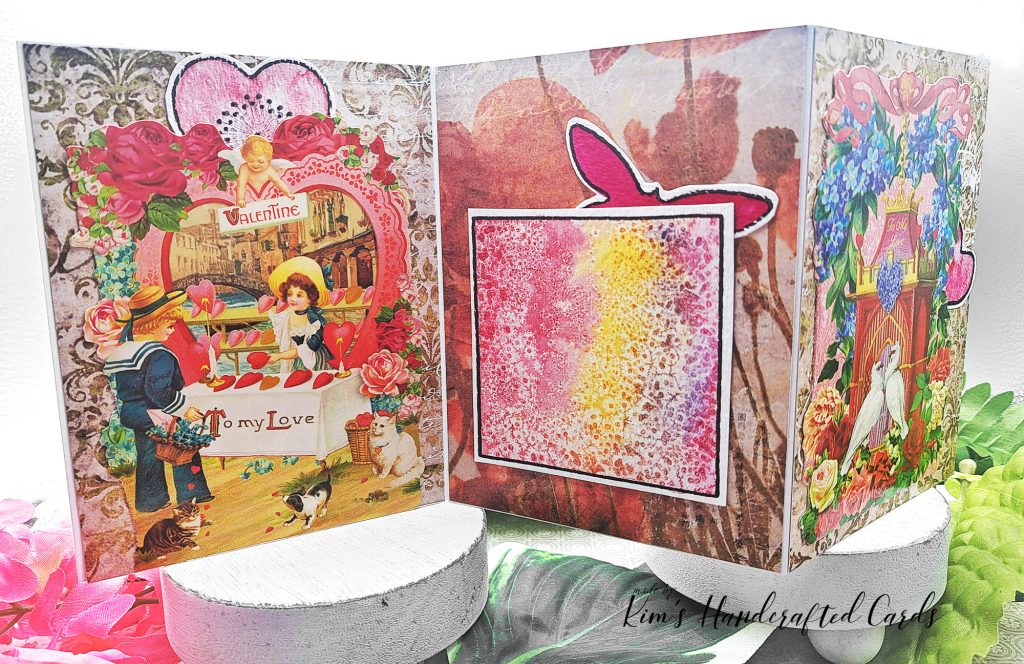
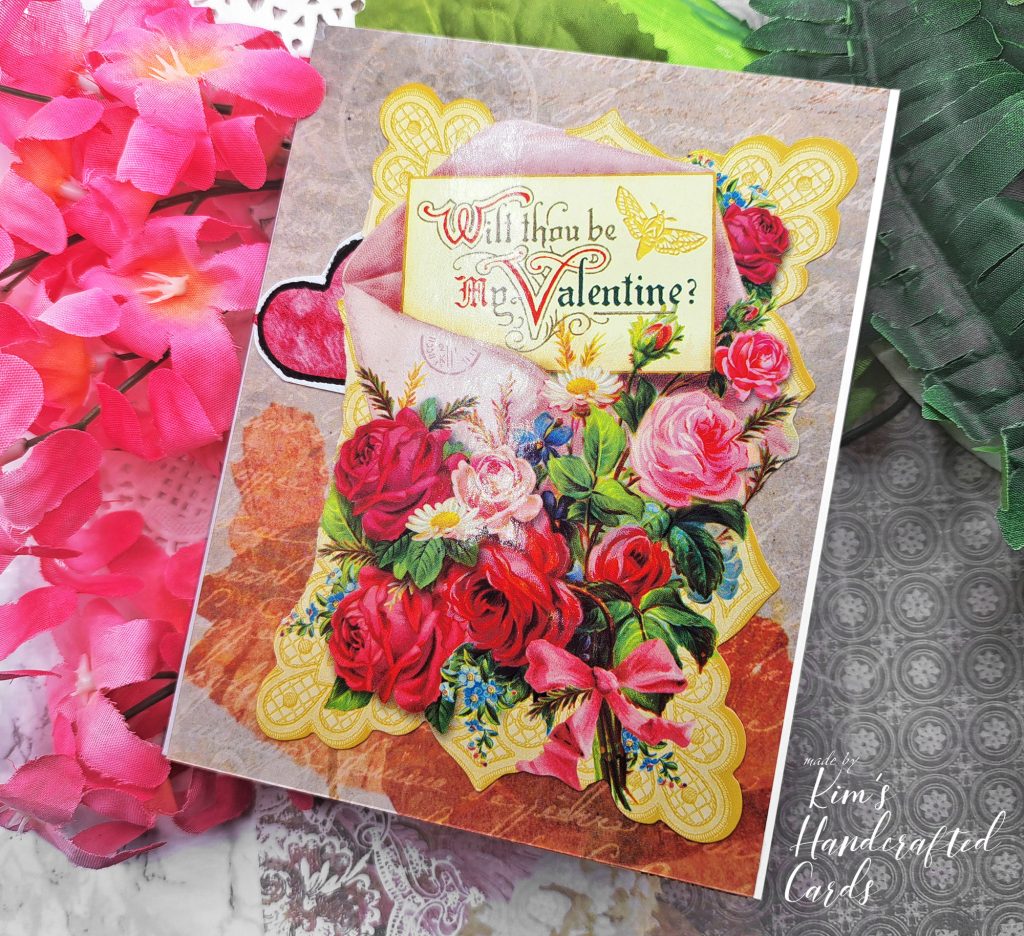
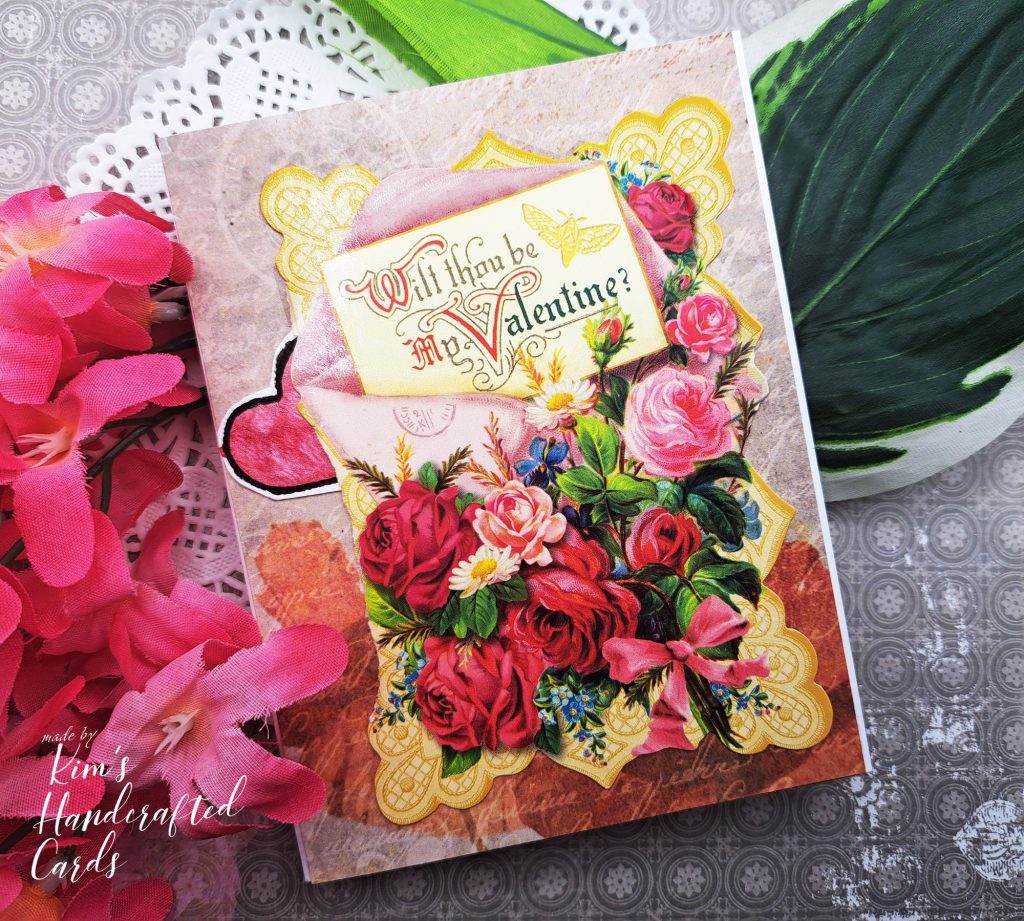
Took pics of the card standing up so you can see it completely open. The 2nd photo shows the back side of the card. This 3rd photo is the inside with the middle panel to write a personal message.
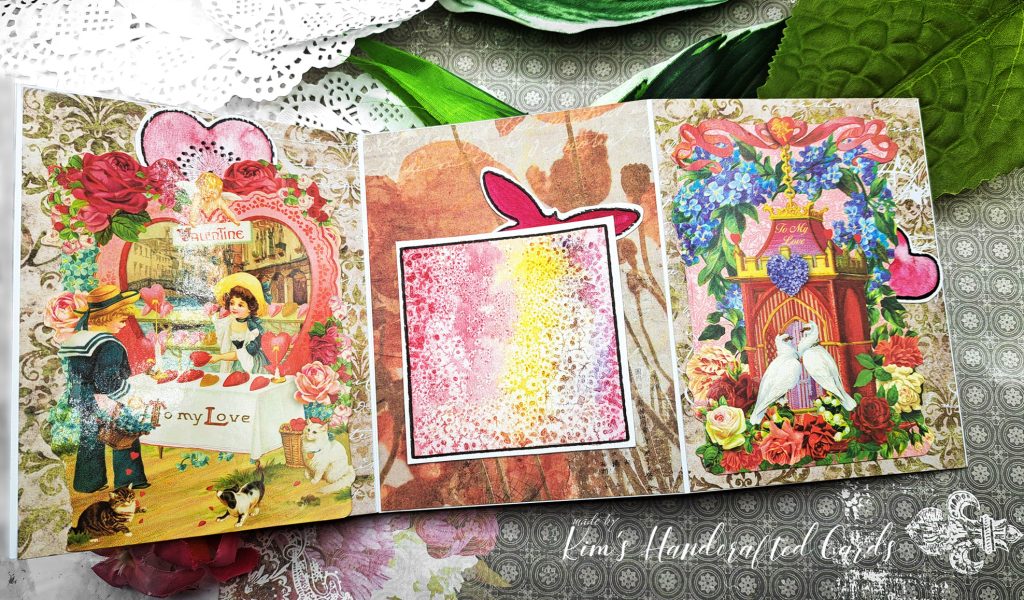
Bonus Card
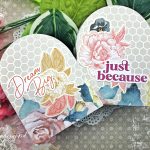
I had an extra piece of pattern paper so used it for this card and one of the sentiments from the journal with 2 felt hearts, the red one on the inside and the white on the back.
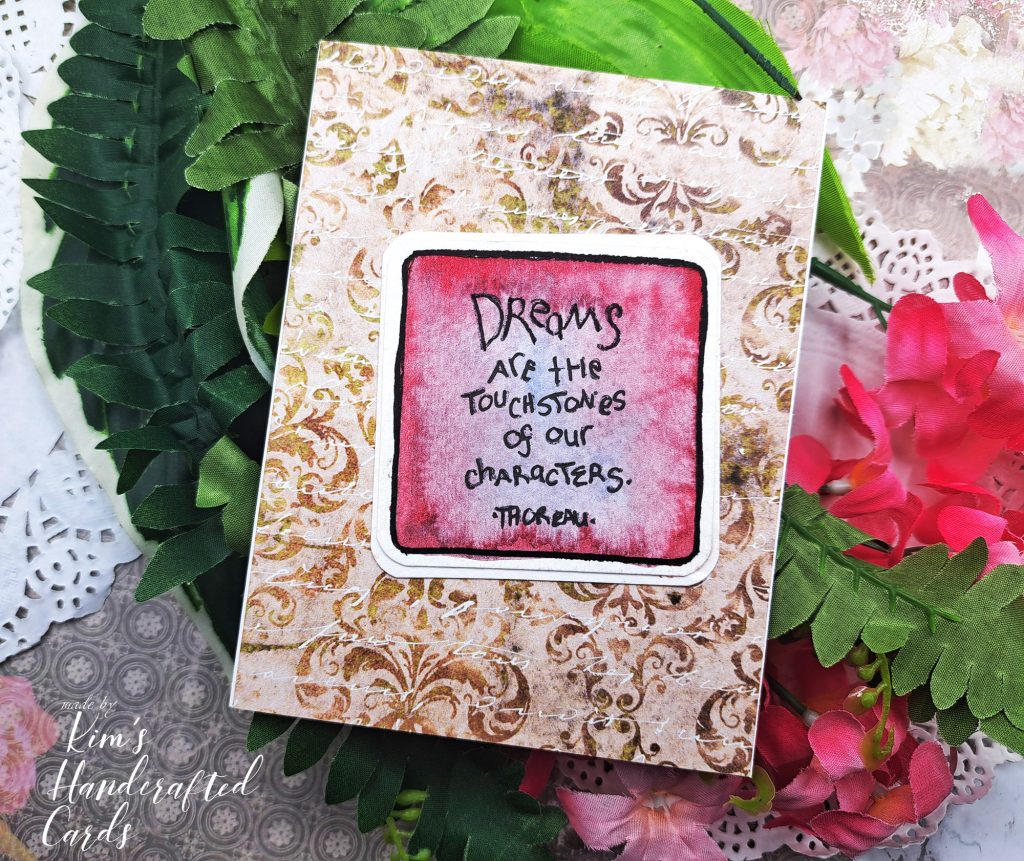
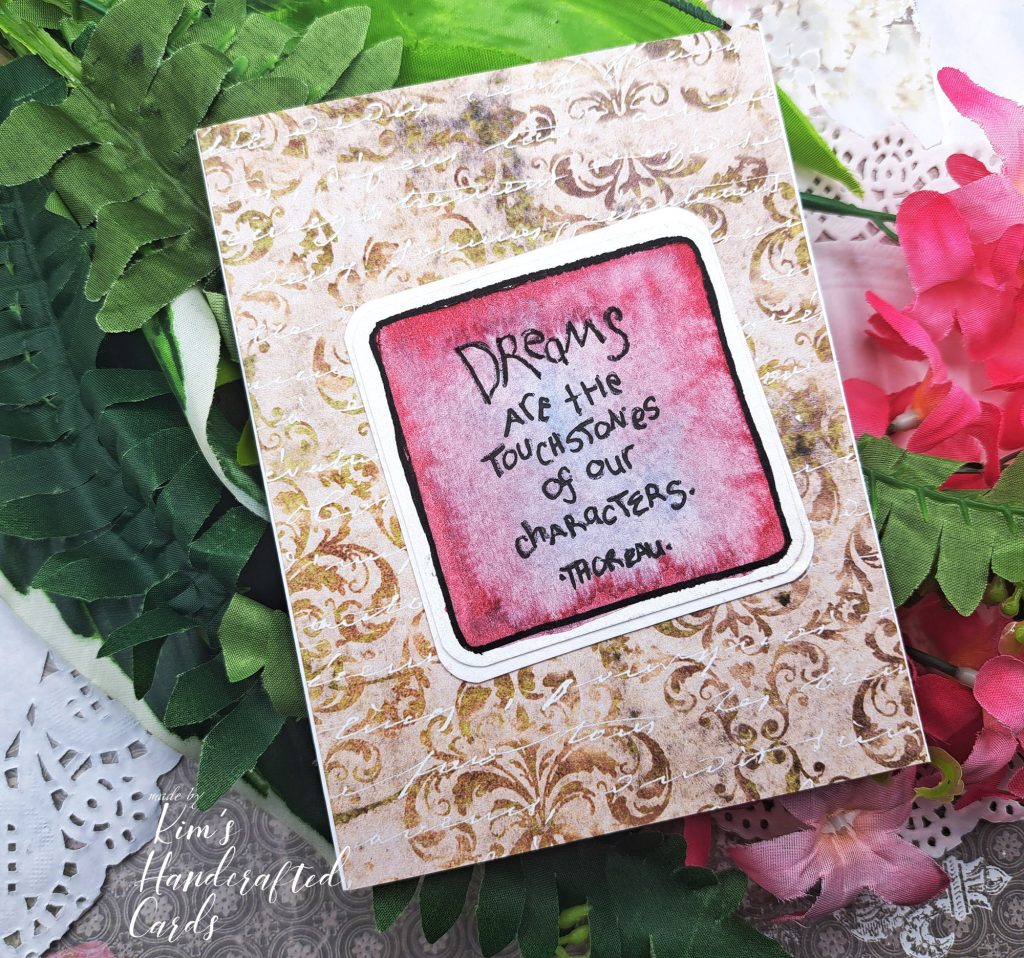
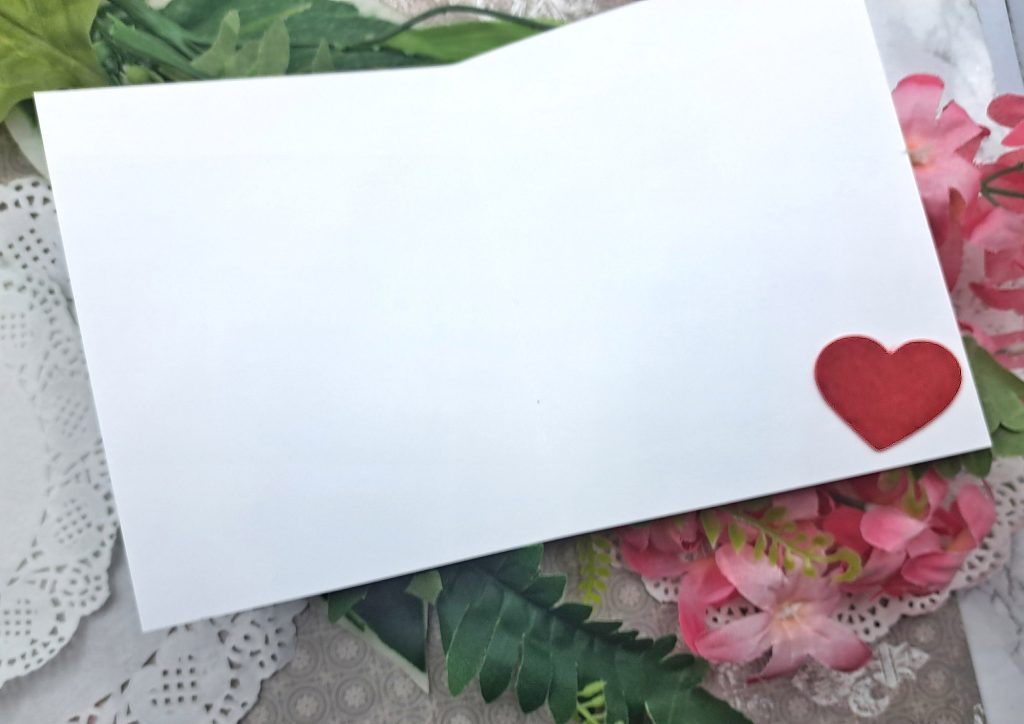
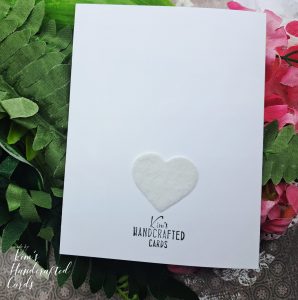
Oops…
My card photo with the red heart is blurry. I didn’t even realize I had camera shake until after I did my photo editing, so sorry! blahhhh 🙁
There’s so many ways to use pre-cuts and even older cards that you might not want to throw away. Junk journals, planners and scrapbook layouts are just a few but also they make great accents on handmade cards! This was a fun project, so grateful to my friend Kimberly!
Thanks for reading!

Some of the links to the products I used are affiliate links which means that when you shop with them, I’ll receive a small commission at no extra cost to you. Your support helps me run my small crafty business. Thank you so much!
- Paper Rose “Back Then” 12 x 12 Paper Pack
- Glassboard Craft Mat → Use my Code → KIMCARDS20 at checkout
- Craft Reverse Tweezers by EK Tools (great for picking up die cut pieces)
- Paper Trimmer: Tim Holtz here (Ranger), here (Scrapbook.com) or here (AZ)
- Accents Opaque 120 lb. White Cardstock
- Bearly Art Glue
- Teflon bone folder (I bought mine on AZ in 2018, no longer available), but here’s a similar one from Honey Bee Stamps here
- Scor-Buddy Scoreboard
- Simon Says Stamp “Intense Black” ink pad

