Hi my friends! I know it’s been a hot minute since I’ve posted anything here. My apologies! I’ve been really focusing on learning to sew and documenting my journey where you learn more about on the BellaArt Creatives blog.
But for today I’m super excited to share with you two new products sent to me to review from Glassboard Studio! I’m an affiliate of this wonderful company! Here’s a pic of them and I also took pics of the ones I got!
If you’ve been following me awhile, you know I absolutely LOVE 💘my Glassboard magnetic mat! I purchased the 18″ x 24″ size in 2021 and it has been a gamechanger for my crafty journey. I’ve thrown everything under the sink on this mat (ink blending, alcohol ink painting, watercolor, acrylic painting, even pressing fabric, etc.) and it has not only held up but it cleans so beautifully and looks like I just bought it yesterday. I also love to take flatlay photos on it! You can read my review of the mat here. Let’s talk about these new products!
1st Product: Glassboard Studio’s MagInk Tray
Glassboard Studio is introducing new products perfect for their magnetic mats! The first is called, “MagInk Tray“, it’s their version of the “ink stand” that every cardmaker loves. I’ve wanted an ink stand for awhile, but at this time I’m not purchasing papercrafting items so when they reached out to us affiliates to try this product, I was over the moon! And, I chose the pink color🌸, of course! 😀


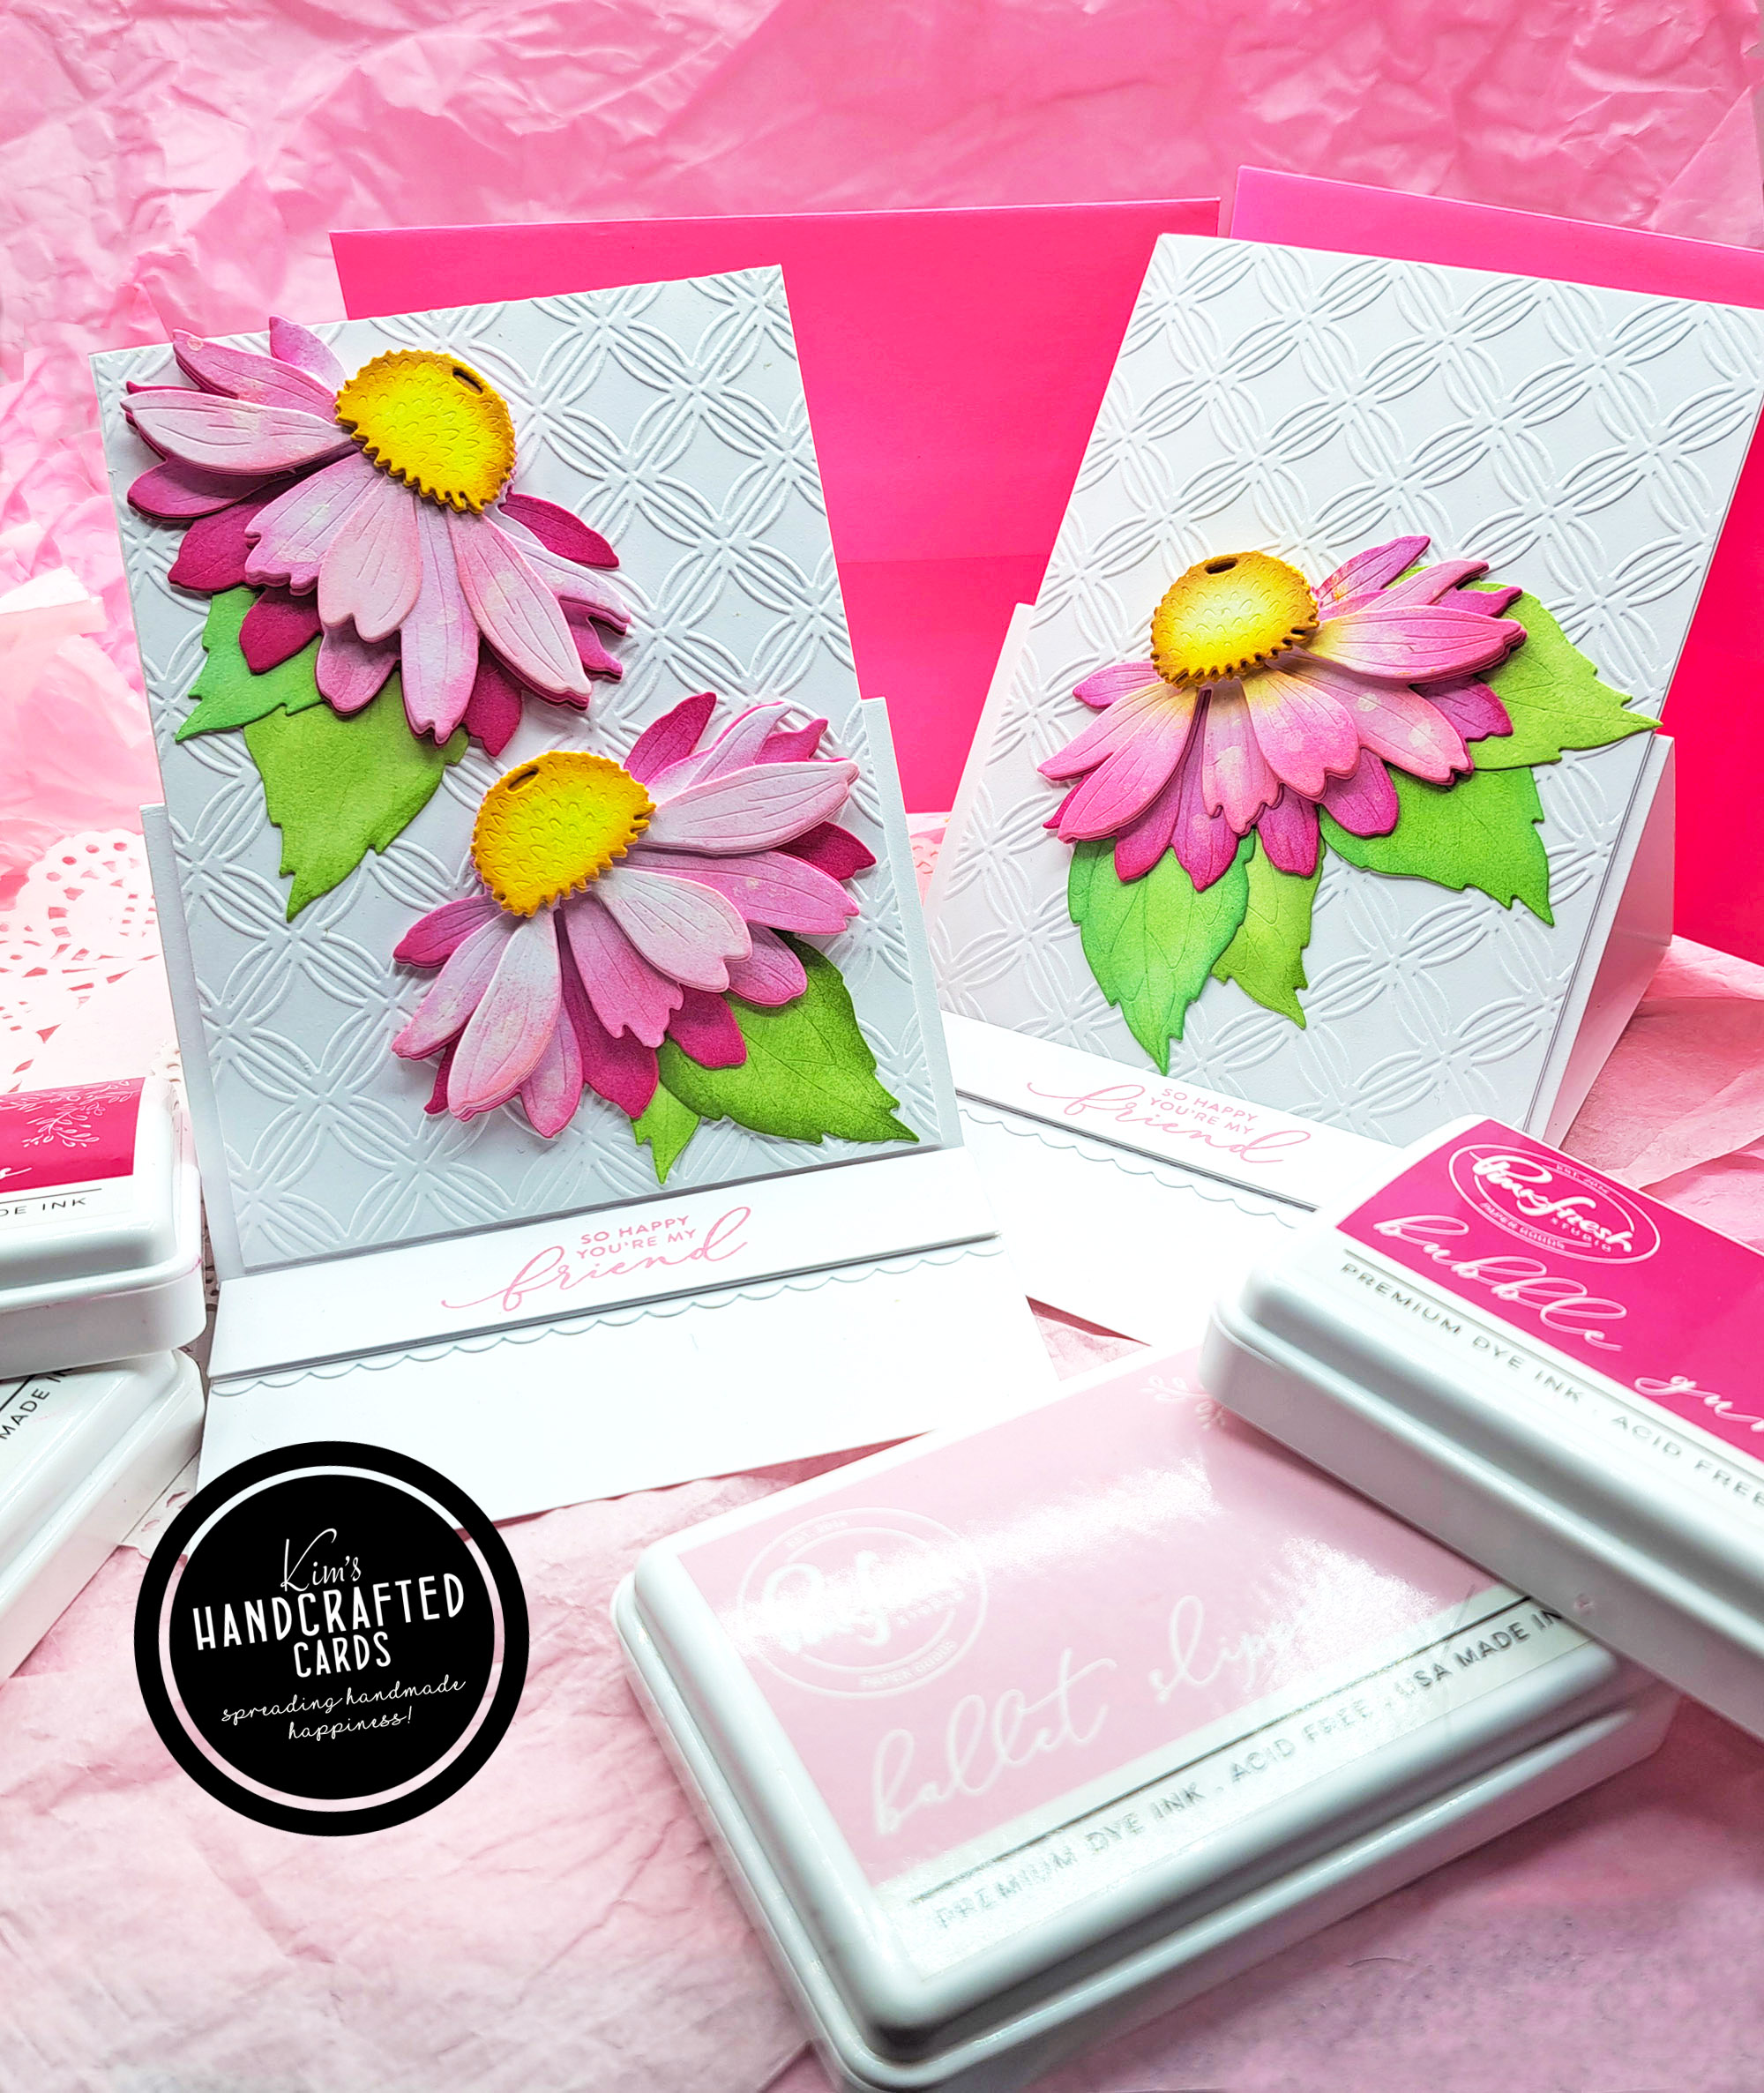
I can work with two inks simultaneously or put the lid into the 2nd stand. I actually prefer to use them for two ink pads and set the lids aside somewhere else on my table. The 2nd photo above gives you a look at the bottom of the pad and its magnetic surface.
What I love most is that the bottom of the stand is magnetic so it sits on my mat and doesn’t move or shift at all. Now, I can ink blend without holding the pad in my hand as I apply ink to my blending brushes. I loved using these for my two cards and will be using these a lot more!
2nd Product: Glassboard Studio’s CraftCatcher
The 2nd product is called, “CraftCatcher“. It is sold as a 3-set size bundle. I LOVE these, because they sit perfectly on the end of the glass mat and they catch all those little bits and bobs we use in our cardmaking projects. For my two cards, I used them to contain my shaker bits and hold onto my die cut sentiments.
The pictures below show all the sizes and how they attach to the glass mat.


I plan to keep the largest size out all the time in my sewing projects as well when I’m working with small pieces like my wonder clips!

Both of these products are available in several colors. Links are below! To learn more details about these products, click here.
Now, let’s talk about my 2 projects!
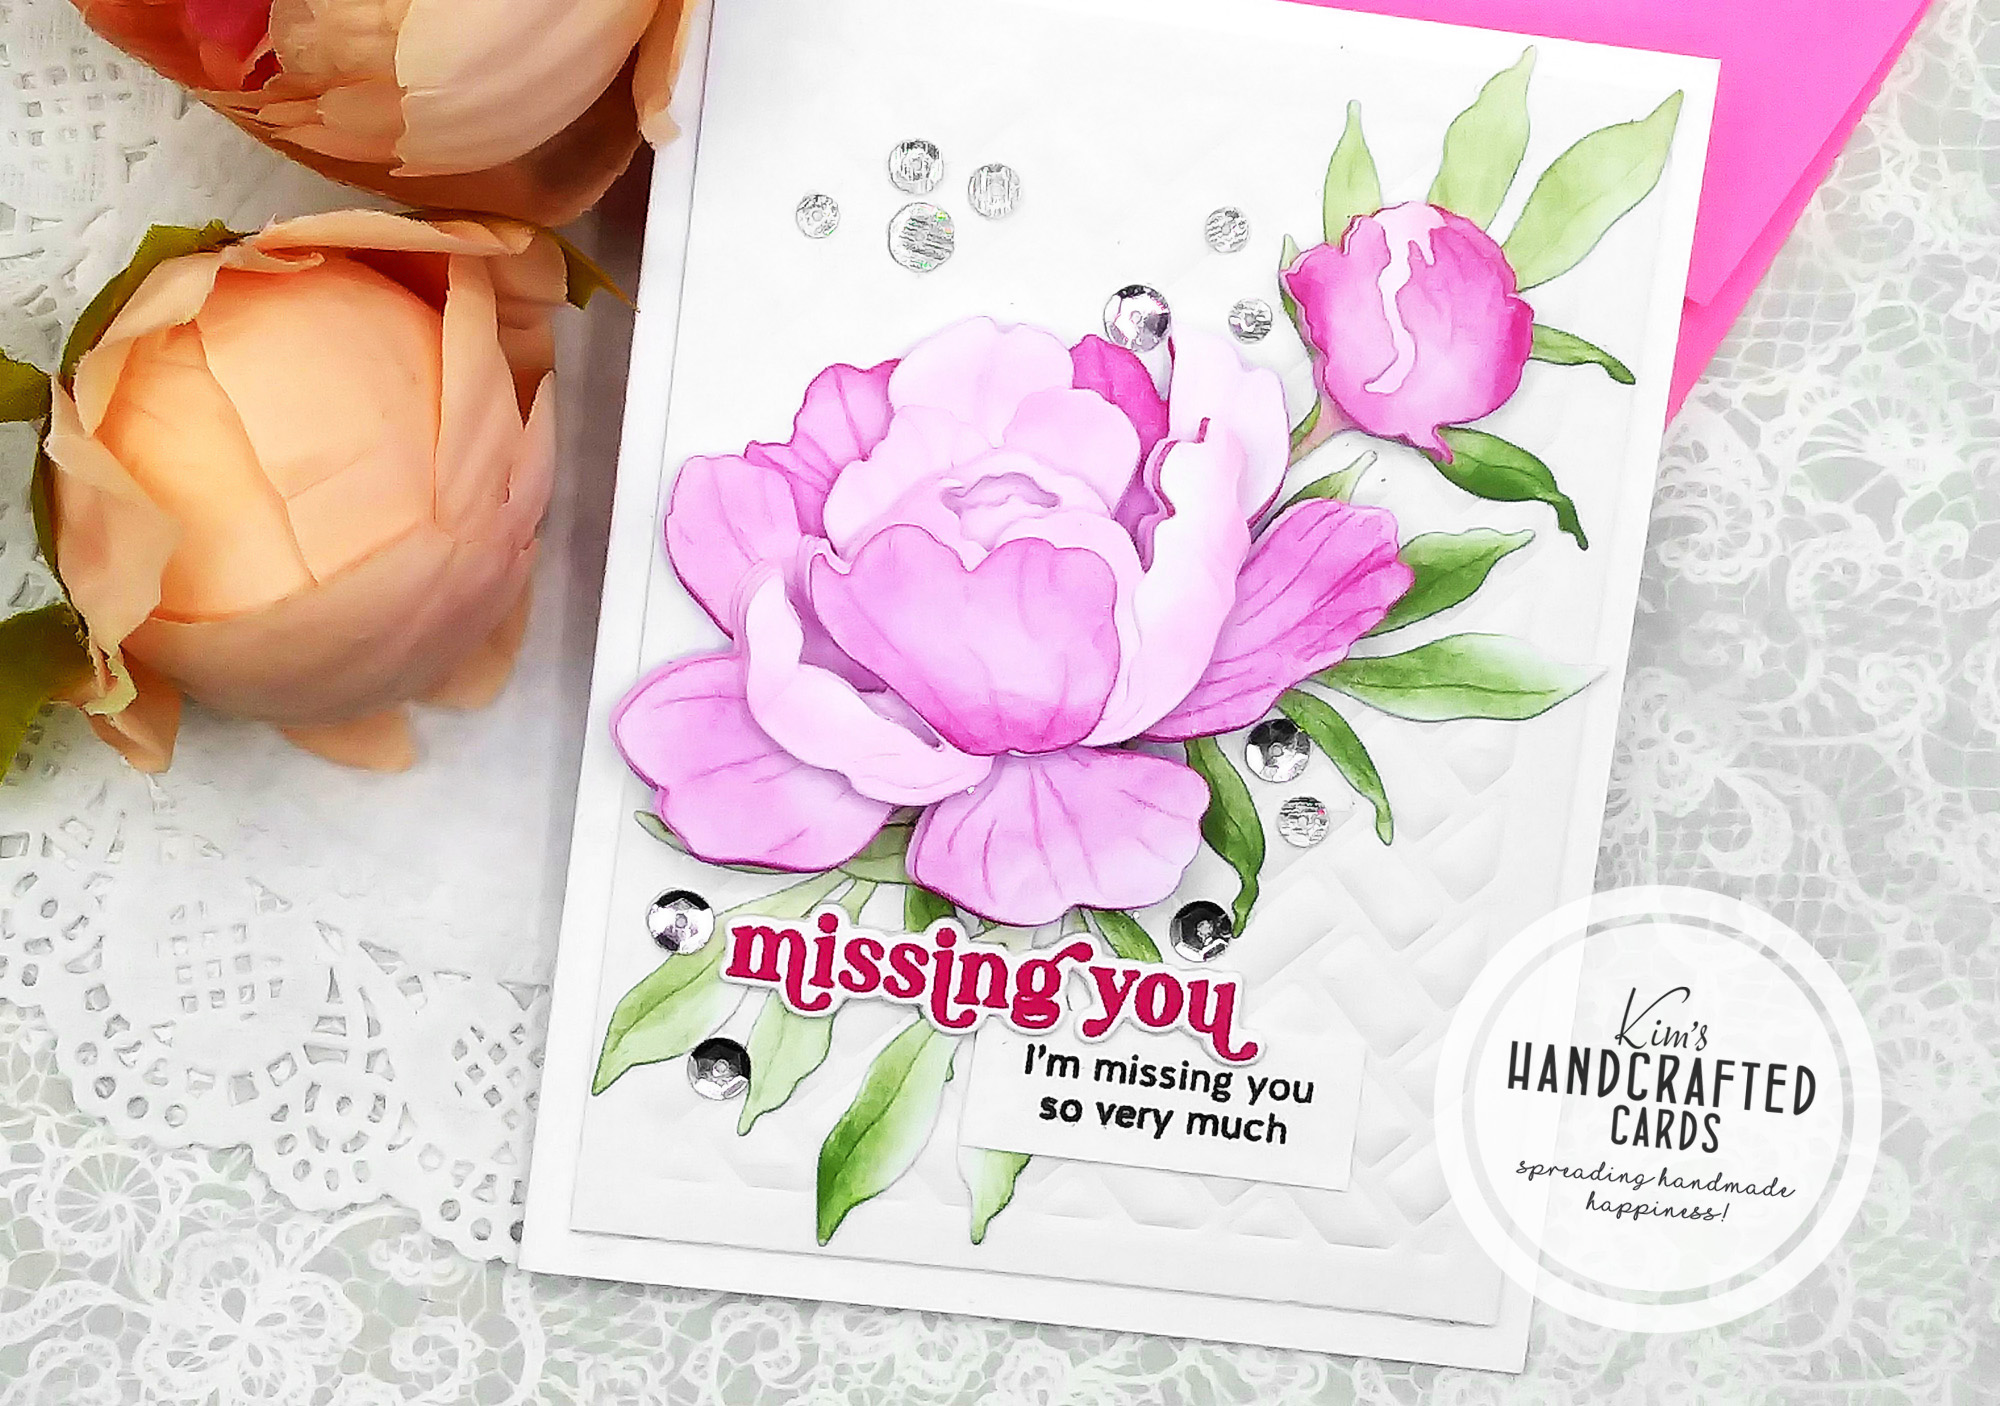
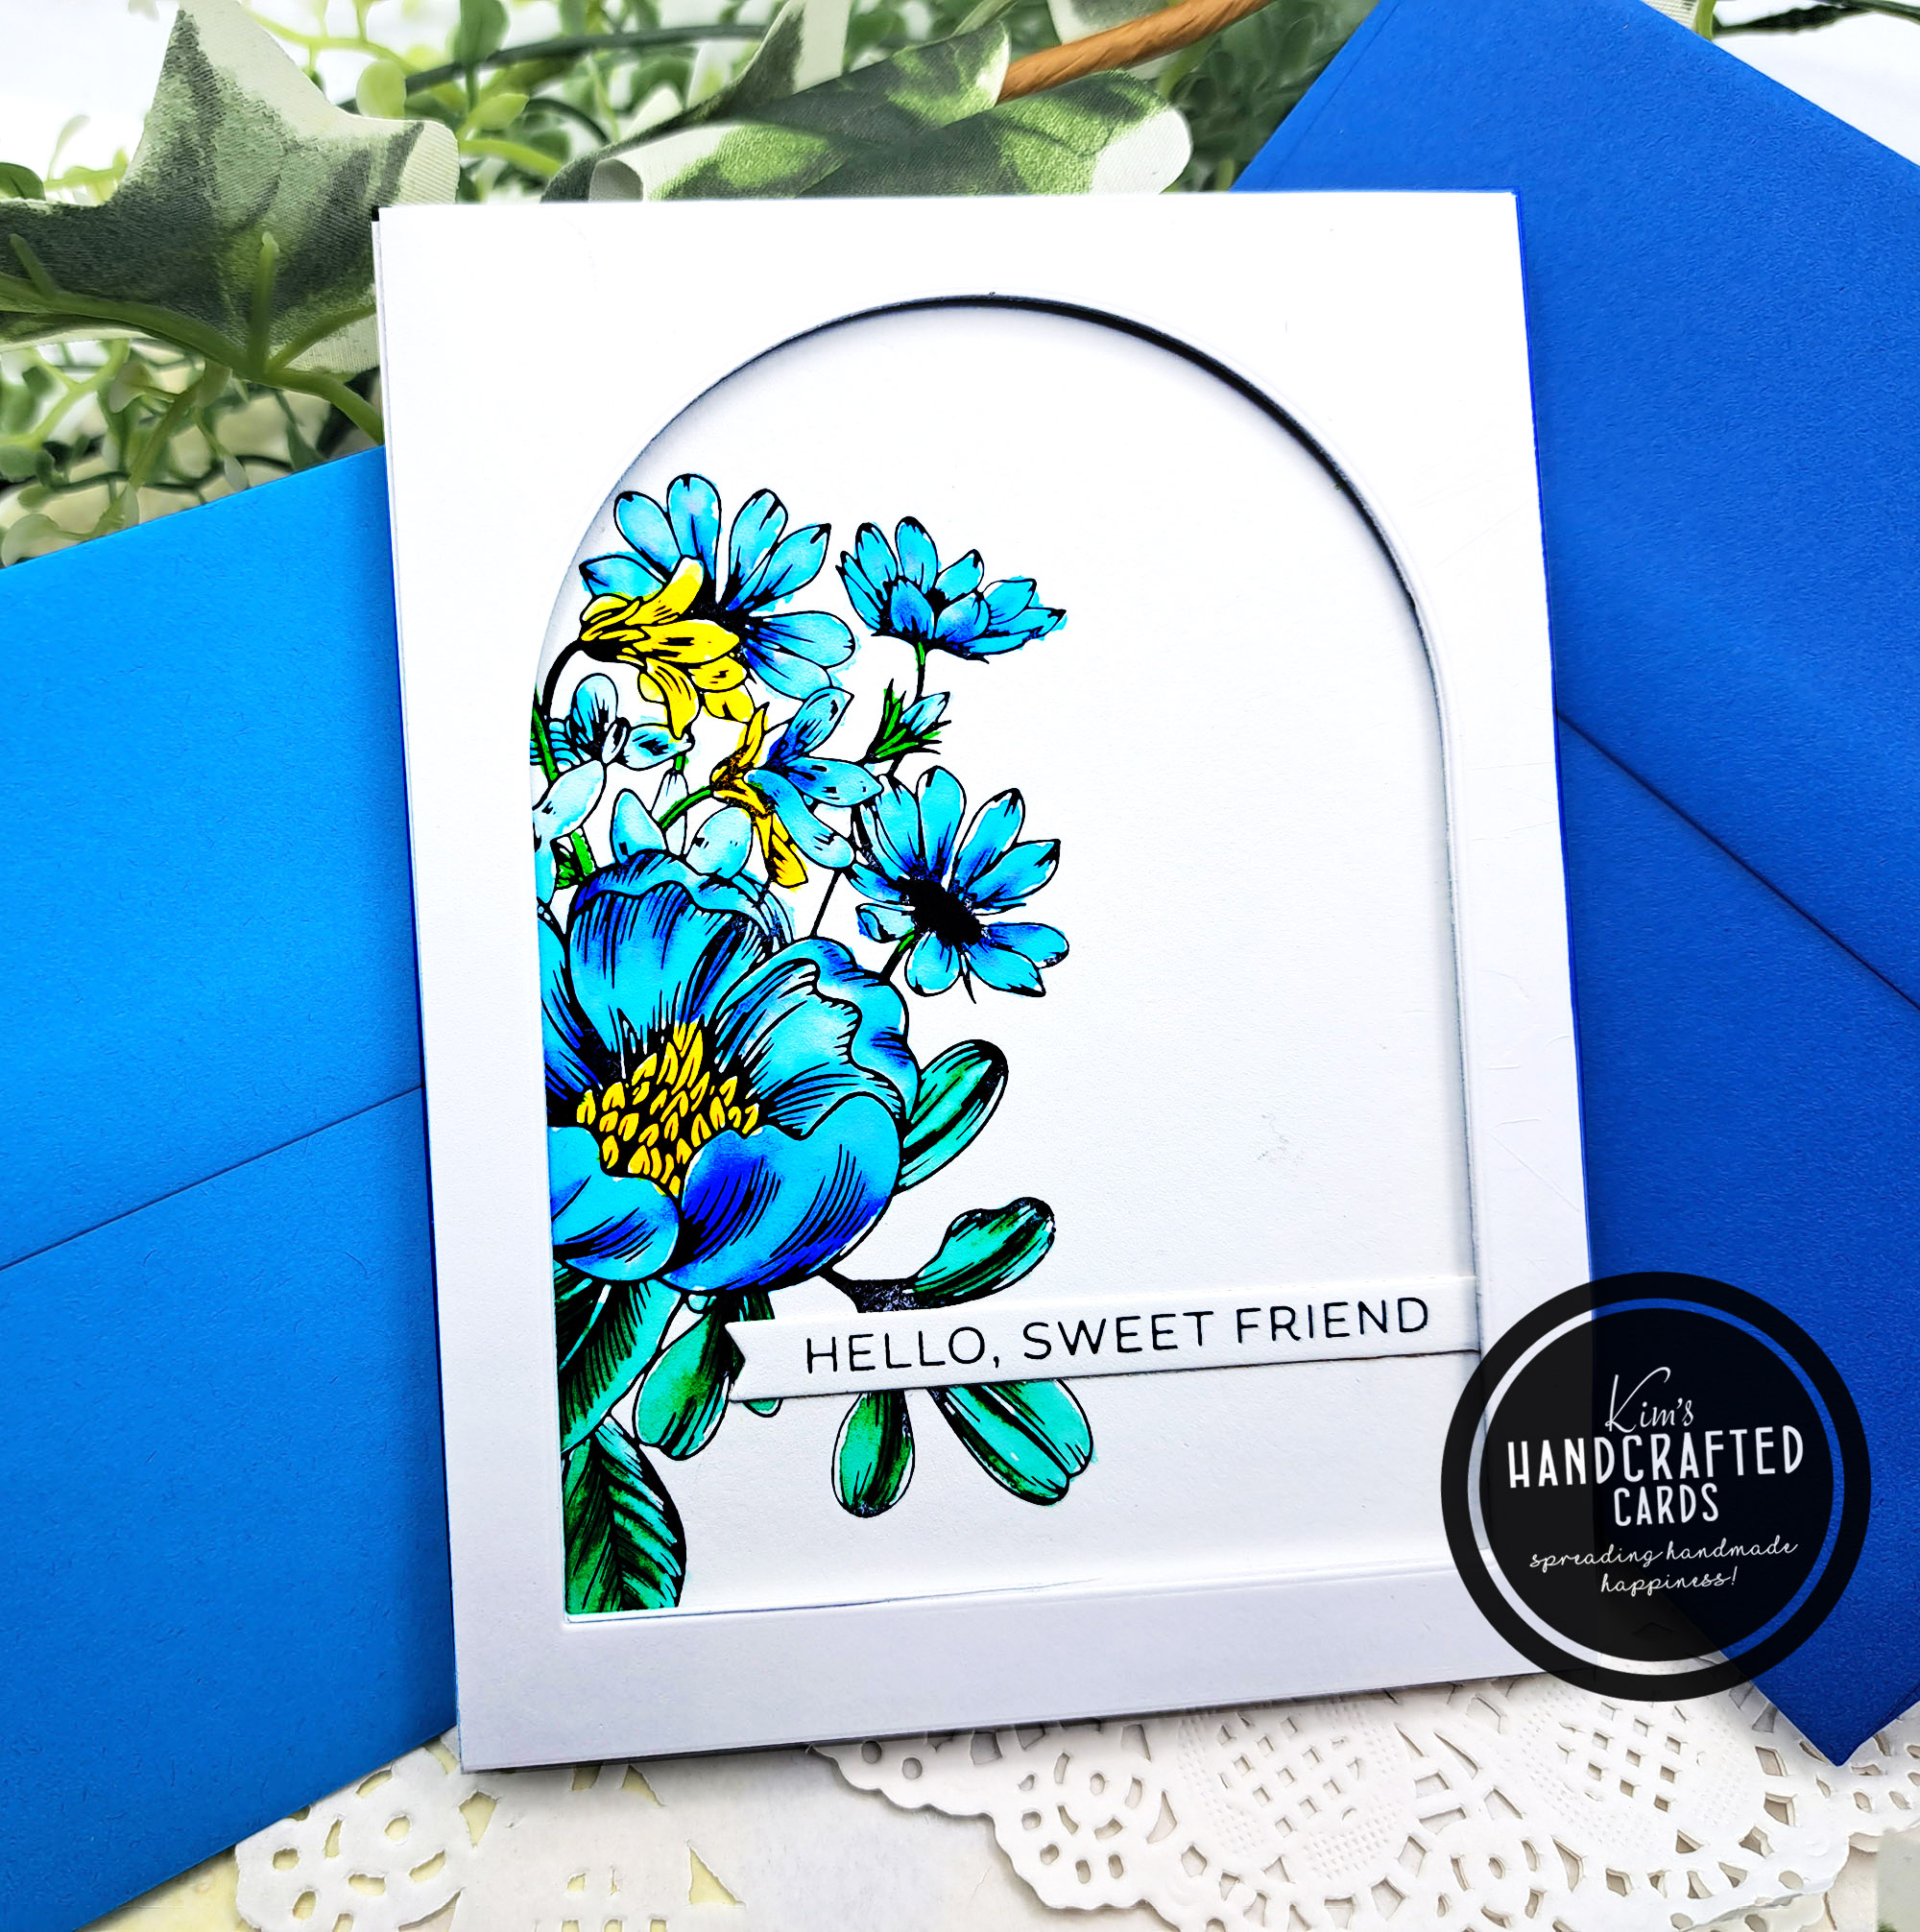
Double Arch-Shaped Shaker Cards
I knew immediately to showcase both products, I would make shaker cards and do some ink blending! For my focal point, I saved two more rosette flowers that I made from cardstock last year. You’ll can read the post here.
Making these cards took some planning ahead, so I wrote down all the supplies and pieces I’d need. Here’s the list:
- Arch-shaped A2 sized cardbases (2 quantity)
- Smaller arch card panels for the ink blending (2 quantity)
- Smaller arch card panels for the inside of the cards (2 quantity); (adds extra stability)
- Large arch-shaped borders (2 quantity)
- Smaller arch-shaped acetate sheets(2 quantity). I used the 4 largest sizes arches from the Essentials by Ellen‘s arch nested die set for this project.
- Die cut sentiment
- Inks
- Blending brushes
- Shaker bits
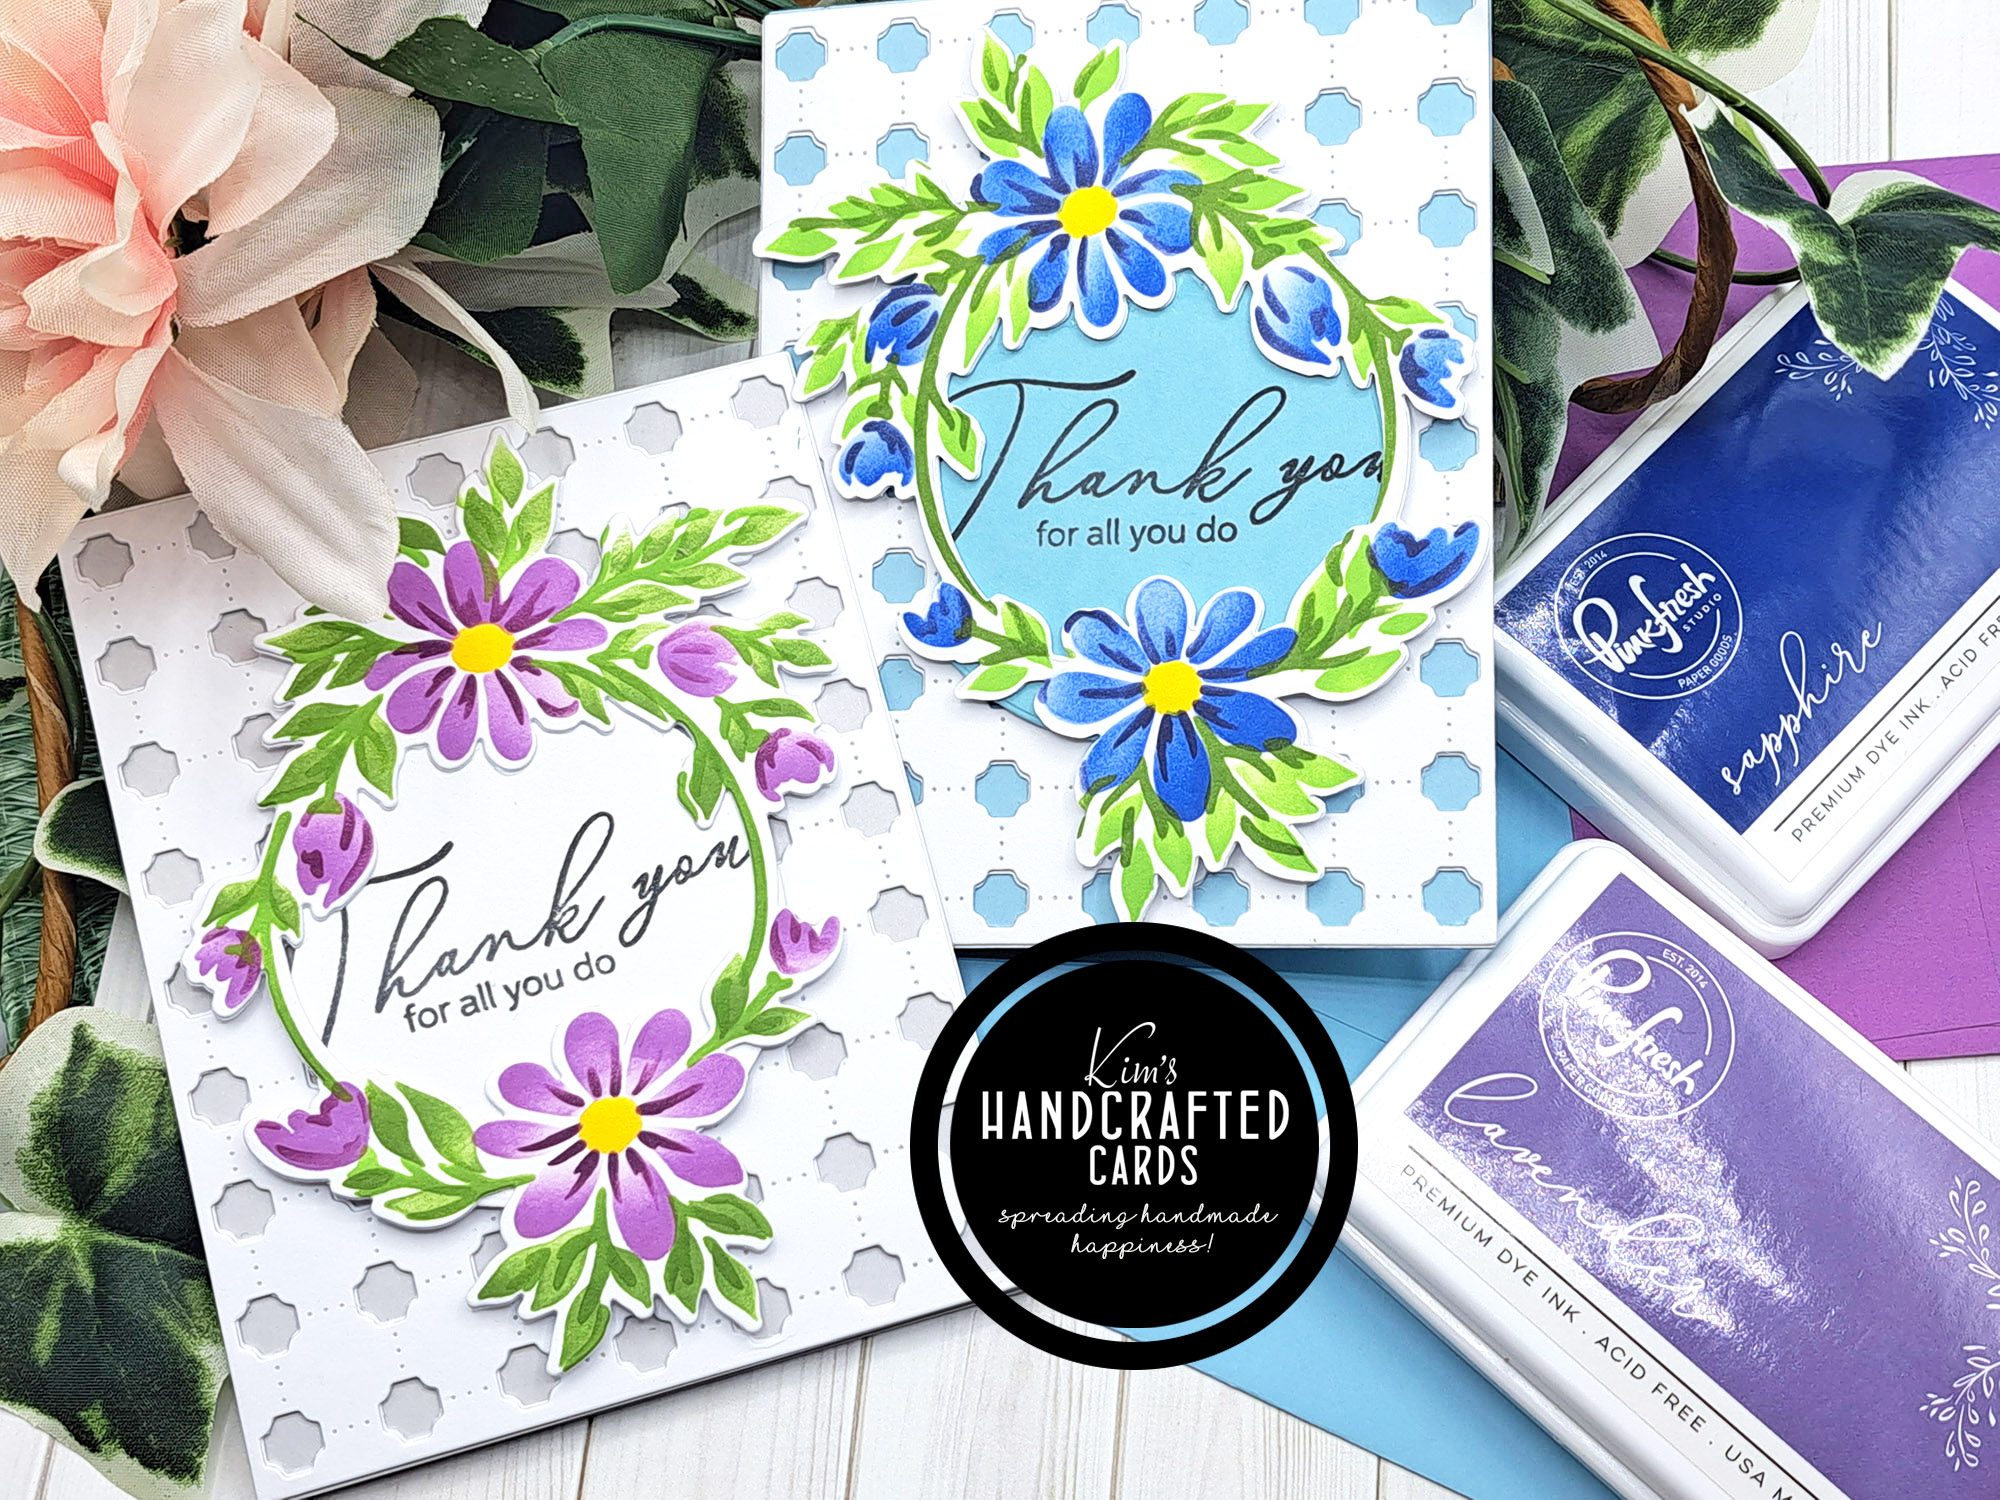
The sentiment is from Pinkfresh Studio, but I stopped to quickly ink blend some white cardstock to die cut the letters with; the shadow was die cut on plain white cardstock. Then, after finishing all the die cutting I went onto the next step.
Next, I ink blended my two card panels with Pinkfresh Studio’s “Raspberry Bliss” and “Clementime” inks. I love ink blending on a diagonal so I made both cards with that design, but flipped the coloring so that the cards wouldn’t look exactly identical. With that done, now it was time to put all the pieces together.
Constructing the Cards
All my pieces were created so now it was time to put it together. For this, I needed liquid glue and double-sided foam tape. I started by gluing the largest size arch borders on my arch-shaped cardbases. Then, I glued my two ink-blended card panels right in the center of the cardbases.
I set the cardbases aside to work with the smaller acetate sheets and borders because I had to make my shaker walls. To do this, I first glued the back of the smaller arch borders and placed over the acetate sheets. I let this dry a bit and then on the back, I added my double-sided foam tape. To get it around the arch, I removed the outer layer of the tape to apply it and I could easily shape it around the arch really well.
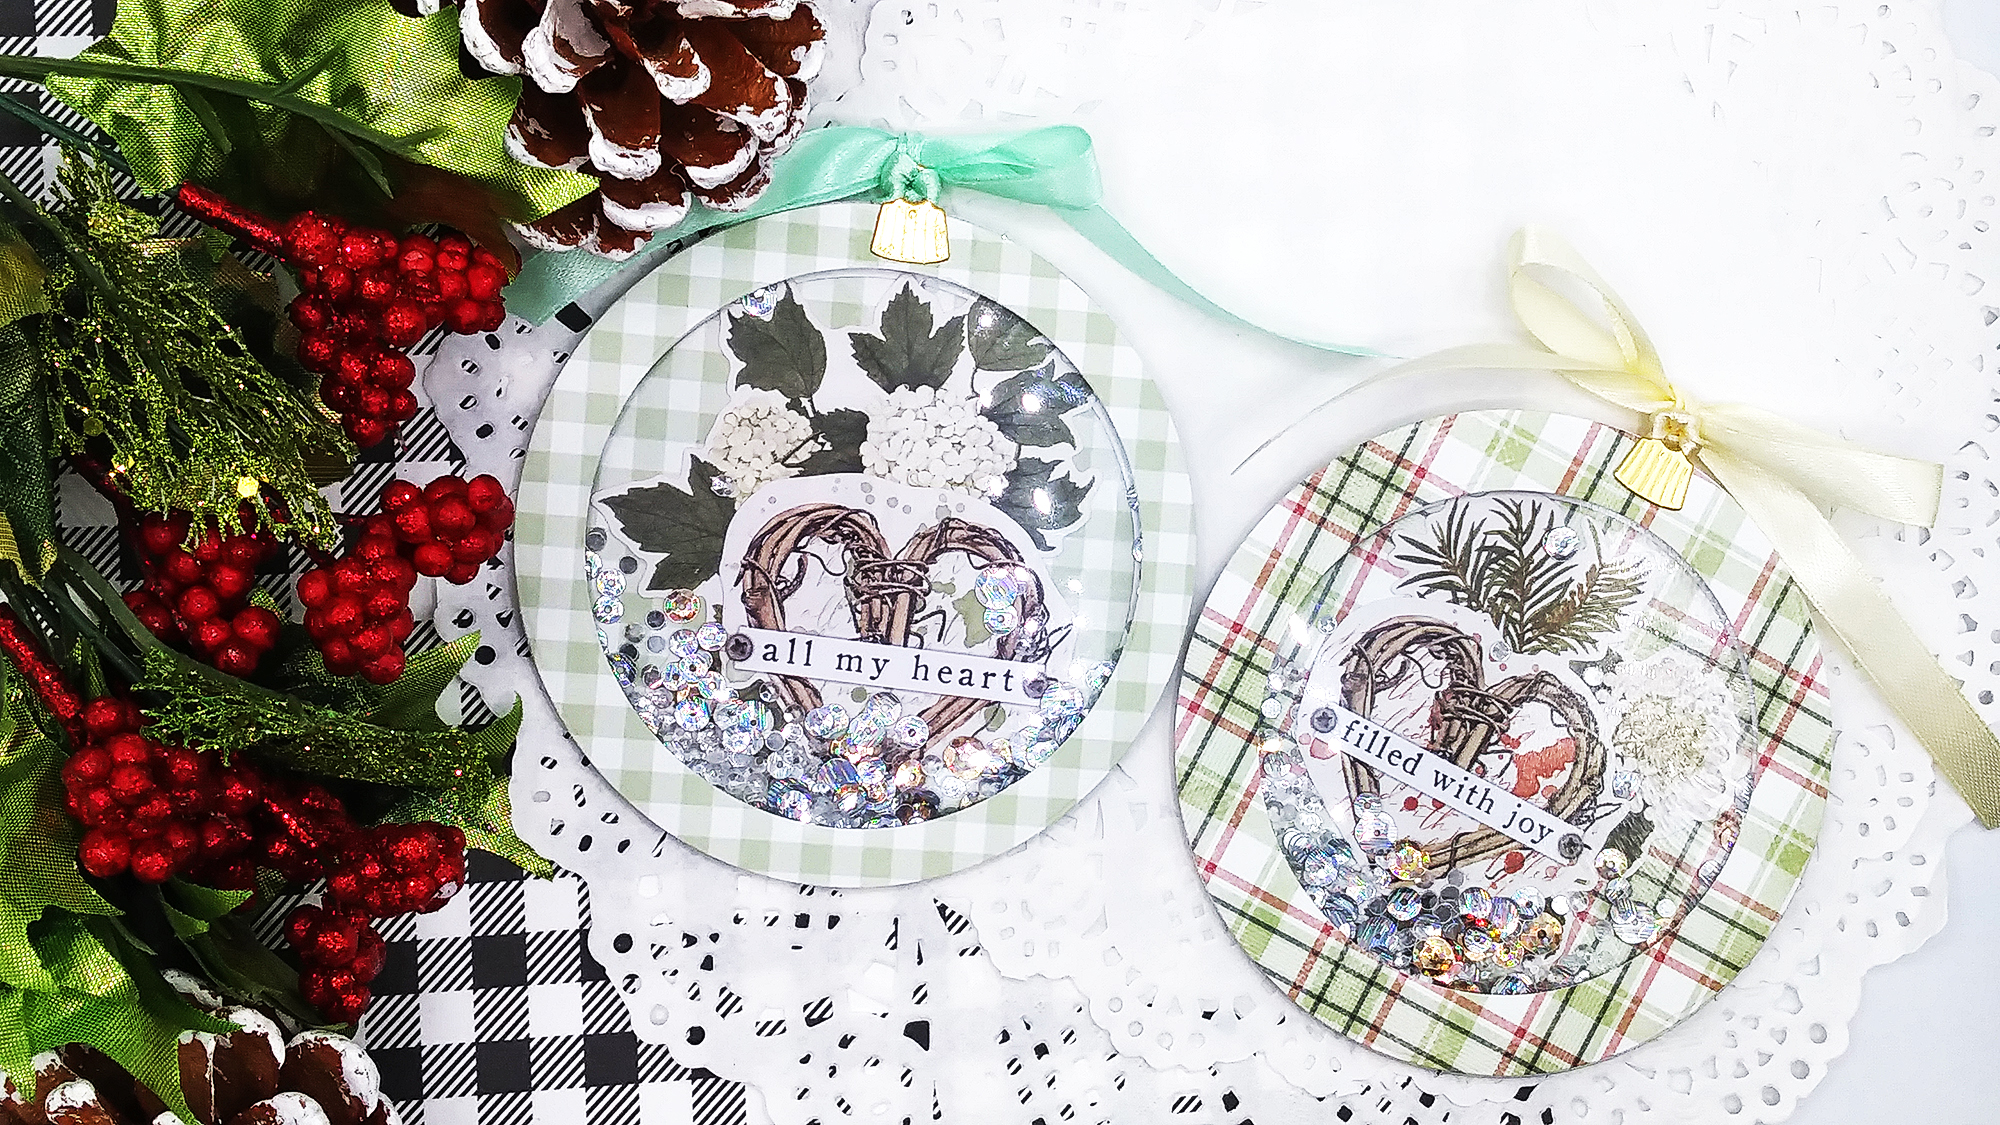
I picked out my shaker bits and had them in the Glassboard Studio’s scrap catcher. I placed a few on top of the arch cardbases, I didn’t go overboard because the rosettes would cover much of the window. After setting my shaker bits down, I carefully placed my acetate arch window on top. By using the doubled-sided foam tape, it gives the cards that extra dimension and you can really see the double-arch design I was going for!
Embellishing Time!
I added three more gems on the top of the cards and glued the sentiment to the bottom right hand corner. After the dry time, I added the rosettes to the top left corner with hot glue! All done!


These are definitely not cards that I would mail by themselves. They’ll either go in a care box and mailed or hand delivered. Oh, I also added two of the smaller arch panels for the inside of the cards to give them extra weight so they will stand up easily!
I’m super excited how these turned out! I hope you’ll shop at Glassboard Studio because they make some of the best products for us crafters! Thanks for reading! Links to most of the products I used are listed below.
Some of the links to the products I used are affiliate links which means that when you shop with them, I’ll receive a small commission at no extra cost to you. Your support helps me run my small crafty business. Thank you so much!

- Glassboard Studio MagInk Tray – Use my Code → KIMCARDS15 at checkout
- Glassboard Studio CraftCatcher – Use my Code → KIMCARDS15 at checkout
- Glassboard Studio Craft Magnetic Mat – Use my Code → KIMCARDS15 at checkout
- Essential Arches by Essentials by Ellen
- Acetate Sheets
- Pinkfresh Studio Inks
- Pinkfresh Studio Essentials “Classic Word Dies”
- Blending Brushes, large size here, tiny size here
- Accents 100 lb. White Cardstock
- Craft Reverse Tweezers by EK Tools (great for picking up die cut pieces)
- Paper Trimmer: Tim Holtz here (Ranger), here (Scrapbook.com) or here (AZ)
- Bearly Art Glue
- Double Sided Foam Tape
For products I use most frequently, click here!