You guys know how much I admire Jennifer McGuire‘s card tutorials if you’ve been following me awhile. I get so much inspiration from her teaching style and I try most techniques she teaches. I think she’s a rock star cardmaker!
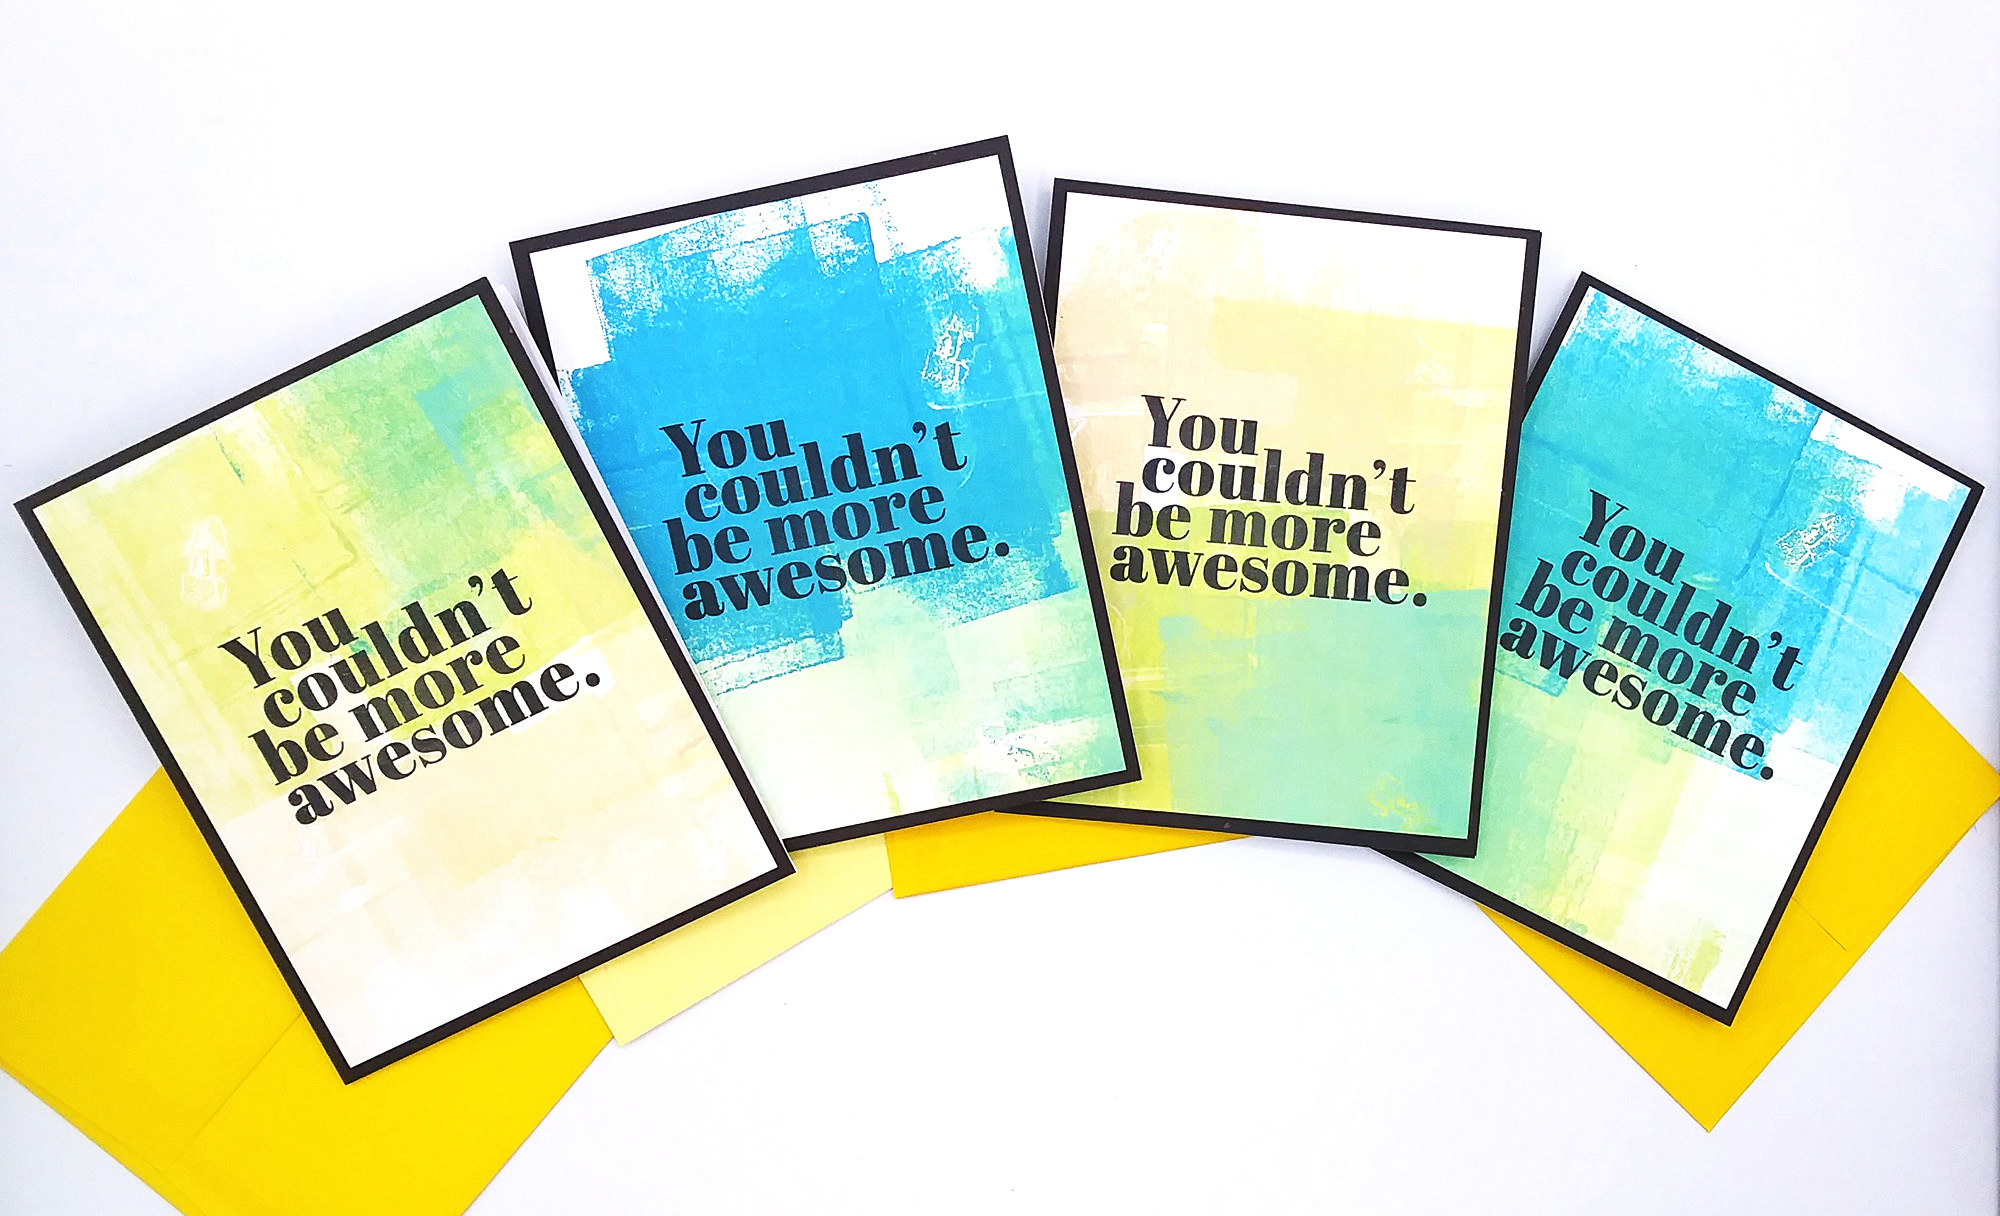
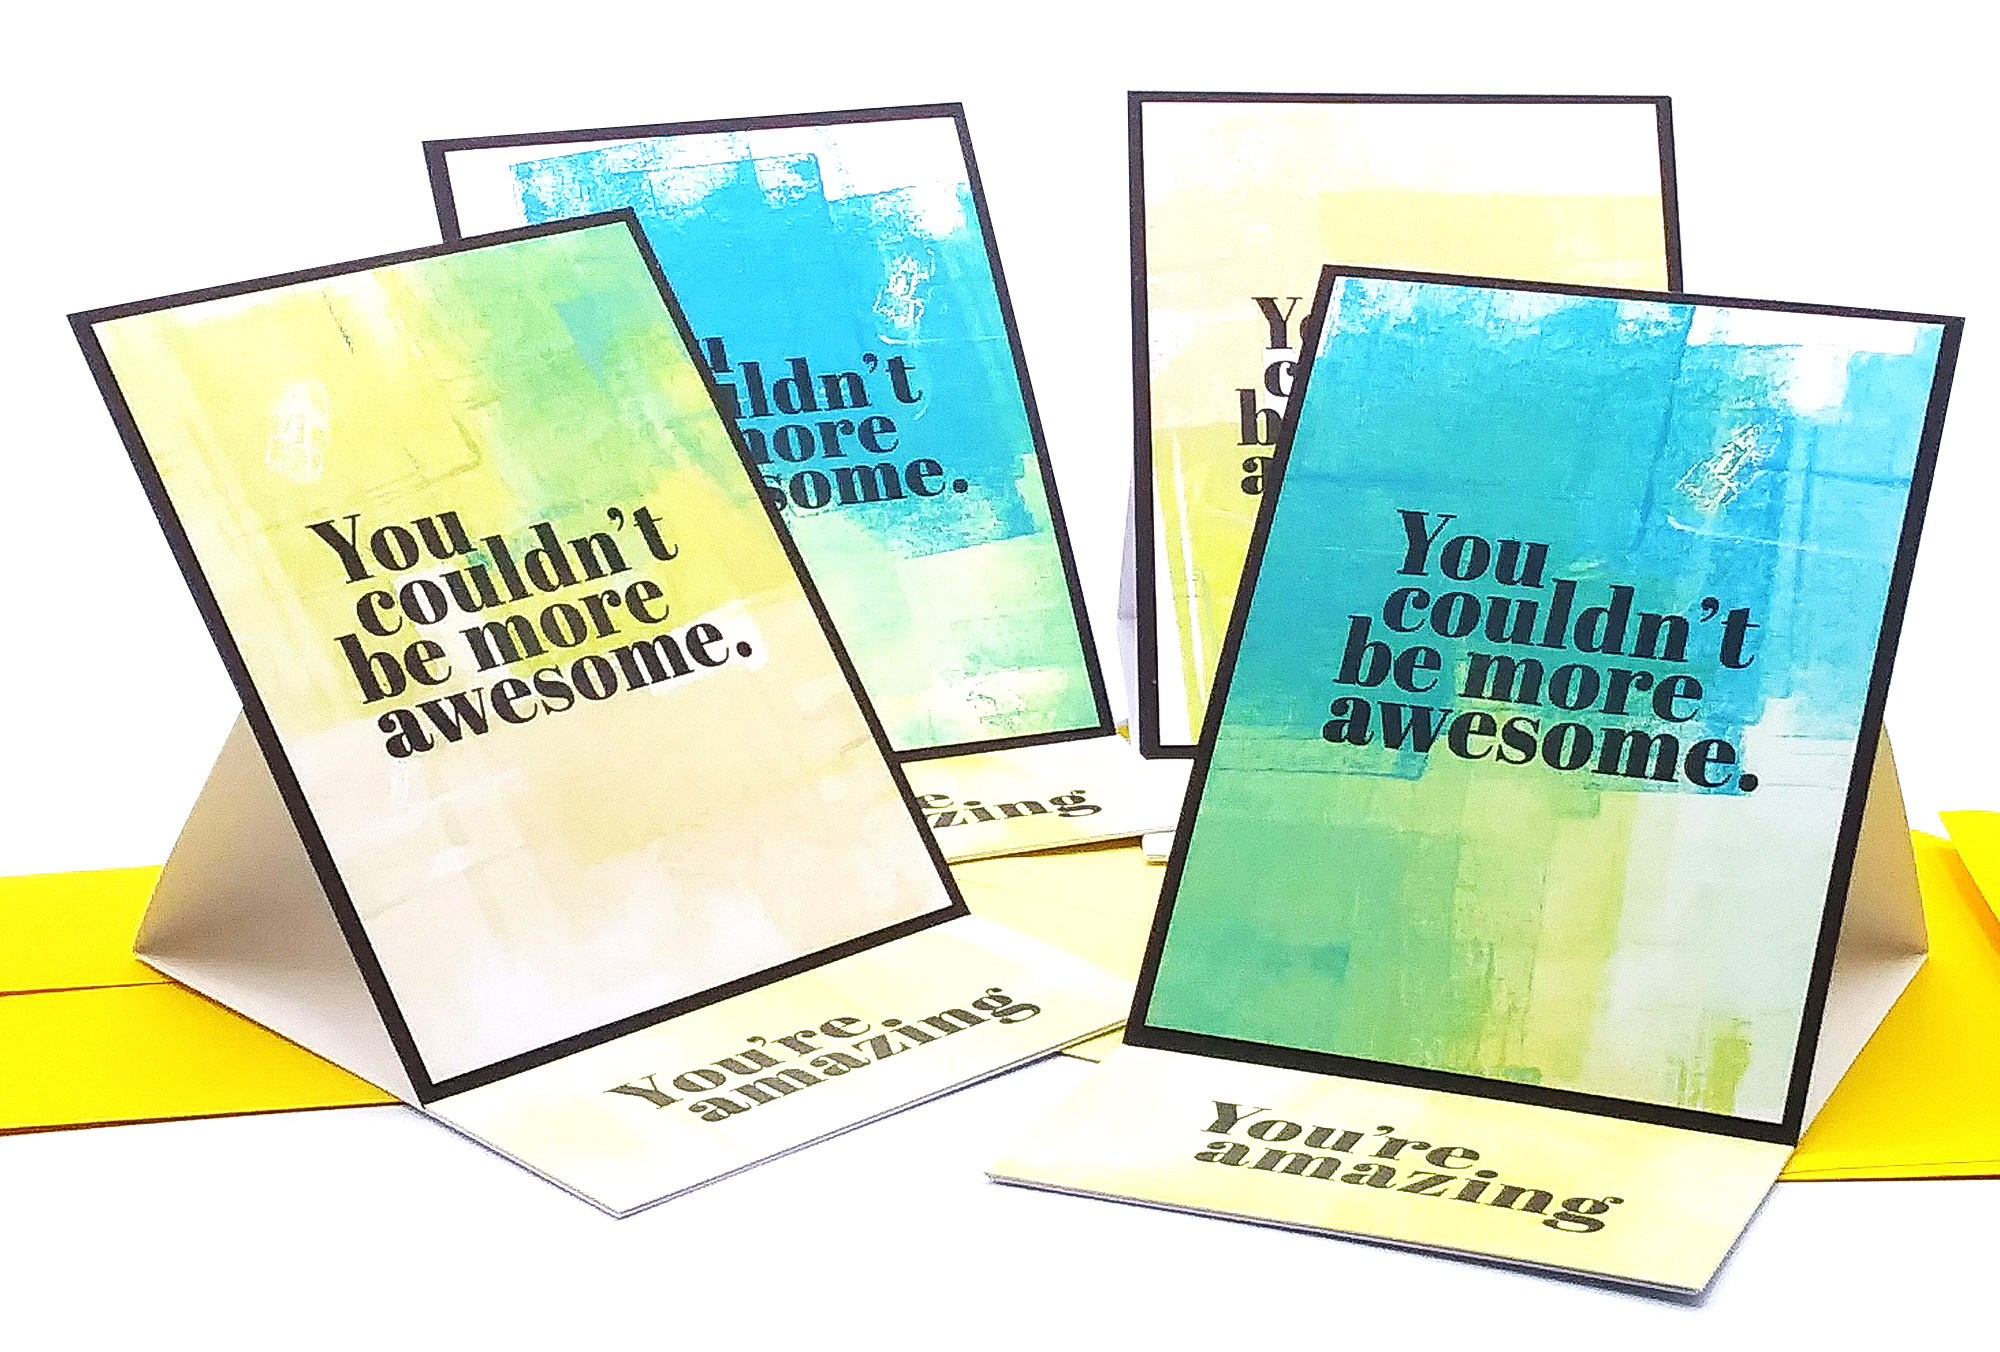
Anyway, I have seen several of her easel cards and I loved them but for some reason I had not made any myself. It’s not difficult at all but anyway, last night I tried it and made 4 cards! So, I watched her video, “5 Easy Easel Card Designs” and she taught several ways to make them. Since it was my first time, I opted for the basic design.
In my case, I had to decide what the design and sentiment would be. A few weeks back, I made some gel press backgrounds with distress oxide inks on 8-1/2 x 11 cardstock. I put the sheets in my folder to have for future cards. So, this is where I looked for a background design.
Lo and Behold, I found a sheet that I mixed some shades of the Ukrainian flag. If you’re a cardmaker, then you know all about #cardsforukraine initiative. If you don’t, it’s a hashtag that we’re using to showcase our yellow and blue cards in support of the recent happenings in the Ukraine and to show our support for Yana Smakula, an awesome and talented cardmaker who is Ukrainian.
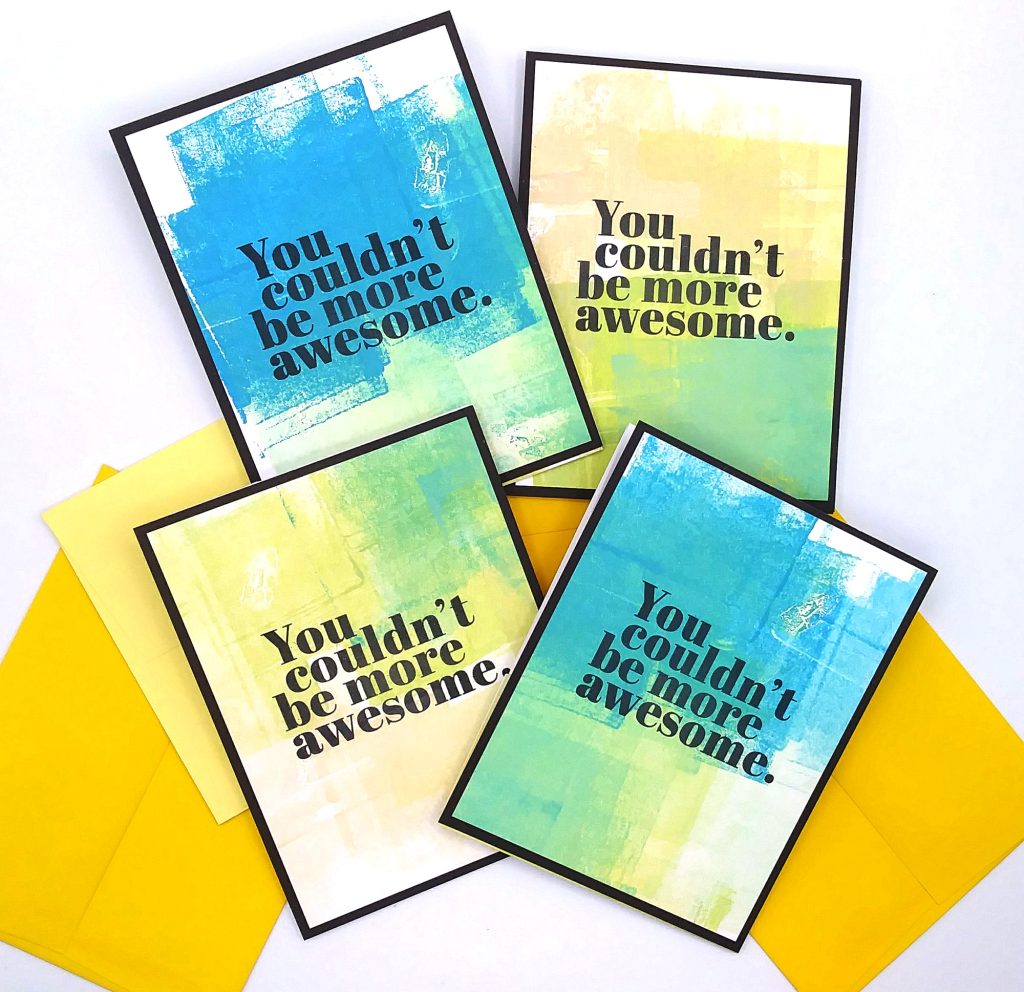
I trimmed down my full sheet into 4 quarters. Then, I trimmed each quarter into 4″ x 5-1/4″ sizes, because I wanted a border. For that, I used “dark chocolate” cardstock from Simon Says Stamp and cut it into A2 sizes. I glued each gel press background to the brown borders and then to my card bases. I LOVE all 4 card designs and you’d never think they came from the same 8-1/2 x 11 sheet!
Oops forgot, I stamped my sentiment before I adhered them to the card bases. The sentiment is from Simon’s “Thankful Flowers” stamp set. I followed the instructions in Jennifer’s video so if you’ve never made an easel card, I highly suggest watching it.
I had so much fun making these easy cards! This is definitely a card design I’ll be revisiting!
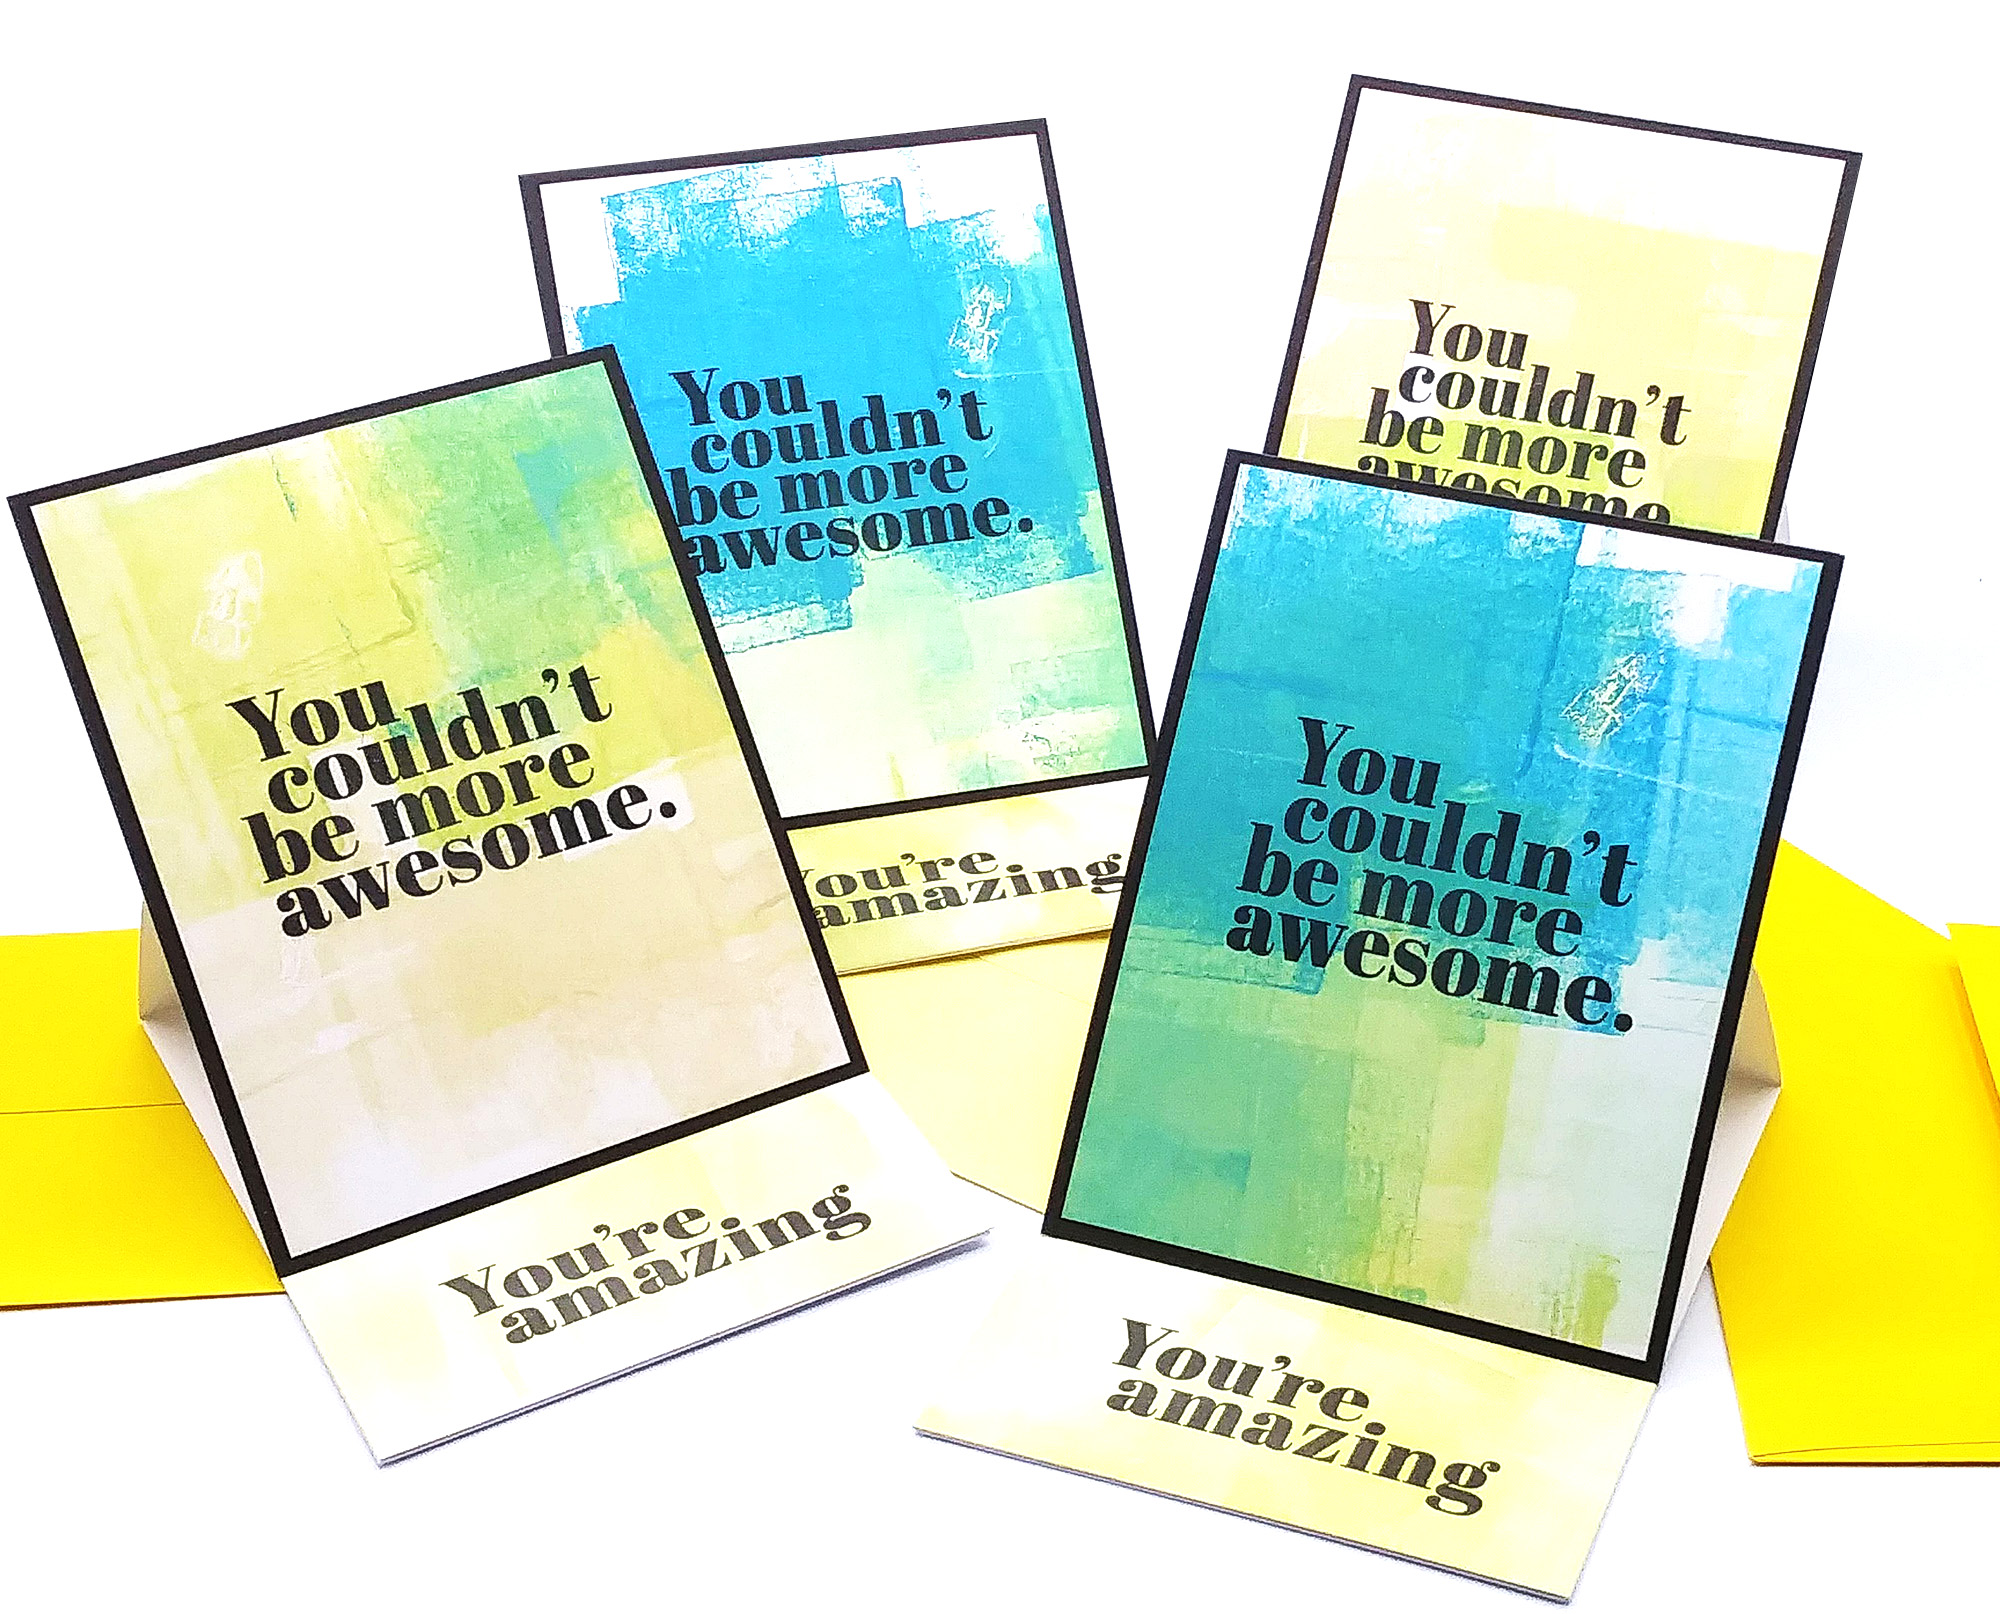
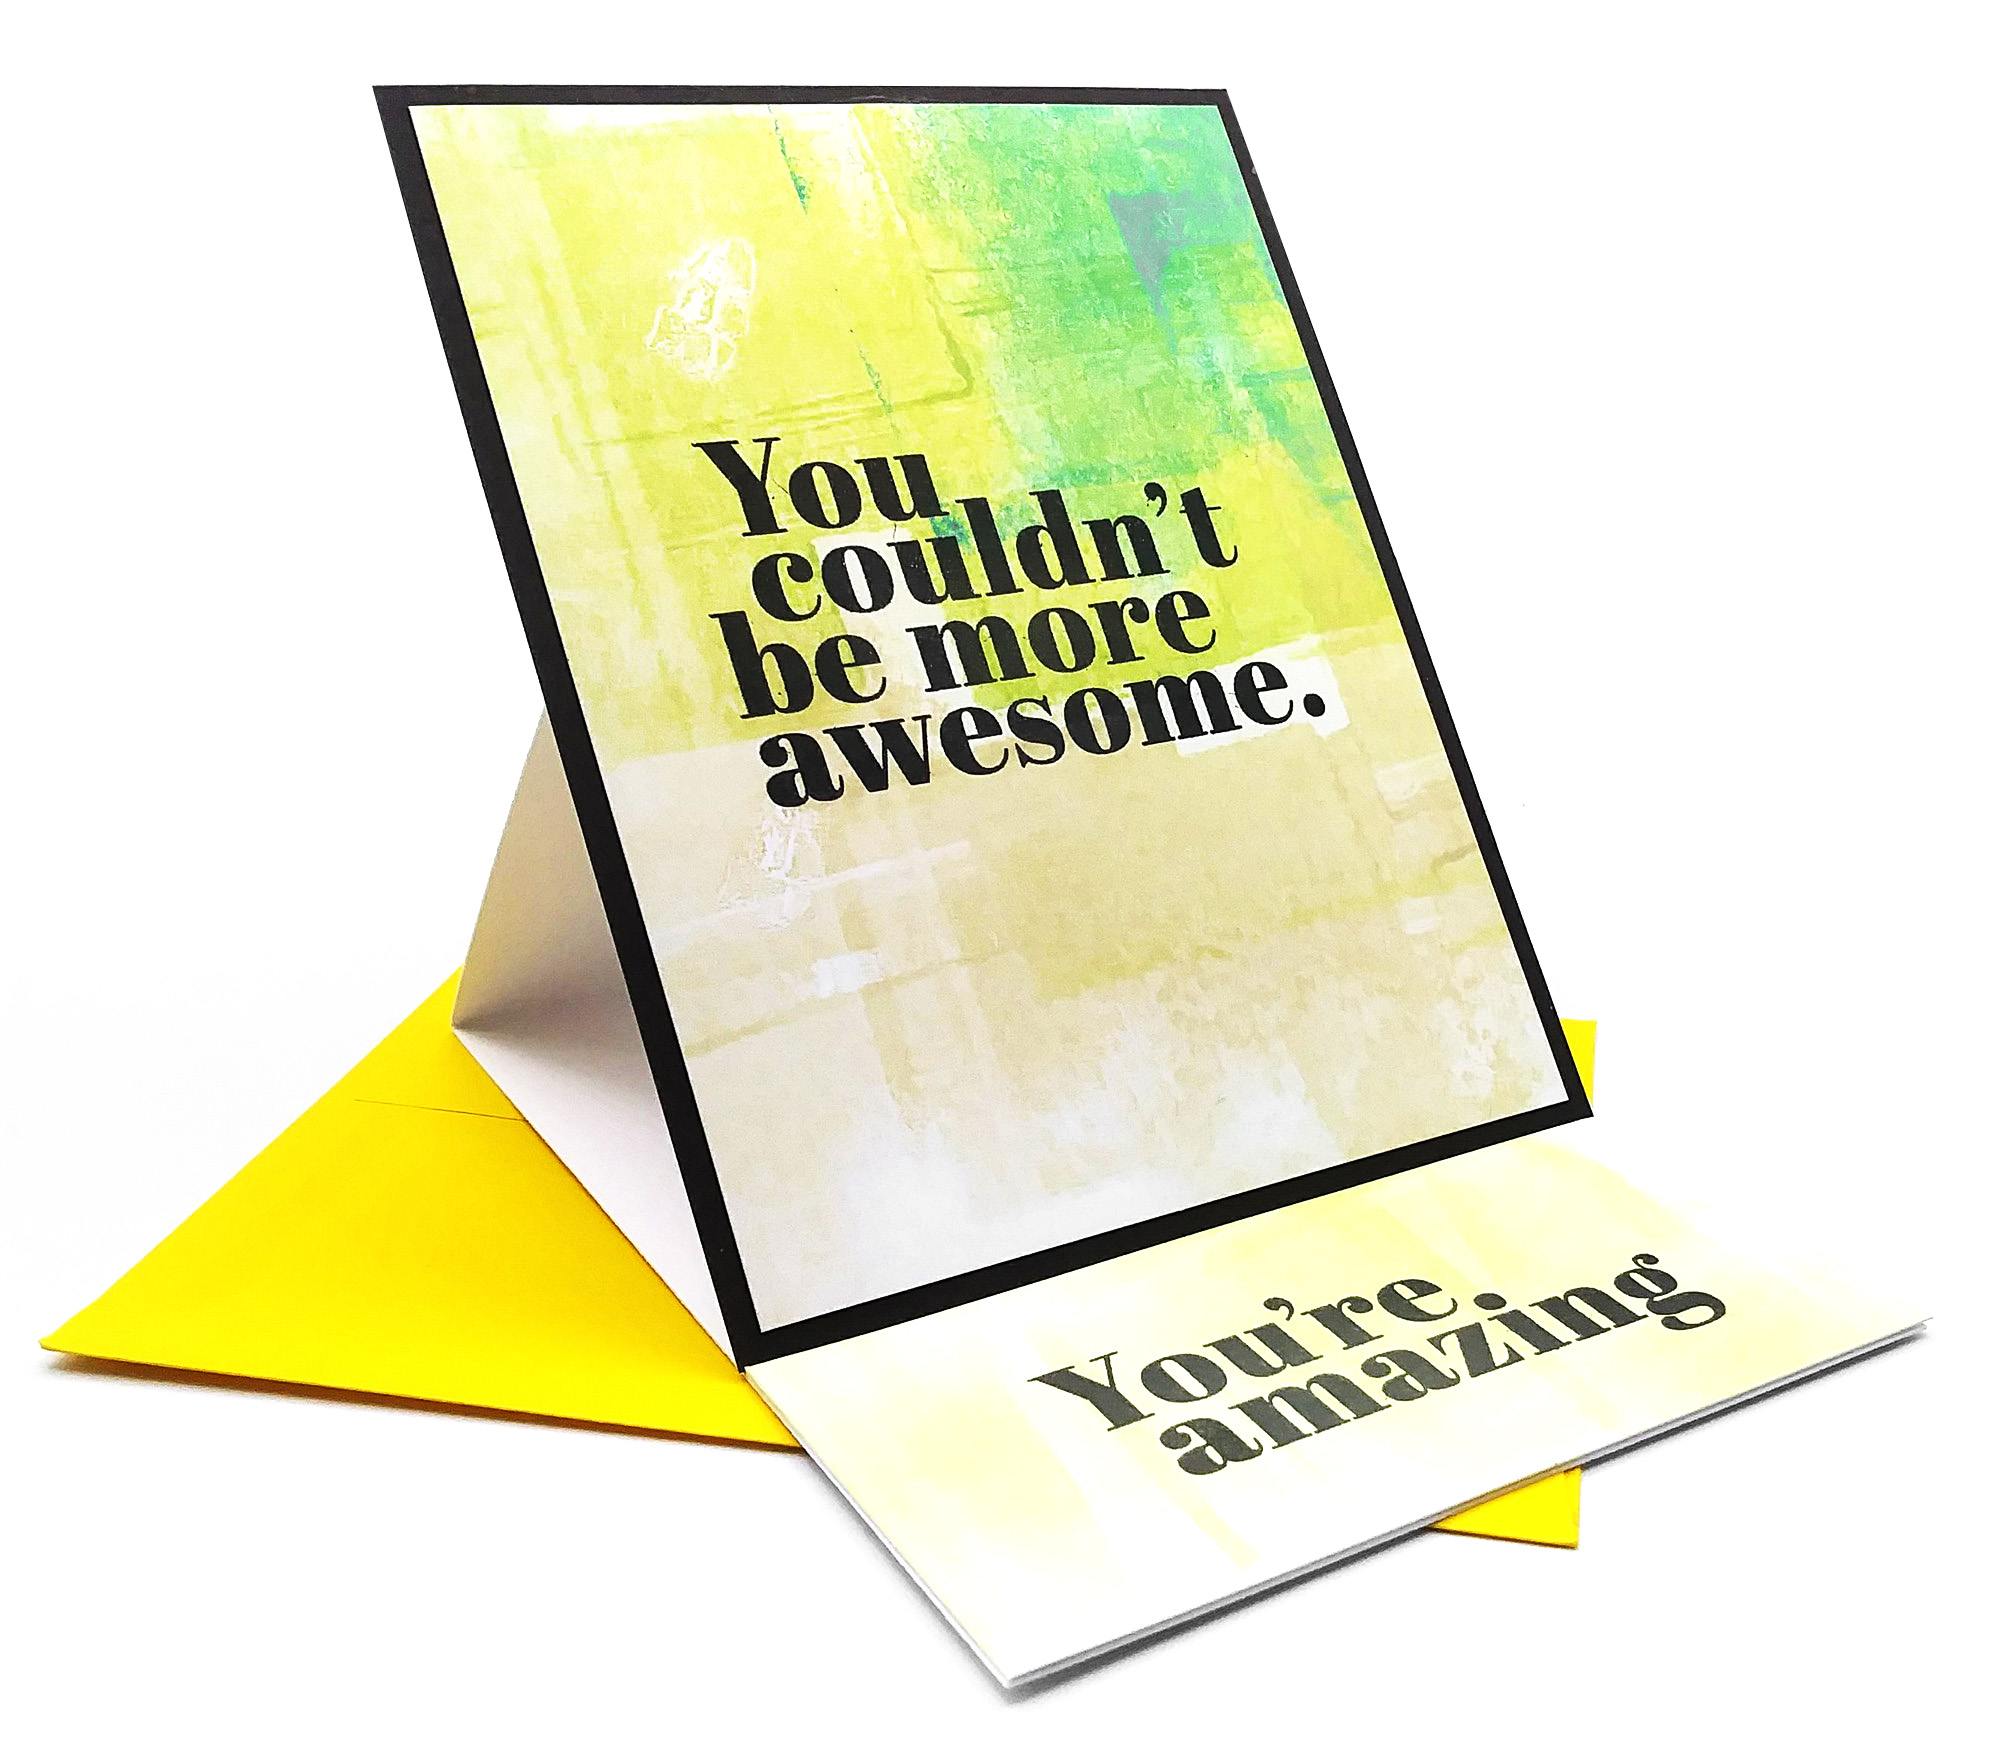
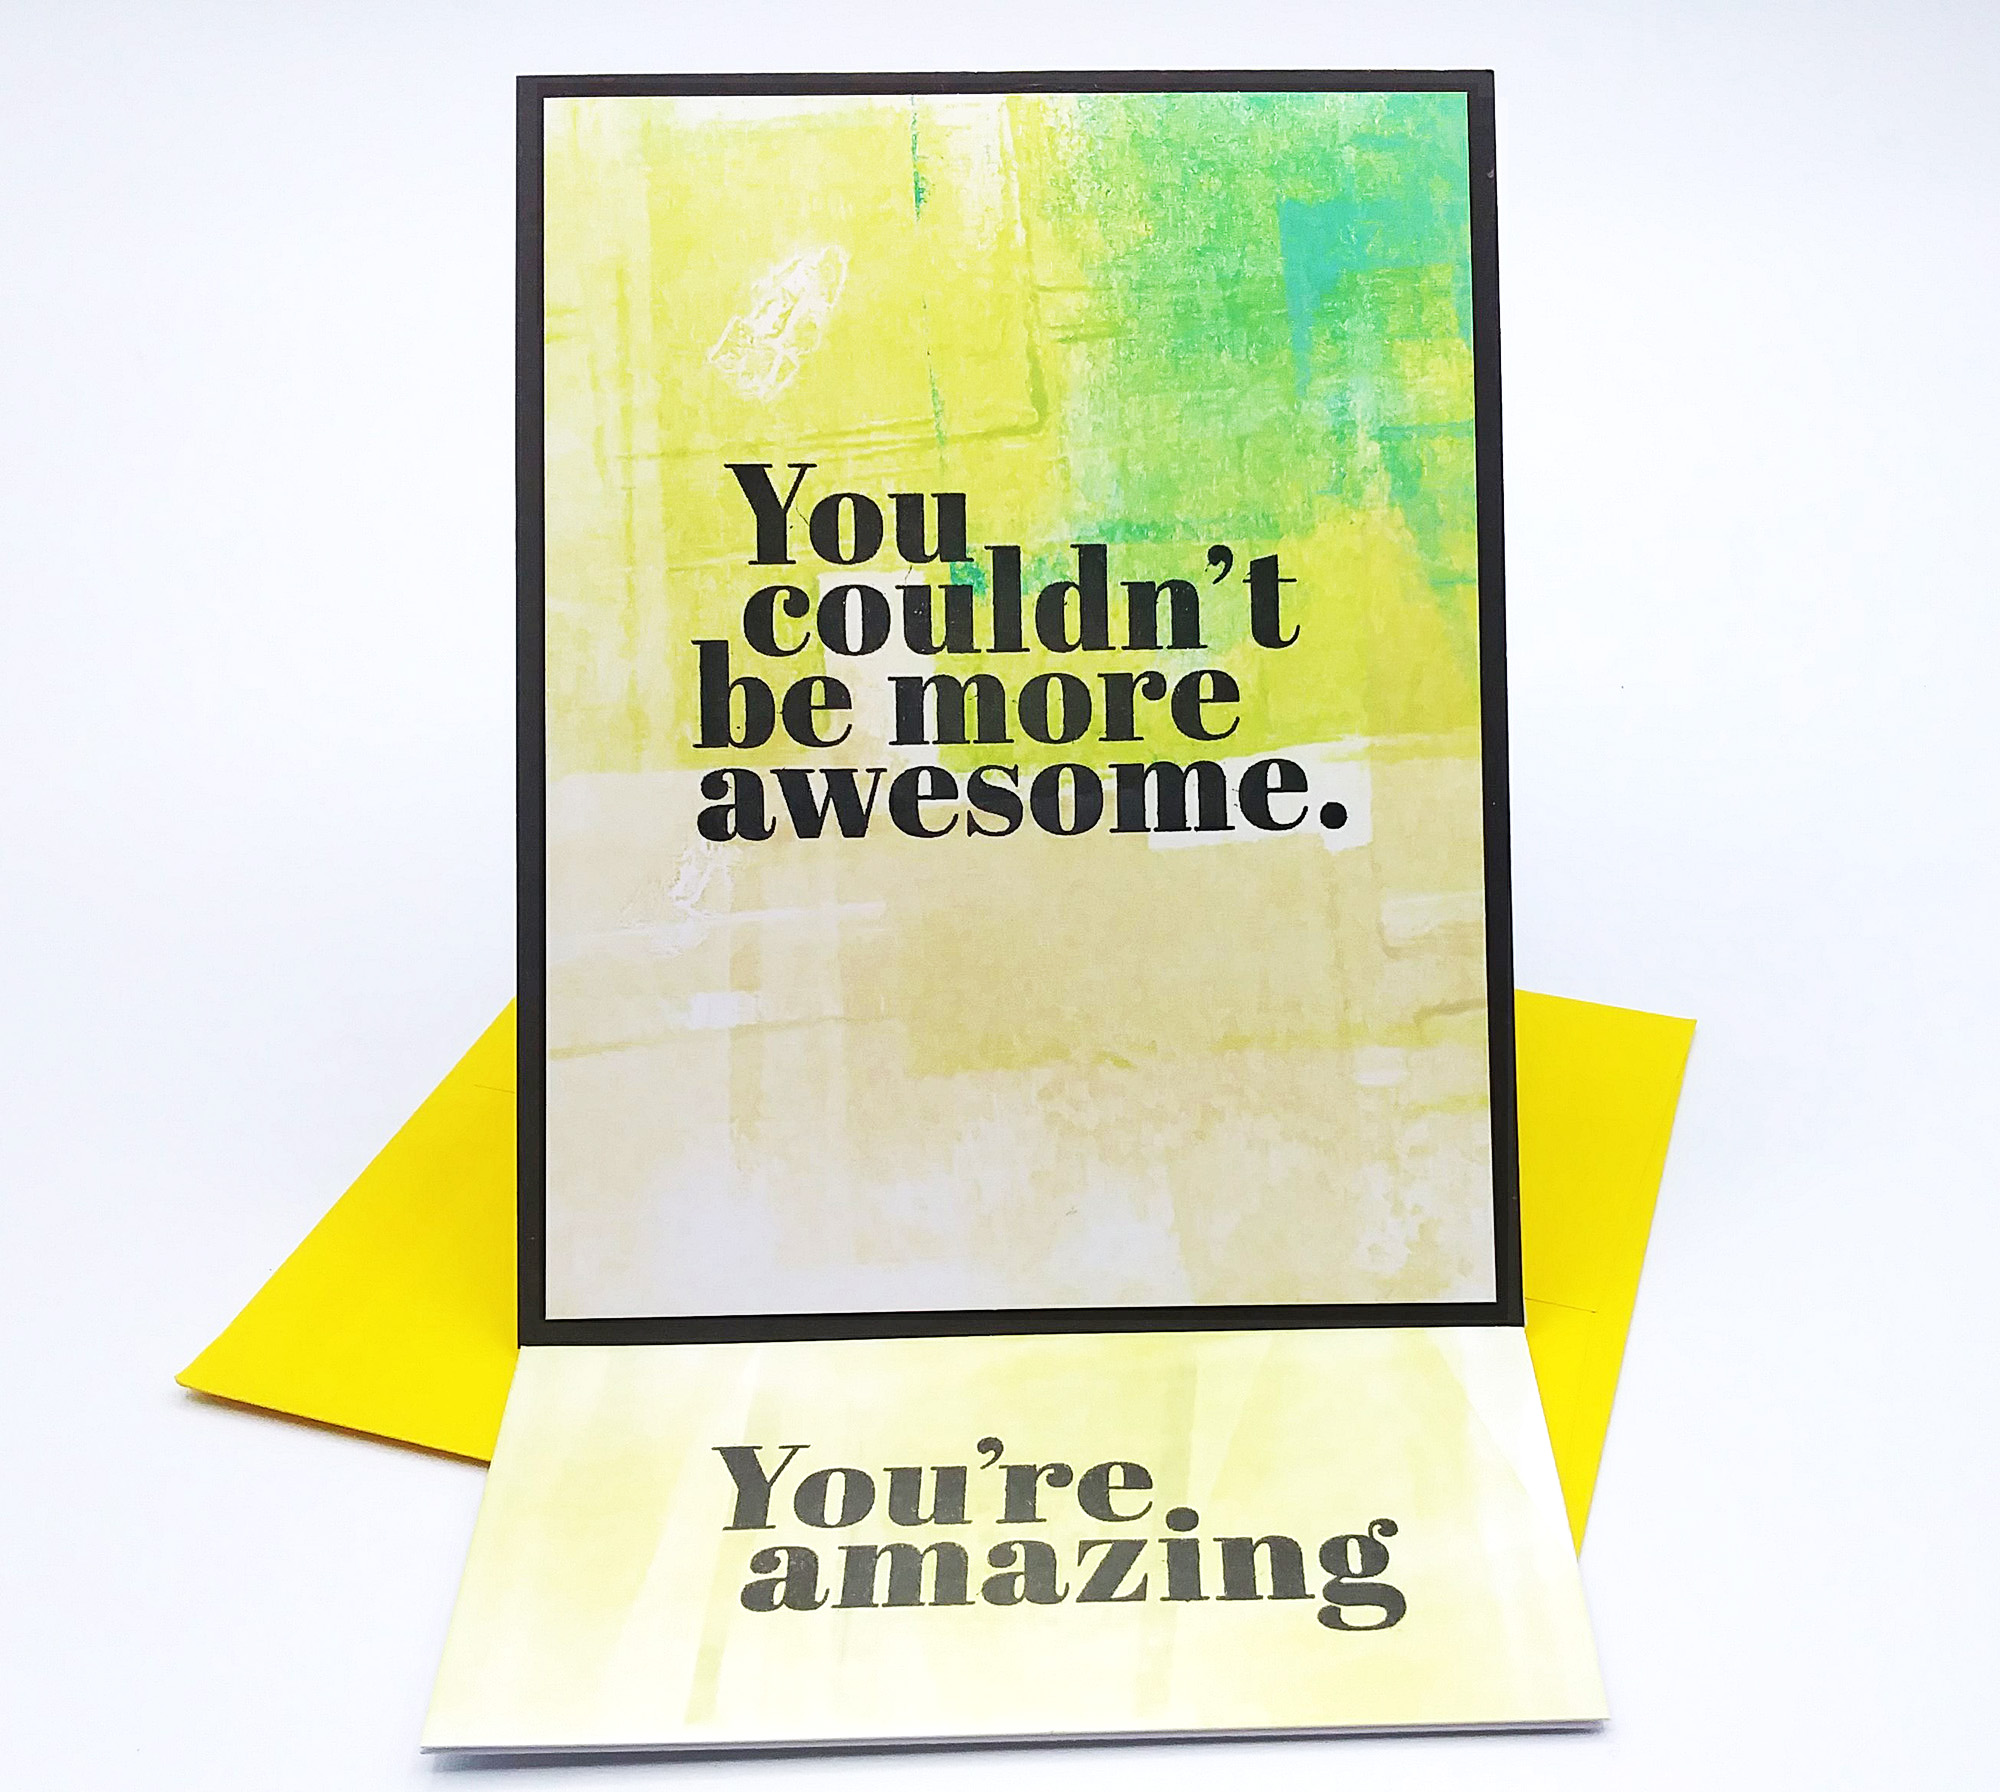
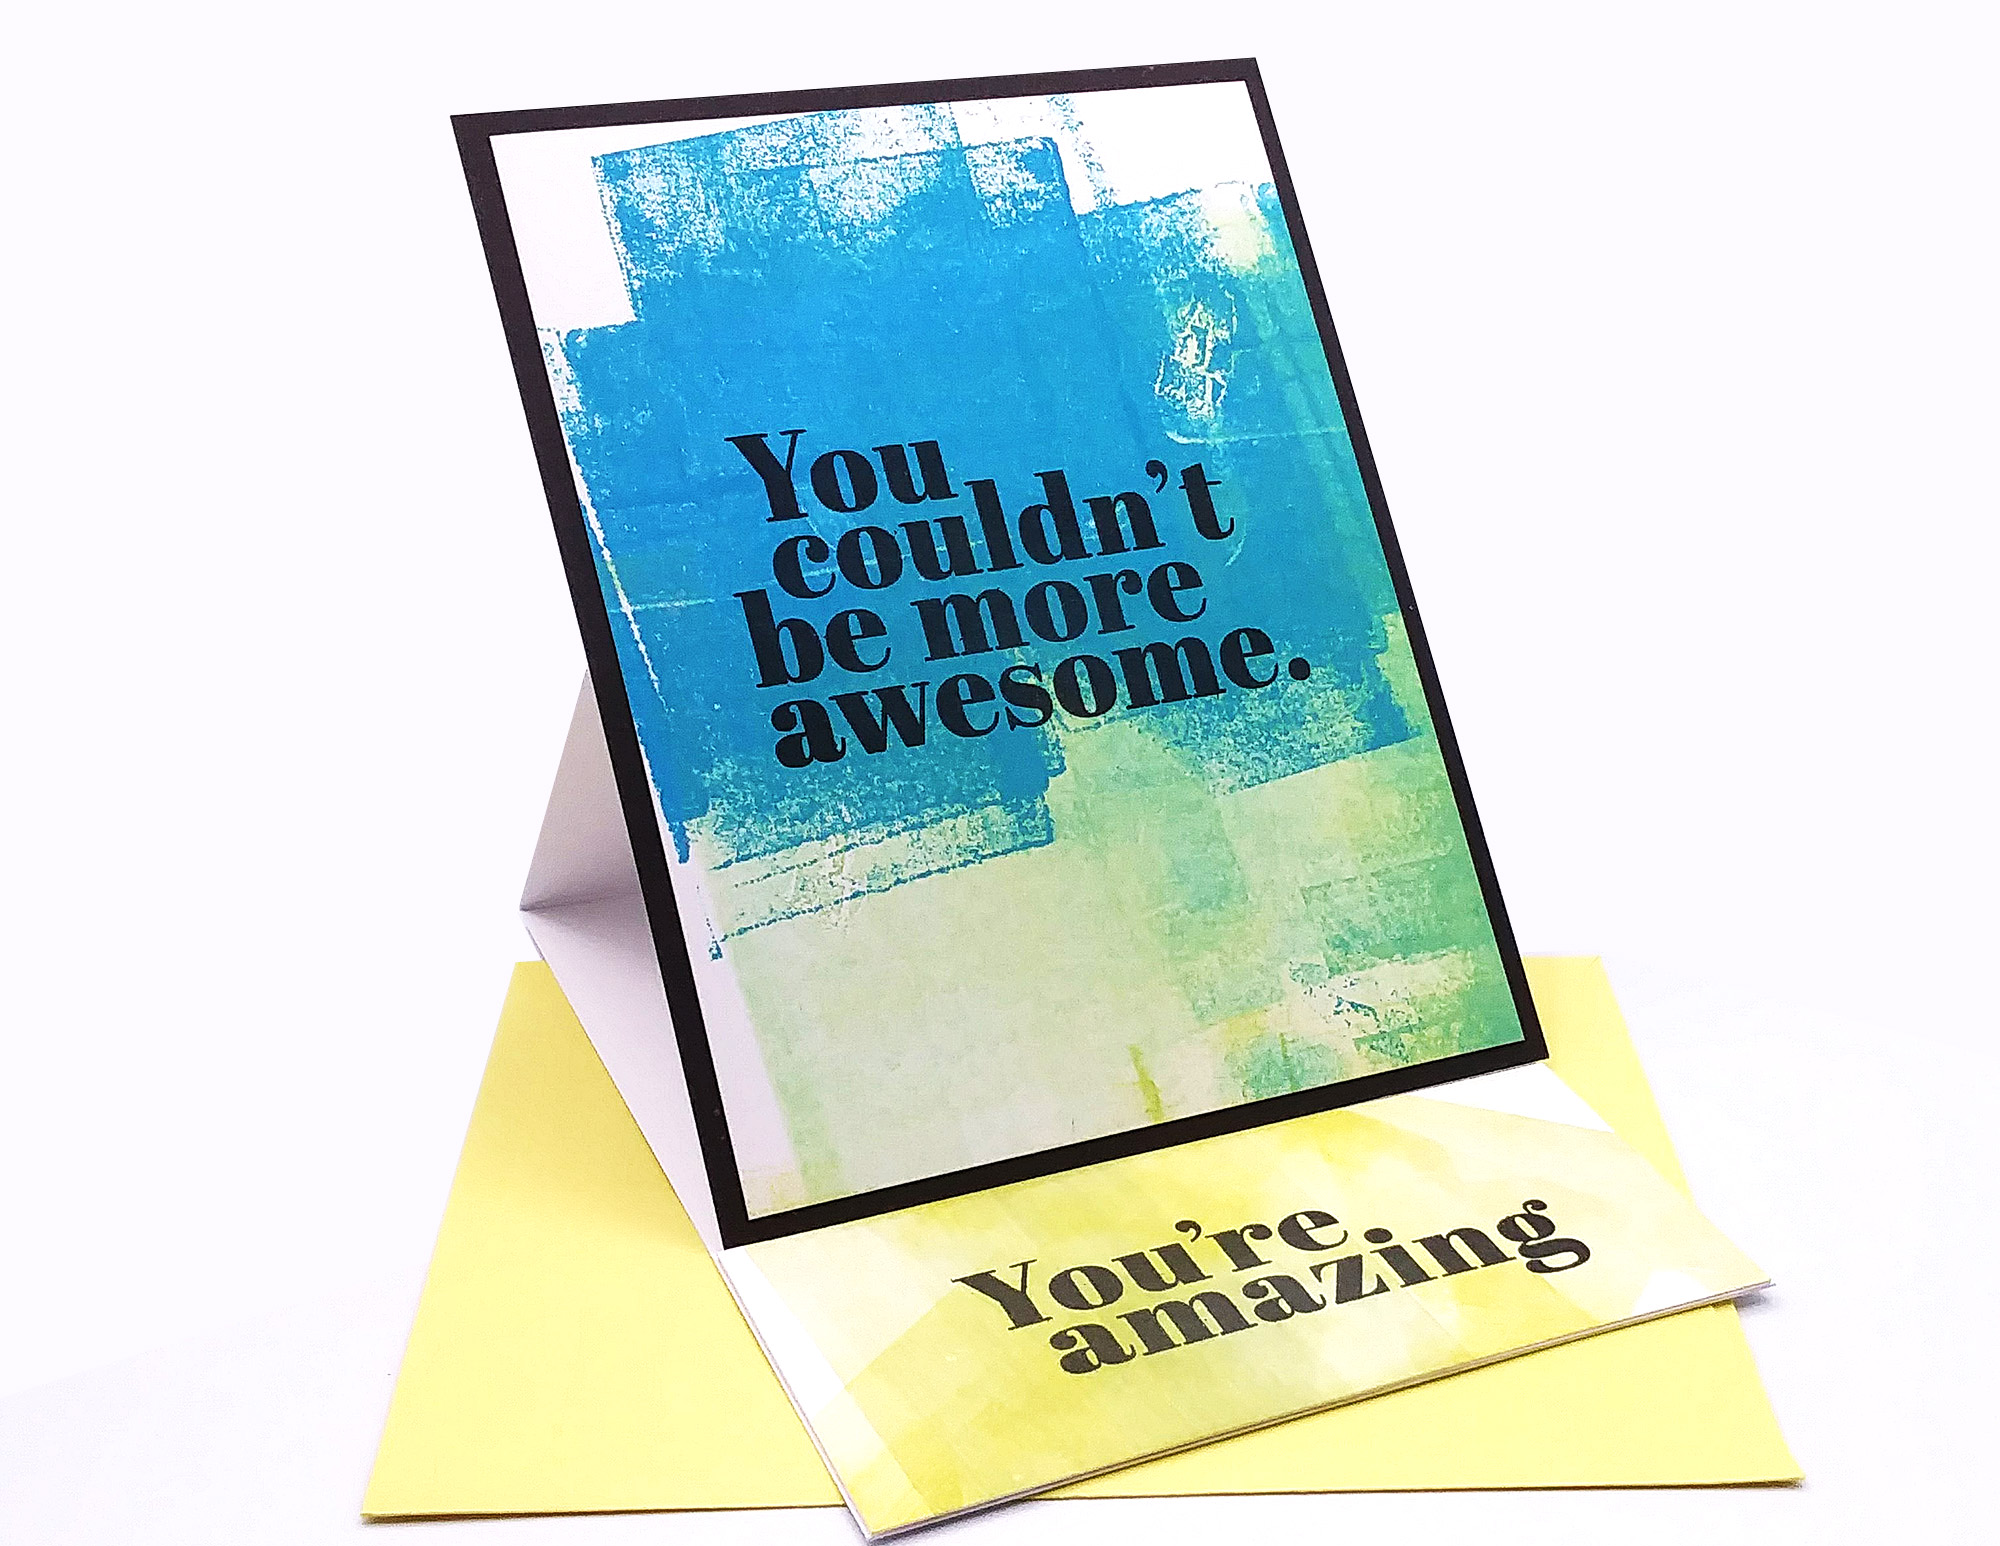
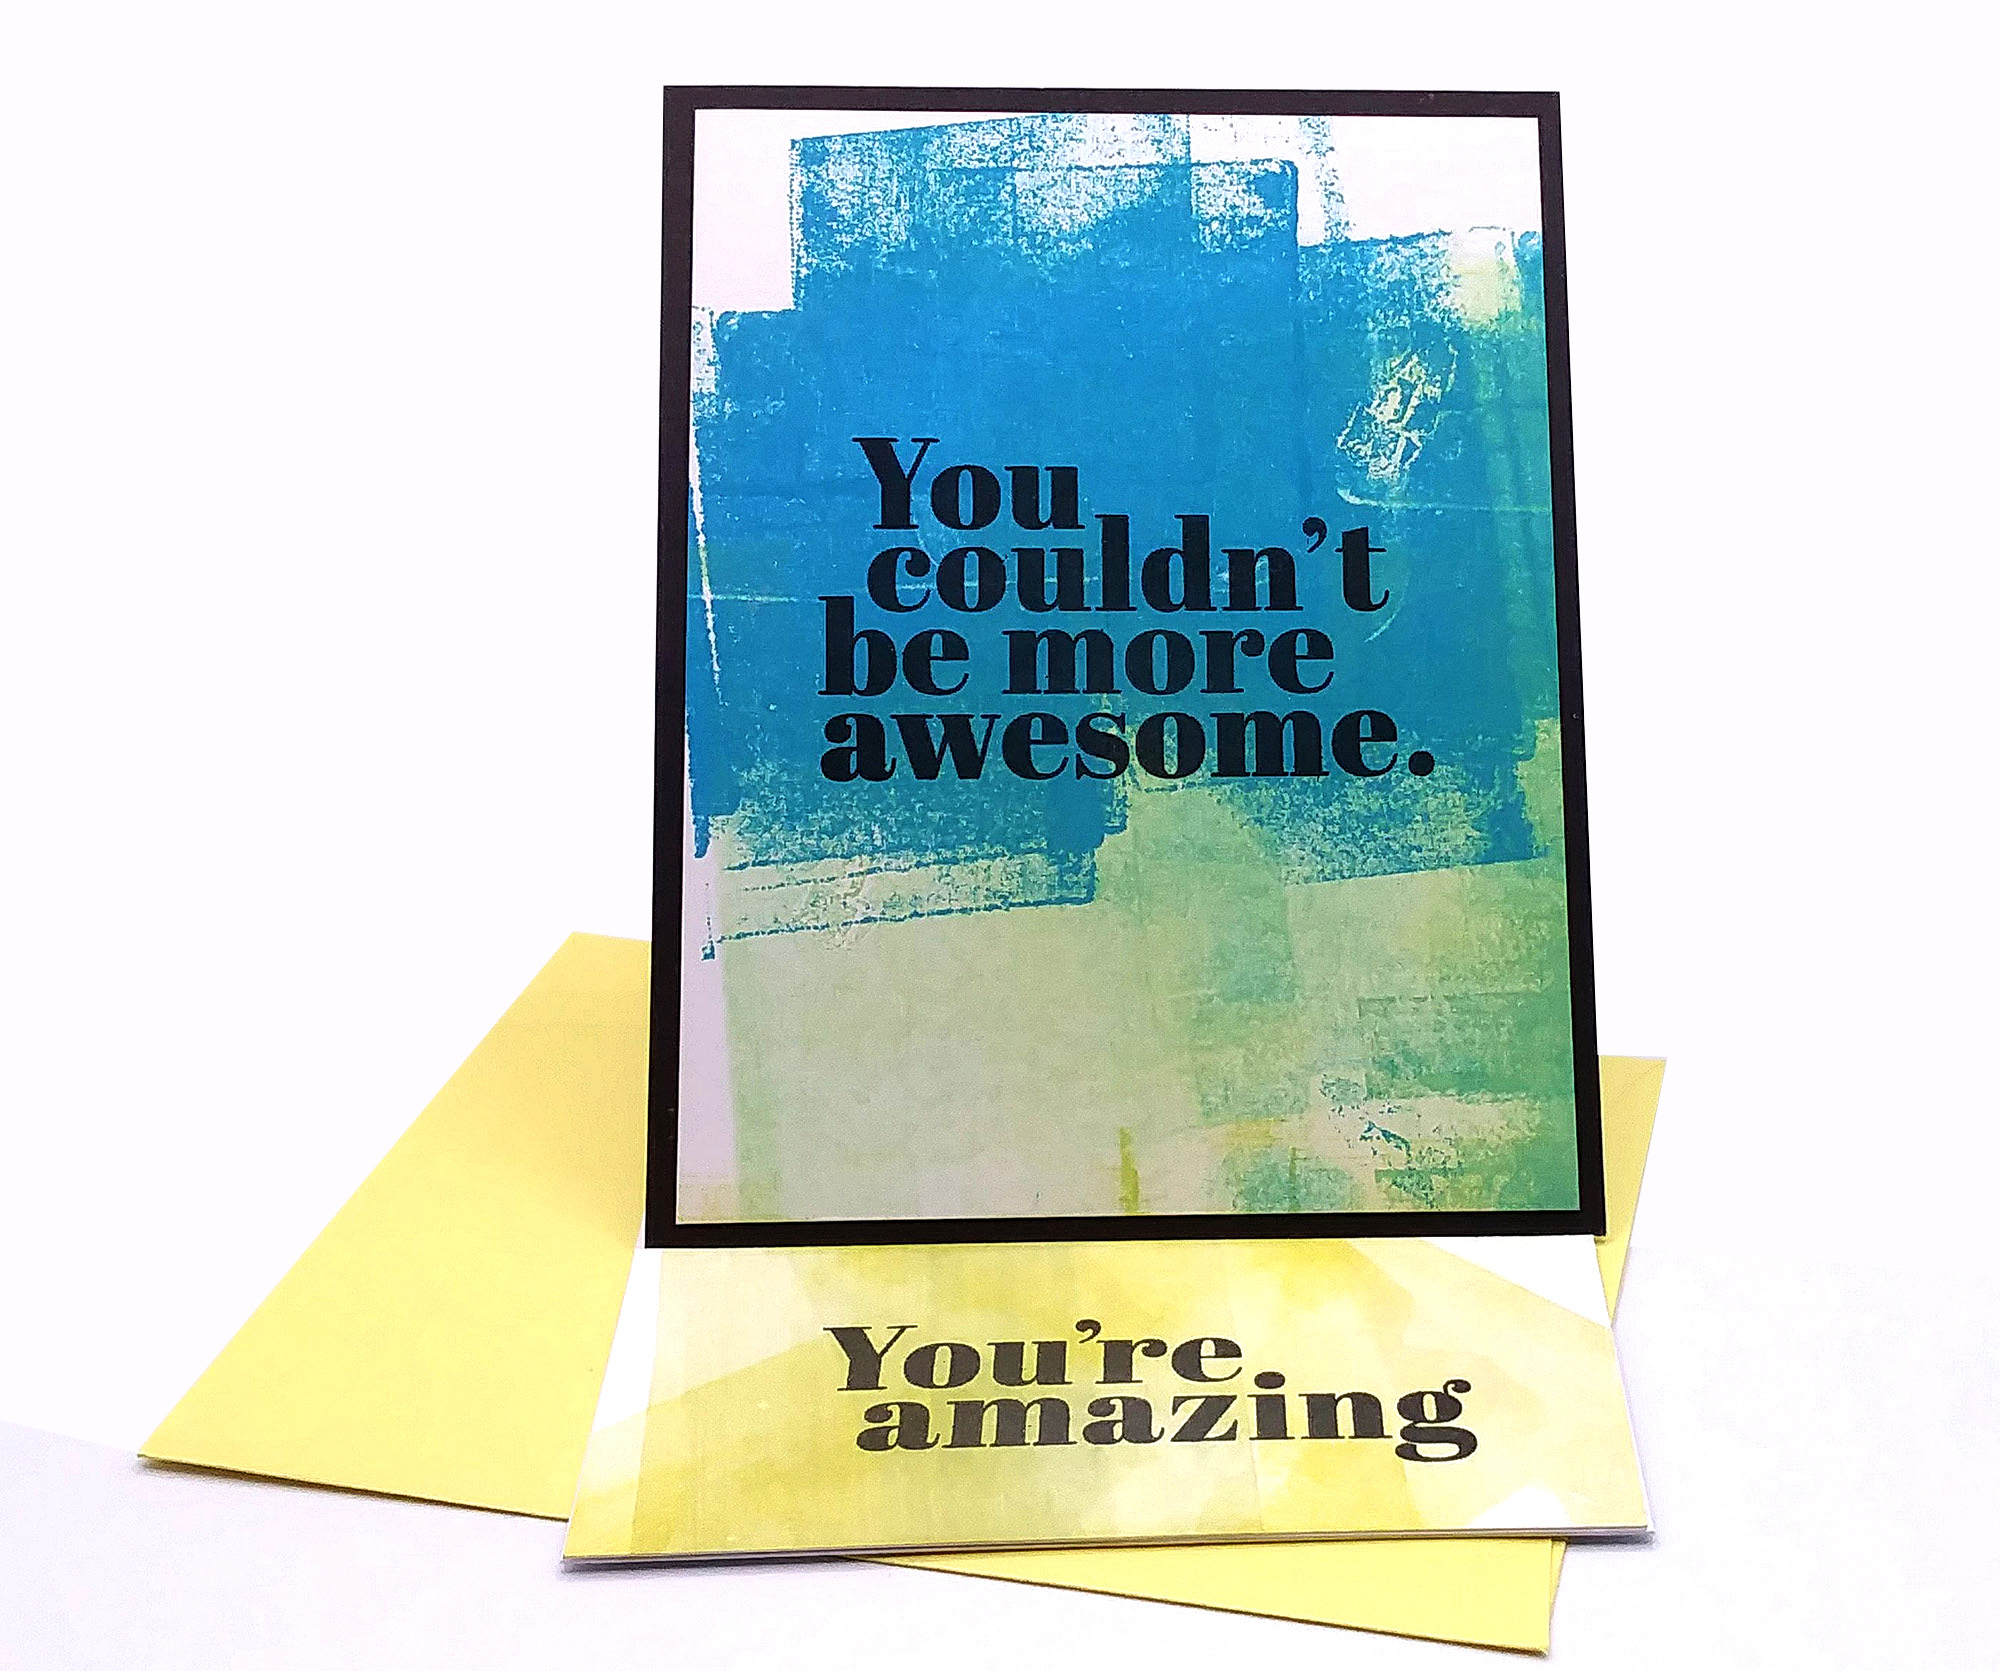
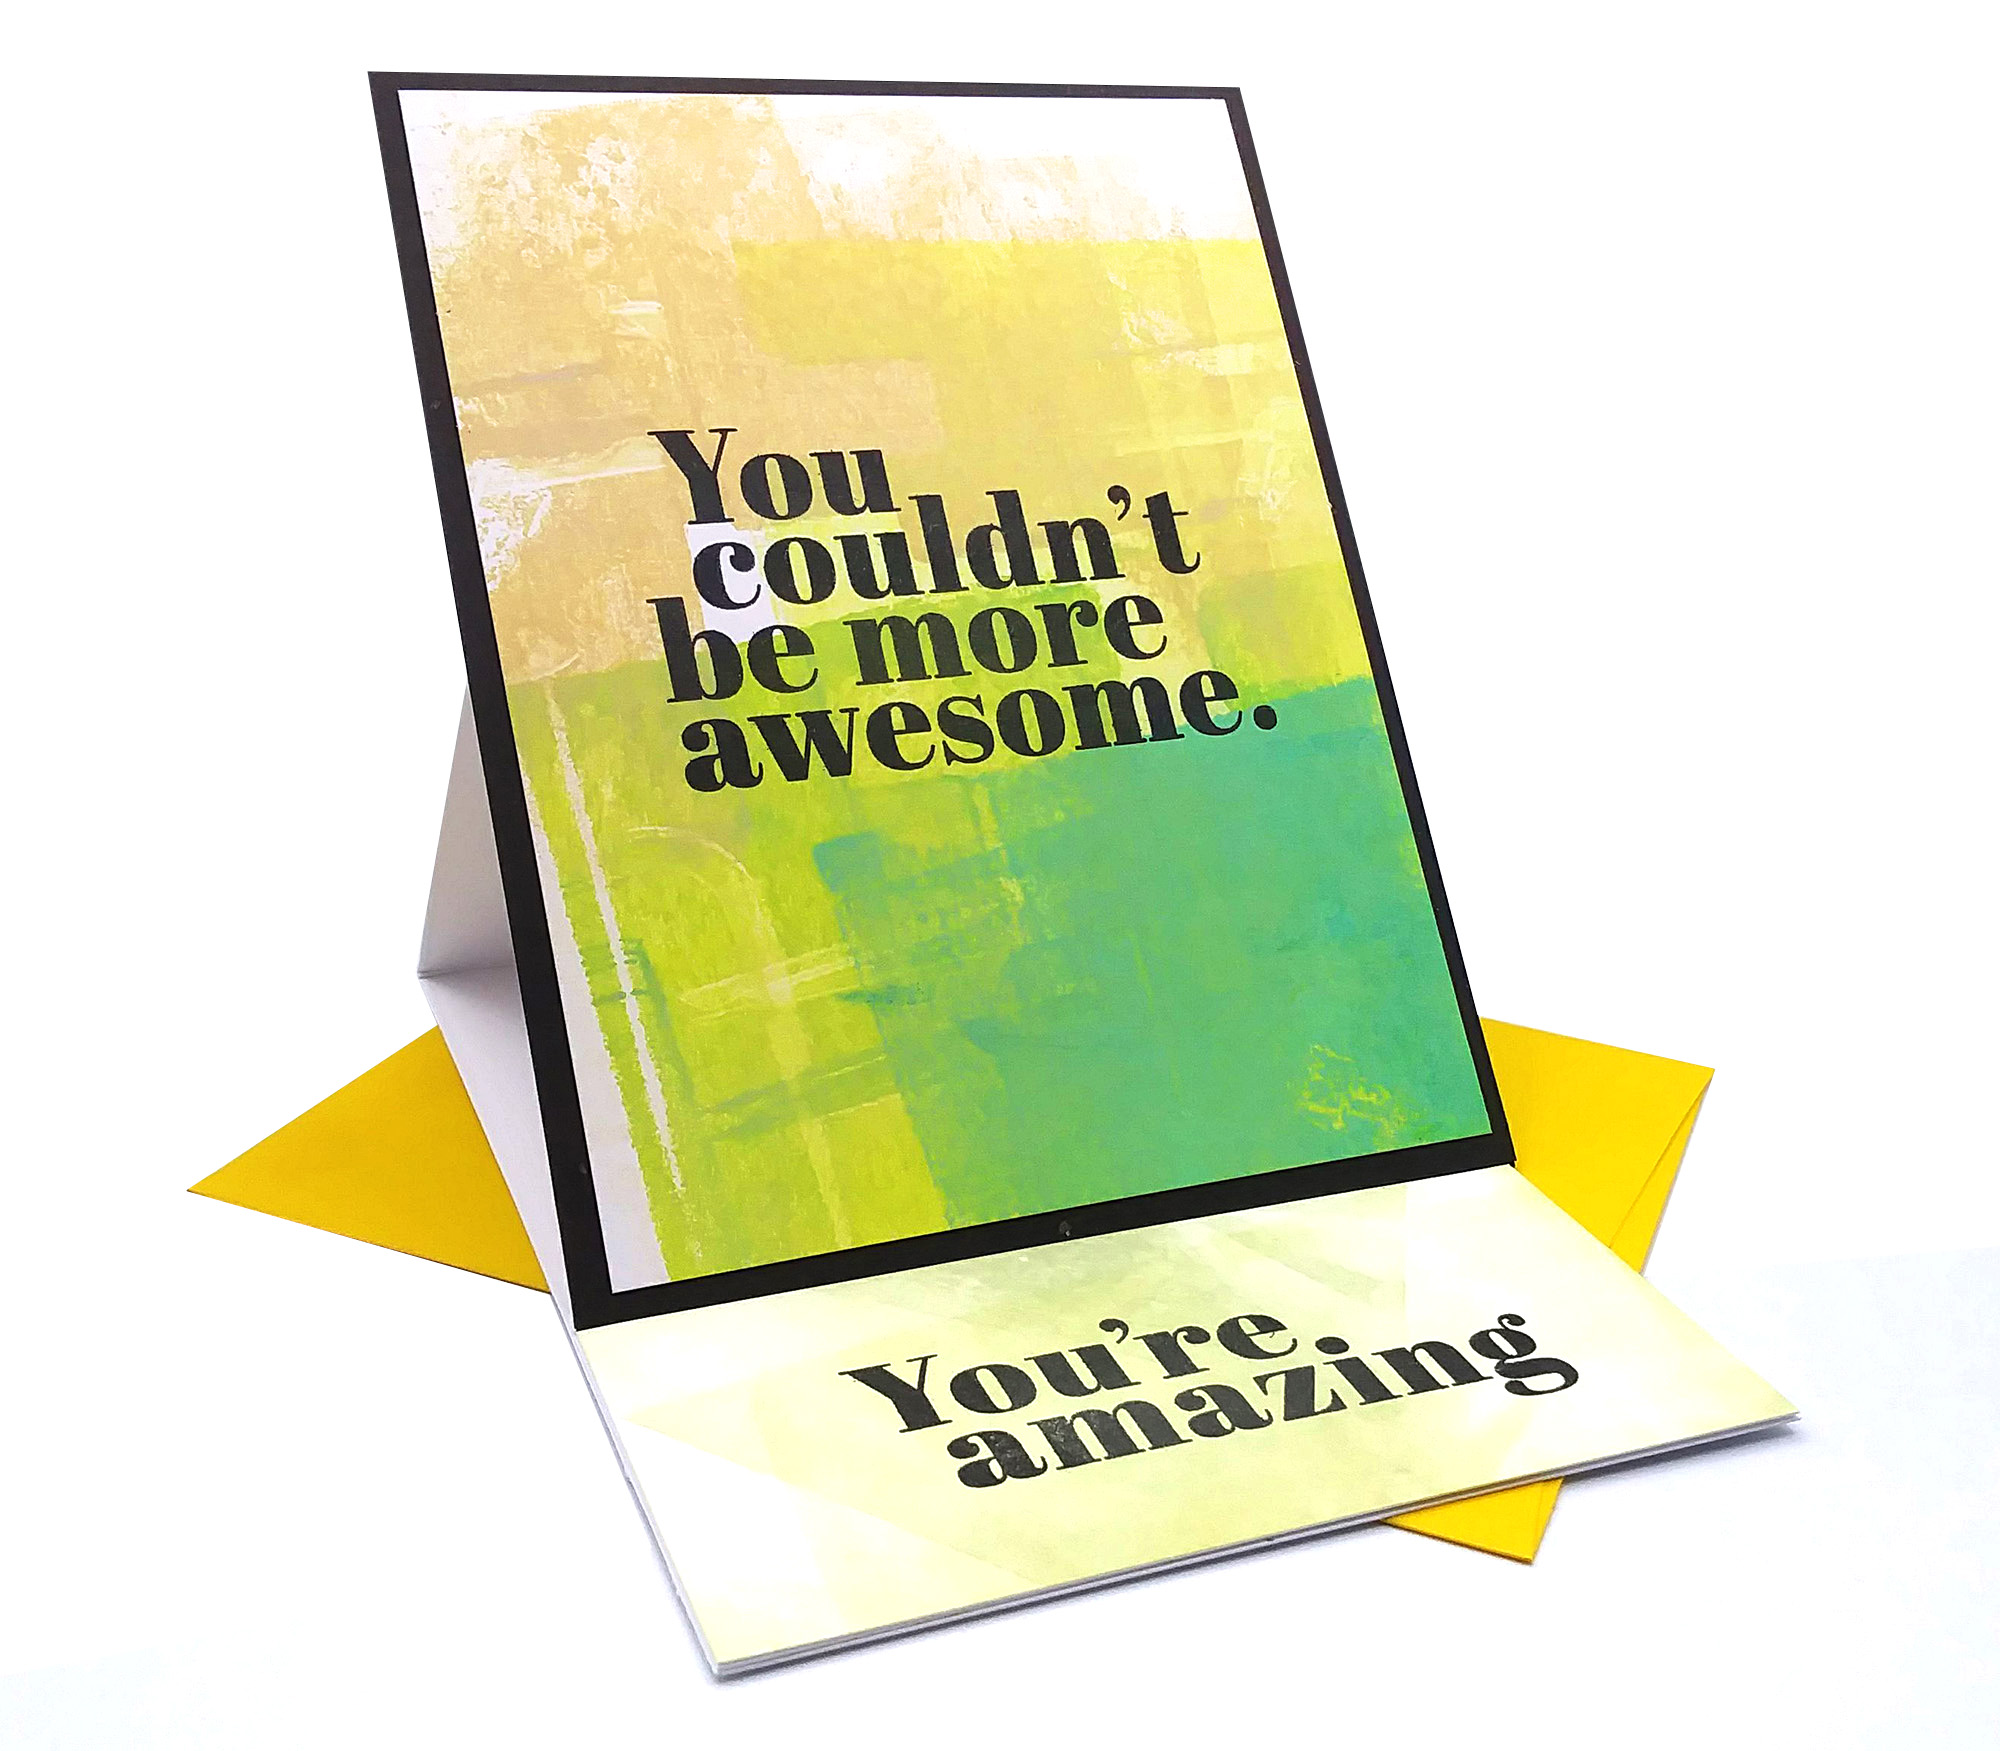
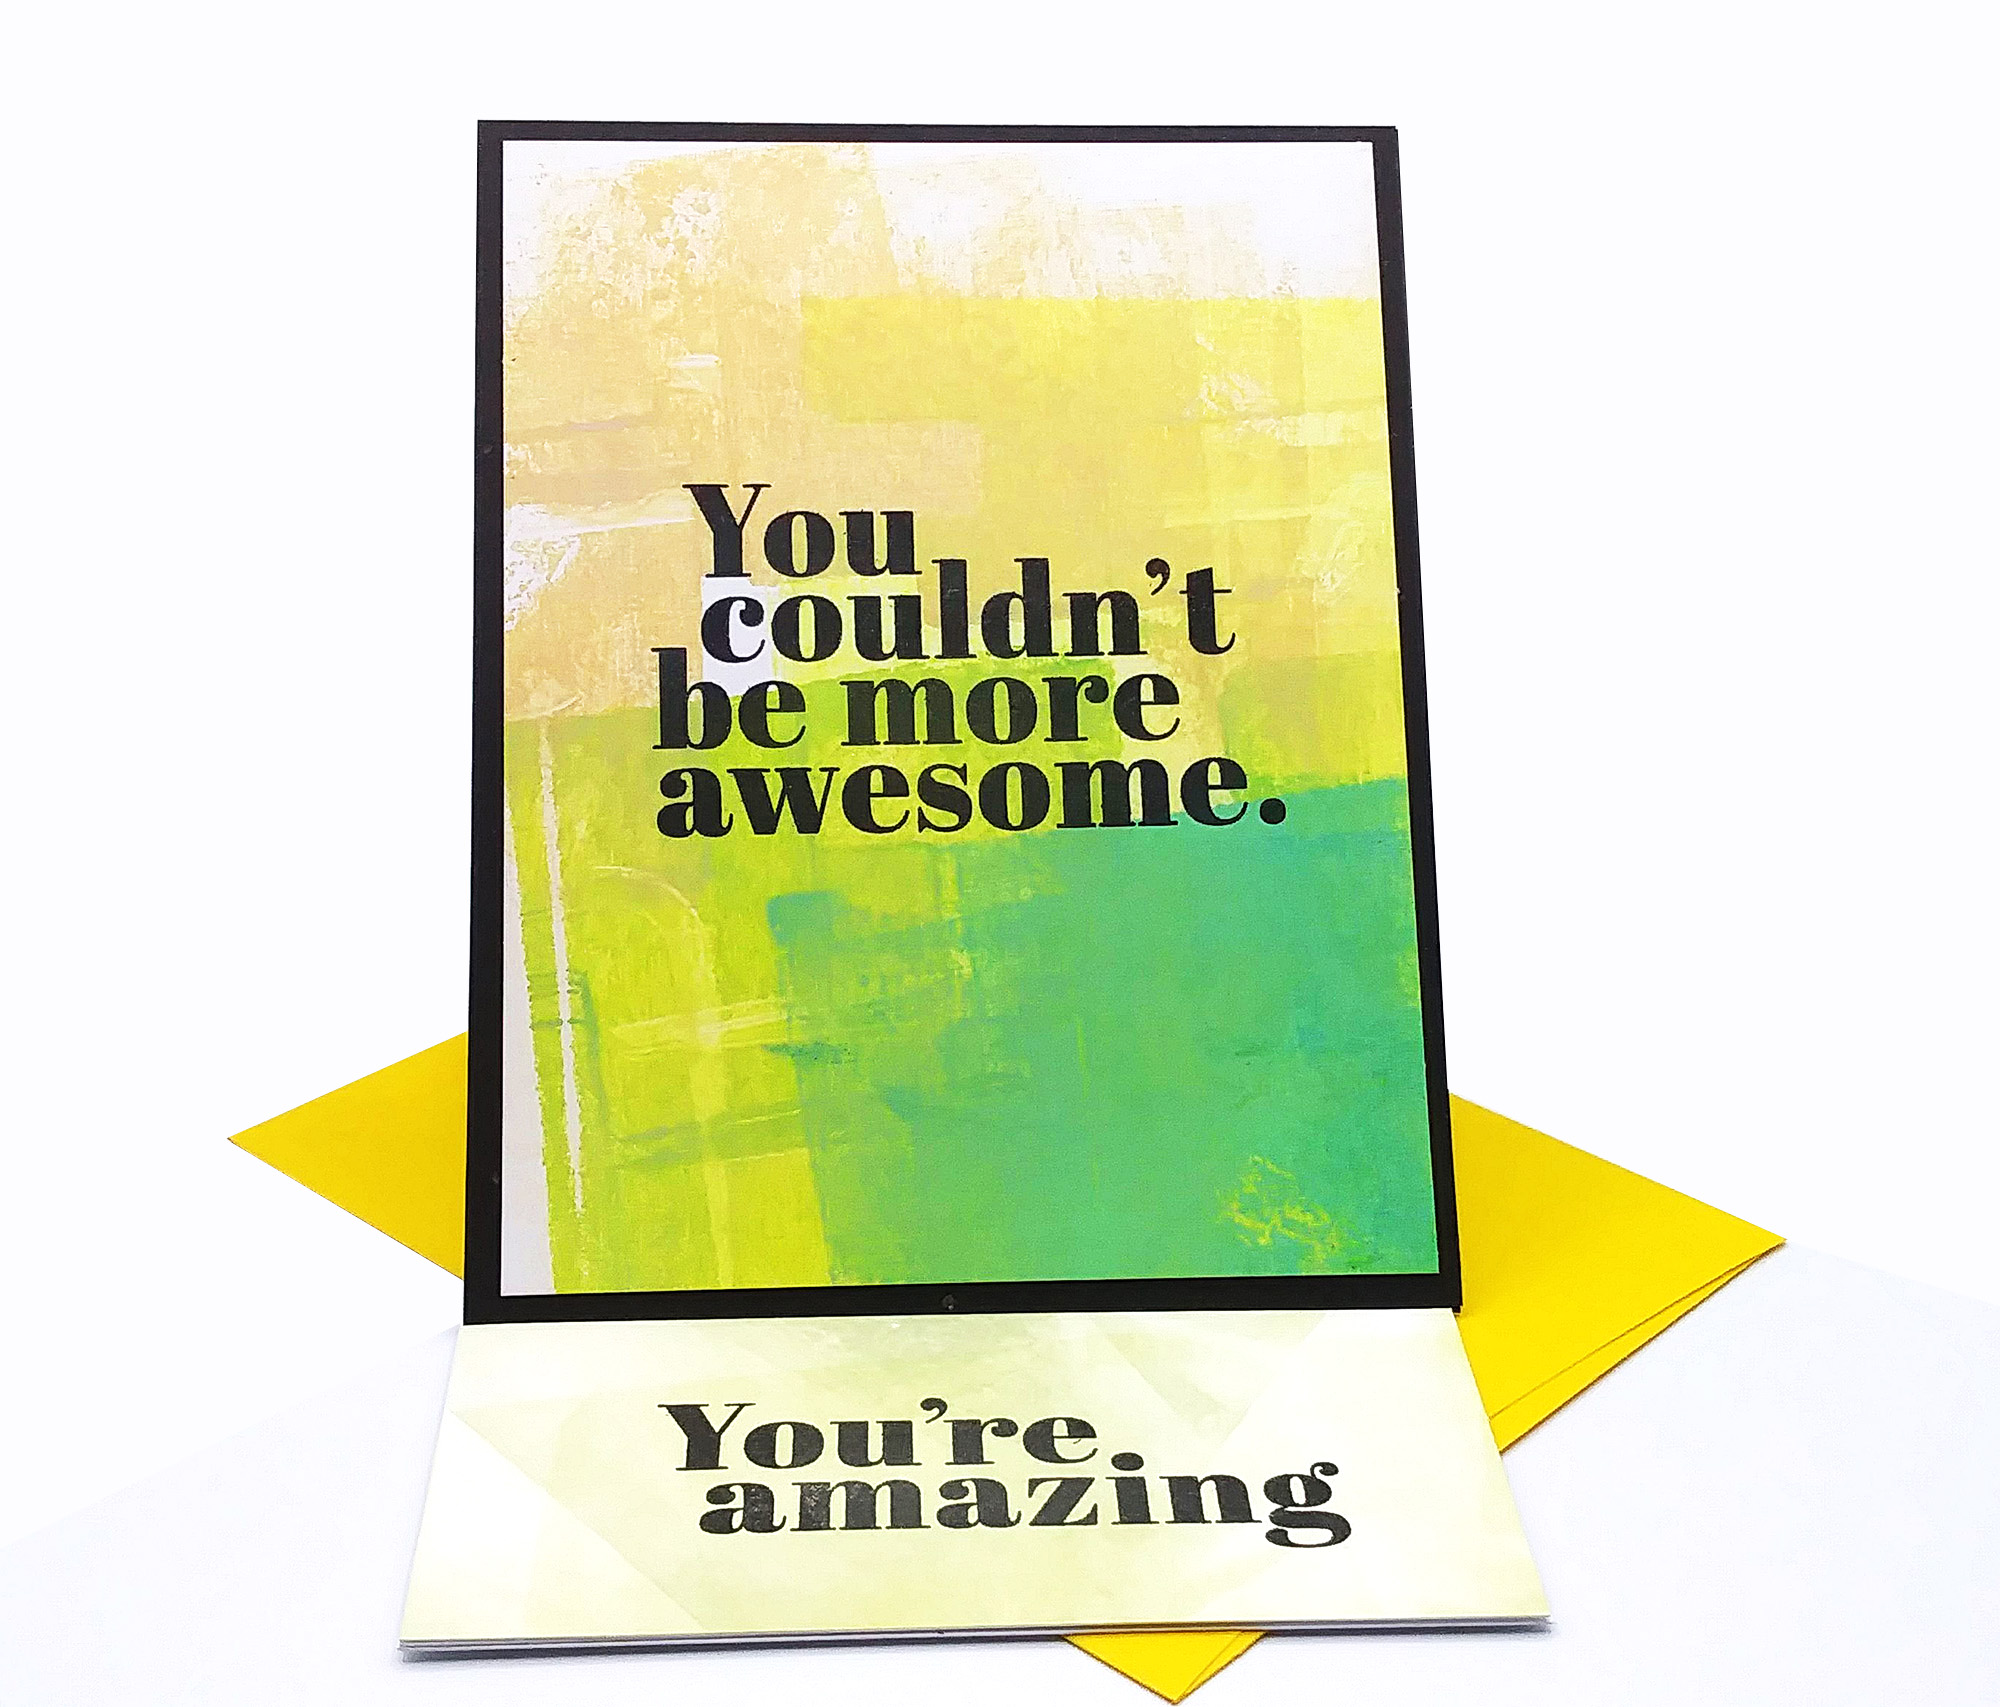
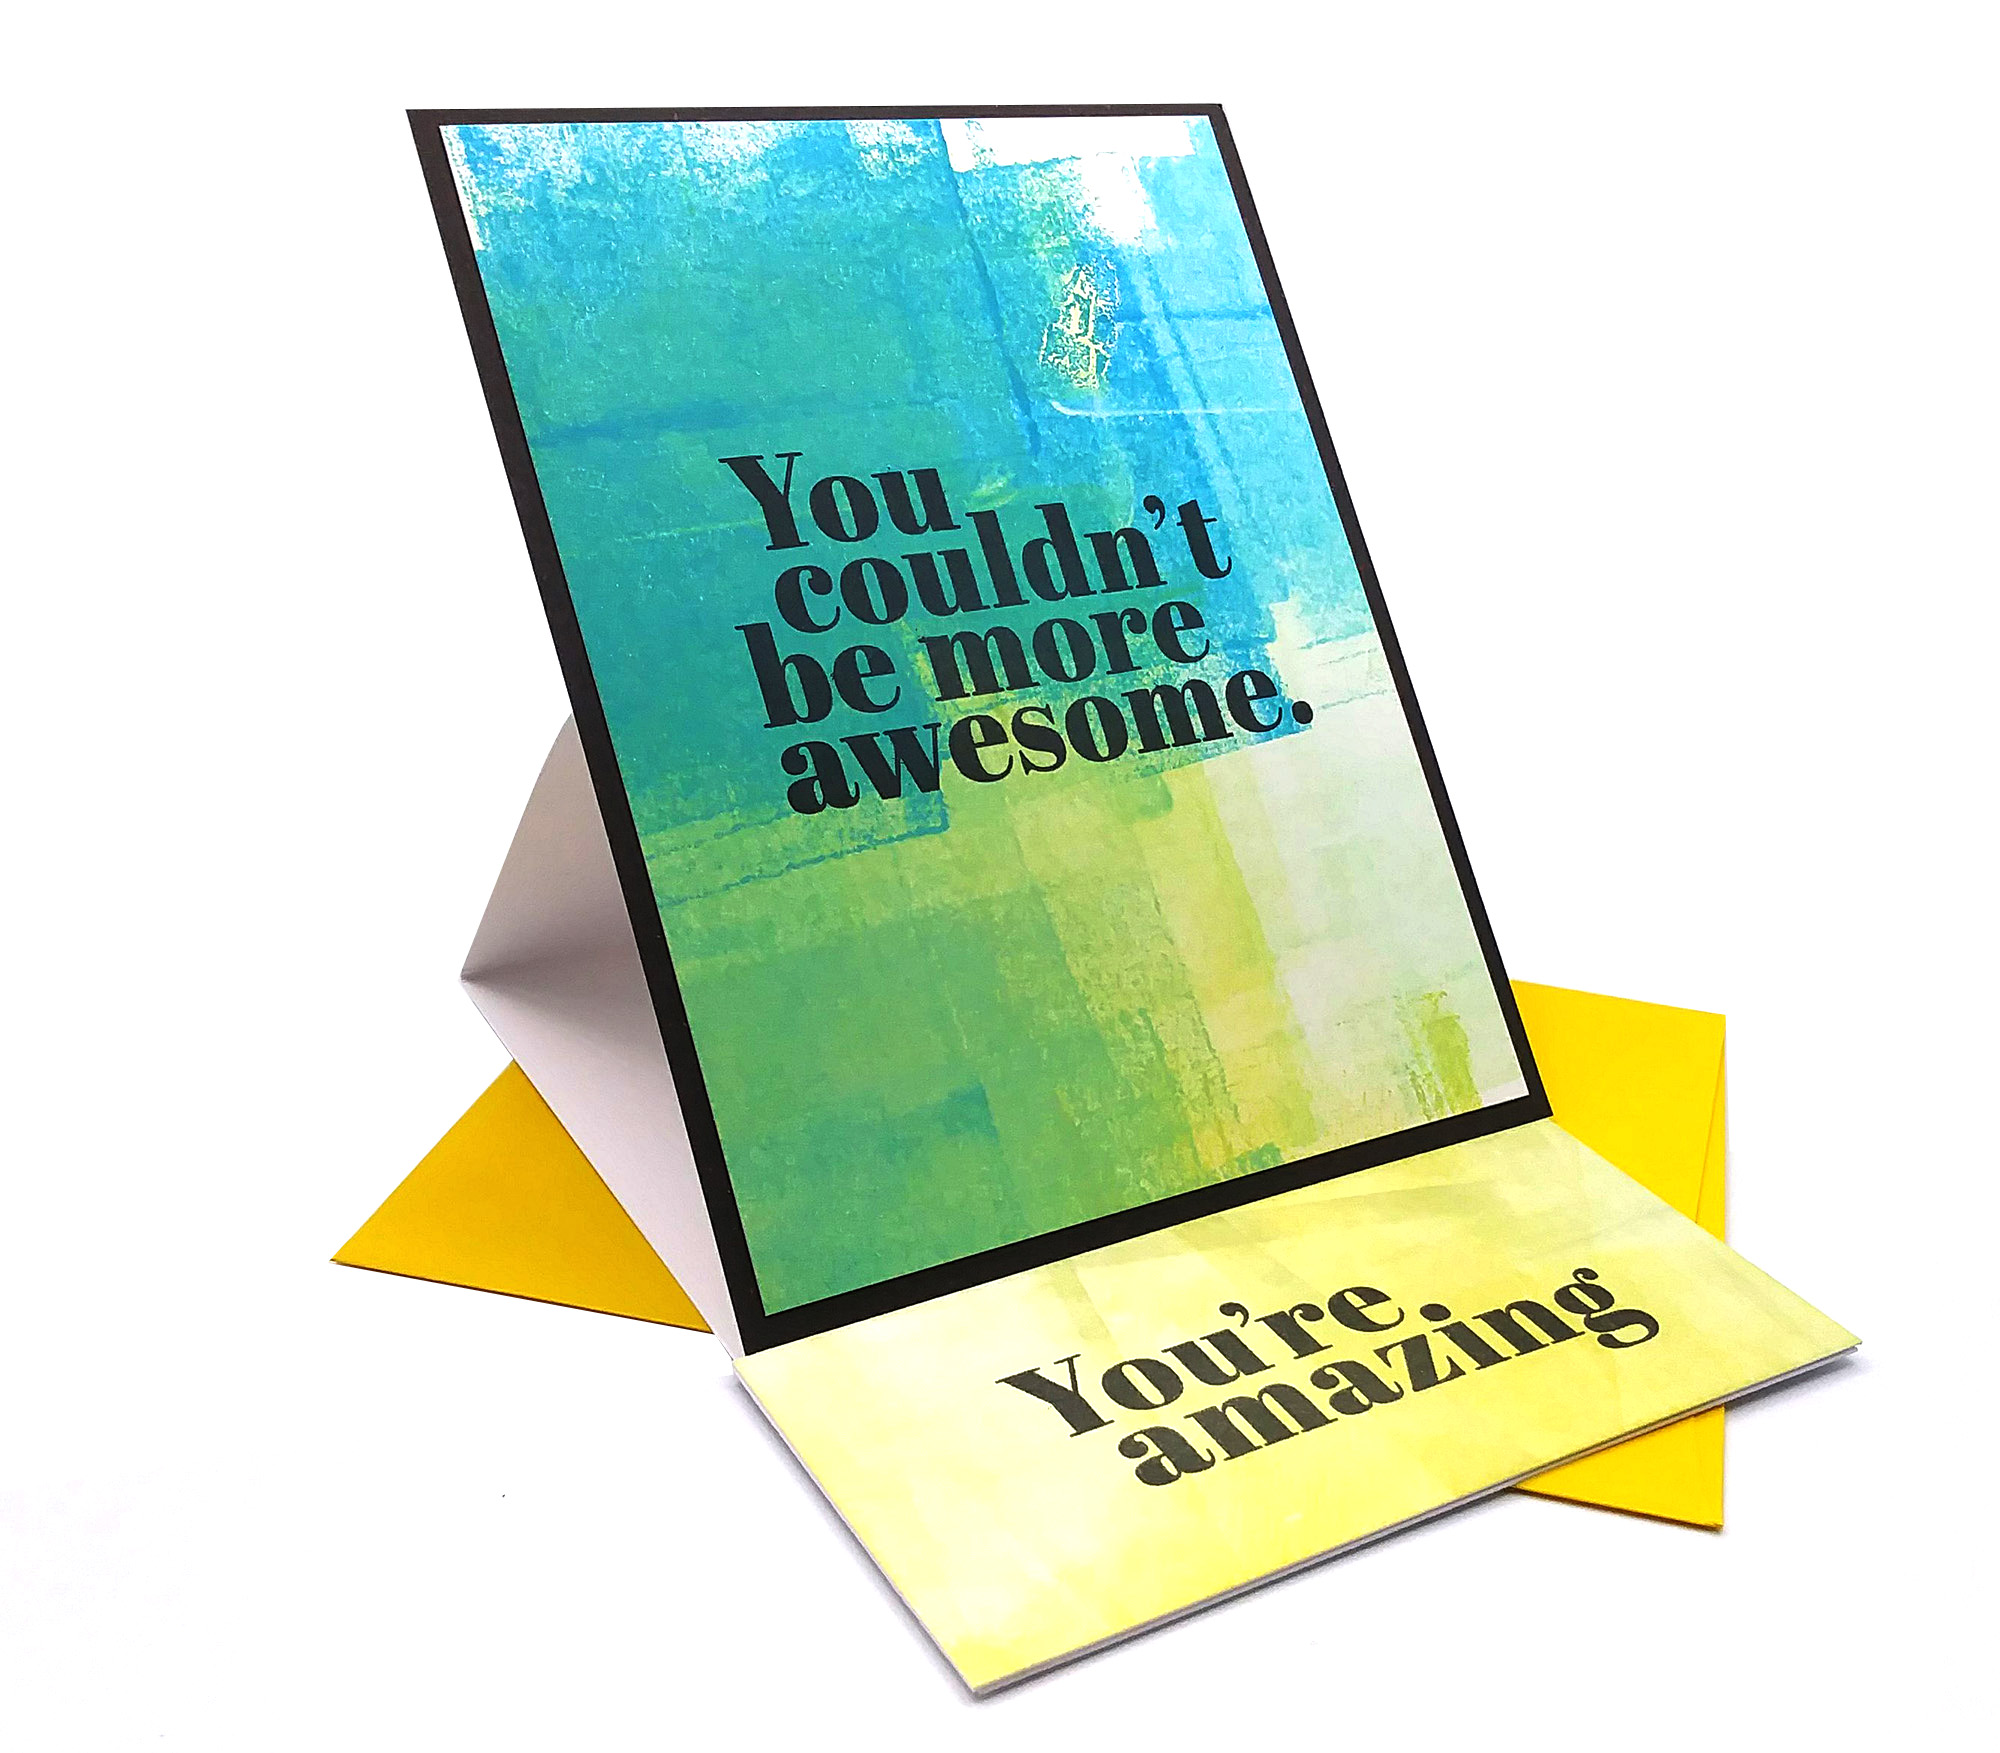
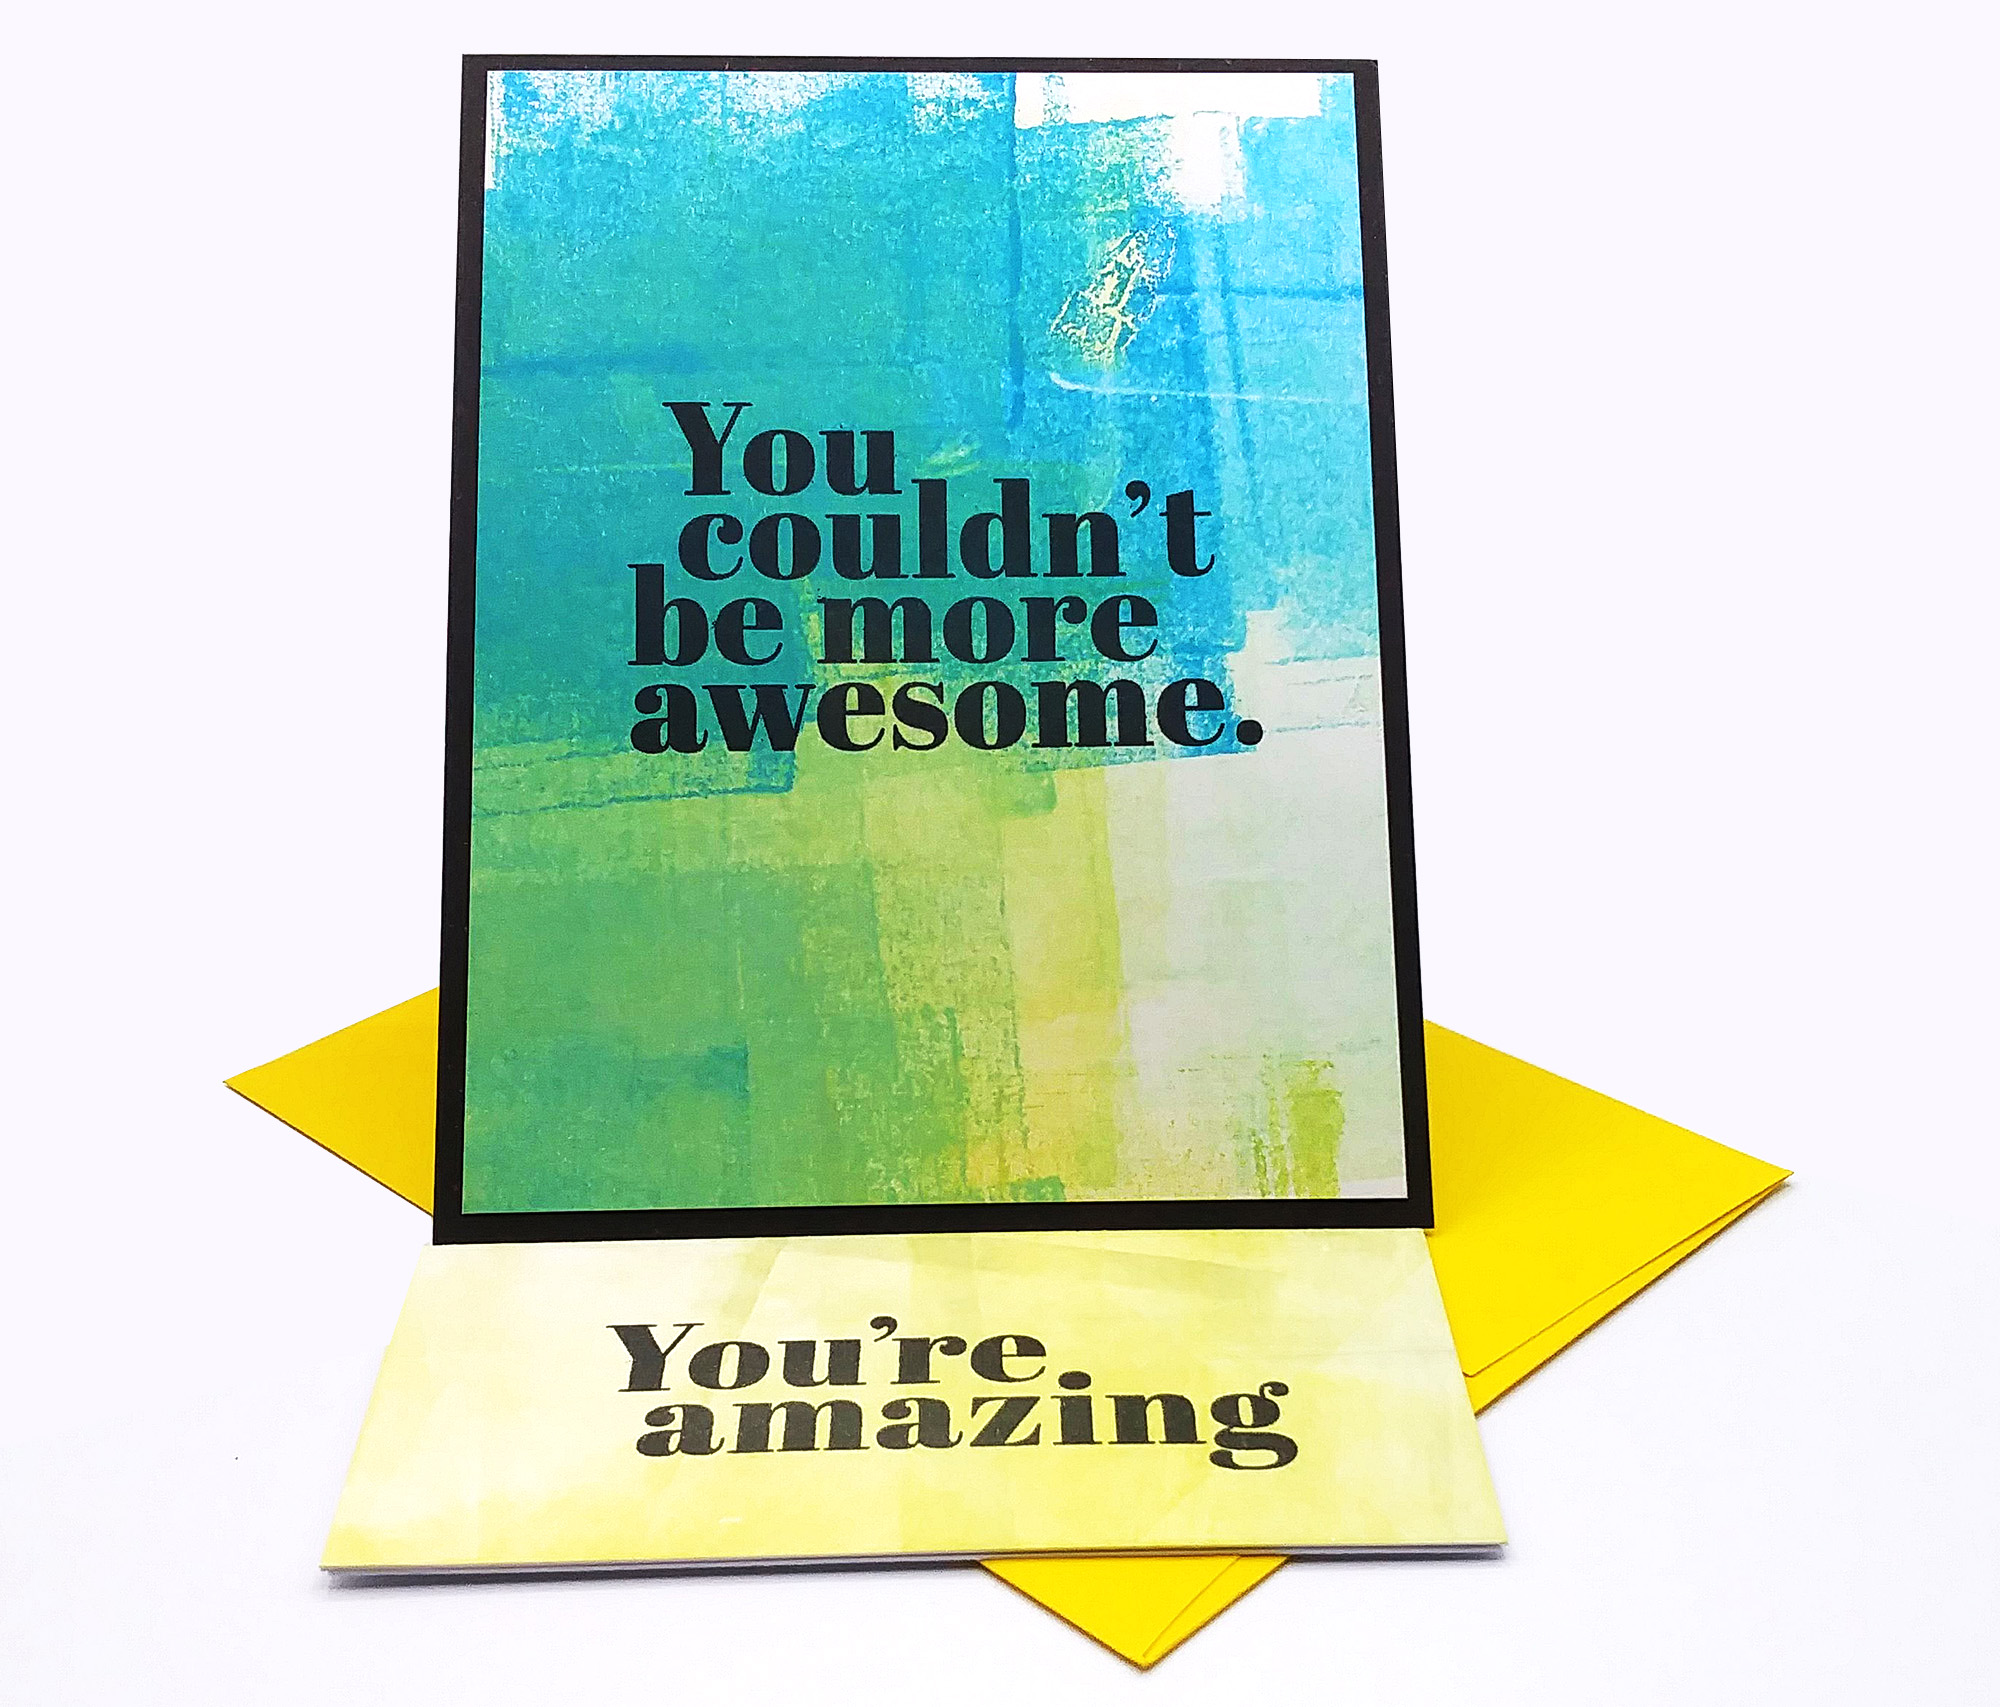
For my colors, I used Distress Oxide Inks. Colors were: “Peacock Feathers”, “Mermaid Lagoon”, “Squeezed Lemonade” and “Mustard Seed“. With my brayer, you’ll see I picked up a green shades too and that’s because the blue mixed a bit with the yellow. Such a cool effect!
Colors I used for my stoppers was Distress Traditional Inks: “Squeezed Lemonade”, “Antique Linen” and a little “Bundled Sage.” I stamped a secondary sentiment from the same Simon stamp set as well. Love how it shows up when the cards are standing.
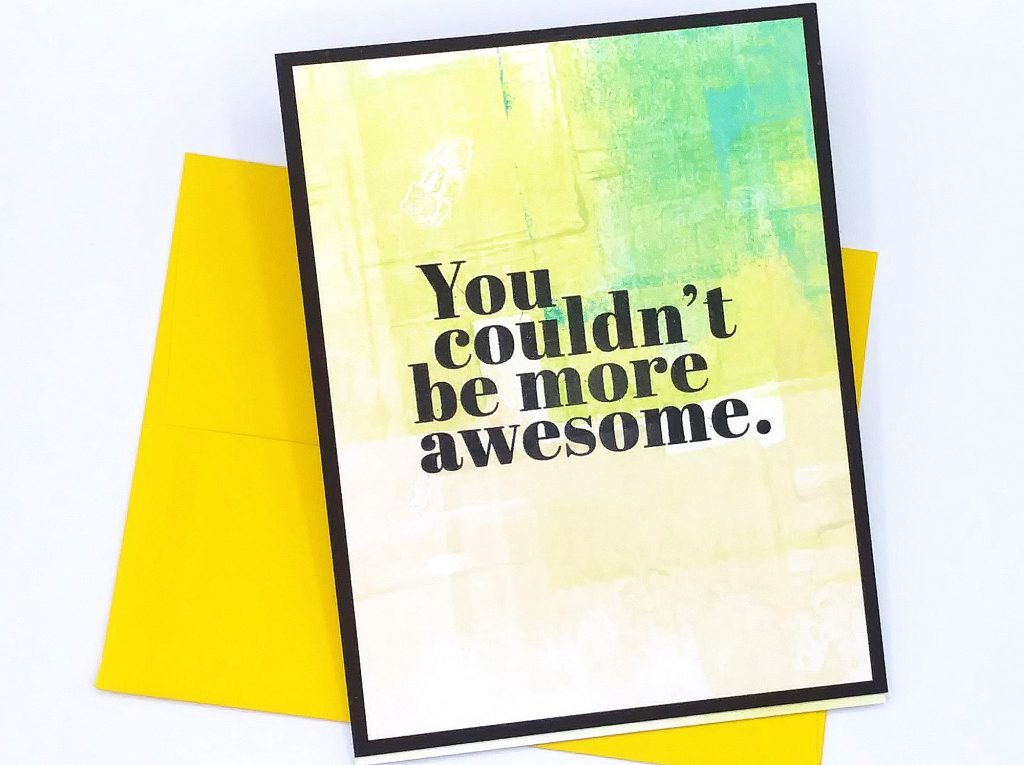
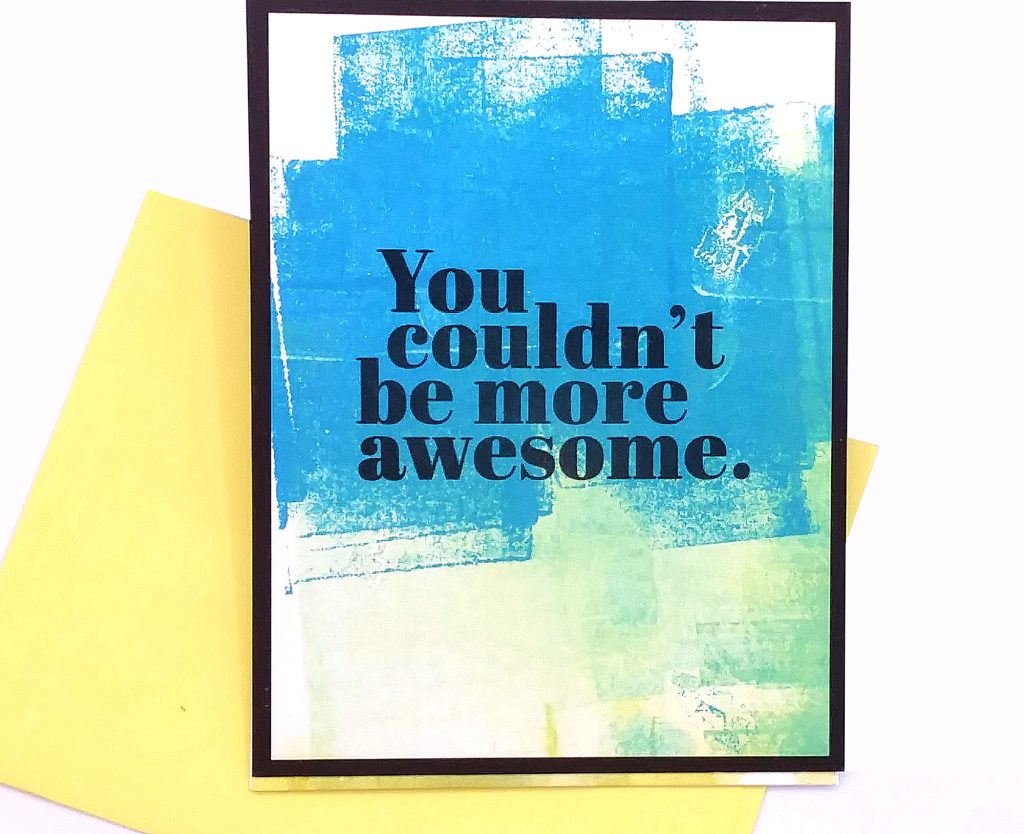
I didn’t add any embellishments because I wanted the emphasis on the gel press backgrounds and the sentiments. And because the sentiments are big and bold, they pack a punch on the cards. Love how they can stand alone!
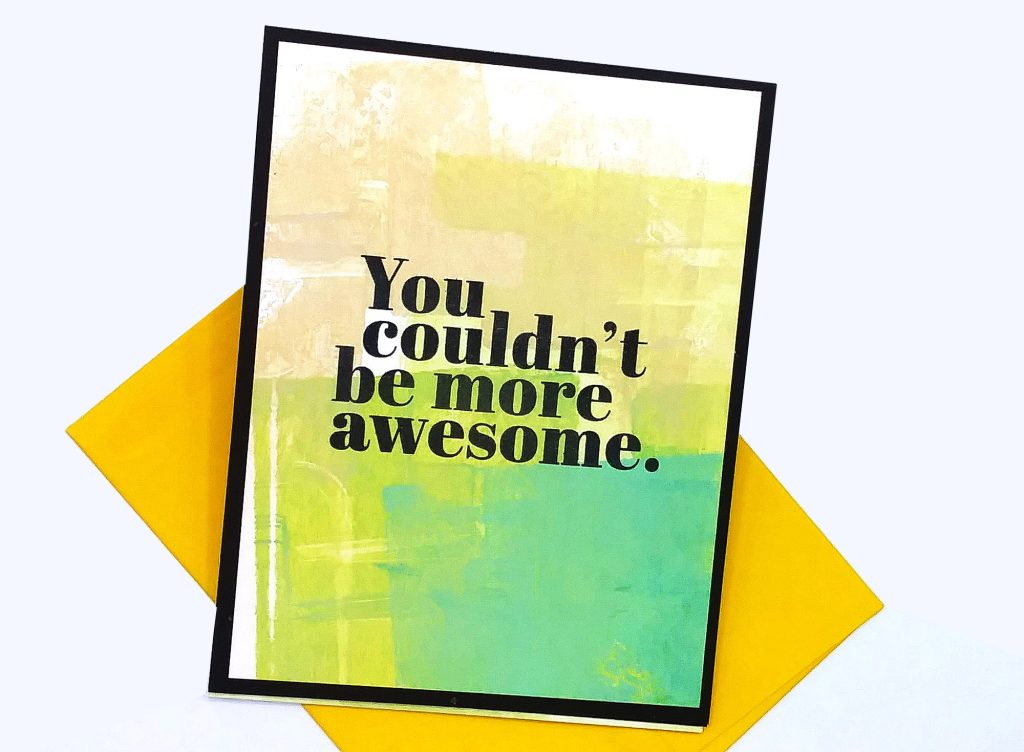
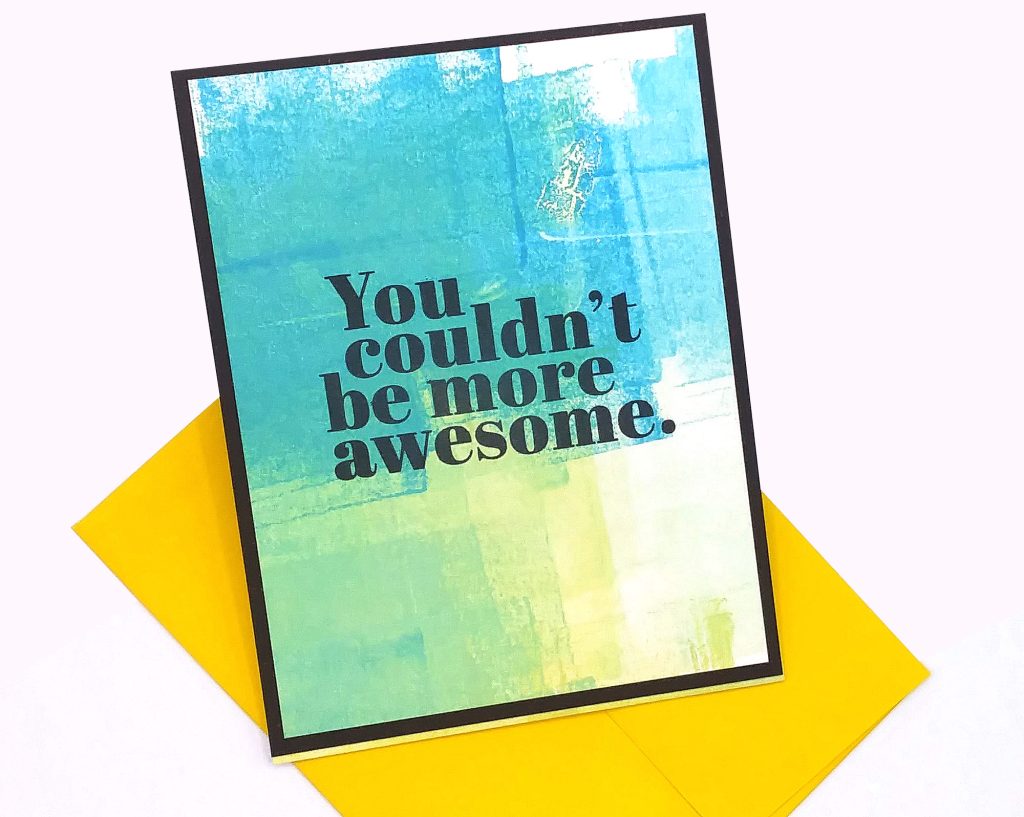
They fit perfectly into a regular size A2 envelope!

- Gel Press 8 x 10 size
- Brayers
- Distress Oxide Inks (Collections and Bundles available too)
- Distress Traditional Inks or browse all the Distress lnks here
- Misti Stamp Positioner here, here, here or here
- Accents Opaque 100 lb. White Cardstock
- Simon Says Stamp “Thankful Flowers” stamp set
- Simon Says Stamp “Intense Black” ink pad
- Simon Says Stamp Assorted Cardstock Pack or dark chocolate here

