Hey my friends, in today’s post, I’m sharing 2 new cards I made using Lawn Fawn’s Slimline Hillside Stencil. I didn’t make slimline cards, instead I took a tip from Nichol Sphor’s LIVE YT video last week where she used this stencil to decorate the entire inside of her cards.
Normally, I leave the insides of my cards blank and that’s because I primarily donate my cards and it’s a requirement to leave them blank. I donate to a couple of causes, one nationally and one locally. But, every now and again I’ll make special cards that I either keep for myself to display or to give to friends.
Once I watched Nichol’s video, I thought “baby cards”! This is an occasion I hardly ever make so was eager to try her technique and I love decorating on top of the card bases. Plus, I had 4 baby 3D stickers from Dollar Tree that I’ve had at least a couple of years! I thought they were so cute so I purchased them but didn’t know what to do with them until now! 😀
Anyway, I purchased the stencil set and it arrived early this week. There’s 2 stencils in the set and I broke out my Simon Says Stamp “Pawsitively Saturated Inks” for the ink blending. I used 5 of the mid-tone colors of Collection #1.
I highly recommend watching Nichol’s video of how she colored the inside of her card because I colored mine the same way.
Normally in my blog posts, I talk about how I make my cards in between the photos, however I thought it might better to describe my process first and at the end share the photos because I took a bunch of them!
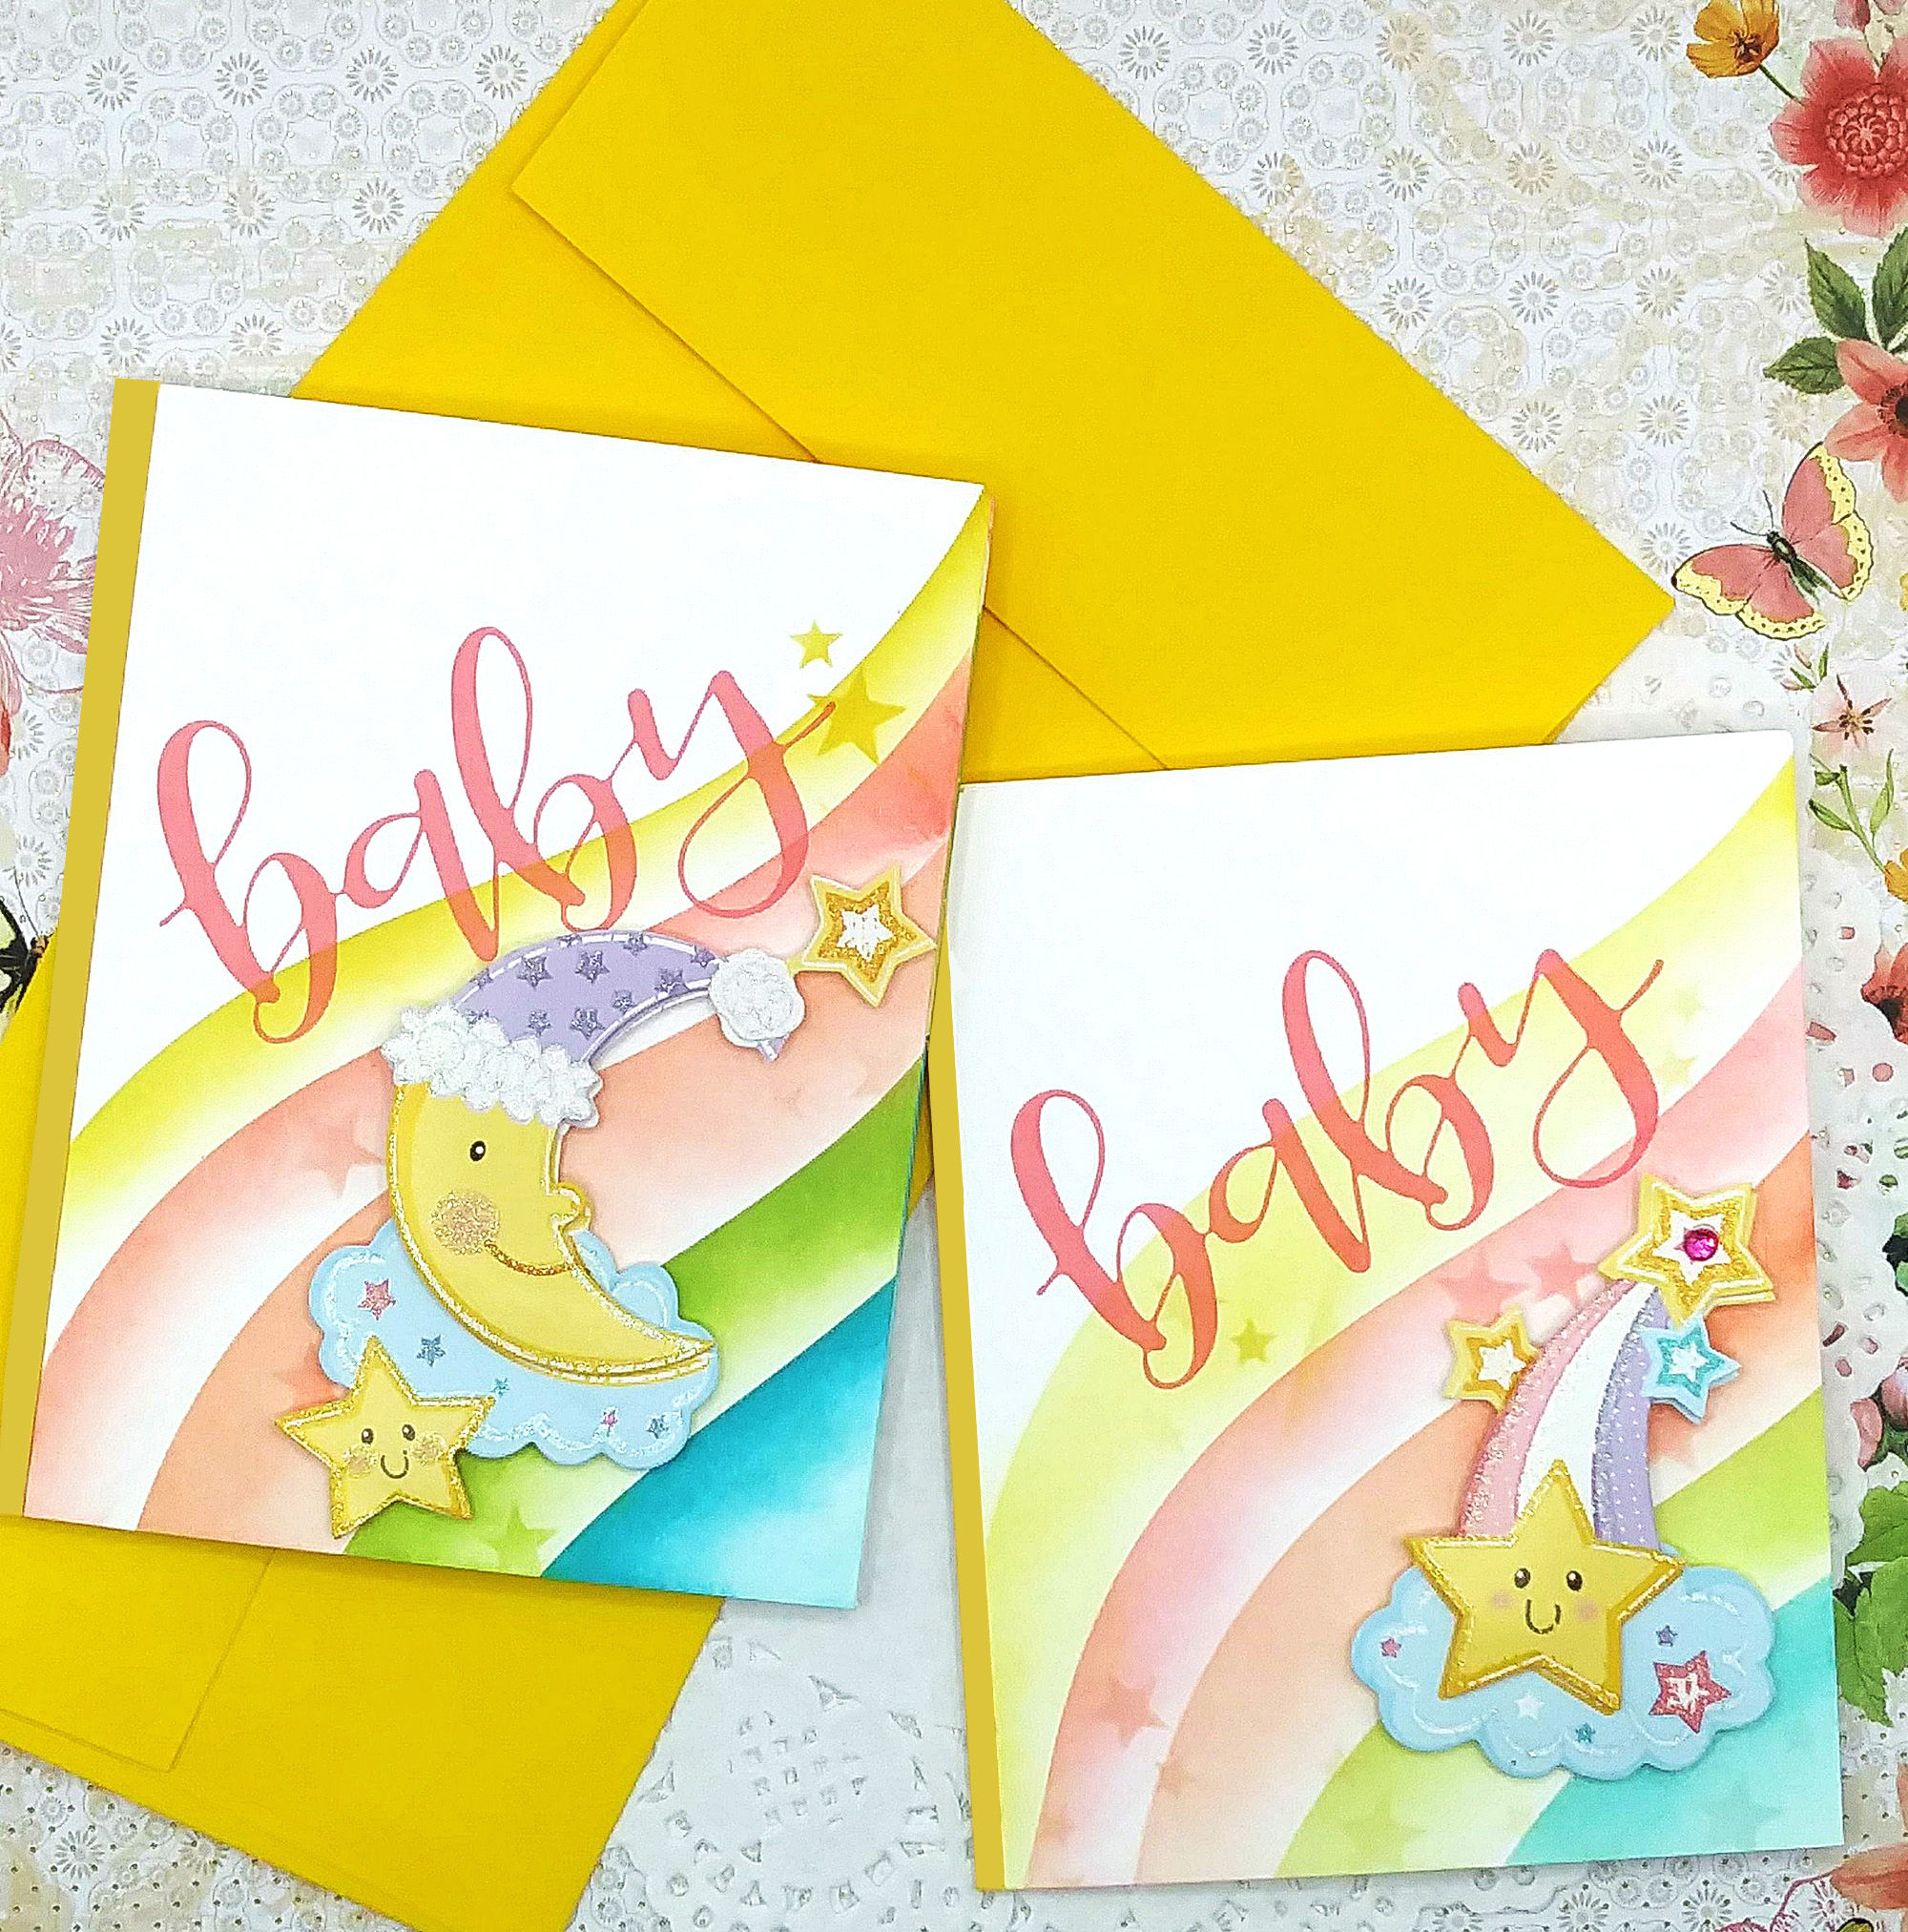
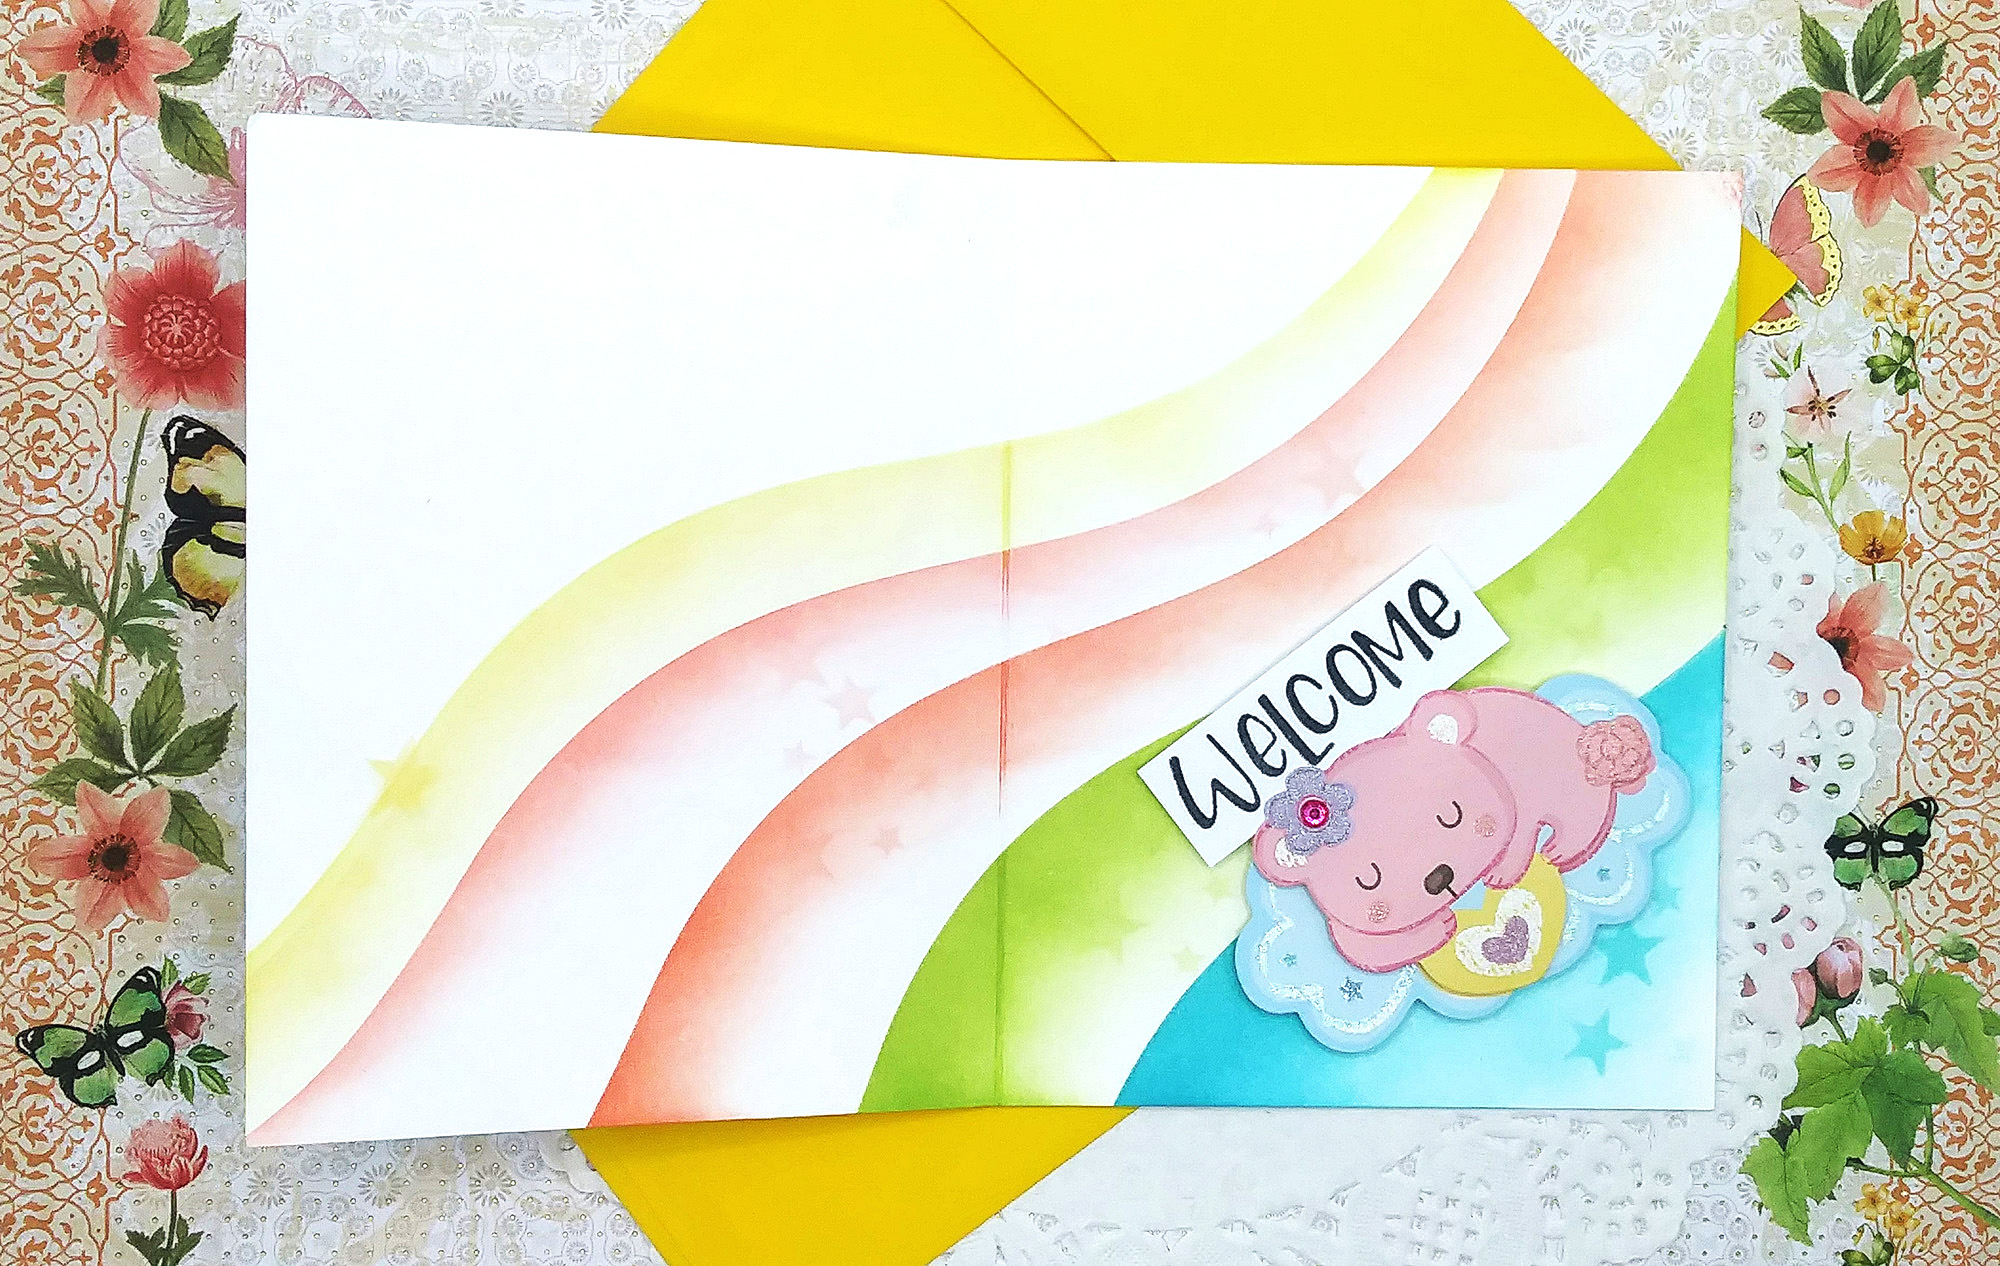
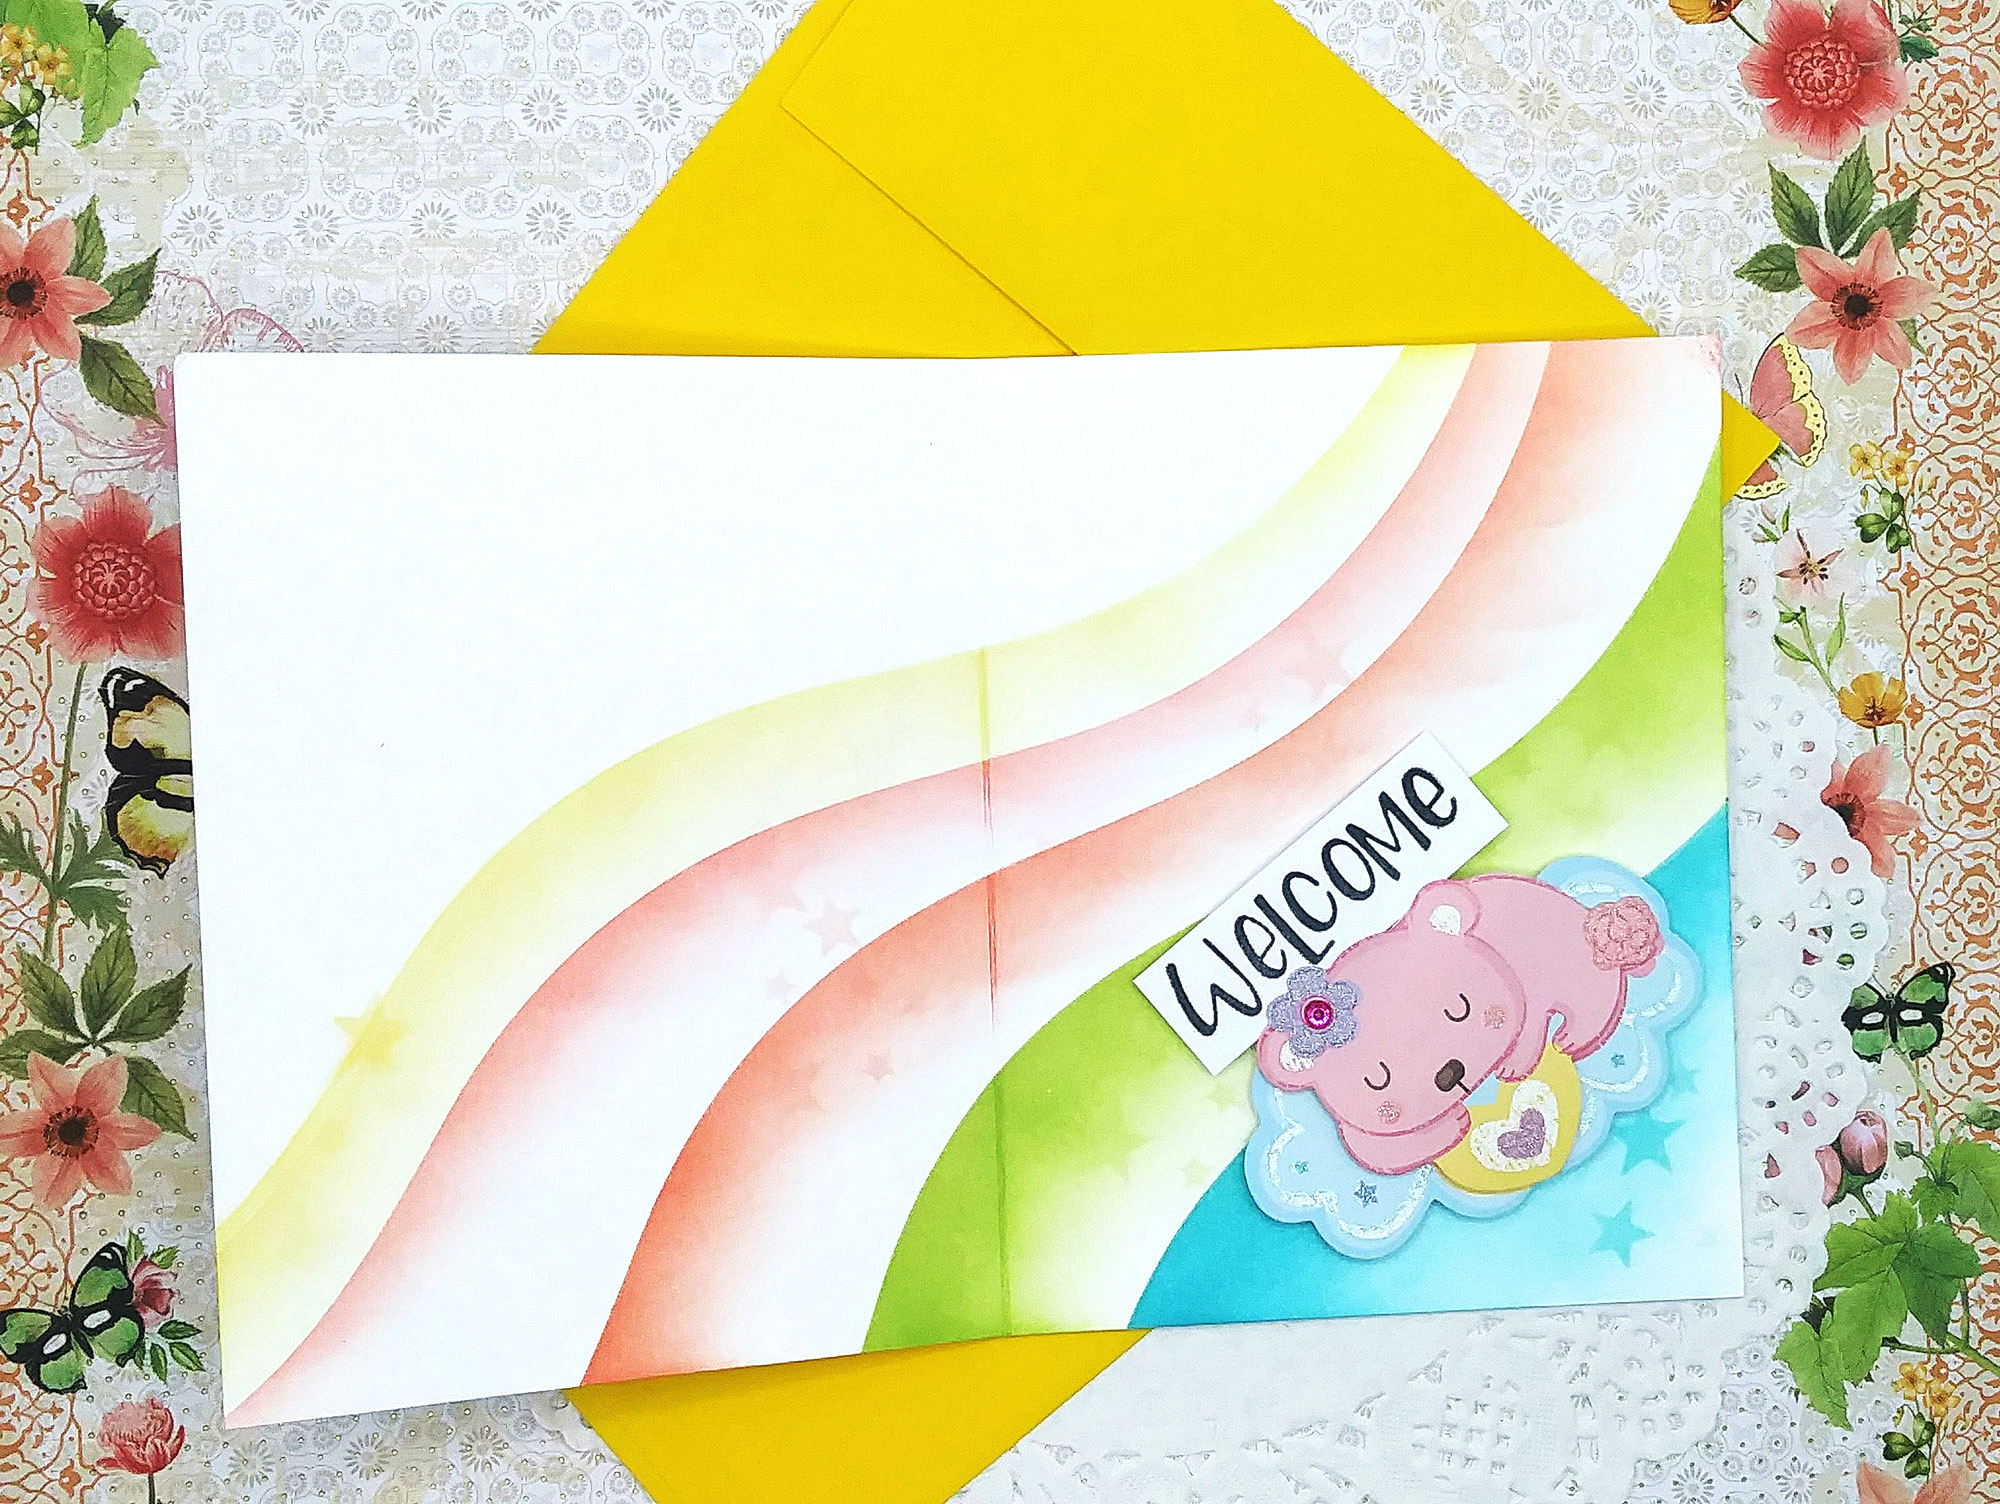
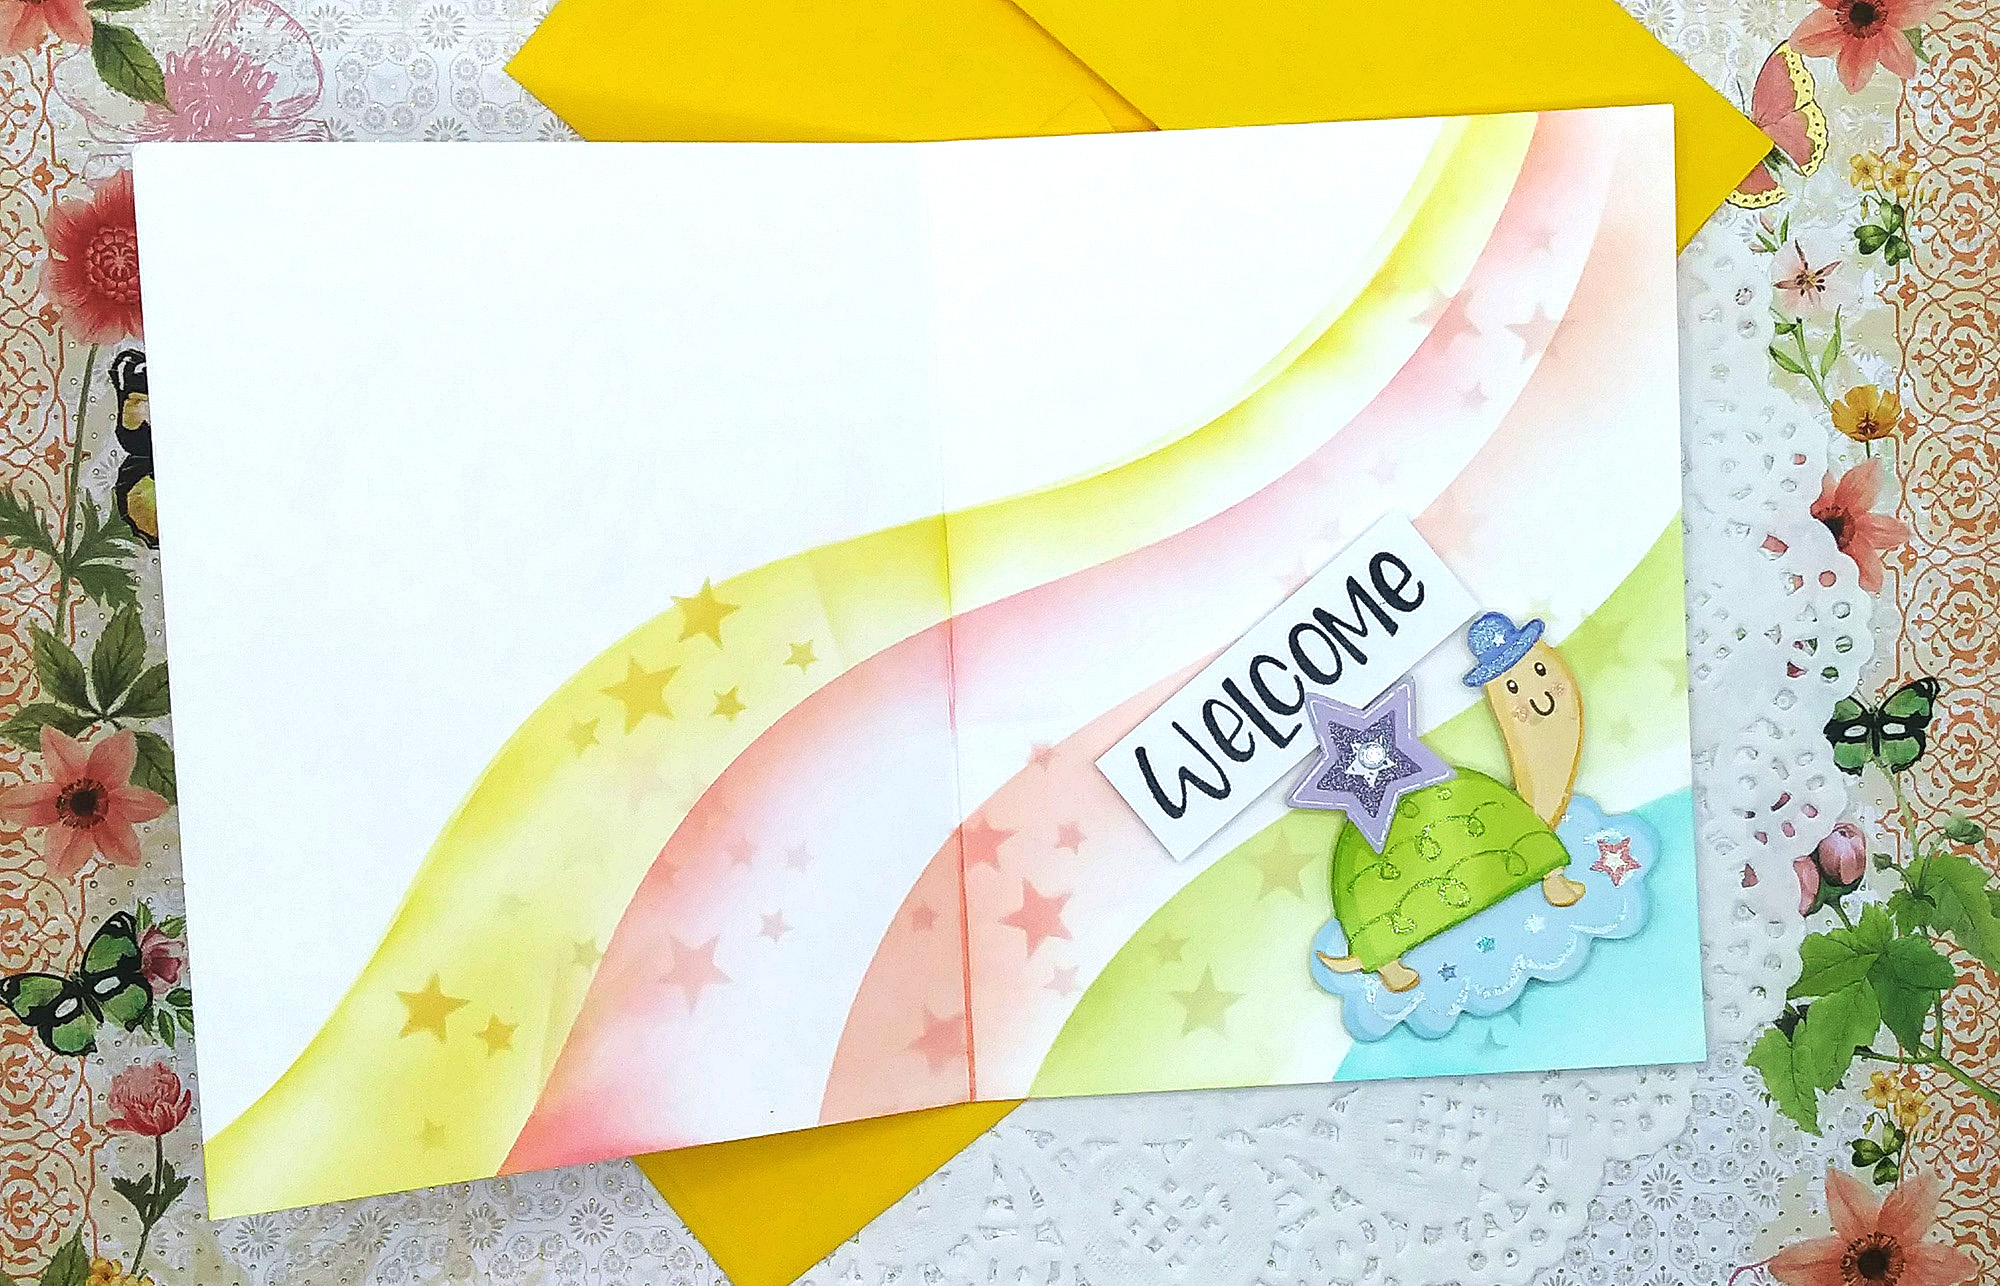
I ink blended the insides of my cards first before I colored the front of my cards. I started with yellow working my way down to the teal color. Boy, what a wonderful rainbow it leaves! I decided to add some stars for a tone on tone effect so I used the Heidi Swapp stars/hearts stencil and added that over my rainbow on the inside and front of the cards.
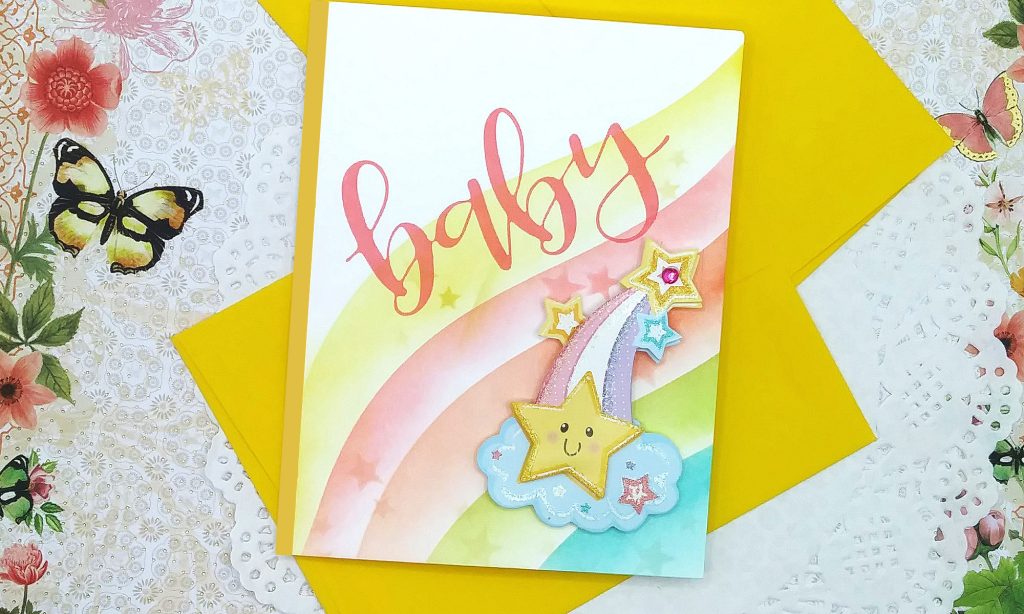
While I set the cards down to dry, I started working on my sentiments. I went with Ranger’s “Baby” stamp set. I stamped “Baby” with the “Blush” ink color.
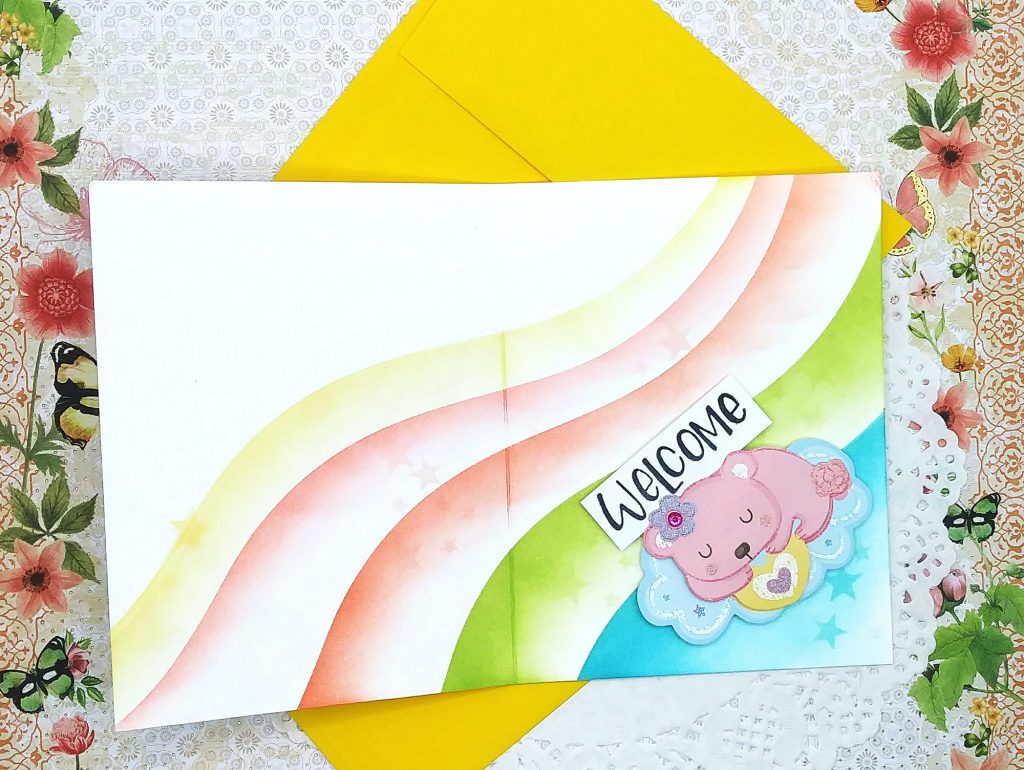
After that, time to add my 3D sticker embellishments, so put one on the front of the cards and the other on the inside. I stamped the secondary sentiment, “Welcome” on white cardstock and popped it under my stickers. I couldn’t help staring at how pretty they turned out!
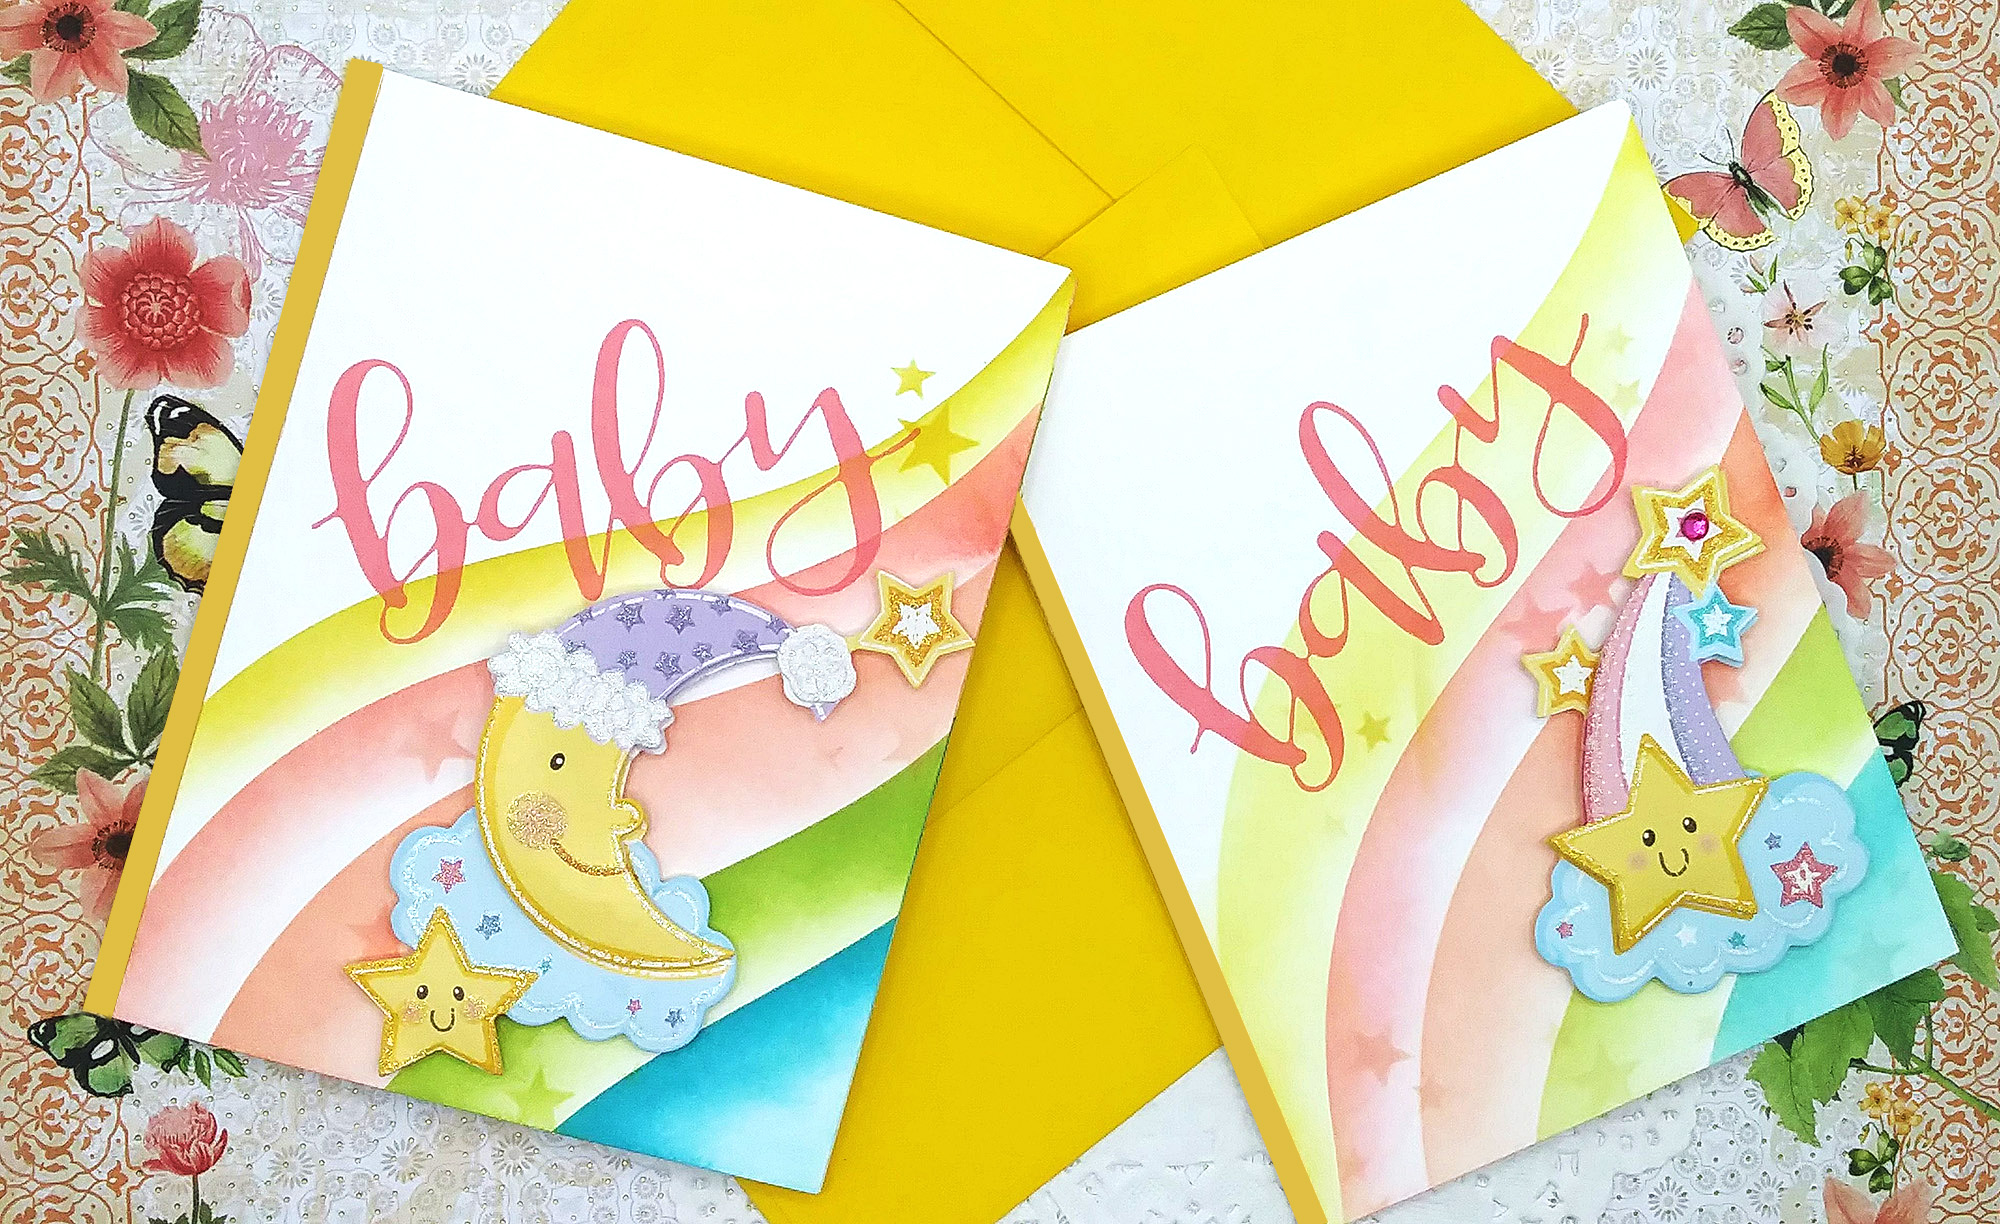

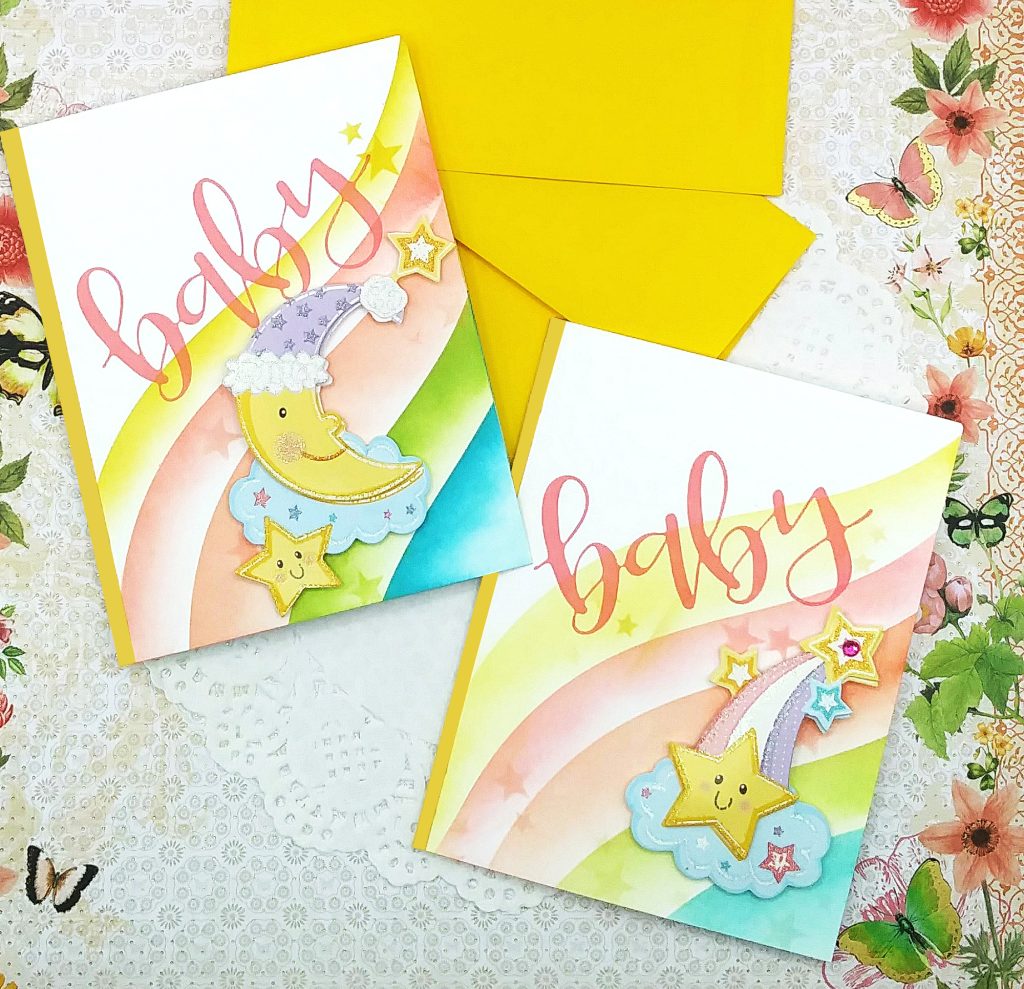

The final touch I added was trimming down some cardstock from Cardstock Warehouse to add as a border on the left front side of my cards.


- Lawn Fawn Slimline Hillside Stencil Set
- Simon Says Stamp “Pawsitively Saturated Collection #1” inks
- Heidi Swapp hearts/stars stencil (couldn’t find it in stock anywhere)
- Ranger “Baby” Stamp set
- Cardstock Warehouse “Pretty in Pastels” Cardstock