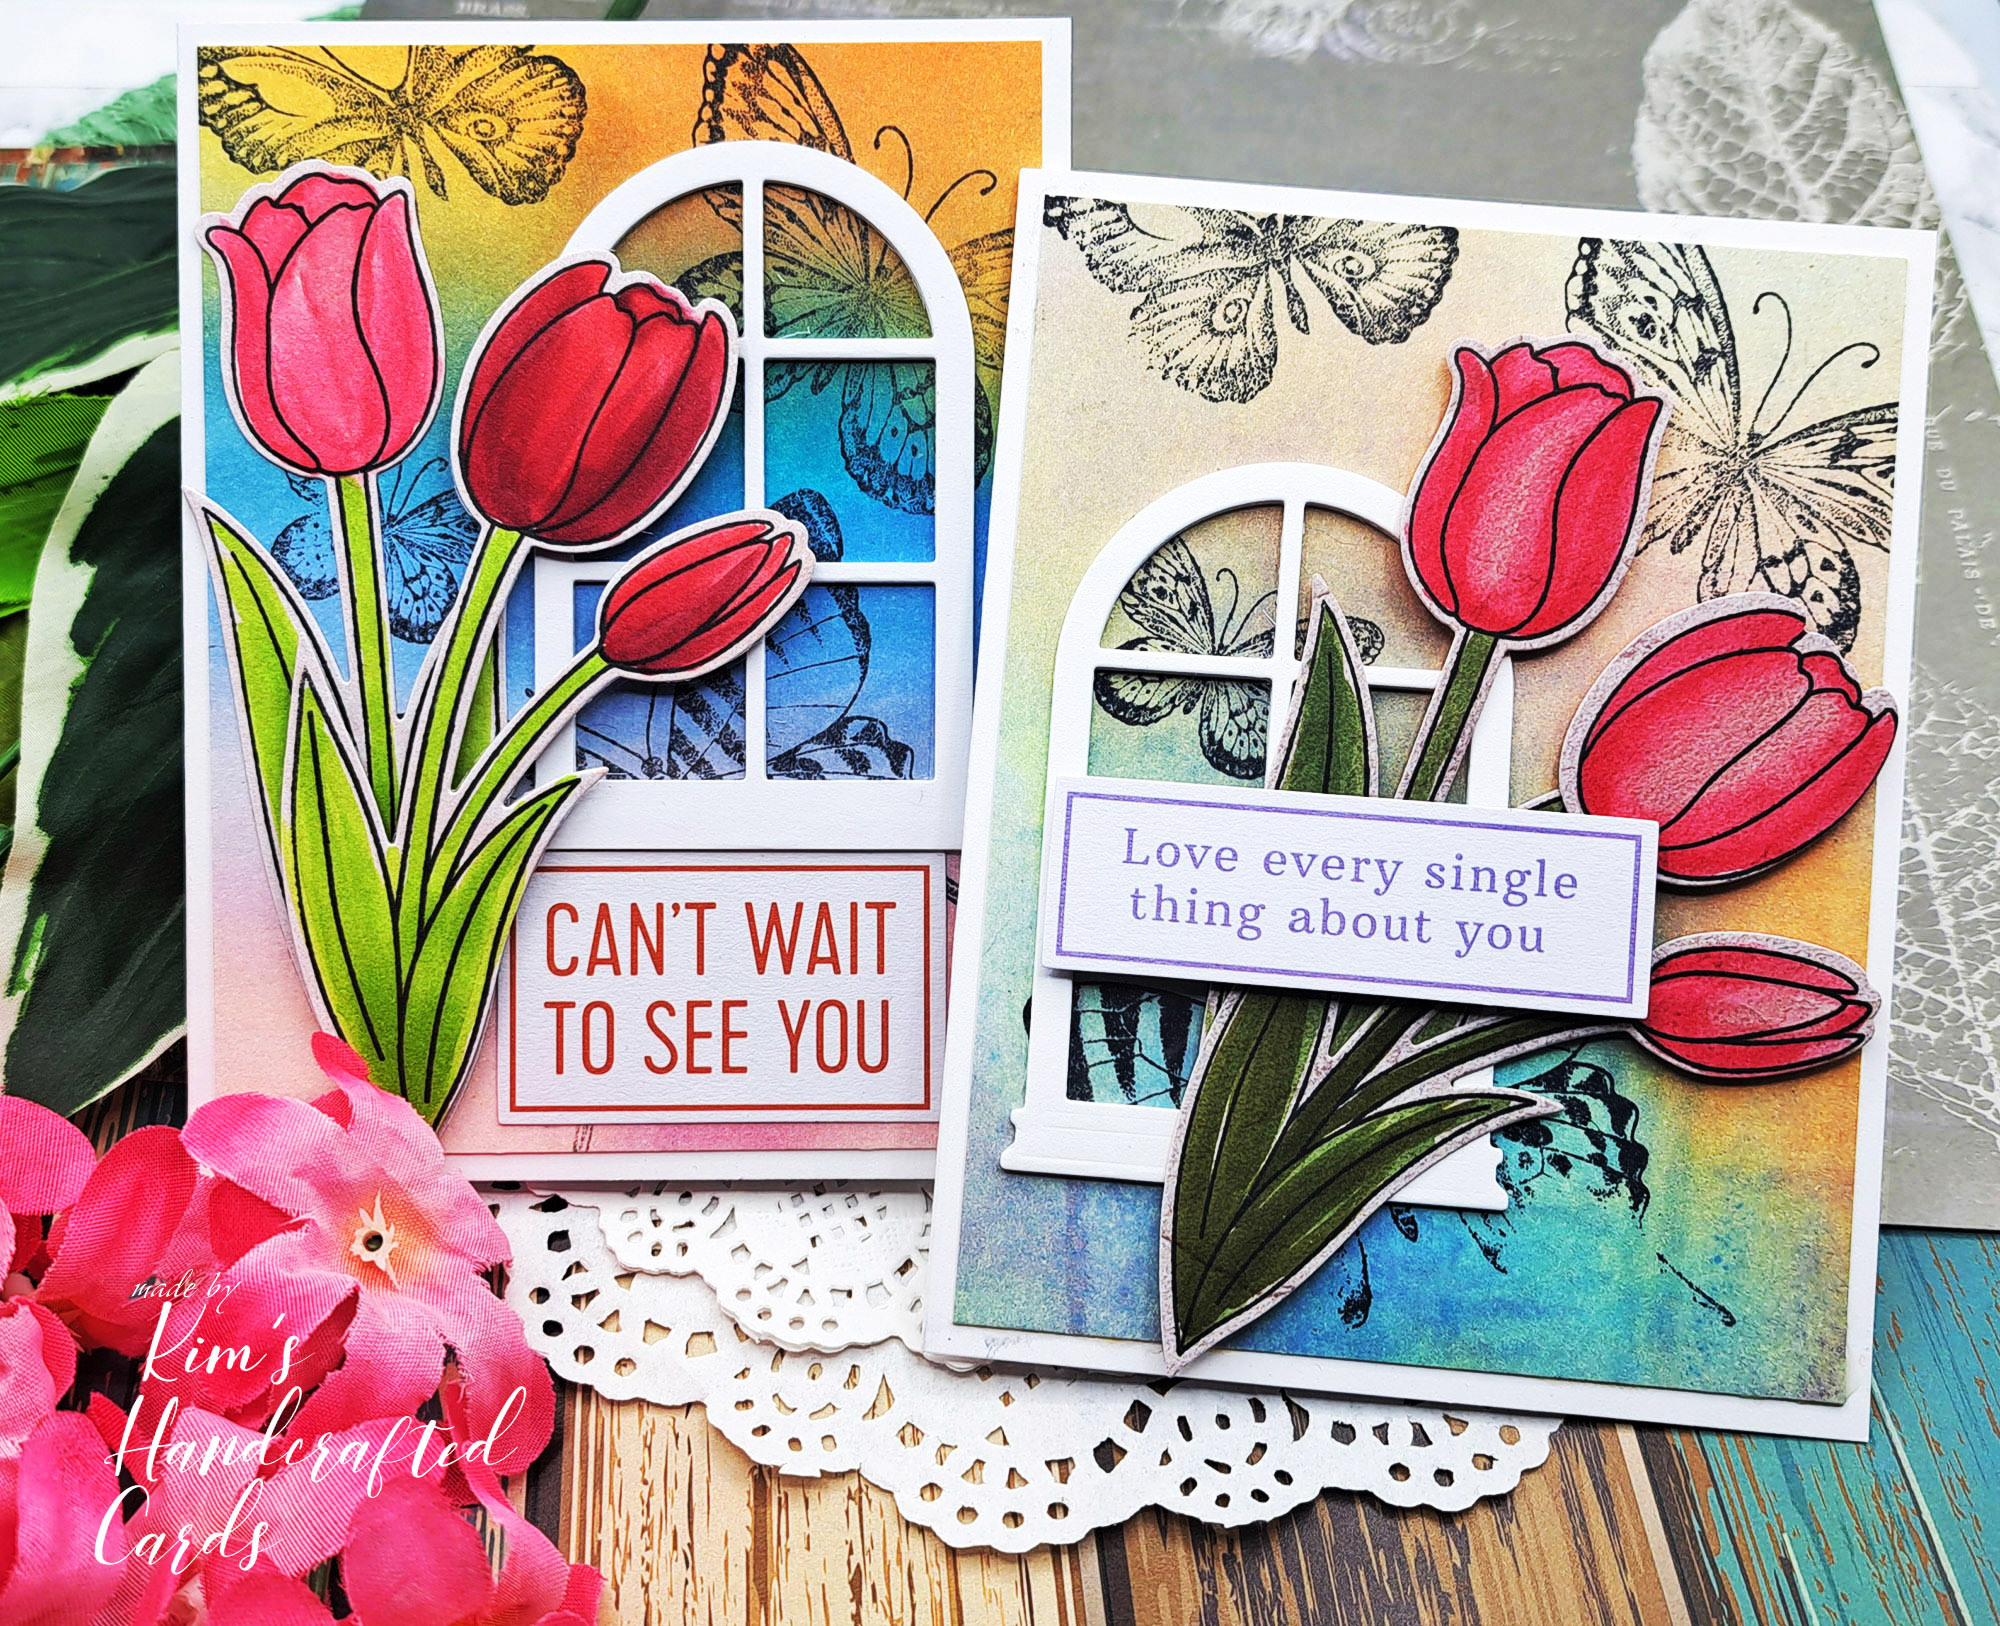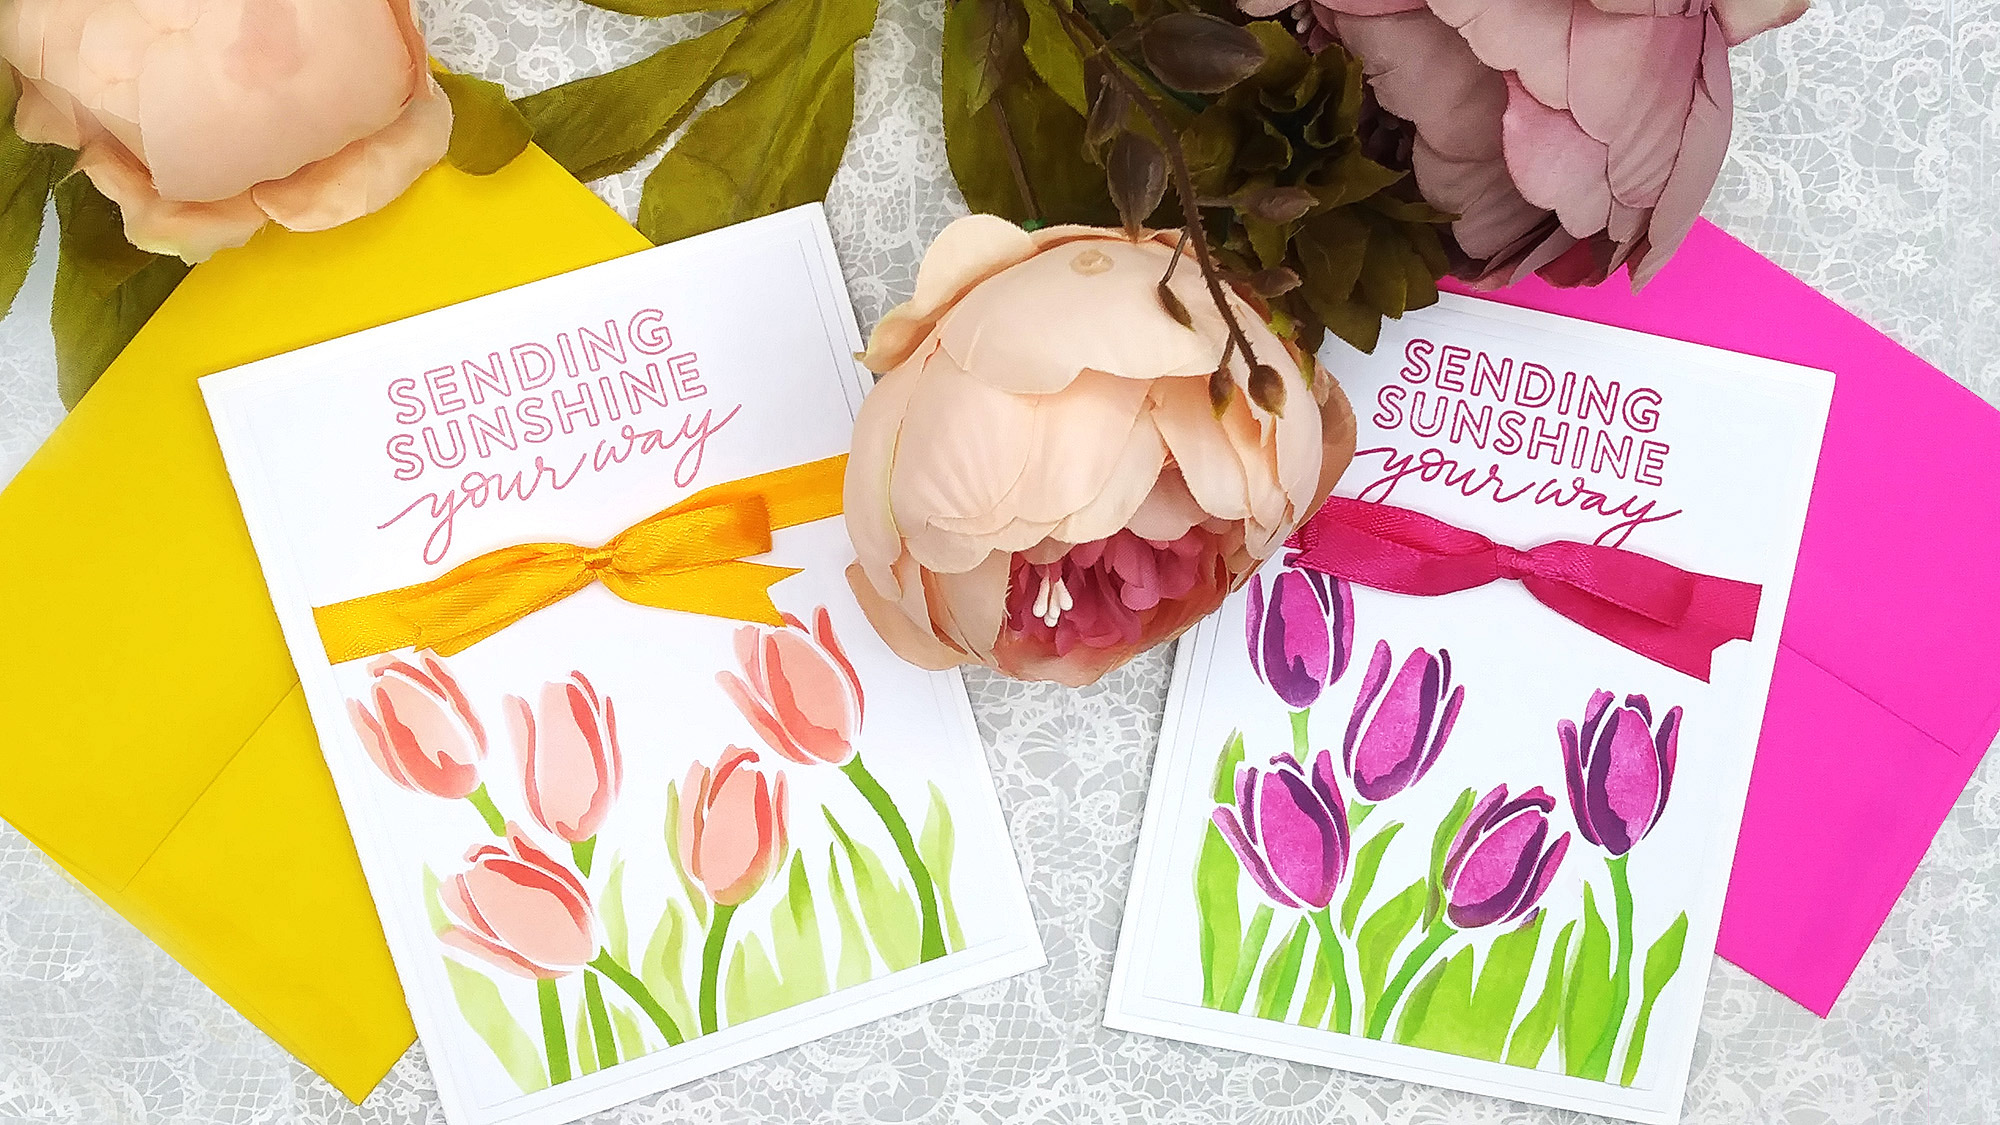
Hey everybody! Today, I’m sharing 2 cards I made yesterday by just shopping my stash! As much as I love to purchase new products, I have items in my craftroom that either I haven’t used a lot or maybe not at all. For my 2 cards today, I was looking through my stencil book and decided to use Simon’s Tulip stencil set, it comes with 4 layered stencils.
I colored them with my newly-purchased tiny blending brushes (which I’ll talk about in a moment) and Simon’s 1st collection Pawsitively Saturated Inks and Pinkfresh Studio inks.
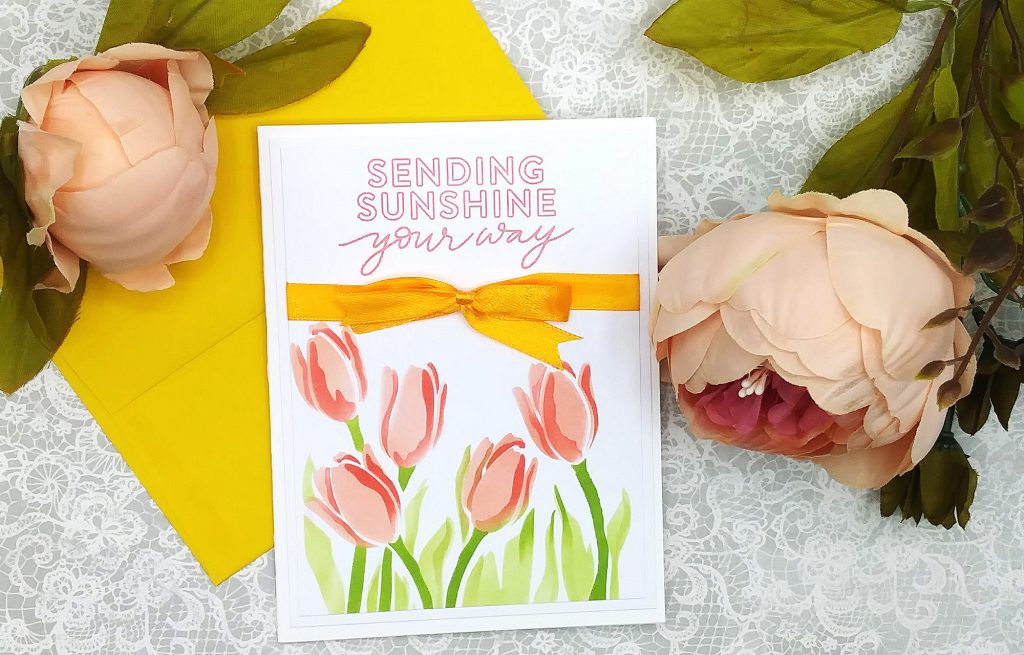
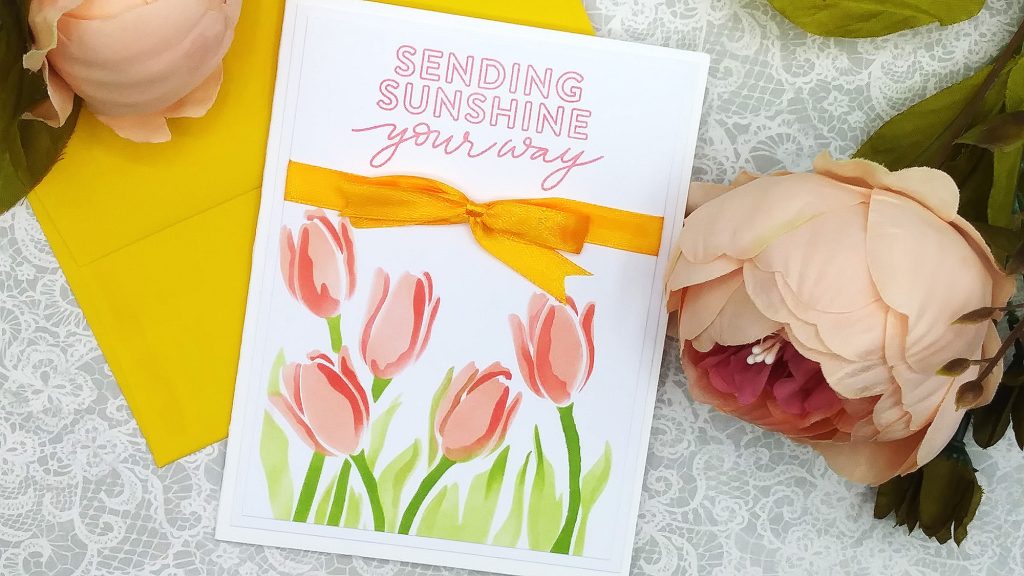
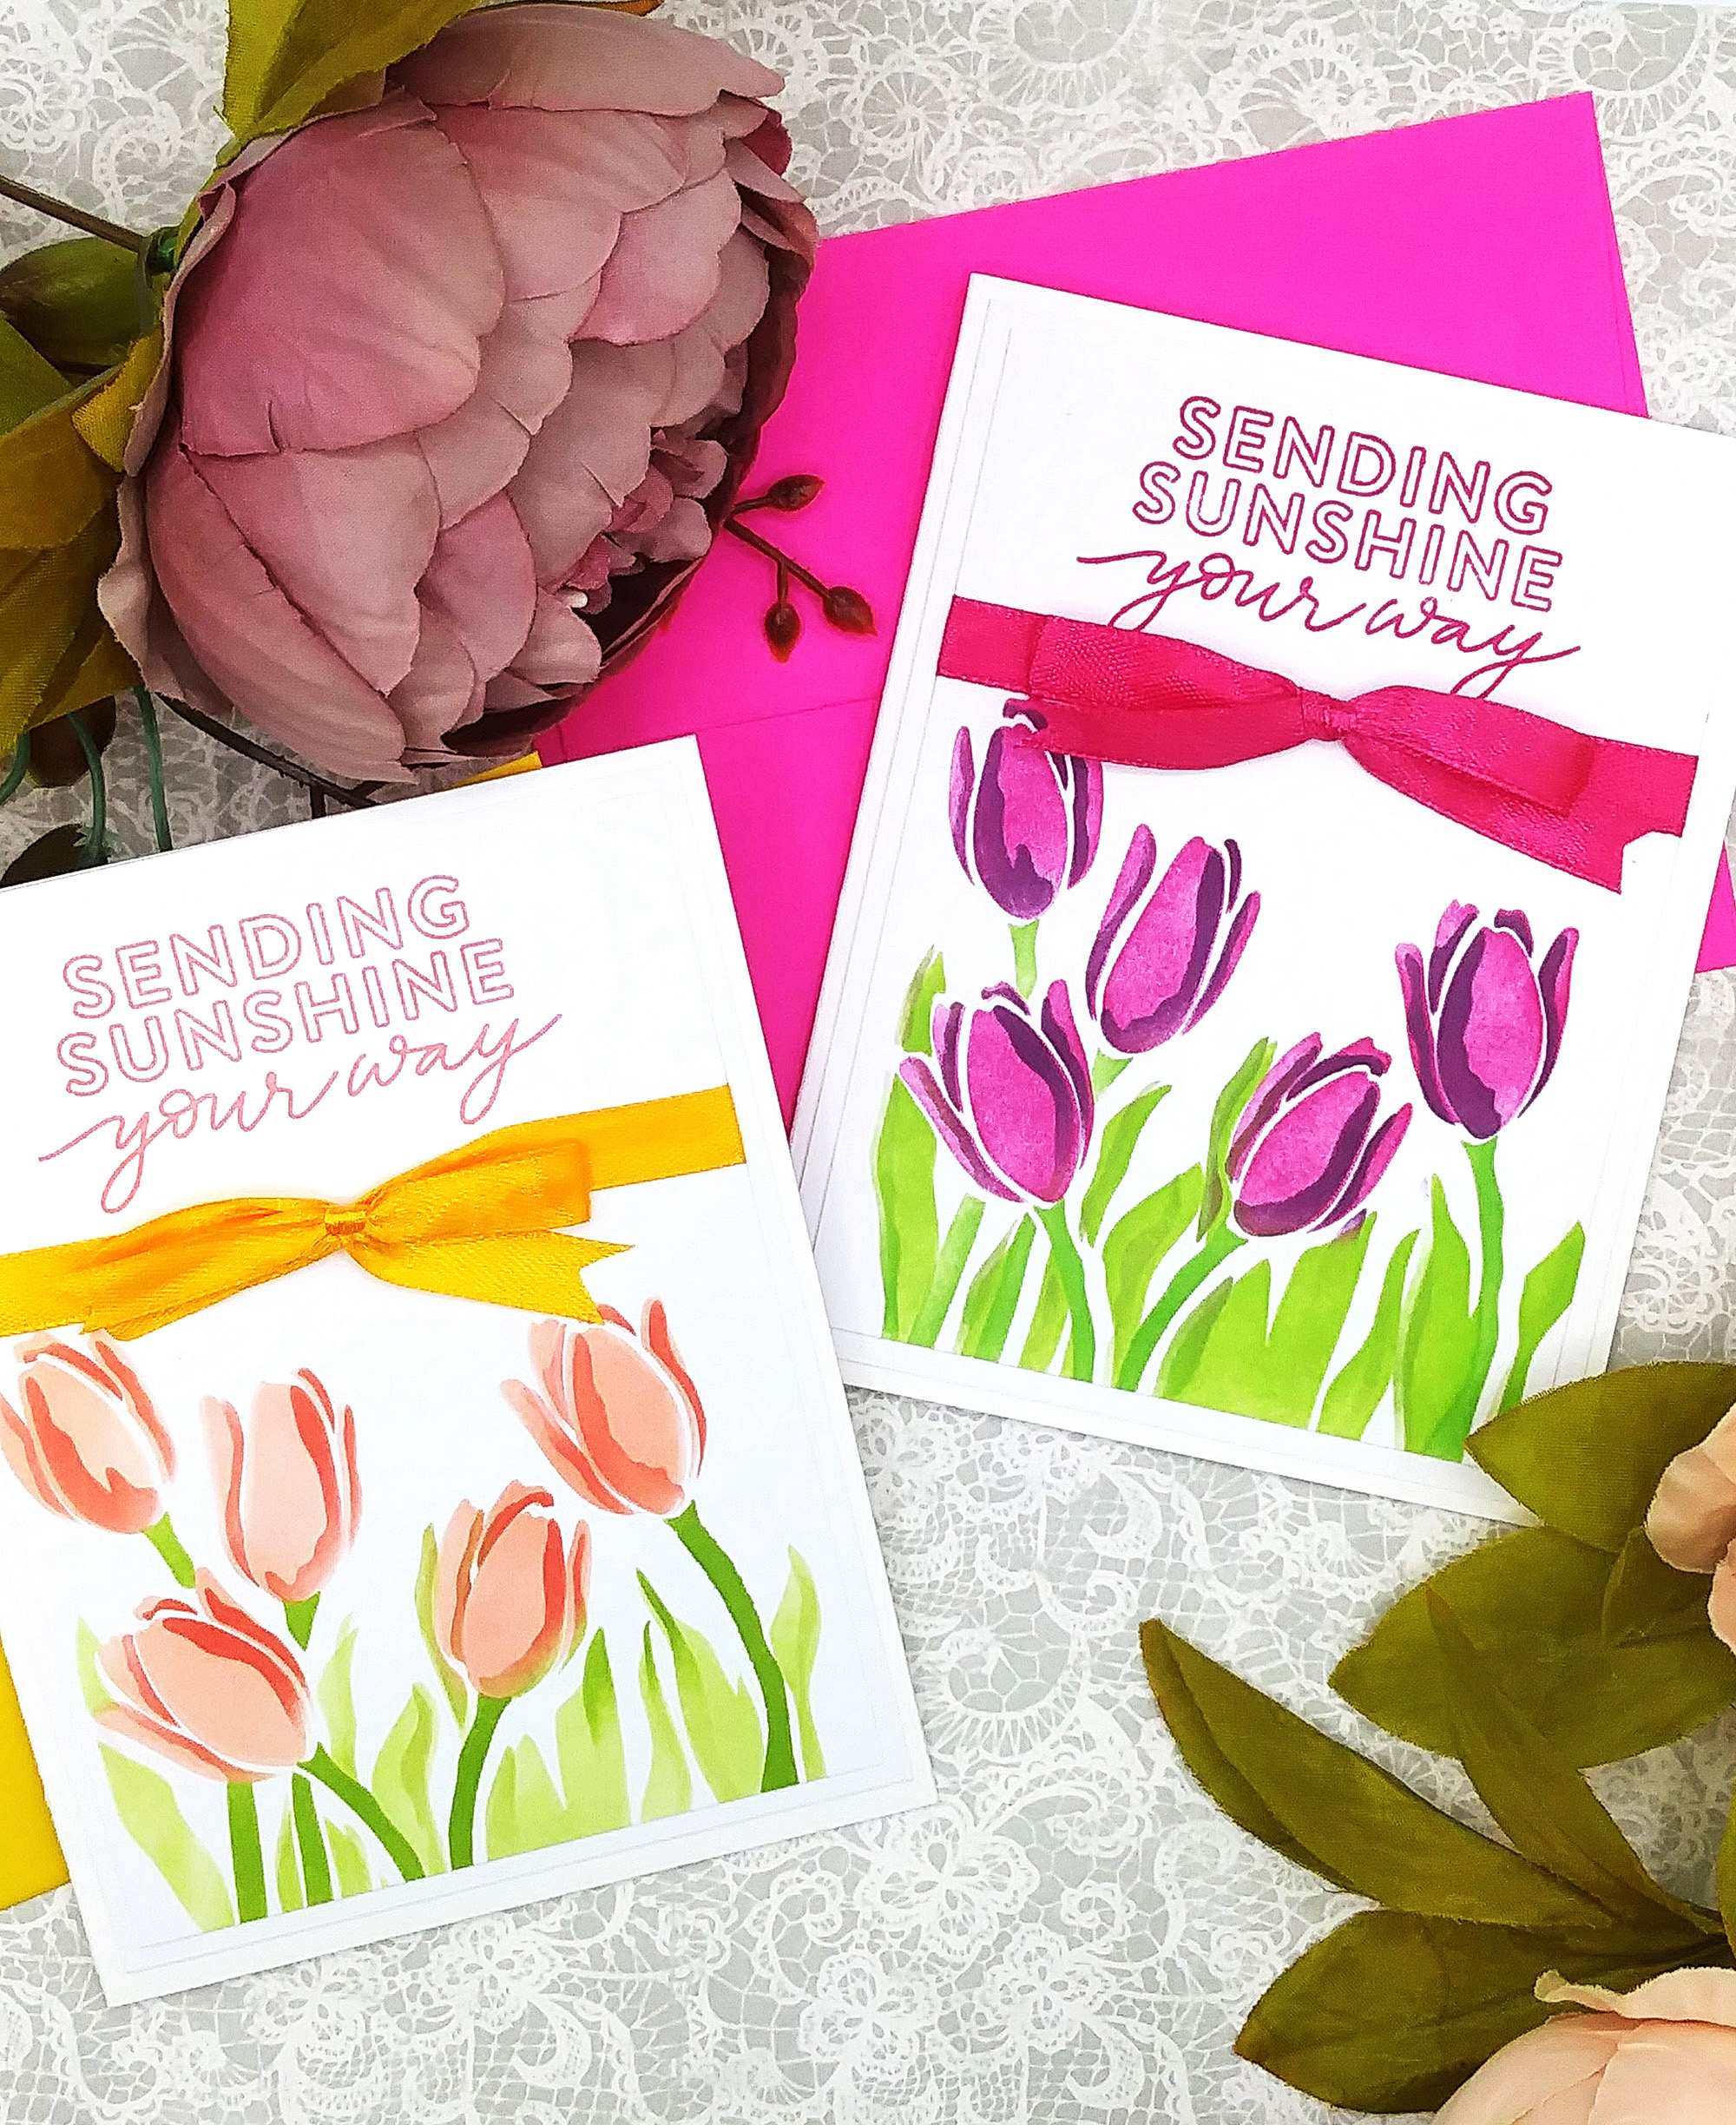
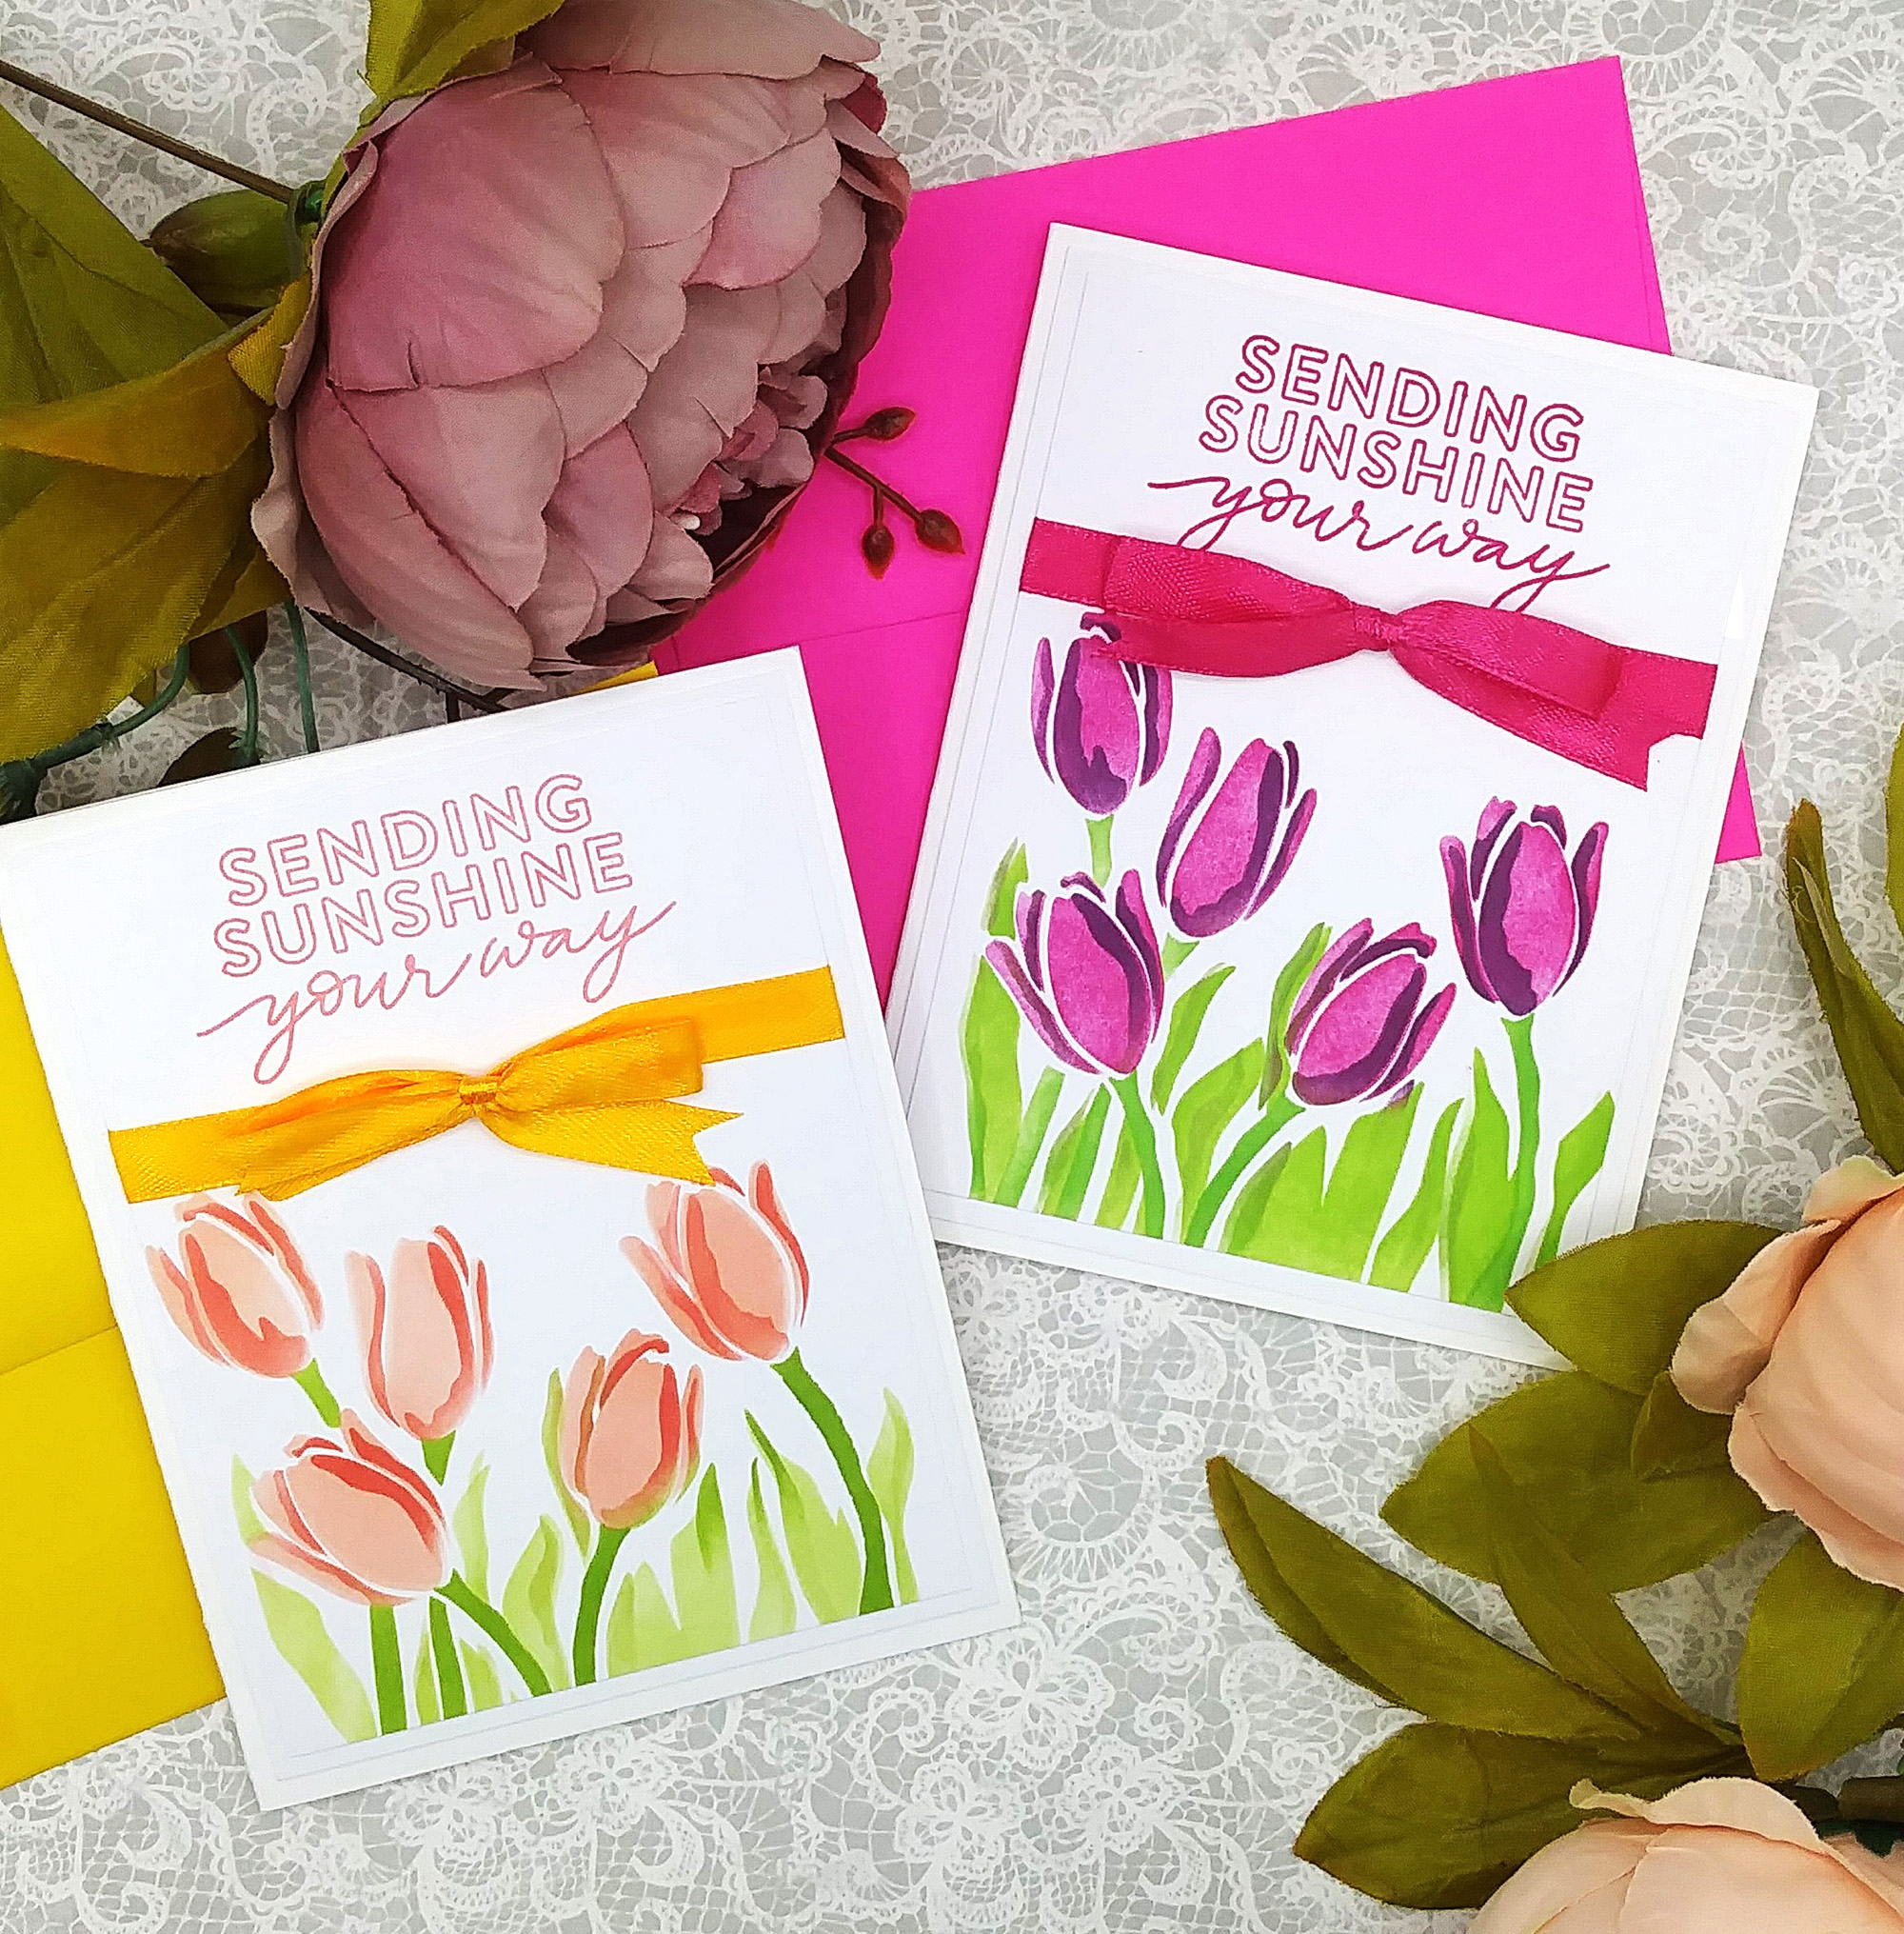
For my 1st card above, I used “Blush” and “Cheeky” from Simon’s Trio #5 Inks. For the leaves, I used Simon’s “Pearfection” and “Limelicious” Trio #2 inks.
I’ve been wanting some tiny blending brushes but because of my strict budget, I couldn’t afford them on the sites I shop at regularly. I browsed Amazon and fortunately found a pair by the same company I purchased my larger brushes from. There’s 10 brushes in the set, colored coded and the price point is excellent.
I wanted a set of brushes specifically for Simon’s Pawsitively inks because of the formula of those inks. So, after using these brushes and loving how they blend, I purchased a 2nd set for my regular die inks.
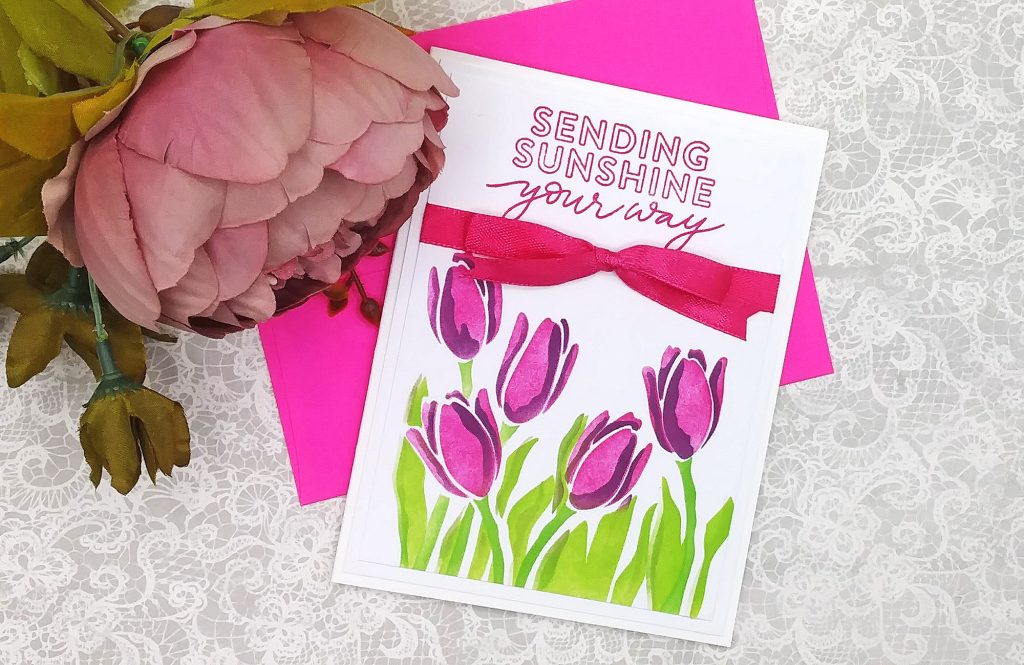
For my 2nd card above, I used Pinkfresh Studio “Regal Kiss” and “Raspberry Bliss” inks. For the leaves, I used their “Evergreen” and “Key Lime” inks.
The sentiment I used for both cards is from the “Hello Darling” stamp set from Simon’s April 2019 card kit – no longer available, sorry 🙁
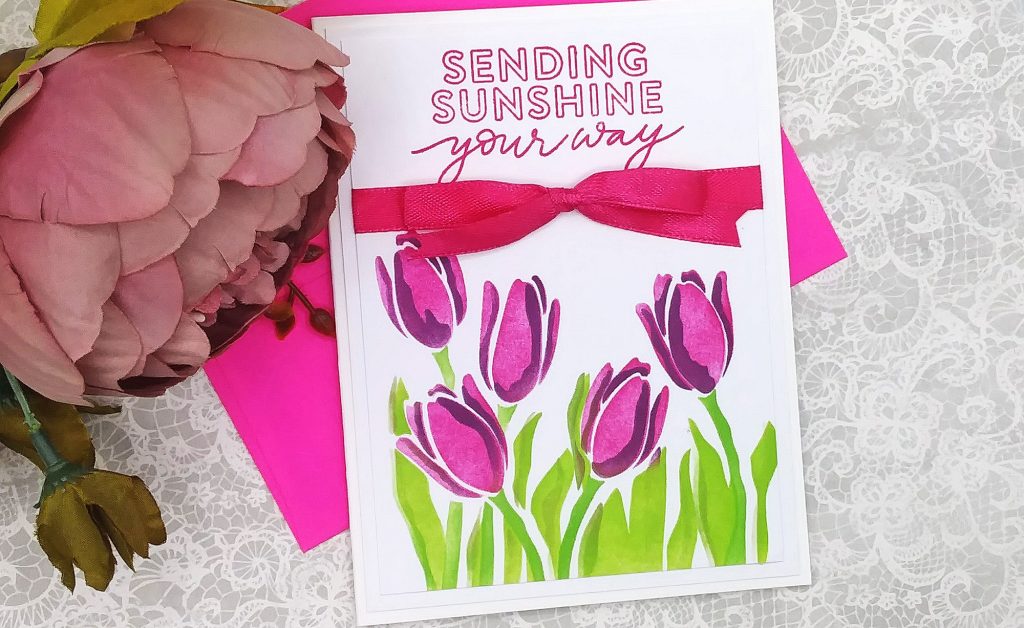
After I made my card panels, I trimmed them down to about 3-3/4″ x 5-1/2″. I wanted to add ribbon to my cards for extra interest but I needed to hide it on the back of the panel soooo….
I trimmed down another piece of white cardstock to 4″ x 5-1/4″. I added my ribbon and tied the bows first. Then I glued this cardstock to my panels. After that, I adhered this to my card panels. I love how the cards have a double border look.
If I had had more time, I would have made so many more cards because this design is great for mass producing!

- Simon Says Stamp Stenciled Layered Tulips
- Simon Says Stamp Pawsitively Saturated Inks “Trio #5”
- Simon Says Stamp Pawsitively Saturated Inks “Trio #2”
- Pinkfresh Studio “Raspberry Bliss” and “Regal Kiss” inks
- Pinkfresh Studio “Key Lime” Ink and “Evergreen” Ink
- Yoseng Tiny Blending Brushes 10-pack
- Assorted Ribbons
- Accents 100 lb. White Cardstock