Hey Crafties! It has been a very busy work week for me and honestly I wasn’t in the mood to craft nor make a card. That said, I still love to do something creative even if only to watch a YT crafting video!
And, this is how learned about digital stamps. I was watching a video! Anyway, I have crafty friends on IG that use digital stamps all the time and do some incredible coloring on them. I just never thought about them for my own cardmaking. However, they really can save $$ when you’re on a tight crafty budget like me.
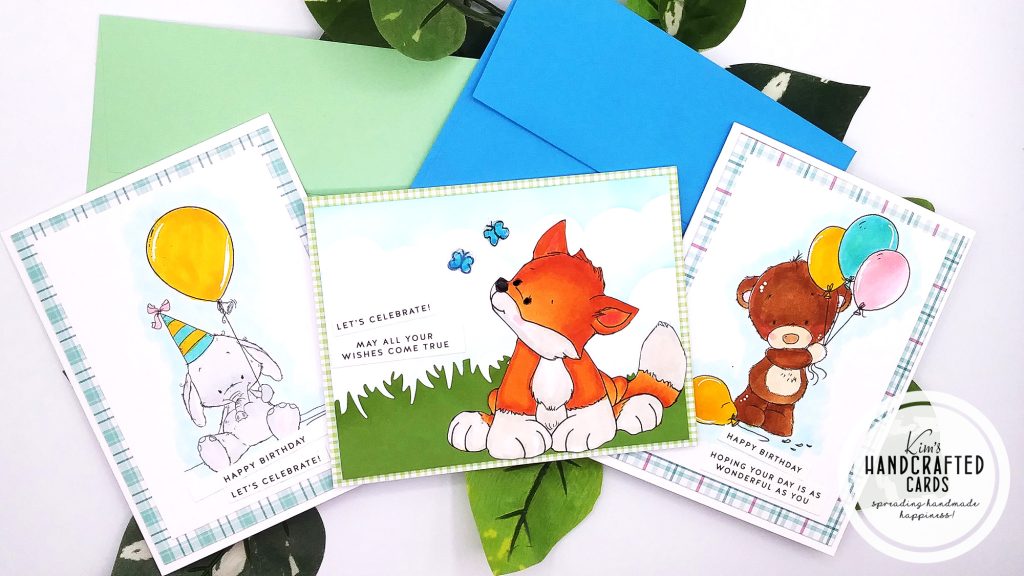
So, I started searching for some critter digital stamps that I could practice my Copic Coloring. This post is part of my “Practicing my Copic Coloring” series and if you’d like to follow my journey, click here to see earlier posts. I found a few on Etsy that I purchased and also Whimsy Stamps has a whole section of digital images available on their website. I bought a cute fox image!!
I colored all my images on 80 lb. cardstock for these cards. Usually, I use 100 lb., but I’m trying out some different cardstocks to compare.
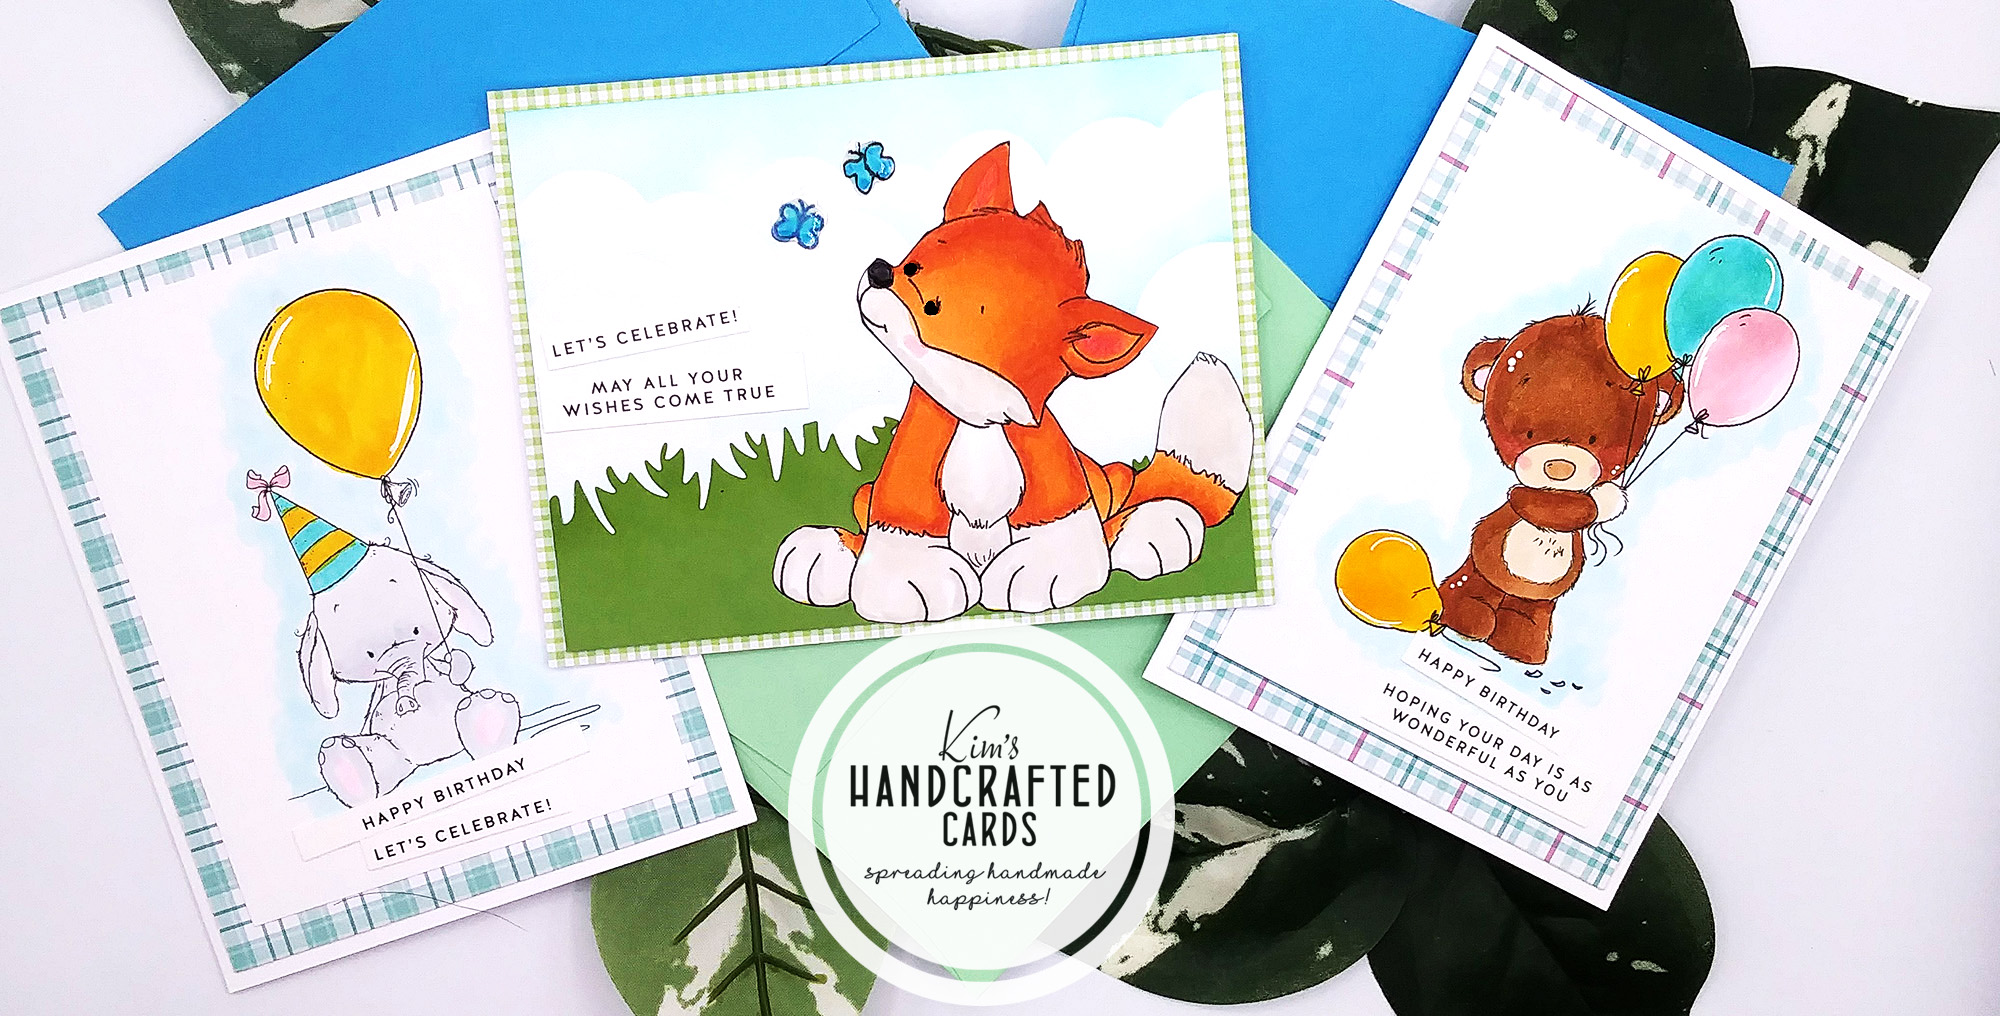
Is he just adorable?????!!! The fox image actually comes with autumn leaves but I just fussy cut around those to just display him. I love that all I had to do was print him out on my Canon, color him and cut him out with my favorite fussy cut scissors. Also, I used my Memento Black Dual Marker to color the edges of the die cut so that no white would show from the cardstock.
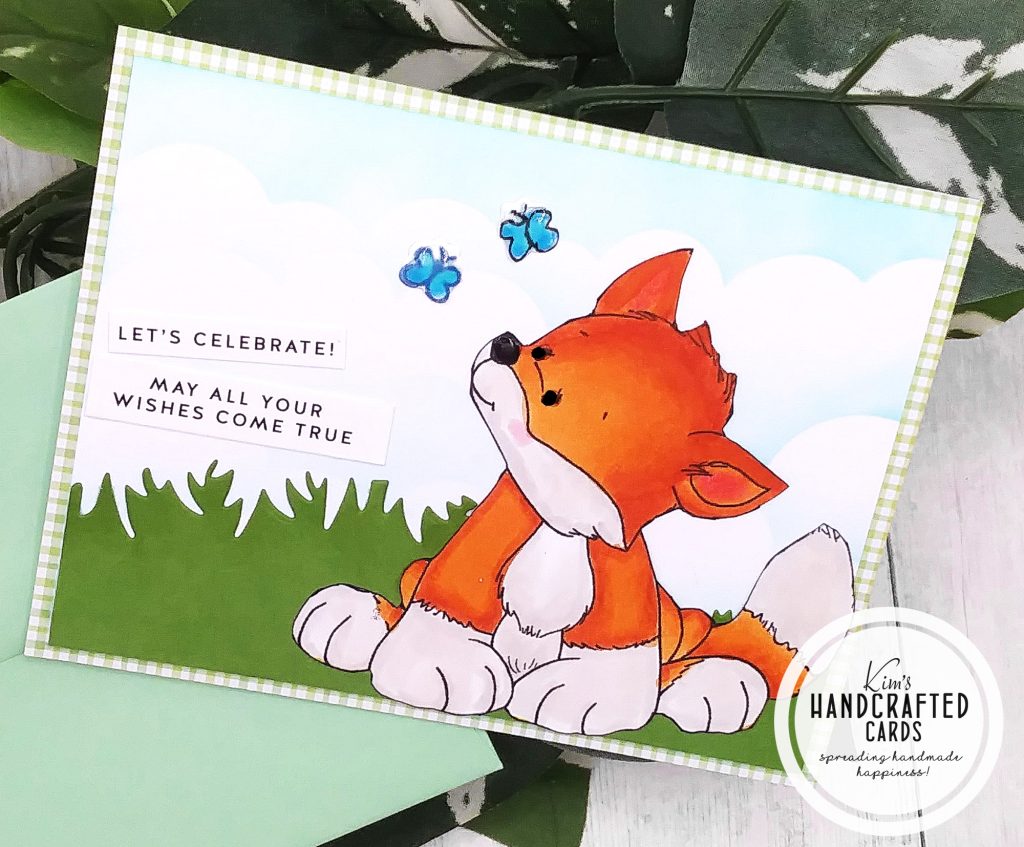
The Copic colors I used were: YR18, YR14 and YR12. For his tail, face, paws and belly, I used a combo of E40 and C01 with a little Colorless blending. His nose I just used the 100 black and for his cheek and inner ears, RV11 and RV14. I added some Nuvo Crystal Glaze to the butterflies and the fox’s eyes.
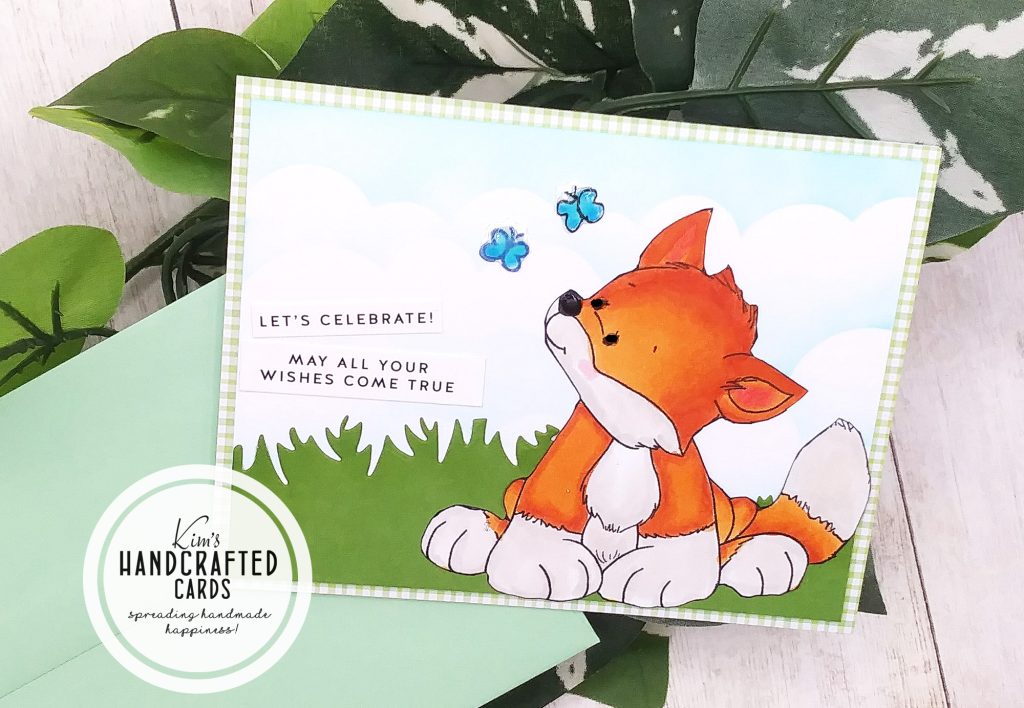
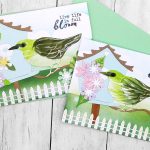
I borrowed a few products to build my scene. I used a grass die set from AZ, Simon Says Stamp’s “Clouds for Days” stencil and the butterflies are from Lawn Fawn’s “Wild for You” stamp/die set. I stamped, colored the butterflies with BG14 and BG12 and die cut them out.
I did some ink blending on my grass with Simon’s “Pearfection” Pawsitively Saturated Inks, for the clouds I went with “Surf”. Then, I trimmed my panel to 5-1/2″ x 4″. The pattern paper measures A2 size (landscape).
The sentiments on all 3 cards are from Simon’s Birthday Sentiment Strips pack!
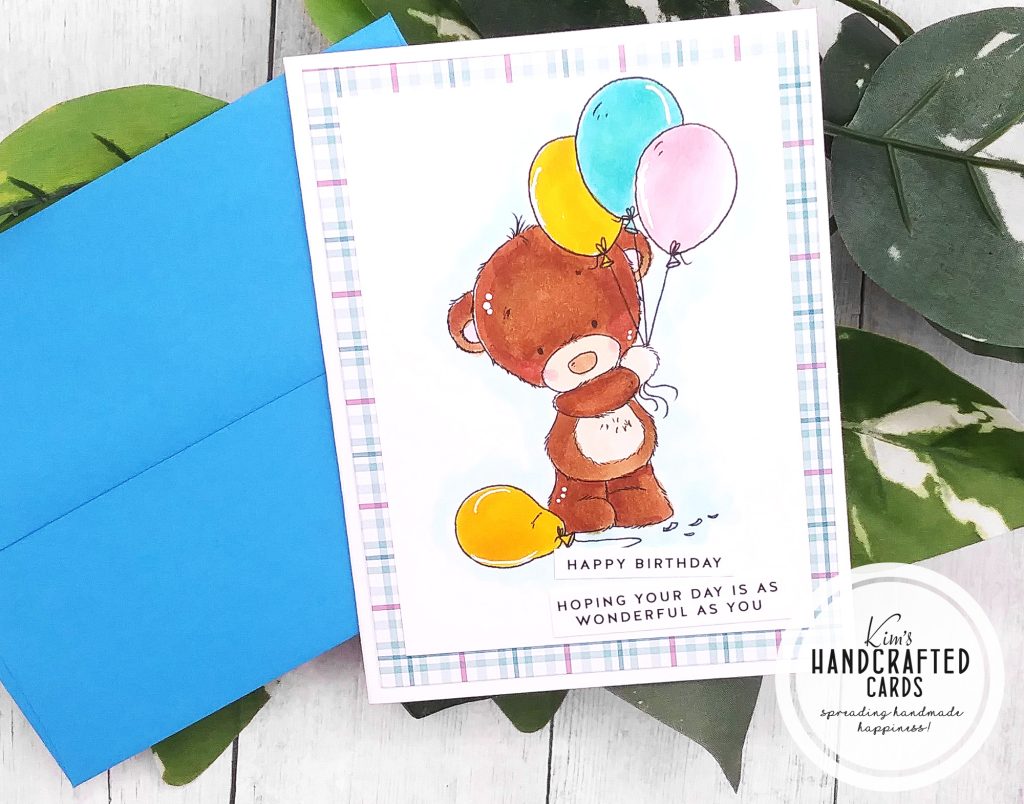
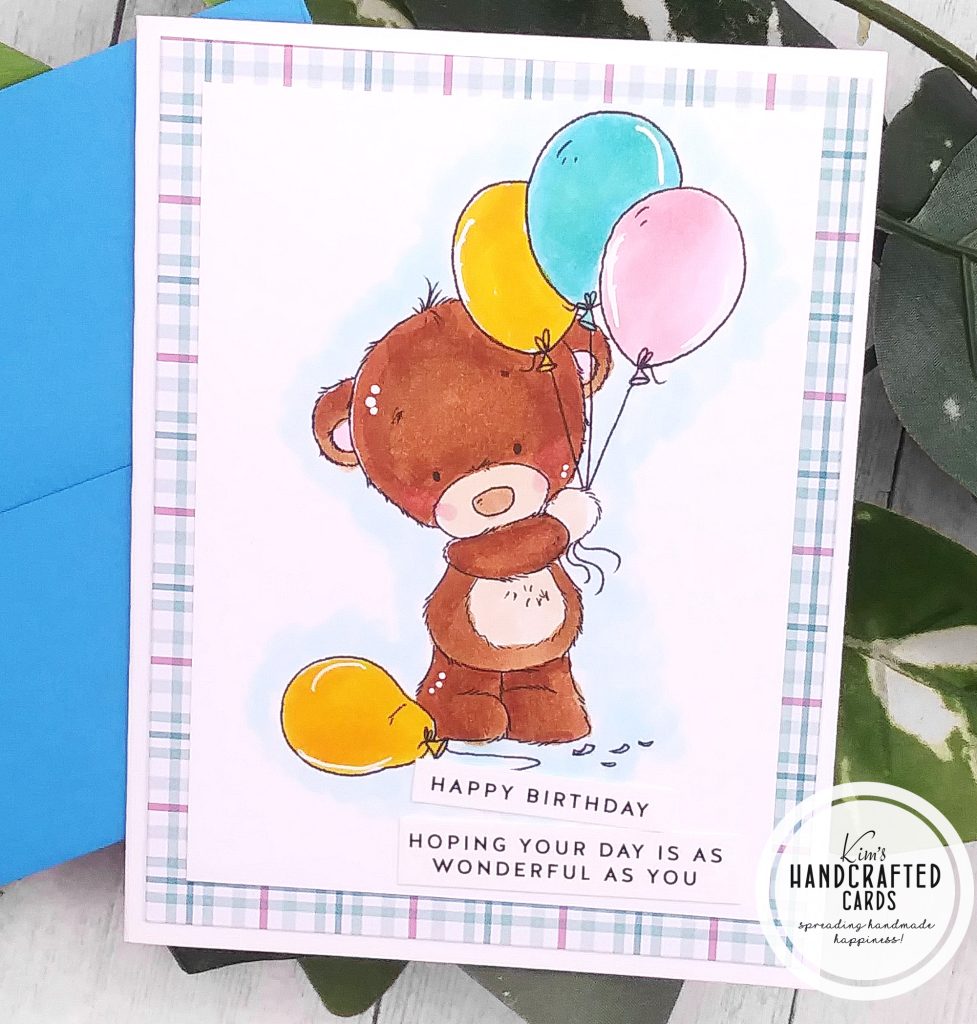
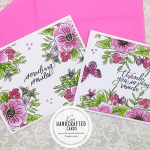
This cutie bear I colored with E30, E33, E35, E37 and E39. I added accents with my #10 White Jelly Roll pen and my black Faber-Castell Pitt Artist pen (small). For his inner ears and cheeks, used RV11. E30 is what I used on his belly, paw and muzzle.
For the balloons, I colored with RV11 RV13 (pinks), BG11, BG13 and BG45 (teals) and Y18 and Y19 (yellows).
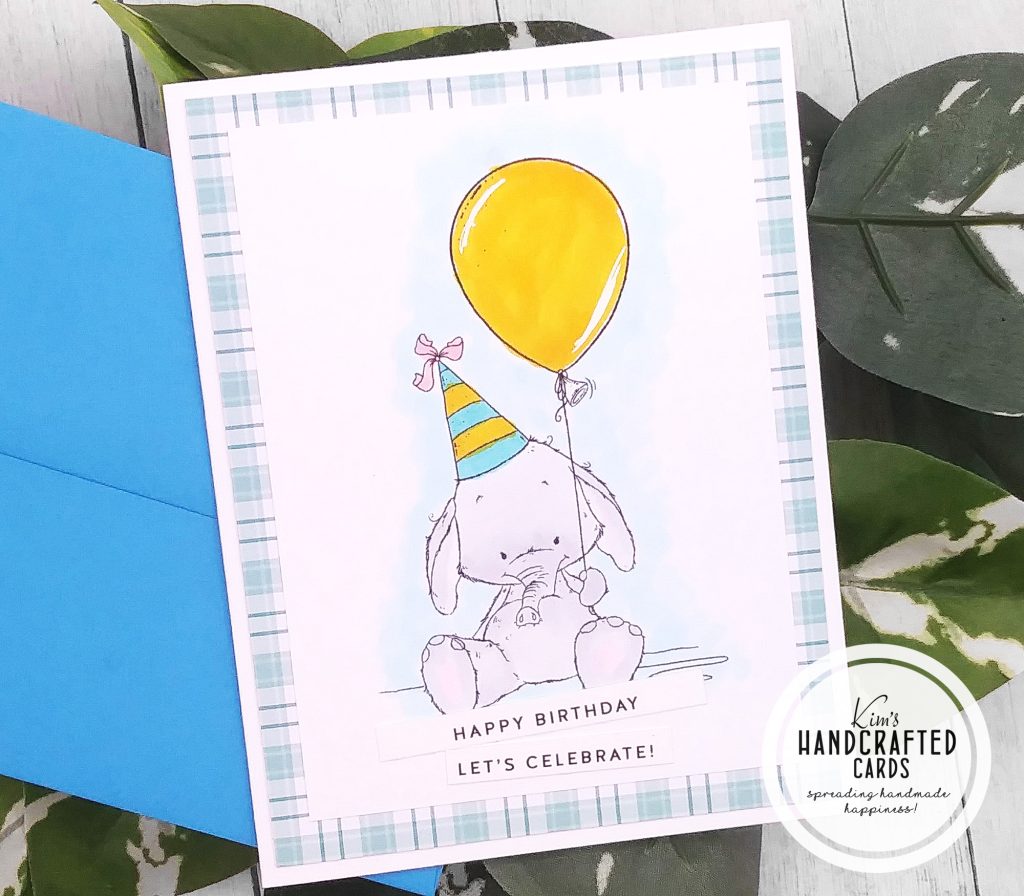
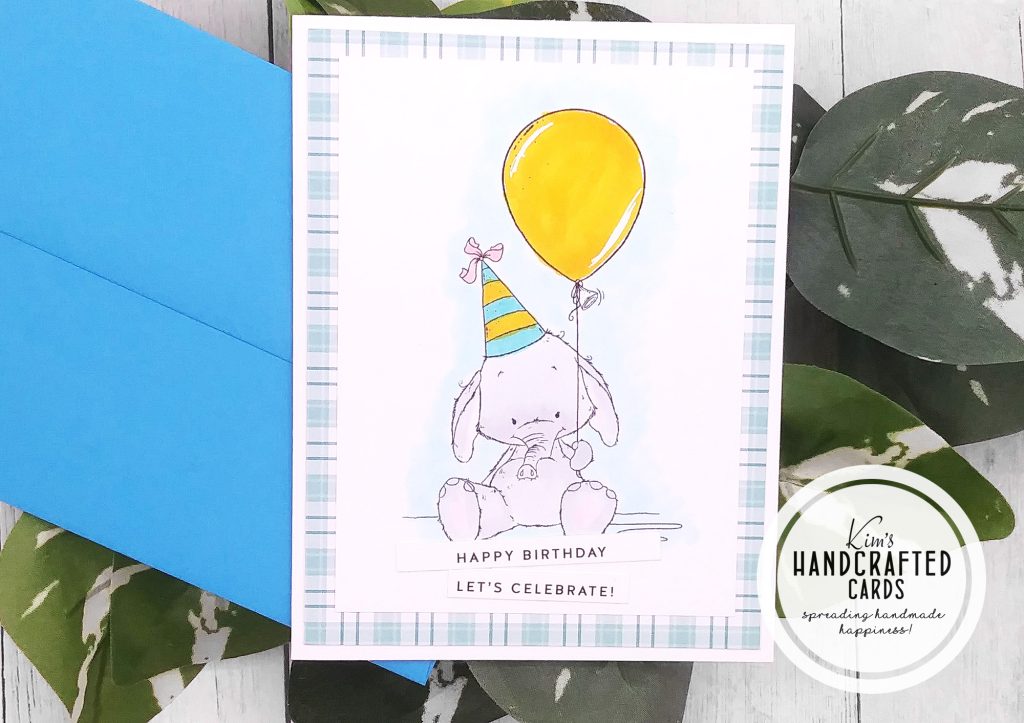
For my elephant, I went with a cooler palette. I used C01 and C00, B000 for the background. For his birthday hat, I used BG13, Y18 and RV11. The balloon, Y18 and Y19. Again, added accents with my white jelly roll pen.
I trimmed my elephant and bear panels to 3-1/2″ x 4-3/4″. The pattern papers for these 2 cards was trimmed to 4″ x 5-1/4.
NOTE: you will probably see imperfections with my coloring like going outside the lines, I use my colorless blender a lot but sometimes I miss certain spots. I do not color perfect for sure. Please understand, I’m still new at this!
Handmade cards aren’t made to be perfect and that’s the charm of them!
If you’re wondering if I’m going to give up buying regular stamps and dies, don’t fear! I will continue purchasing them. It’s just great to have other options and to save money too.
I love how all 3 cards came out and I enjoy coloring. I find it relaxing and sometimes I just color images. I don’t try to turn them into a card right away. And I keep extra colored images in an envelope to use for future cards. So onward I go!

- Whimsy Stamps “Autumn Fox Kit” Digital Stamp
- Lee Holland Art (Etsy shop), “Teddy with Balloons” Digital Stamp
- Lee Holland Art (Etsy shop), “Elephant with Party Balloon” Digital Stamp
- Copic Sketch Markers here, here or here
- Copic #0 Colorless Blender here or here
- Memento “Tuxedo Black” Ink
- My Favorite Things “Pretty in Plaid” Pattern Paper Pack
- Simon Says Stamp Send Happiness “Birthday” sentiment strips
- Simon Says Stamp “Clouds for Days” stencil
- Lawn Fawn “Wild for You” Stamp Set
- Lawn Fawn “Wild for You” Coordinating Die or get the bundle here
- Simon Says Stamp Pawsitively Saturated Ink Collections
- KSCRAFT Slimline Grass Die Set
- Faber-Castell Pitt Artist Black Pen
- White #10 Gelly Roll Pen
- EK Tools Precision Scissors (great for fussy cutting)
- Neenah 80 lb. Classic Crest Solar White cardstock
- Accents 100 lb. White Cardstock
- Bearly Art Glue
- Nuvo Crystal Glaze
- Memento Dual Marker
- Blending Brushes, large size here, tiny size here