I am the first to admit that I’m not comfortable nor confident coloring. I enjoy it, but I’m never happy with my results and because my schedule is so busy, there’s not enough time to practice.
However, something incredible happened just yesterday! It was Sunday and I took the day off to craft. Of course, I was watching YT tutorials and saw Kristina Werner’s video for Simon Says Stamp where she colored these cute snowmen. The card she made was beautiful as always! You can Watch her video here!
Anyhoo, I have a similar stamp set from Simon’s 2019 “Stamptember” event where they collaborated with Picket Fence. Unfortunately, this was a limited edition set and no longer available however, the set Kristina used is from Simon’s January 2022 card kit which is available and I’ll link to that in the “Shop this Post” section at the bottom of this post.
This is the stamp set I used from Simon’s 2019 Stamptember Collaboration with Picket Fence. I stamped 3 of the snowmen with Memento black ink from this set for my 2 cards.

I don’t have all the Copic markers Kristina used but, I have some markers that were close to the colors she used. One thing I did differently what I decided to color just for fun. Never thought I’d make any cards, I just wanted to color and wouldn’t you know it?! My little snowmen came out so adorable!!!!! I was shocked, surprised; did a happy dance too!
I didn’t have dies for my snowmen and can’t remember if coordinating dies were available at the time so I fussy cut them out, something else I’m bad at! In fact, I spent more time fussy cutting than coloring LOL!
The Copic colors I used are (from lightest to darkest):
Snowmen’s bodies – B000
Scarf (middle snowman) & Hats:
- BG11
- BG13
- BG09
Scarf & trim on hat (left snowman)
- RV34
- V05
Scarf (right snowman):
- B14
- B18
- B39
Snowmen’s noses:
- YR14
- E99
For their buttons, I just enhanced them by tracing over them with my Faber-Castell PITT Artist Pen and added a little accent with my white Gelly Roll #10 pen.
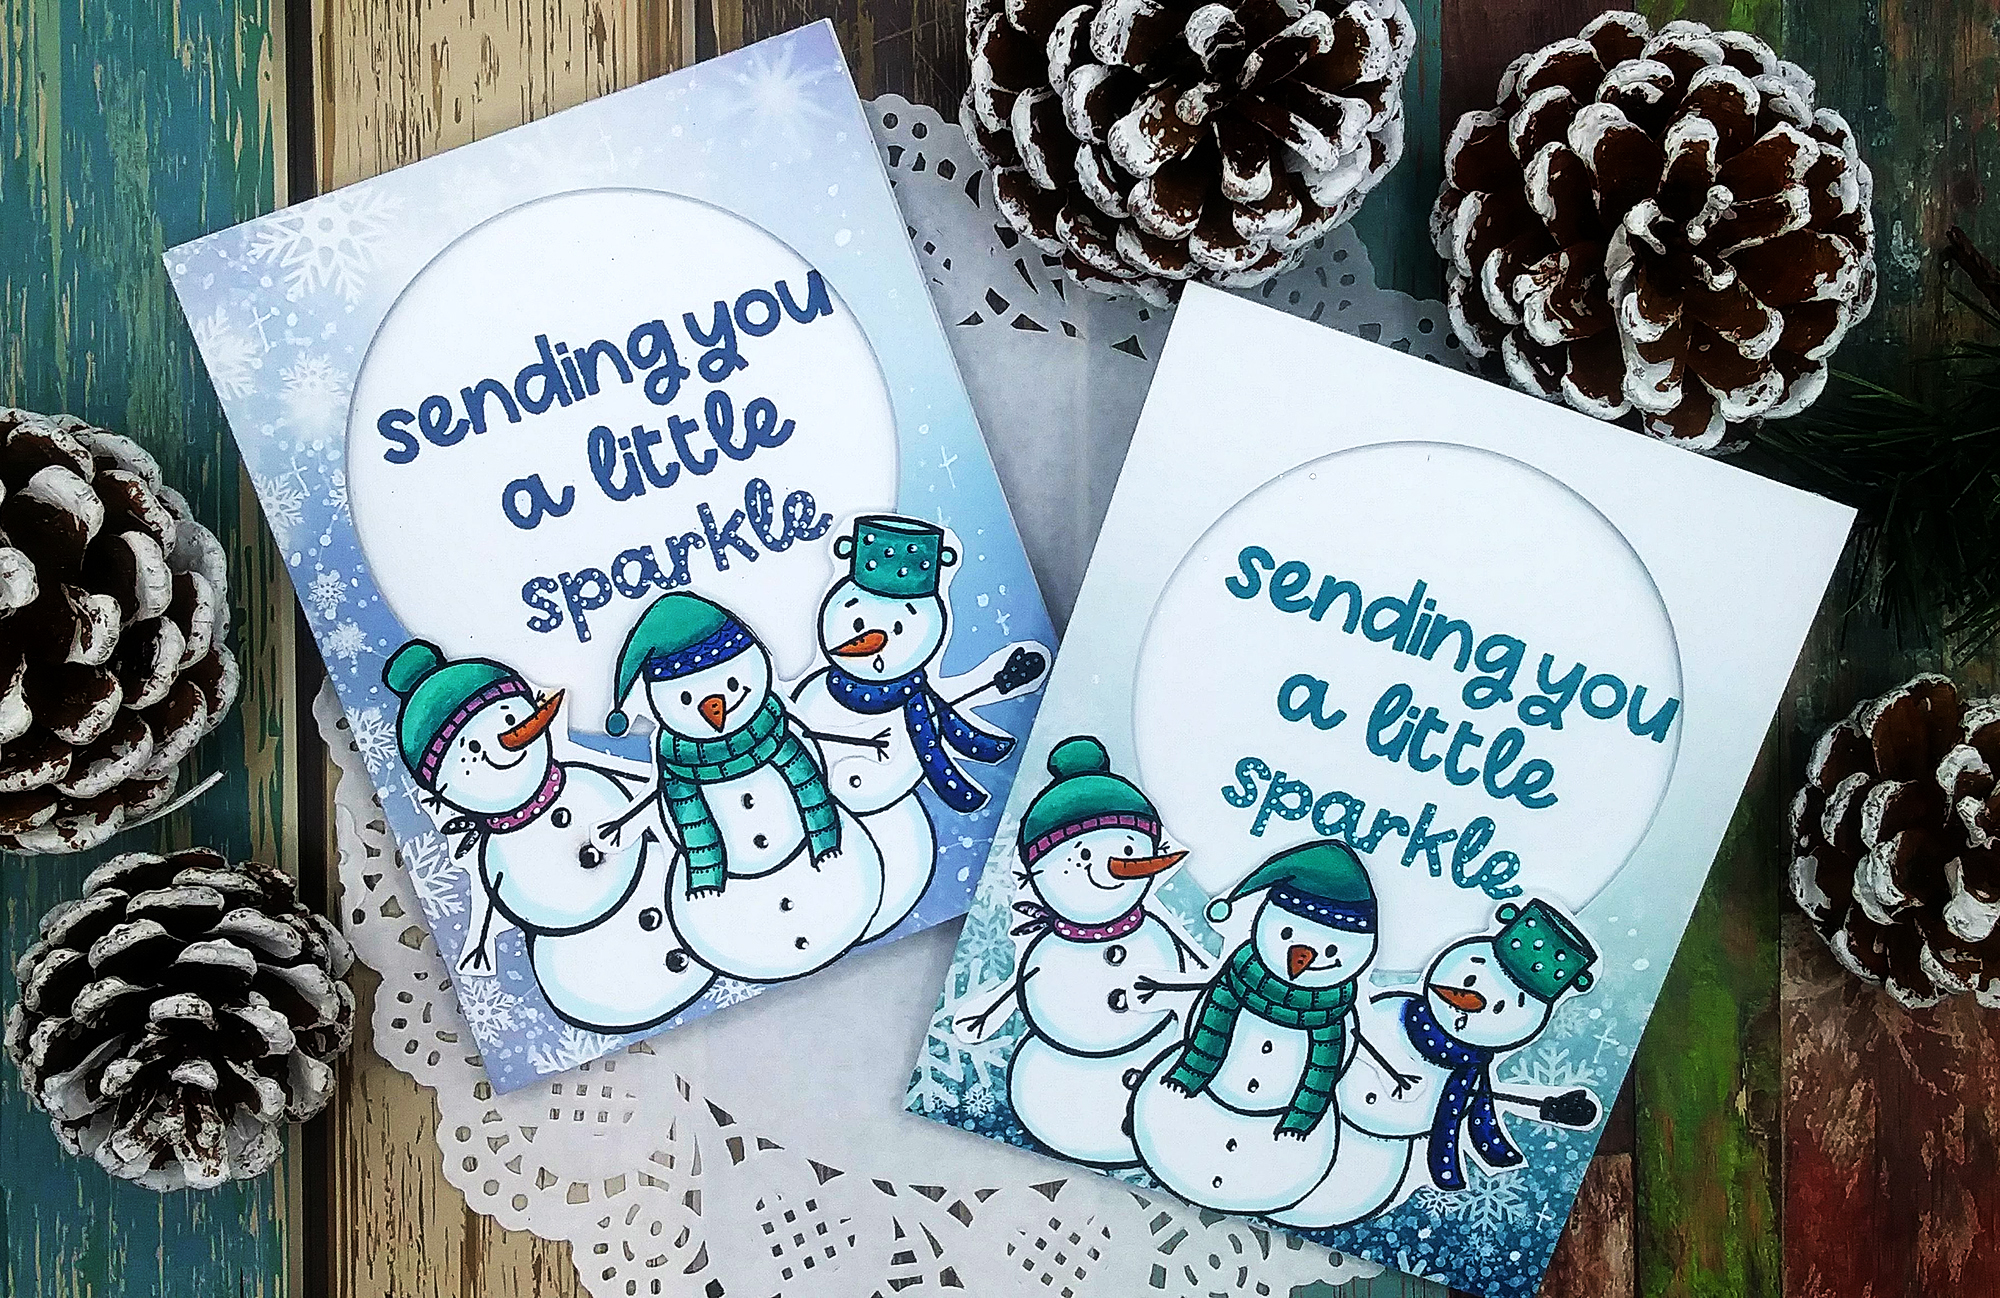
For my backgrounds, I went with Whimsy Stamps “Blurry Flurries” pattern papers. If you’ve been following me, you know how much I LOVE this paper pack. I’ve bought it about 4 times!
I used a circle die on the pattern papers so that I could stamp a sentiment on white cardstock underneath. I also added double-sided foam adhesive for dimension.
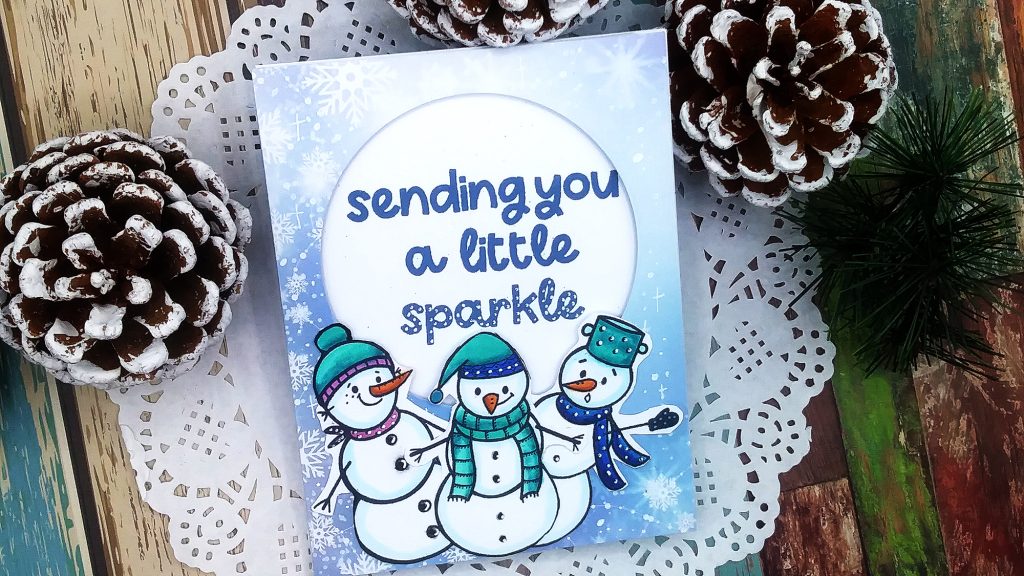
I love to add details with my white gelly roll pen by drawing stars and more snowflakes. I also added detail to my snowmen’s scarves, hats and even the buttons.
Now, let me tell you about the sentiment and also a mistake I made. First, the sentiment is from Mama Elephant. However, I had to do a little stamp surgery to make it fit inside the circle die cut. I practiced stamping it to ensure I had enough space and all was good, however…. when I placed my card panel over it, I noticed it was off center. But, I wasn’t starting over and I think it’s still cute, so I left it alone. Not sure it would be that noticeable to others except me!
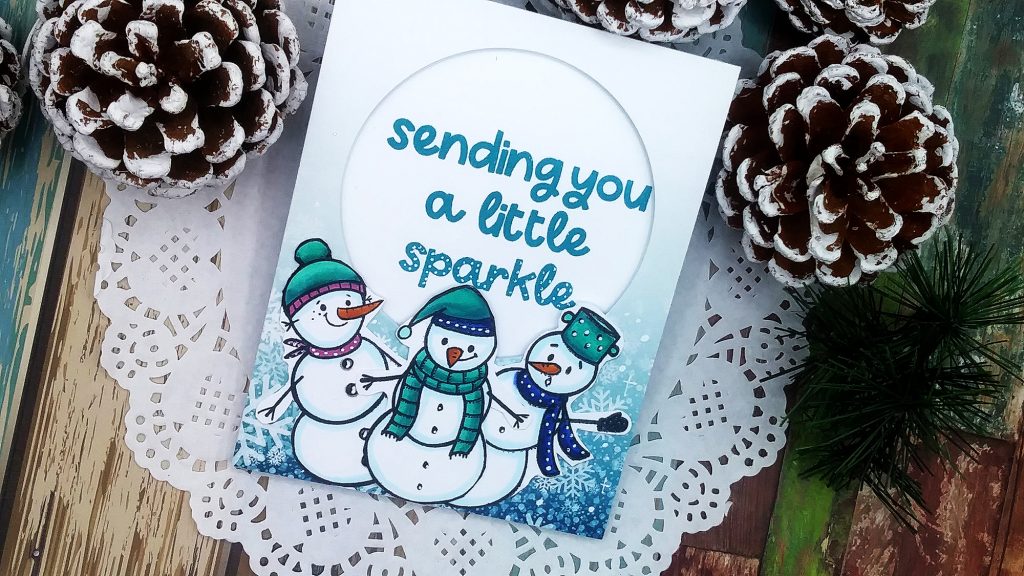
Also, I added some dots to the “Sparkle” part of the sentiment with my white Gelly Roll pen. I think it’s those extra touches that really makes a card project stand out.

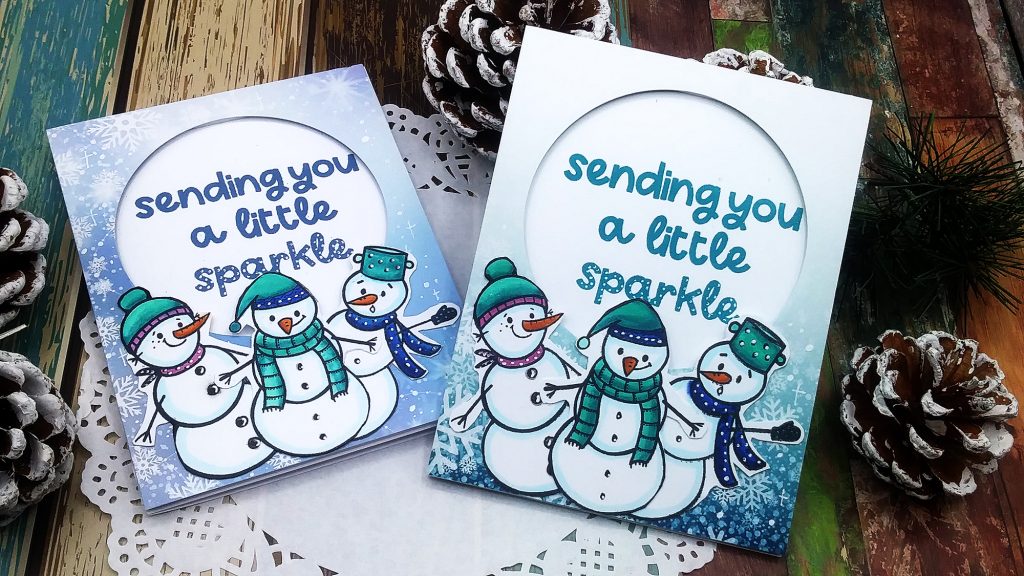
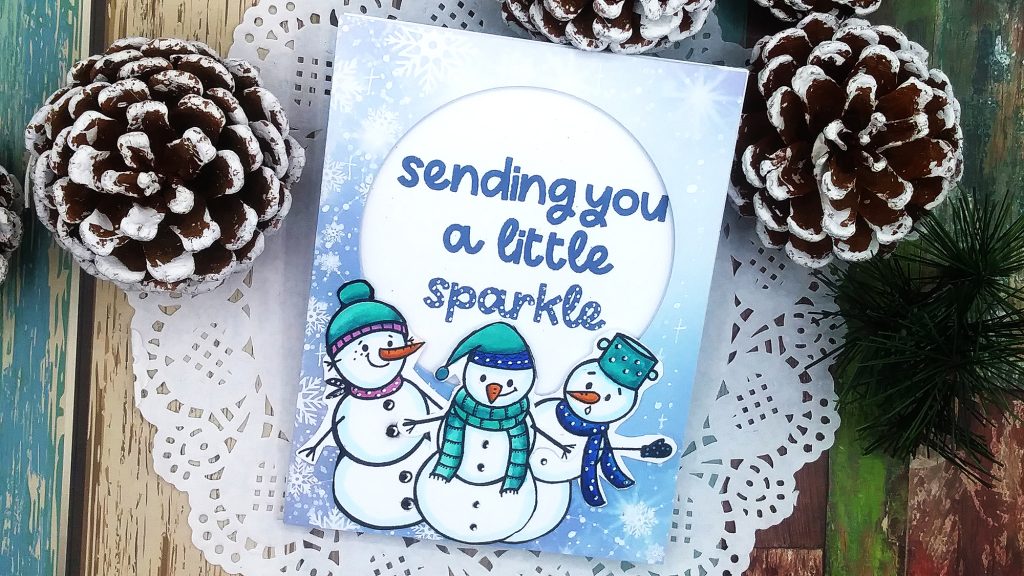
Finally, it was time to place my snowmen and I played around with that for awhile until I was happy. I just glued them down because there was already enough dimension under the card panel. I LOVE how these 2 cards turned out! You just never know where inspiration will come from and I’m so happy I saw Kristina’s video and decided to color just for fun!

- Simon Says Stamp “Warmest Wishes” stamp set (the set Kristina used); coordinating dies available combo or get the dies separately here
- Whimsy Stamps “Blurry Flurries” Pattern Paper Pack
- Mama Elephant “Everything Nice” Stamp set; Die set here
- White #10 Gelly Roll Pen
- Faber-Castell Pitt Artist Black Pen
- Copic Sketch Markers here, here or here
- Waffle Flower Crafts “Additional Circles” Nested Dies
- Memento “Tuxedo Black” Ink