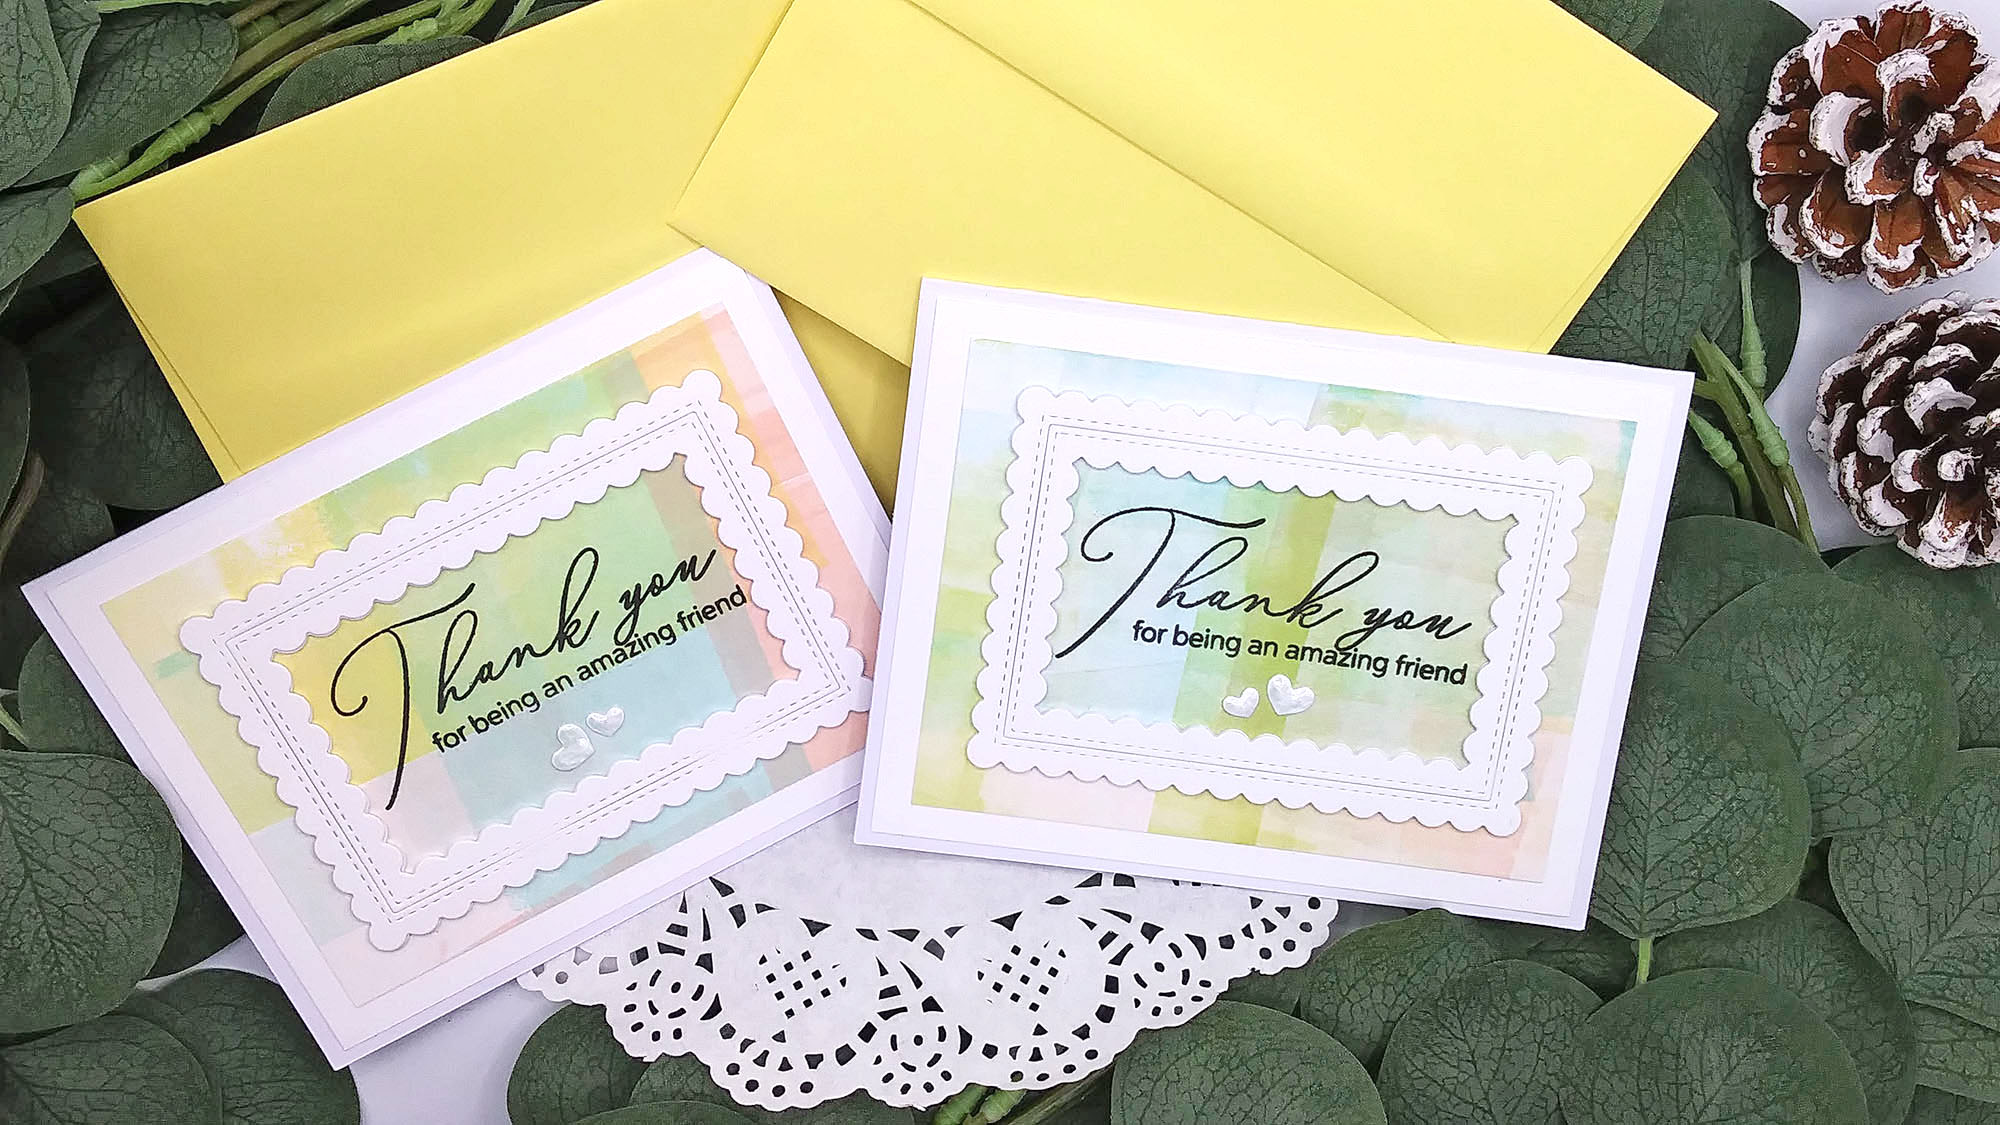
Jennifer McGuire recently posted a YT video making card backgrounds using a brayer and ink without a gel press and I just had to try it. I ended up making 10 backgrounds cause the technique is so easy and quick. Be sure to catch her video here.
For my backgrounds for these 2 cards, I used Simon Says Stamp’s #1 Collection of Pawsitively Saturated inks and my smaller brayer (I have a link at the bottom for Simon’s #2 collection too, I am saving up for that!) You just run the ink onto the brayer and run it on the cardstock in different directions. I just played with the colors and overlapping them.
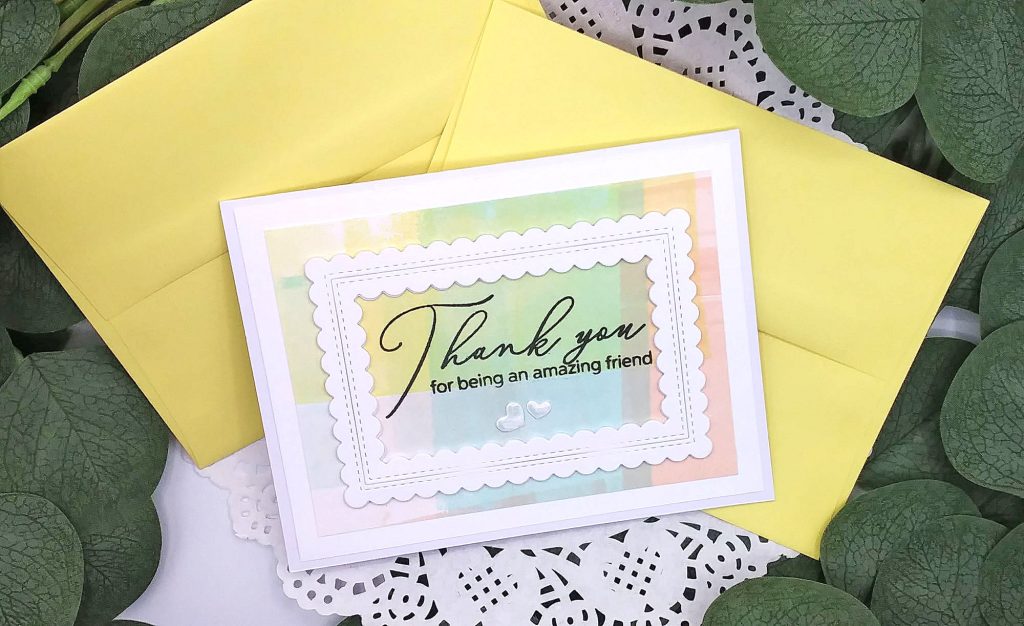
I LOVE how these colors mixed together for a soft look.
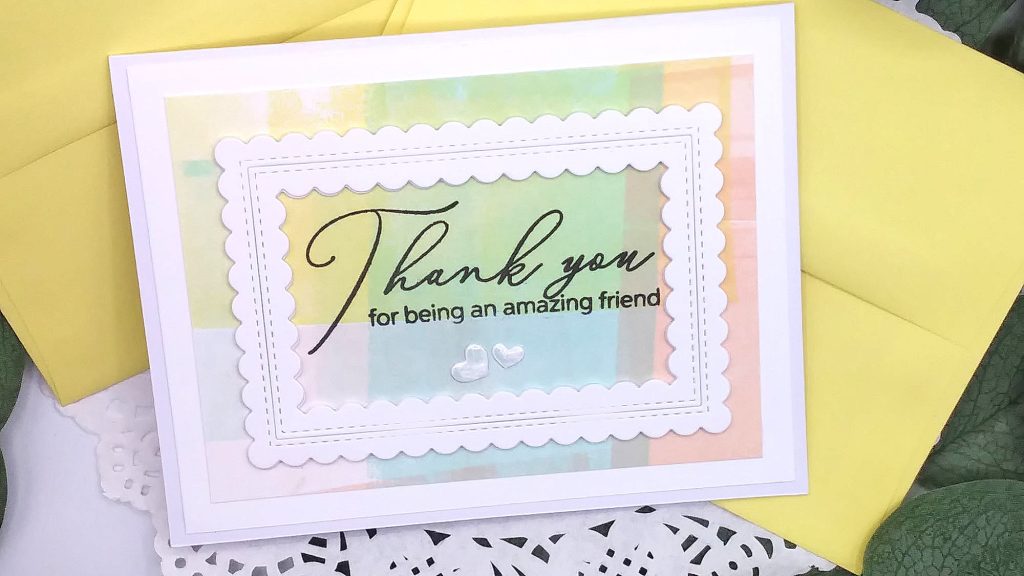
NOTE: I did wipe off my brayer in between changing colors.
I trimmed down my backgrounds to 3-1/2″ x 4-3/4″ and adhered them to white cardstock trimmed to 4″ x 5-1/4″ and then glued that to my card bases (decided to go for a landscape orientation).
The pretty scalloped border is from Pinkfresh Studio. That set comes with 2 sized borders and you can have inner and outer scallop edges OR just choose just an inner or outer as they come apart after die cutting. I die cut this 3 times and stacked them for dimension to compliment the sentiment.
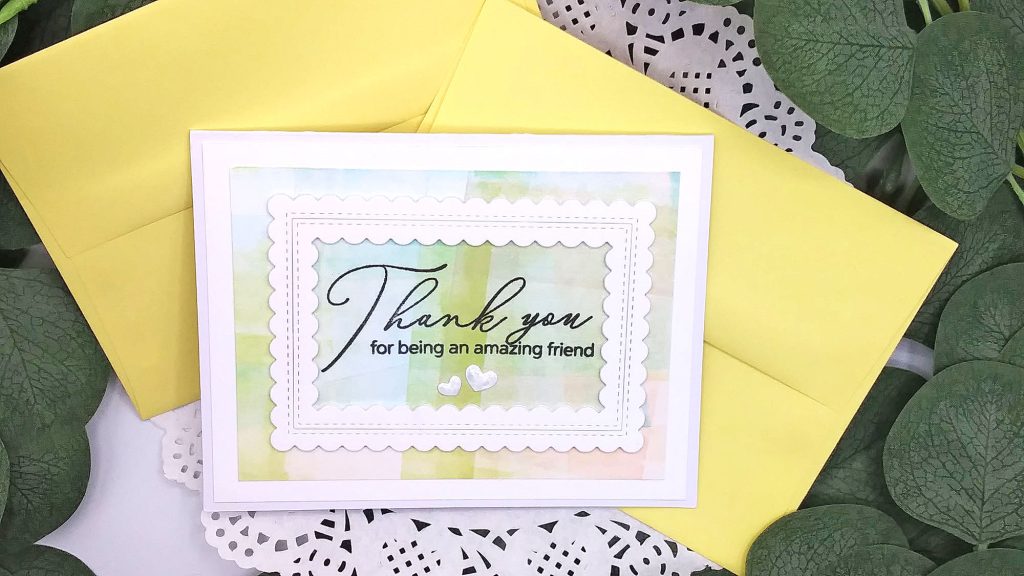
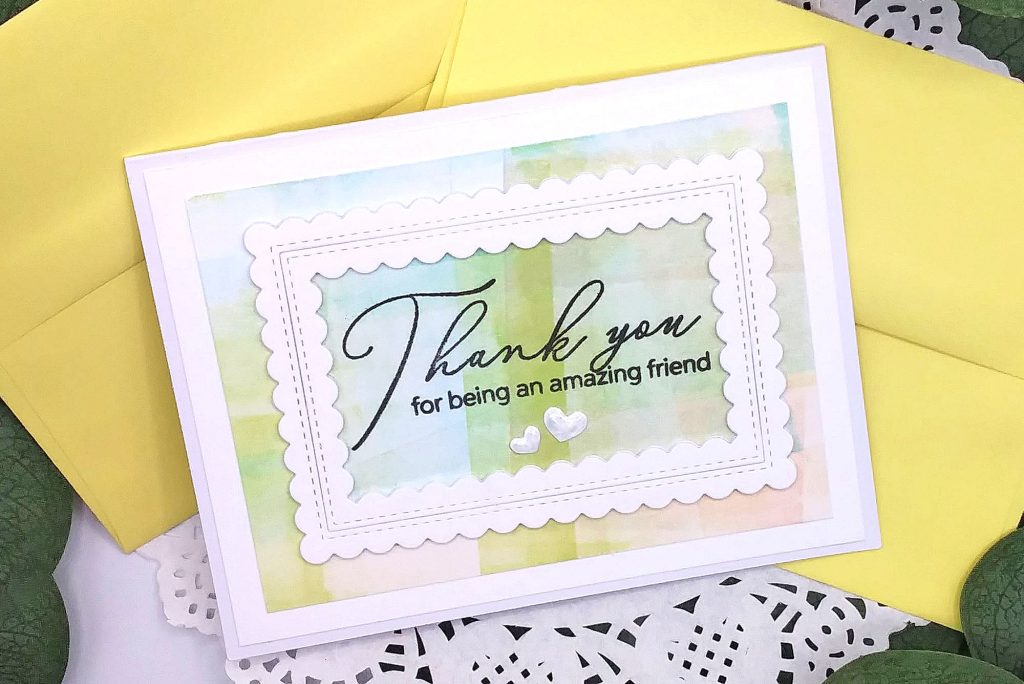
The sentiments comes from the Pinkfresh Studio “In the Meadow” stamp set. I stamped it with Simon’s Intense Black ink. Finally I added some hearts (Simon’s Mini Hearts Party Dies) topping them with Nuvo Dream Drops “Cloud” color. I think these turned out so pretty!

- Simon Says Stamp “Pawsitively Saturated Inks – Collection #1” for Collection #2 inks, click here
- Brayer (I bought mine on AZ), Tim Holtz has a couple of sizes here
- Pinkfresh Studio “Scallop” Frame Die Set
- Pinkfresh Studio “In the Meadow” Washi Tape/Stencil/Stamp/Die Bundle ~ Stamp set separately here
- Simon Says Stamps “Mini Hearts Party” die
- Simon Says Stamp “Intense Black” ink pad
- Nuvo Dream Drops Kit Bundle or separately

