Hey Crafties! For the longest time, I’ve wanted badly to learn to color with Copics. You wouldn’t believe how many videos I’ve watched, how many times I’ve practiced and failed! At one point, I just about gave up!
However, about a few months ago, it’s started to click in. This brings me to a memory I have of knitting with needles. I started loom knitting, but I wanted to knit traditionally with needles so I spent a year watching videos and only practicing the knit stitch. My hands and fingers finally got the hang of it and then I spent another year learning to purl. Eventually, I knitted hats, scarves and home décor items.
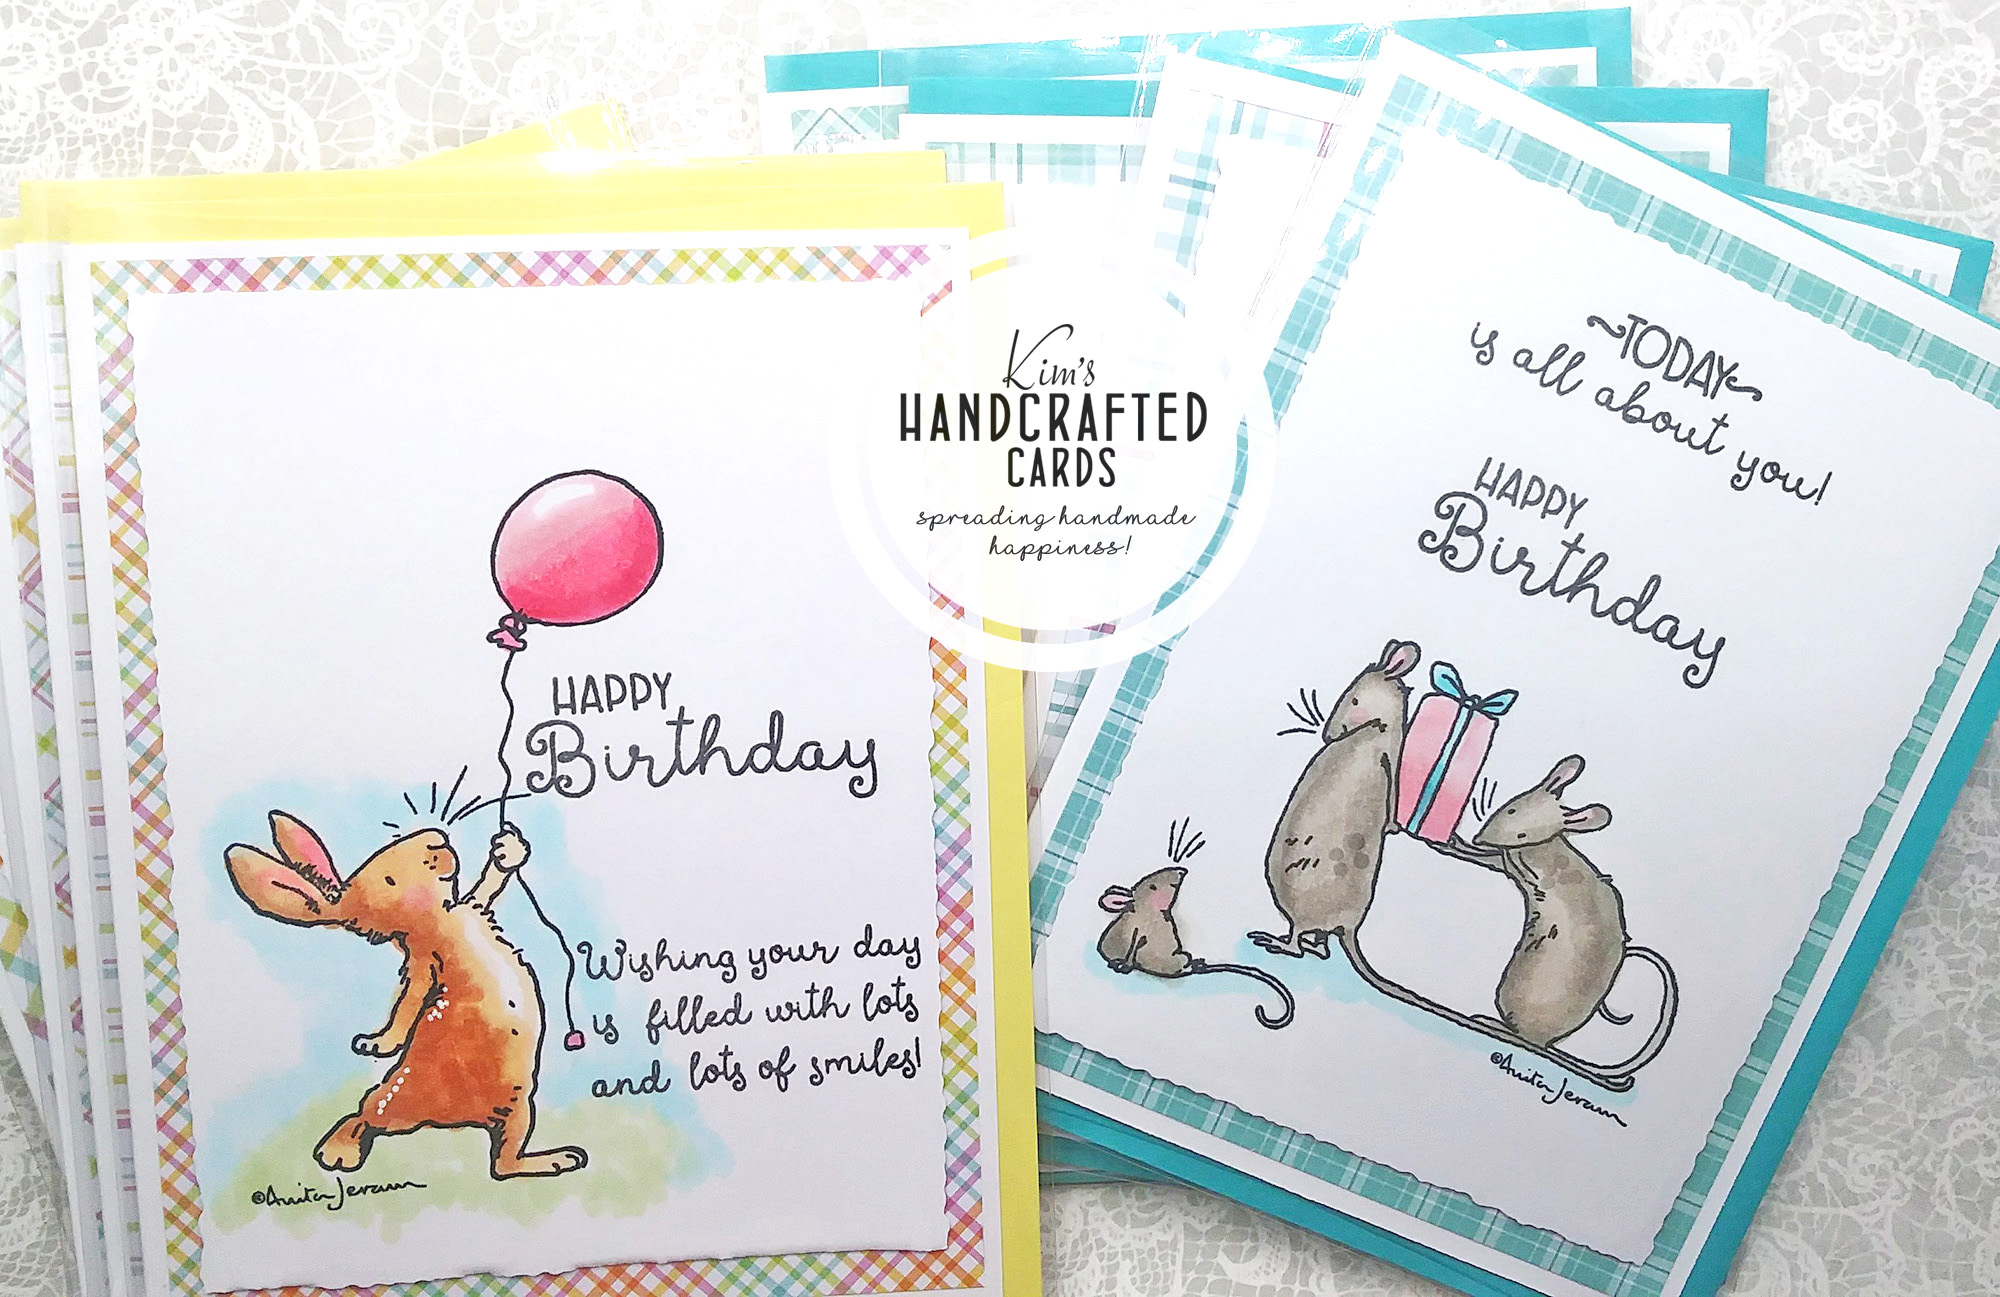
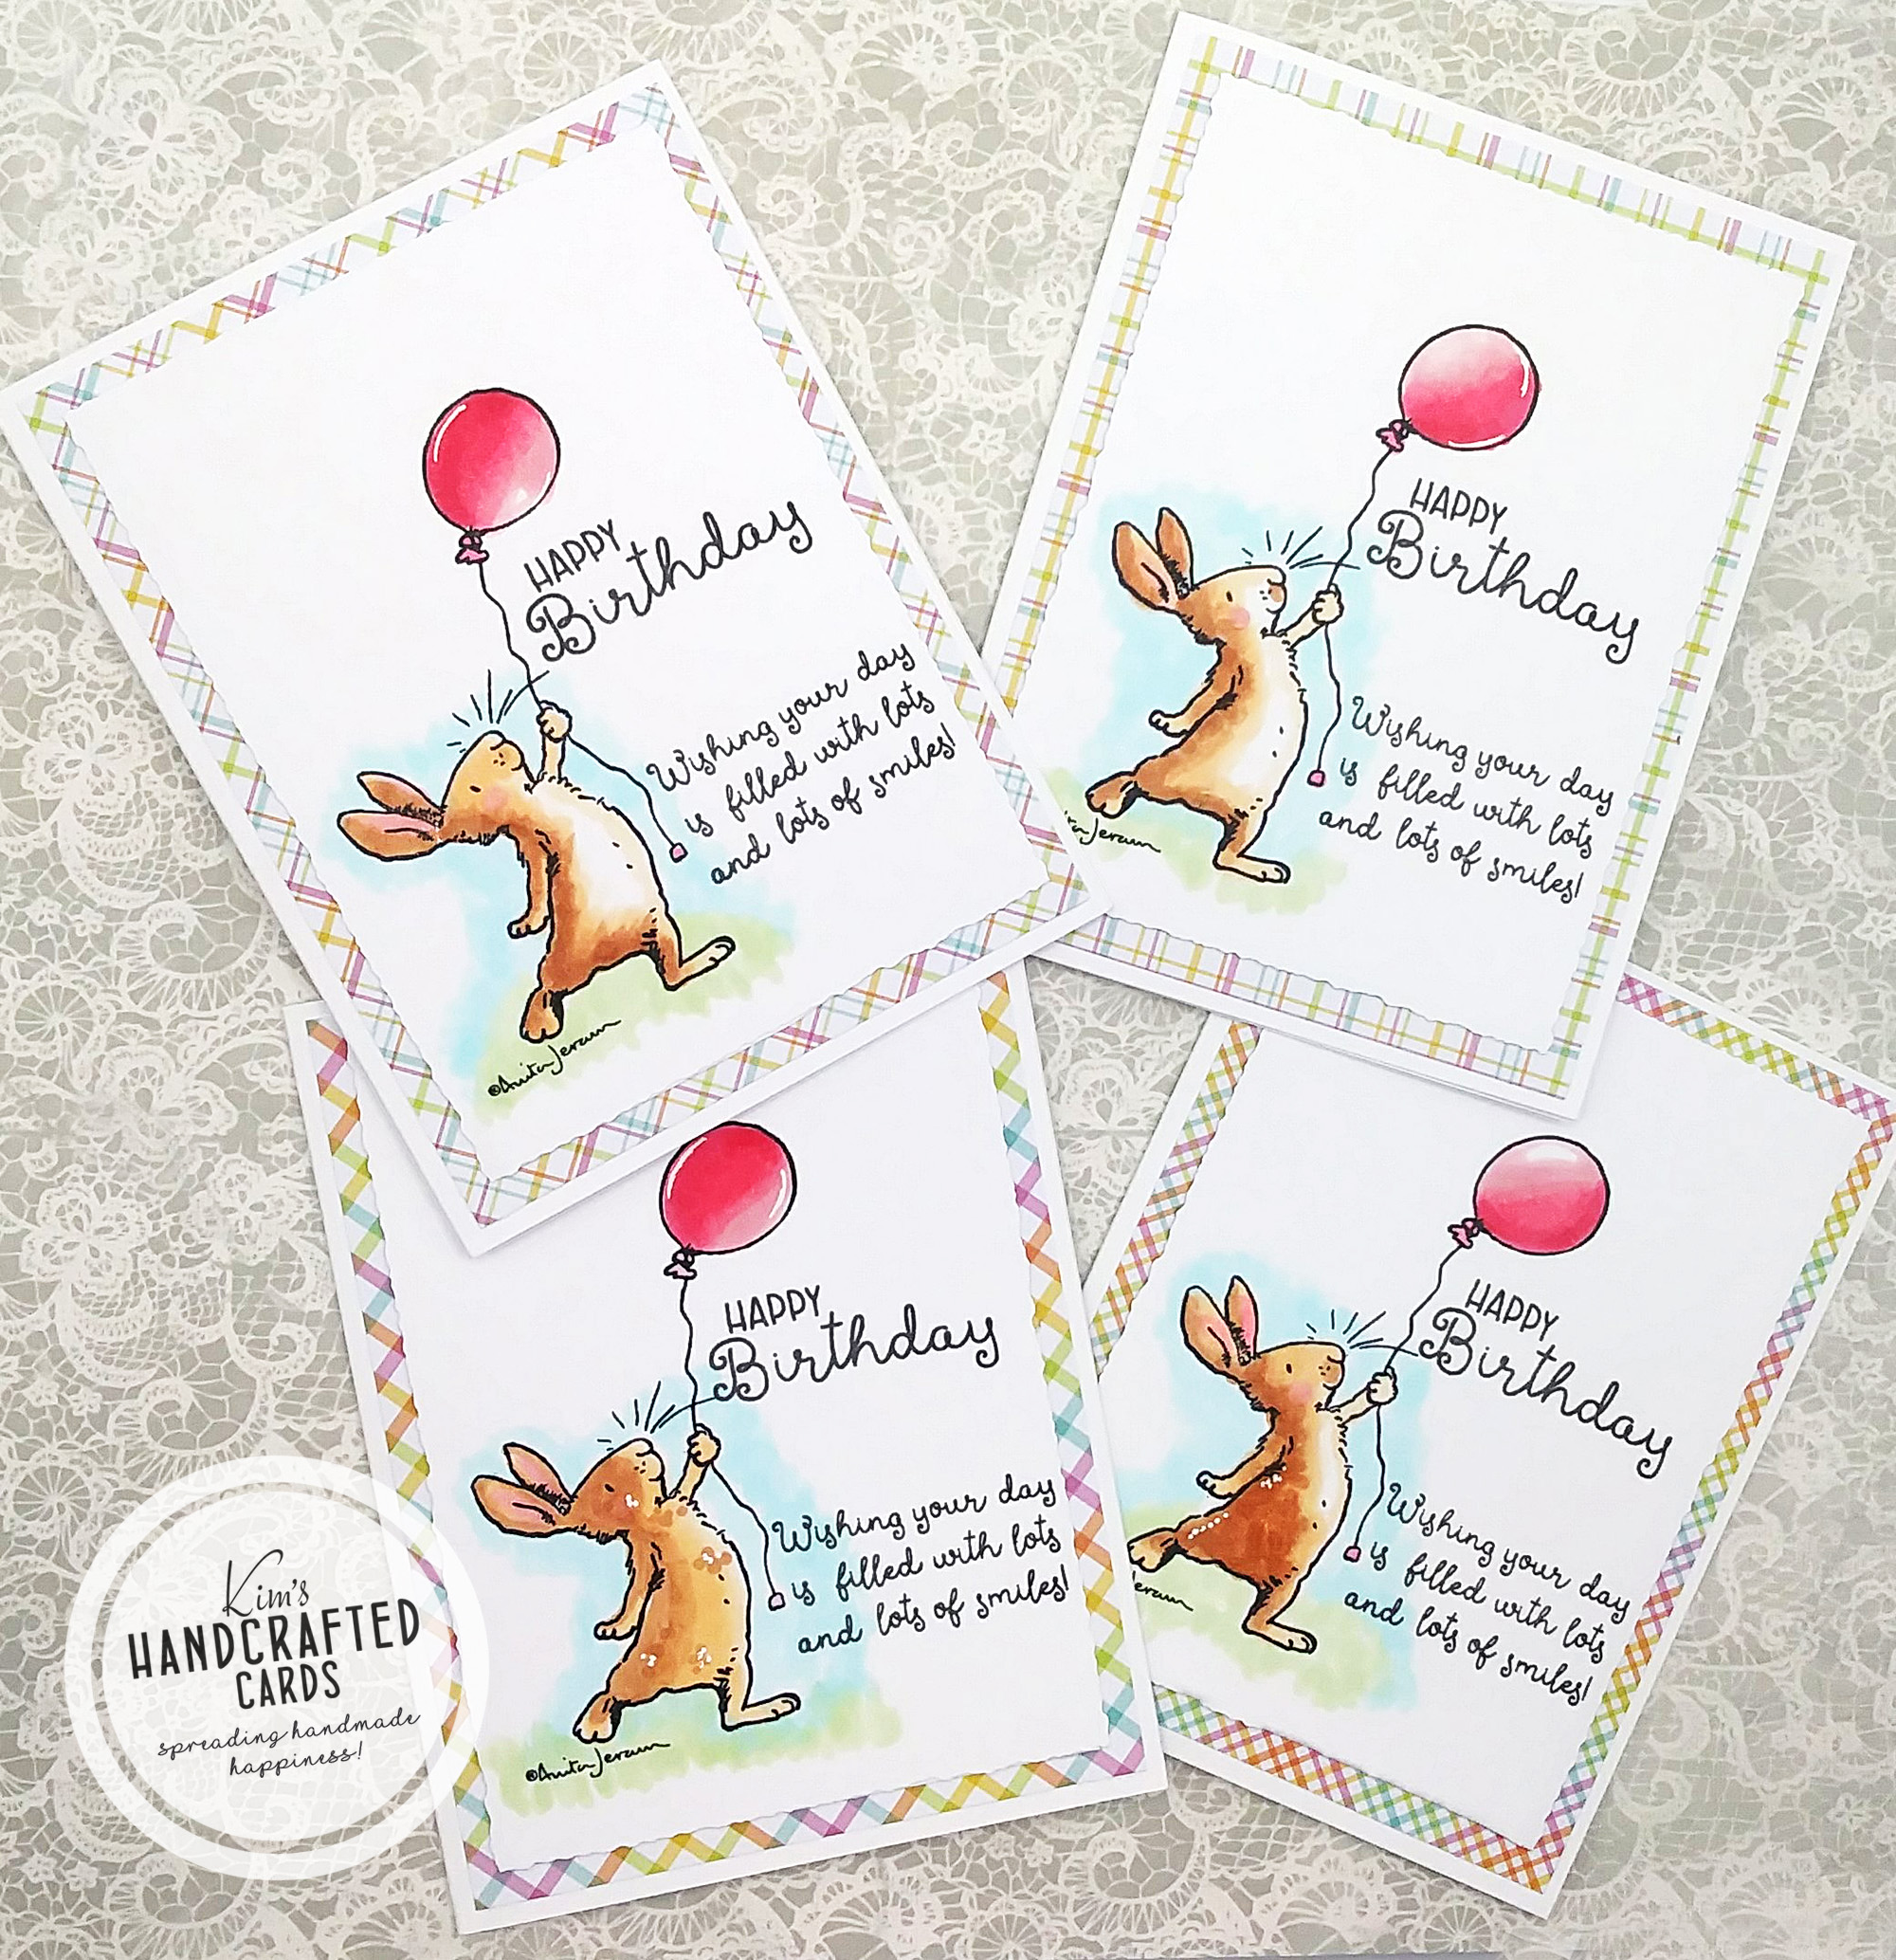
Copic coloring is a learning curve and it takes time and practice to really understand how the markers work and how to blend. In the meantime of learning, I’ve been building up my markers collection. Yesterday, I broke out a bunch of them to make some quick birthday cards. For this, I chose Colorado Craft Company’s “Birthday Wishing” with illustrations by Anita Jeram. The bunny is so cute!
To follow my Copic Coloring Journey, click here!
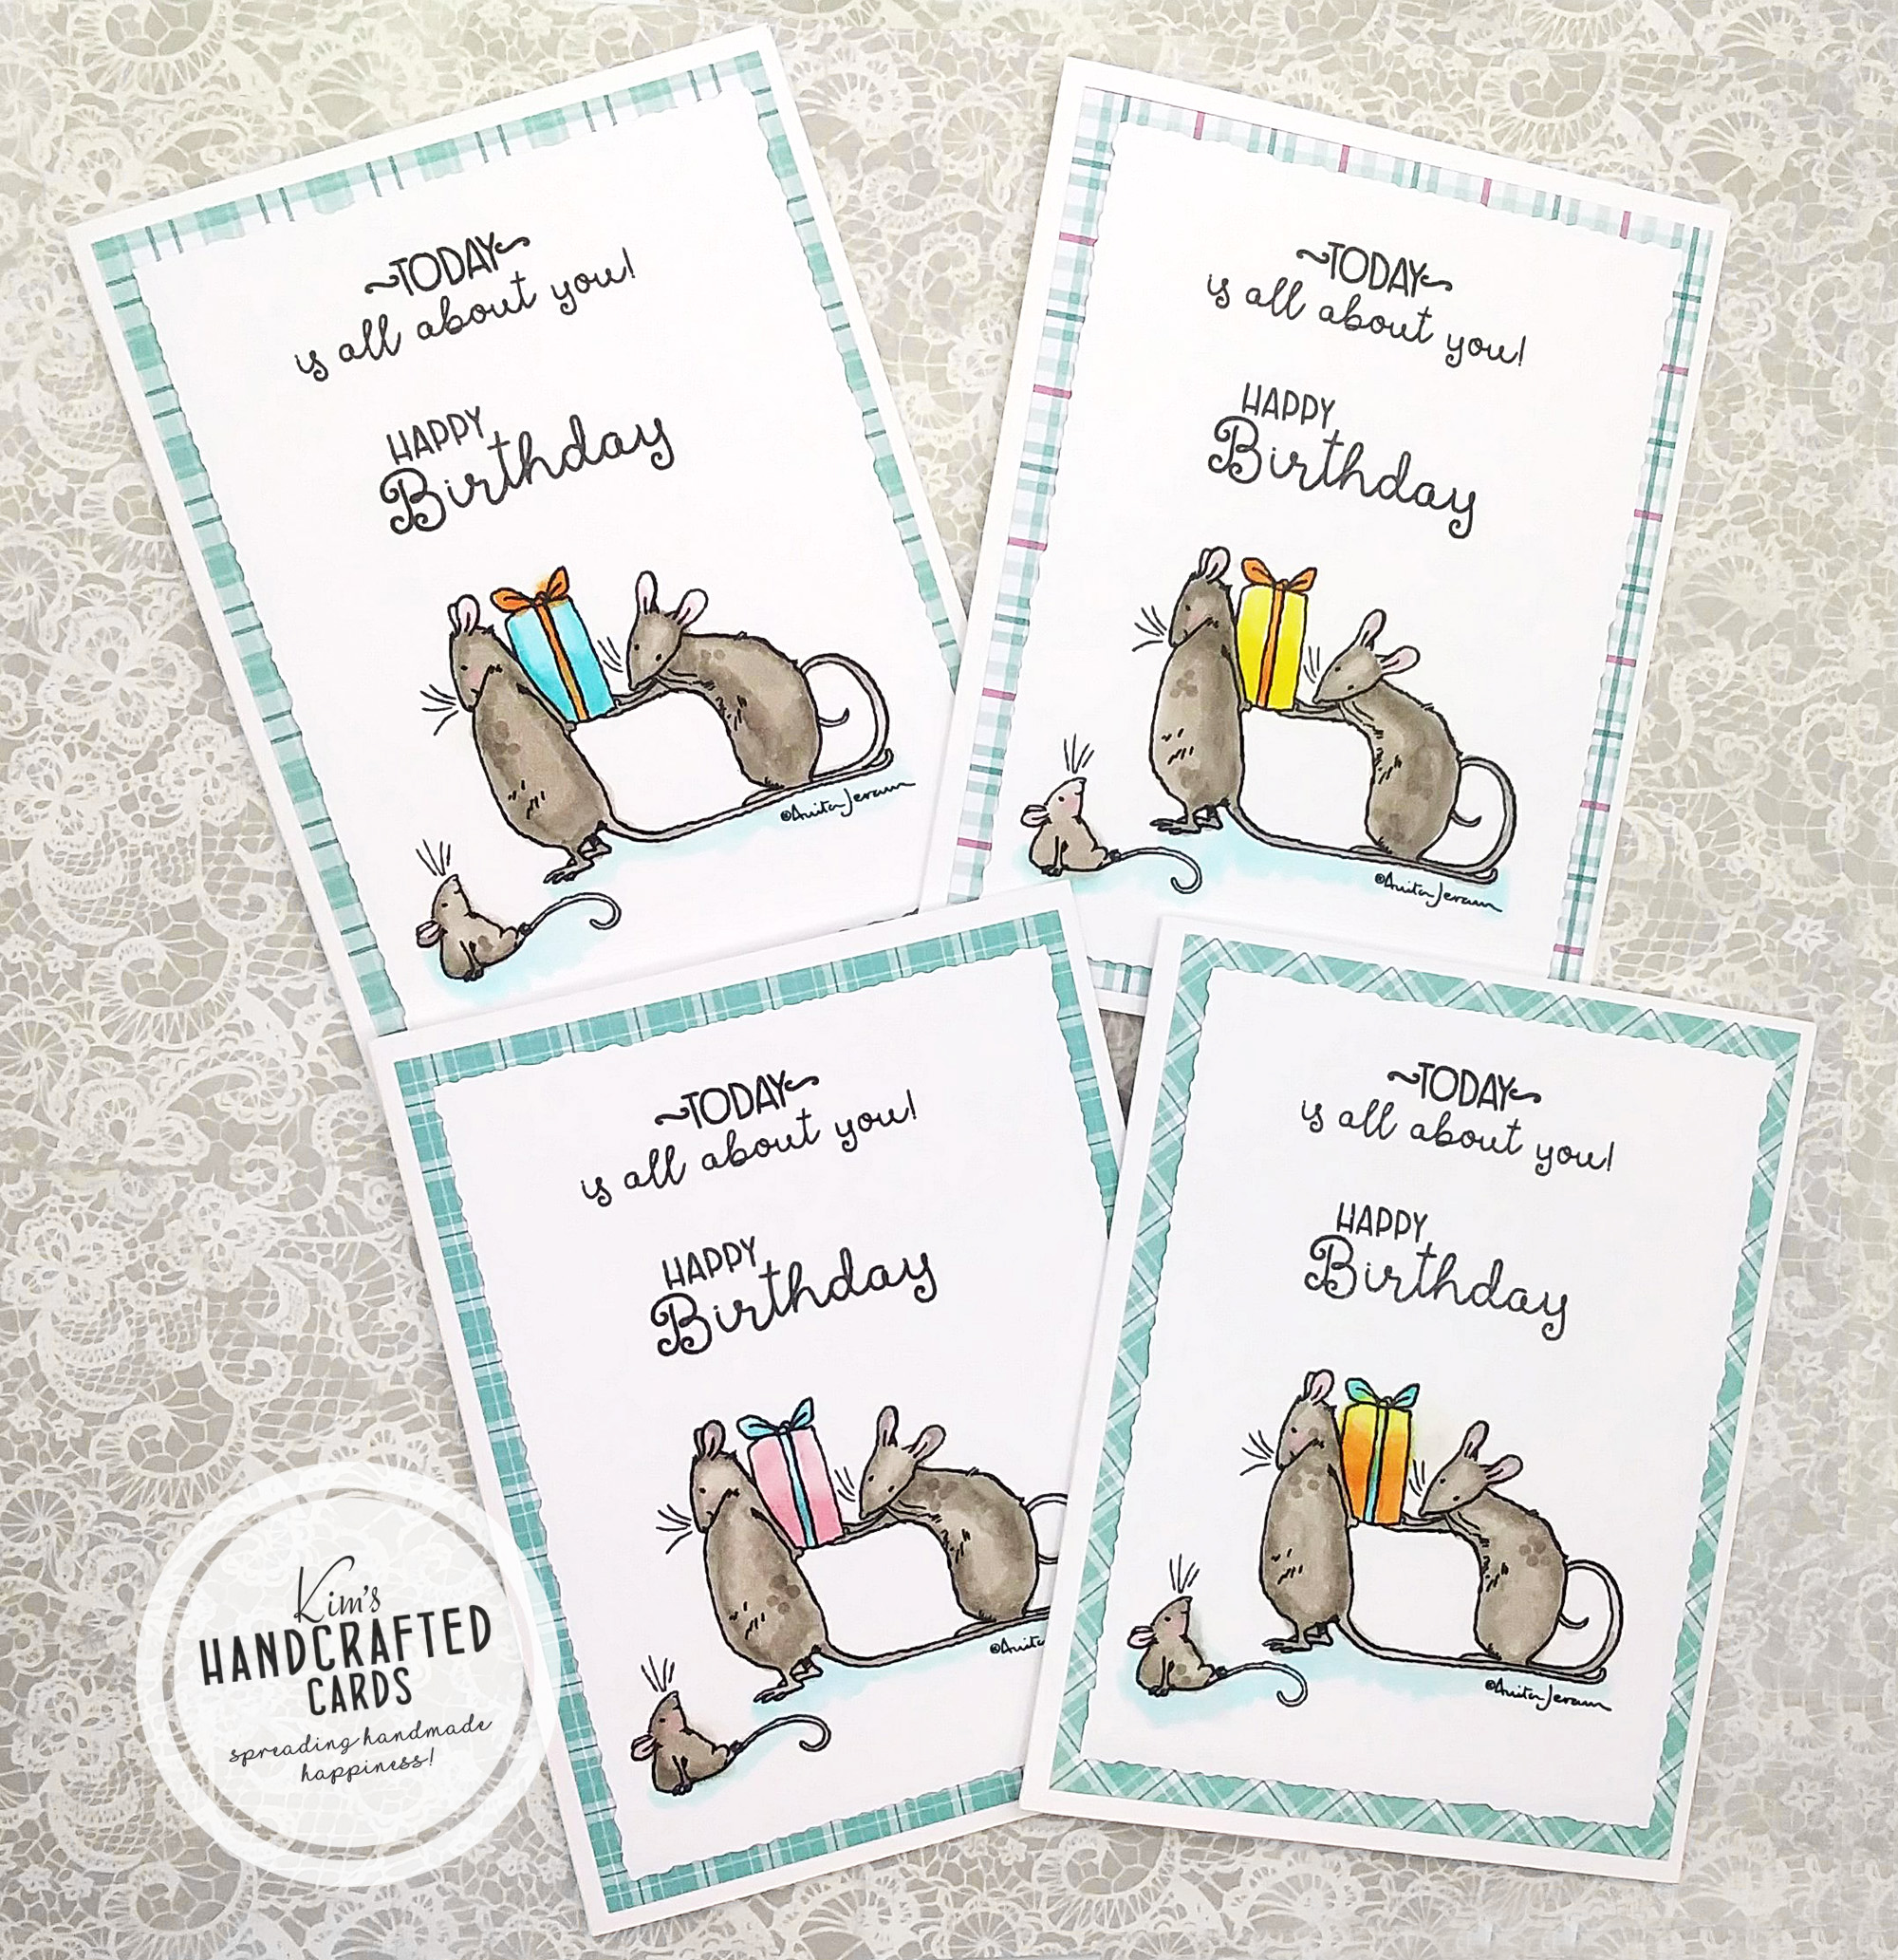
I also chose the mice for a 2nd card design and for each card, I changed up the sentiments.
The colors for the Mice card are: W4 (darkest) and W2 (lightest), for their presents → Y13, YR14, BG45 and B000. For the bunny: I used E13 (darkest), E30 (mid-tone) and E50 (lightest), for the balloon → RV14, RV11 and RV13. I also wanted to ground my critters so I used B000 for the Mice and G40 for the bunny. I added B000 around the bunny too.
Also, used #0 colorless blender for when I went outside of the lines and used RV11 for the critters inner ears and cheeks.
To add more interest to my critters, I colored them with highlights and shadows in different areas. I also used my #10 white Gelly roll pen to add some details too and on the balloon.
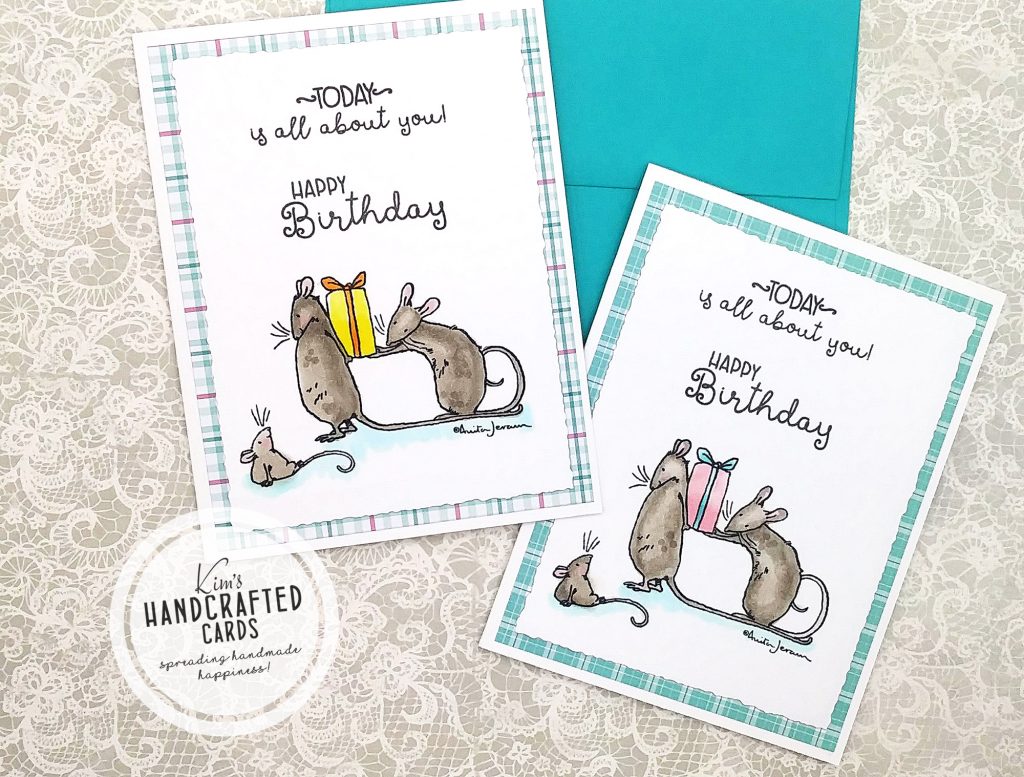
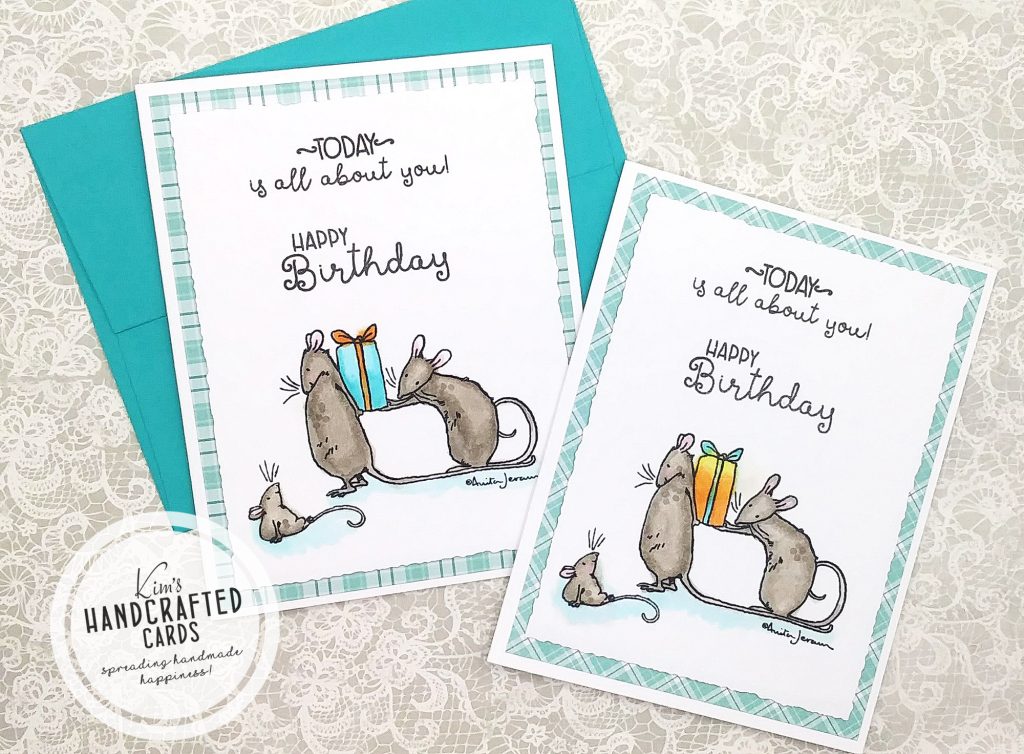
I wanted all the presents to have different colors!
Another thing I love is that there is very little dimension as the images are 1-layer so not at all bulky to mail out!
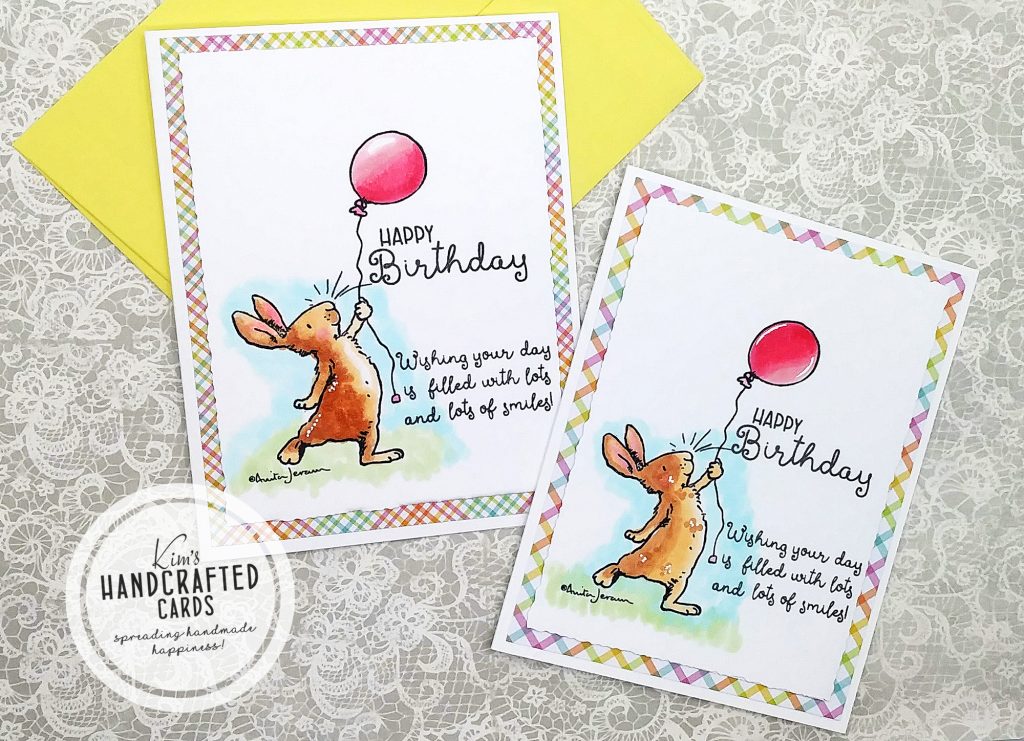
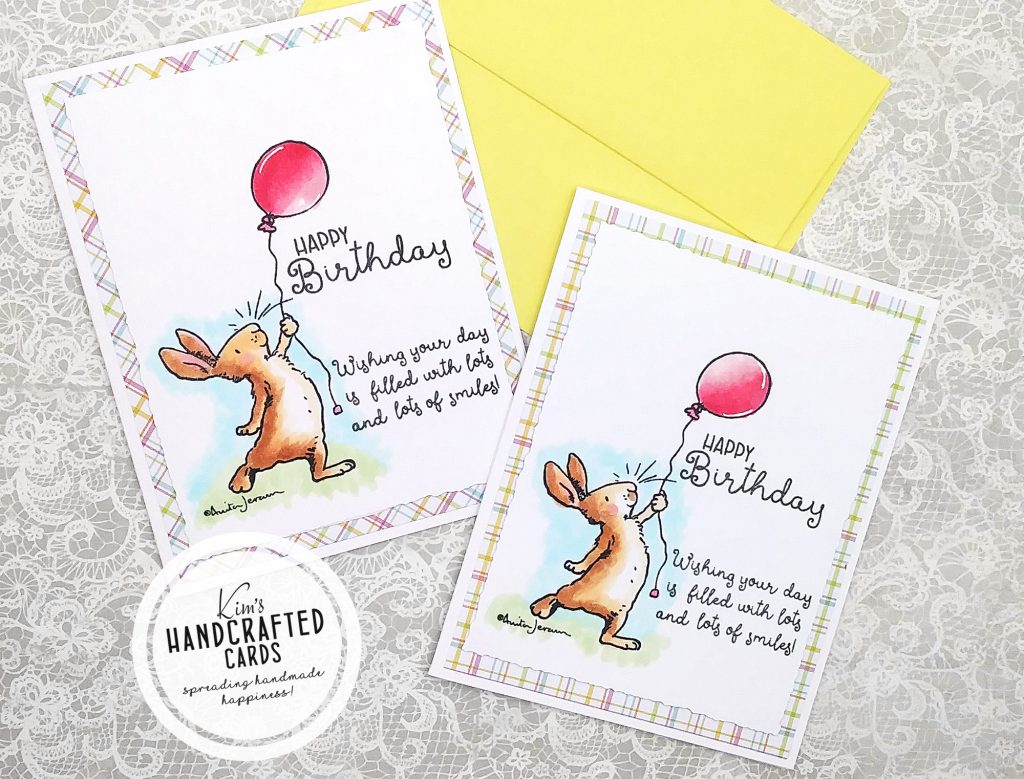
For all 8 cards, I wanted to add something different after trimming them down and I remembered I have Tim Holtz’s “Deckle Torn Edges” trimmer. So used that and love how these look! I die cut more white cardstock to add underneath for dimension. I believe the measurements are around 3-1/2″ x 4-3/4″.

The pattern papers are from My Favorite Things “Pretty in Plaid” paper pack. I trimmed these down to 4″ x 5-1/4″. I was so thrilled with my coloring that I did a happy dance!
And, because I was so excited, I ordered 19 more Copic Markers and a stamp/coordinating die set from Lawn Fawn with Bear critters! heee heee LOL 😀
It goes to show that with practice and resilience, we can achieve a goal!

- Colorado Craft Company “Birthday Wishing” stamp set / there’s a separate coordinating die set here
- Copic Sketch Markers here, here or here
- My Favorite Things “Pretty in Plaid” Pattern Paper Pack
- Tim Holtz “Deckle Torn Edges” Trimmer
- Simon Says Stamp “Intense Black” ink pad
- White #10 Gelly Roll Pen
- Accents 100 lb. White Cardstock

