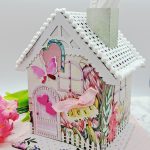
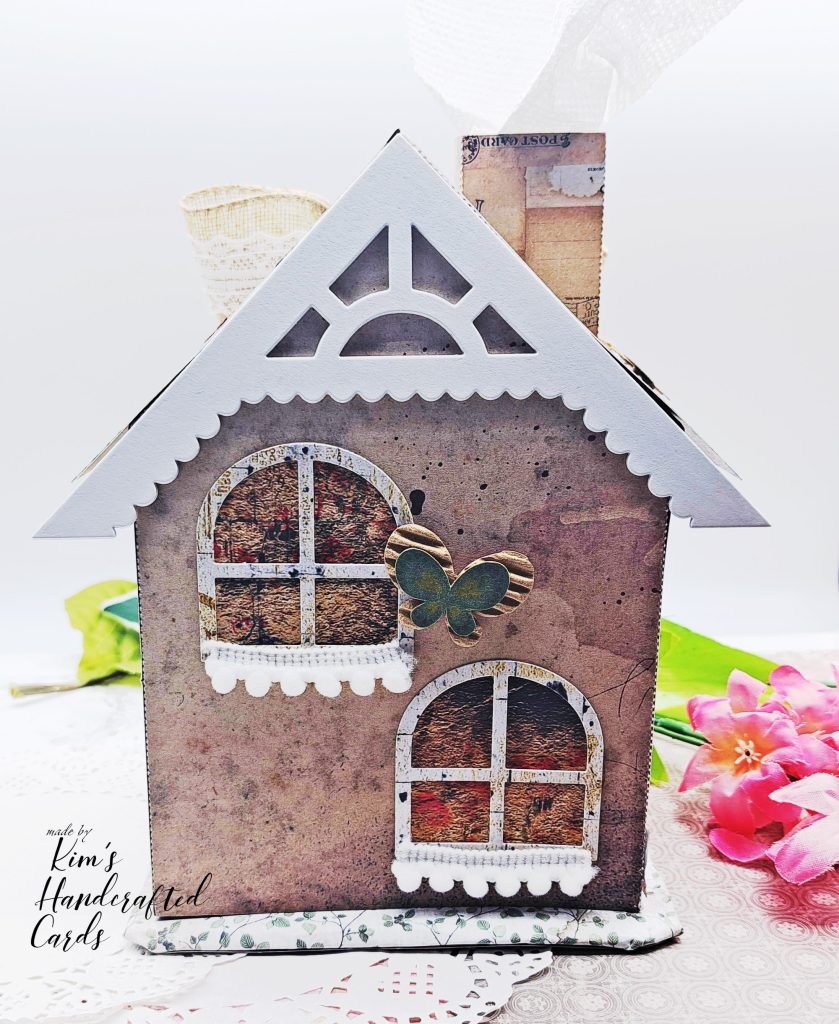
Hi Crafty friends! I just finished my 2nd 3D house made from the KSCraft Tissue Box Die Set. If you didn’t see my post on the tissue box cover I made, click here. I also linked to a video tutorial for how to use it in that post.
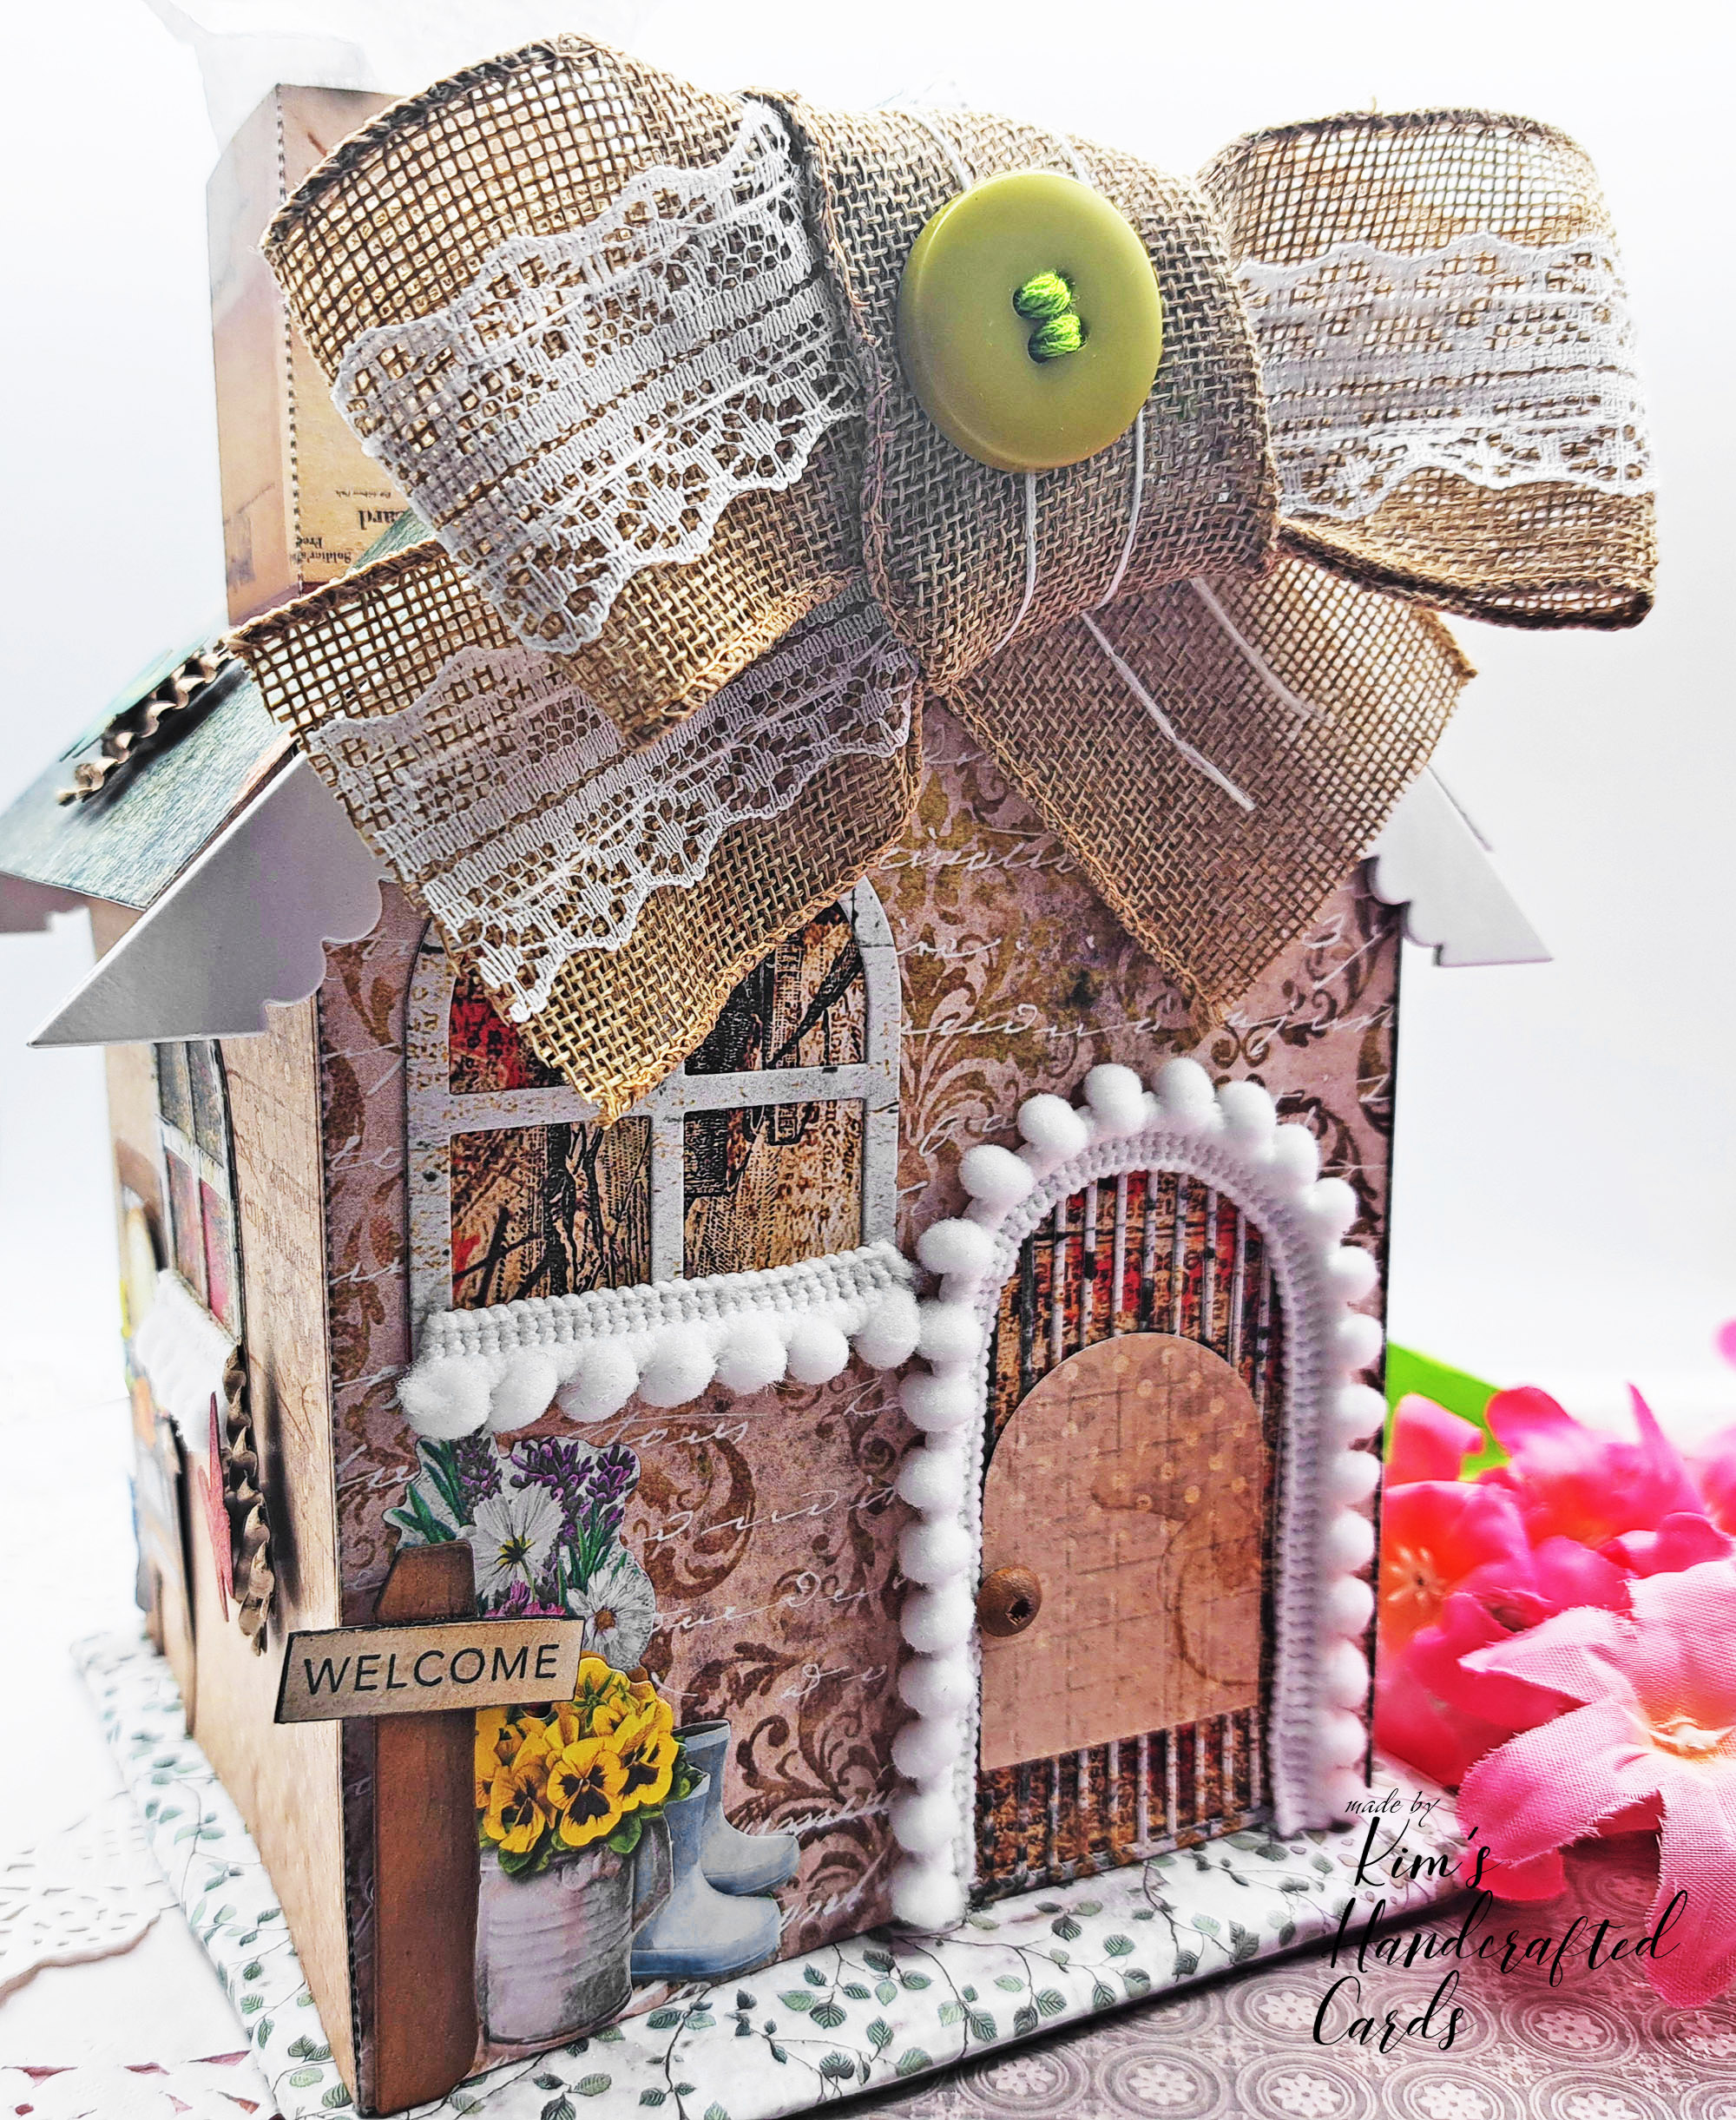
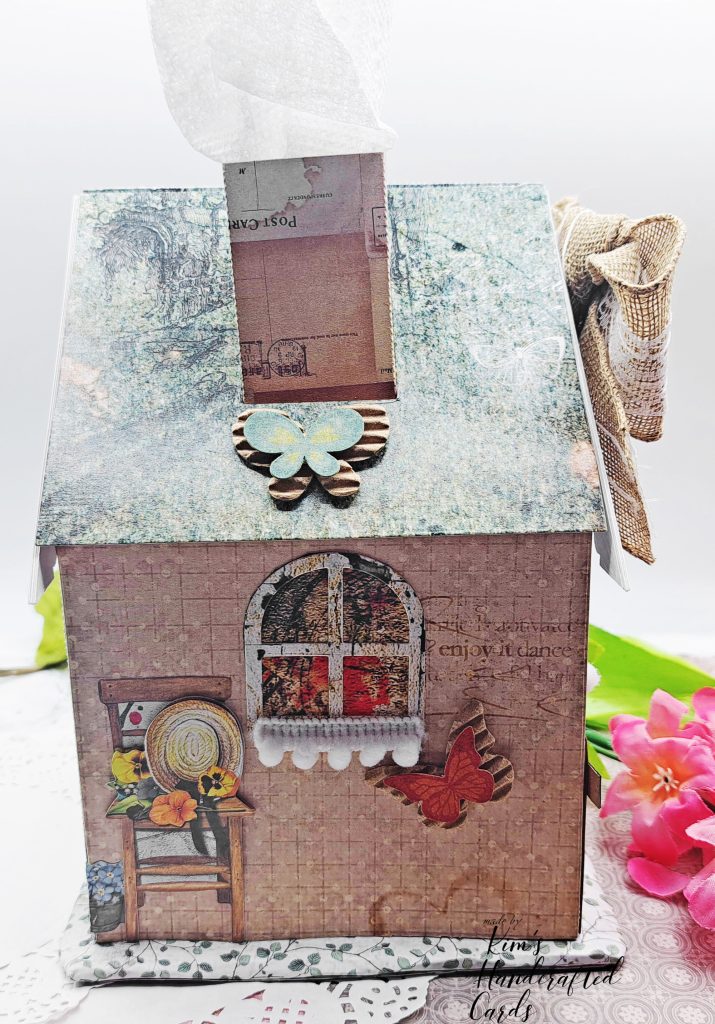
For this next house design, I decided not to use over a tissue box. I made another stand from foam board and I glued the completed house on it. For the illusion of smoke, I just stuck a piece of paper towel from the chimney.
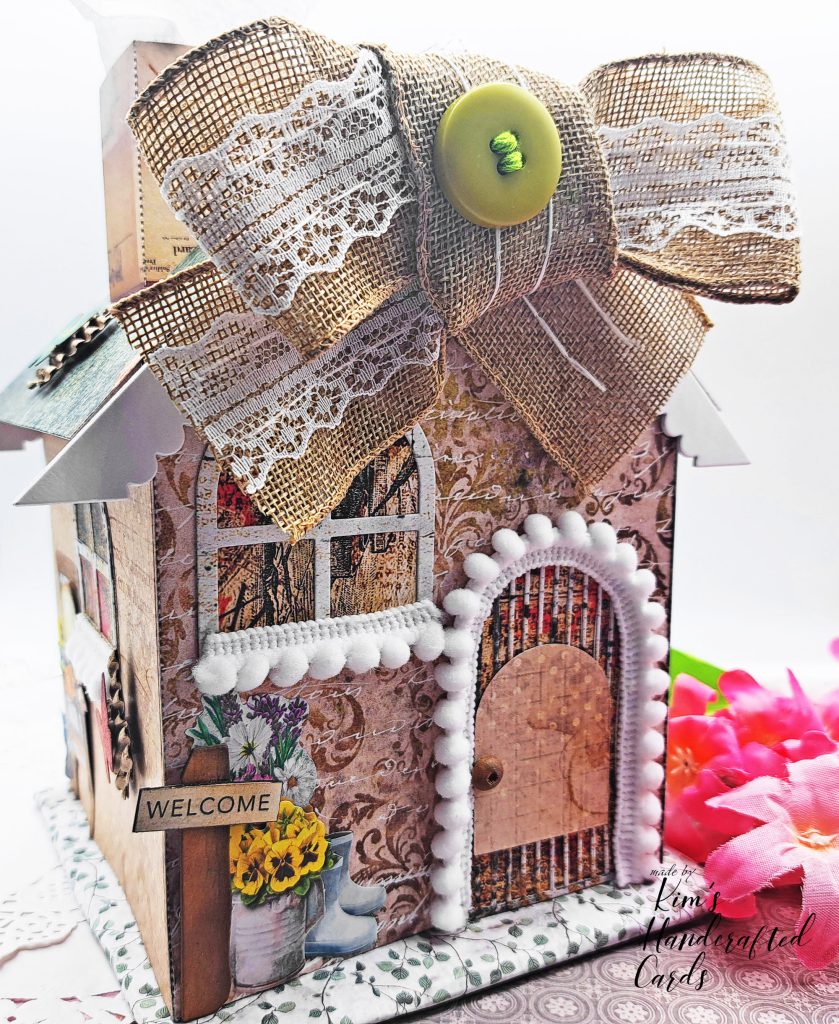
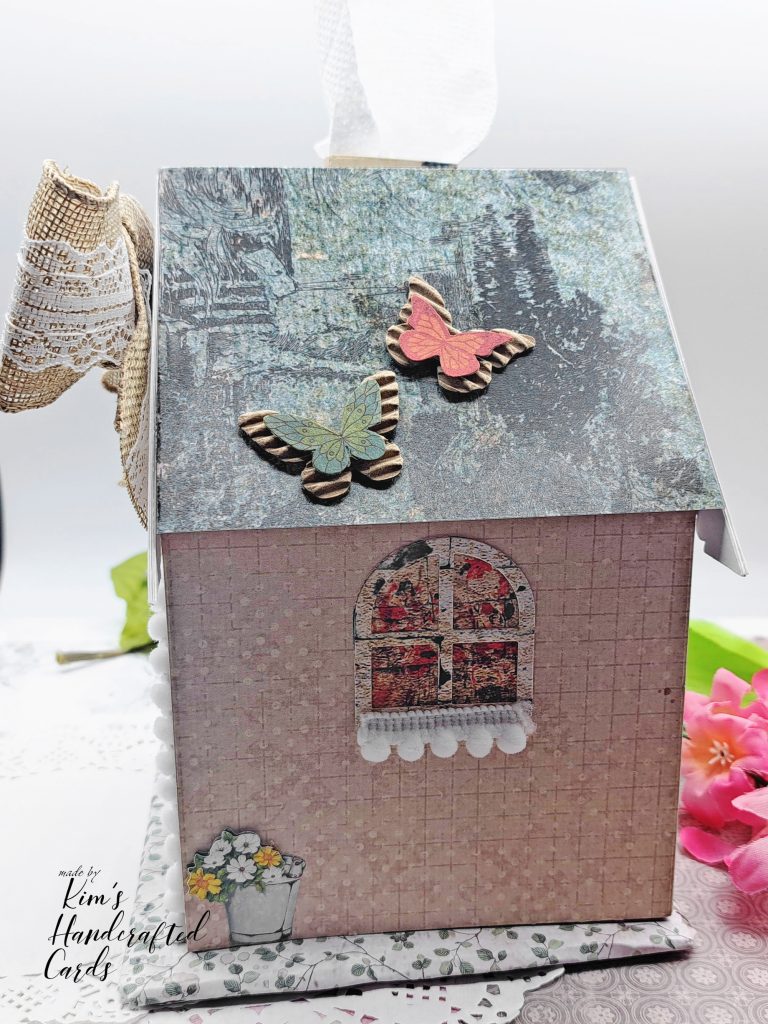
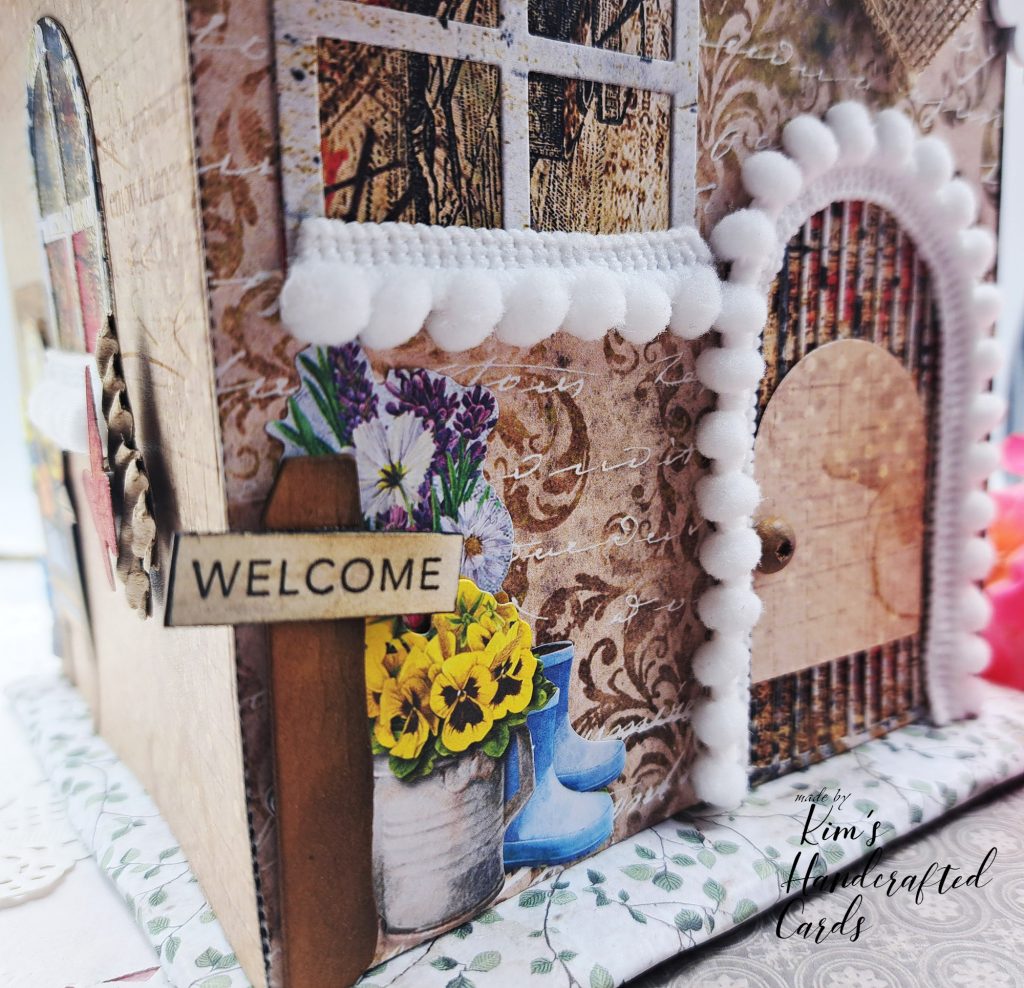
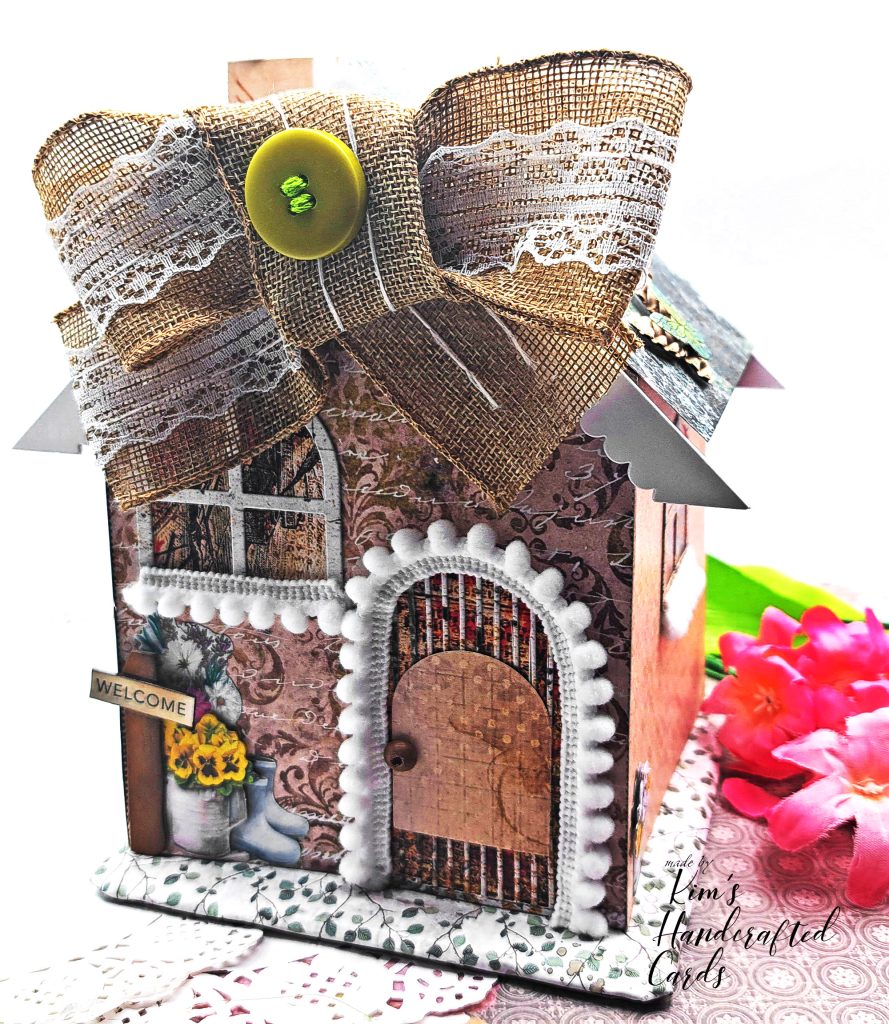
The rest of the house was decorated with Paper Rose “Back Then” 12×12 paper pack. I’ve just about used all the sheets in that pack now! I embellished my house with 3D stickers from the craft section at my local Dollar Tree. I also added pom pom trimmings on the windows and the door frame. For my rooftop, I added a big pretty bow, also from Dollar Tree, and sewed a button on it from my stash before I glued it to the house with Aleene’s Tacky Glue.
I am so happy for the sign post I made for the front of my house. I took the post die from Spellbinders Spring Birdhouse of the Seasons set, die cut it 3 times on craft paper and ink blended over each piece with Distress Traditional inks (Vintage Photo, Walnut Stain and Black Soot on the edges). The “Welcome” is actually part of a sentiment strip by Simon Says Stamp, but I only wanted the “Welcome” part. Then, I blended over it with a little bit of ink left on my blending brush.
I glued the post together and then adhered to the front of the house and I think it is such a highlight!
I’m having the time of my life making these houses!; Boy do I have plans for more! Thanks for Reading!

Some of the links to the products I used are affiliate links which means that when you shop with them, I’ll receive a small commission at no extra cost to you. Your support helps me run my small crafty business. Thank you so much!
- For a list of the main supplies I use for 99% of my crafty projects, click here.
- KSCraft Tissue Box Die Set
- Paper Rose “Back Then” 12 x 12 Paper Pack
- Spellbinders Birdhouses for the Seasons “Spring” Die set here or here
- Pom Pom Trim – White
- Aleene’s Tacky Glue

