Hey friends! I am sure loving how my Copic coloring venture is coming along and soon I’ll share some more cards I recently made. However, for this post I’ll be talking about another way to add to color to cards and that’s with stencils!
Stencils are a staple item in my craftroom. I am slowly building my collection. There’s a few reasons why I love using them so much. They’re easy to add color to, they yield some beautiful designs and you can’t beat the price point! So, if you’re like me, on a tight crafty budget, stencils are the way to go to quickly build your stash.
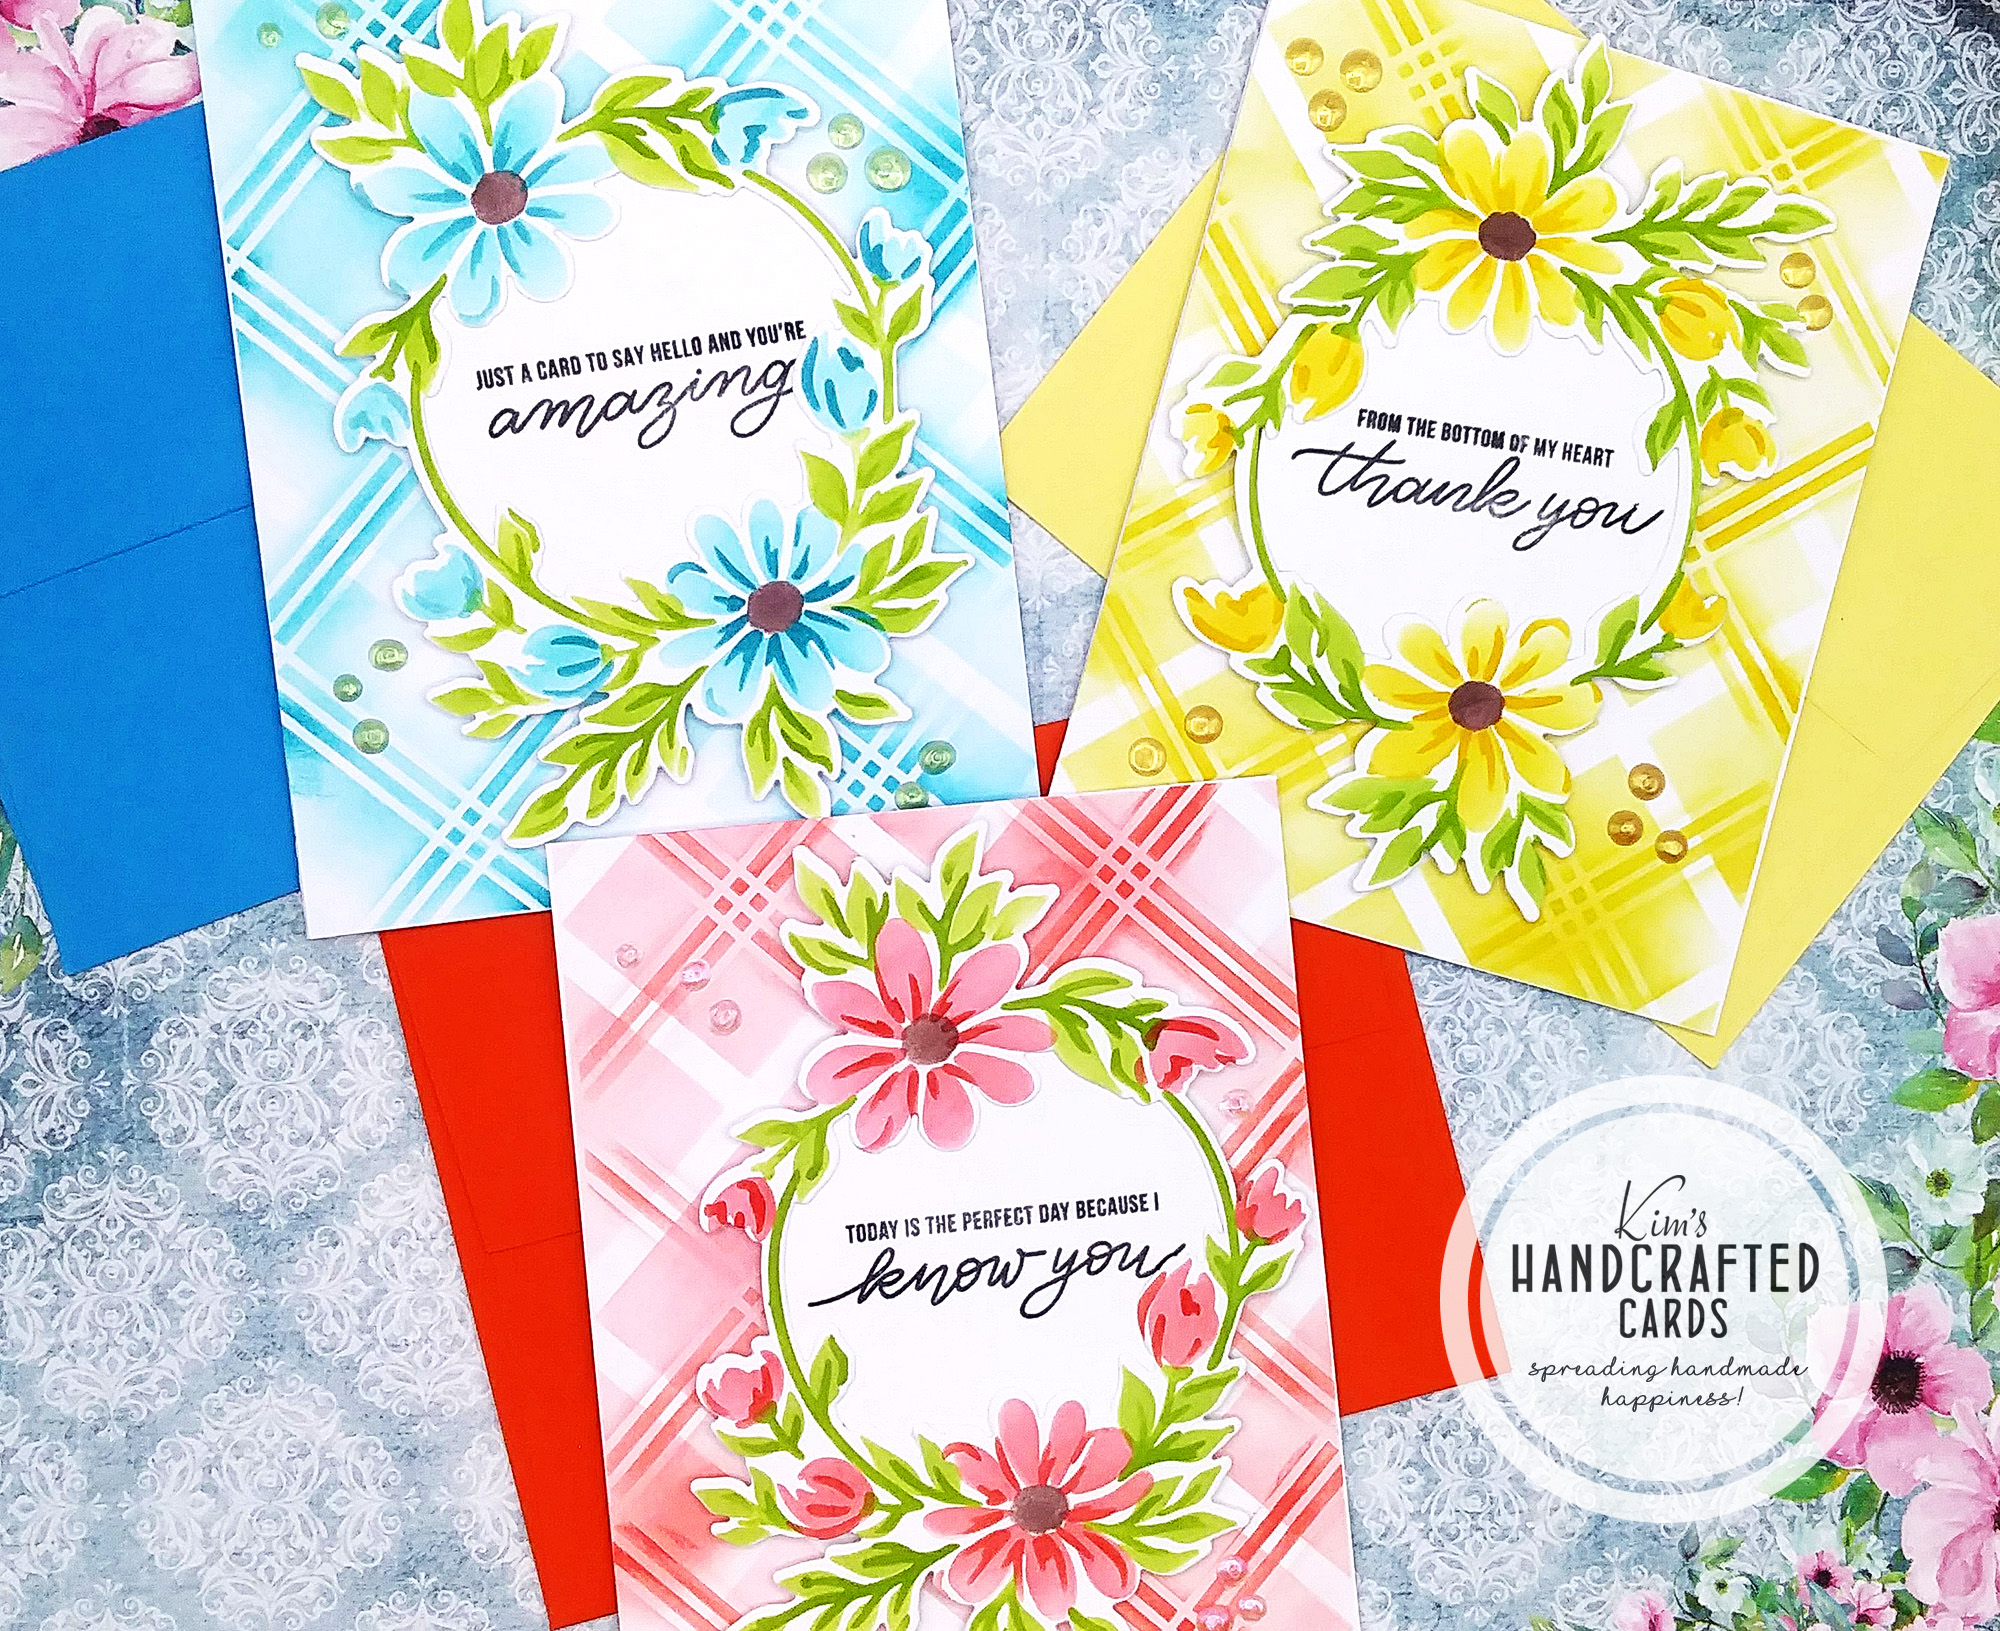
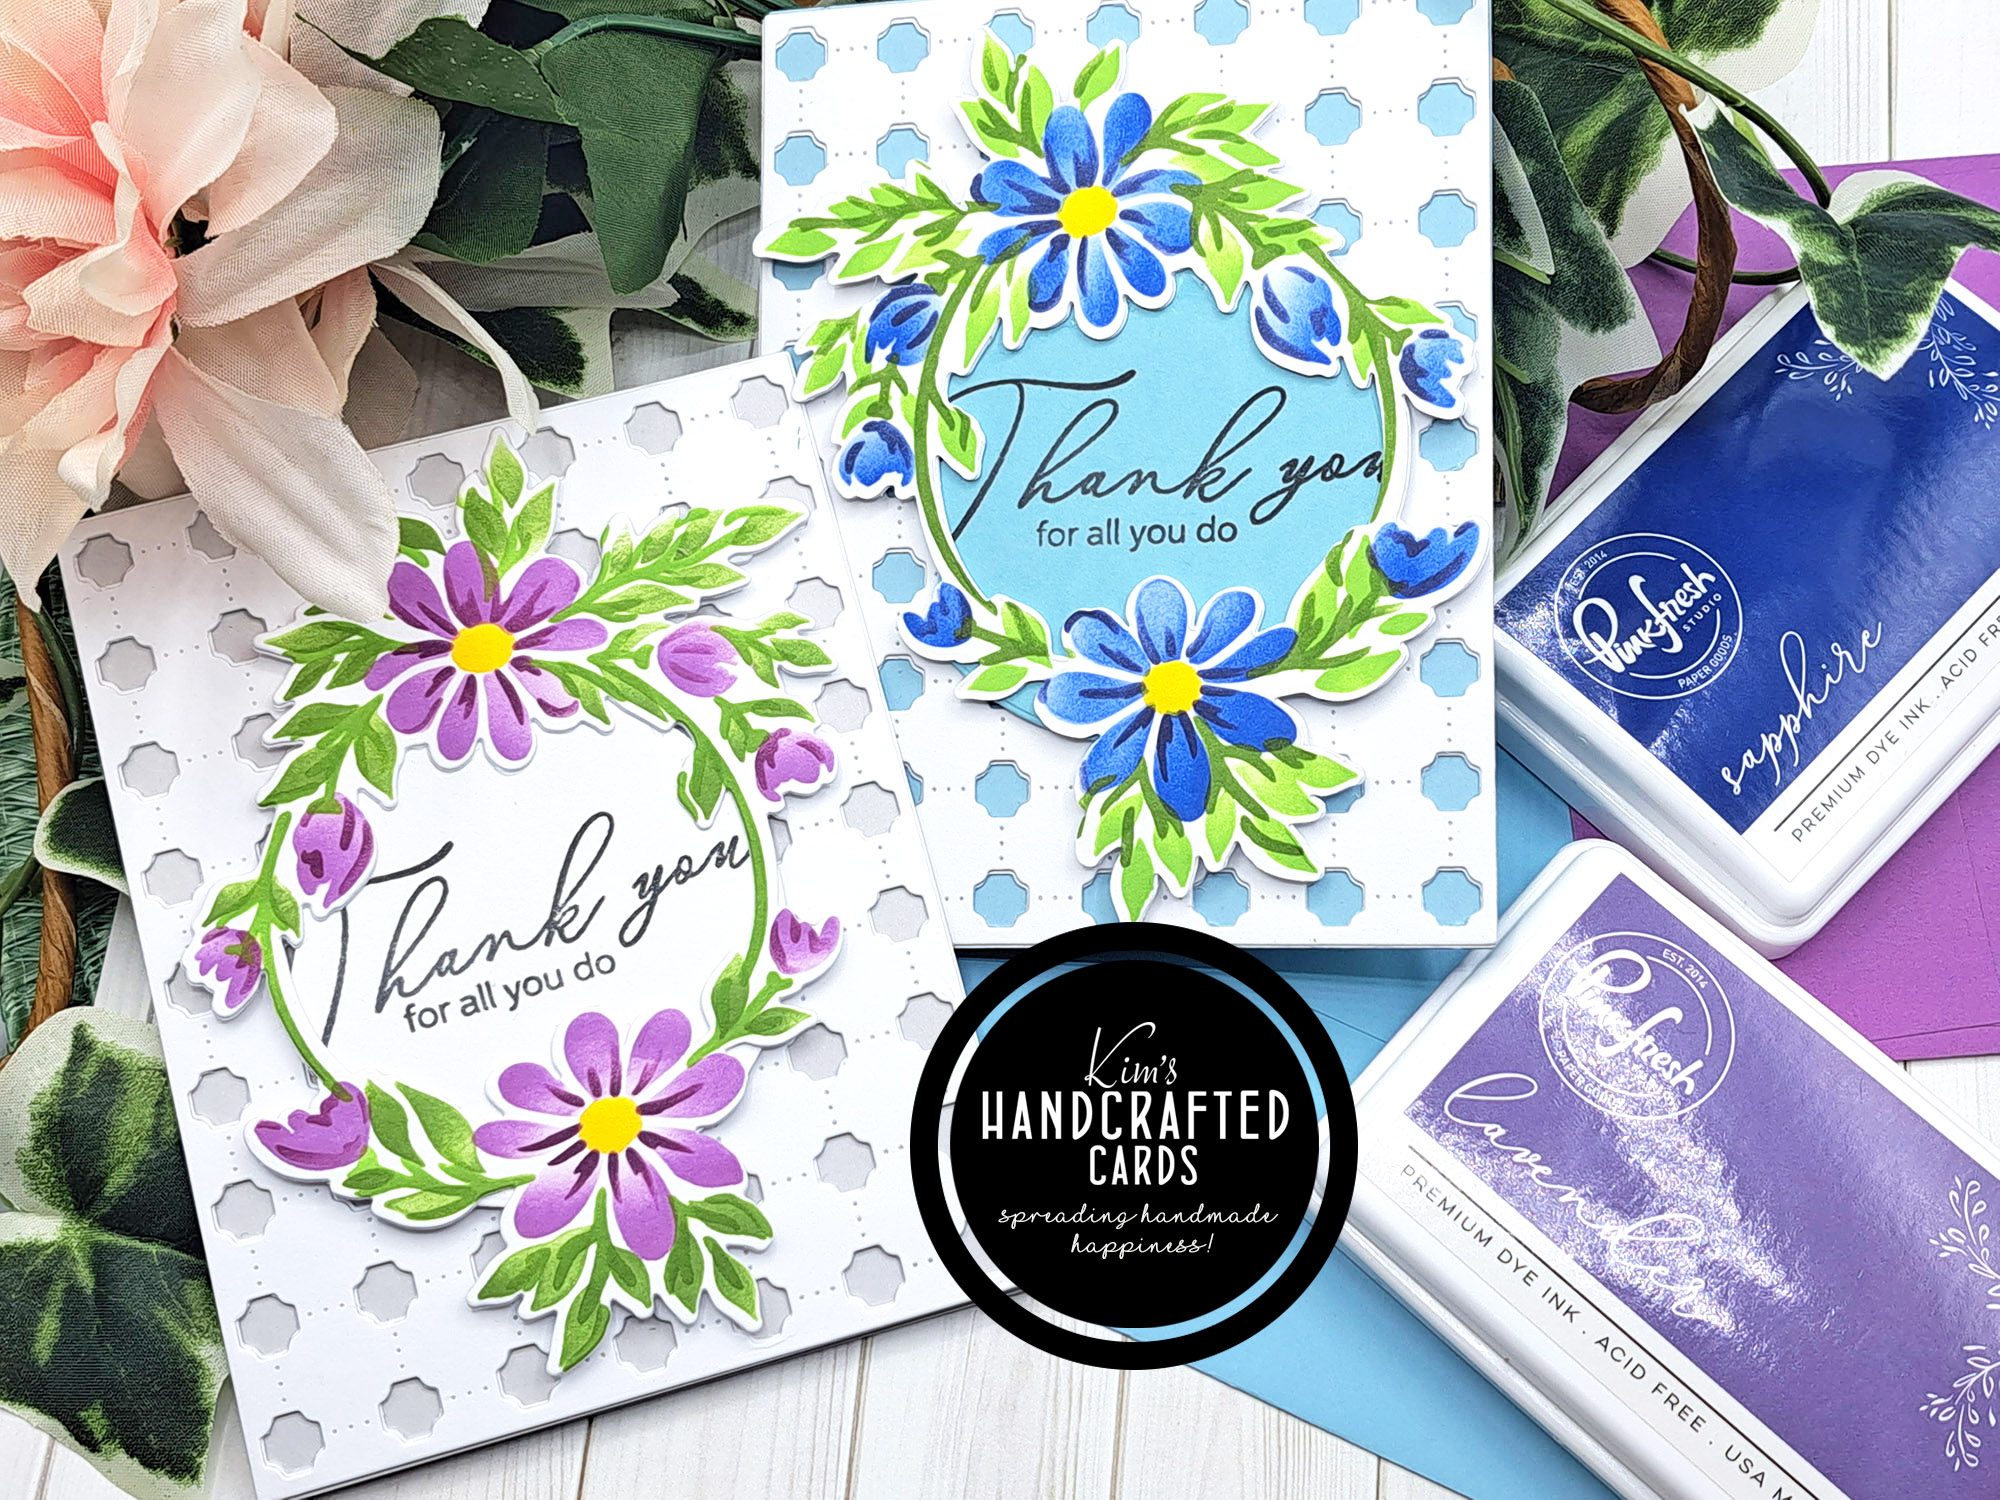
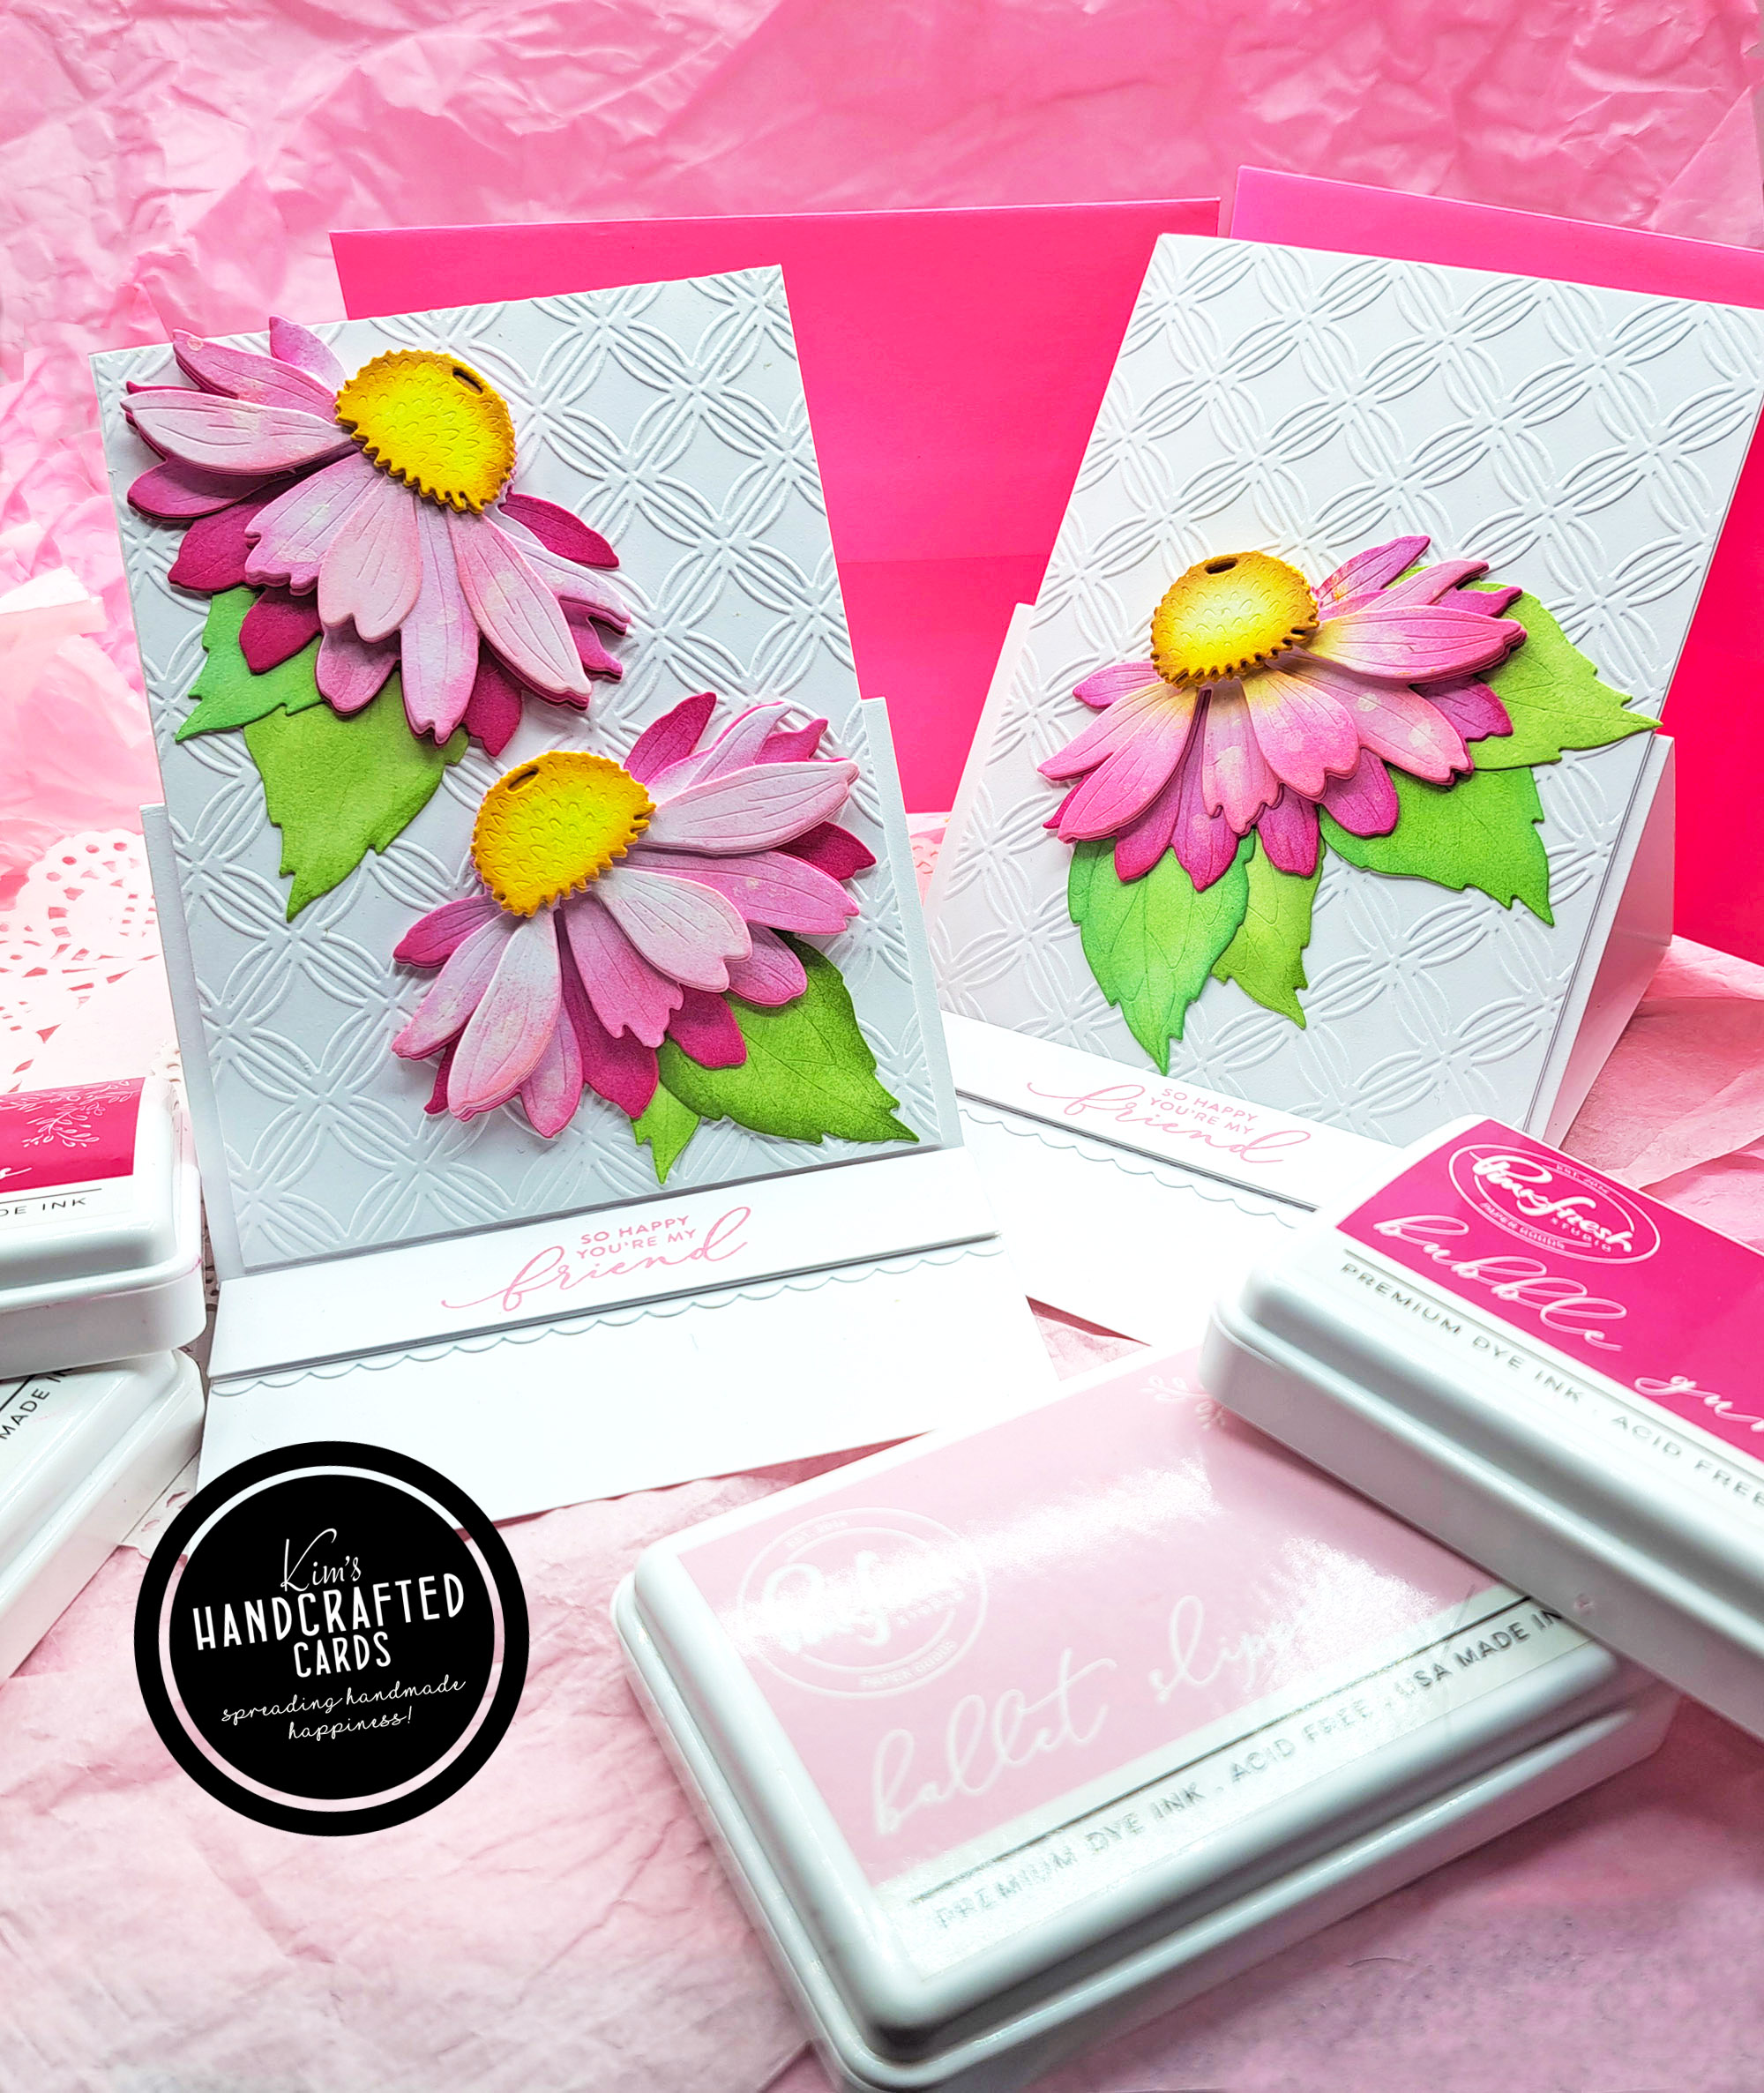
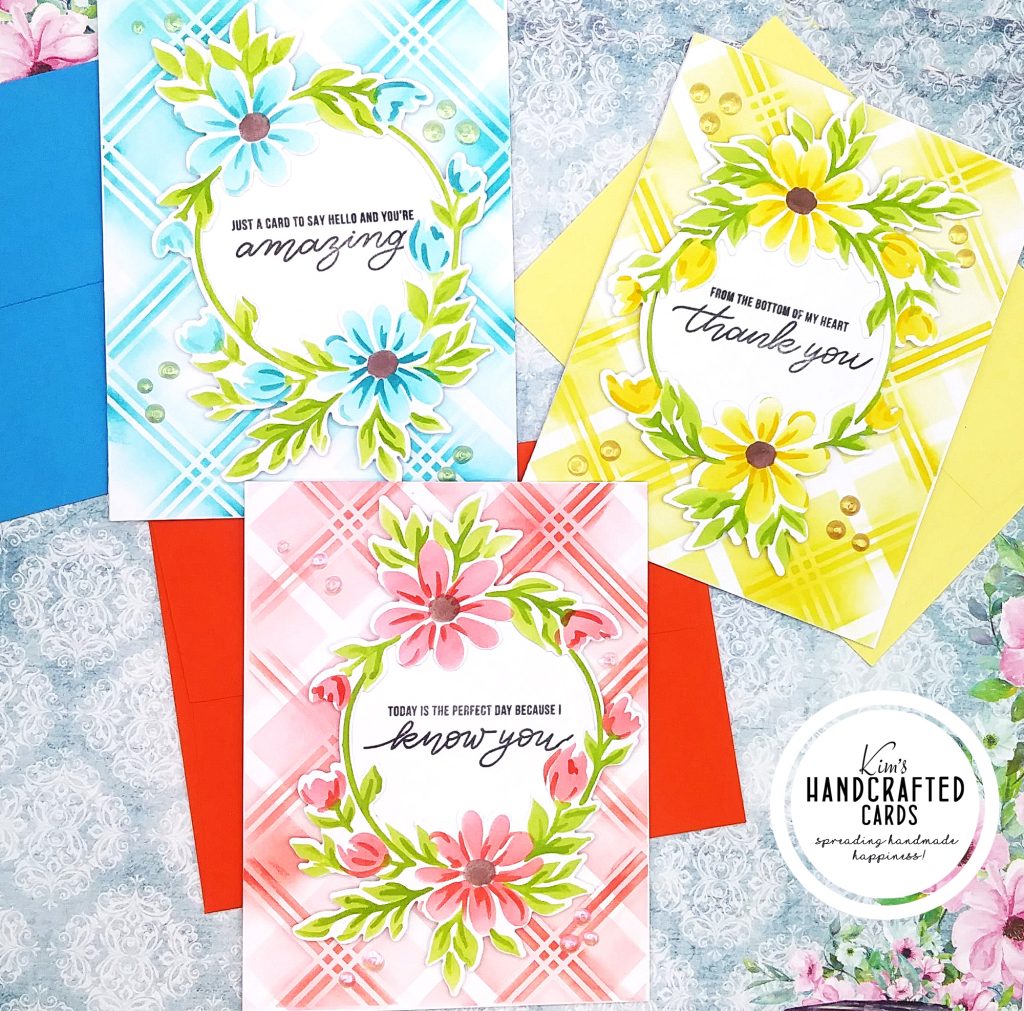
In my 3 cards today, I used 2 different stencils both by Pinkfresh Studio. The background is their diamond plaid stencil set. It comes with 2 in the set. I took a coloring tip from Nichol Sphor and colored this backwards meaning I added color to stencil #2 first and then overlapped with my darkest color with stencil #1. And I think this came out so much better.
I wasn’t happy with my first results of using the stencils in the order they come. You know, there’s no diehard set rules in crafting that you have to use a product in the way it was intended. We’re Creatives and by finding other ways to use our items means we’re stretching the life of them and coming up with new, innovative ways to make beautiful cards. I’m down with that! ;D
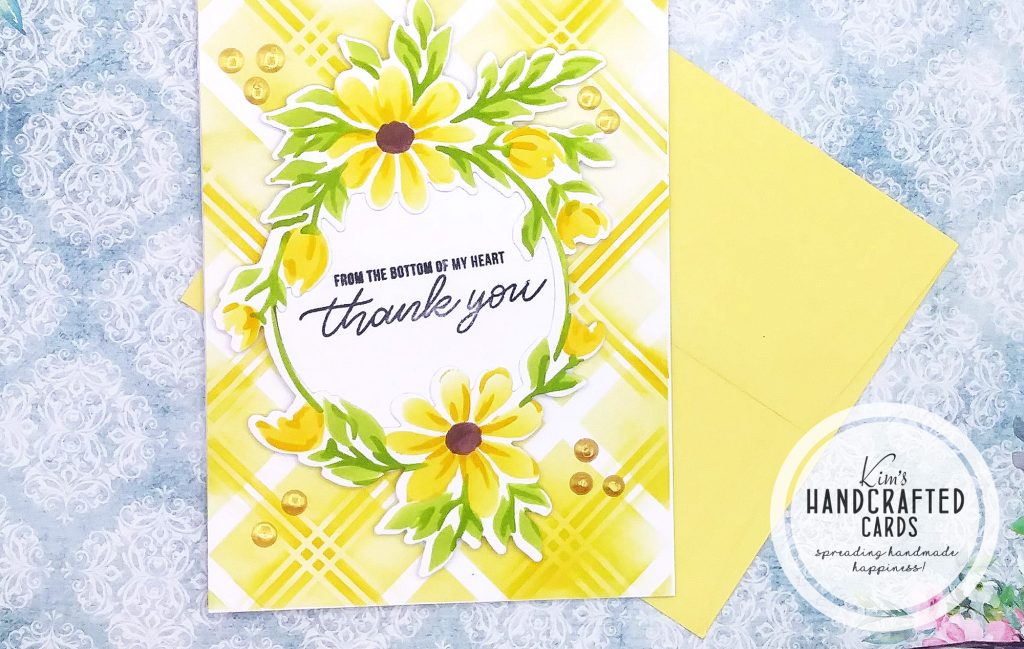
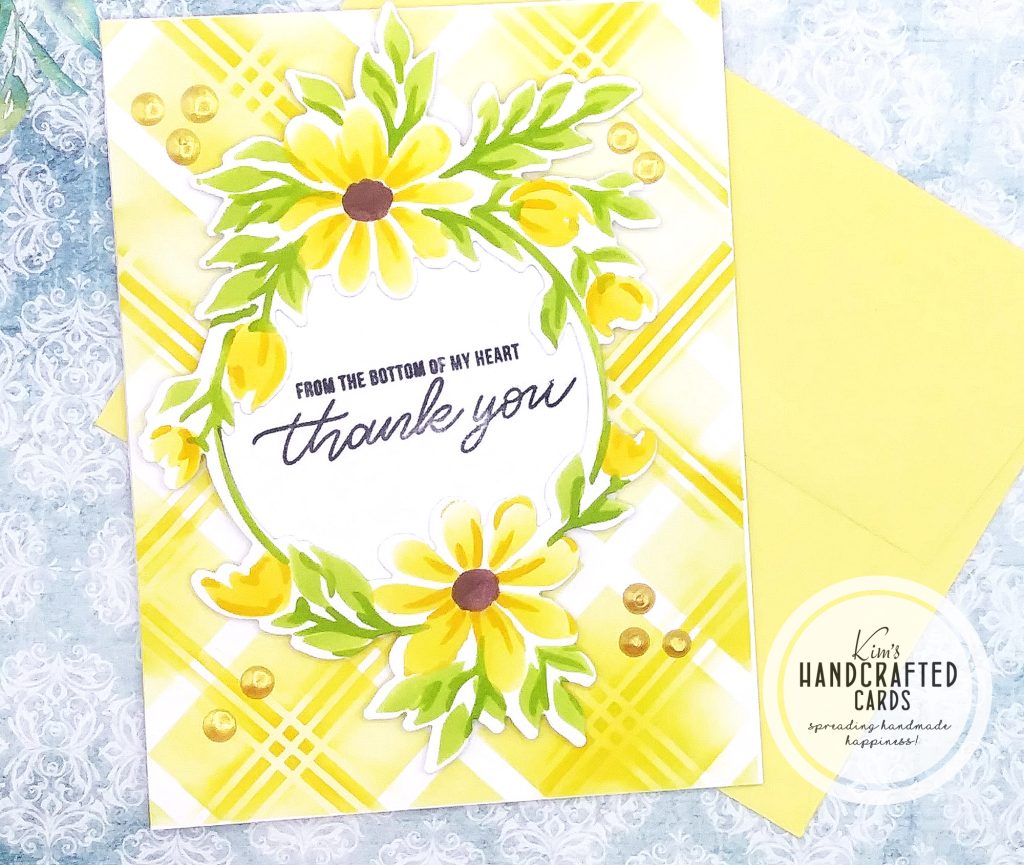
The second stencil I used is Pinkfresh Studio’s “Daisy Wreath” and it comes with 5 stencils. It’s very easy to color and the results are terrific. For all of my cards today, I went with Simon Says Stamp’s Pawsitively Saturated Inks to make 3 different color combinations:
Yellows → Sunbeam (mid-tone) / Citrine (darkest)
Reds → Blush (mid-tone) / Pucker (darkest)
Teal Blues → Surf (mid-tone) / Ocean (darkest)
Greens (leaves) → limelicious (mid-tone) / Pearfection (darkest)
Center of the flowers – Pinkfresh Studio “Espresso” ink with Altenew’s Detailer Brush
I’m lovin’ my new tiny ink blending brushes! It made coloring these stencils so much easier. I used the coordinating dies to cut my wreaths out. To stamp my sentiments, I used a circle die that fit great behind my wreaths. The sentiments are from Simon’s “Hello Darling” stamp set (sorry this is not available 🙁 ). But if you’re looking to make these cards, you can use any sentiment you have in your stash.
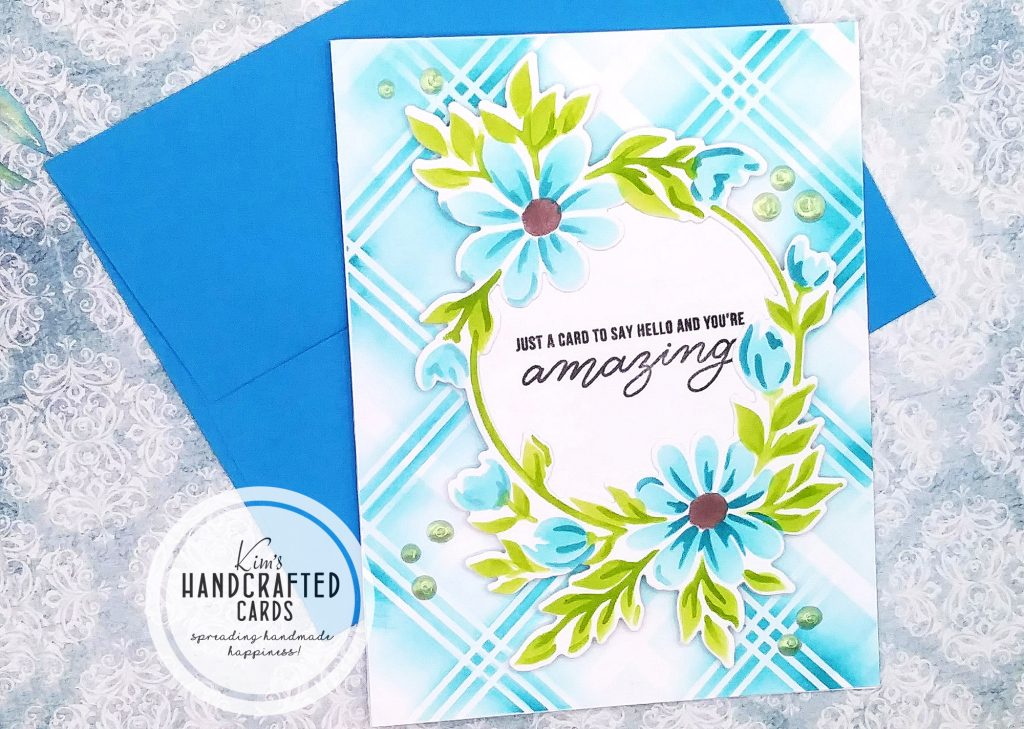
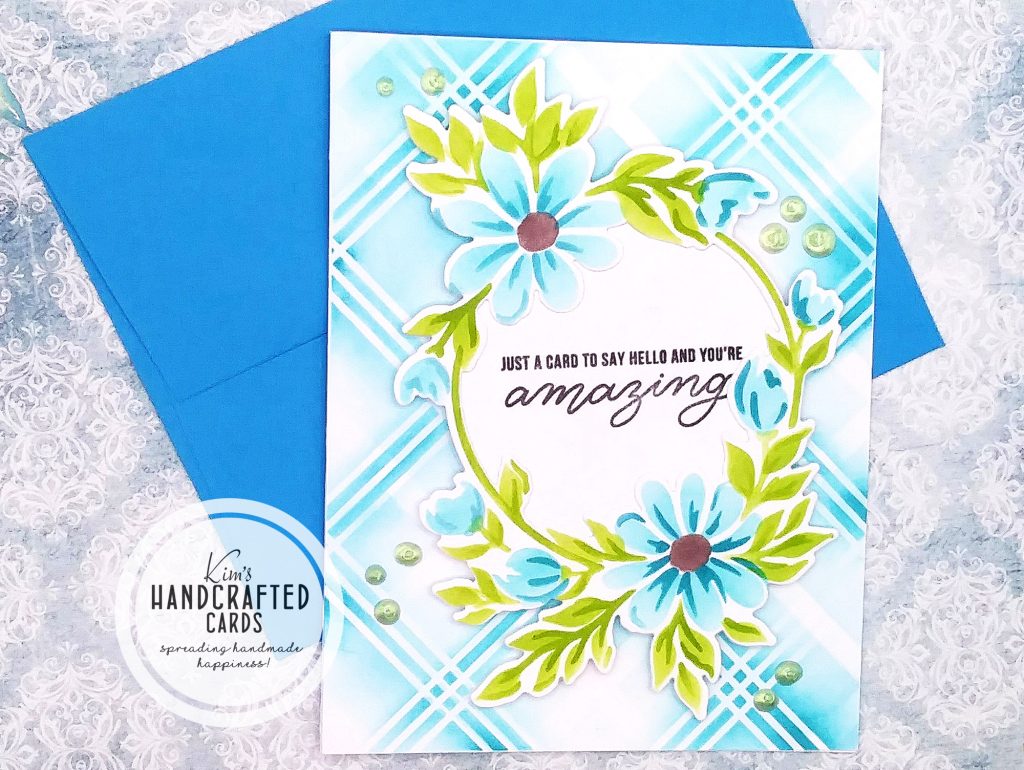
The final touch was adding embellishments and I decided to use my Nuvo Dream Drops. I just love the extra emphasis they add to a card project.
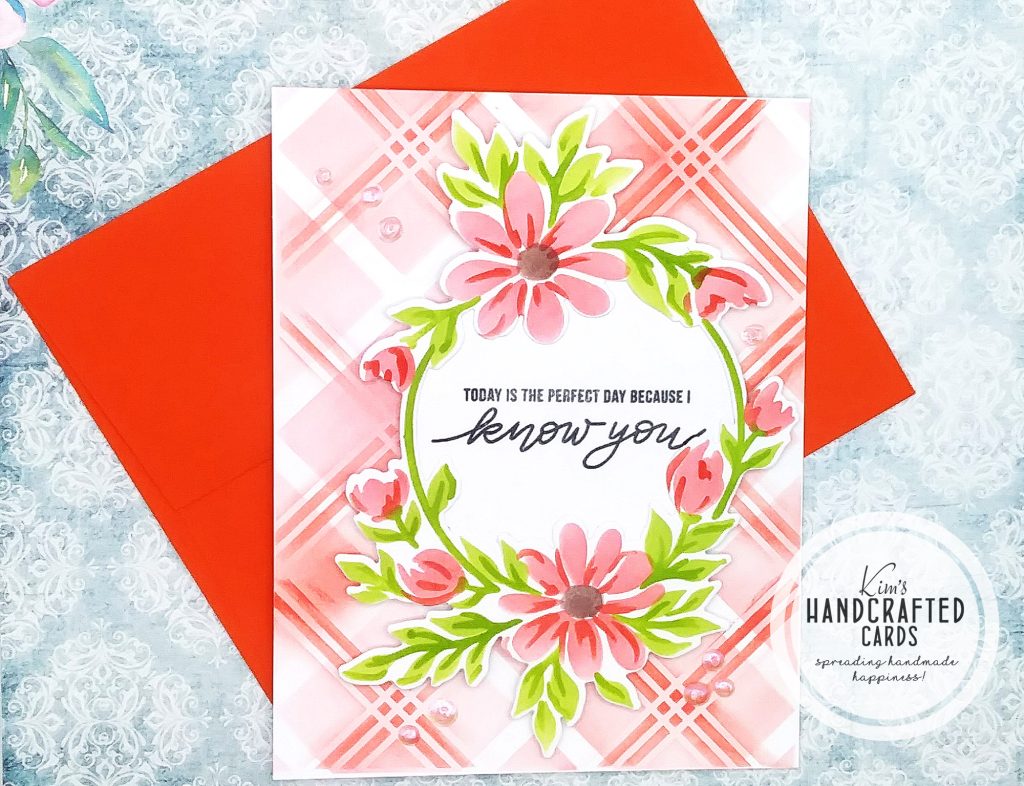
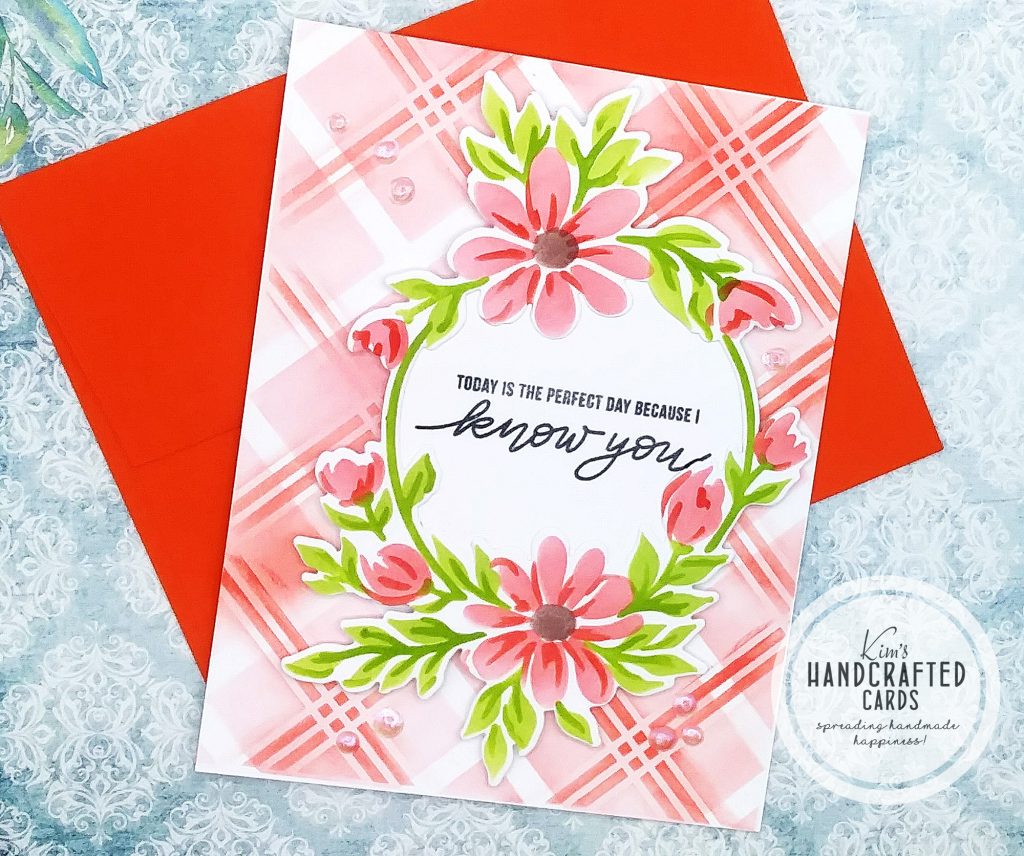
One of my best tips when making multiple cards using the same design is to change up the colorway. In my case, I went with yellow, red and teal colors. By doing this, I never get bored!

- Pinkfresh Studio Diamond Plaid Stencil Set
- Pinkfresh Studio “Daisy Wreath” building stencil set here, the coordinating die sold separately here or grab the entire bundle here.
- Simon Says Stamp Pawsitively Saturated Inks – Collection #1
- Nuvo Dream Drops Kit Bundle or separately
- Waffle Flower Crafts “Additional Circles” Nested Dies
- Pinkfresh Studio “Espresso” ink
- Altenew’s Detailed Blending Brushes Set
- Yoseng Tiny Blending Brushes 10-pack

