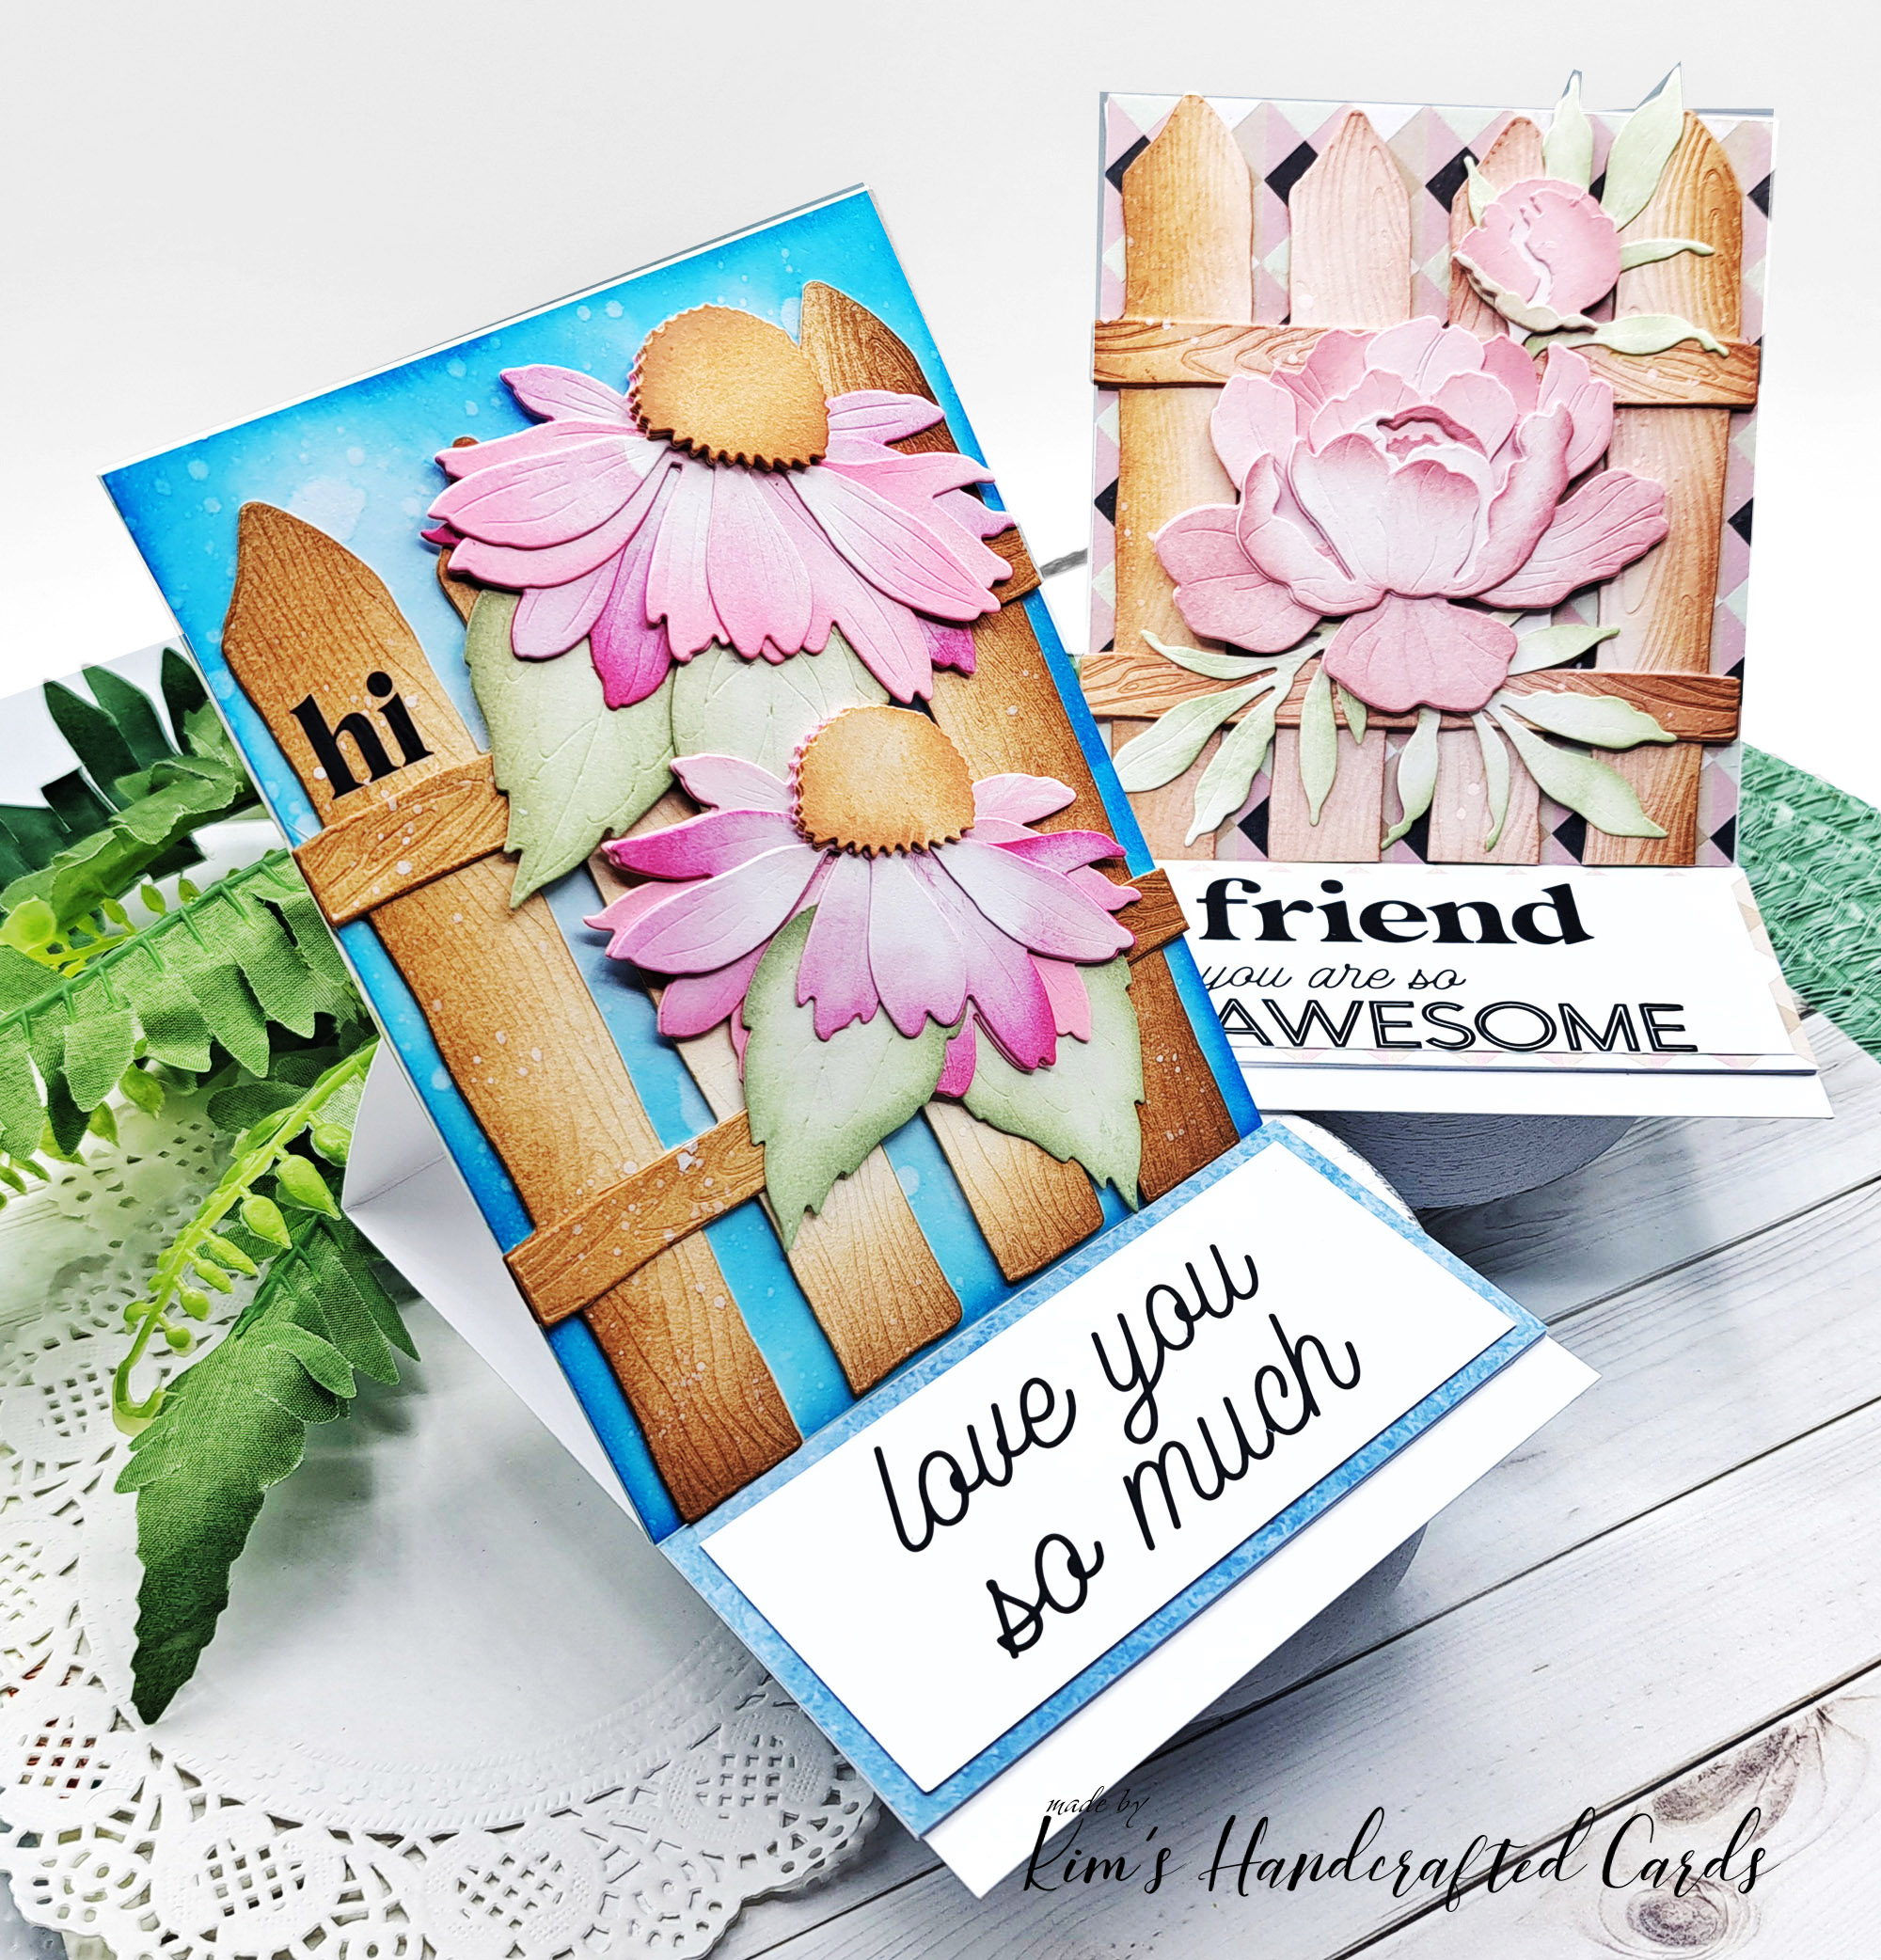
Happy Saturday my friends, I hope your weekend is starting out right :D! Today, I’m super excited to share two easel cards made with Honey Bee Stamps products! The inspiration for these cards came from one of my dear friends, Joy of @createitwithjoy! She made a card with Honey Bee Stamps “Peony” Lovely Layers and Honey Bee’s “Barn Wood Fence” die. It is a GORGEOUS Card! You have to watch her video here!
I had to make this card too and I’ve had the fence die for some time, but wasn’t sure how I wanted to use it. Now of course, the Lovely Layers florals I’ve used A LOT! I titled this post as a tribute to this collection because these die sets are just so beautiful and realistic too. I’ve been trying to collect them all!
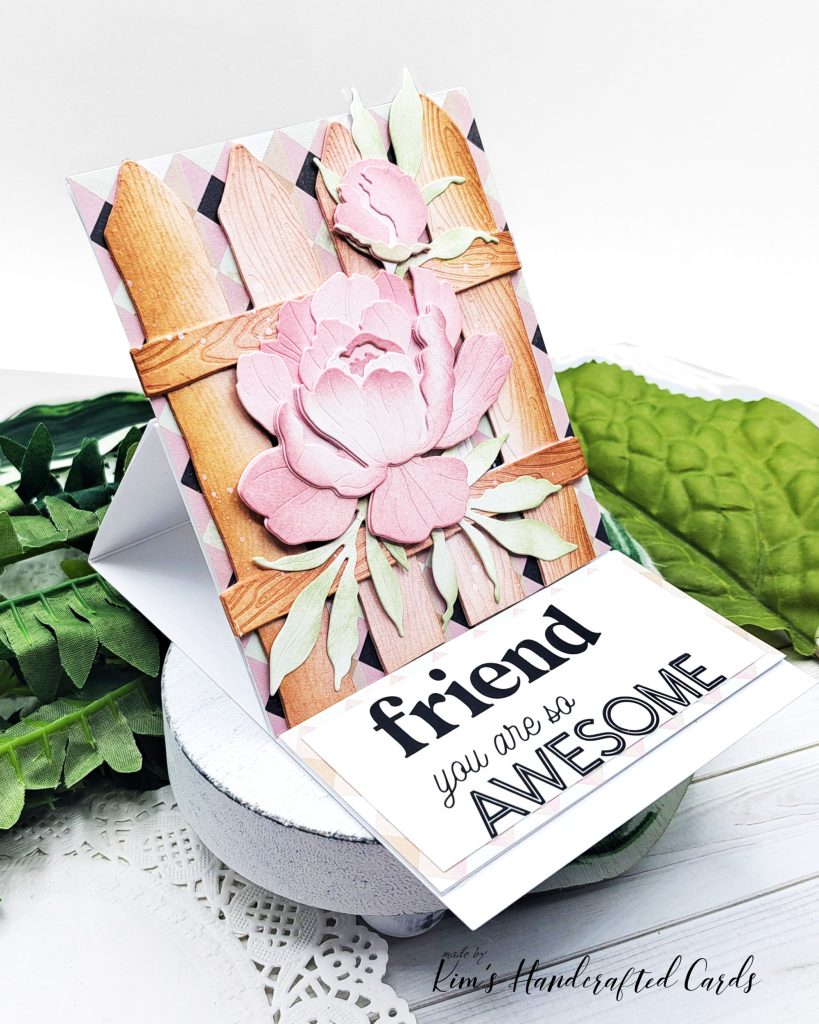
So as not to duplicate Joy’s card, I decided to make easel cards! They are so fun and easy to make + they make a wonderful keepsake for the recipient and I’m happy how these 2 cards turned out.
Check out my other posts using other Lovely Layers dies here. You can see my favorite Easel card with Honey Bee’s Coneflower here. And if you want to see some of my other easel card designs, click here.
Making the Easel Cardbase
Let’s start off making our cardbase. This is really easy, I started out with a regular 8-1/2″ x 11″ heavyweight cardstock (120 lb.). I scored this sheet horizontally at 5-1/2″ and folded it. Then, I trimmed it at 4-1/4″. Now I have 2 top folding cardbases! Next, open the cardstock and score on the left size at 2-3/4″. This makes the cardbases into easels. Now all we need is a stopper so that the card panels can sit up.
Making the Stoppers
I trimmed about 3 pieces of heavyweight white cardstock and 1 sheet of pattern paper from my stash into 4-1/4″ width by 2″ height and glued them together. Then I glued the pattern paper on top. I decided my sentiments would be on the stoppers so I trimmed another piece of white cardstock to 4″ x 1-3/4″.
Creating my Focal Points
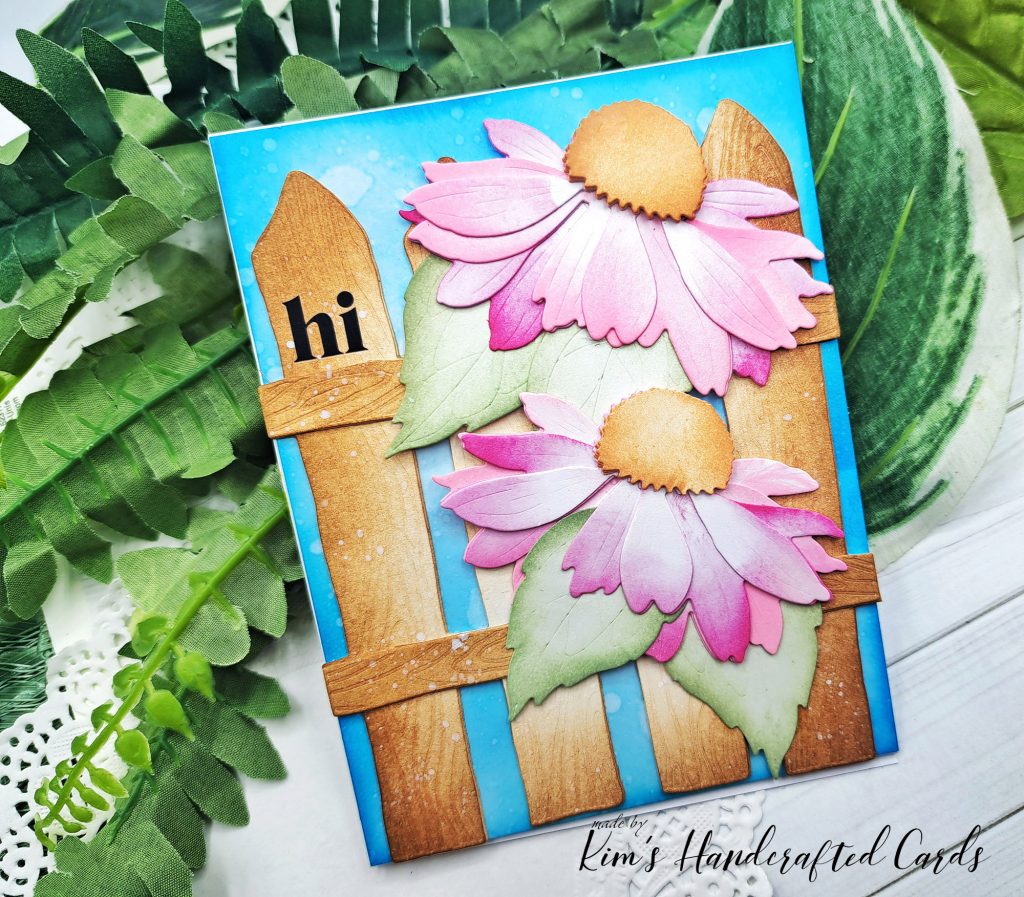
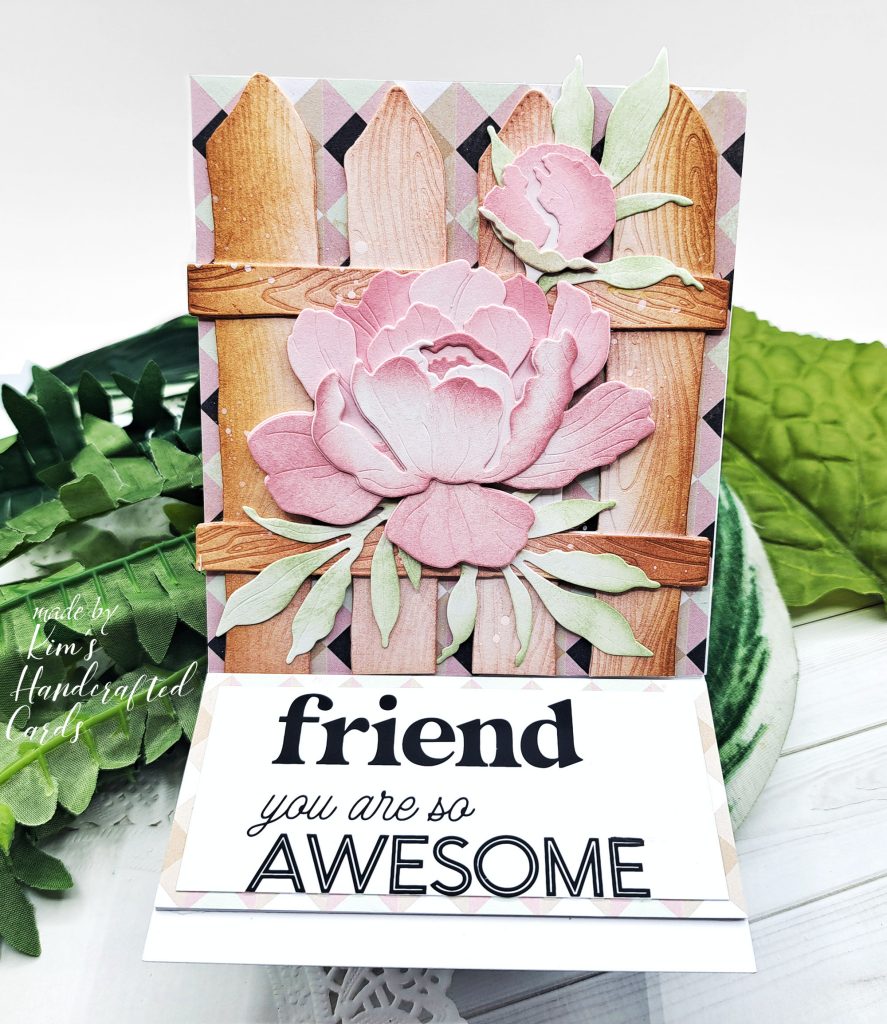
I’m going for dimension so I die cut my fence a total of 4 times so I could glue 2 pieces together for both cards. The fence die comes with 2 horizontal pieces that I also die cut to have 2 pieces glued together (a total of 4 per fence). This dimension really makes a big difference in the end.
Color Choices
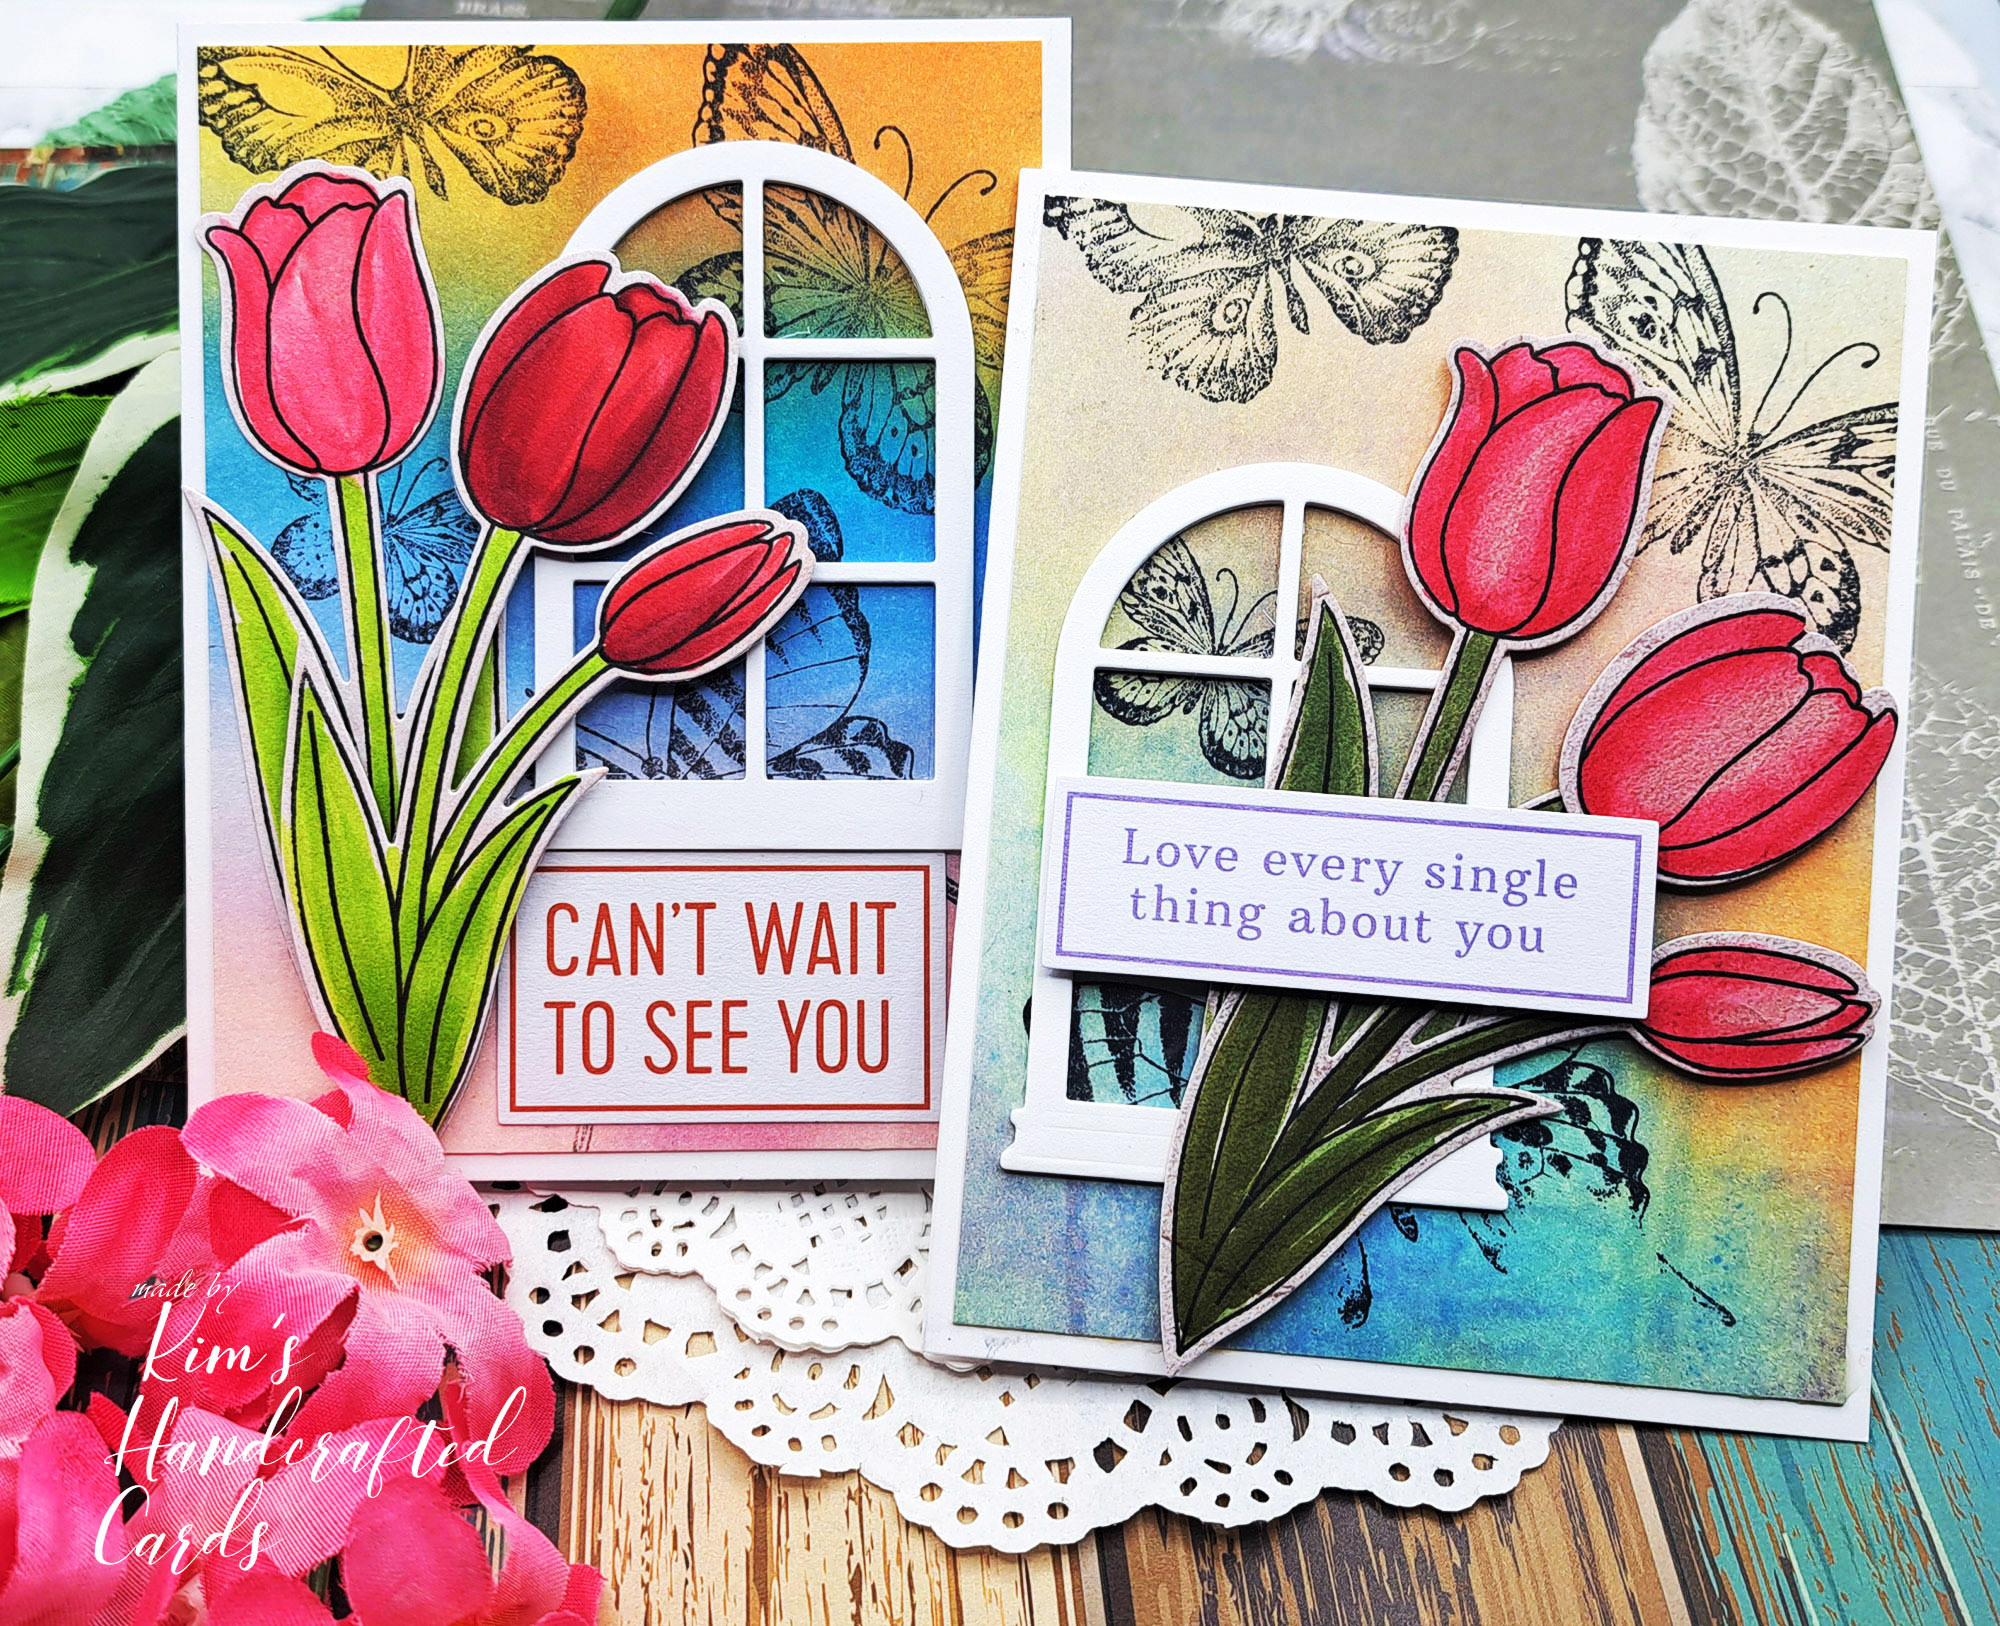
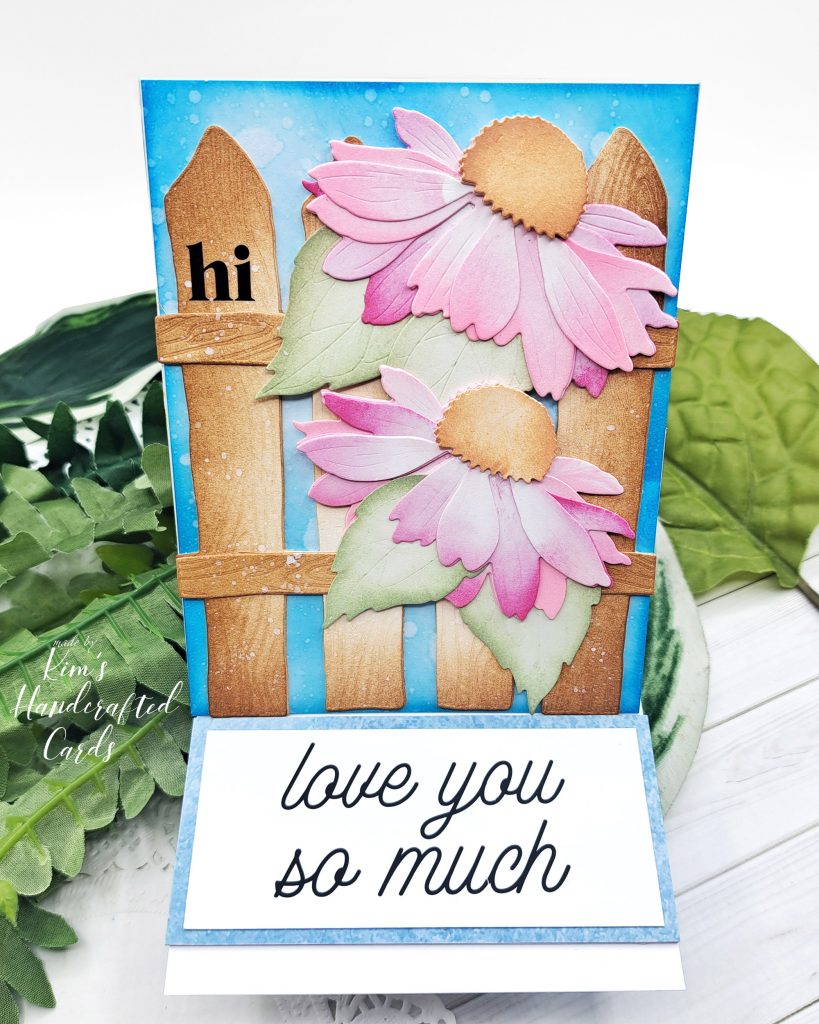
To do my ink blending, I used regular Distress inks in “Tea Dye” and “Vintage Photo“. I was heavier on the edges and lighter towards the center. After that, I set the fences aside and die cut my lovely layers. I used the Coneflower and the Peony, two of my absolute favorites. I die cut 2 coneflowers cause I had more room.
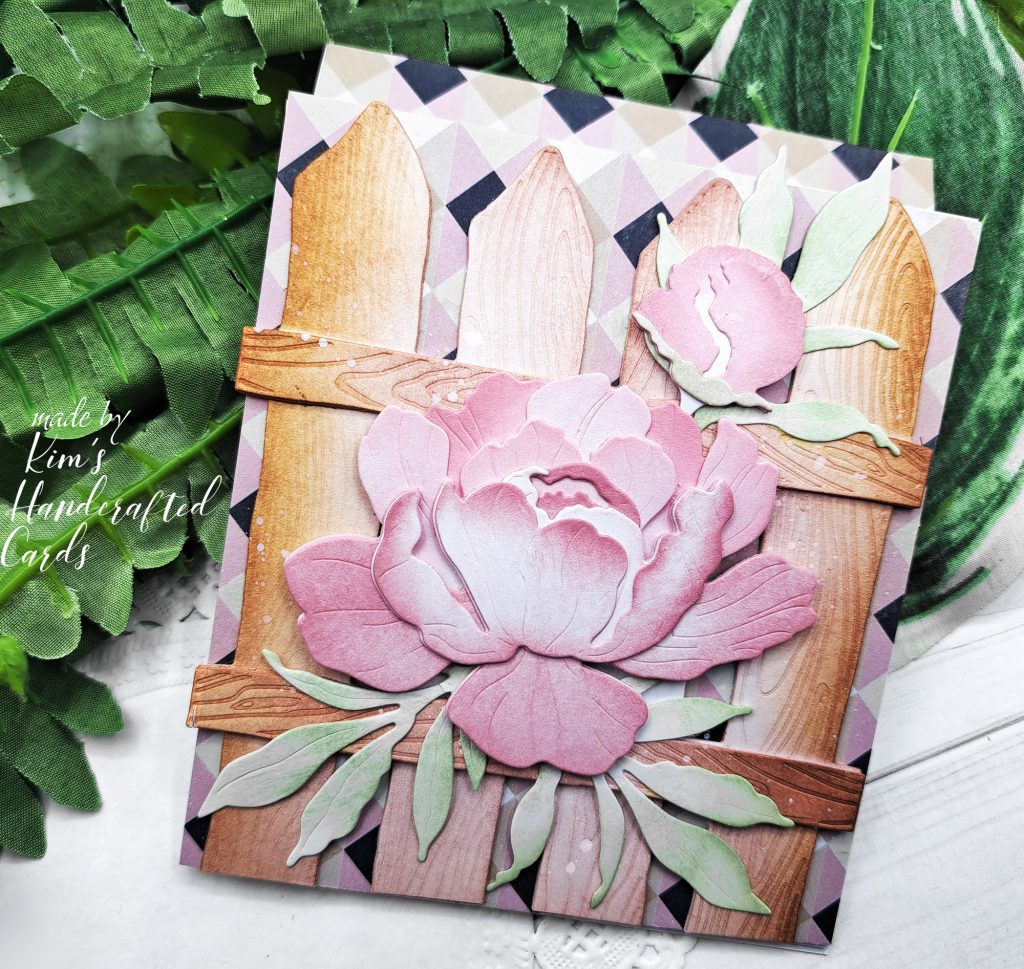
For the Coneflowers, my colors were “Kitsch Flamingo” and “Picked Raspberry”. I ink blended the petals blending the two colors sometimes heavy and lighter, I was aiming for the edges to be darker. I used two colors I hadn’t worked with before on the Peony: “Spun Sugar” with “Victorian Velvet”. The leaves were colored with “Bundled Sage”. After putting my florals together, I moved over to designing my card panels.
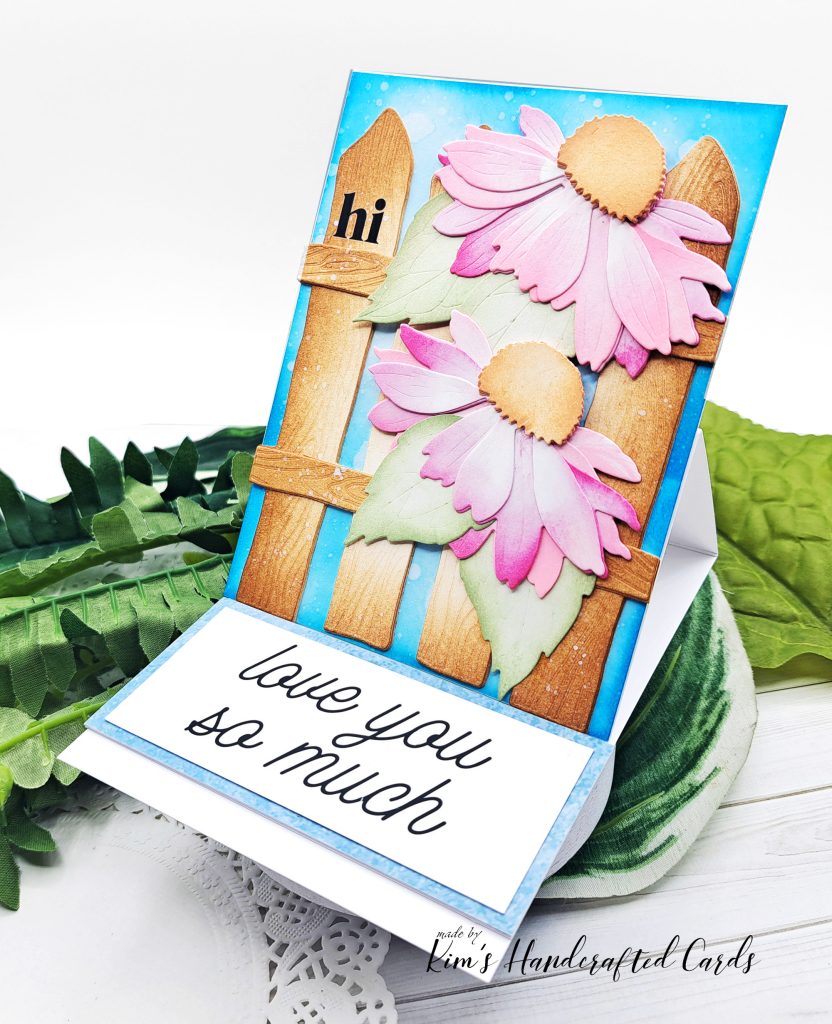
On the Coneflowers card, I ink blended my panel on white cardstock, using “Tumbled Glass”, “Speckled Egg”, “Broken China” and “Peacock Feathers”. I kept working with these colors until I got a nice blend.
Making the Card Panels
For the Peony card, I covered the panel with this pretty pattern paper I purchased on AZ. You might notice in the photos below that this card panel looks a little shorter and that’s one of the things I love about easel cards. You are not constricted to using a full A2 size, you can make shaped die cuts, panels at any height and even landscape easel cards. Jennifer McGuire has a wonderful YT video demonstrating different ways to make easel cards. I highly recommend watching it!
Putting it All Together
Once all my parts were done, I splattered a lil water on, not much, because I wasn’t working on watercolor paper. I let it dry and then splattered some white acrylic paint, again not much. After that dried, I glued my fences to the panels (I also die cut 2 more cardstock sheets and glued them to my panels to give my cards strength).
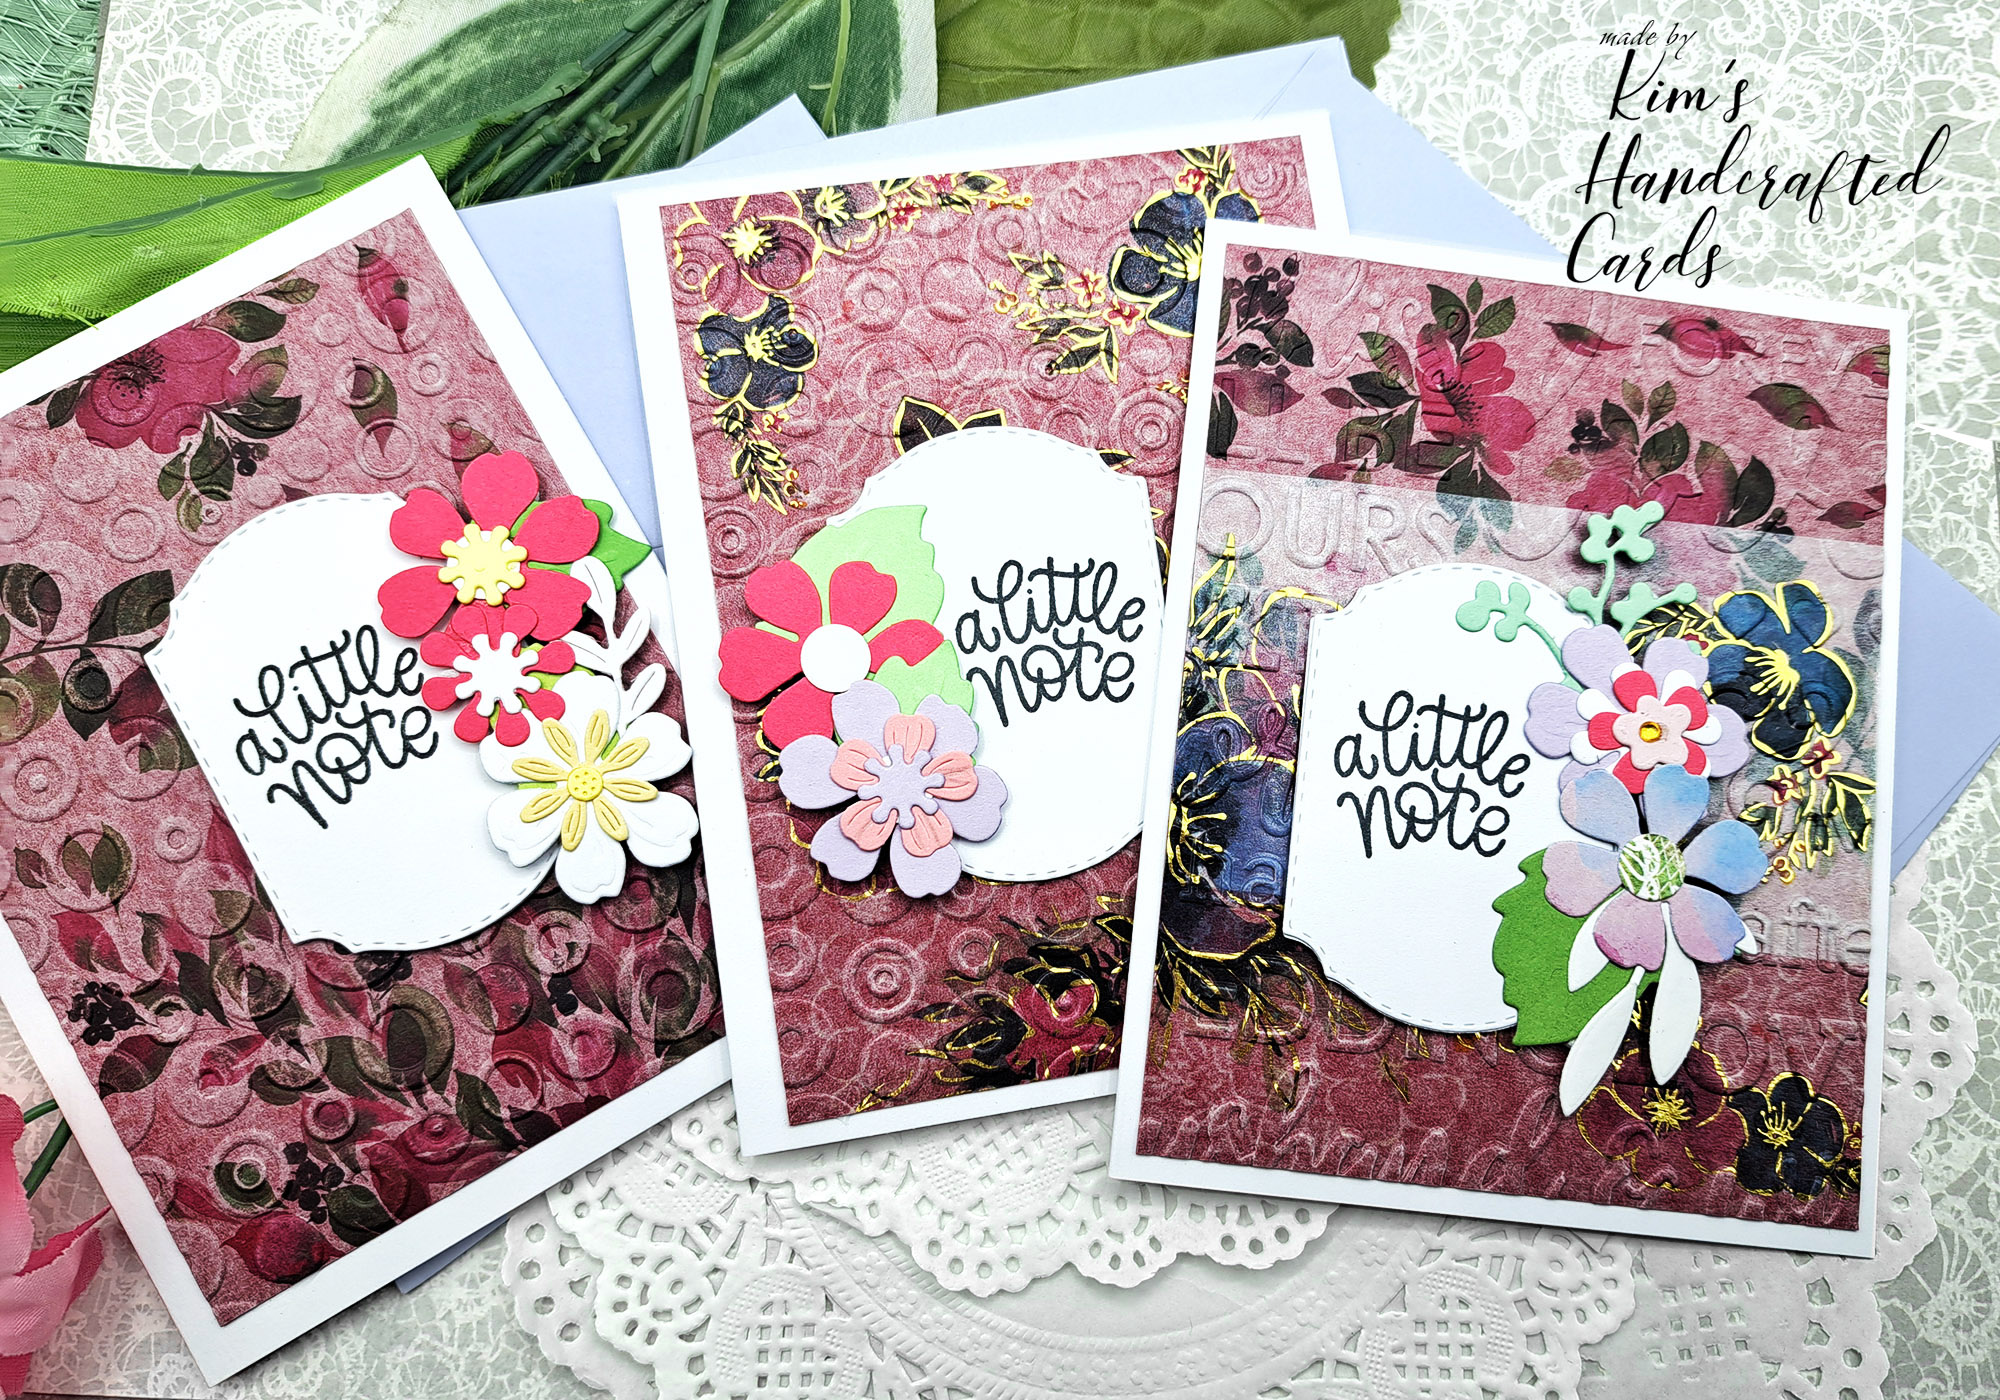
Then, I placed my florals on top and next, time for the sentiments! If you’ve read my previous posts, you’ll know how much I’m loving Scrapbook.com’s rub-on transfer sheets. So, that’s what I used for these cards. The Peony card doesn’t have a sentiment on the top, because I couldn’t bear covering up the flower. Even on the coneflowers, I used a small sentiment that I rubbed onto the fence.
I love our cardmaking/papercrafting community! There is so much inspiration and crafters are so encouraging. It’s a safe place to create, share and meet wonderful friends! Thanks for Reading!
Some of the links to the products I used are affiliate links which means that when you shop with them, I’ll receive a small commission at no extra cost to you. Your support helps me run my small crafty business. Thank you so much!

- Honey Bee Stamps “Lovely Layers” Peony Die Set here, here or here
- Honey Bee Stamps Lovely Layers Coneflower Die Set here or here
- Honey Bee Stamps “Lovely Layers” Collection
- Honey Bee Stamps Barn Wood Fence Die set
- Scrapbook.com – Card Maker Sentiments – Rub-On Transfers – 6×8 – 2 Sheets
- Distress Traditional Inks or browse all the Distress lnks here
- Blending Brushes, large size here, tiny size here
- Accents Opaque 120 lb. White Cardstock
- Right Now Vintage Florals 12 x 12 Pattern Paper Pack – AZ
- Rich Art Acryology White Acrylic Paint (comes in a set of 12 on AZ) – or try Crafter’s Square white acrylic paint here
- Ngwall Flat Paintbrush (set of 12)
- Scrapbook.com Acrylic Stamping blocks
- Distress Spray bottle
- Glassboard Craft Mat → Use my Code → KIMCARDS20 at checkout
- Paper Trimmer: Tim Holtz here (Ranger), here (Scrapbook.com) or here (AZ)
- Scor-Buddy Scoreboard
- Bearly Art Glue
- Teflon bone folder (I bought mine on AZ in 2018, no longer available), but here’s a similar one from Honey Bee Stamps here
- Craft Reverse Tweezers by EK Tools (great for picking up die cut pieces)
- Crafter’s Edge Crossover II Fabric/paper Die Cutting Machine