Don’t we love it when a plan comes together perfectly? However, oftentimes, a plan may have to be adjusted along the way or you may have to turn to plan B. But, what happens when your original plan goes awry and there’s NO plan B or C?!
Well, let me tell you my short story! LOL! My original design was NOTHING like the outcome of these cards today. So, in this post, I want to share with you not only how I made these but how I rallied to find a way to turn the design into something that I really love!
In everything creative, there are those times when nothing comes together like we have in our head. Normally, I would get angry and toss the idea in the trash. BUT, one of my 2022 crafty goals is to stop getting frustrated with my mistakes. I’m proud that when I had to change my plan, I didn’t give up nor got upset. I took a break and did some other things instead.
So, what was the original design? I wanted to try a technique of making a shaped card where the front flap would have the shape and the card would open much like a gatefold card. The inspiration came from Jennifer’s YT video here (“front flap shape cards“). I LOVE this design, however I don’t own large layered stamp sets, but she shared how we can use smaller stamped images to achieve the same effect. So, I thought I would use Altenew’s Beauty Within” layered stencil/die set. It has beautiful Japanese flowers and after picking out my color choices, I made my flower clusters and die cut them out. I used Glad Press ‘N Seal to pick them up before placing them on my card base and I love how the flowers turned out.
I was able to successfully put the 2 cards together like in her video, but where I went wrong was the fussy cutting. I chose the wrong pair of scissors and as I cut around my flowered clusters, it left jagged edges that looked horrible on the backside of the image which the recipient would see very well when opening the card. I tried several ways to fix it, but no good! I knew I had made a big mistake. I thought maybe to cover up the back with a sentiment, but nothing would be large enough to hide that. My sand eraser couldn’t fix it either, the cardstock was even peeling on the backside. Sooo…I took a long breath and put the project down.
SEVERAL HOURS LATER…
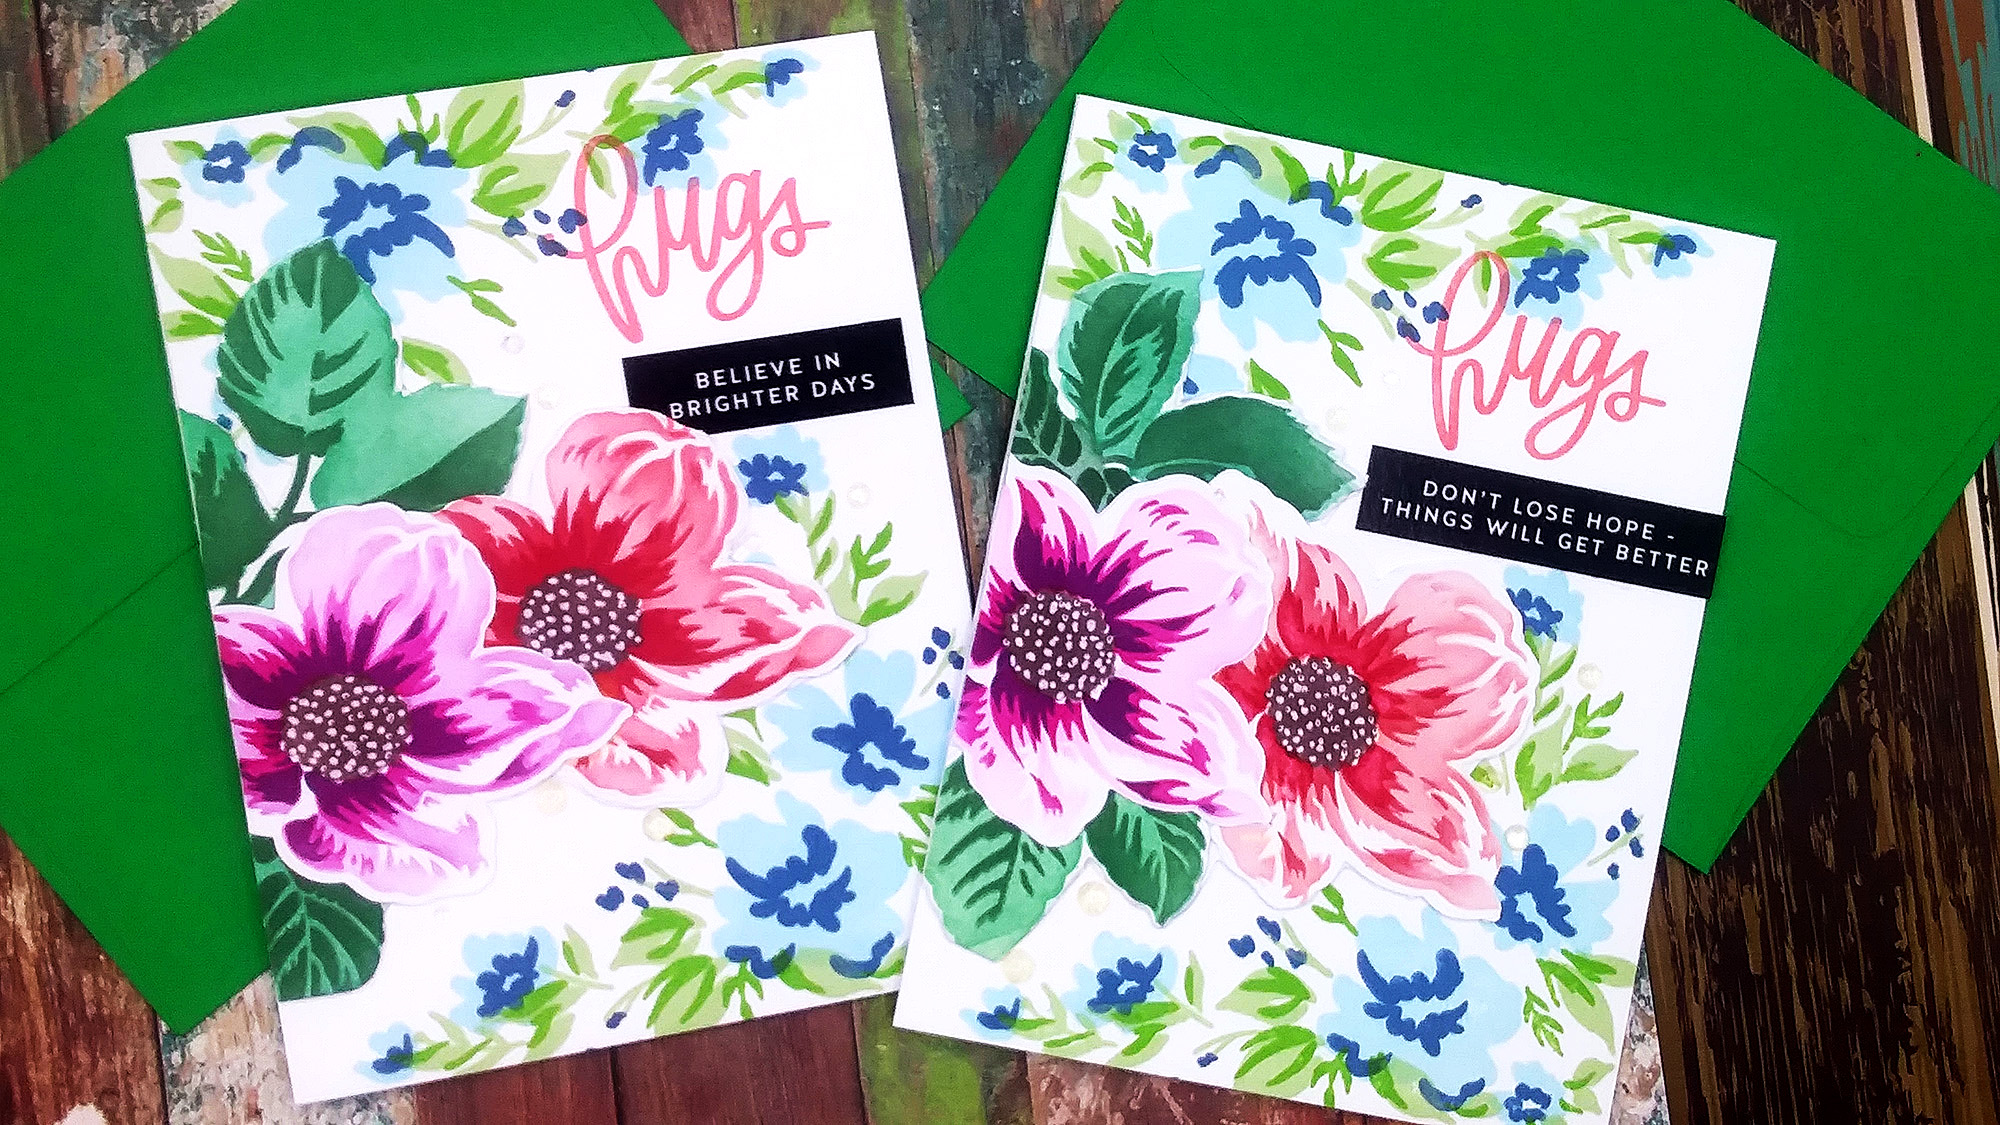
I decided to make 2 regular A2 size cards and since nothing was wrong with the front of my flower clusters, I could easily glue them to card panels and then adhere them to card bases and no one would ever see the backside.
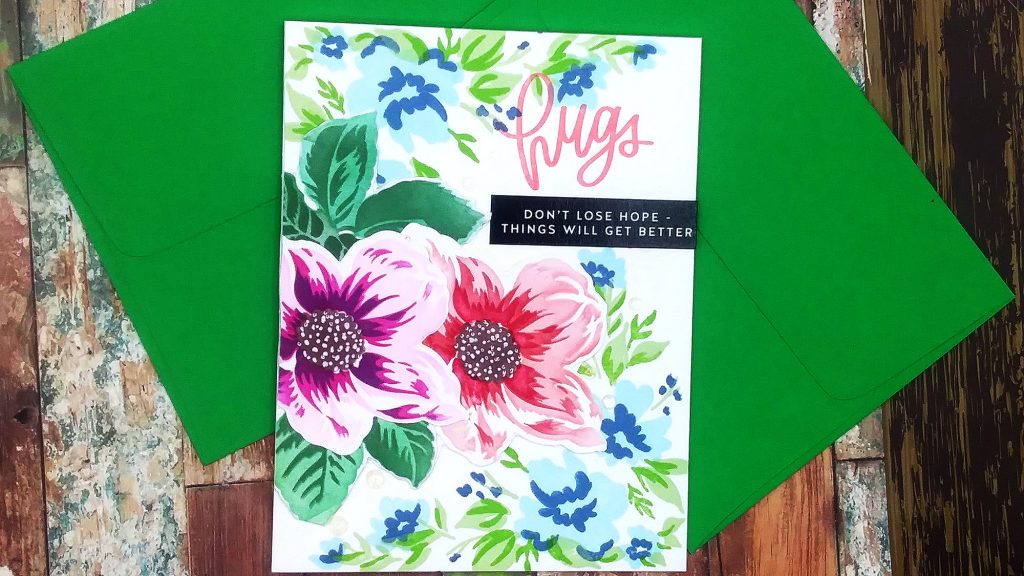
First, I trimmed off my flower clusters from the original card bases, then looked through my stamp sets for a background design. I settled on Simon and Pinkfresh Studio’s limited collab “Celebrate our Differences” stamp set. It’s has 4 layers that creates pretty flower borders around a card. This set came out for Simon’s “Stamptember” event in 2019 I think and so it’s no longer available.
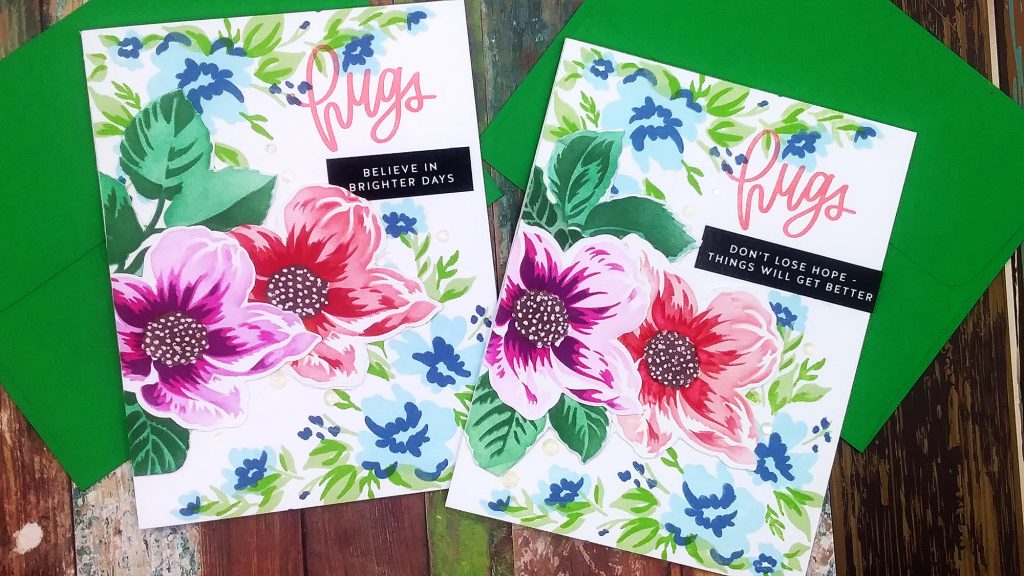
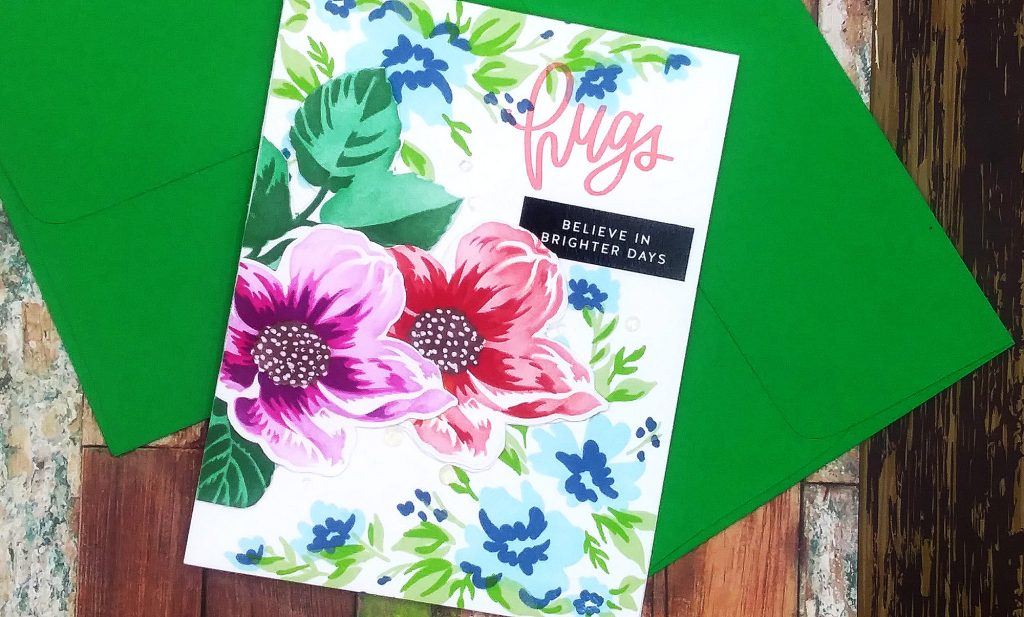
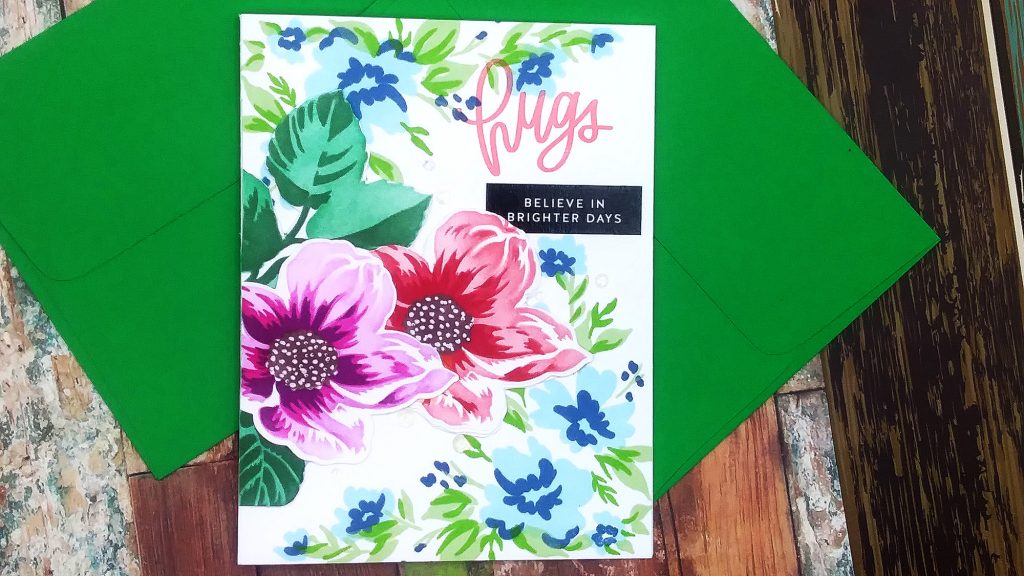
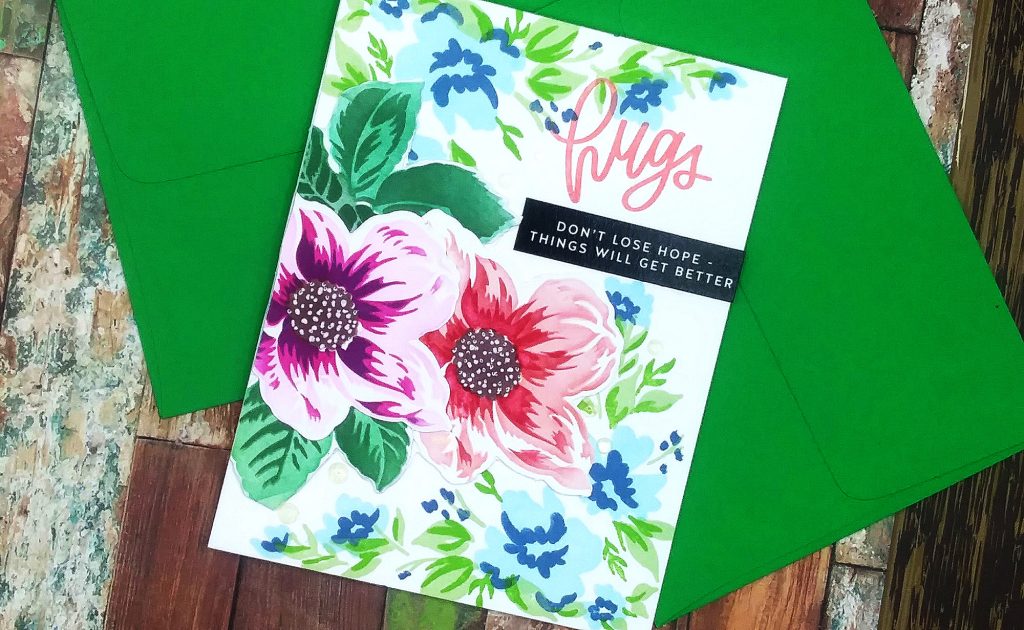
I picked out some inks from Pinkfresh (love these inks) and created 2 card panels. I really liked it and at this point, my hope had returned! I placed my flower clusters and trimmed off the excess, then added small sentiment strips from Simon. (Note: I couldn’t find the exact ones I used but I’ve linked to their entire collection at the end of this post.) These sentiment strips are great for making quick cards.
Also, stamped the “Hugs” sentiment, also from Simon, in “Blush” color with their “Pawsitively Saturated” Inks. Finally, topped these with some Spellbinders Crystal gems.
My disappointment was gone, because I was able to come up with a plan B though I didn’t know what to do initially. Such a great lesson that even though I didn’t make a shaped card, I still rebounded.
I really want to use a large layered stamp set for a shaped card, so I signed up to be notified when Altenew’s “Golden Days” stamp set comes back in stock (this is the set Jennifer used in her video).
NOTE to THYSELF…
It’s okay to make mistakes in crafting so long as I don’t allow mistakes to make me give up.
Here’s more pics of these beautiful 2 cards! I absolutely LOVE how these cards turned out, so glad I persevered!

- Altenew “Beauty Within” Die Set
- Altenew “Beauty Within” Stamp Set
- Altenew “Beauty Within” Stencil Set
- Simon Says Stamp “Garden Greetings” Stamp set
- Simon Says Stamp “Pawsitively Saturated” Inks (1st collection)
- Simon Says Stamp Reverse Sentiment Strips Collections
- Spellbinders “Crystal Mix” Gems
- Pinkfresh Studio Inks