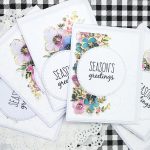
Inspiration comes in so many ways! The idea behind these cards came from a video tutorial I was watching from Kristina Werner YT Channel. She does LIVES on her channel, but the link above is the edited replay in case you want to watch a shorter video.
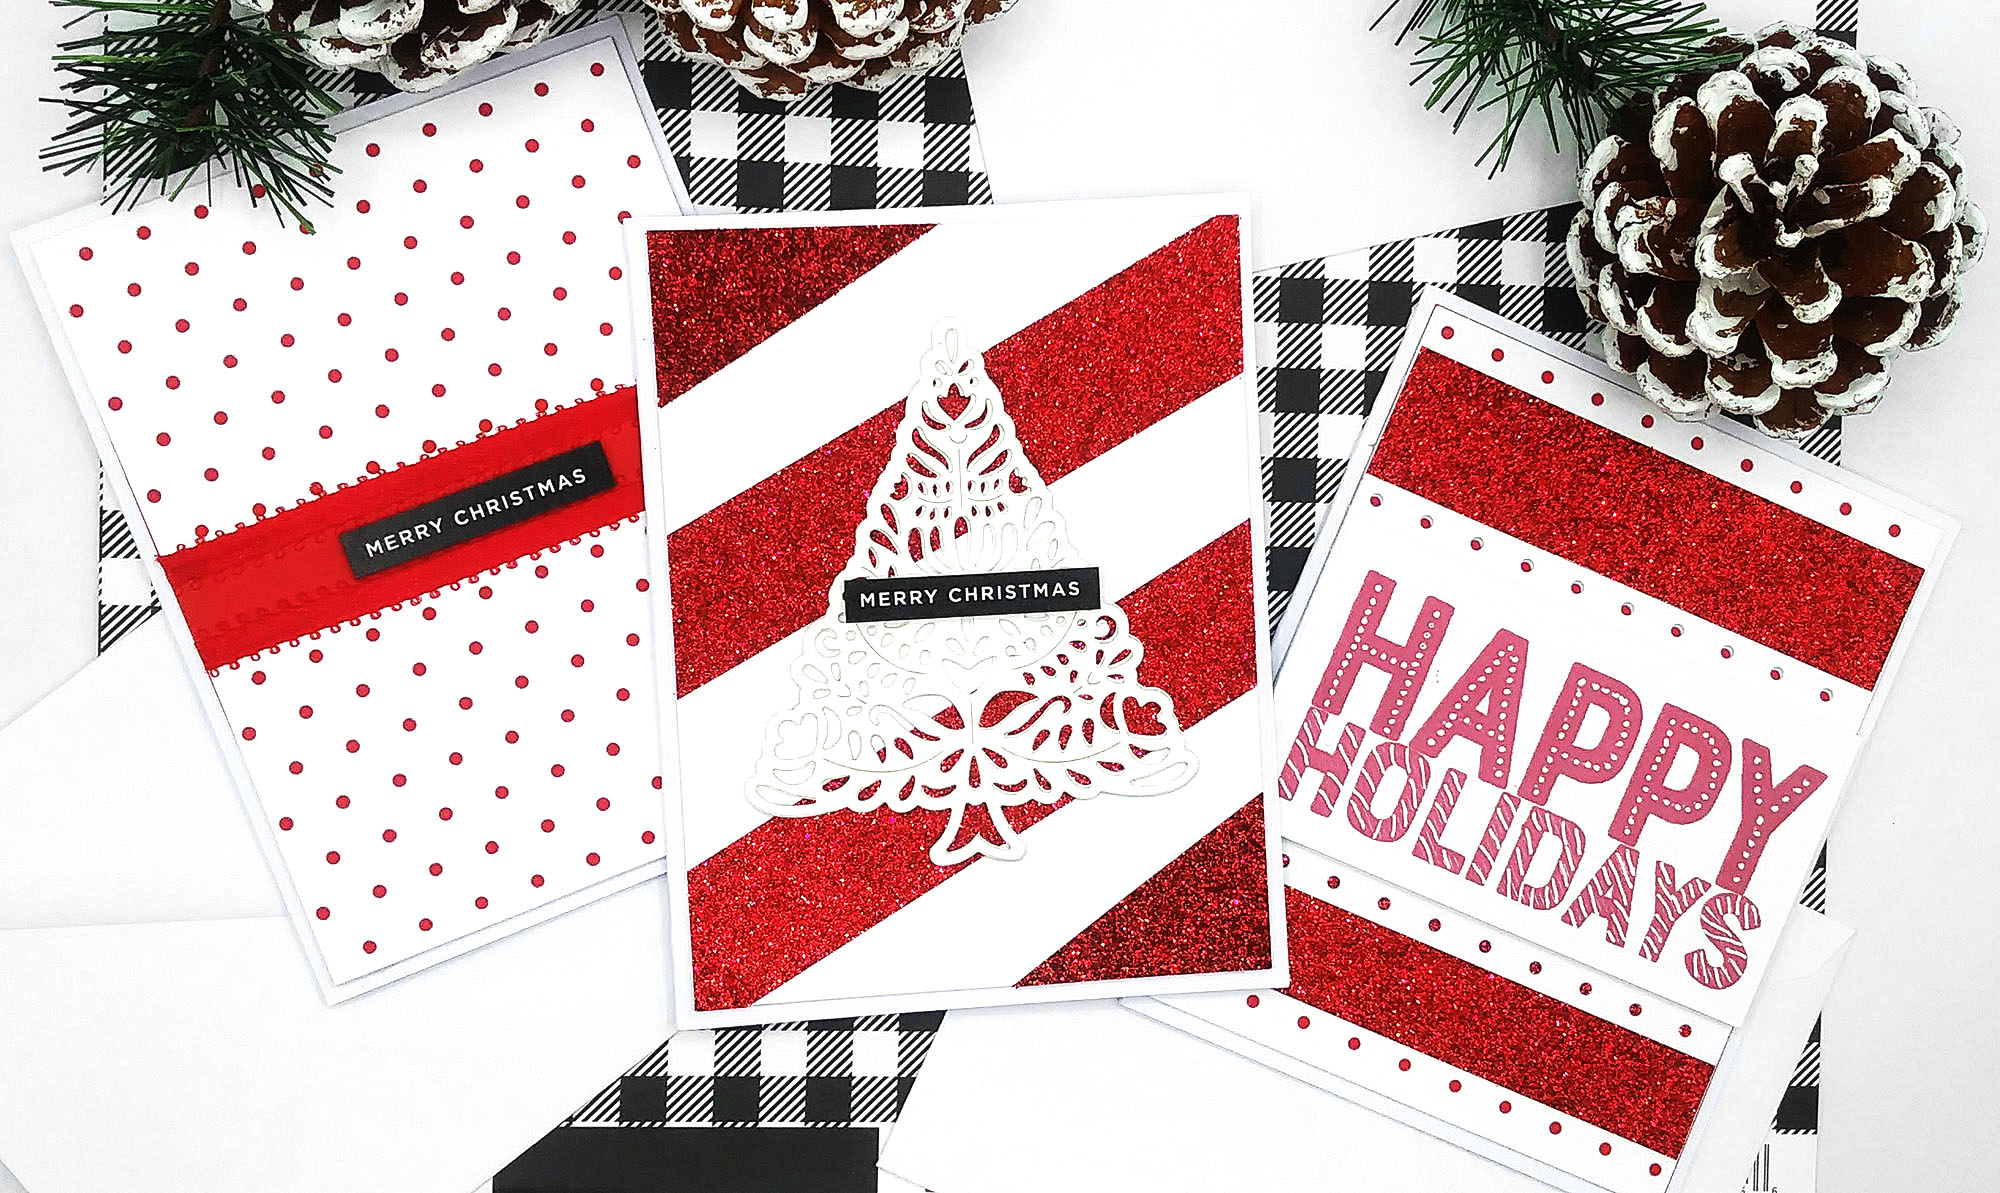
Her card is very different from mine here, I took away her background for inspiration to make my simple CAS card today. And, I love the addition of the bow she used to finish off her card! We start out by making a candy cane background and for this, I used red glitter paper from Memory Box.
I trimmed my glitter cardstock into 1 inch strips and glued them diagonally across my card panel.
Meanwhile, I die cut Hero Arts Floral Holiday Tree twice with white metallic paper and glued them together for a little dimension. To finish this easy card design off, I used Simon Says Stamp “Reverse” Christmas sentiment strip.
BONUS CARDS
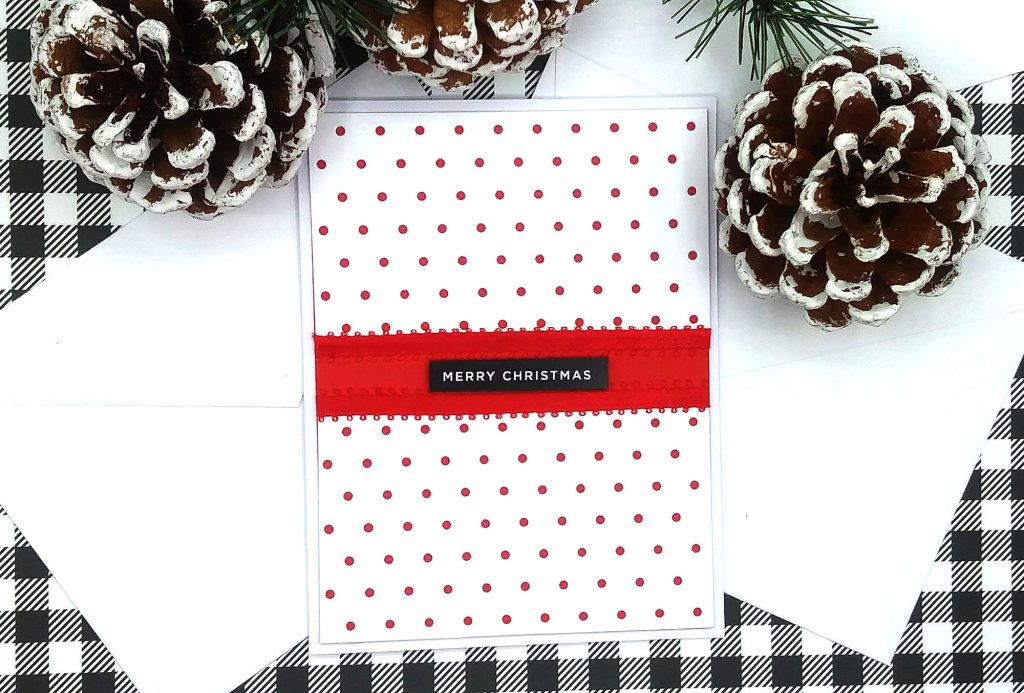
I had extra strips left over so decided to make a couple more cards! They both use the Studio Katia “Mini Dots” cover die for the backgrounds.

For the card above, I die cut the mini dots die a few times and trimmed them down to 4″ apiece. I trimmed down a few sheets of red cardstock to 4″ x 5-1/2″ from Simon Says Stamp for my card panel.
Then I layered my mini dots over it at the top and bottom of the card and added the red glitter strips on top of that and finally another mini dots piece in the center. On a separate sheet of white cardstock, I stamped the “Happy Holidays” in Candy Apple ink from Pinkfresh Studio.
That sentiment is the “Big and Bold Holidays” stamp set by Scrapbook.com. I took my white gel pen to trace over the pattern to make them show up more. Also, there’s dimension (double sided tape also from Scrapbook.com) behind this sentiment. And this card was done!
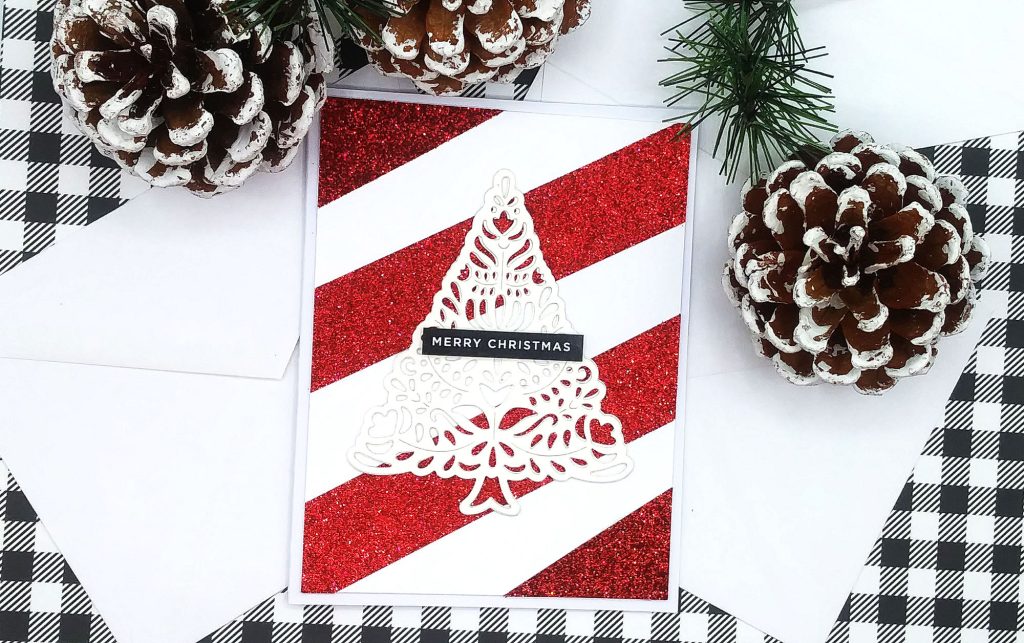
For this last card I took one of the other mini dots die cuts (this one was trimmed in the center for 2 pieces). I glued one on top and the bottom of the panel with that same red cardstock for my card panel.
To add a little more interest, I took some ribbon from my stash and trimmed it down to add to the center surrounding the sentiment strip. I like how the red cardstock shows through the mini dots on these bonus cards! And, that’s it!! Simple and these cards came together so quickly too.

- Memory Box Holiday Glitter Paper Pad or any red glitter paper you may have
- Hero Arts Floral Holiday Tree Die
- Simon Says Stamp Colored Cardstock Bundle
- Scrapbook.com “Big and Bold Holidays” stamp set
- Scrapbook.com 1″ Double Sided Foam Adhesive
- Studio Katia “Mini Dots” Cover Die
- CZ Design Reverse Christmas Sentiment strips
- White #10 Gelly Roll Pen
- Pinkfresh Studio Inks