Hi my friends! Today, I’m excited to share 2 cards I made with Spellbinders BetterPress (letterpress) System. I’ll be honest with you, I’m typically the last person to jump onboard with anything new…software update, new smartphone, new craft tool.
When I first saw the intro to the BetterPress System, I didn’t really think I’d use it for my crafting style. I’m not a watercolorist so I wondered would I even use this if I purchased it. In fact, before I pull the trigger to buy something new, I ask myself these questions: “Will I use it?”, “How would I use it?”, “Can I think of 5 techniques that I can do with this tool, machine, stamp/die/stencil, etc.?” If I really can’t answer these questions _____, then I pass.
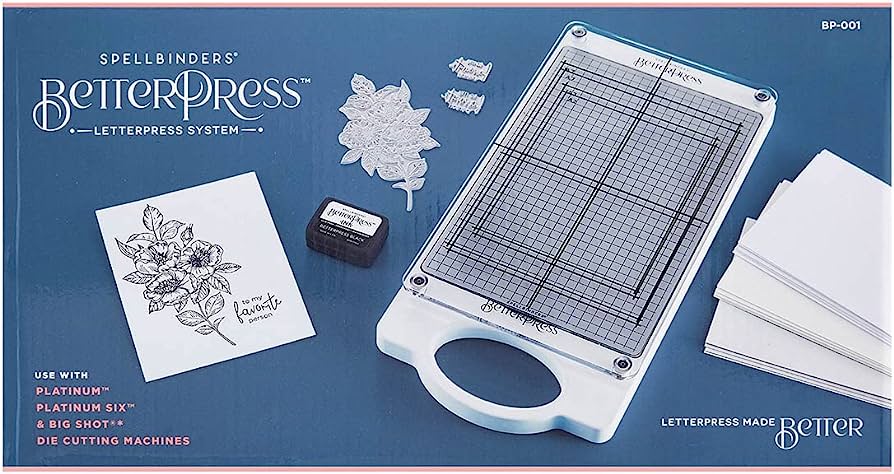
However, in this case I watched a bunch more videos on the BetterPress and I really was impressed with the results and how easy the tool is to use so I decided to buy it. I got it at a great price at Scrapbook.com with an additional coupon savings + a free gift!
I still wasn’t sure I could answer all my questions so I started second guessing my decision. It arrived yesterday and last night after work I played and OH MY GOODNESS did I have fun! I only have the basics because most of the add-ons for this system were out of stock so I signed up to be notified when products come back in. There’s a floral and sentiment set I really want, but for now I have the basics and it’s enough to make some pretty cards!
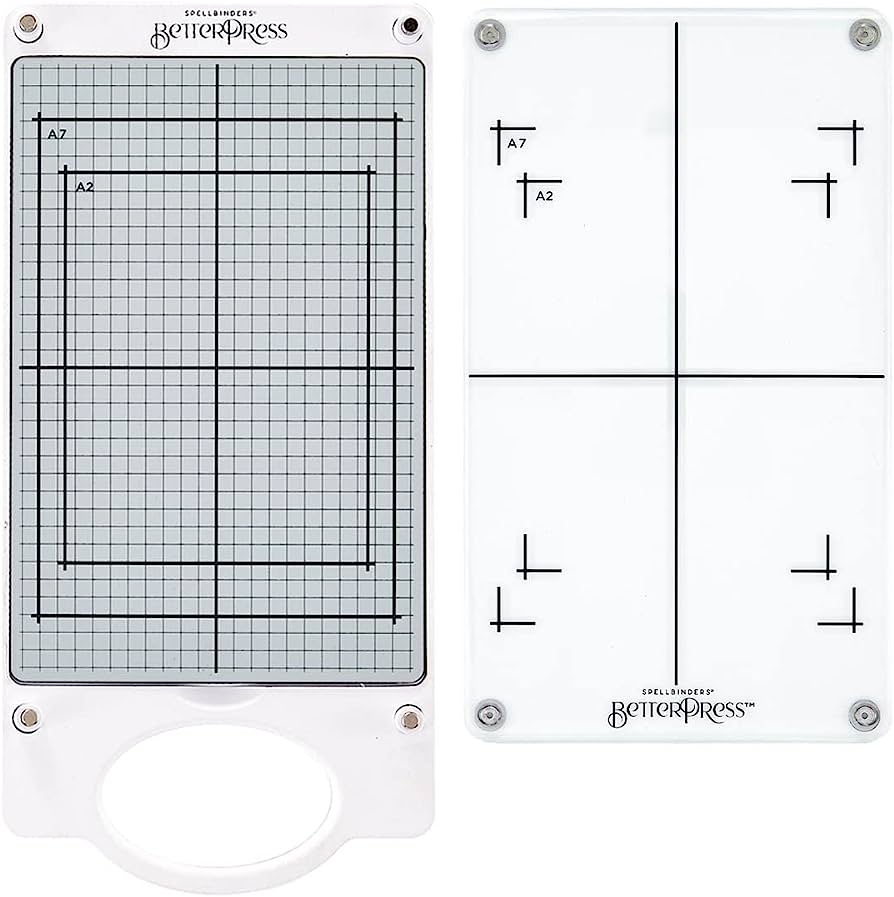
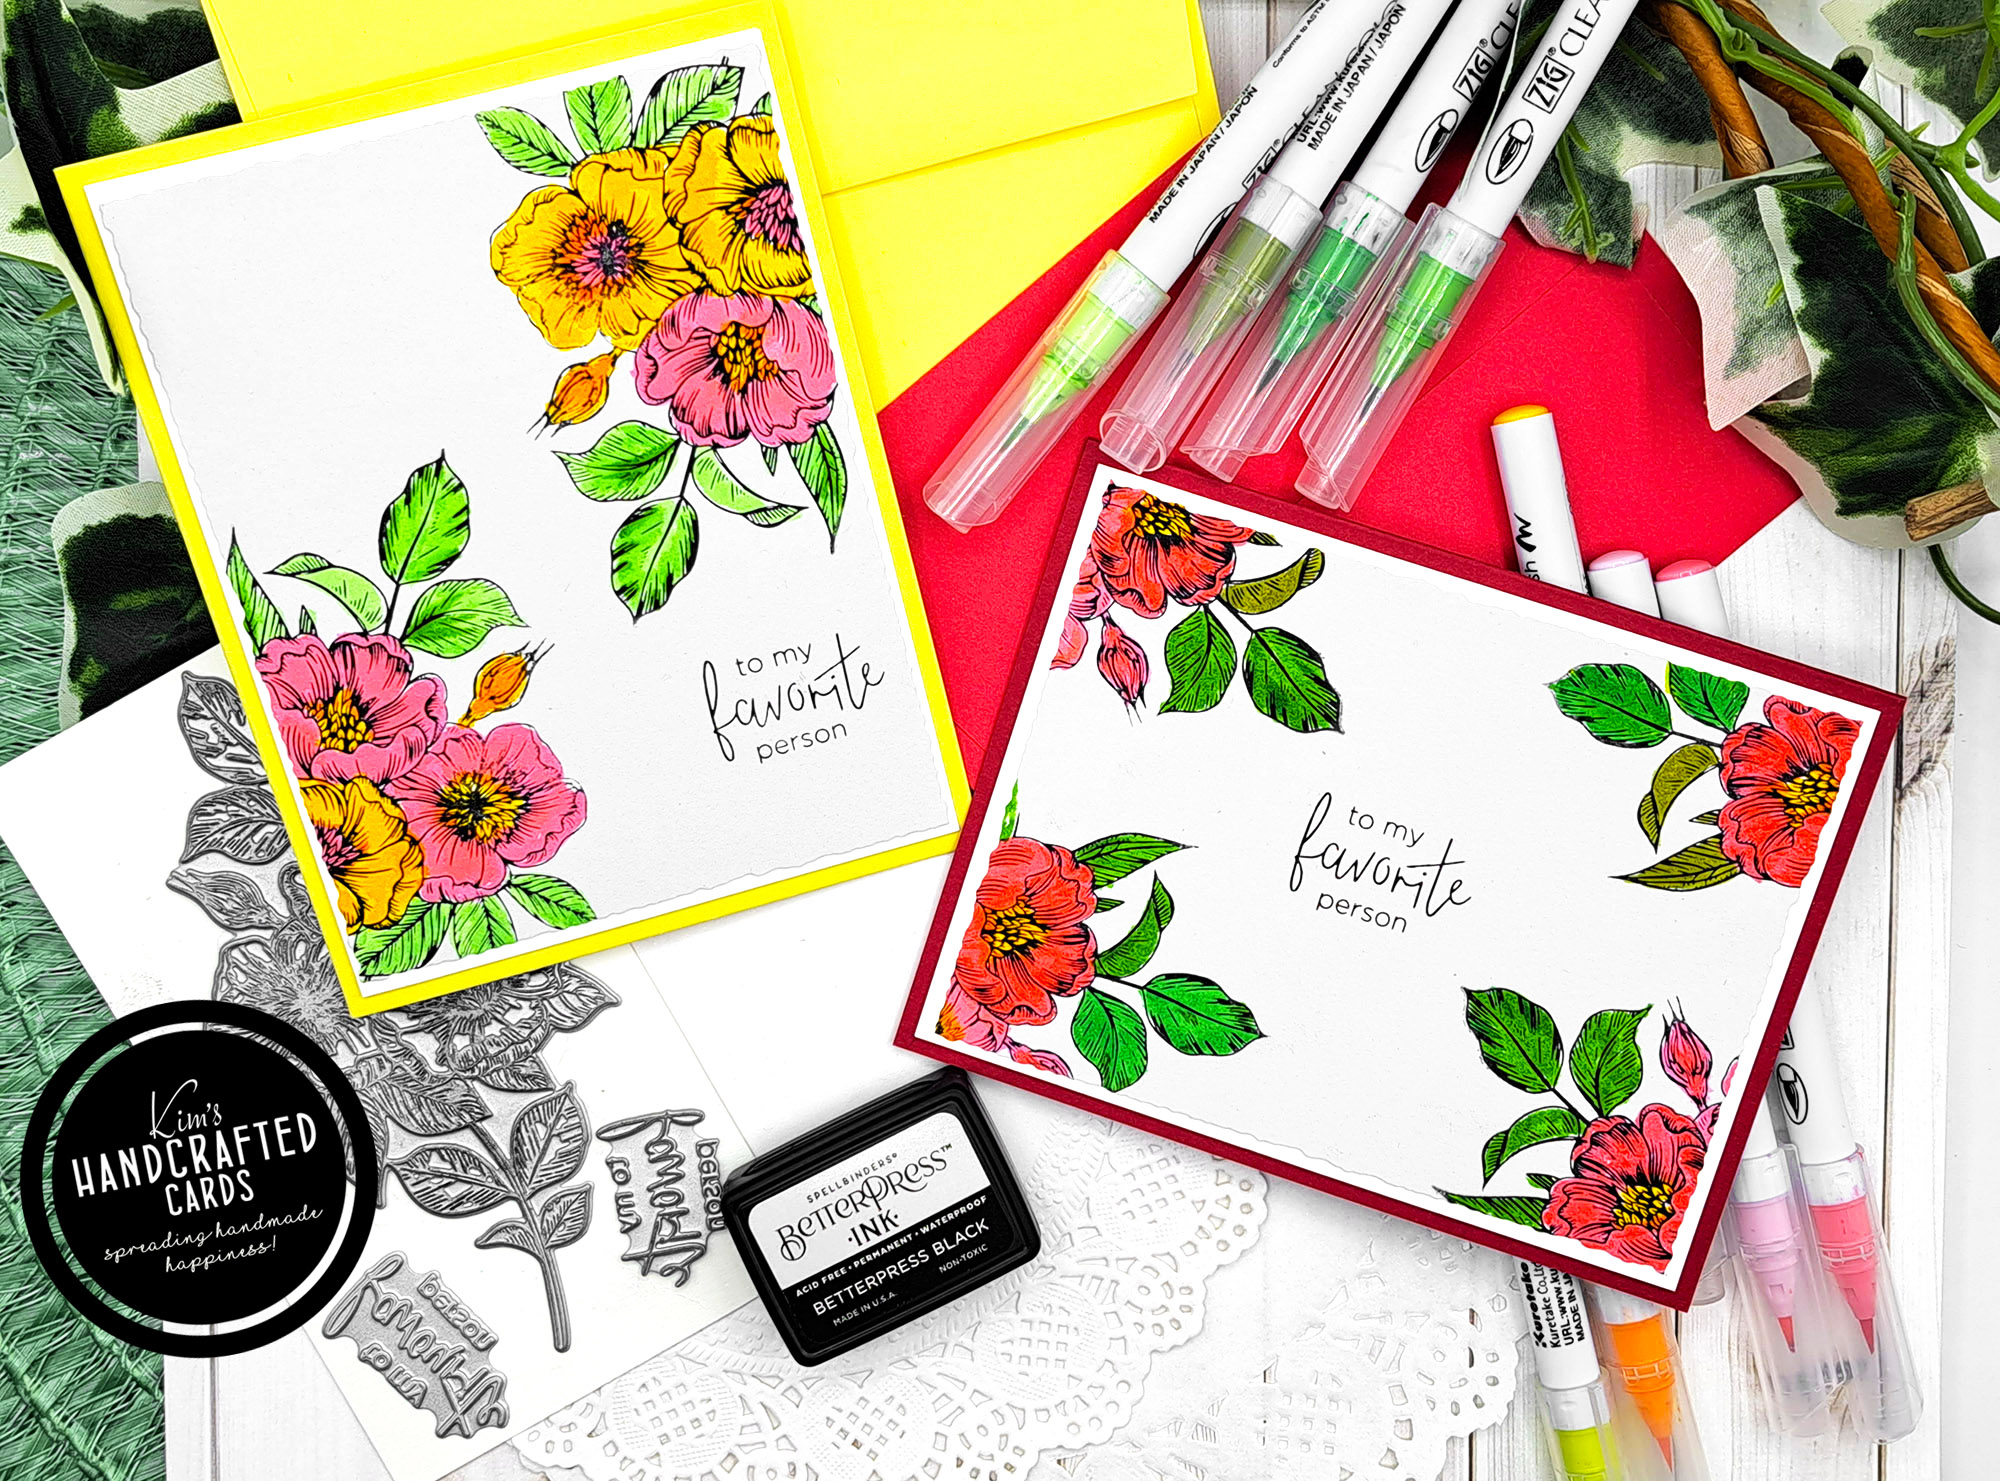
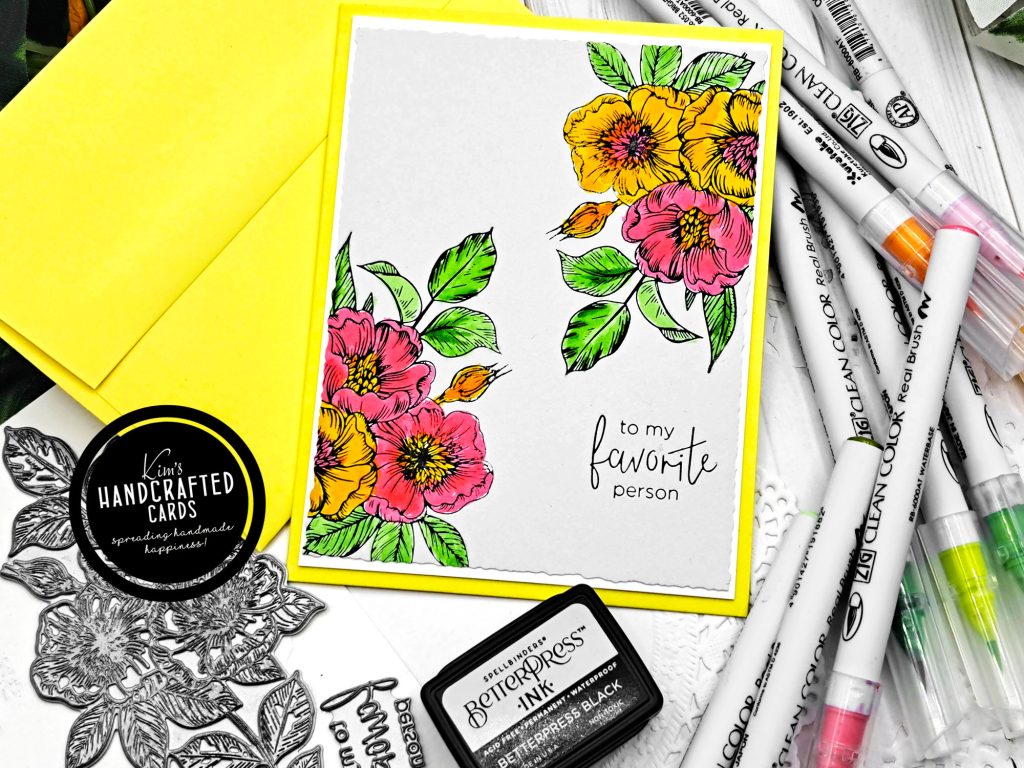
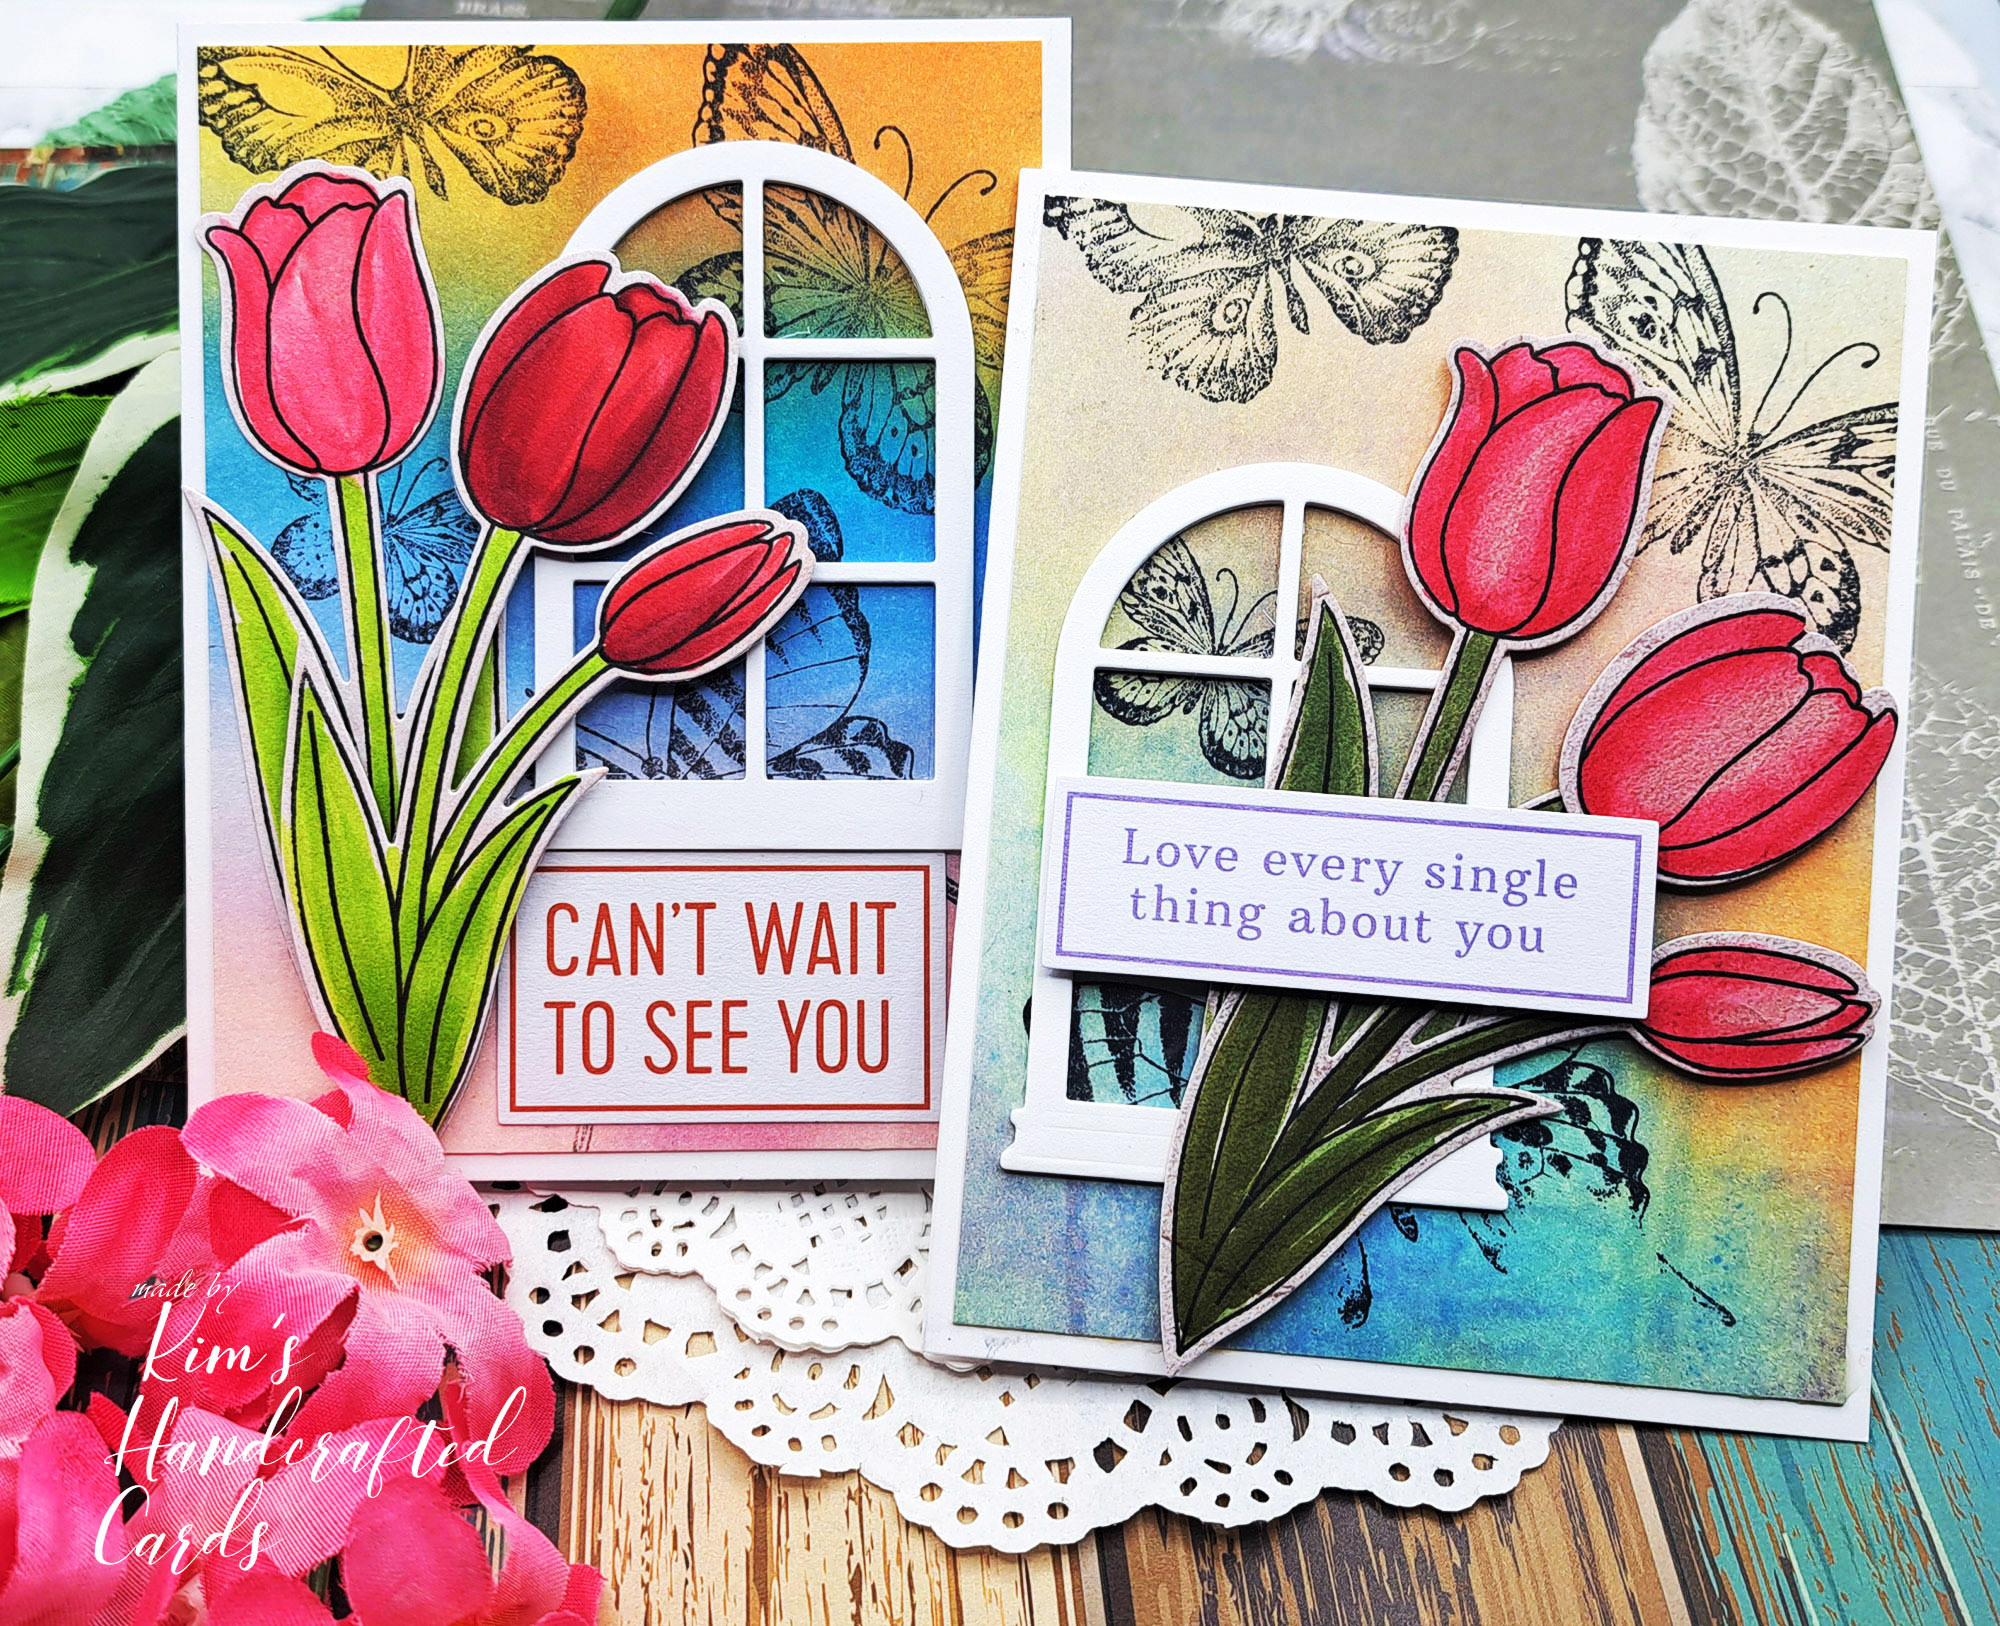
What I did with both cards is I used part of the plate (flower) and placed in in the corner of the chase, inked it, placed the platen on top and put it through my Platinum 6, then I flipped the plate and repeated the process to have the florals on both the left and right sides of the card on the left.
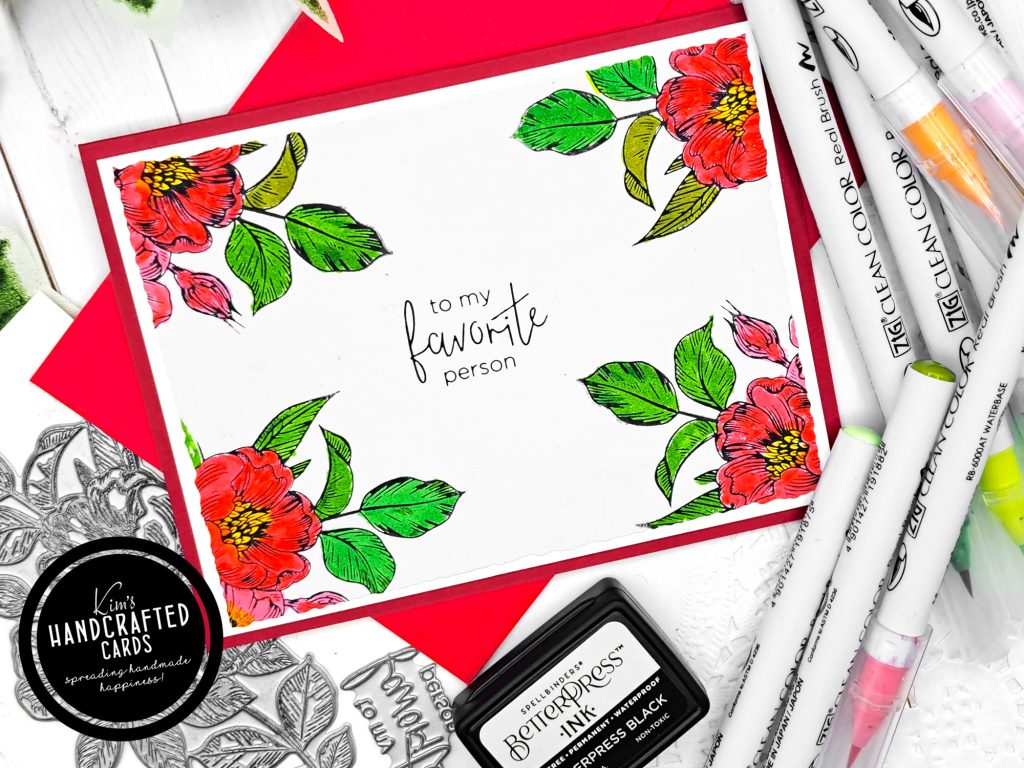
For the card on the right, I placed the plate in the corner on the chase. then followed the same steps above. After getting my florals on both corners, I moved the plate to the opposite corner on the chase and repeated the steps so that in the end, I’d have florals on all 4 corners.
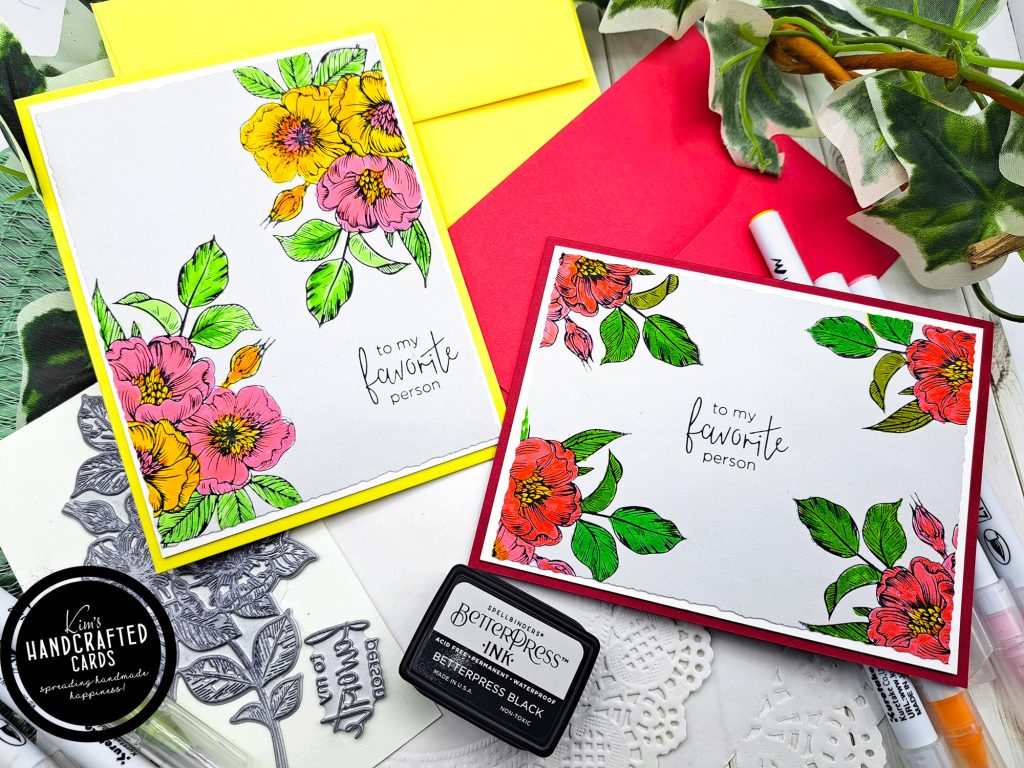
Now, I was blown away when I looked at my card panels. The texture and final images are incredible! So, I could’ve left my florals alone, they are beautiful without coloring but I decided to go with my Zig Clean Color Markers which I have used in ages. It was the best fun, this cotton paper just took to the colors effortessly and I really liked watercoloring.
For the specific colors:
Pink Flower: Light Carmine & Light Pink
Yellow Flower: Bright Yellow
Leaves: Pale Green, Light Green, Mid Green and May Green
Center of Flowers: Yellow, Yellow Green & Light Pink
Once I was done, I let the panels dry. Then, went back to the BetterPress to stamp my sentiment. The platen being clear helps knowing where you’re placing down the plates. Last thing I did was use Tim Holtz Deckle Trimmer to have a torn edge to my card panels and I adhered them to my cardbases with some dimension because I trimmed more cardstock to go behind them.
I can just play forever with this tool and I’m so glad I have it in my craft stash. If you’re on the fence about buying this tool, I get it. Be sure you do your research thoroughly and that it’s right for you and how you craft. Dawn with WPlus9 did a very good review on her YT video. If you do decide to buy it, I believe you’ll love the results you get! Thanks for reading!

- Spellbinders BetterPress System here or here
- Zig Clean Color Markers (60-set)
- Spellbinders Platinum 6 Die Cutting/Embossing Machine here or here
- Bearly Art Liquid Glue
- Accents 100 lb. White Cardstock
- Glassboard Craft Mat → Use my Code → KIMCARDS20 at checkout


Thank you for sharing your colors! I definitely want to try to replicate the card with yellow and pink flowers – gorgeous.
You are so sweet Jen! I sure hope you make the card and share with me!