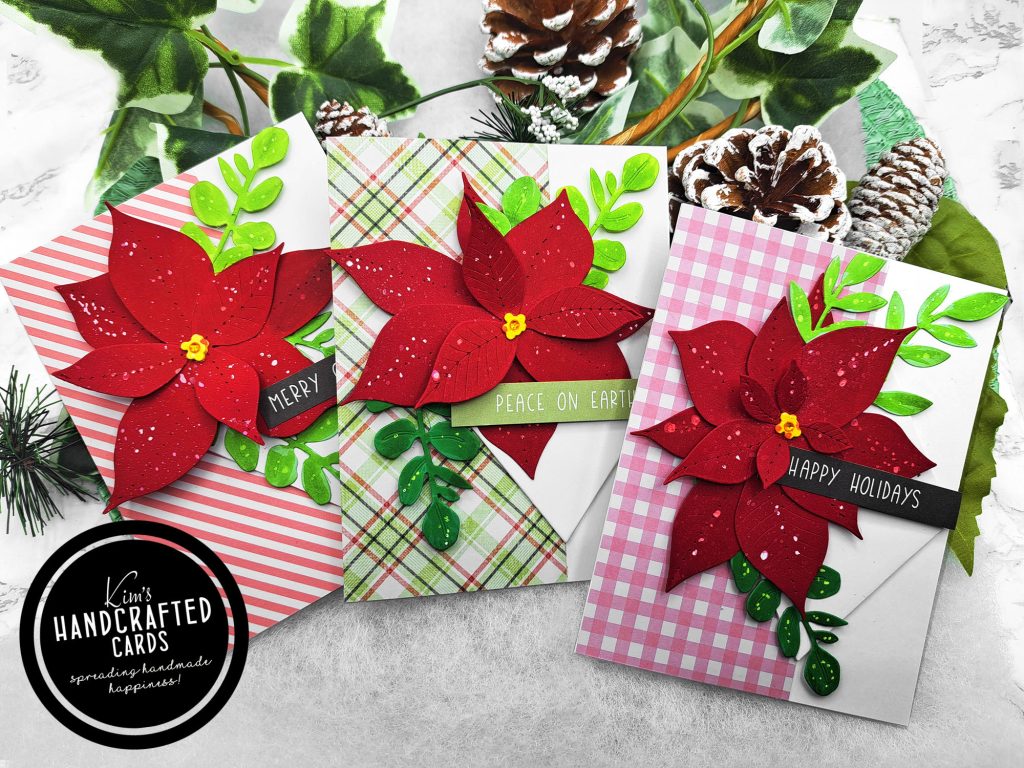
Hi Crafty Friends, hope your day is going great! Today, I’m sharing 3 designs for these pretty poinsettia dies from Altenew. It’s a set of several petals and the center piece. I’ve used this die before here and it makes a gorgeous floral arrangement.
I sketched out in my head an initial design but…BUT it did NOT turn out that way. In fact, I made the first 3 cards and did not love them. I ended up removing the poinsettias from those cards and started over! That happens in the creative process.
I waited 24 hours before I went back to the project. In that time, I prayed about how to change it. The Lord Jesus is so wonderful to talk to about any and everything. He spoke to my heart and gave me 3 designs and I LOVE THEM! So, let’s get into the 1st design. These are the florals I initially removed from those earlier cards.
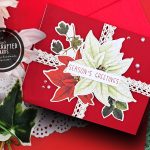
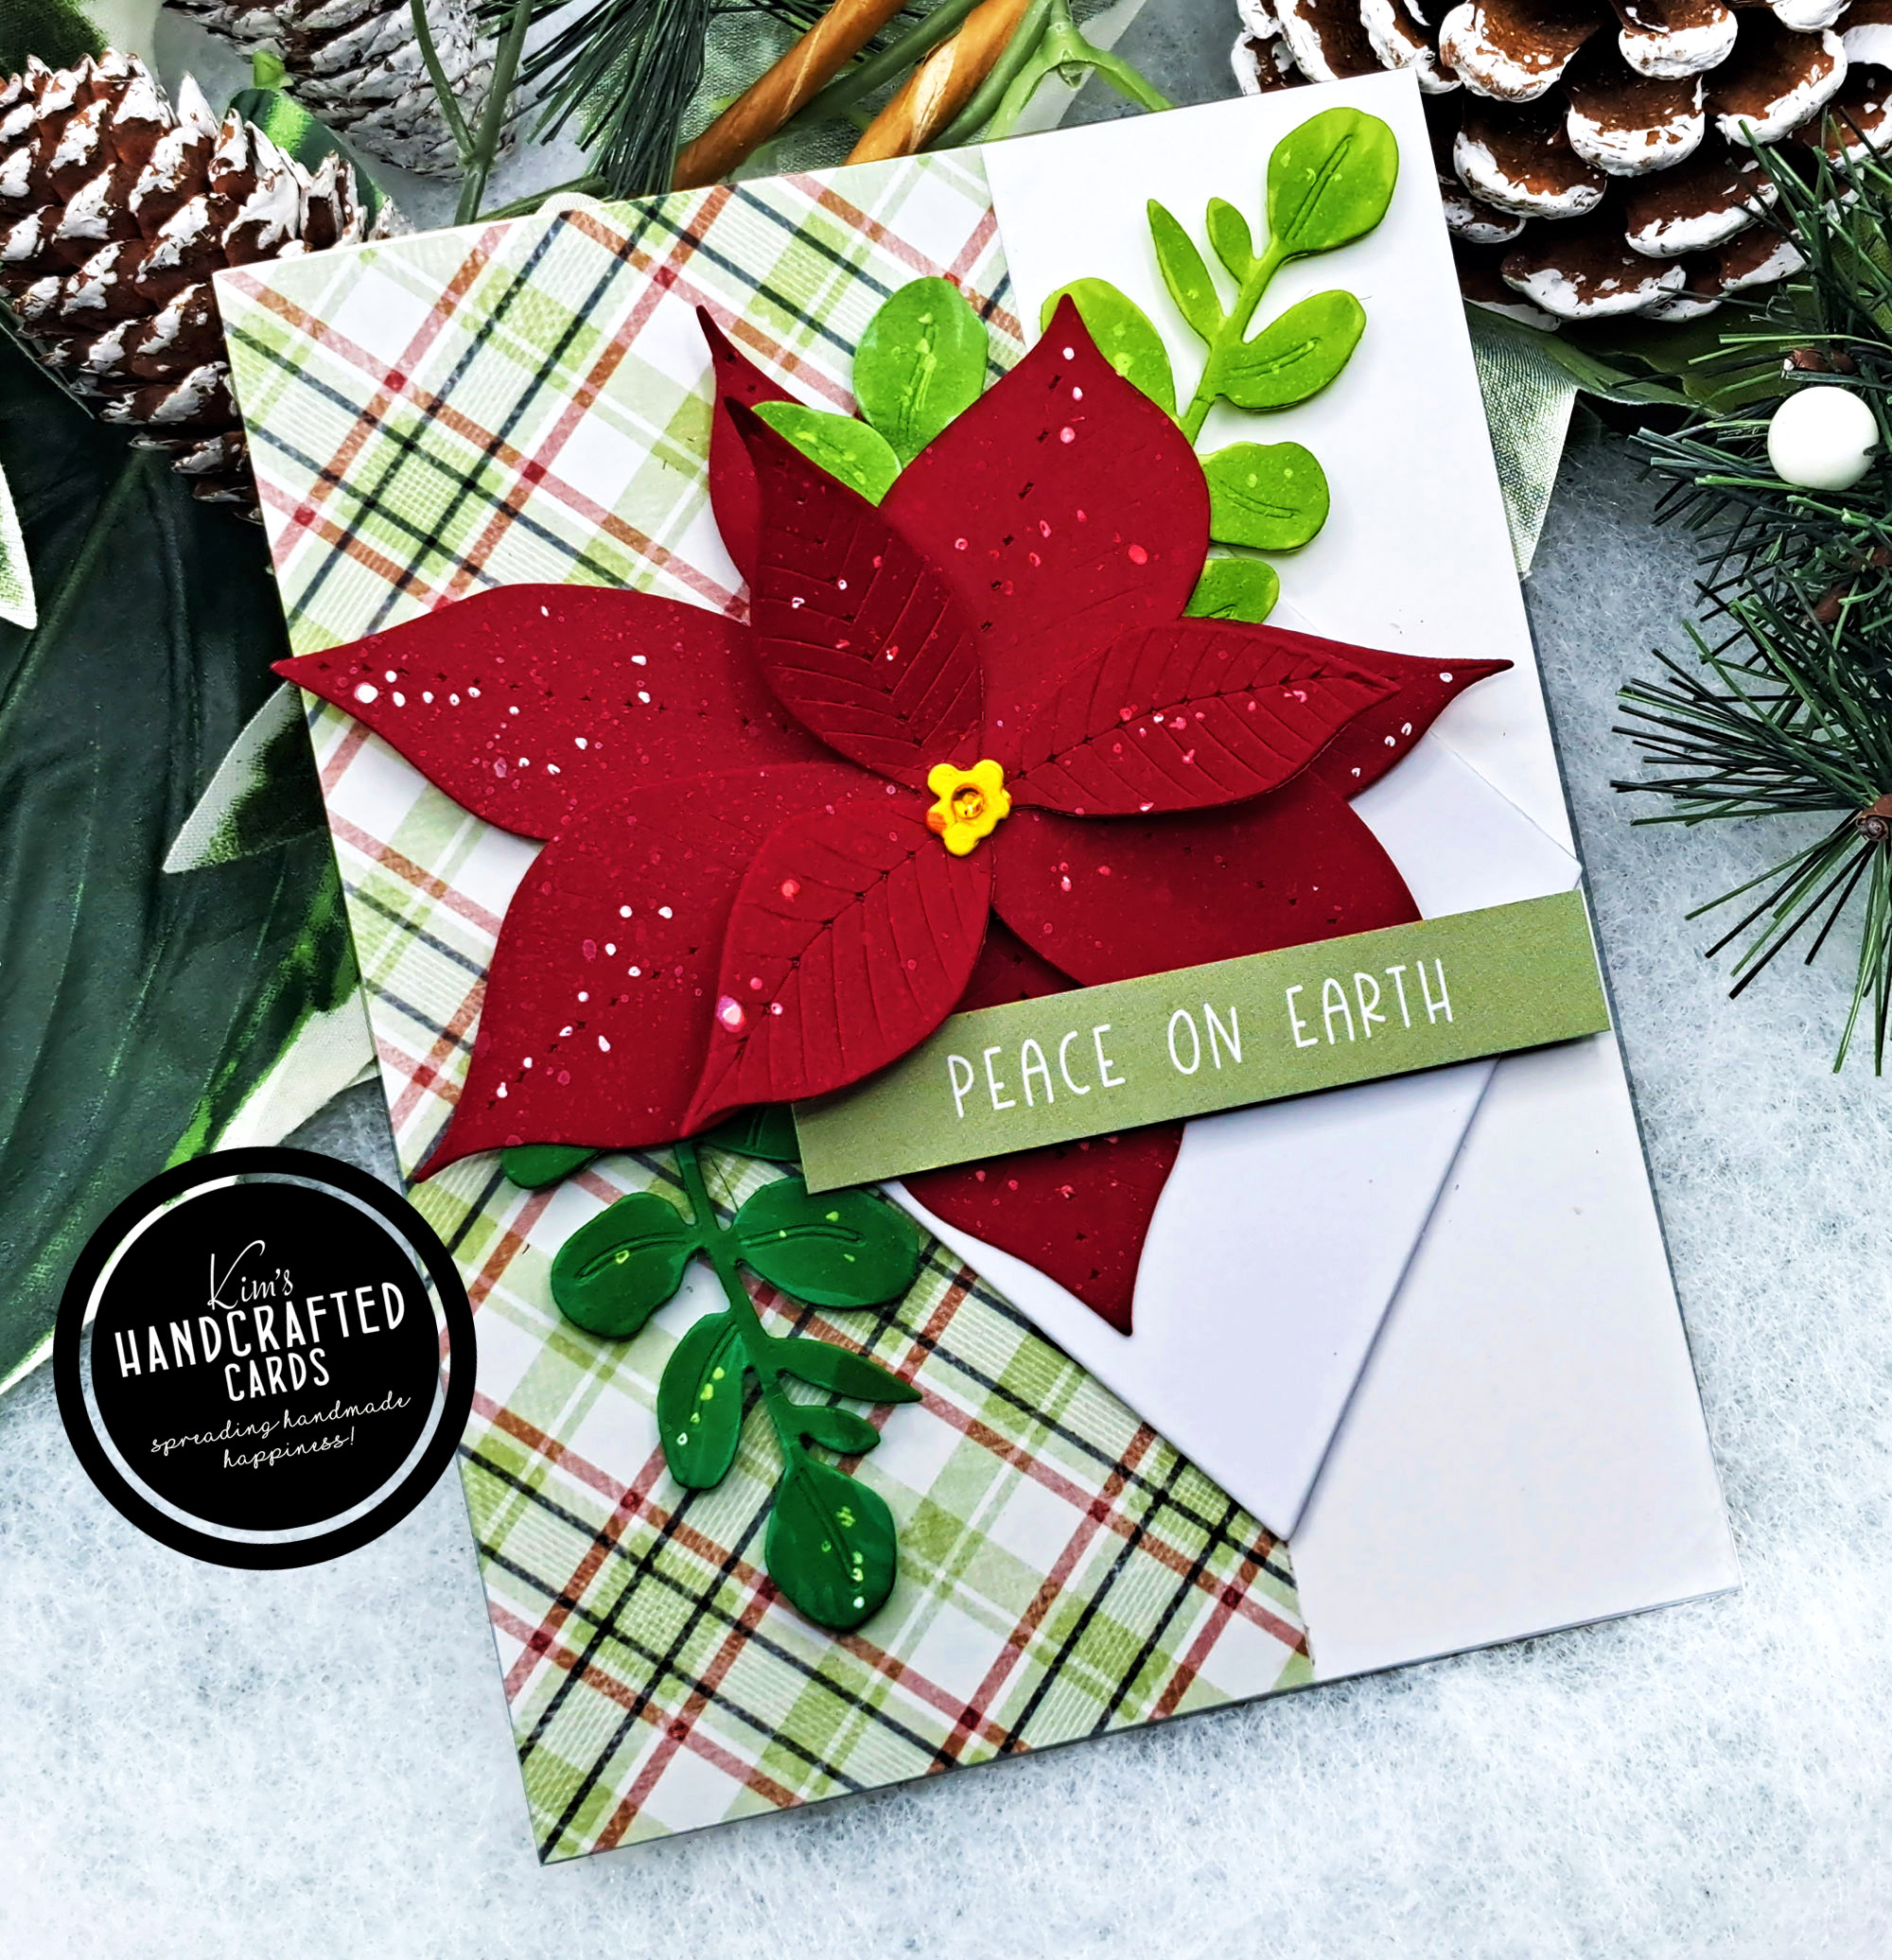
design #1
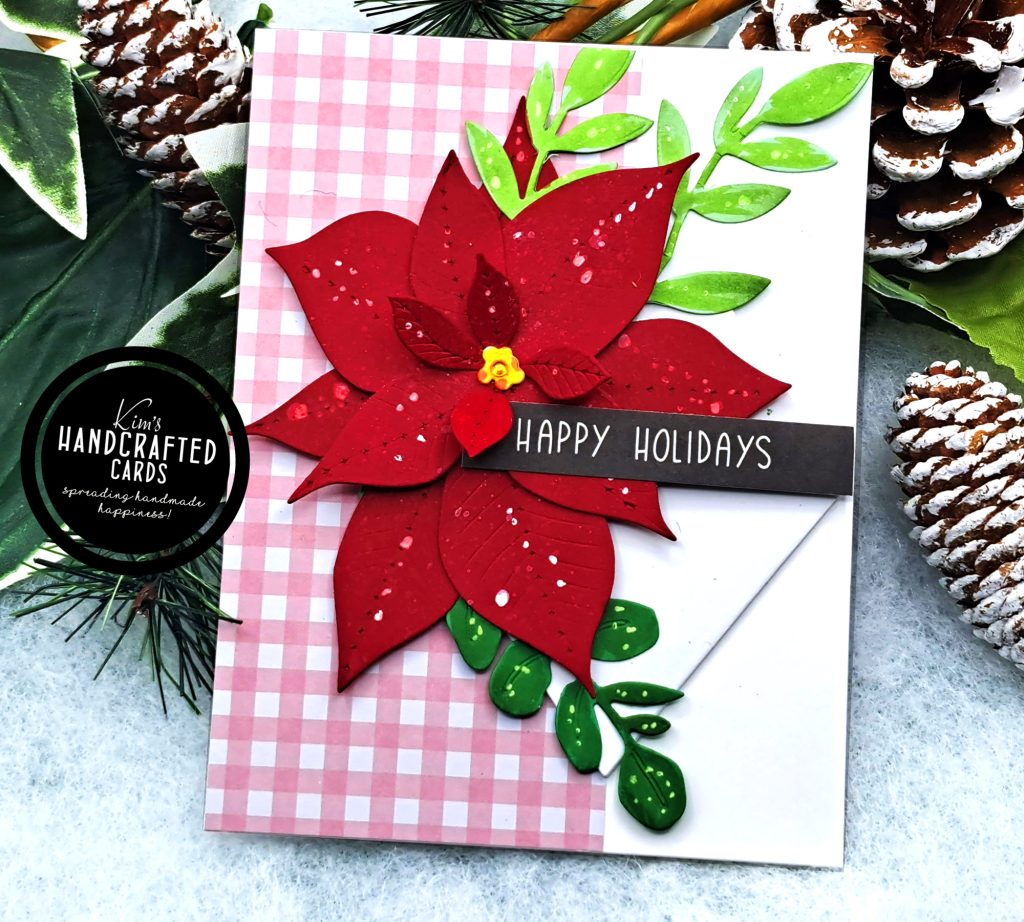

The process for making all 3 designs began with die cutting and coloring my poinsettias. First off, I die cut them with 2 different red cardstock papers from Simon Says Stamp. To give them a little more interest, I ink blended over some of the petals using Simon’s “Watermelon” Pawsitively Saturated Inks and a small blending brush. Then, I decided I wanted ink splatters so I used my splatter box and Distress Paint. But, I wanted some of the splatters bright white and for that I used my white #10 gelly roll pen.
While that was drying, I die cut the leaves from 2 additional die sets, one from Honey Bee Stamps and the other from My Favorite Things. I also used green cardstock papers from Simon and for the ink blending on those I used Pinkfresh Studio’s “Olive” ink. I again splattered over the leaves too. For the centers, I used Pinkfresh’s “Marigold” ink. Then, I arranged the florals by gluing them together, set them aside and began working on the background design.
I wanted to use some pattern papers, but make them subtle so that the poinsettias would be the star of the show. The pattern papers are also from My Favorite Things. I trimmed them down and glued to the left side of the cardbases. For more dimension and interest, I die cut a bunch of diamonds using Pinkfresh Studio’s nested diamonds set and glued it just barely overlapping the pattern papers.
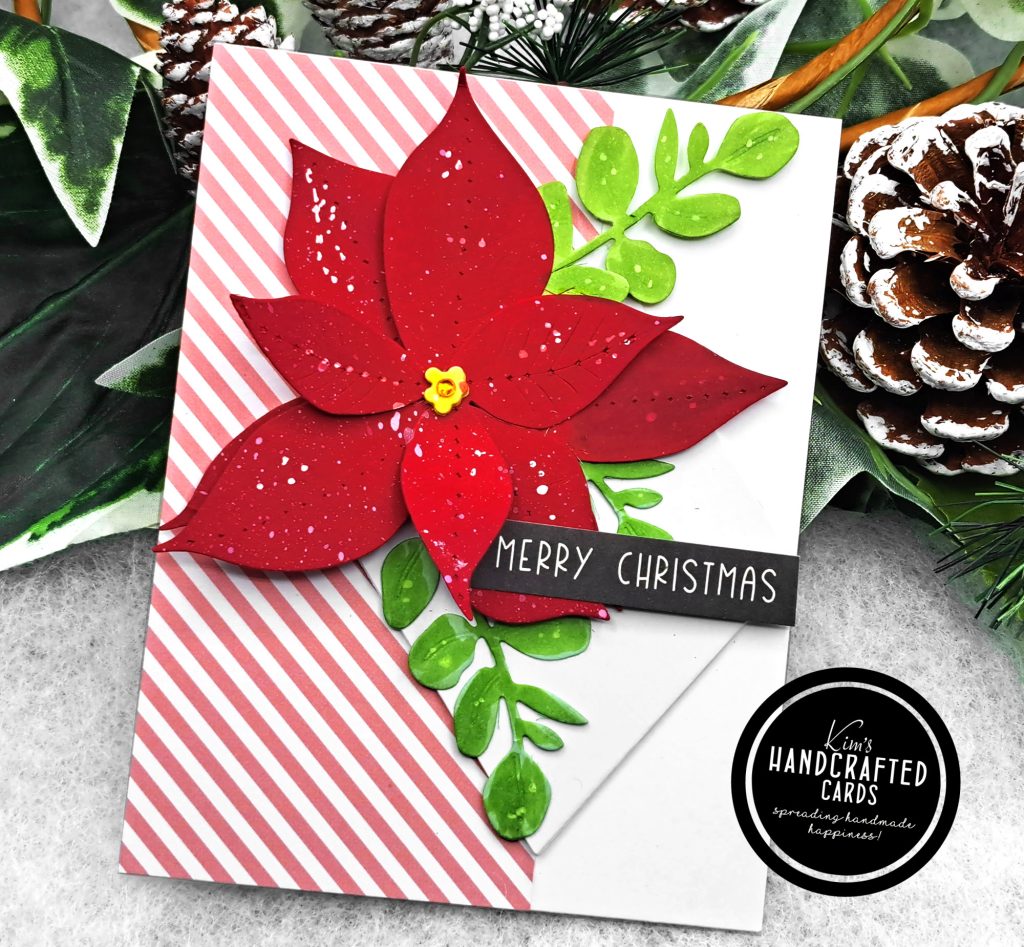
I then arranged my floral clusters to frame the diamonds and chose sentiments from Simple Stories Christms Rustic pack. This first design was done!
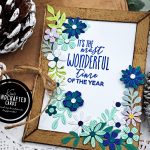
Design #2
For Design #2, I wanted to use my Christmas snowflake ribbon that I bought on AZ. It is gorgeous so first thing I did was trim some off and glued it the left side of my cardbase with Art Glitter Glue. This glue seems to work really well on fabric and don’t let the name fool you, there’s no glitter in it!
I let that completely dry and then trimmed more ribbon and tied a bow. Then I glued that to the center of the trimming.
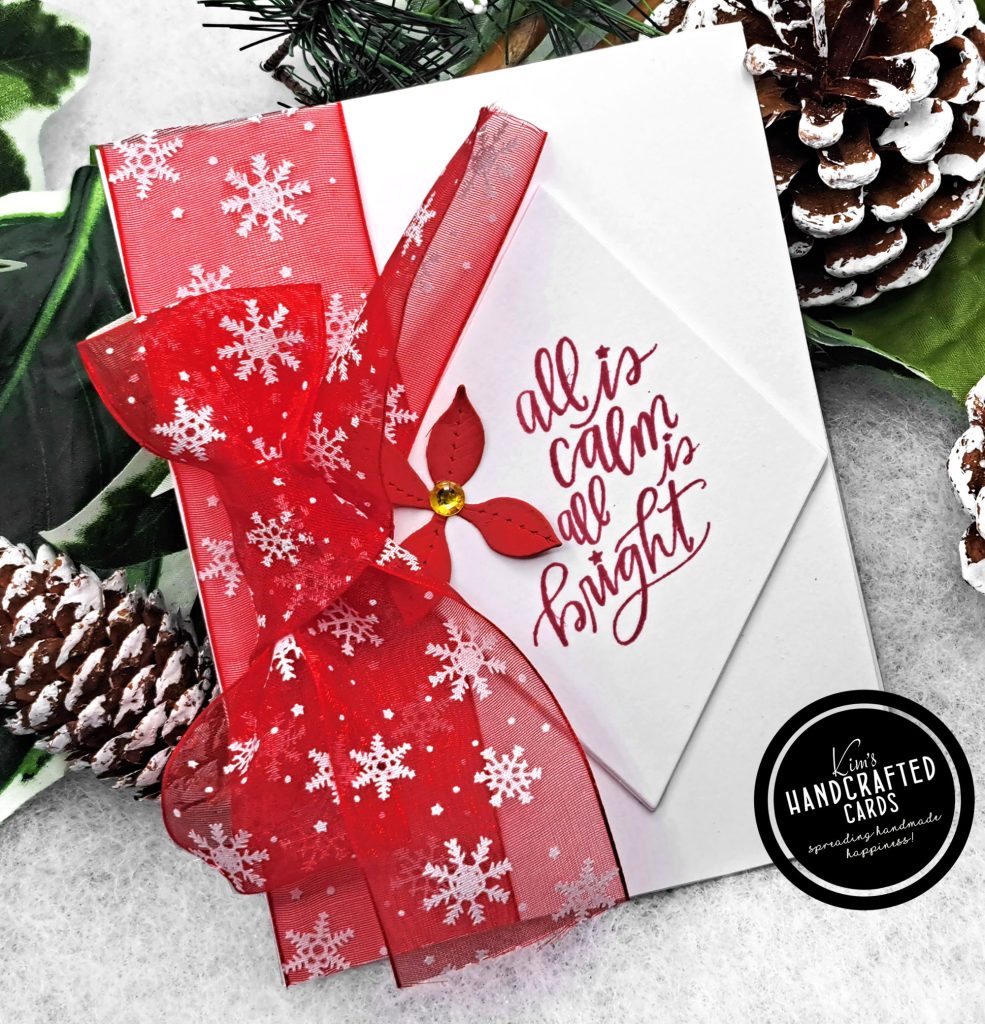

I wanted to stamp a sentiment on the diamond so I used this one from Spellbinders “Merry Everything” Limited Edition Christmas card set (no longer available) and inked it with Simon’s Watermelon Pawsitively Saturated ink.
I added my diamond (forgot to mention…all the diamonds have 4 each for dimension) shape and the smallest poinsettia die. The center is a gold pearl from my stash. Simple design but I think it packs a punch!
For my poinsiettias in Designs #1 and #3, I used foam squares on some of the petals for dimension and for a more realistic look.
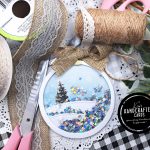
Design #3
For design #3, I worked with vellum! I hadn’t used it in a long time and this design was perfect for it because I made a window frame with pattern papers, placed a sheet of vellum behind the frame and placed my poinsettias inside the frame.
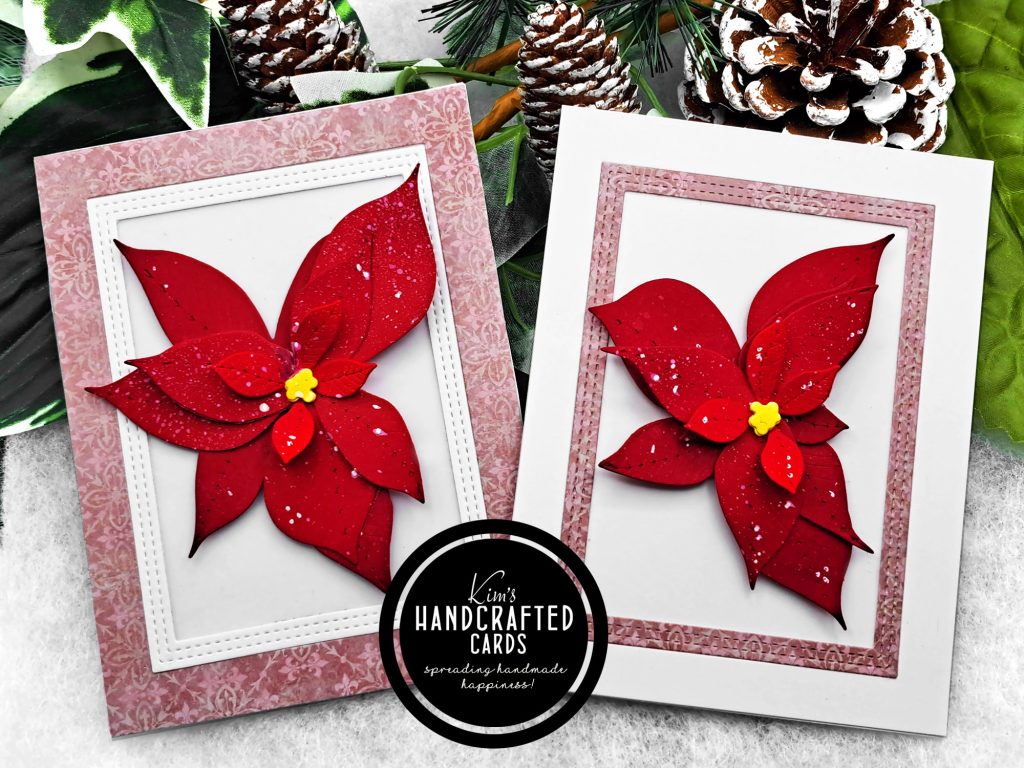
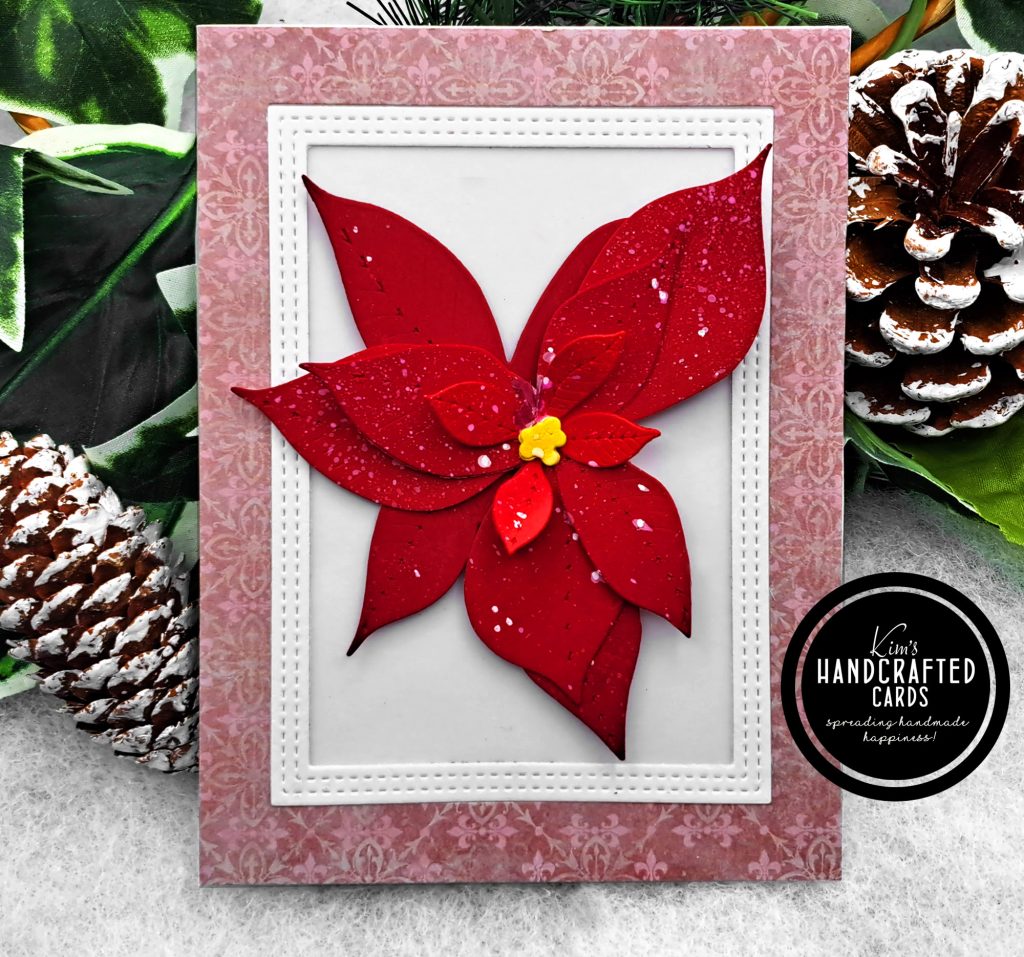

I also opted NOT to add a sentiment on top. Instead, the sentiments are inside the cards. I just couldn’t bear covering up the florals.
This sentiment is Stampendous Blessed Nativity Clear Stamp Set and I used Simon’s “Khaki” ink to stamp it. I stamped it on a separate sheet of cardstock and trimmed it down to about 2-1/2″ x 3″ I believe and glued it on the inside.
So, I started out with 1 design but ended up with a total of 6 cards! And out of all these designs, #3 is my favorite! I used to find designing cards somewhat frustrating when things didn’t turn out the way I hoped. However, I’m learning to accept changing things and even starting over. I believe this will help me grow as a crafter and when seeing the final project, it always brings a smile to my face!
Thanks for reading! Links to the products are below as always. Have a great day!

- Altenew 3D Poinsettia Die Set
- Honey Bee Stamps “Greenery” Lovely Layers Dies Set here or here
- My Favorite Things “Die-namics Grande Greenery” Die Set
- Stampendous Blessed Nativity Clear Stamp Set
- Gemini Jr. Embossing & Die Cutter here or here, get the new Gemini here
- Pinkfresh Studio Diamonds Nested Die Set
- Rectangle Nested Dies (part of a 6-set of shapes)
- My Favorite Things “Pretty in Plaid” Pattern Paper Pack
- My Favorite Things, “Tiny Check Brights” Pattern Paper Pack
- Simon Says Stamp Assorted Cardstock (100 lb.), you can also buy it in A2 size for a lot less at Simon here.
- White double-sided foam squares
- Simon Says Stamp “Pawsitively Saturated Inks” Collections
- Simon Says Stamp Khaki Ink pad
- Pinkfresh Studio Inks
- Distress “Picket Fence” paint
- Christmas Snowflake Ribbon Set
- Simple Stories Simple Vintage Rustic Christmas
- Blending Brushes, large size here, tiny size here
- Misti Stamp Positioner here, here, here or here
- Ranger Splat Box
- Ngwall Round Paintbrushes (set of 12)
- Accents 100 lb. White Cardstock
- Bearly Art Glue
- Art Glitter Glue
- White #10 Gelly Roll Pen
- Glassboard Craft Mat → Use my Code → KIMCARDS20 at checkout