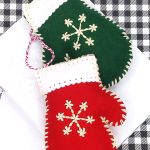
Hey Crafties! Today, I’m excited to share a new felt ornament that I finished up late last night. This time I used an embroidery hoop for the first time and did some freehand stitching too. The inspo for this project came from Nichol Sphor’s last Friday LIVE YT video, “Felt Stitching Hoop Ornaments”. If you haven’t watched it, catch the replay here!
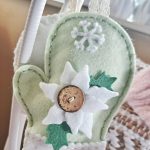
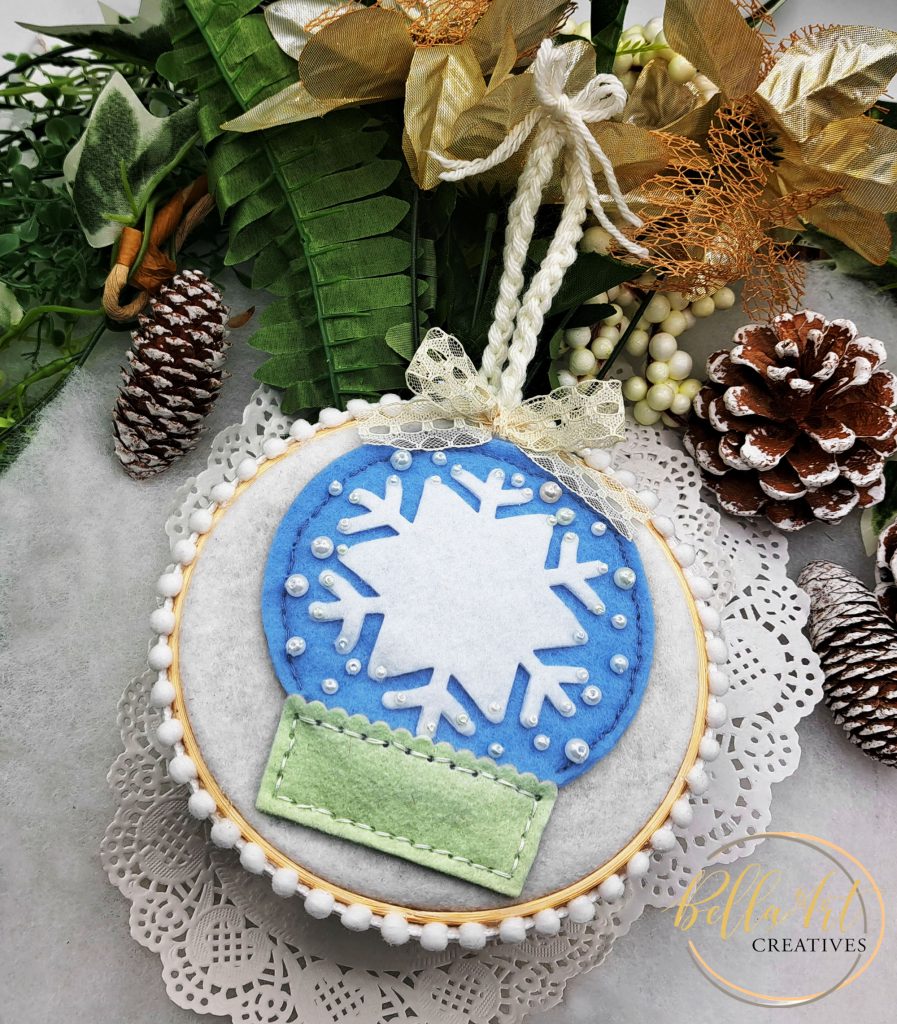
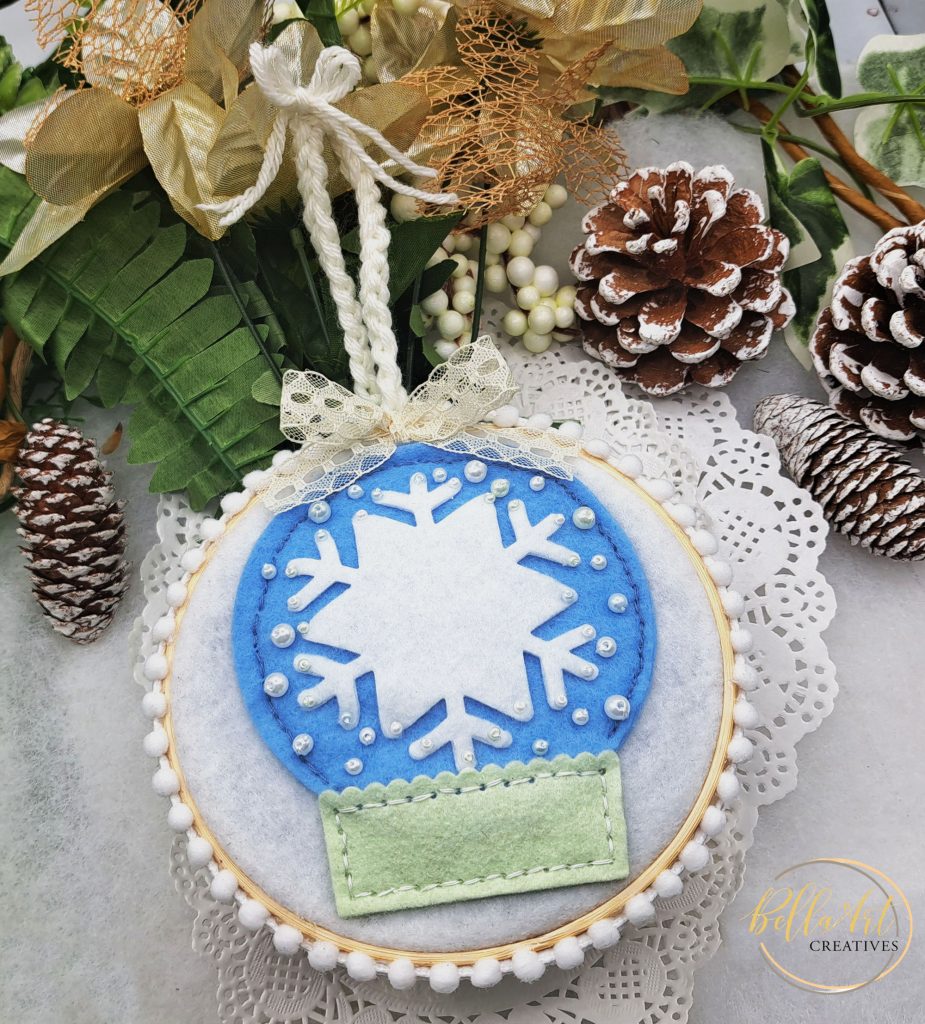
So, that I didn’t copy her projects even though I have both plush dies she featured, I decided to create a snow globe. Now, I don’t have a snow globe die set at all so what I did to make one was to combine 3 separate dies from 3 different companies! This is one of my favorite things to do with crafting is to mix and match products from various brands.
Mixing and Matching
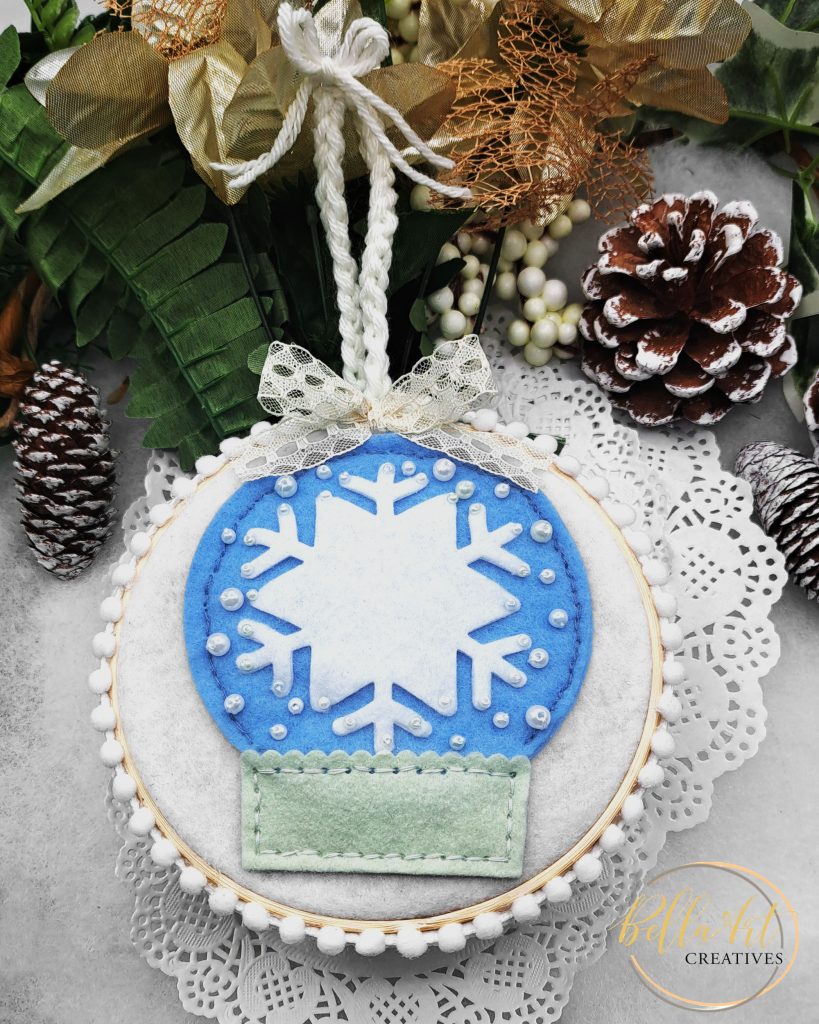
I took the circle part from just a regular circle nested die set by Waffle Flower Crafts. The base is from Memory Box’s Plush Mitten Die set and the large snowflake that I used as the appliqué is from Mama Elephant’s “Mega Snowflake” Cover die set. I used this same die on gift bags and boxes in this post.
The first thing to do was die cut all the shapes, I die cut each piece twice to have a little dimension and strength. Next, I stitched the snowflake on the circle, then stitched the base. Lastly was to stitch around the circle.
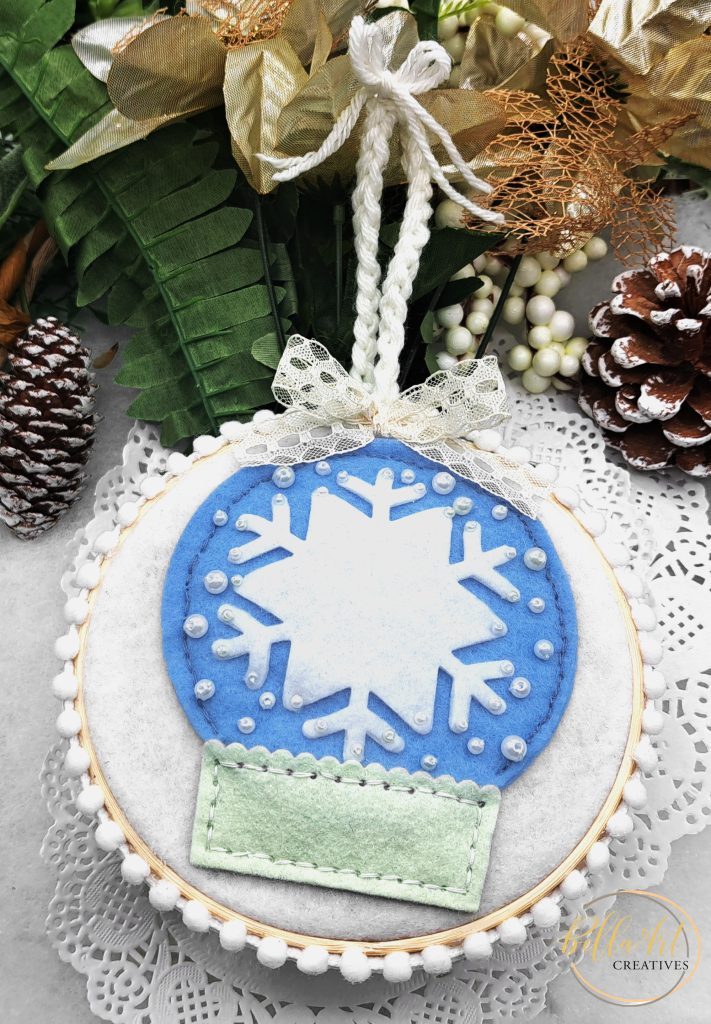
Note to thyself: I wasn’t too happy about my color choice of the blue thread for the main part of the snow globe, so next time I will try to find a more muted color that will blend in with the blue felt.
After getting my snow globe made, I followed Nichol’s video for how to prepare the embroidery hoop using some white felt that I picked up at Dollar Tree! Yep, that’s right. However, it is pretty thin and I was afraid one layer wouldn’t be sturdy enough to stretch over the hoop so I doubled it. This is an old crochet trick when a pattern called for chunky yarn but I didn’t have it, I would double the yarn to achieve the desired result.
Next, I stitched my snow globe onto the white felt and I didn’t have to be too careful about how the stitches would look on the back because I knew I’d be covering it up. Lastly, added some white pearl seed beads to mimic snowflakes. I really like how they look around the large snowflake.
I stuffed the inside of the hoop with 5 layers of felt that I cut just a little smaller than the hoop. Then, I made a backing for the hoop with white felt using a Pres-on mounting board. One side of the board has a sticky surface. I traced around the board with the embroidery hoop and cut it out. So, now the board is slightly smaller than the hoop which is perfect and I’m ready to cover it with felt.
I peeled off the sticky part from the board, placed it on top of my white felt and cut some slits all the way around. Next, I folded over each slit gluing it down with hot glue. This made a really nice backing for my hoop.
I added some pom pom trimming around the sides gluing it with hot glue and took my time! It still got everywhere and all over my fingers 🙂
I tied a bow from some lace ribbon I picked up at my local thrift store, hot glued that on top. And for the hanger, I crocheted a chain stitch! It felt really good to crochet again even thought it took about 2 minutes 🙂 All done! Overall, I am proud of how this turned out, I know next time will be even better!

Some of the links to the products I used are affiliate links which means that when you shop with them, I’ll receive a small commission at no extra cost to you. Your support helps me run my small crafty business. Thank you so much!
Die Sets
- Waffle Flower Crafts “Additional Circles” Nested Dies (I used the largest circle in the set)
- Memory Box Plush Mitten Die Set
- Mama Elephant Mega Snowflake Cover Die Set
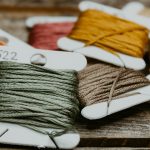
Shop for Felt
- Taylored Expressions
- Benzi Design
- Poshta Design
- MissCrafts on AZ
- PixieFibers – Etsy Shop
Adhesives
- Aleene’s Tacky Glue
- Mini Hot Glue Sticks
- Mini Hot Glue Gun with heat stand
- Pres-On Self Stick Mounting Board
Embellishments
- Pom Pom Trim – White
- Pearl Seed Beads – AZ
- Embroidery Hoops – Various sizes on AZ (I used a 5″ for my project)
- Ready-made Bows (Burlap), assorted designs
- Assorted Satin ribbons
Die Cutting
Shop Crochet
- Crochet hooks (12 set) – I used the #4 hook but you can use ribbon to make a hanger also
- Crafter’s Square Yarn (white)- I picked up 2 reams from my local Dollar Tree, link to their website
For more information on felt stitching including a more in-depth supply list, check out my post, “Products I’m Lovin’ with Felt Stitching”.